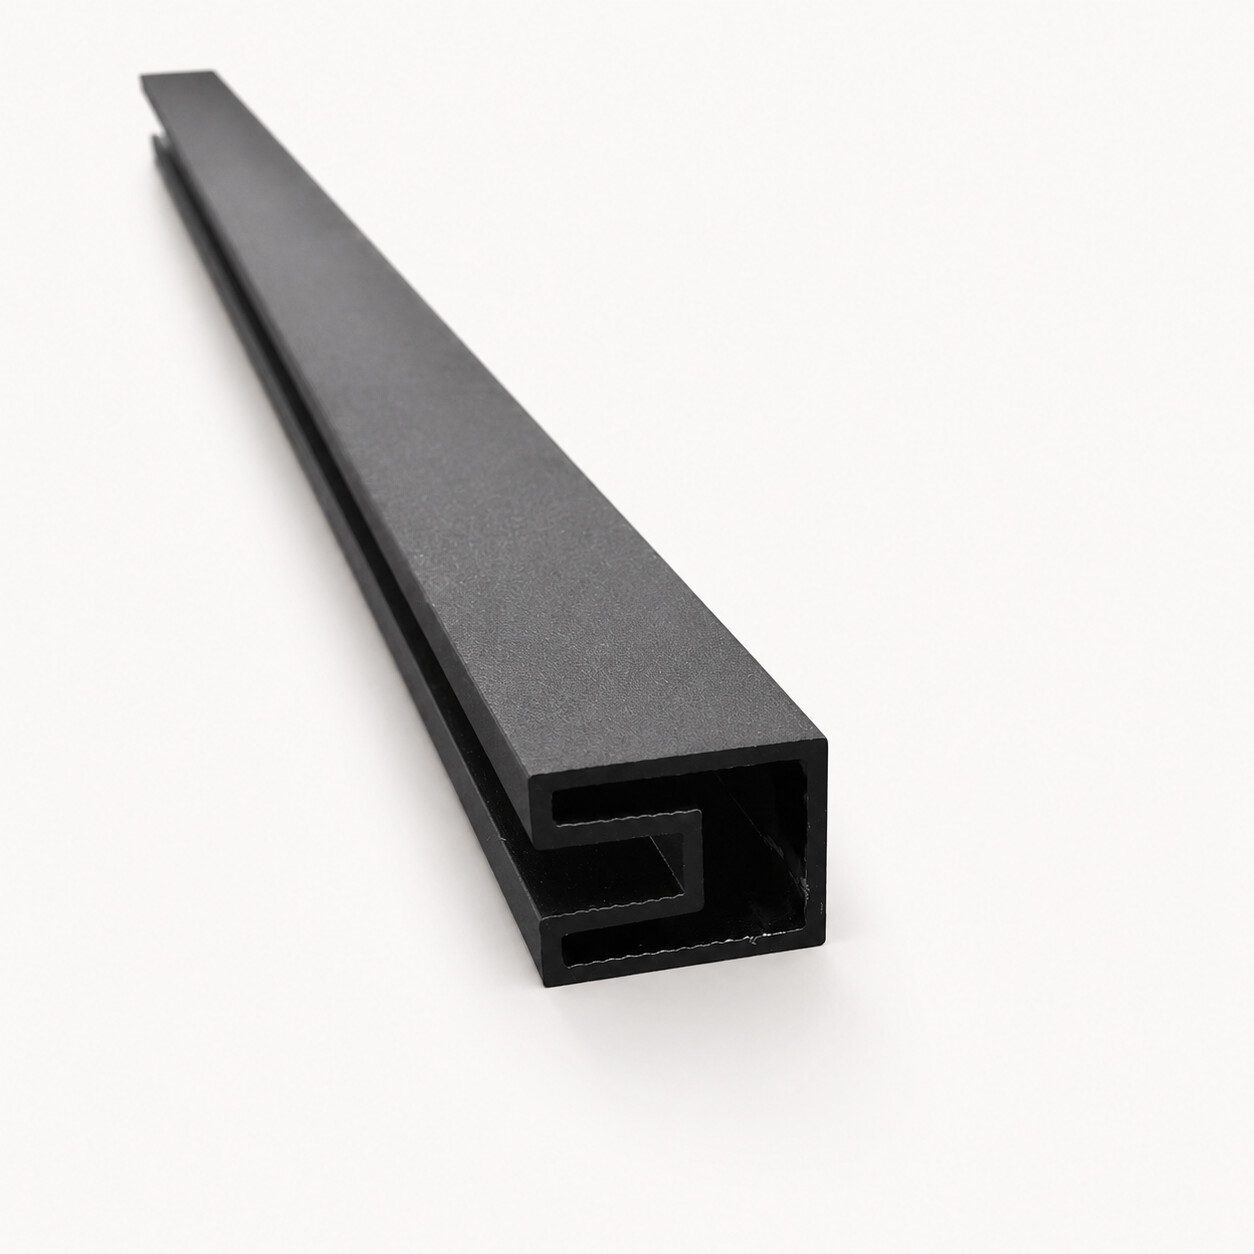
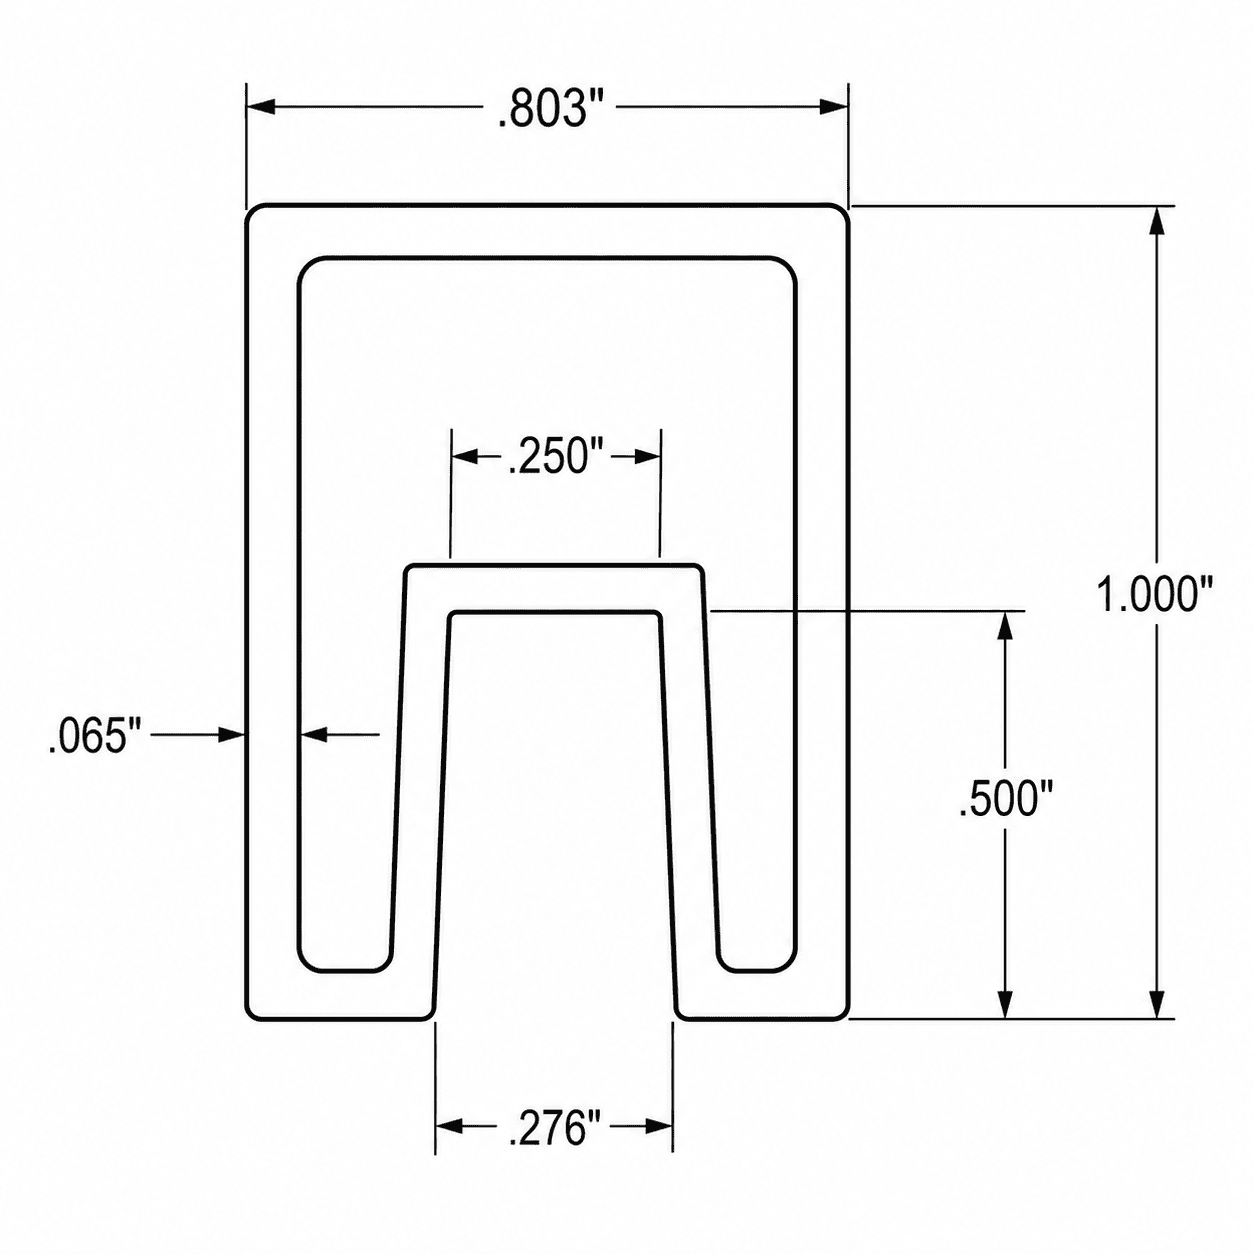
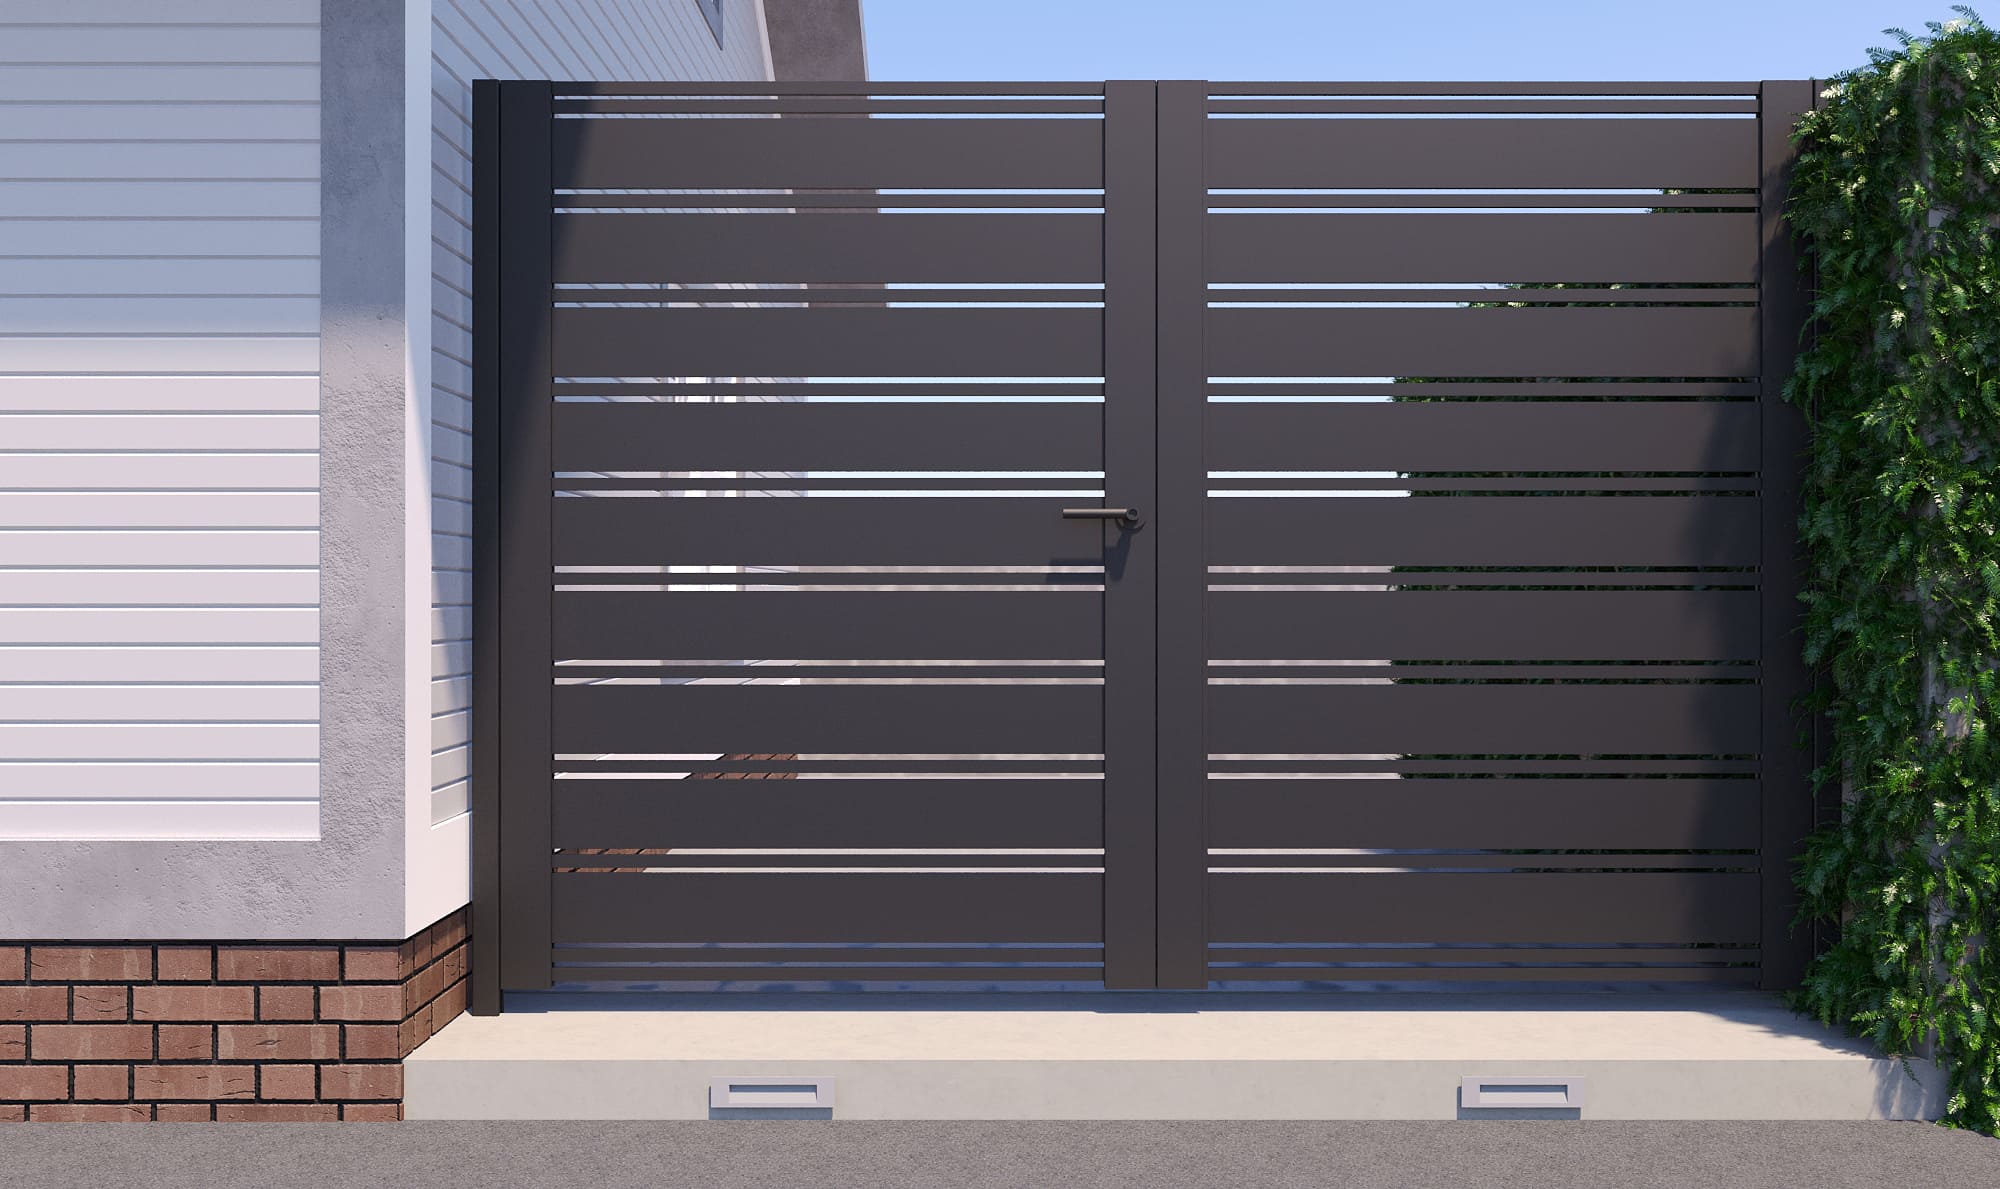
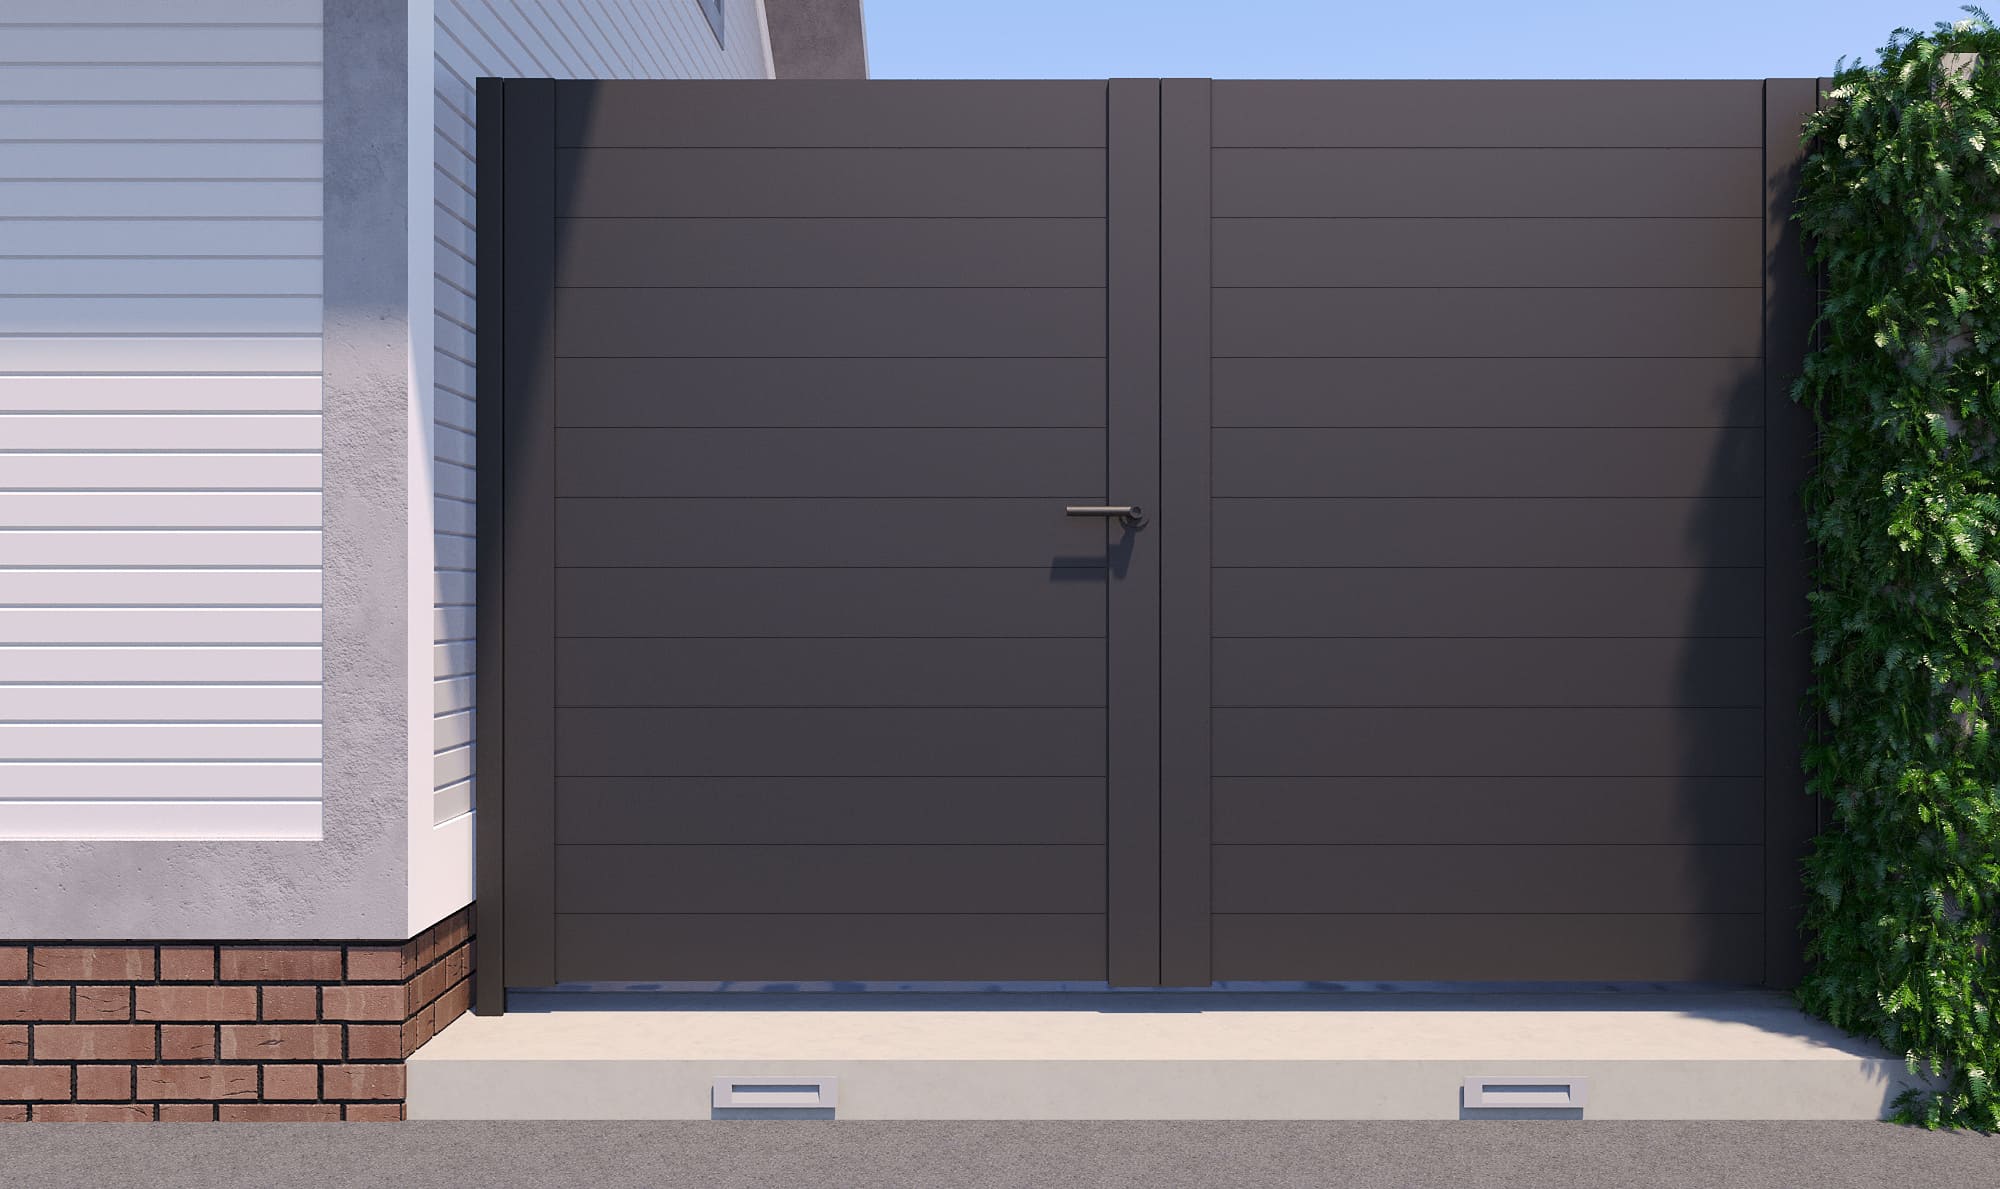
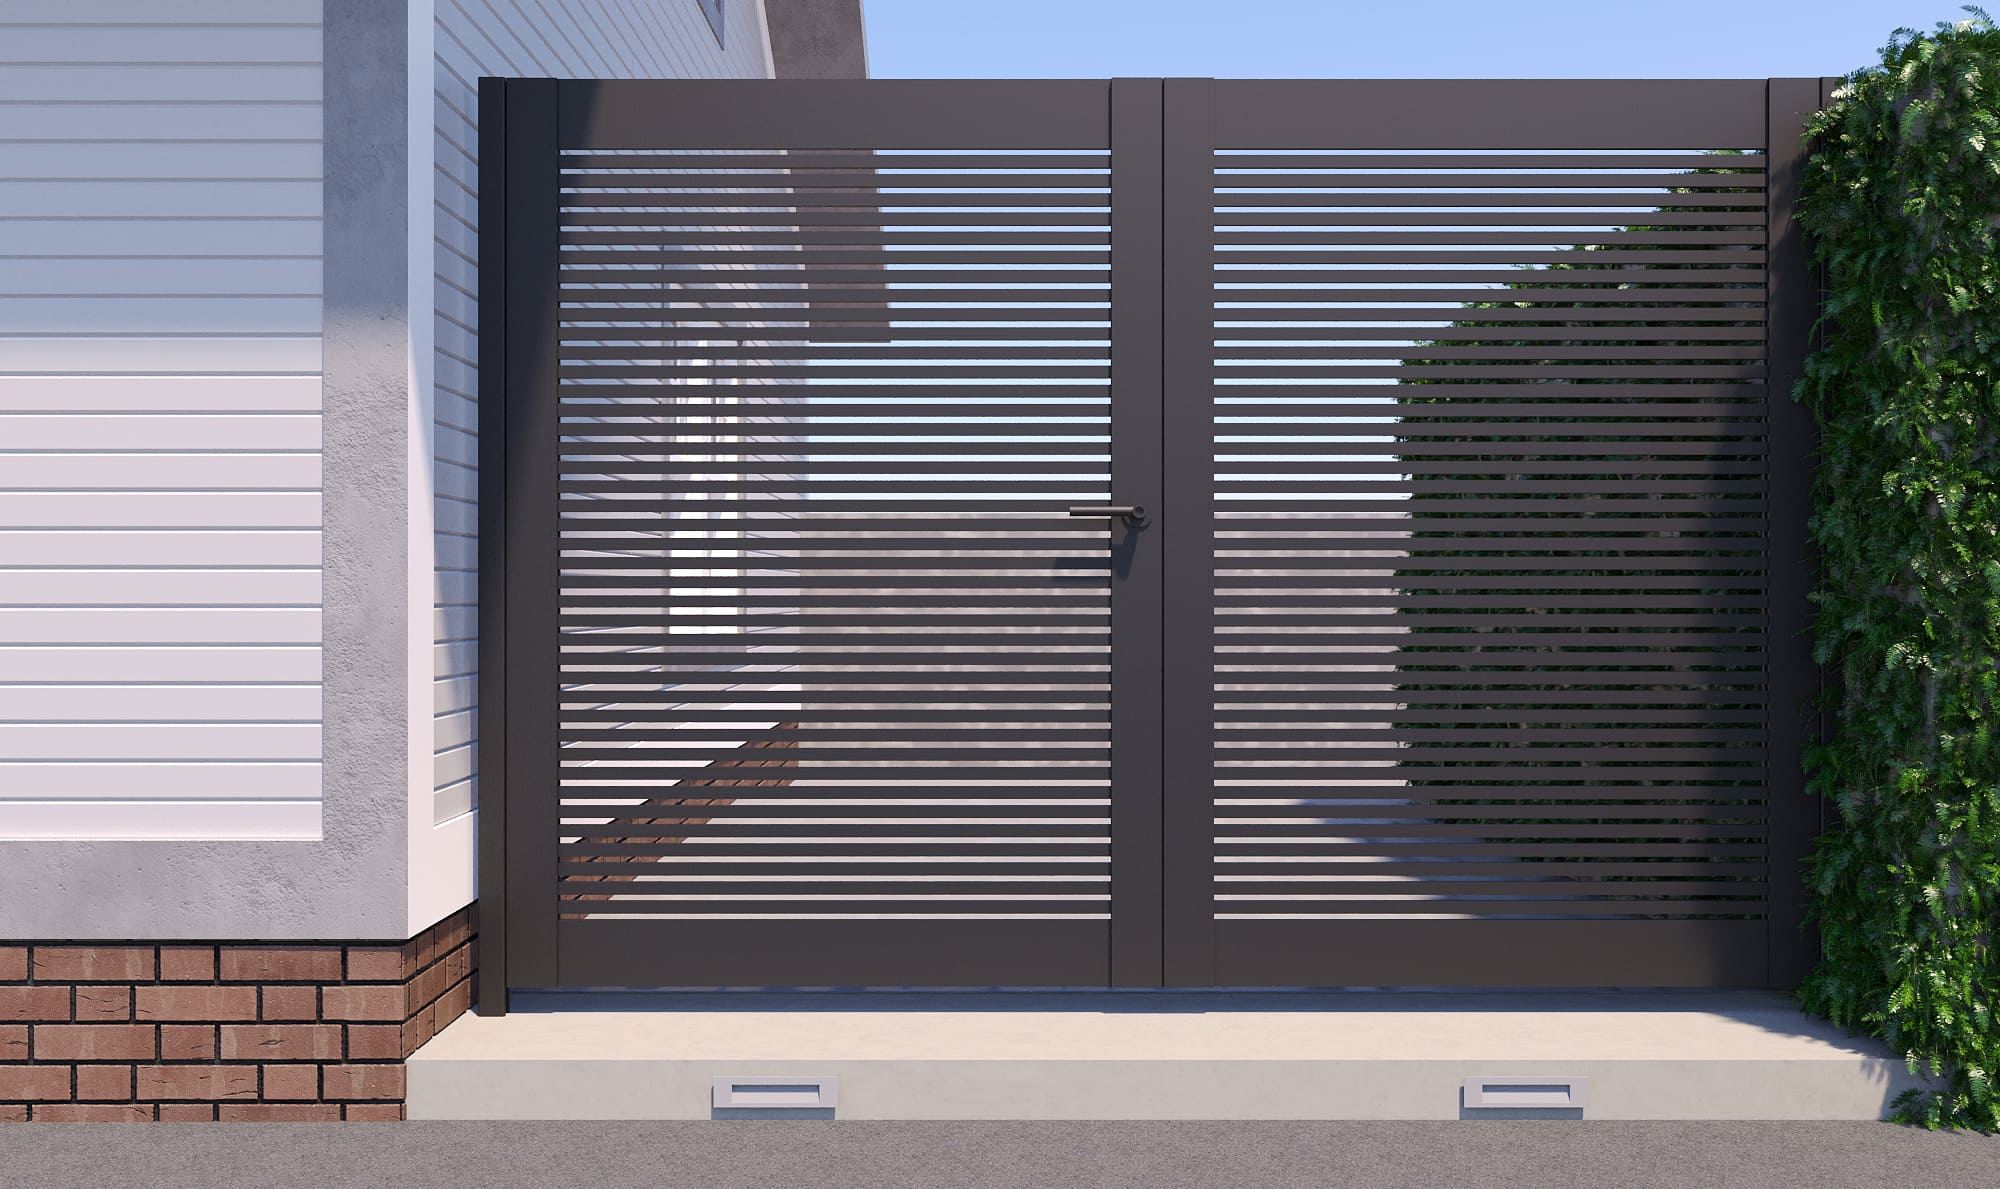
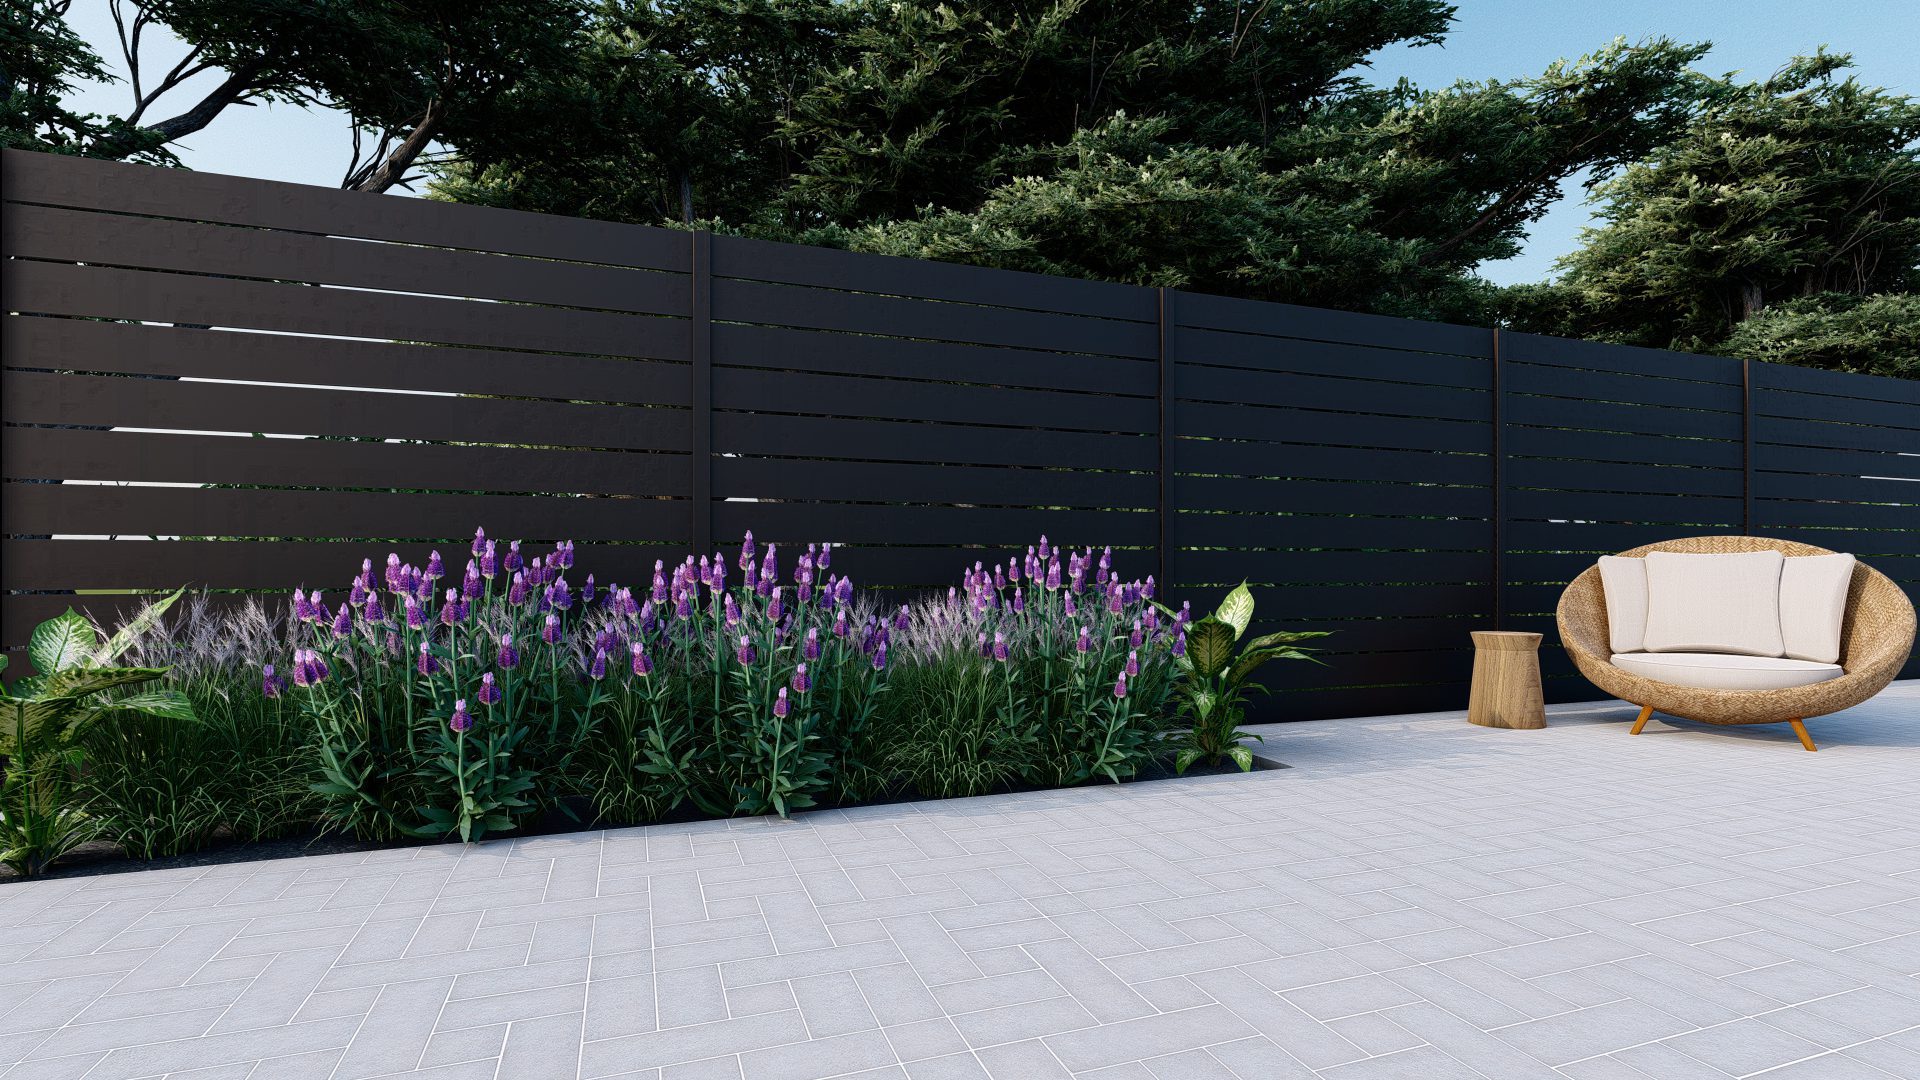
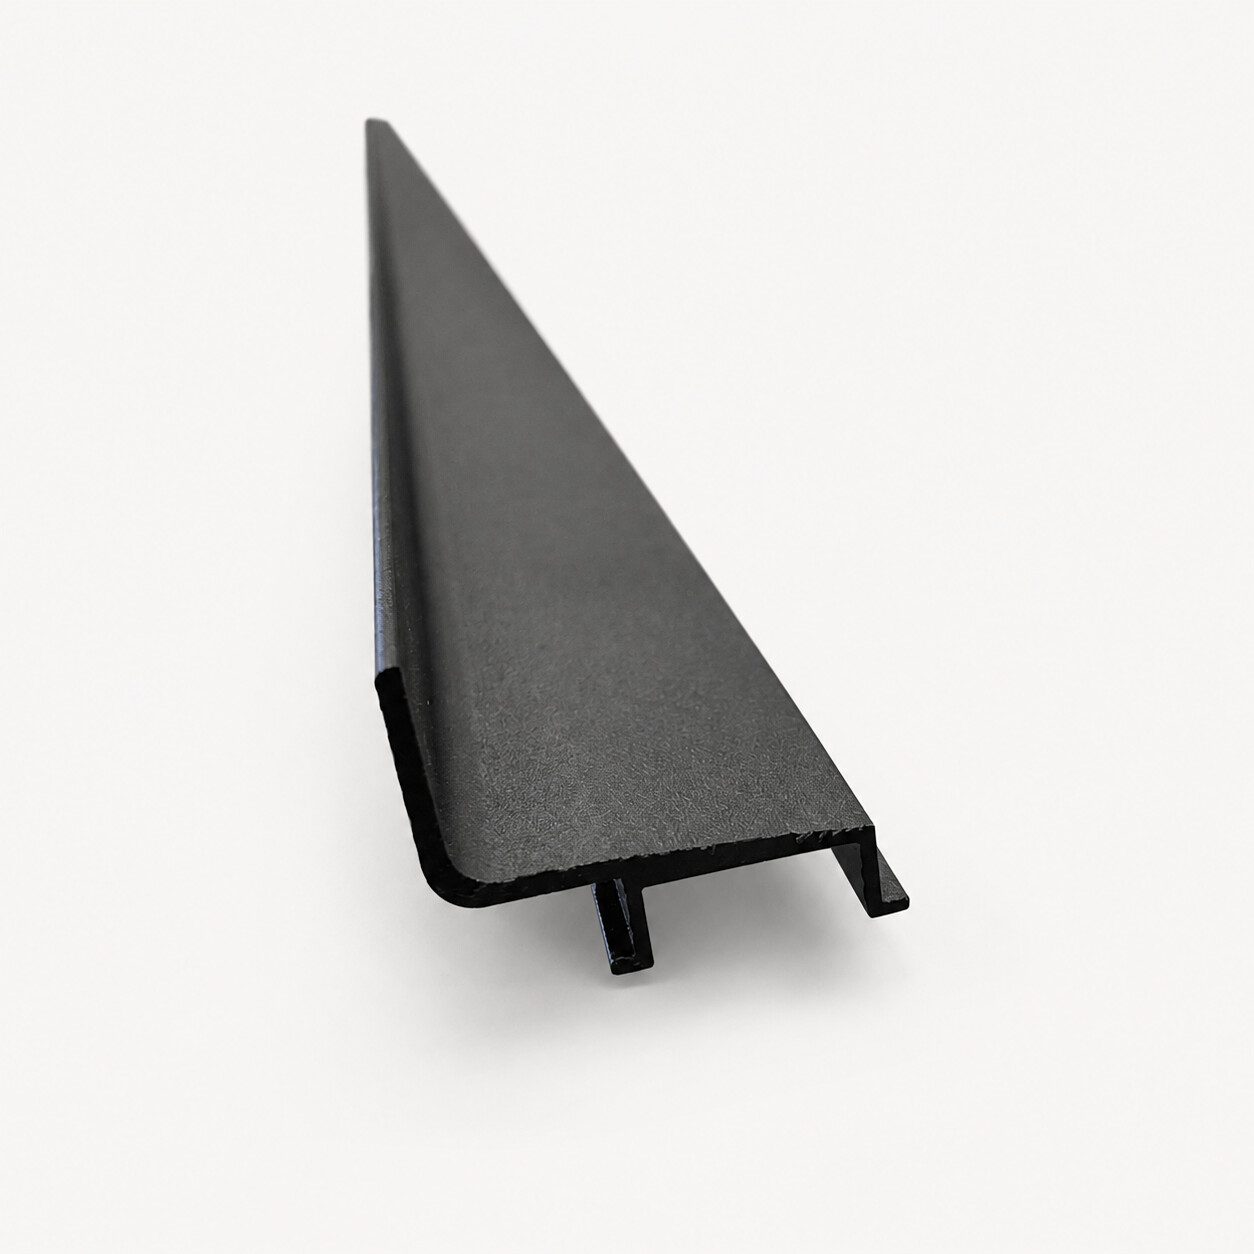
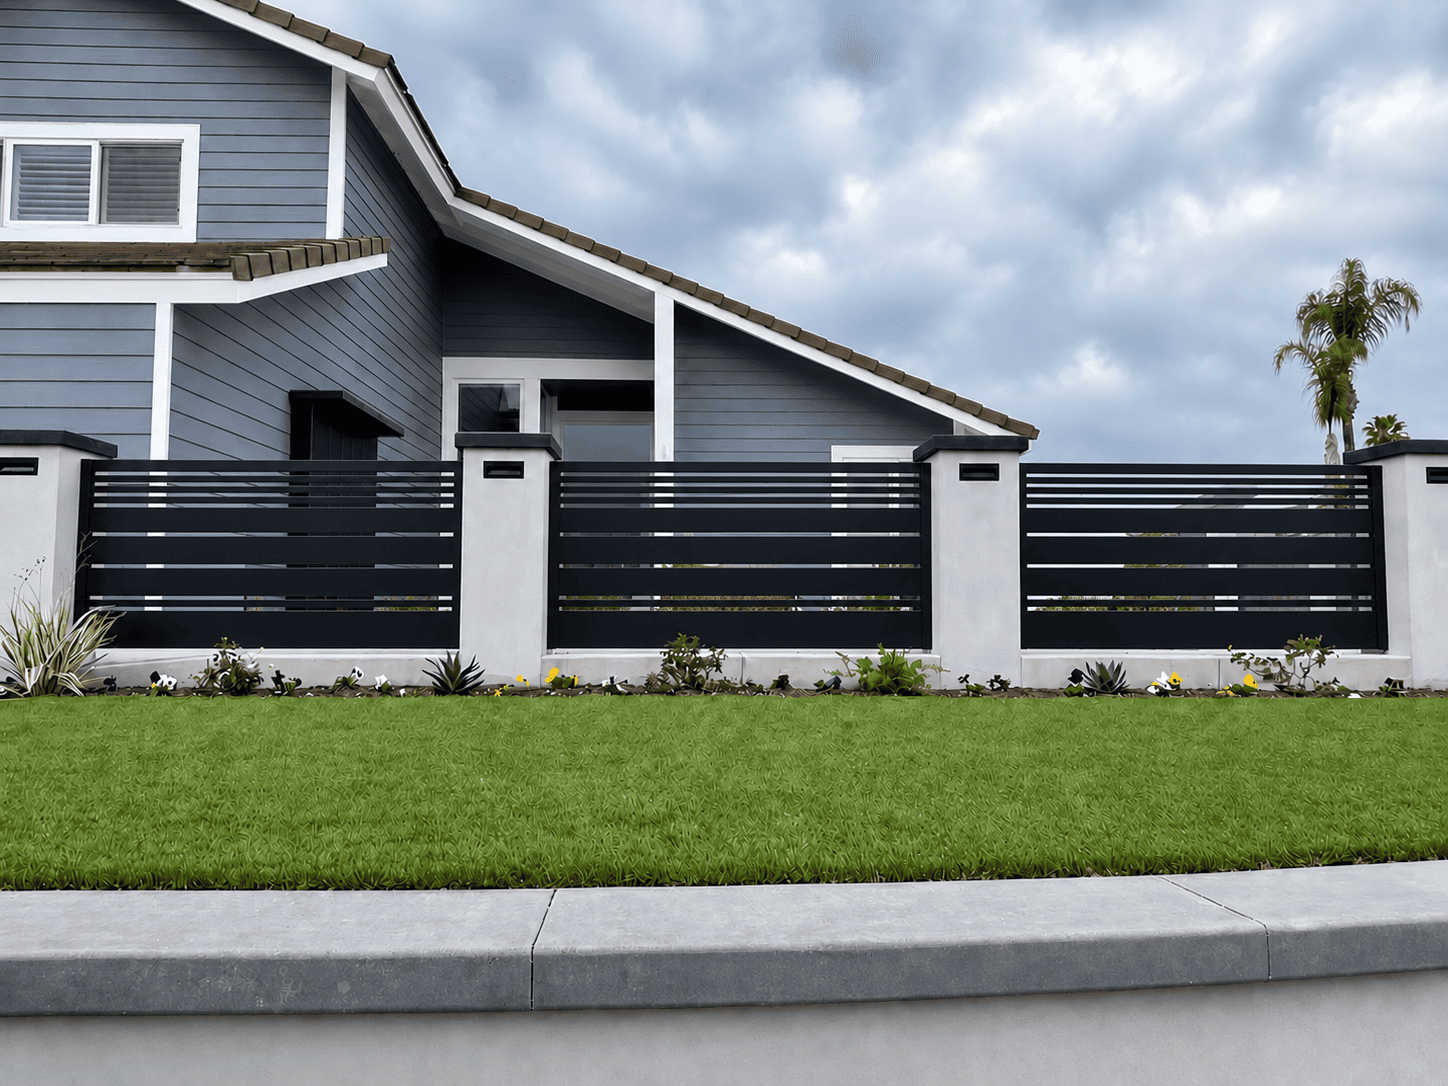
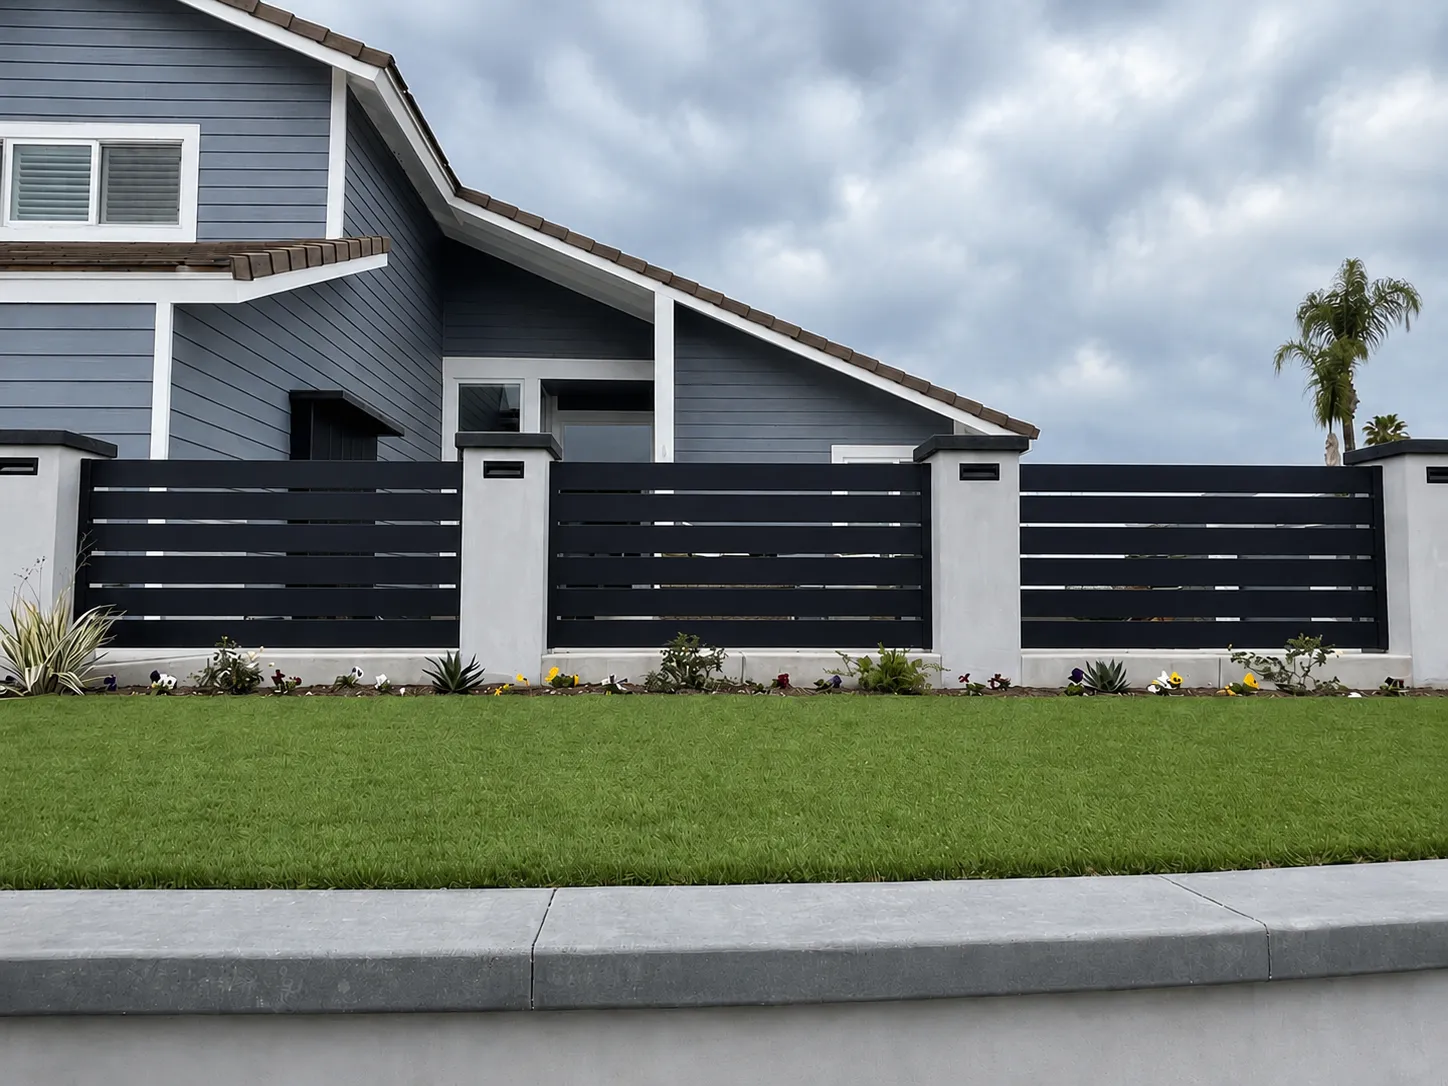
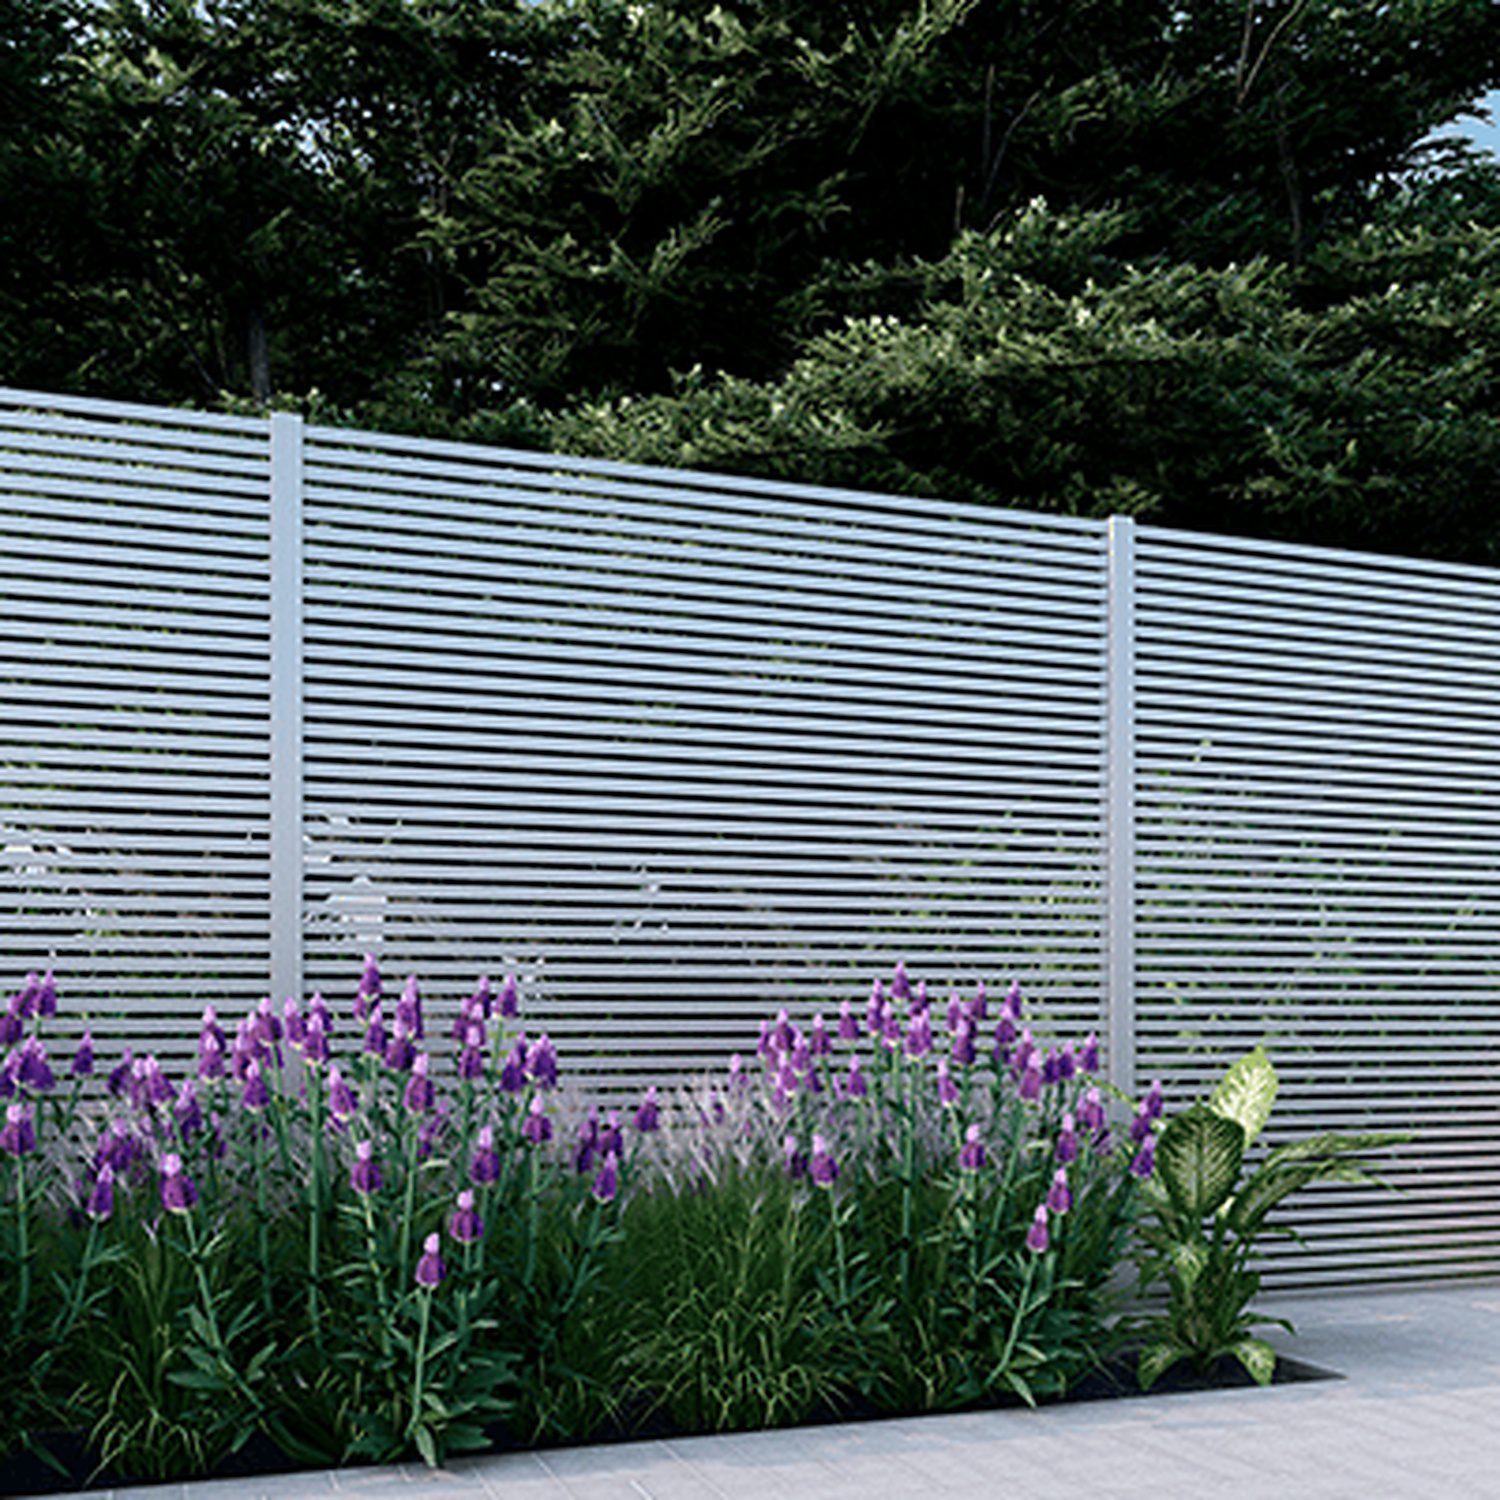
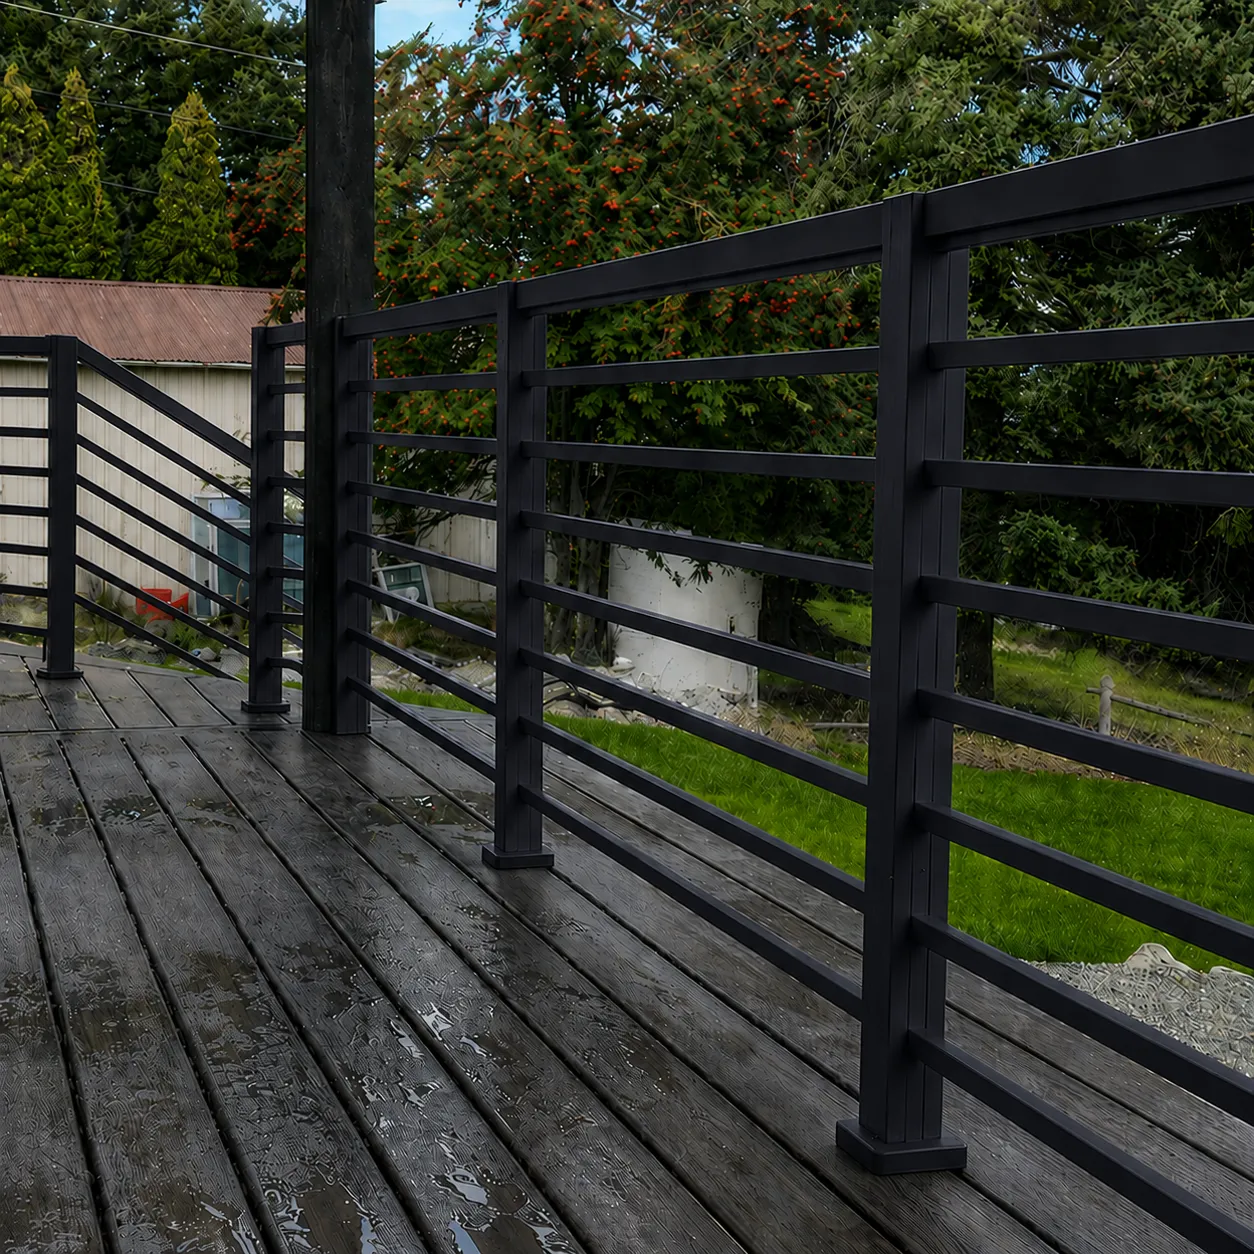
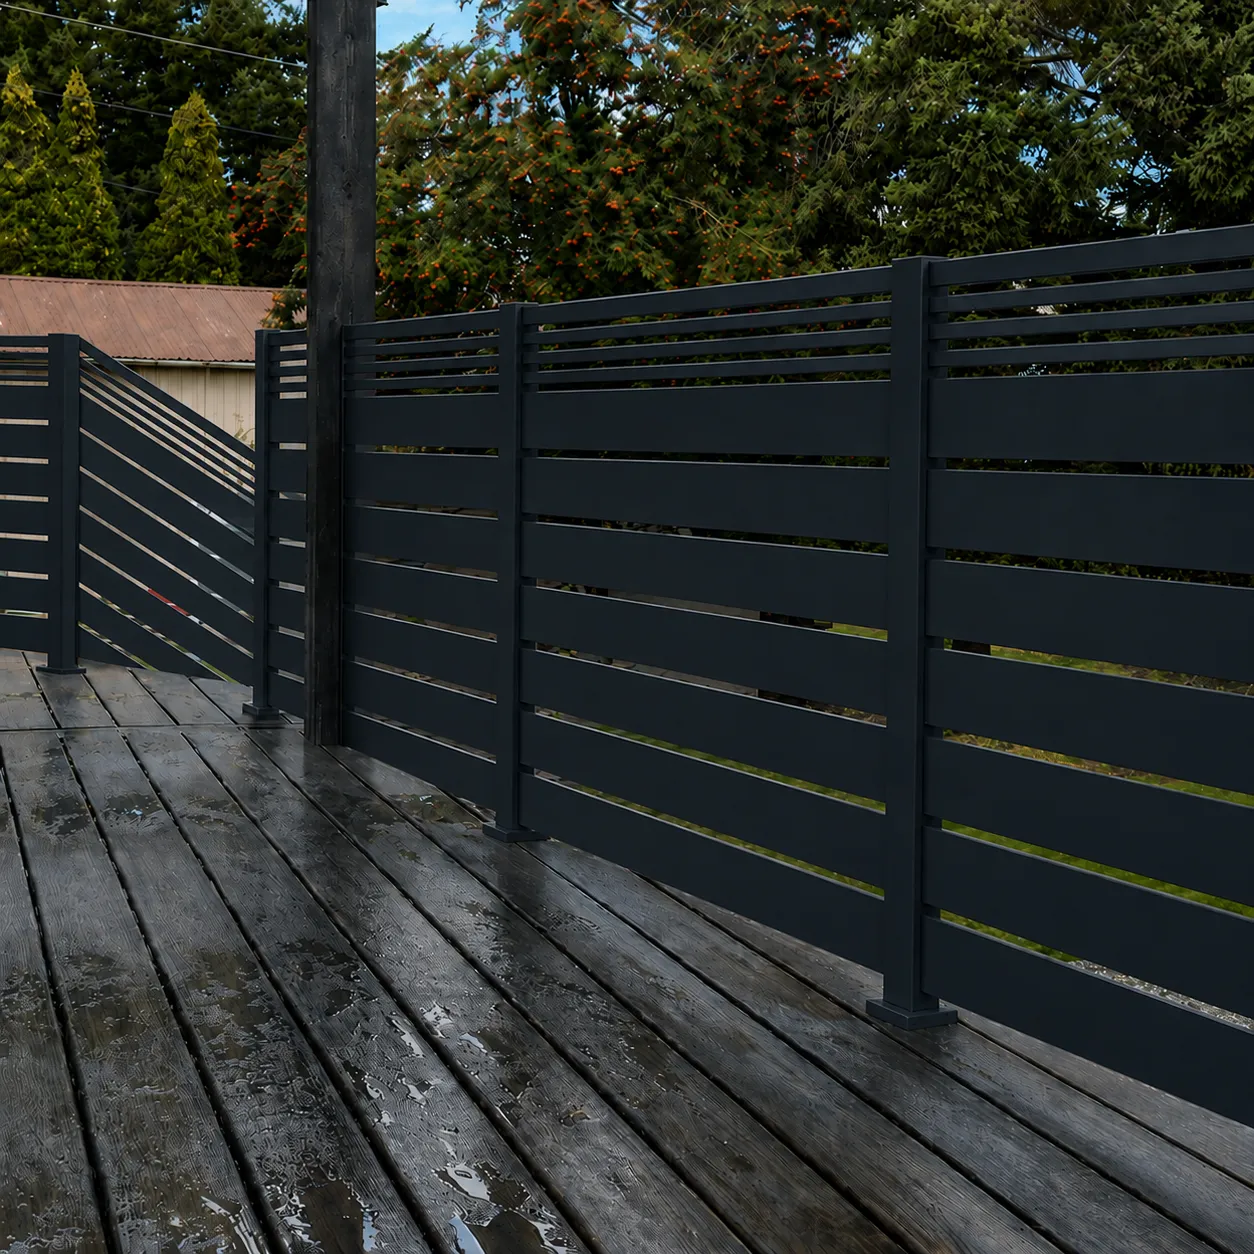
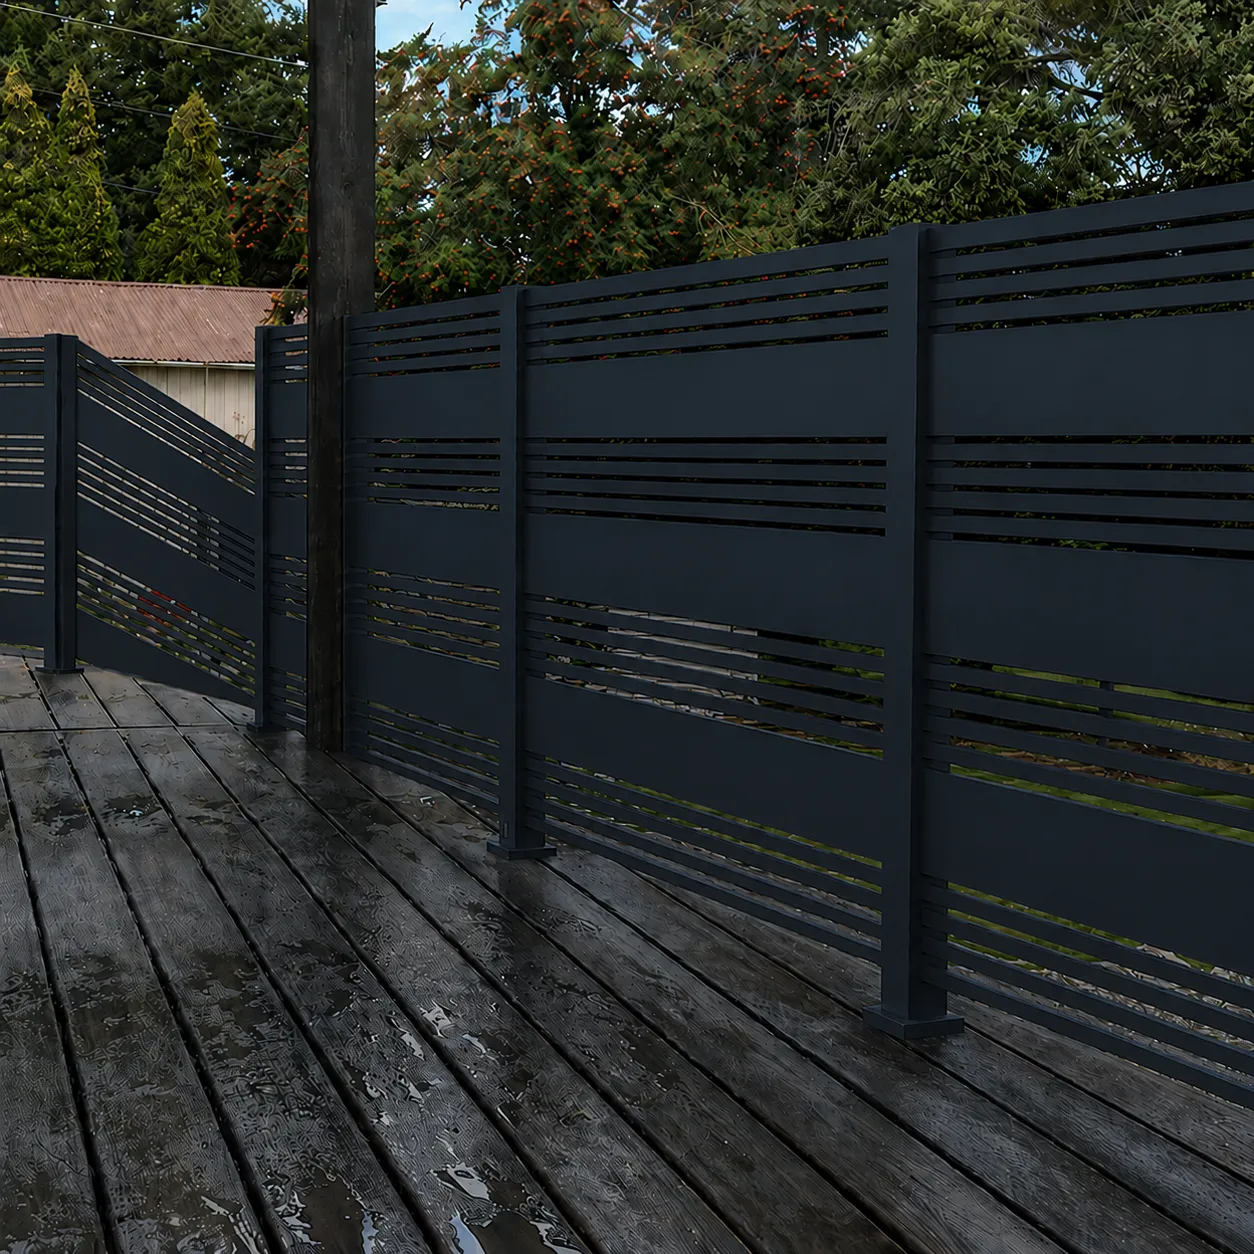
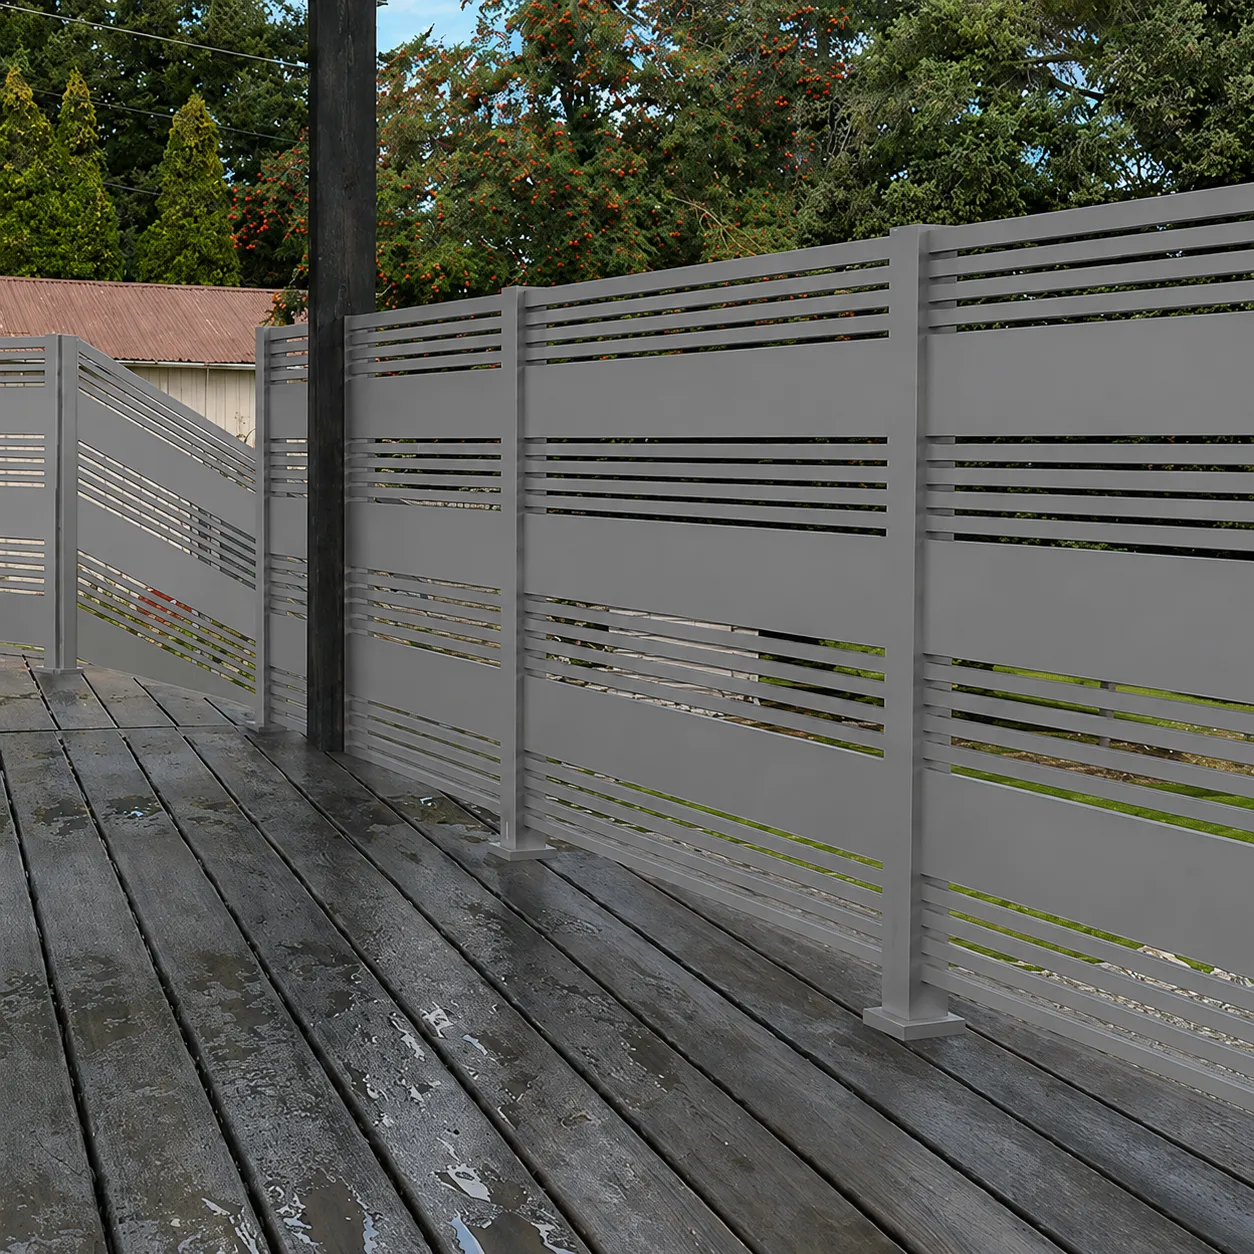
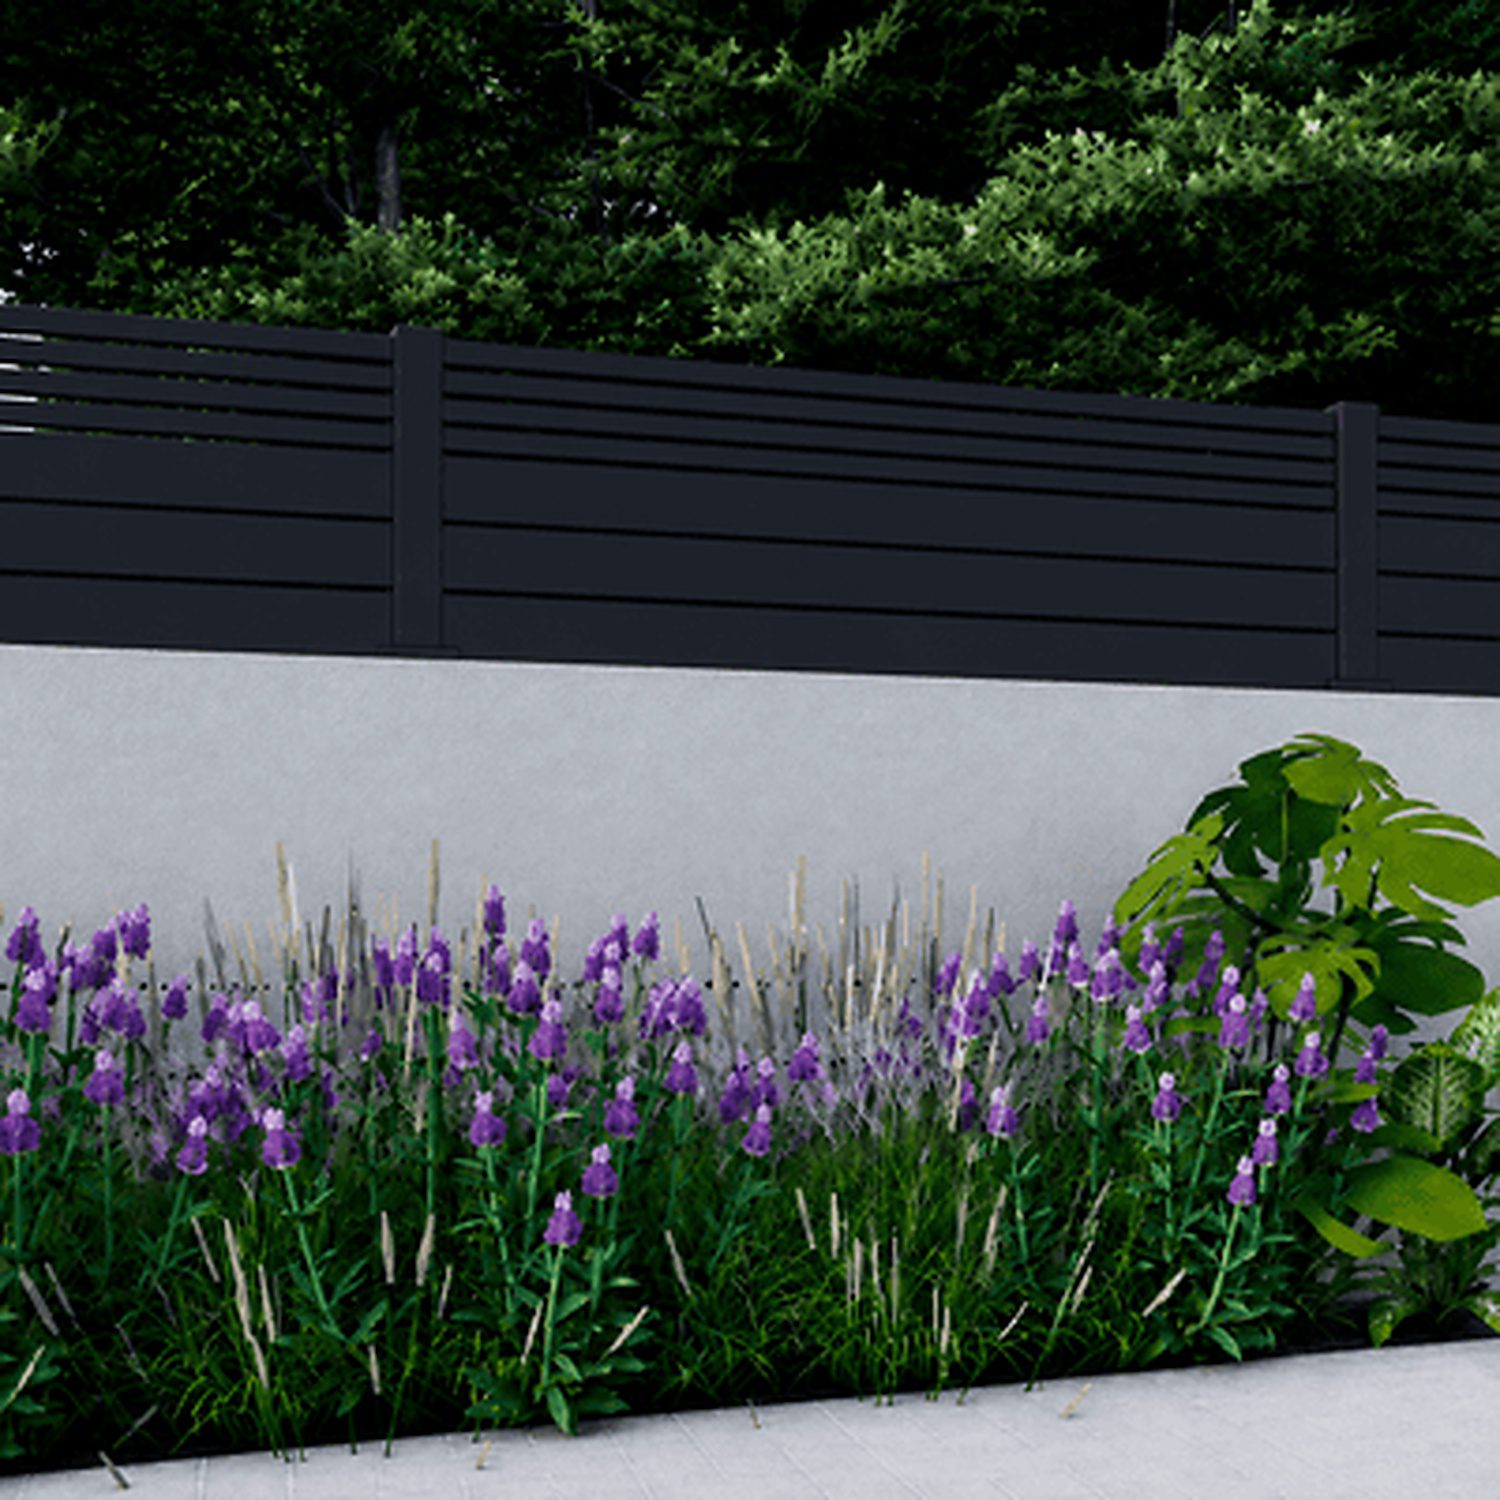
New York Style Aluminum Privacy Fence Kit for Existing Columns
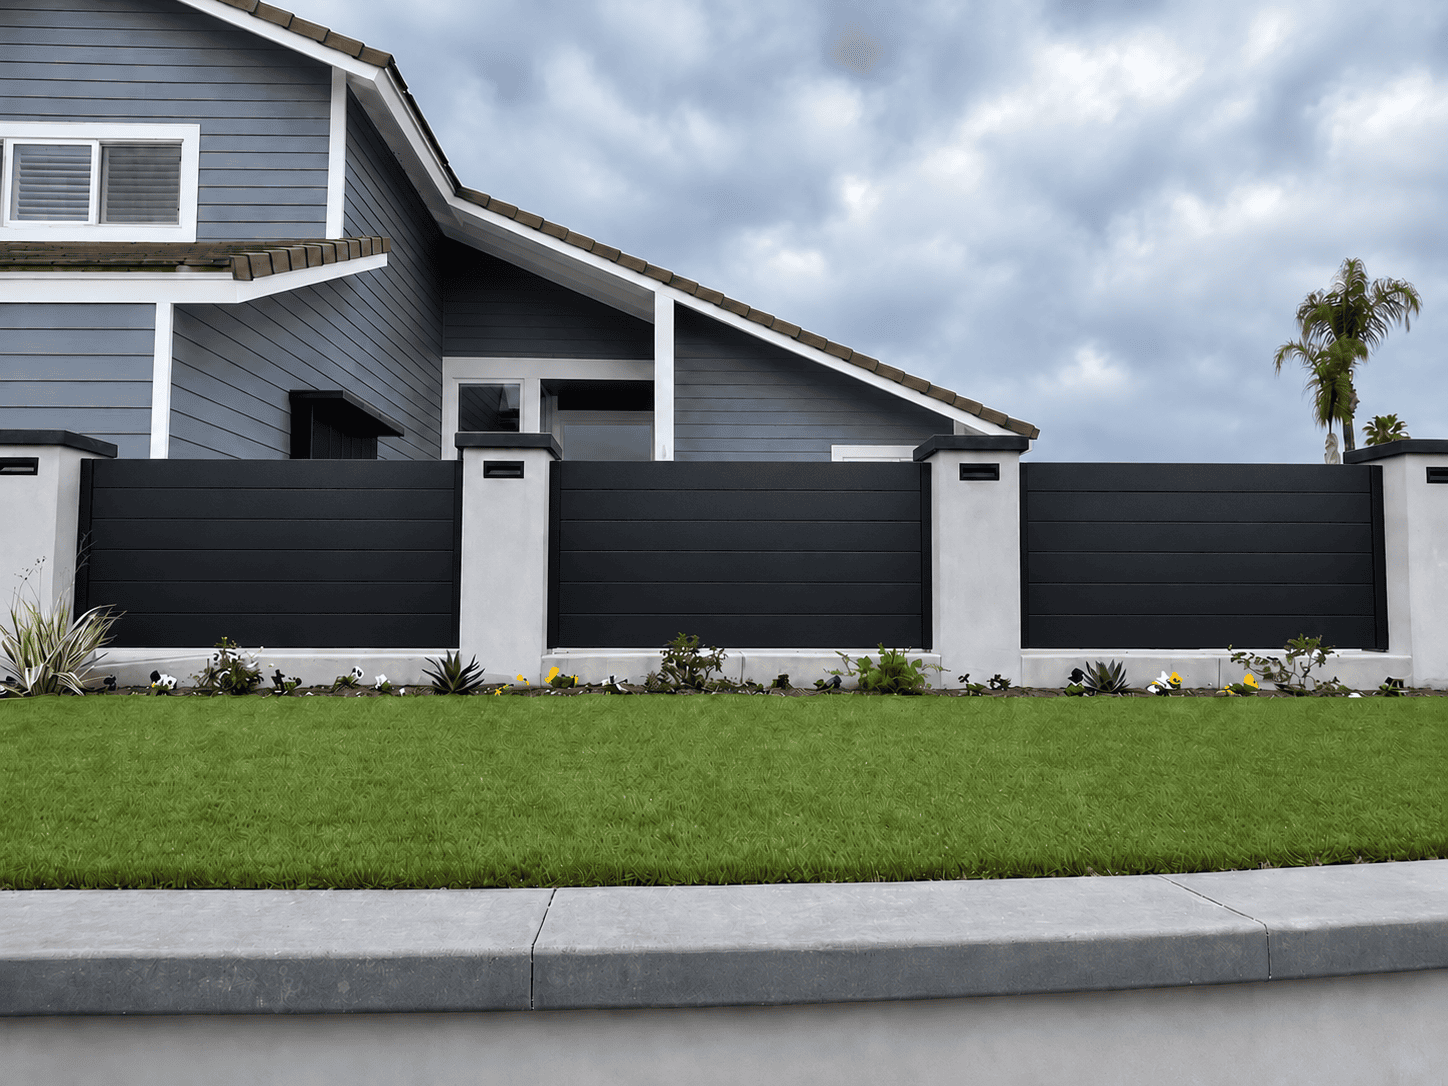
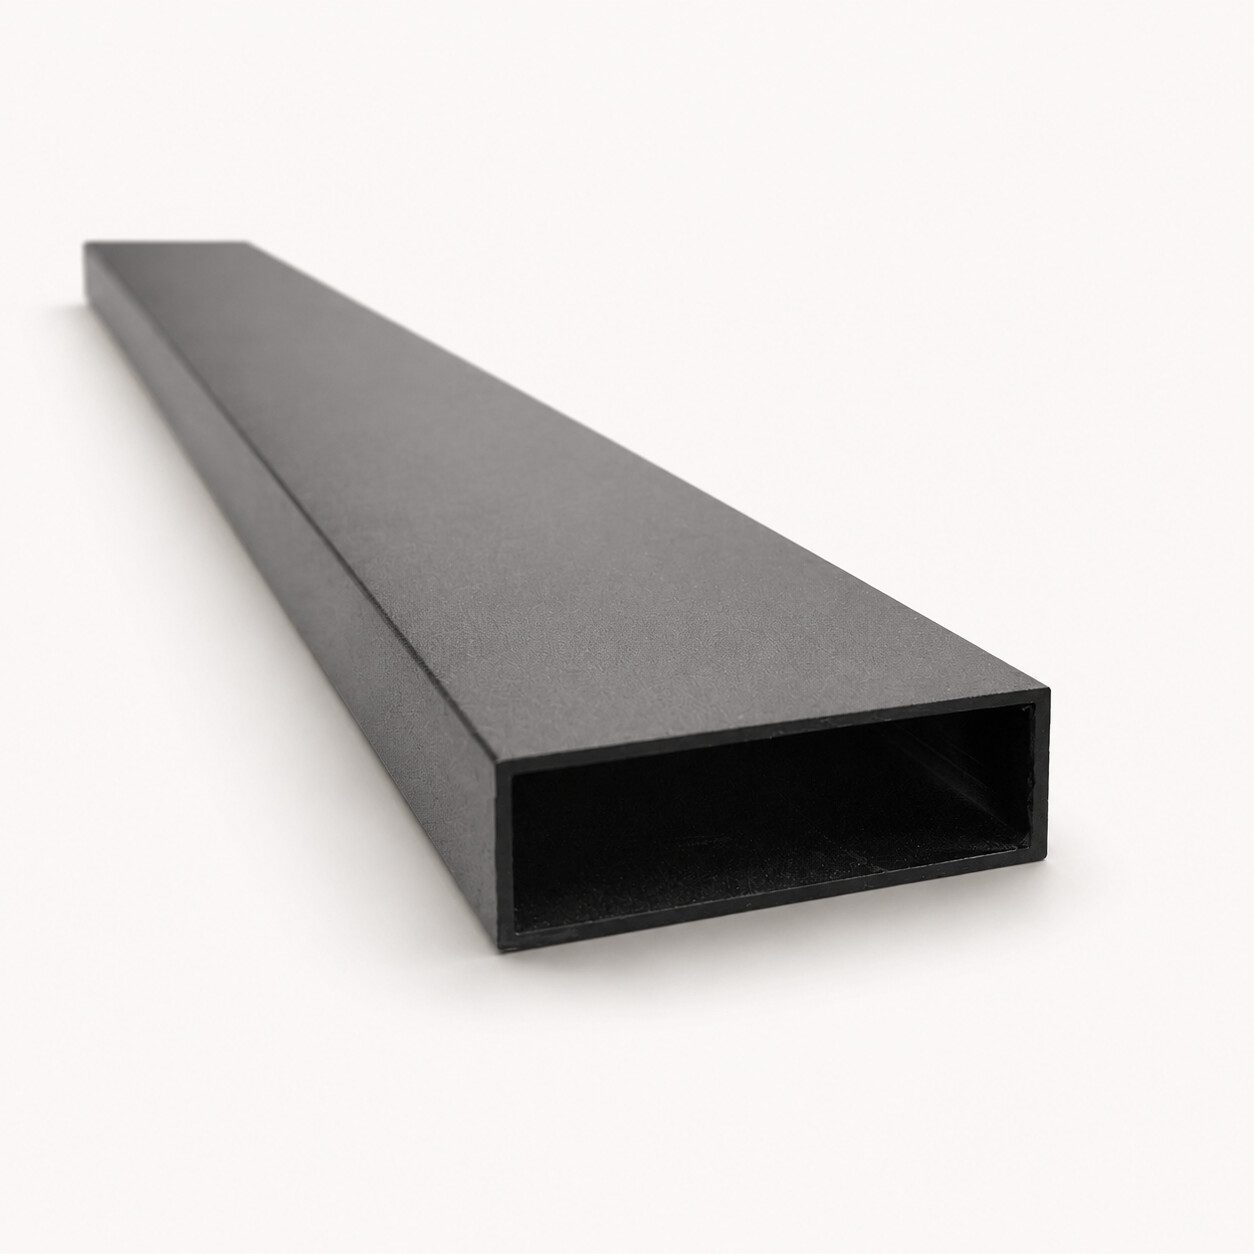
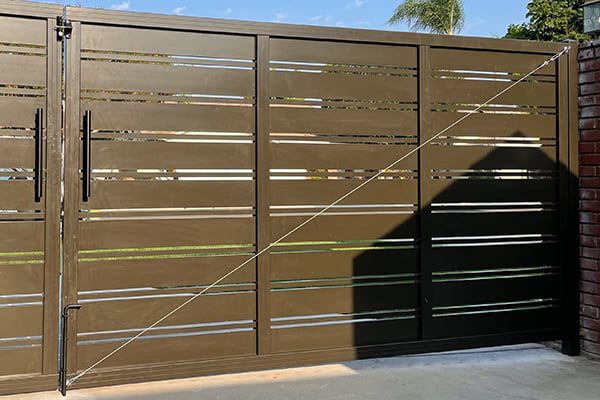
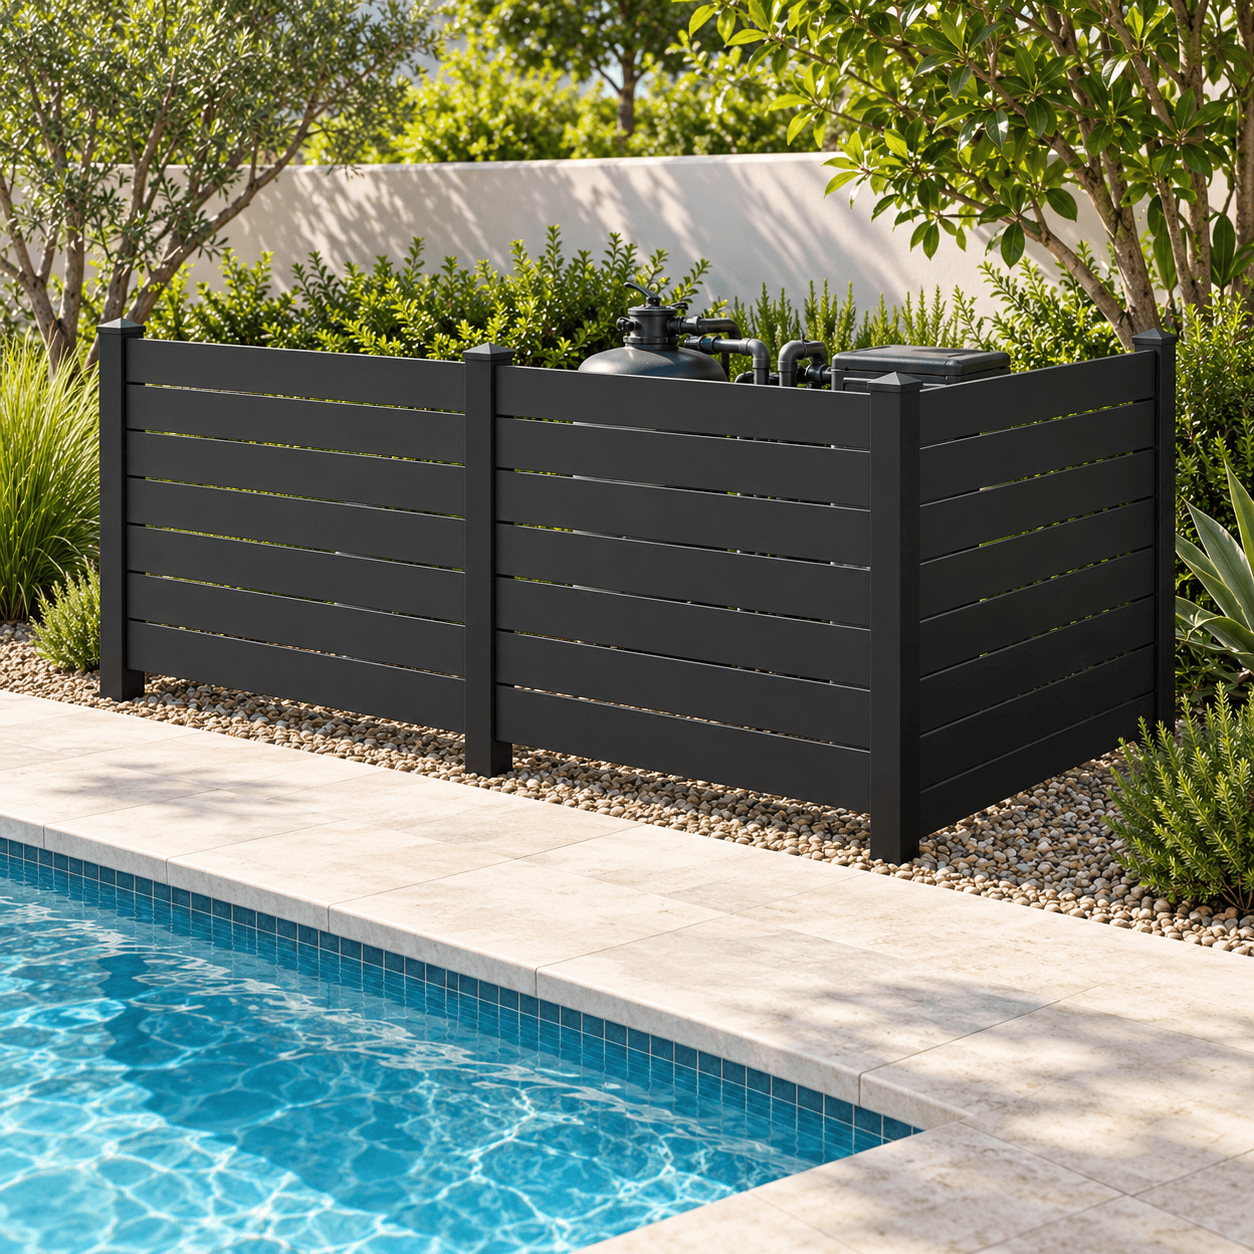
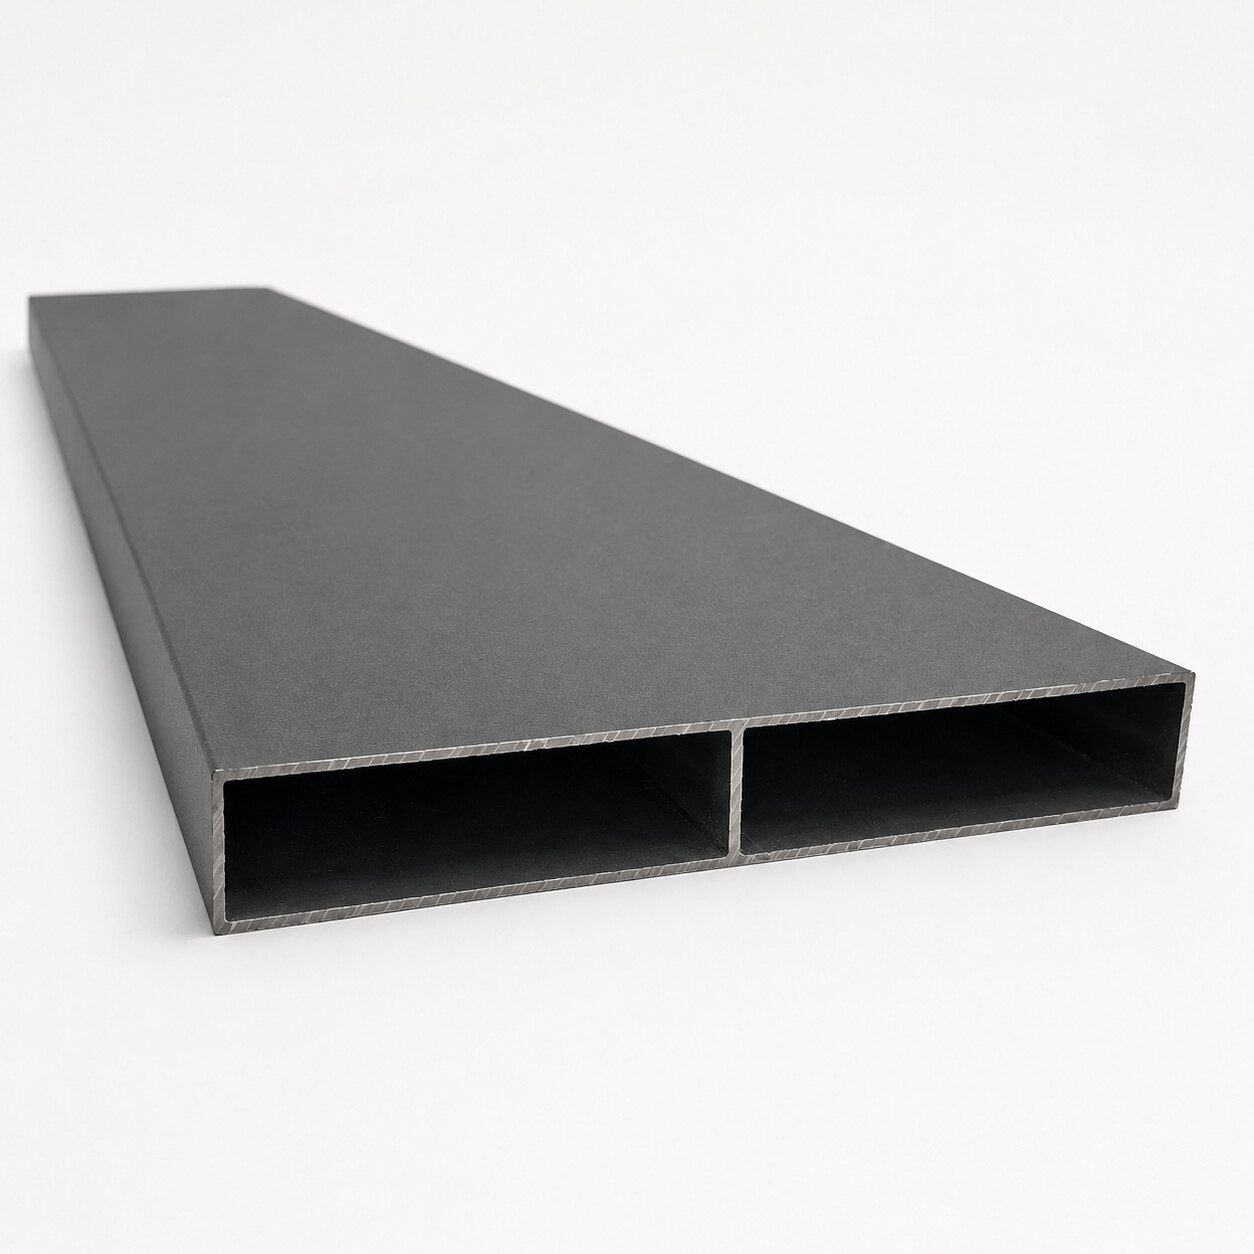
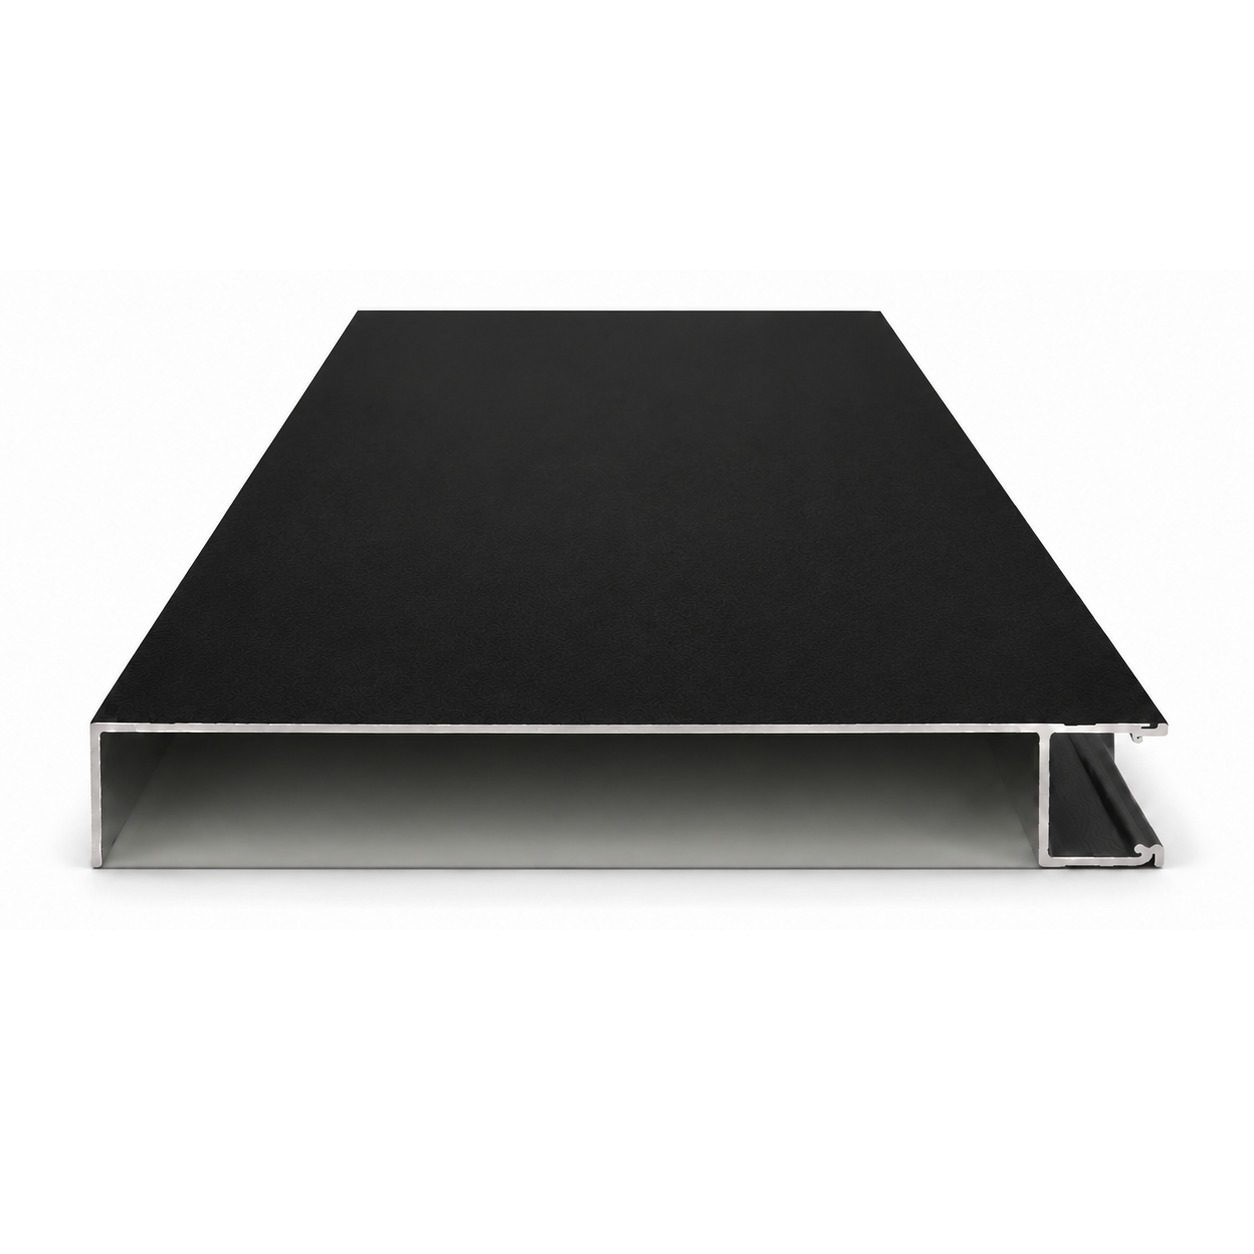
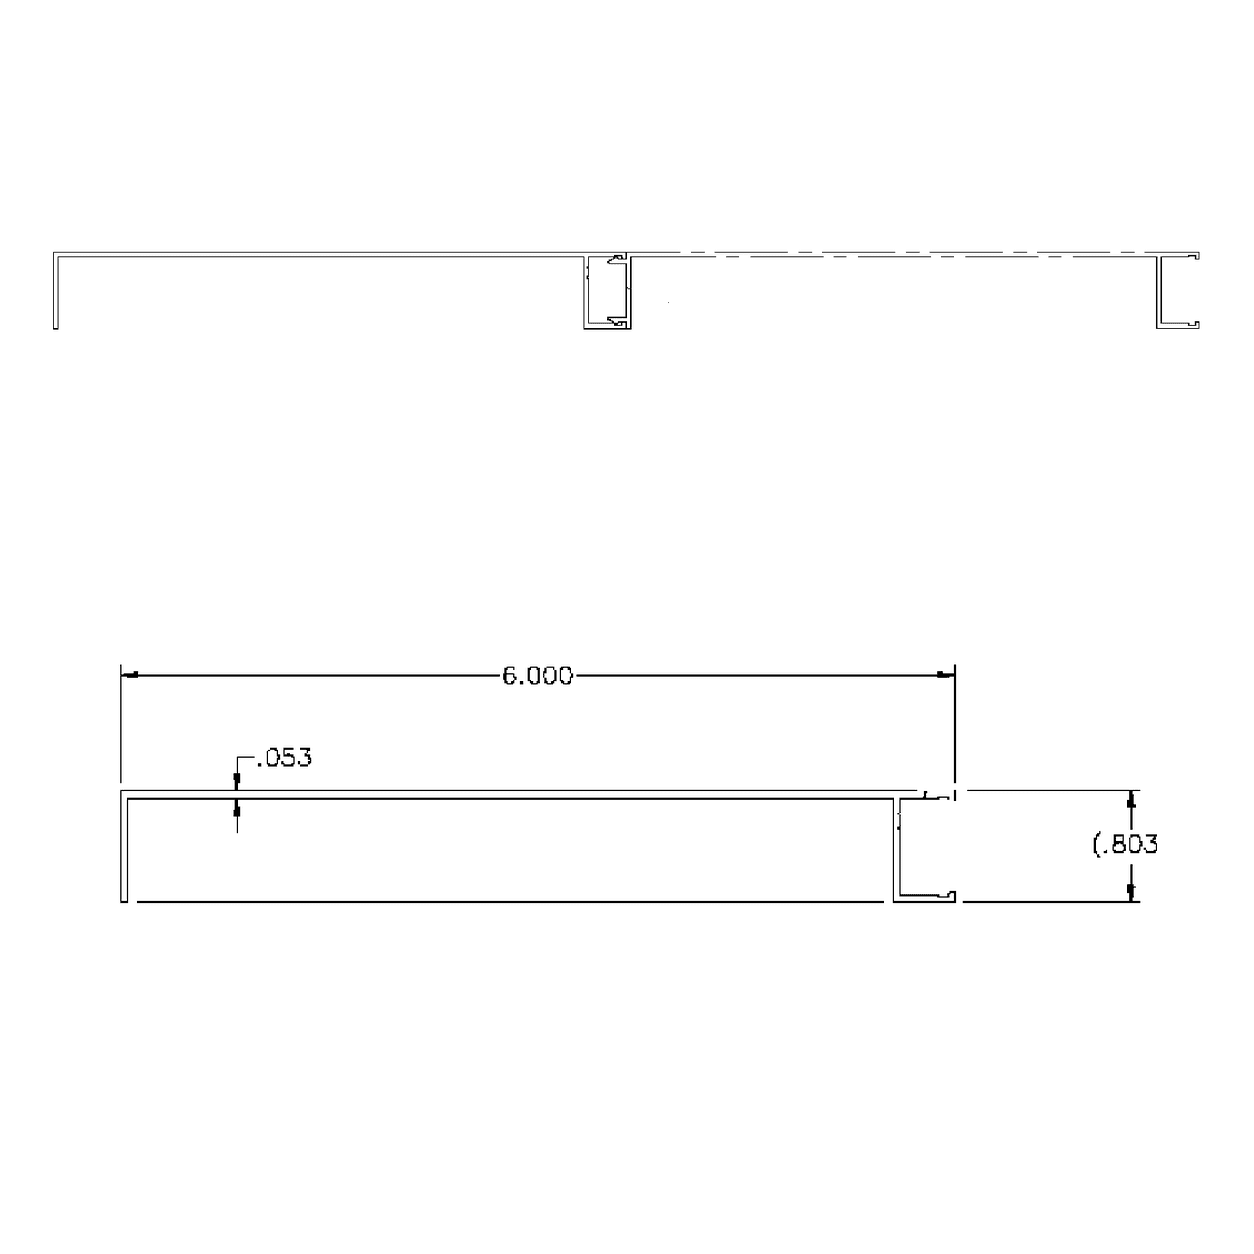
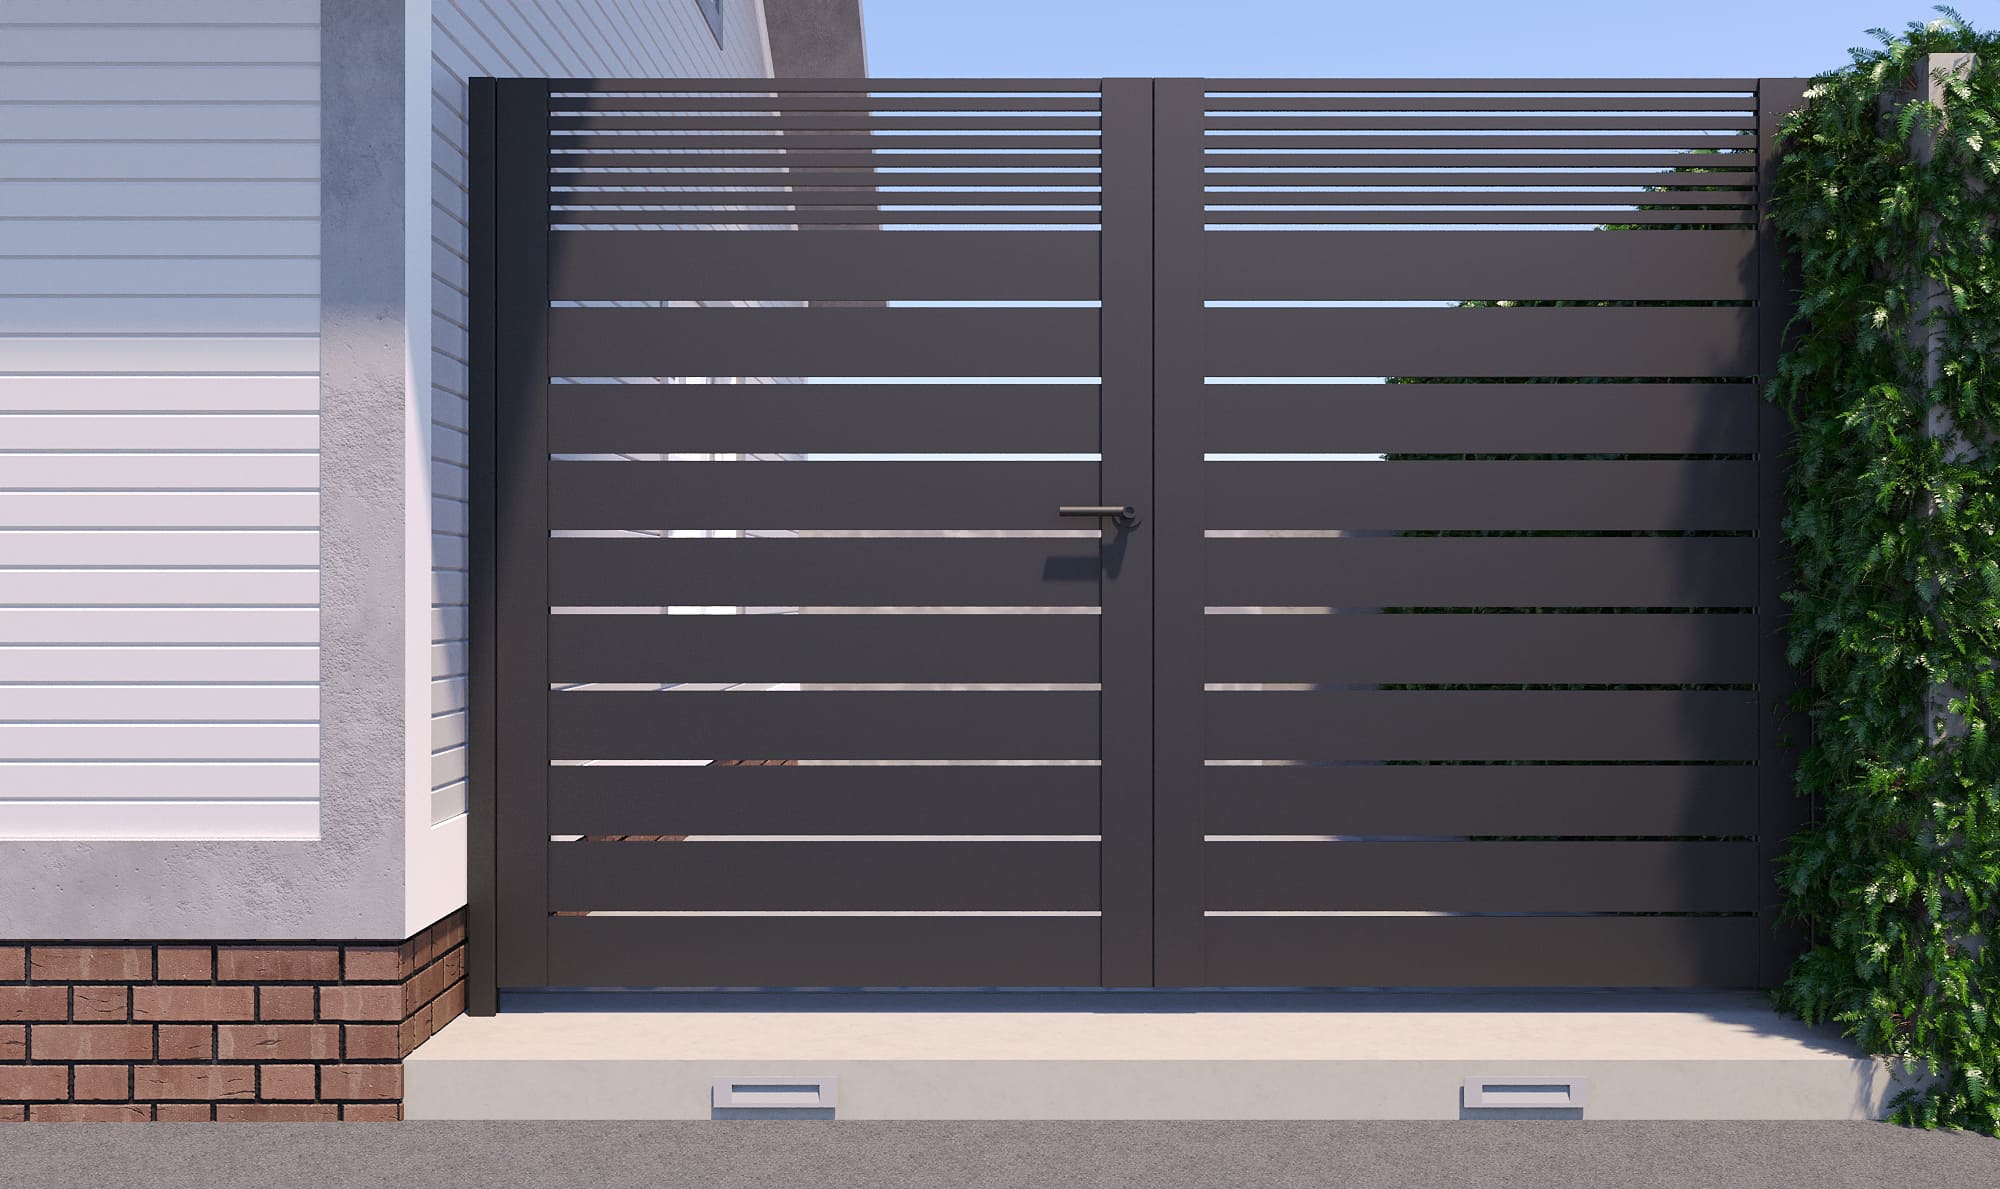
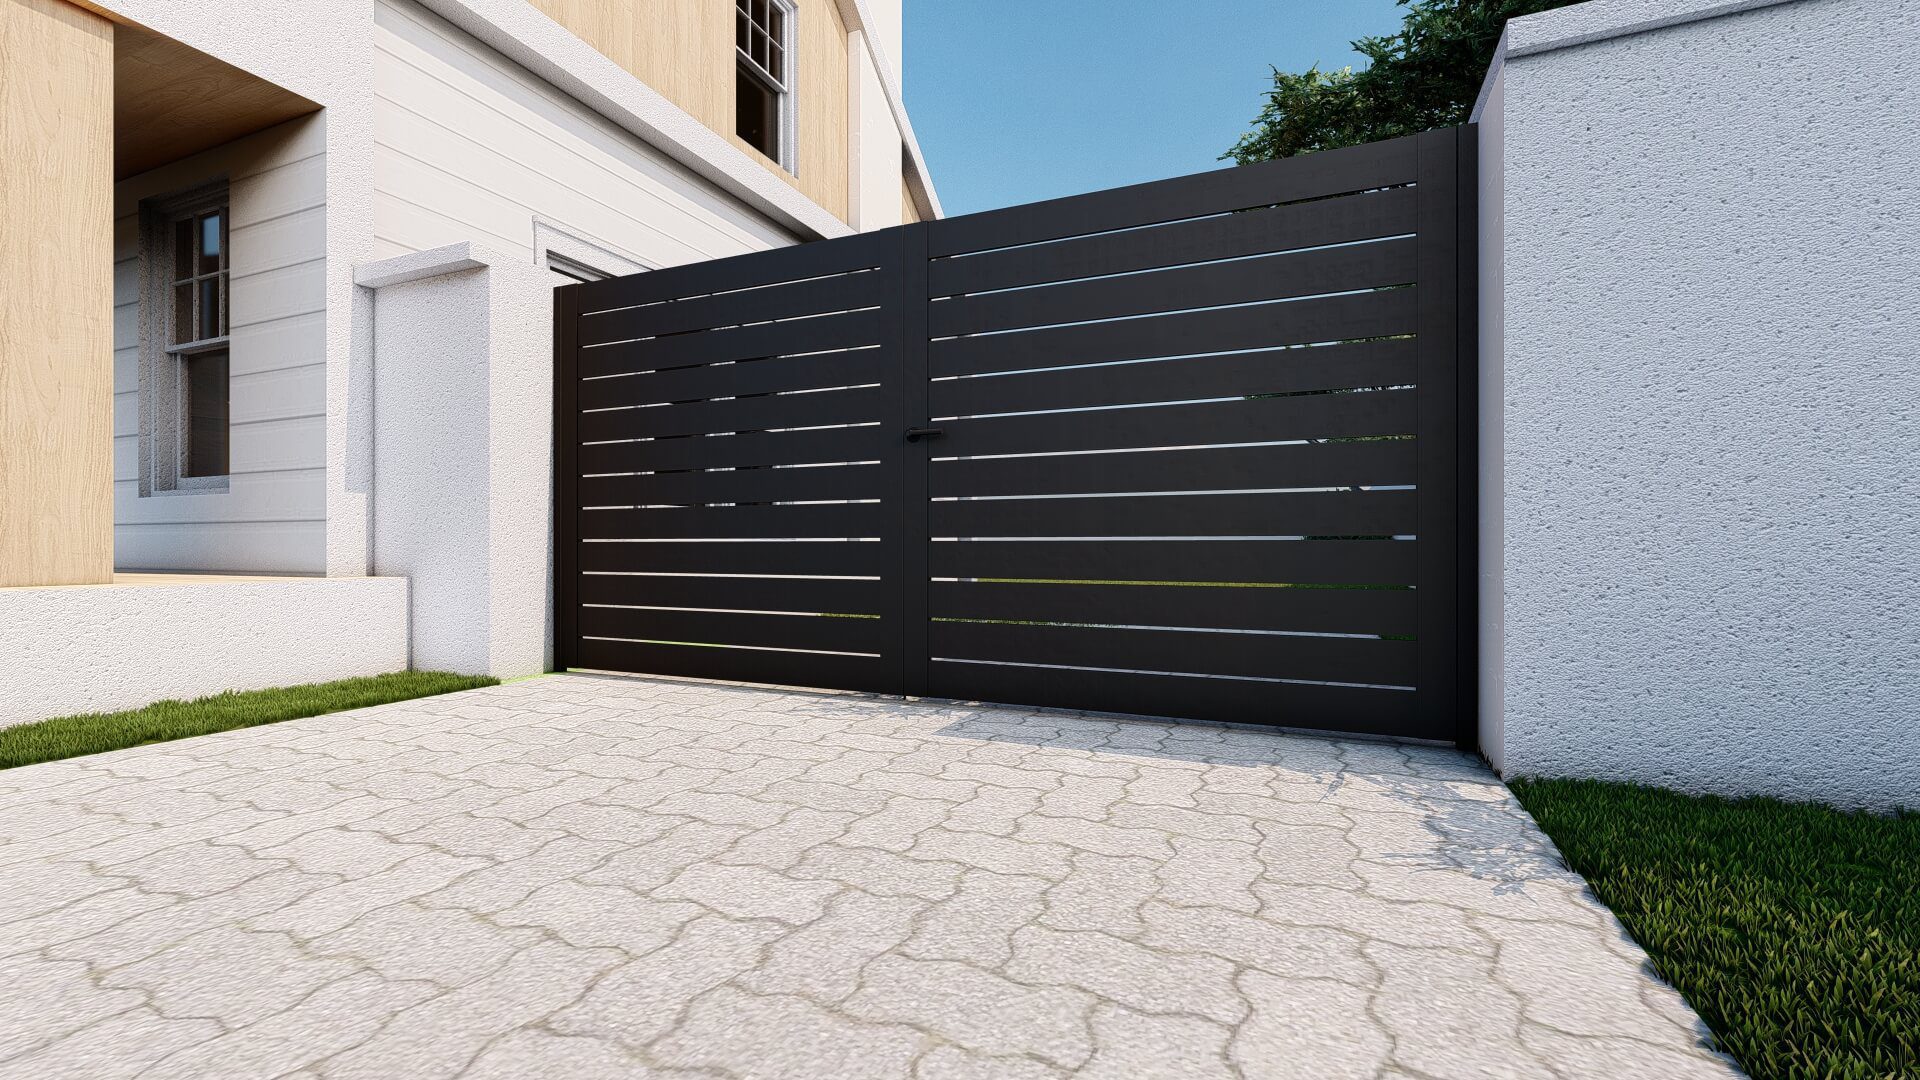
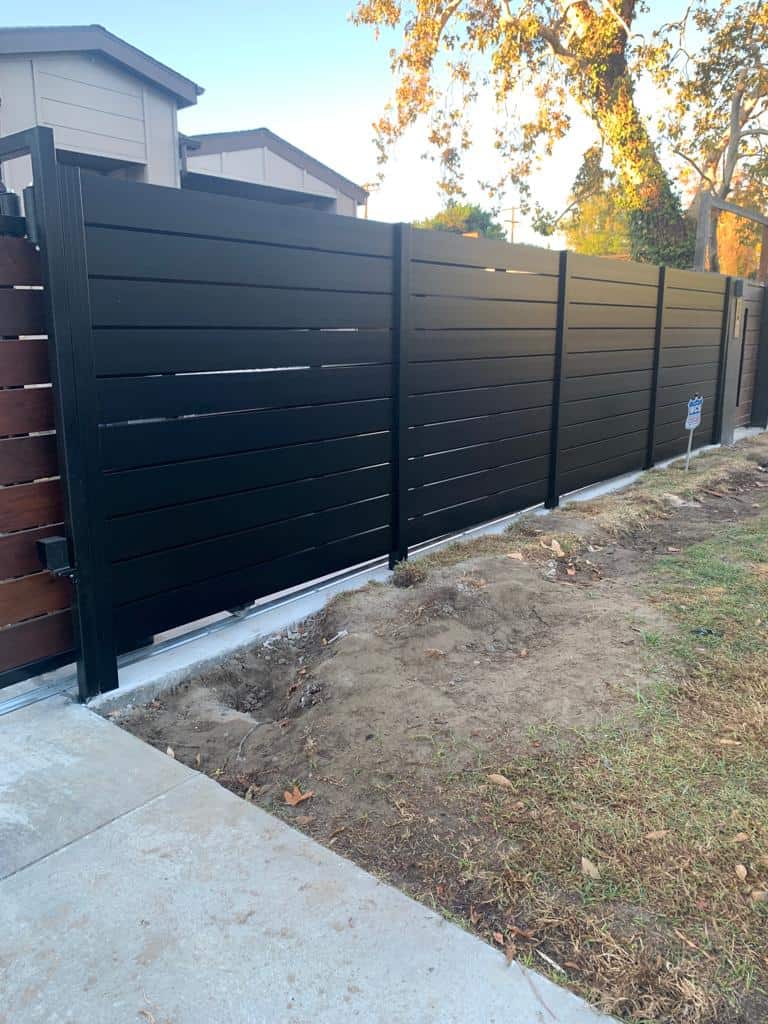
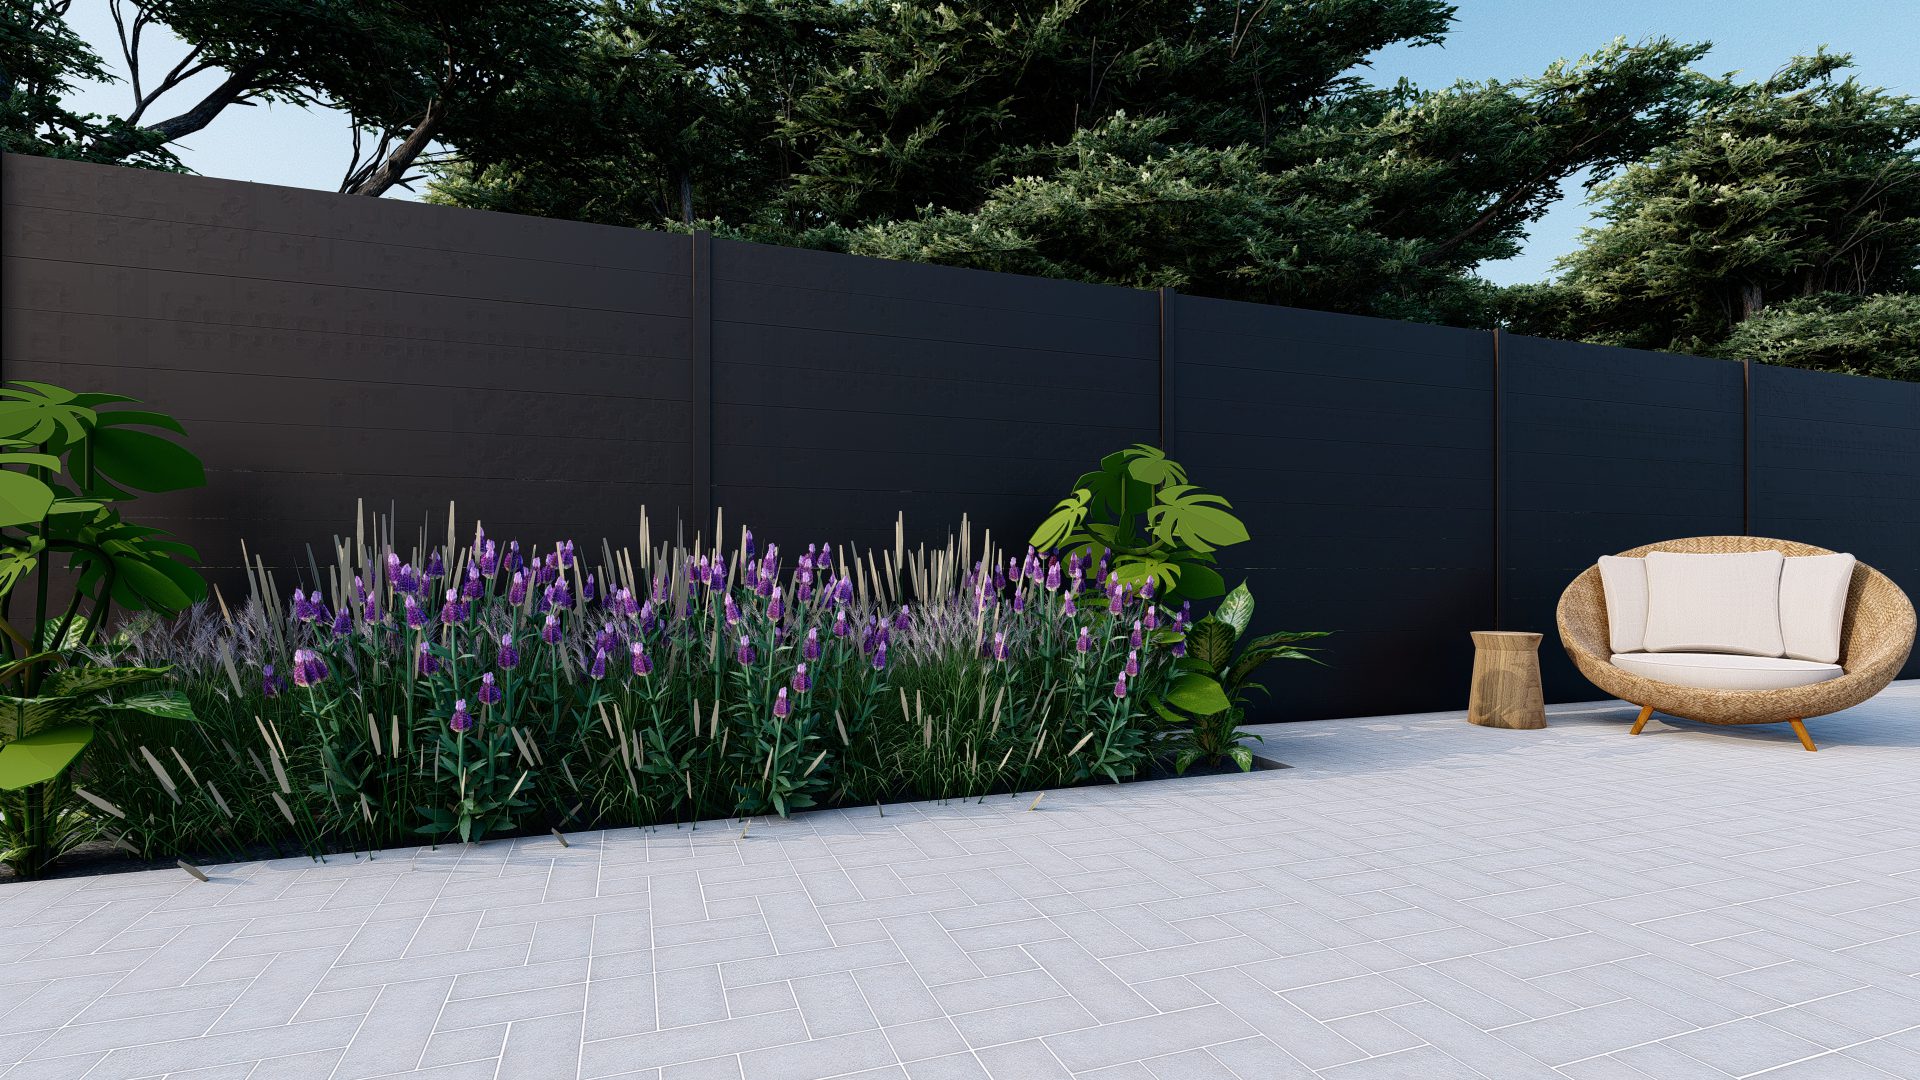
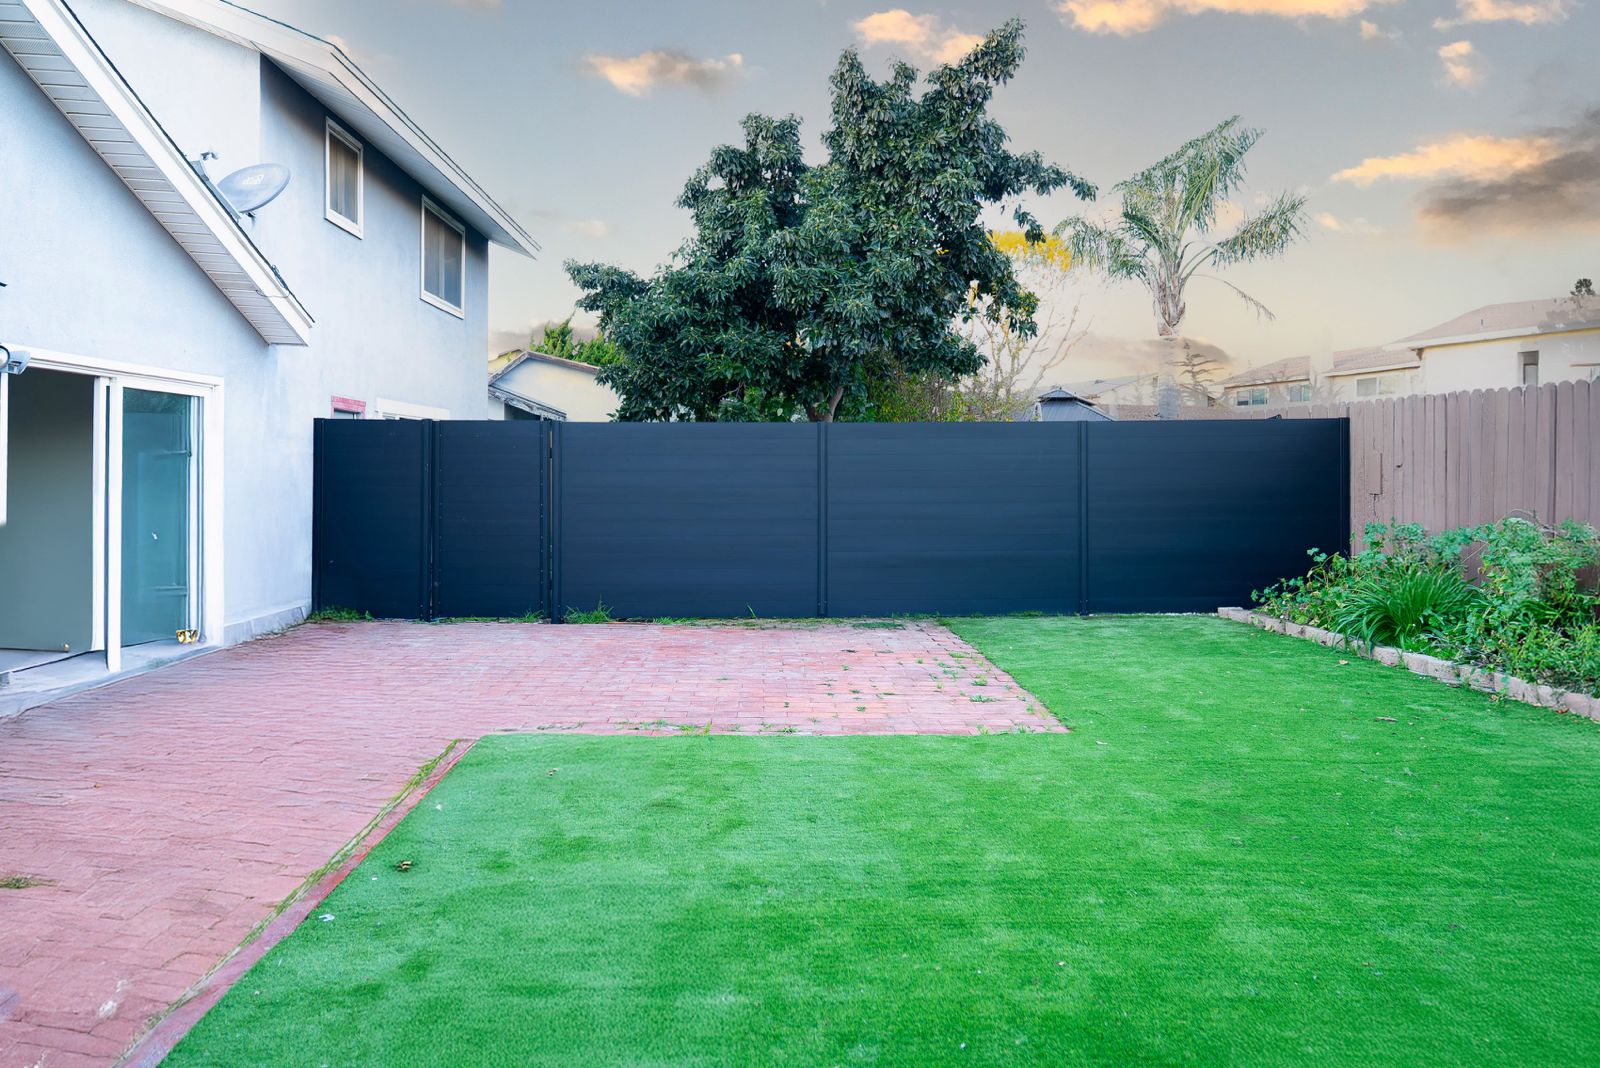
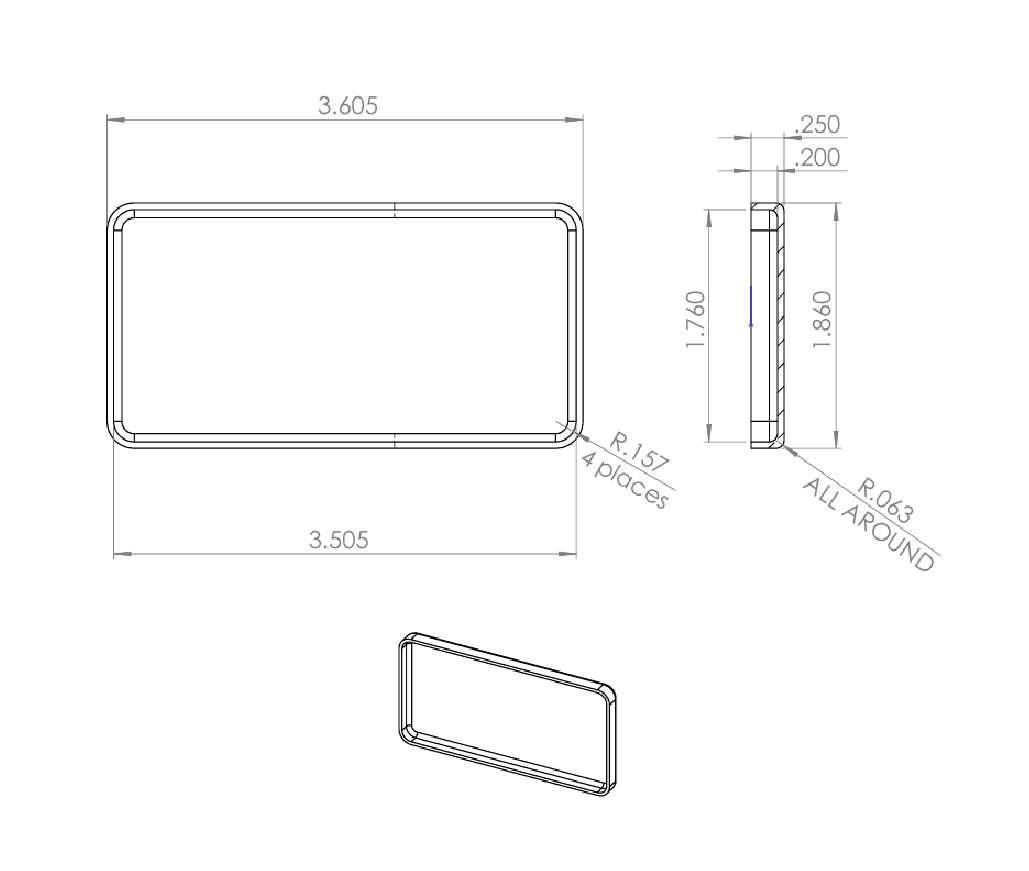
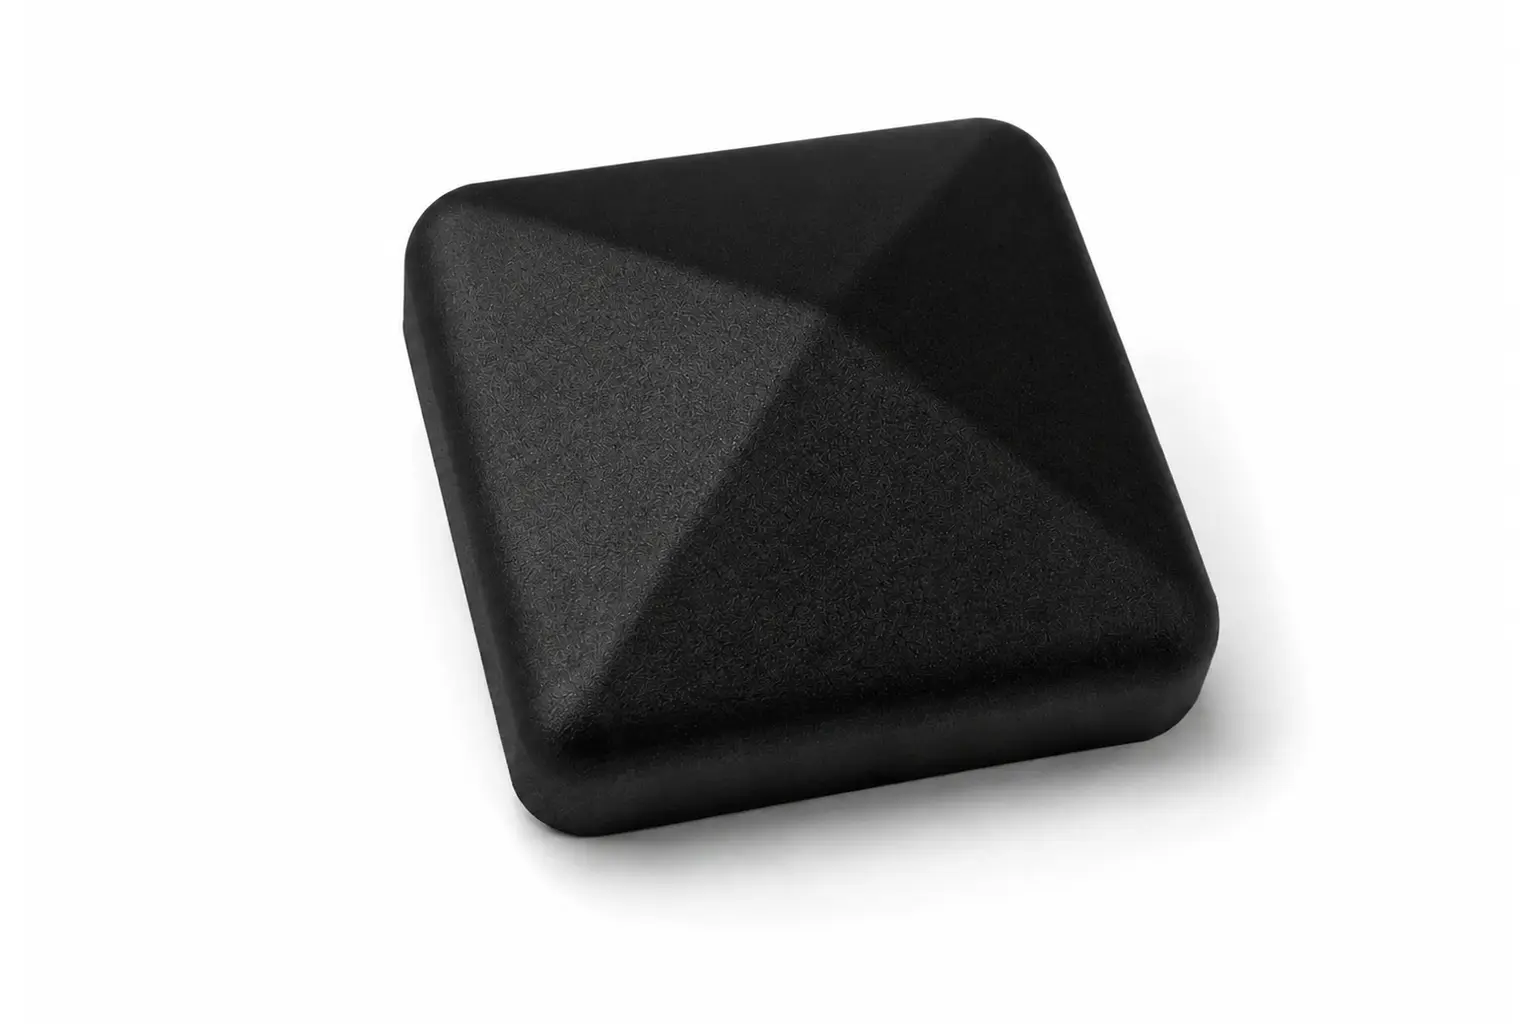
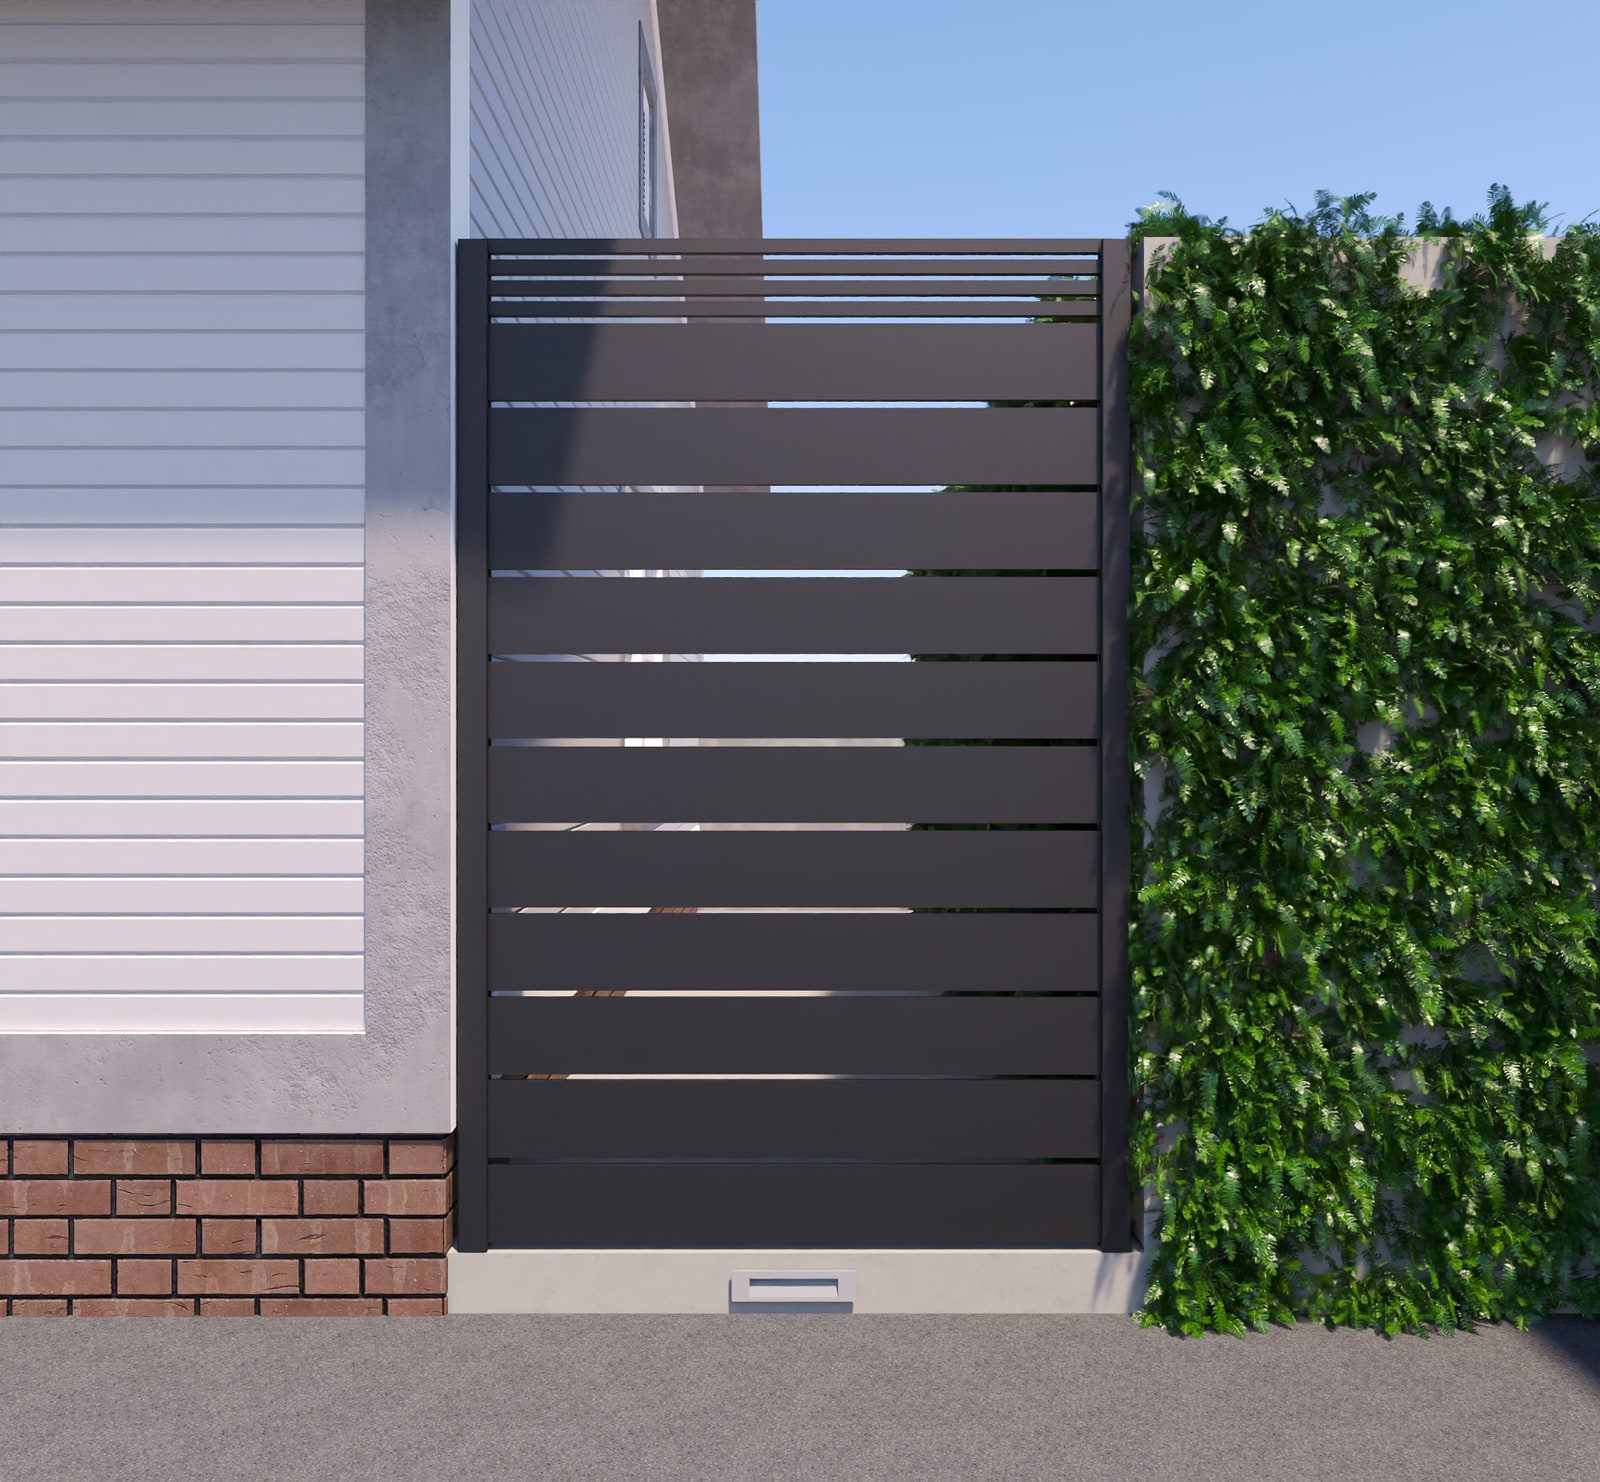
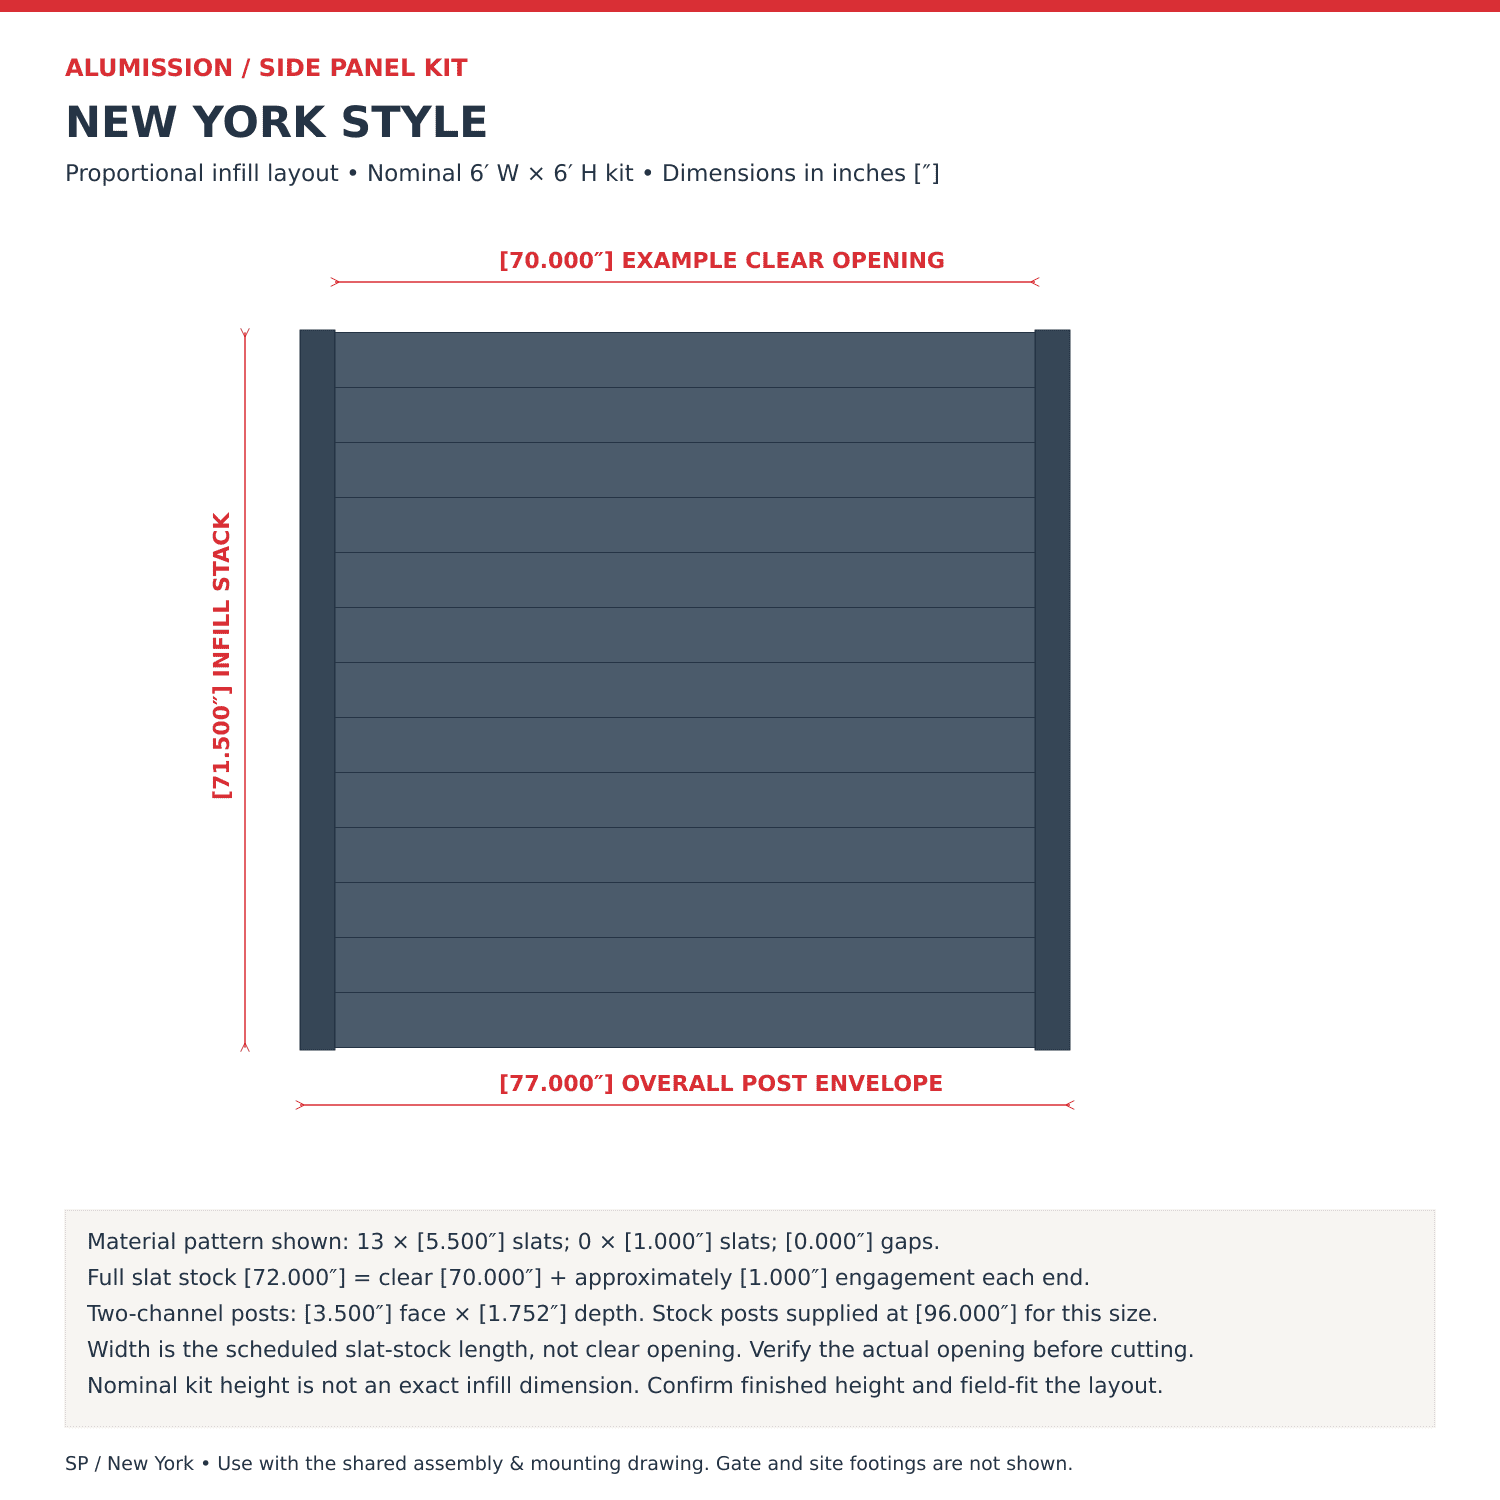
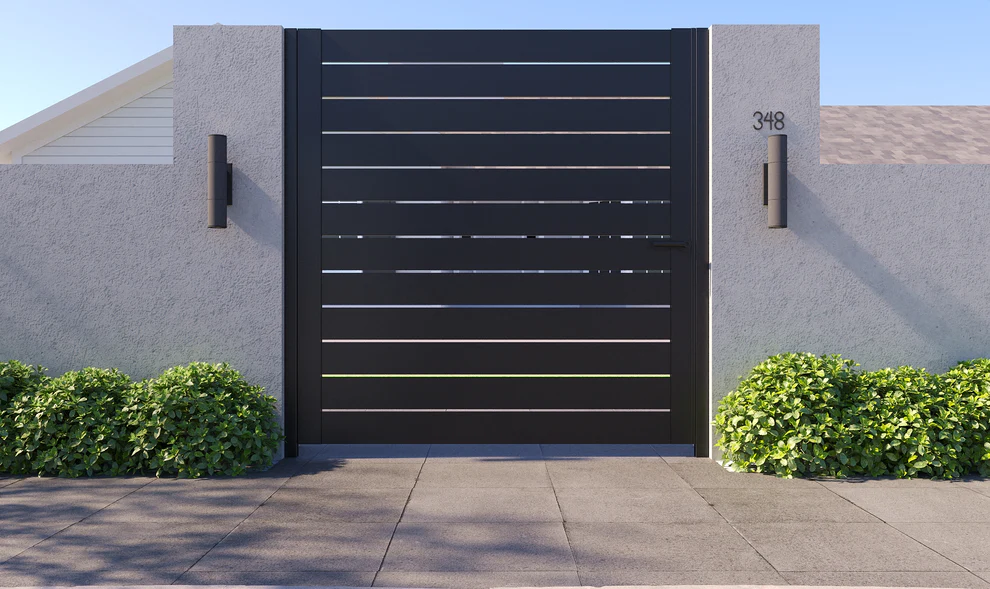
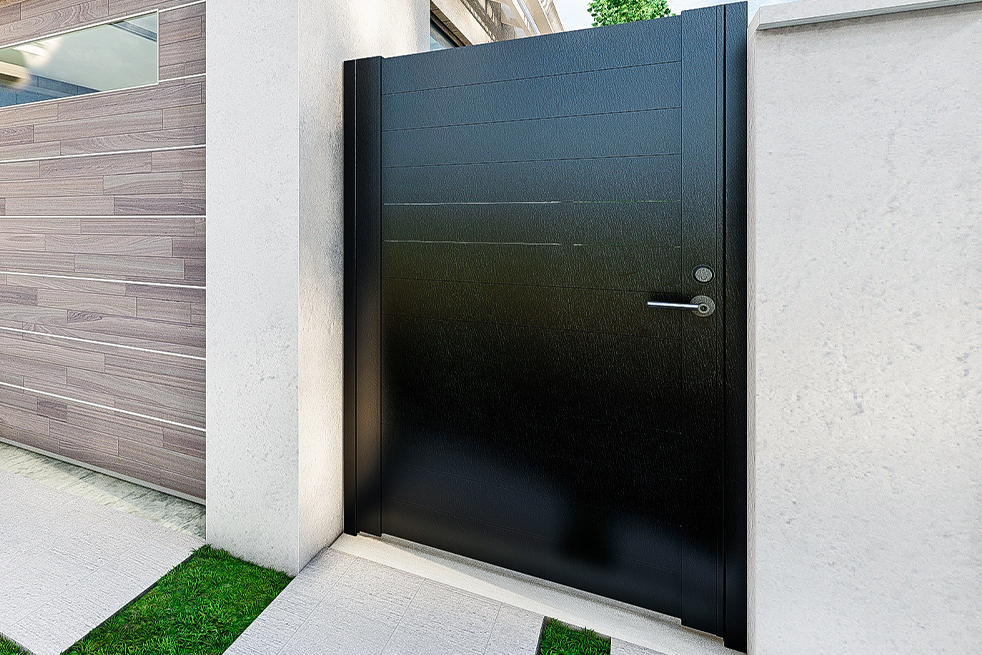
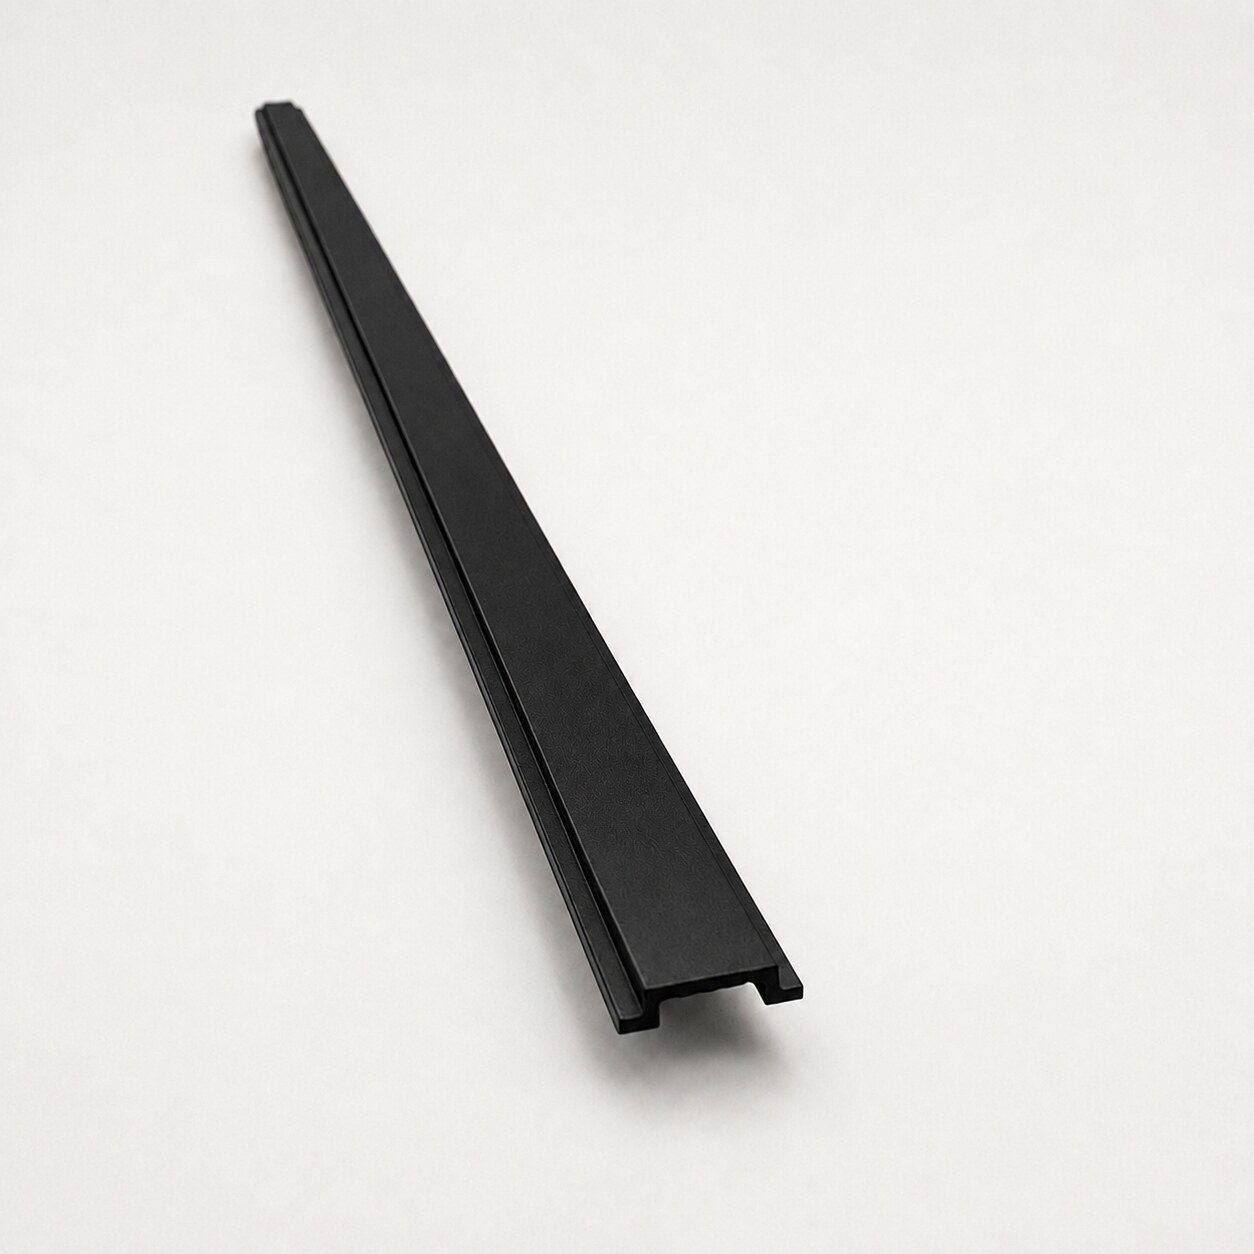
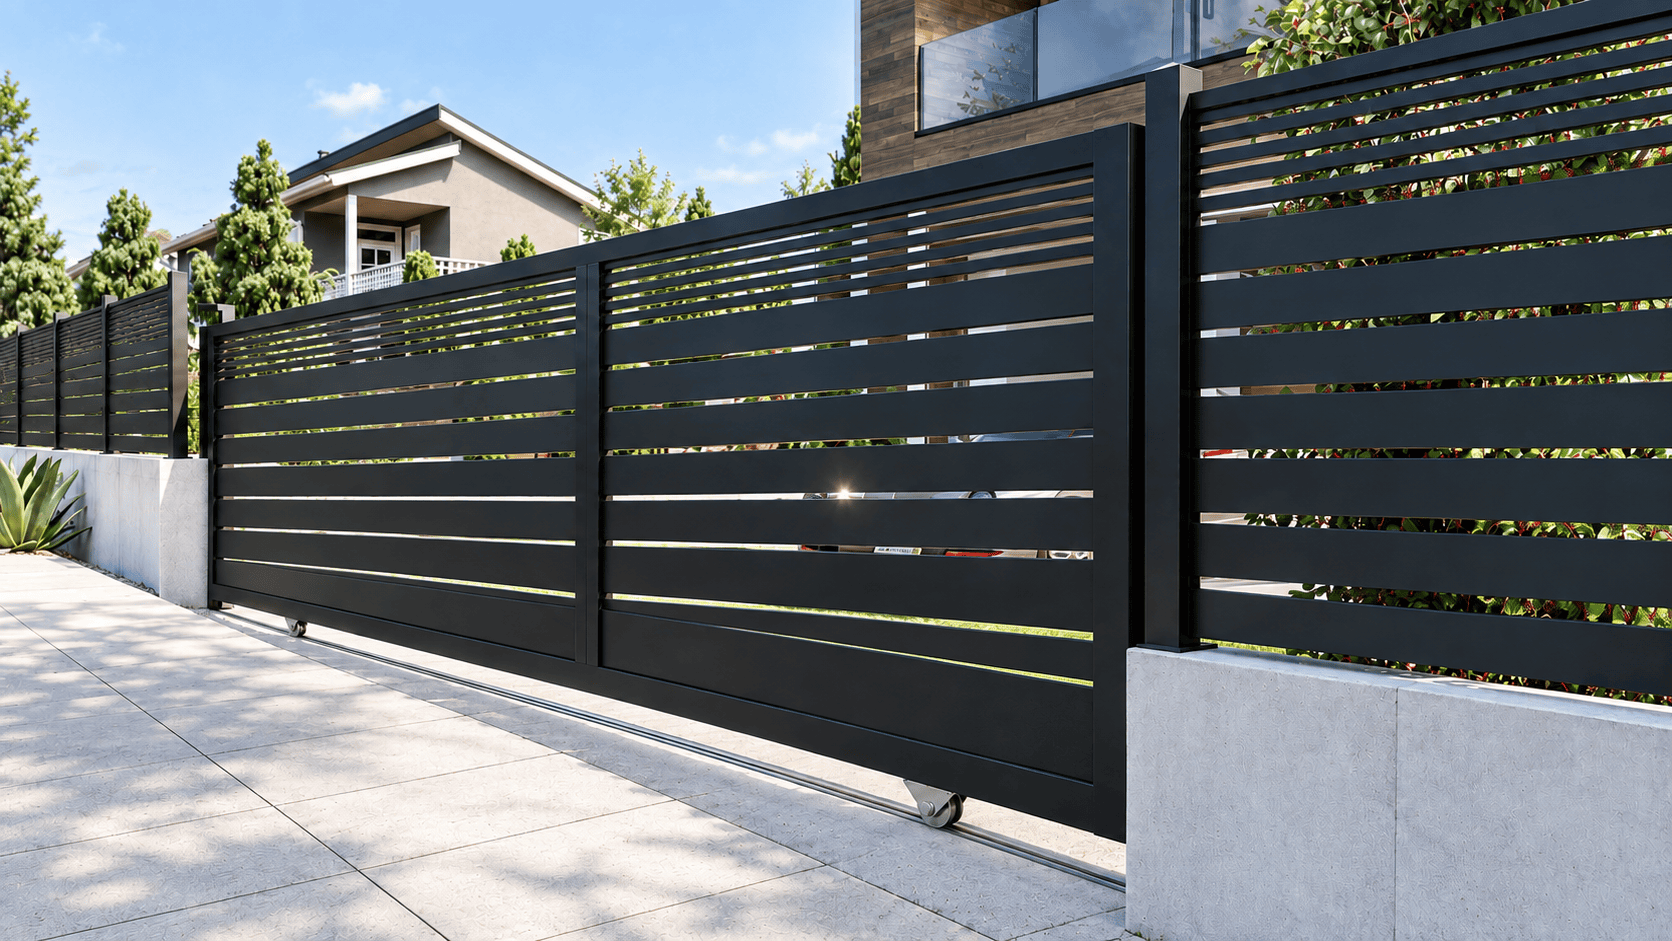
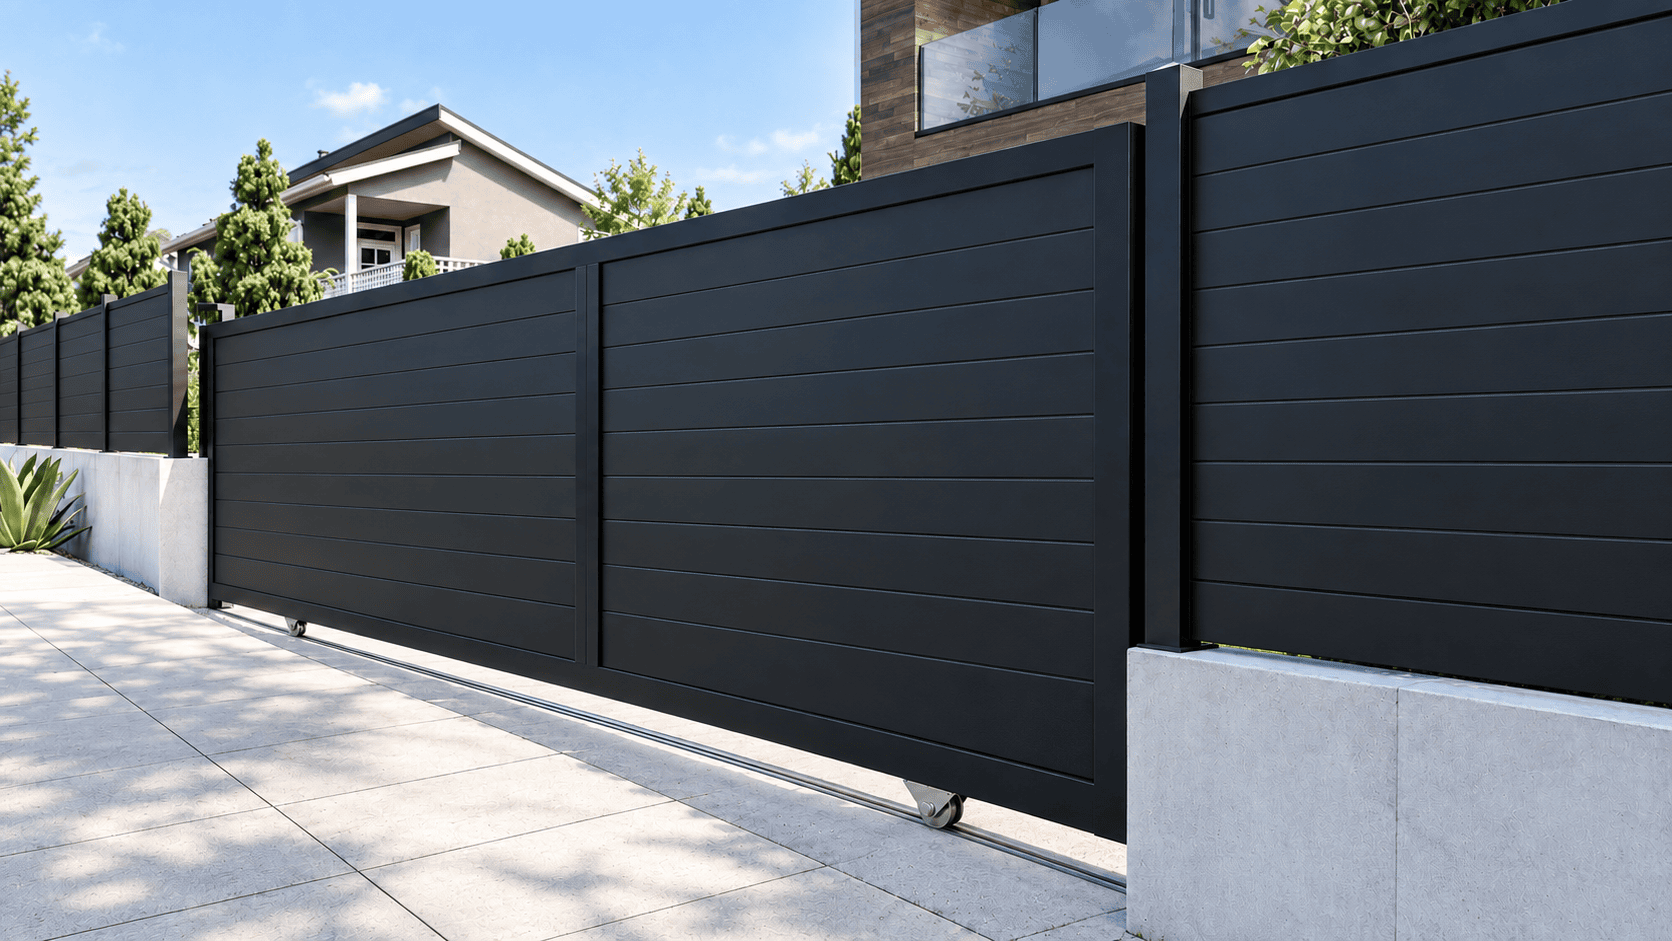
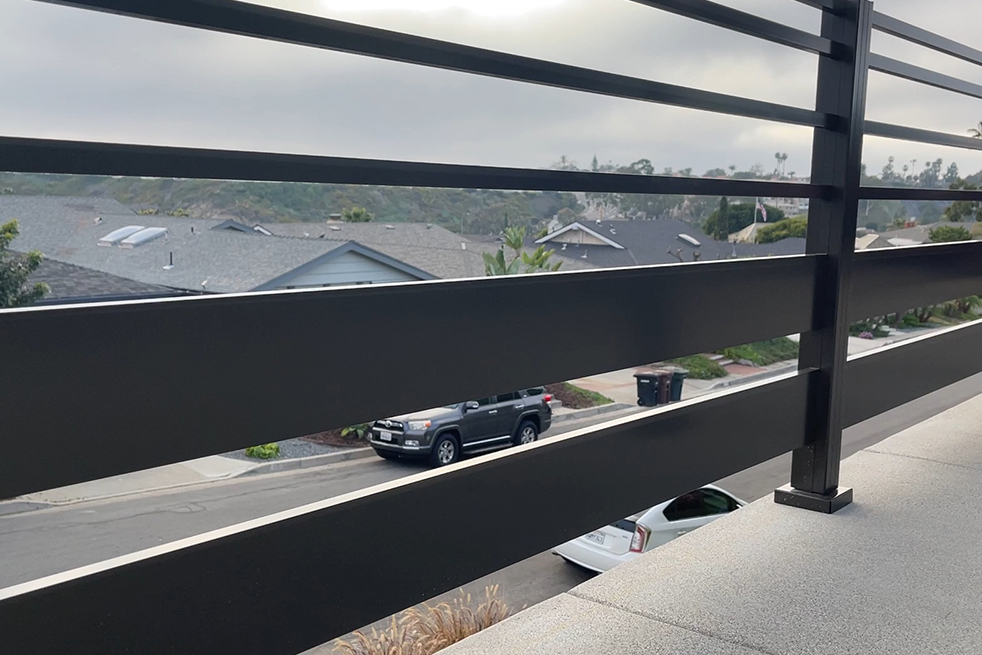
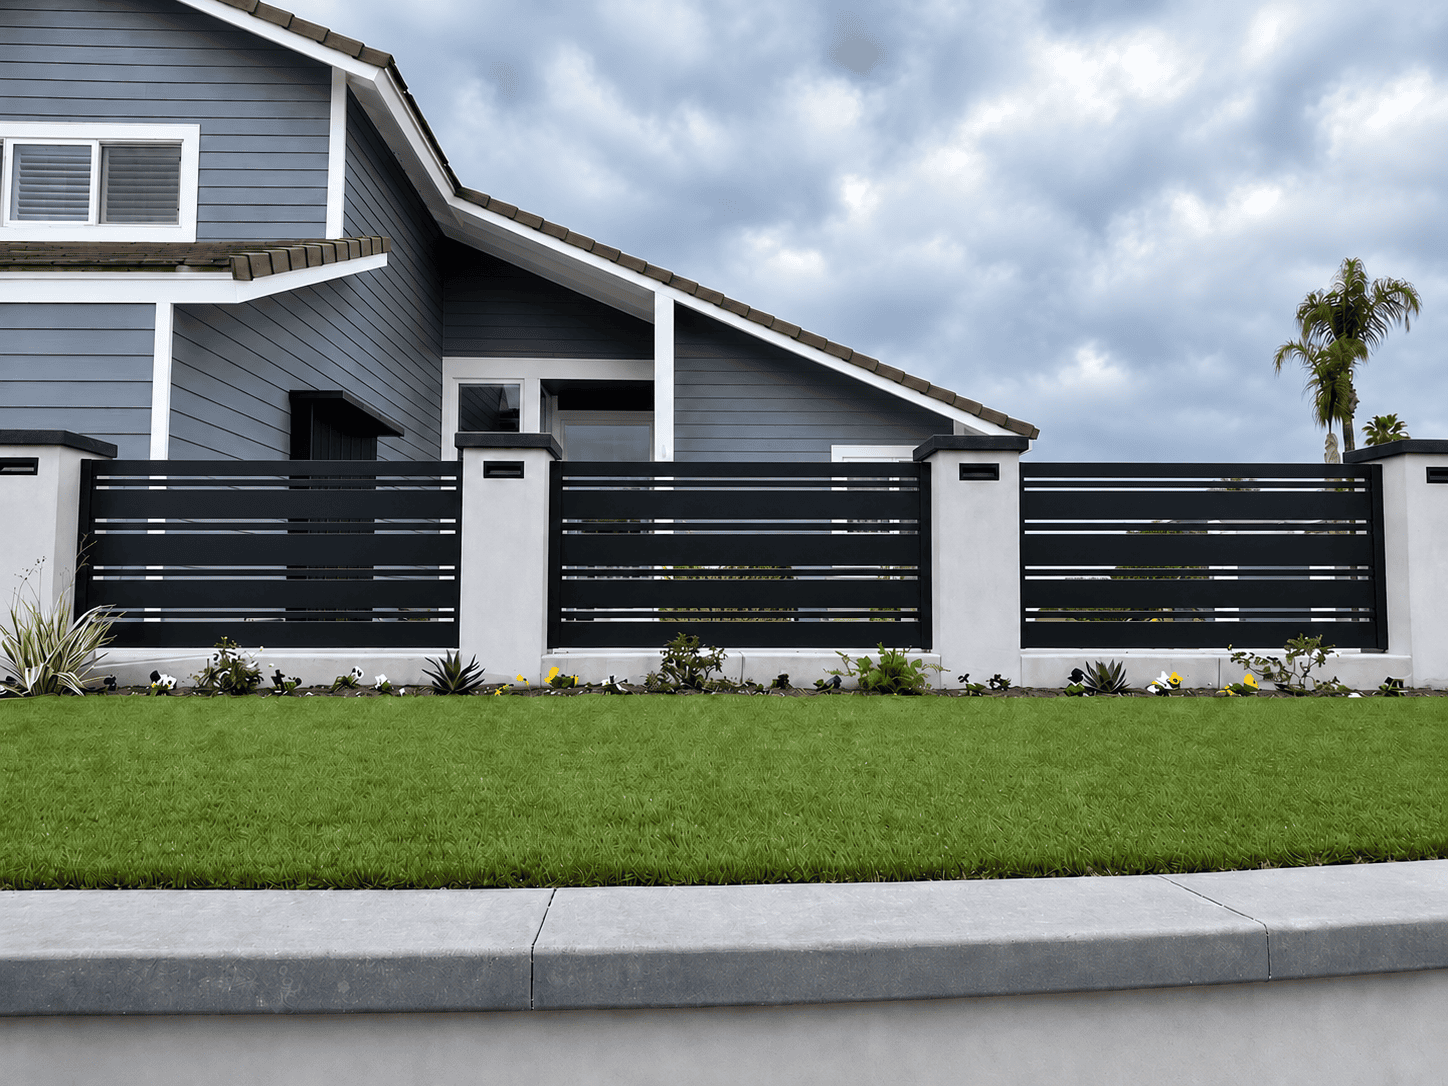
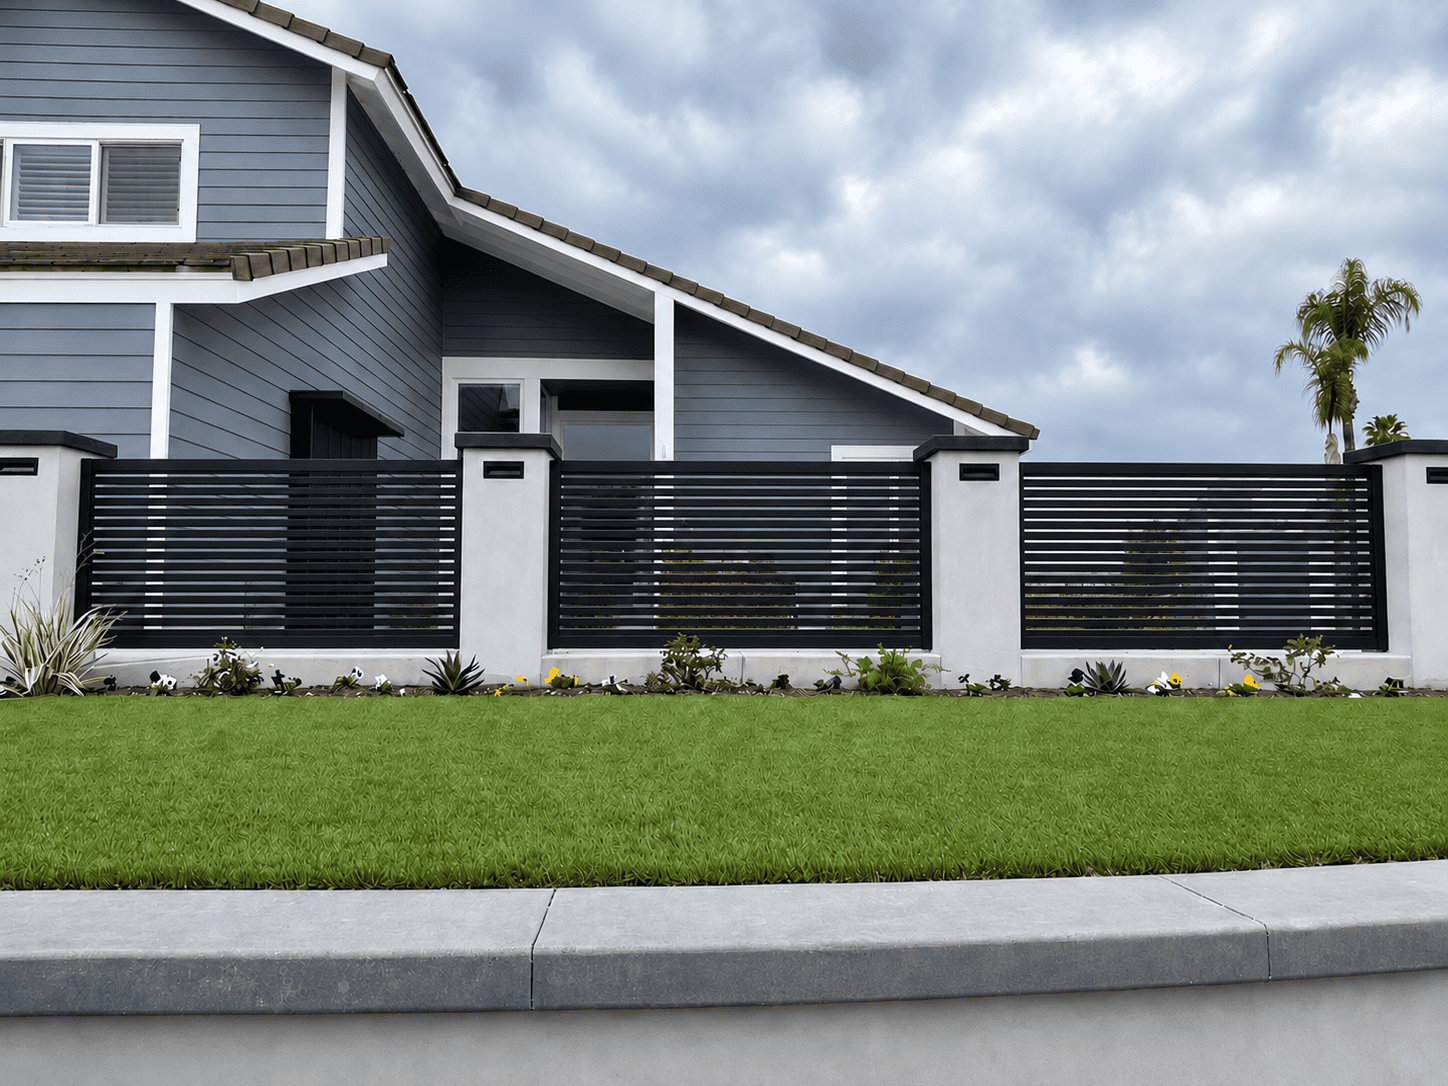
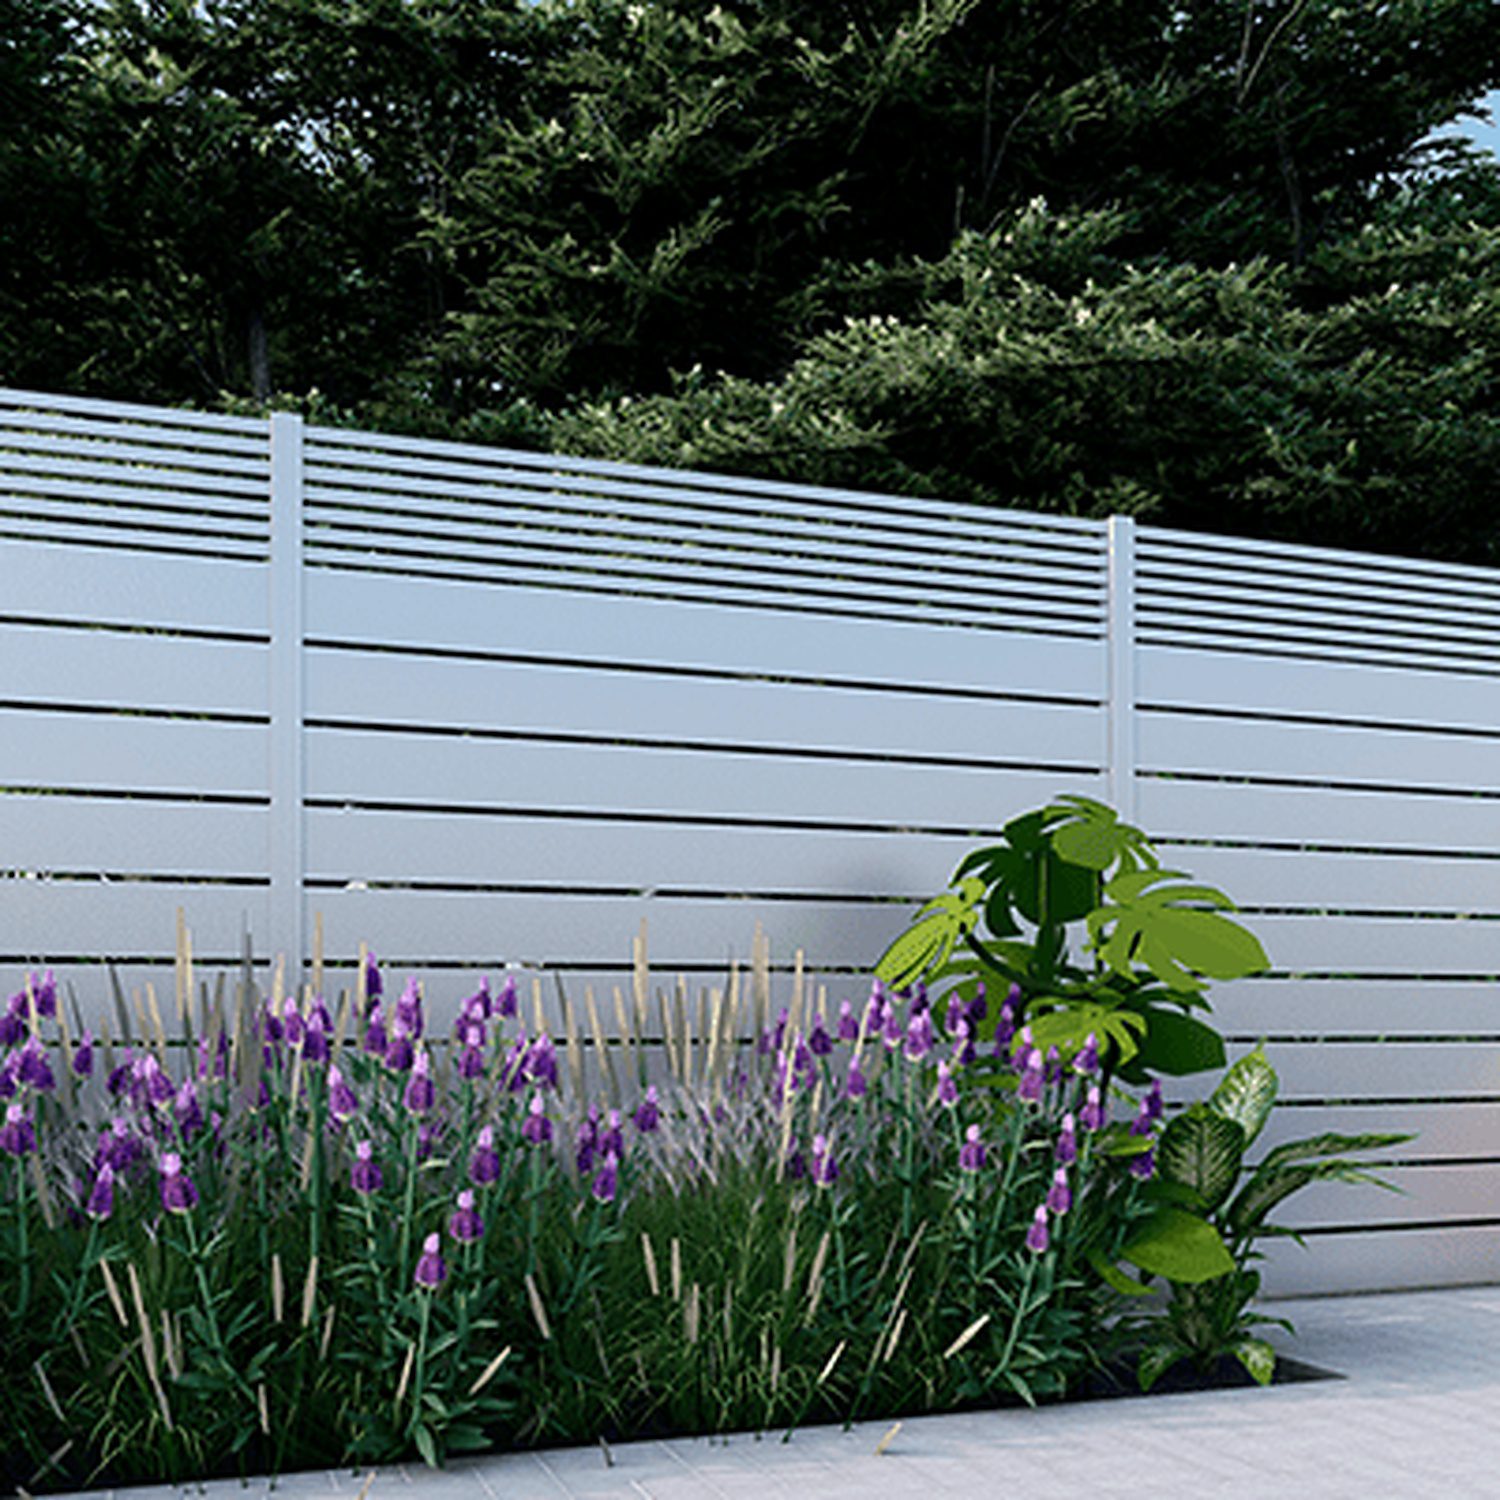
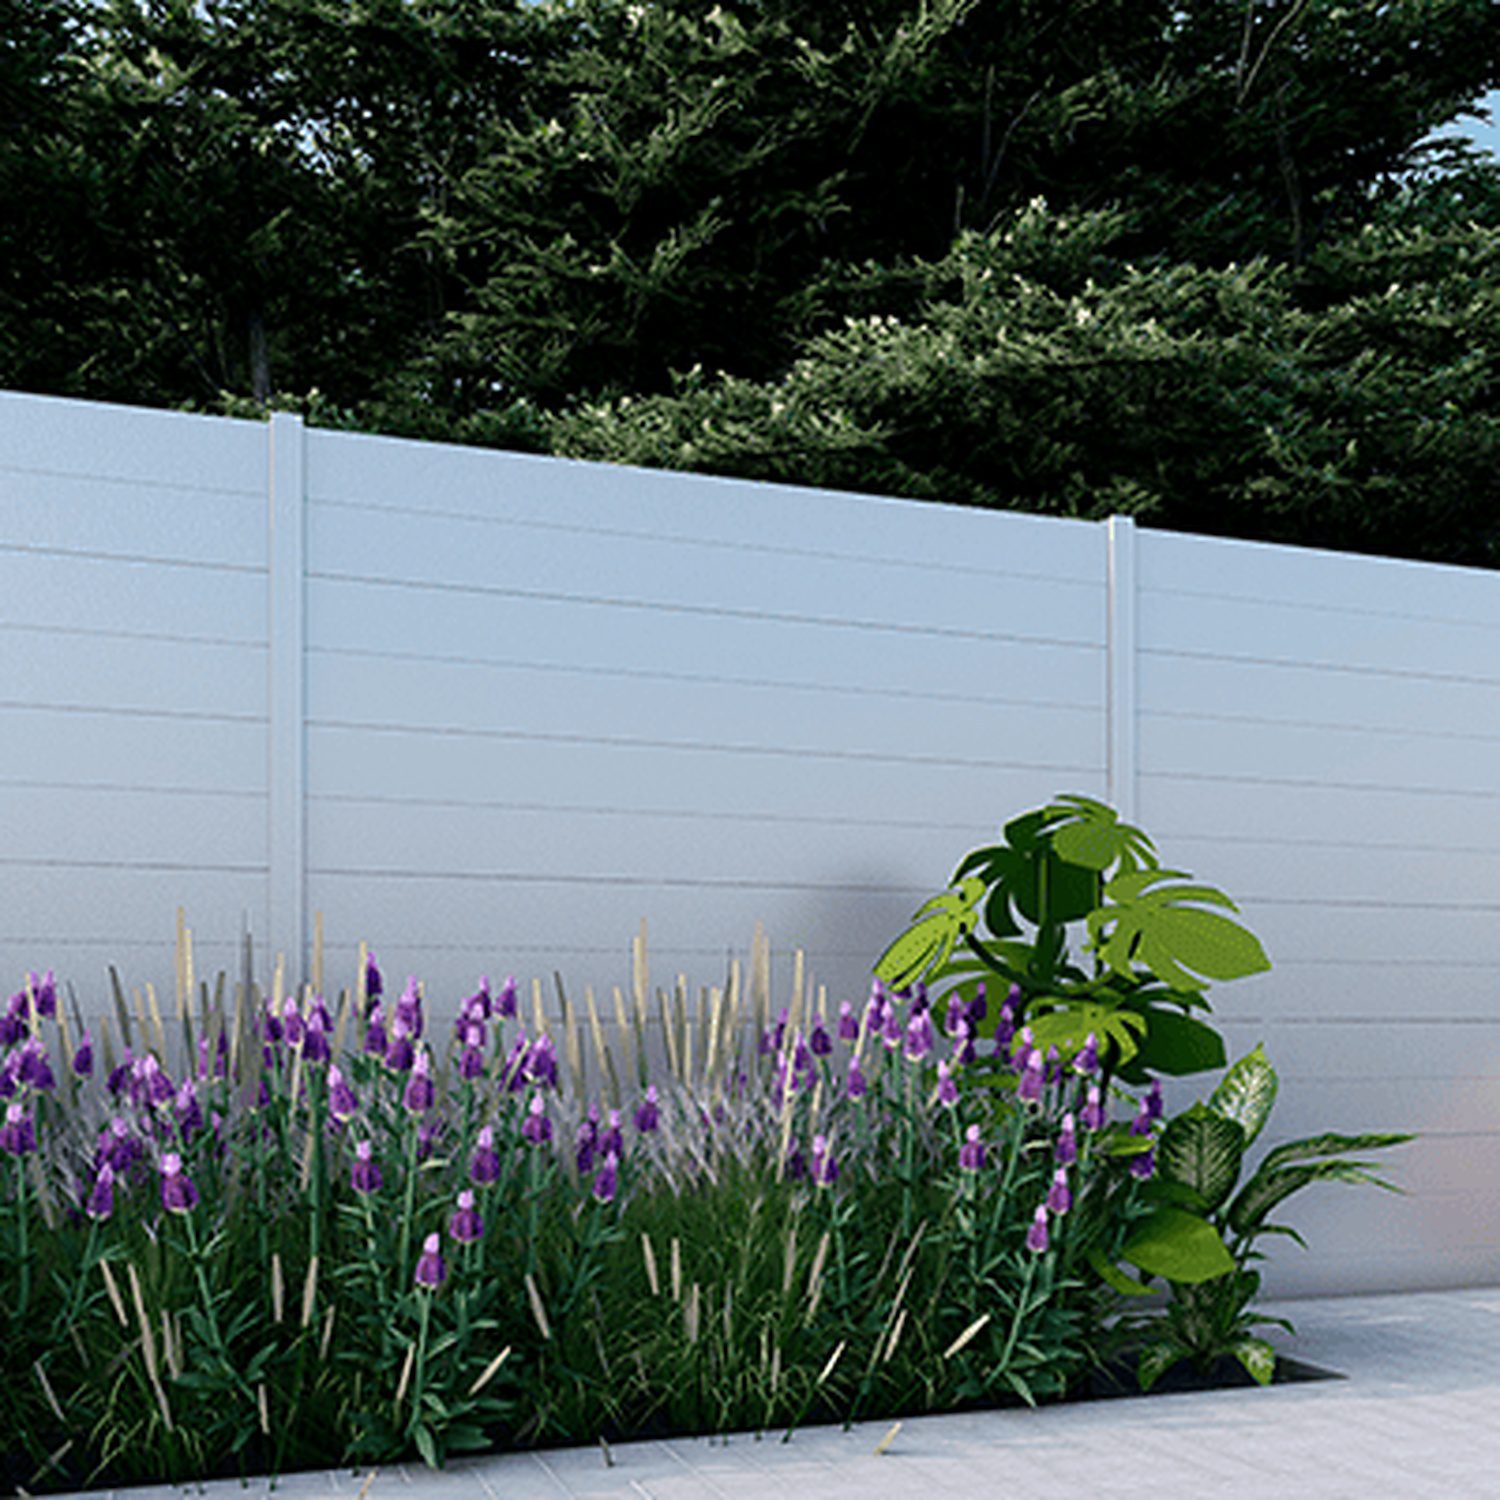
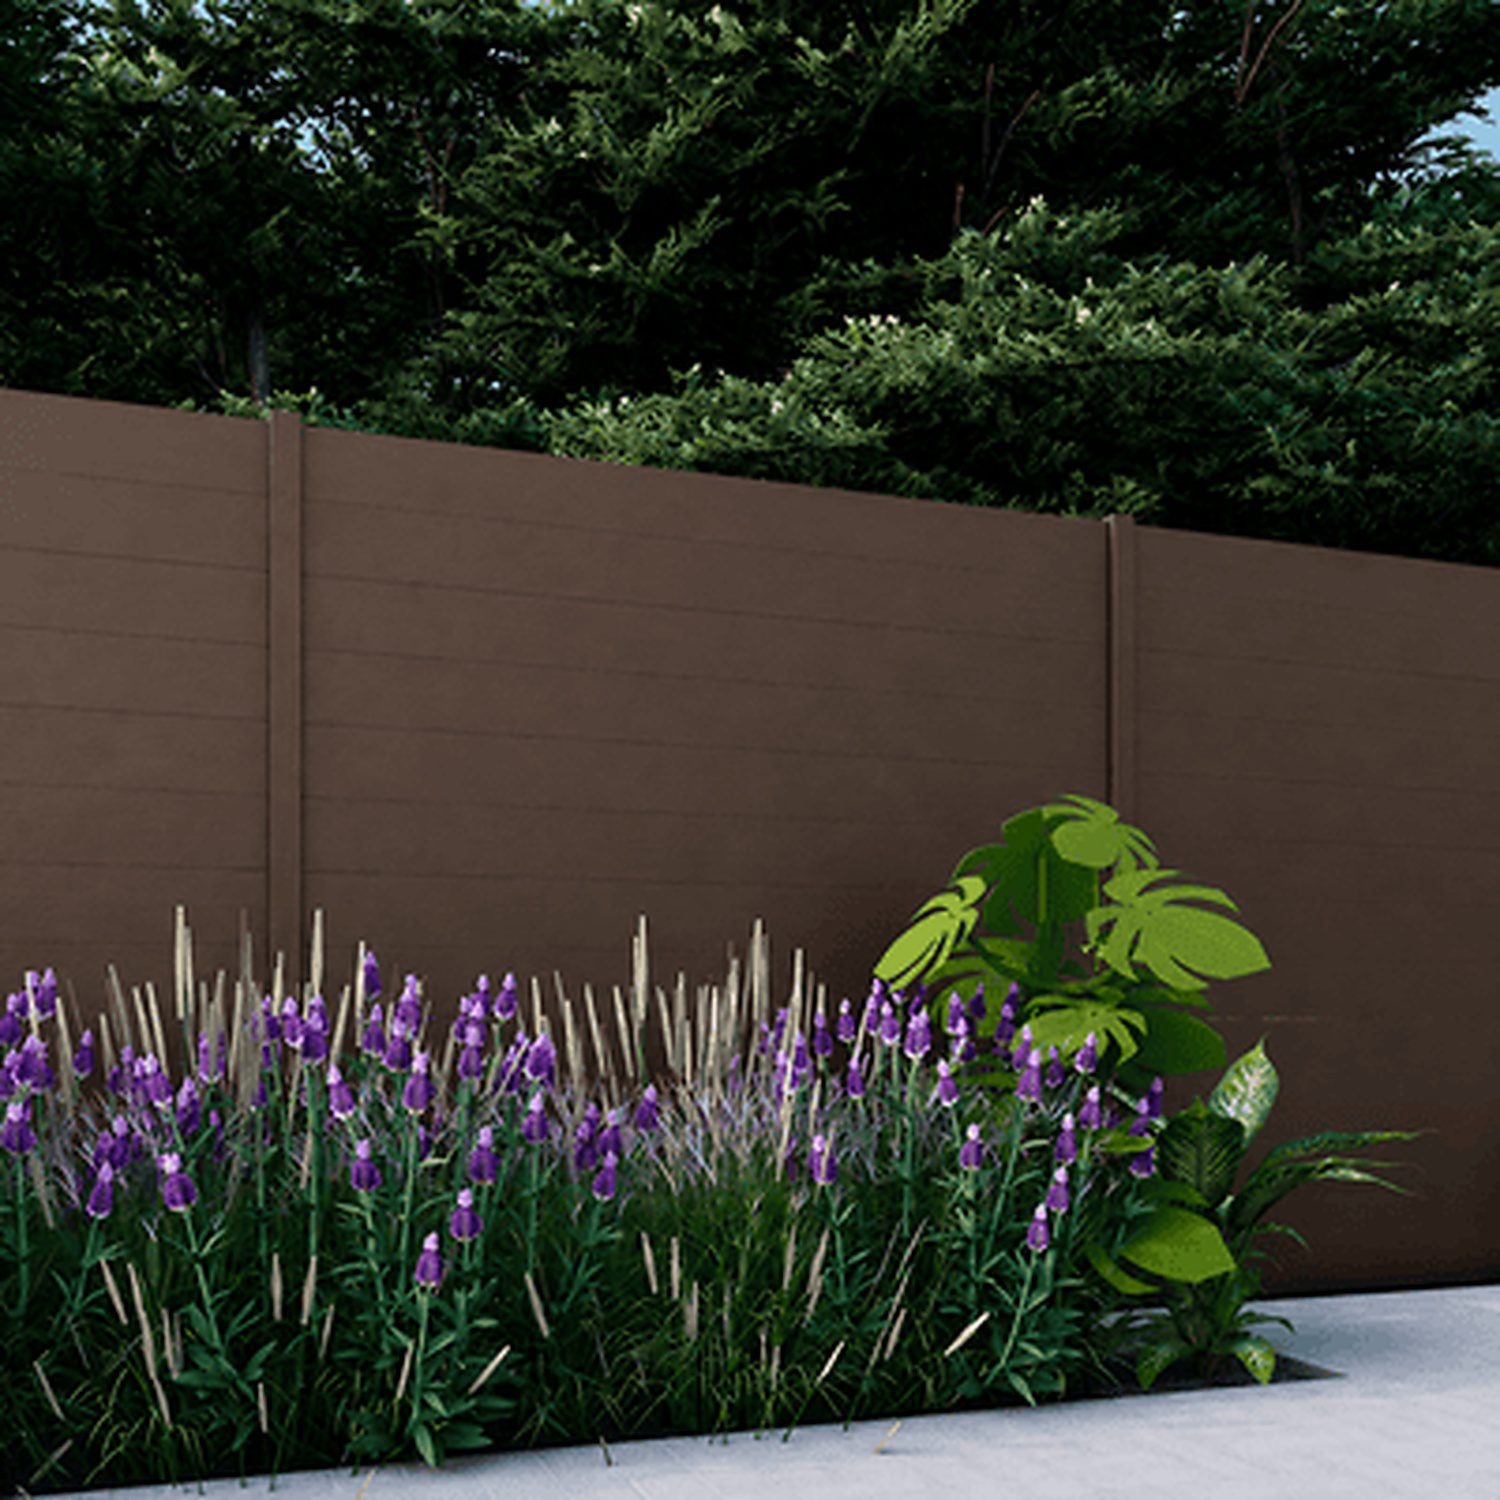
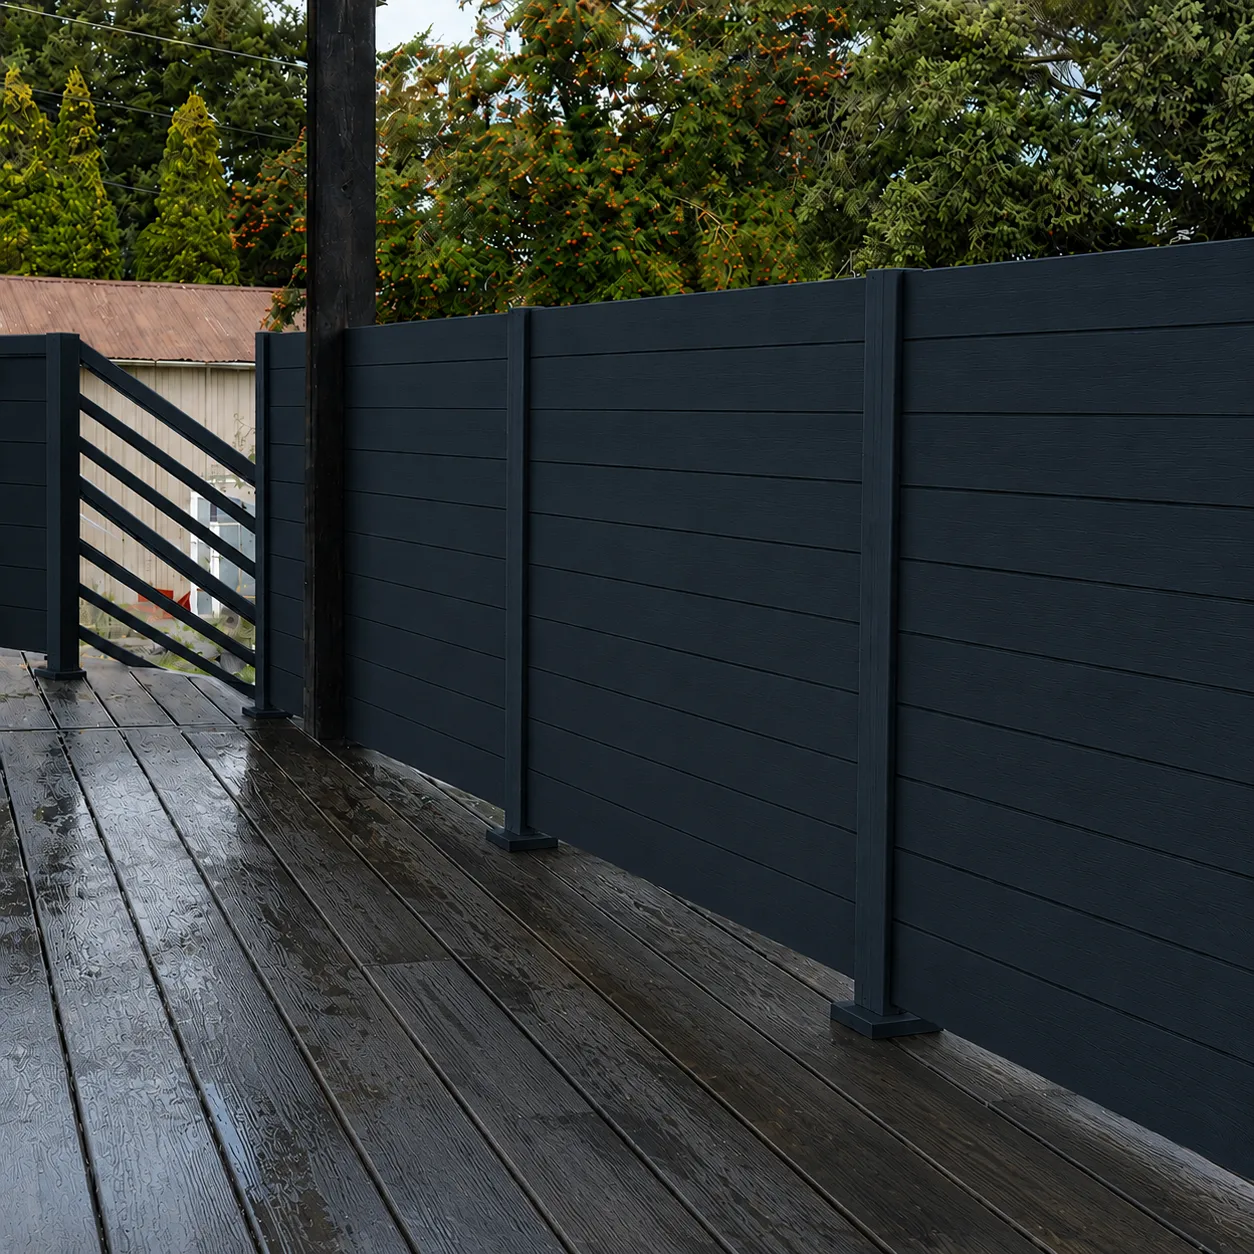
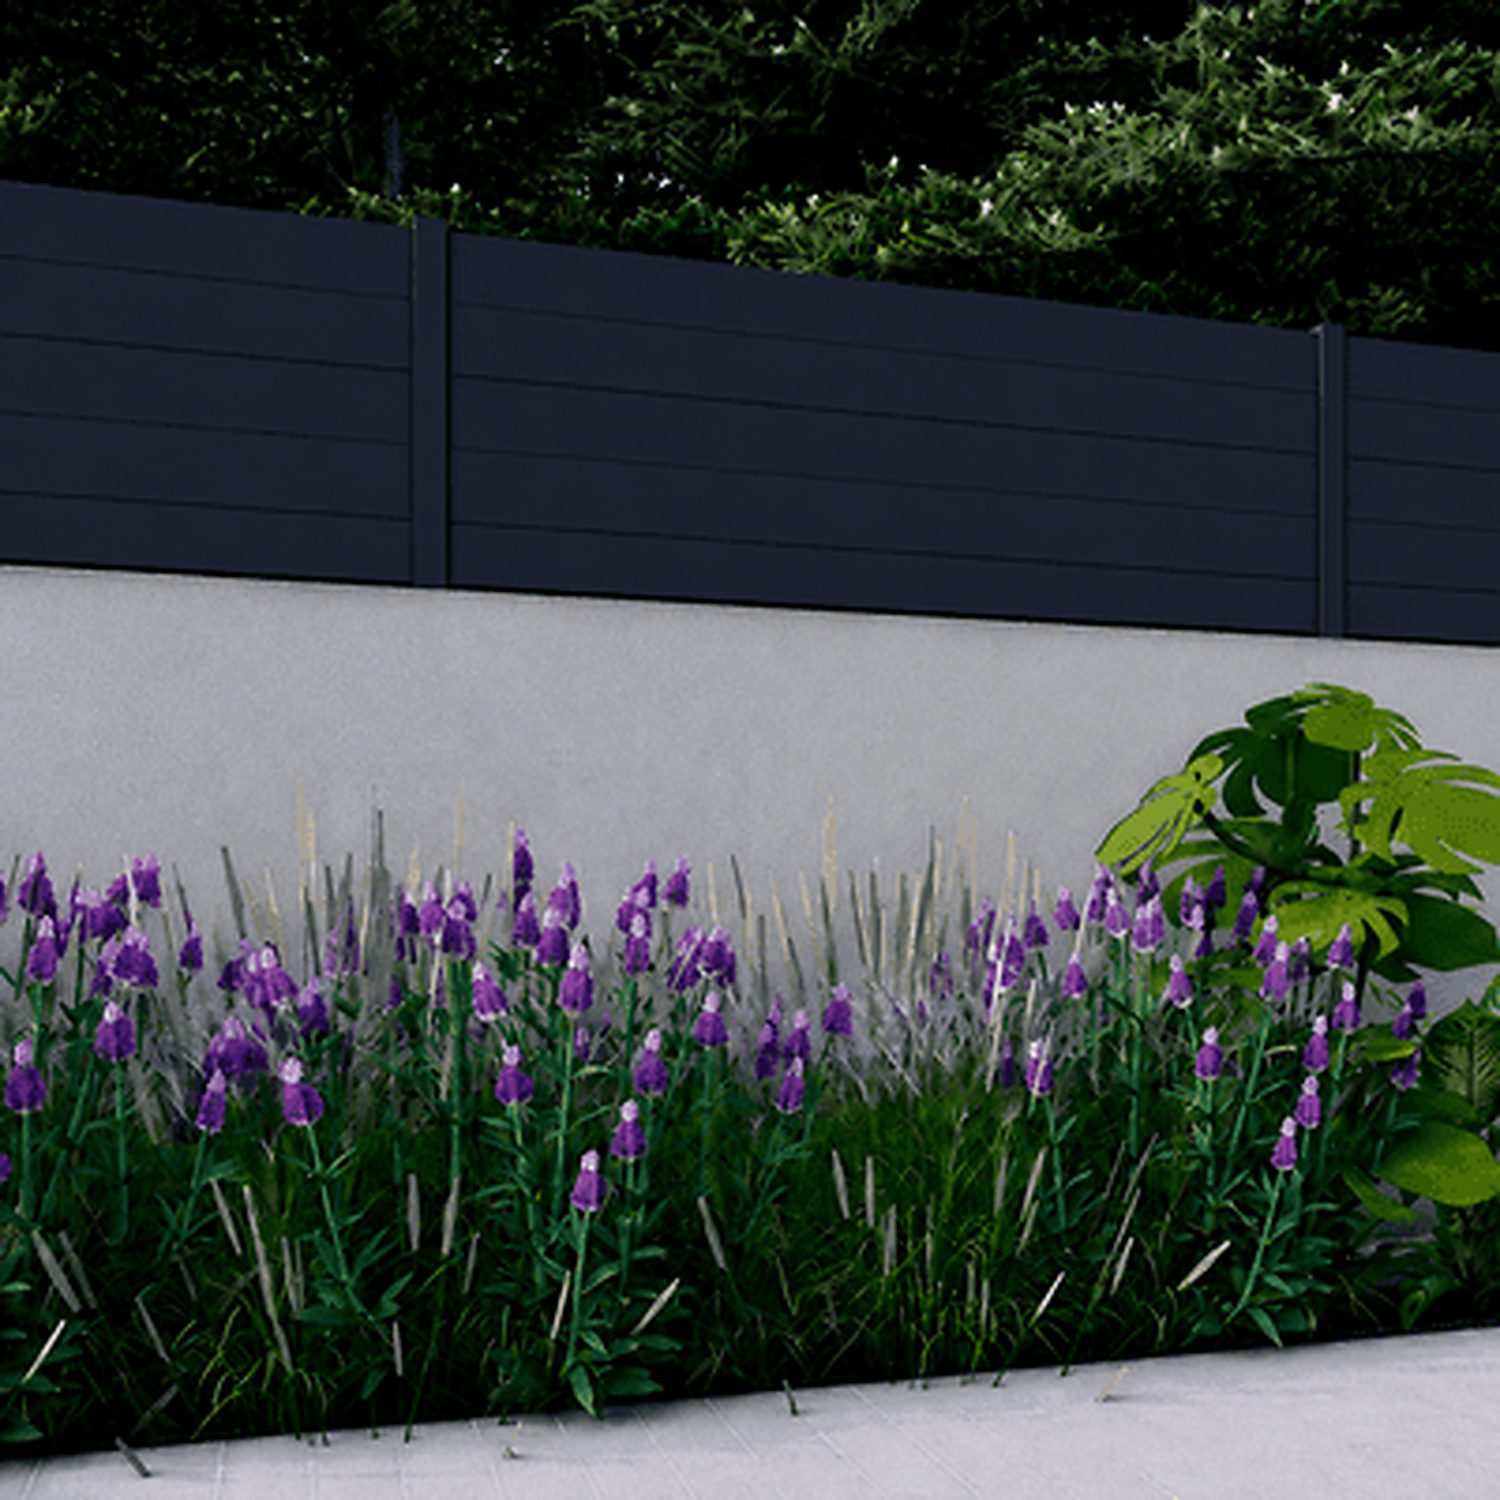
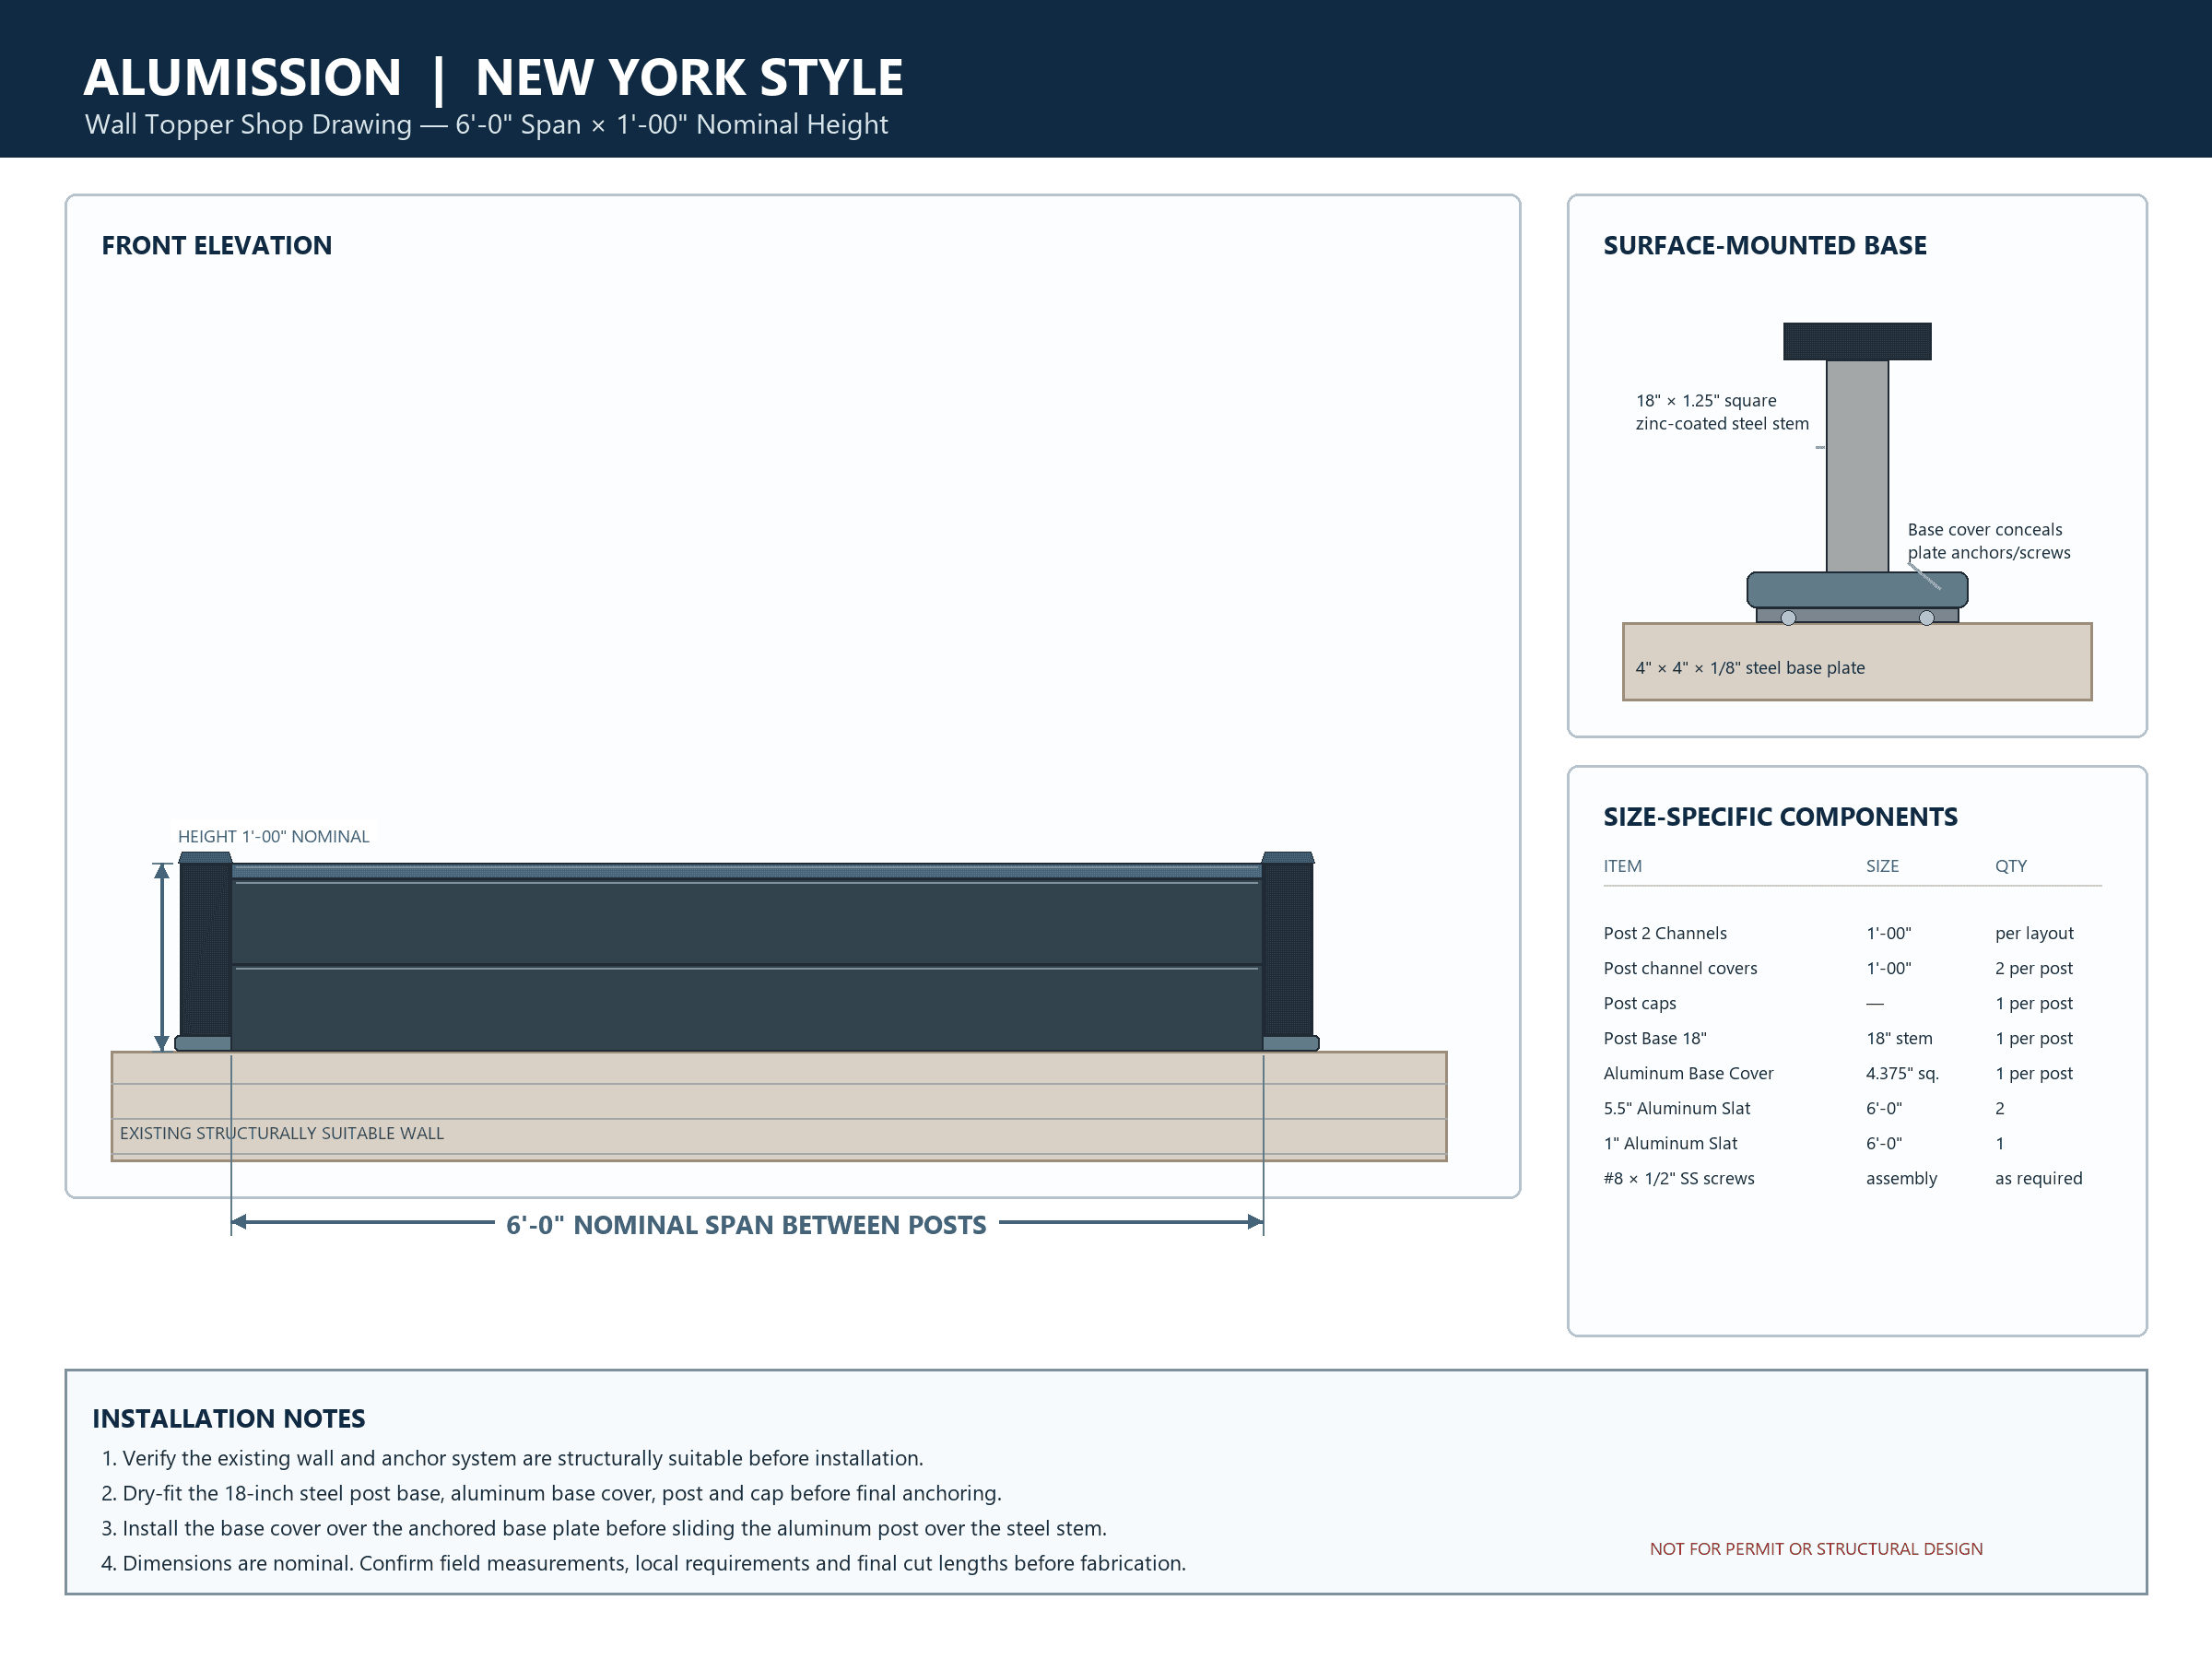
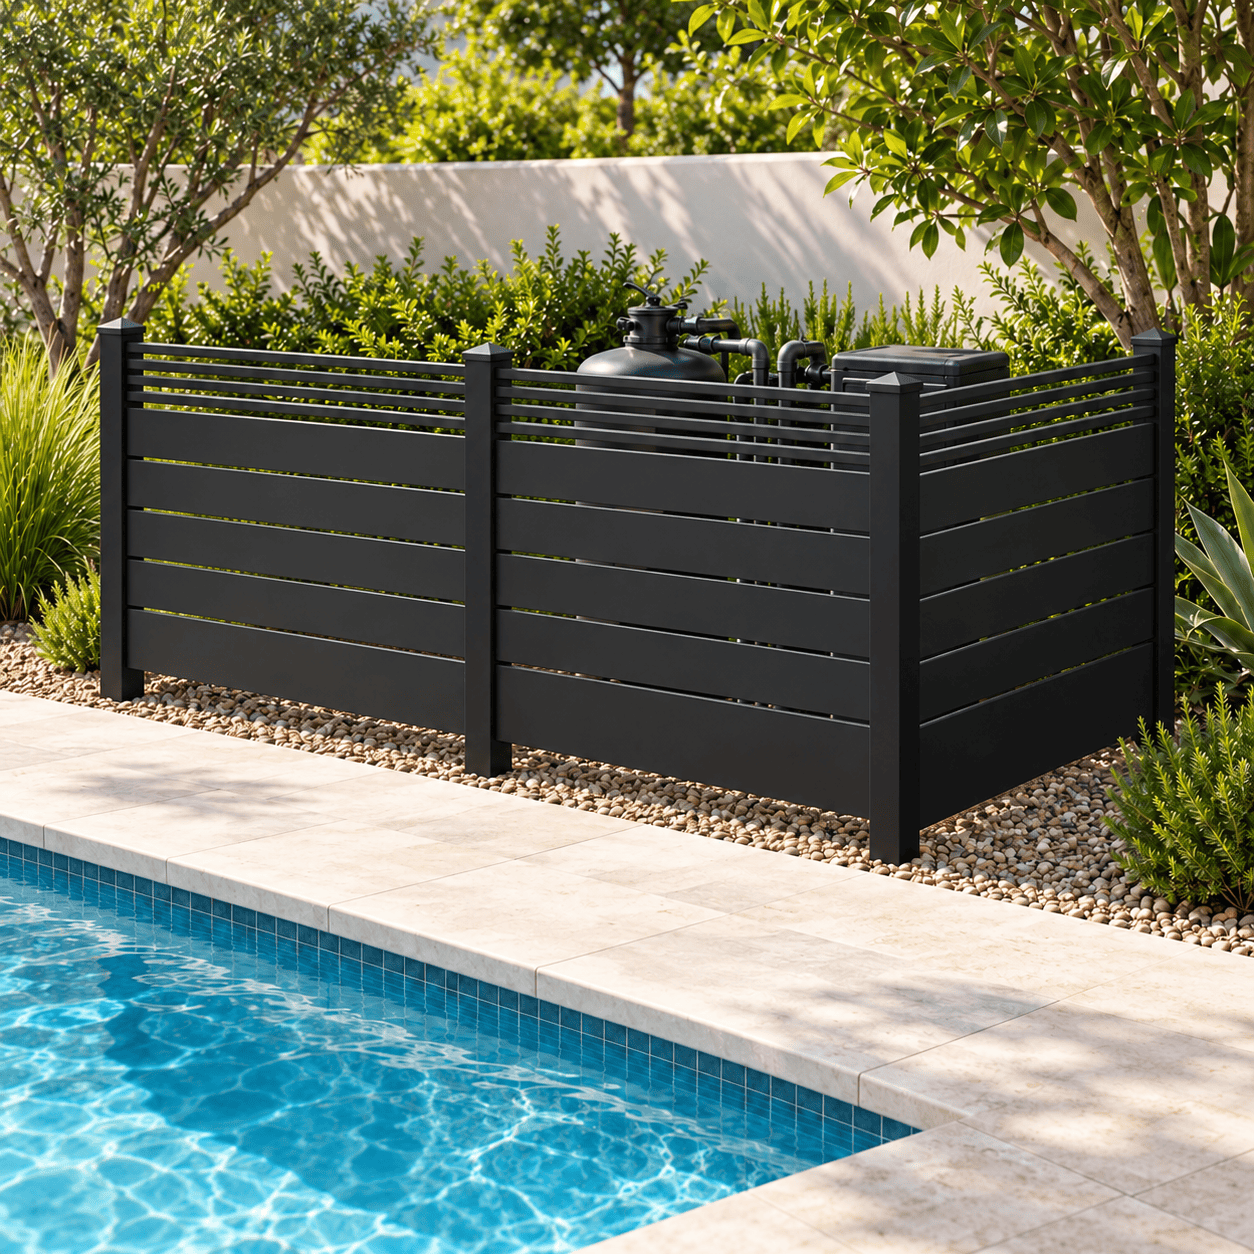
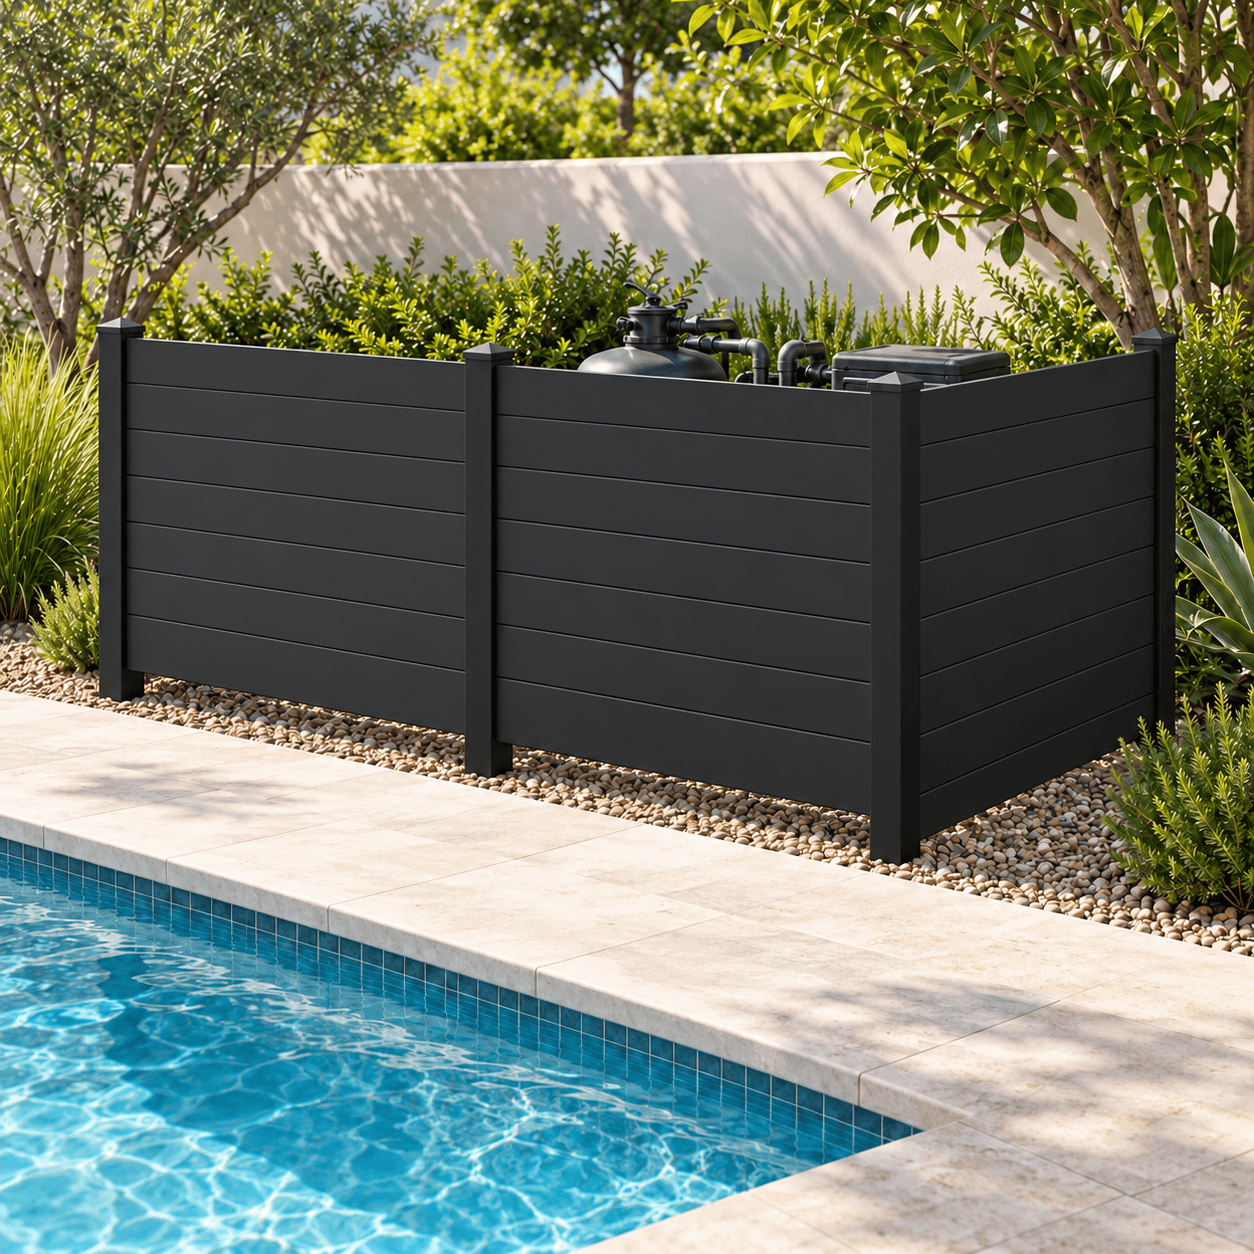
Create a clean, full-privacy aluminum fence between existing masonry columns, pillars, or structural posts. The New York Style uses tightly stacked 5.5-inch horizontal aluminum boards with subtle seams and no see-through gaps. Every kit is cut-to-fit on site and supplied as one coordinated system.
- Full privacy: solid 5.5-inch horizontal boards with no intentional gaps.
- Built for existing columns: not a wall topper and not a freestanding fence run.
- 28 selectable sizes: 3′, 4′, 5′, 6′, 8′, 10′, or 12′ wide and 3′, 4′, 5′, or 6′ high.
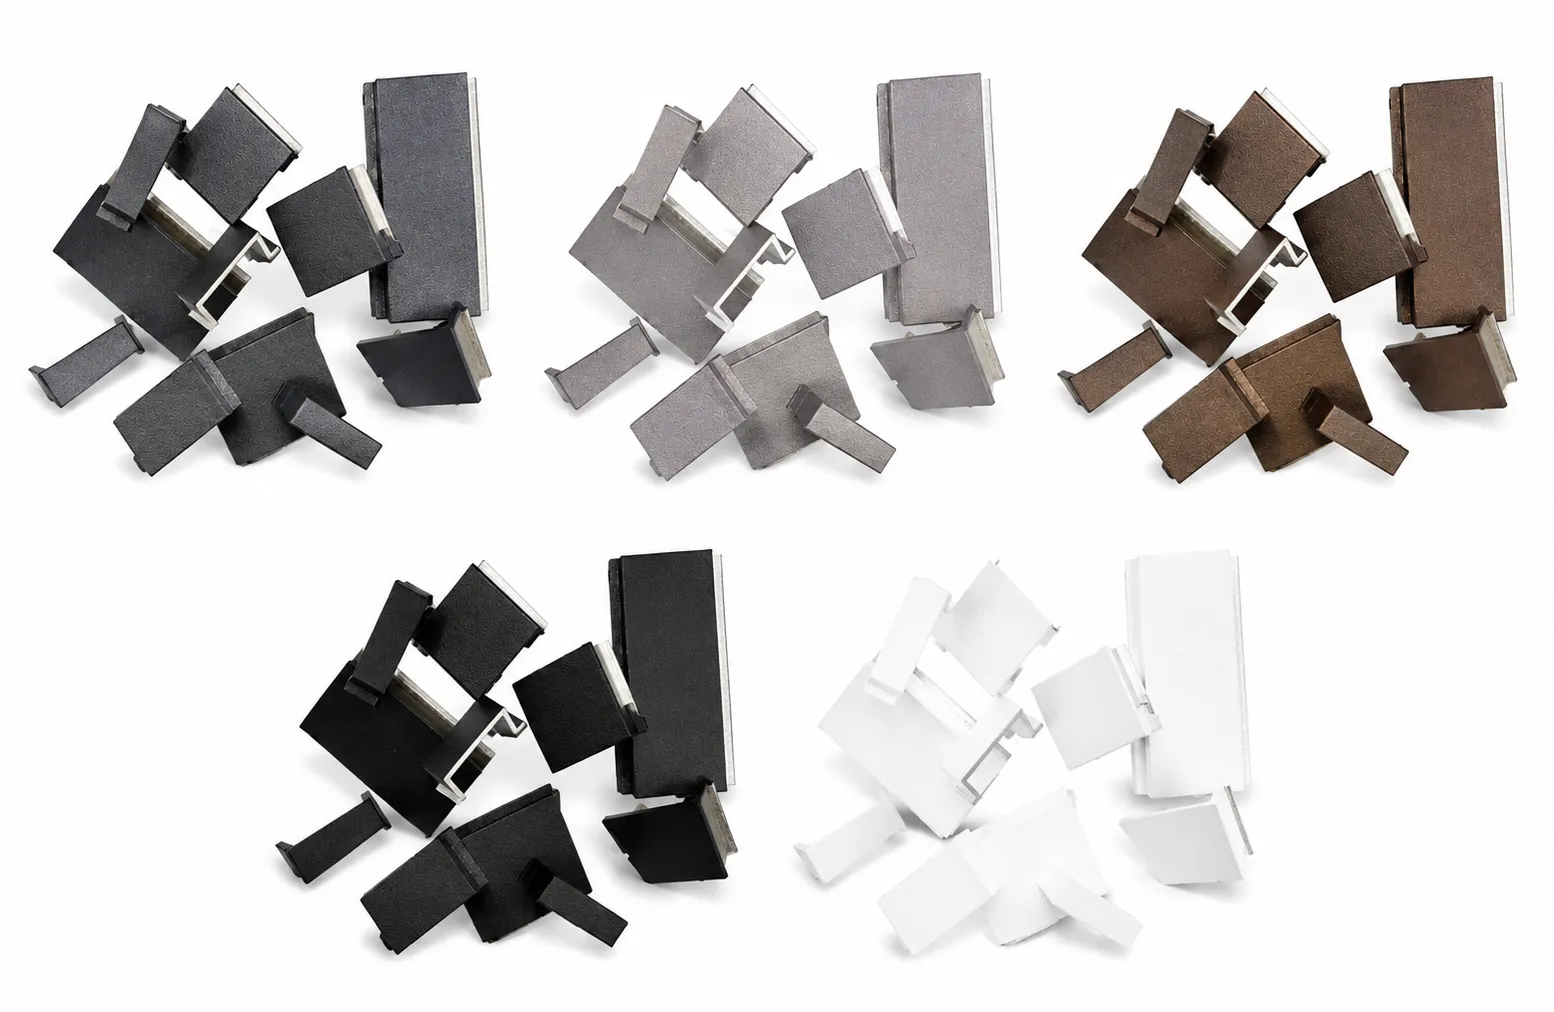
- Six architectural finishes: Black, Bronze, White, Dark Grey, Light Gray, and Wood.
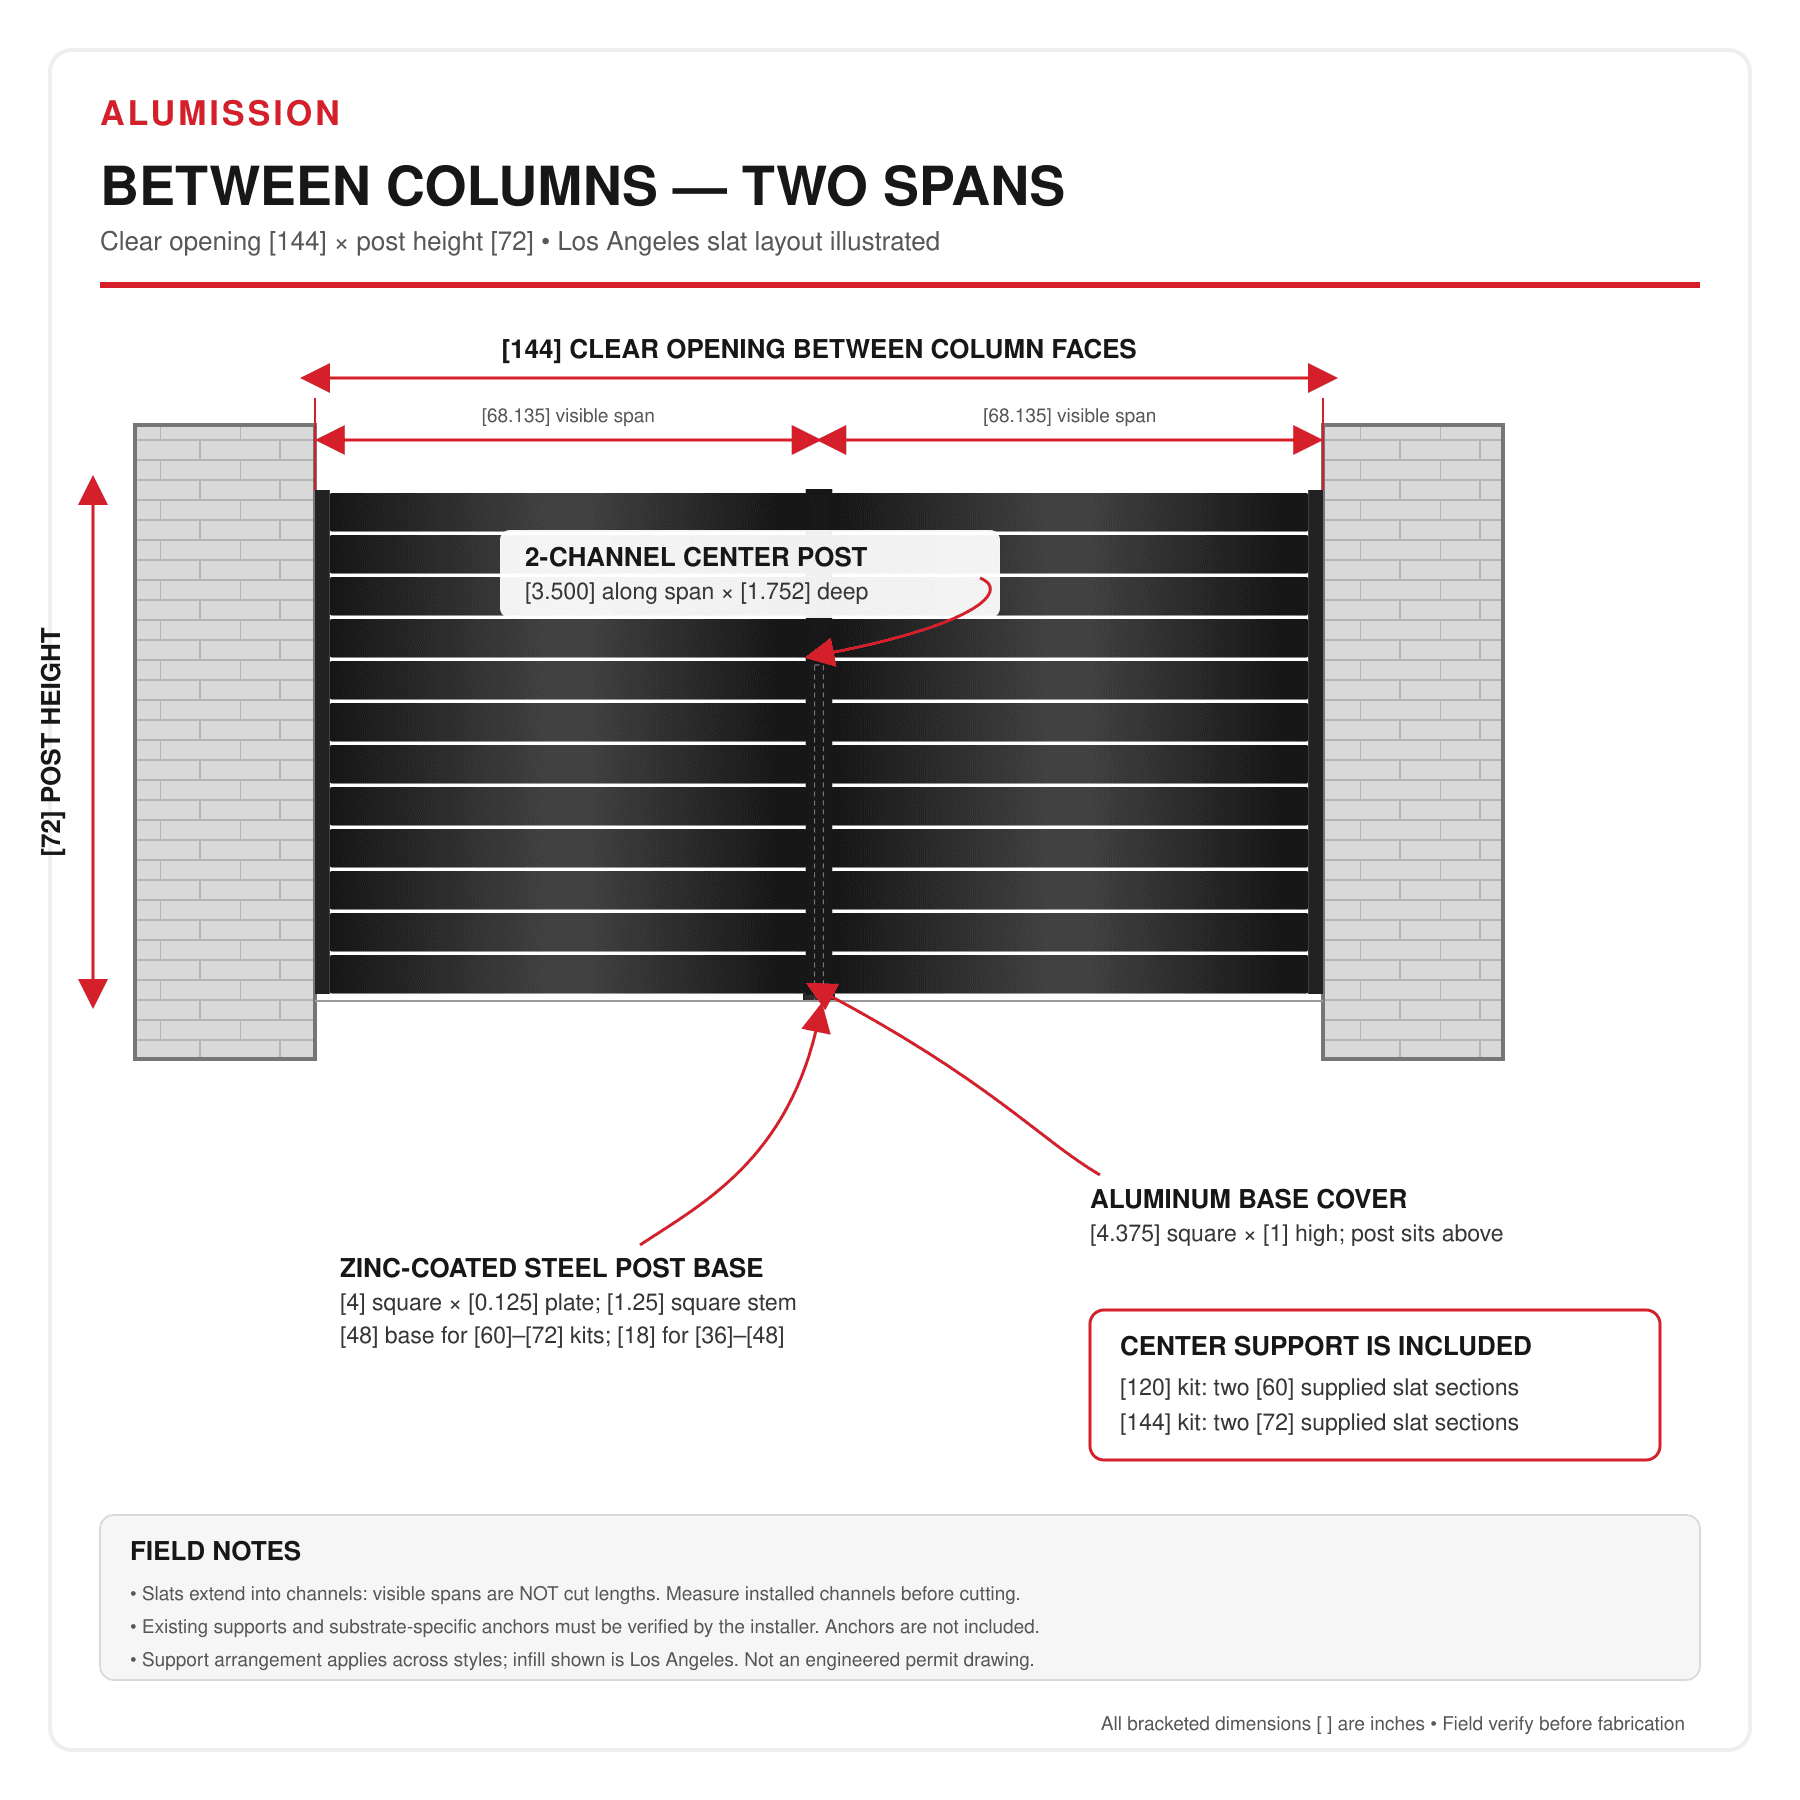
- Wide-kit support: 10′ and 12′ kits include a center two-channel post, covers, cap, steel base, and base cover.
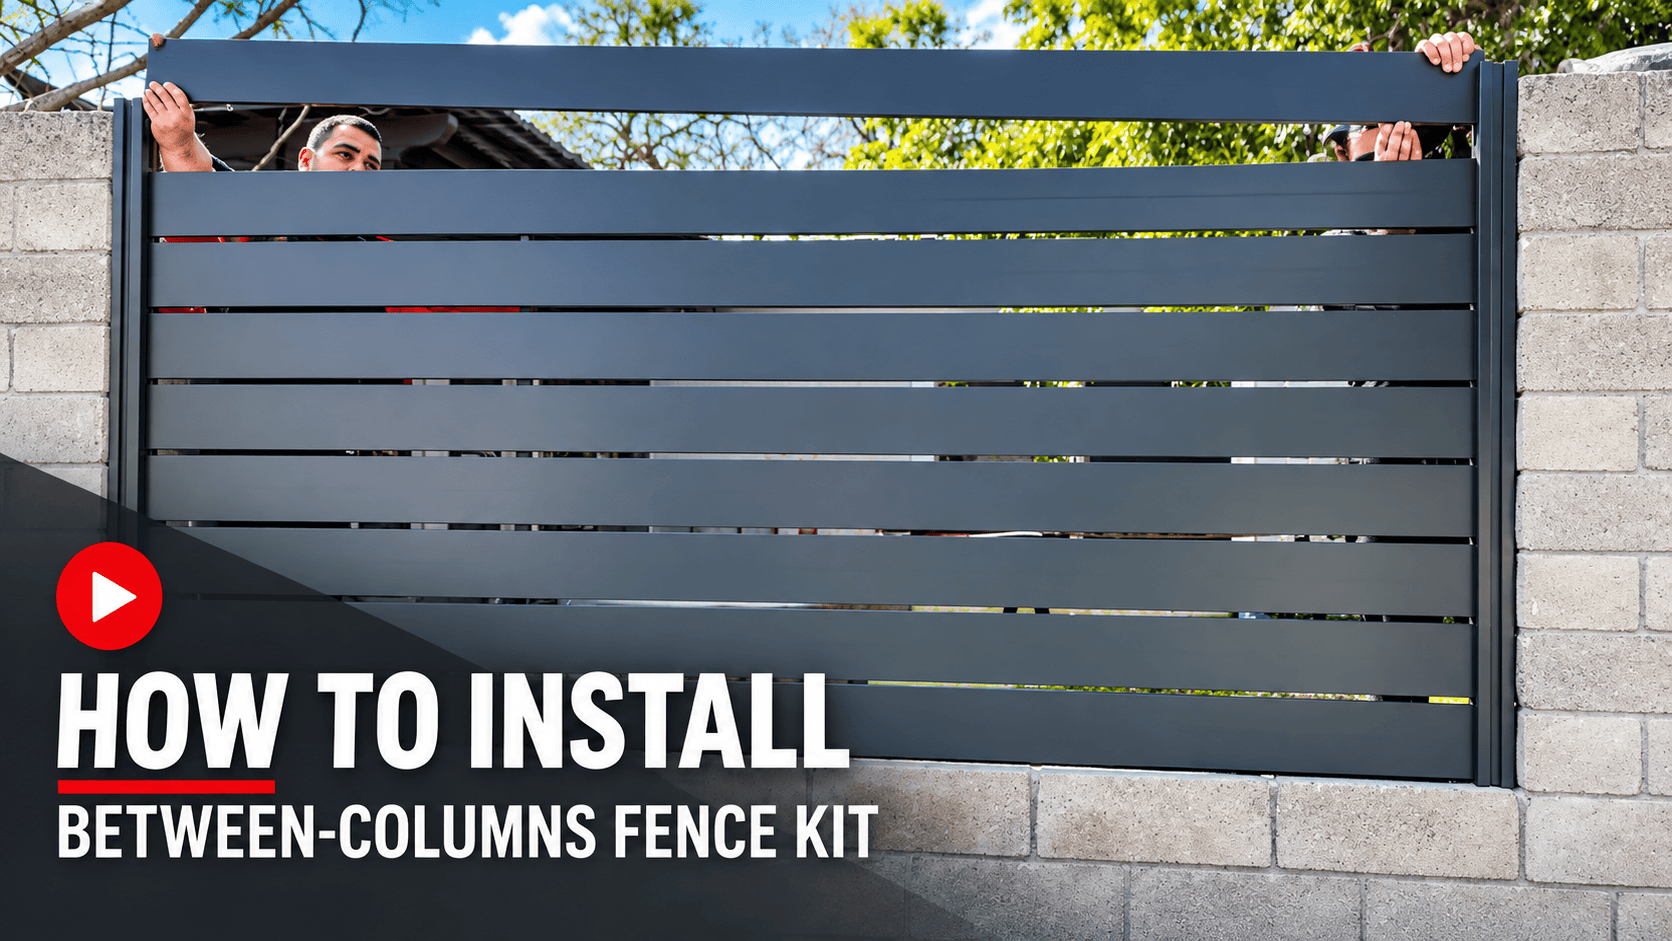
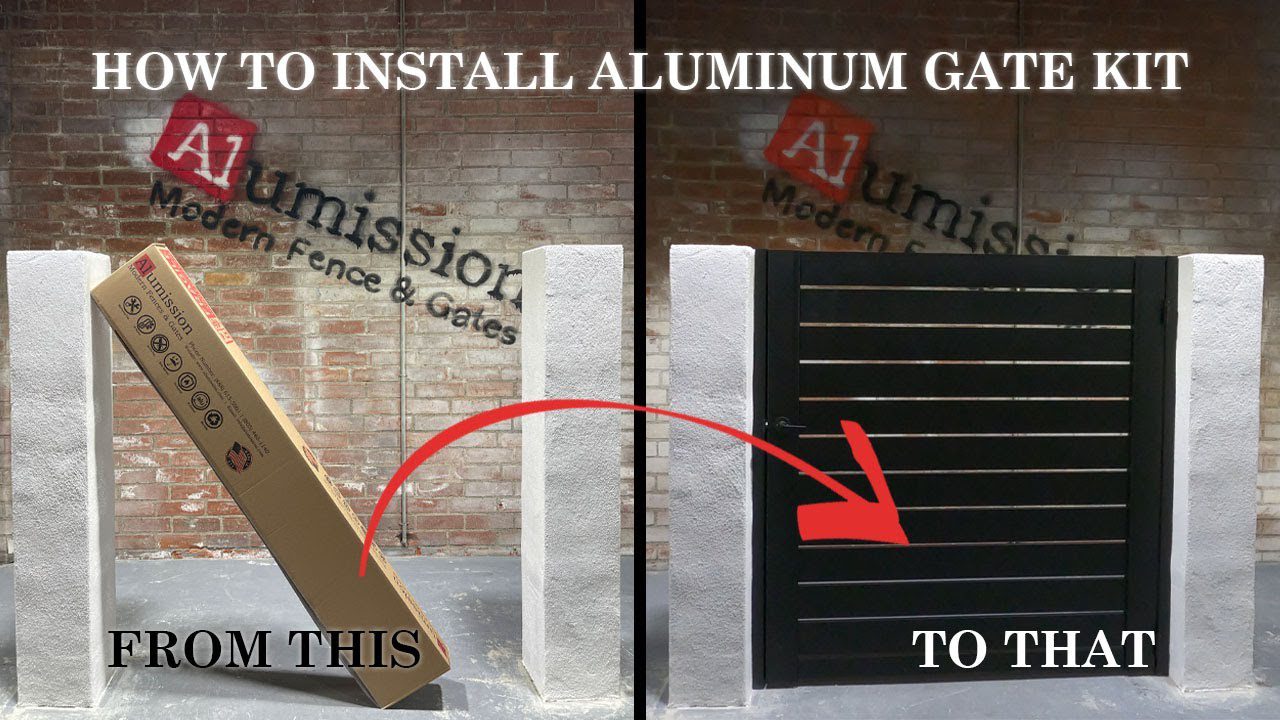
- DIY installation help: watch the Between Columns installation video in the product gallery before beginning.
Before ordering: measure the clear opening at the top, middle, and bottom and check height in several locations. Choose a kit large enough to cover the opening; posts and boards are trimmed to the final dimensions during installation.
WHAT’S INCLUDED:
What’s Included
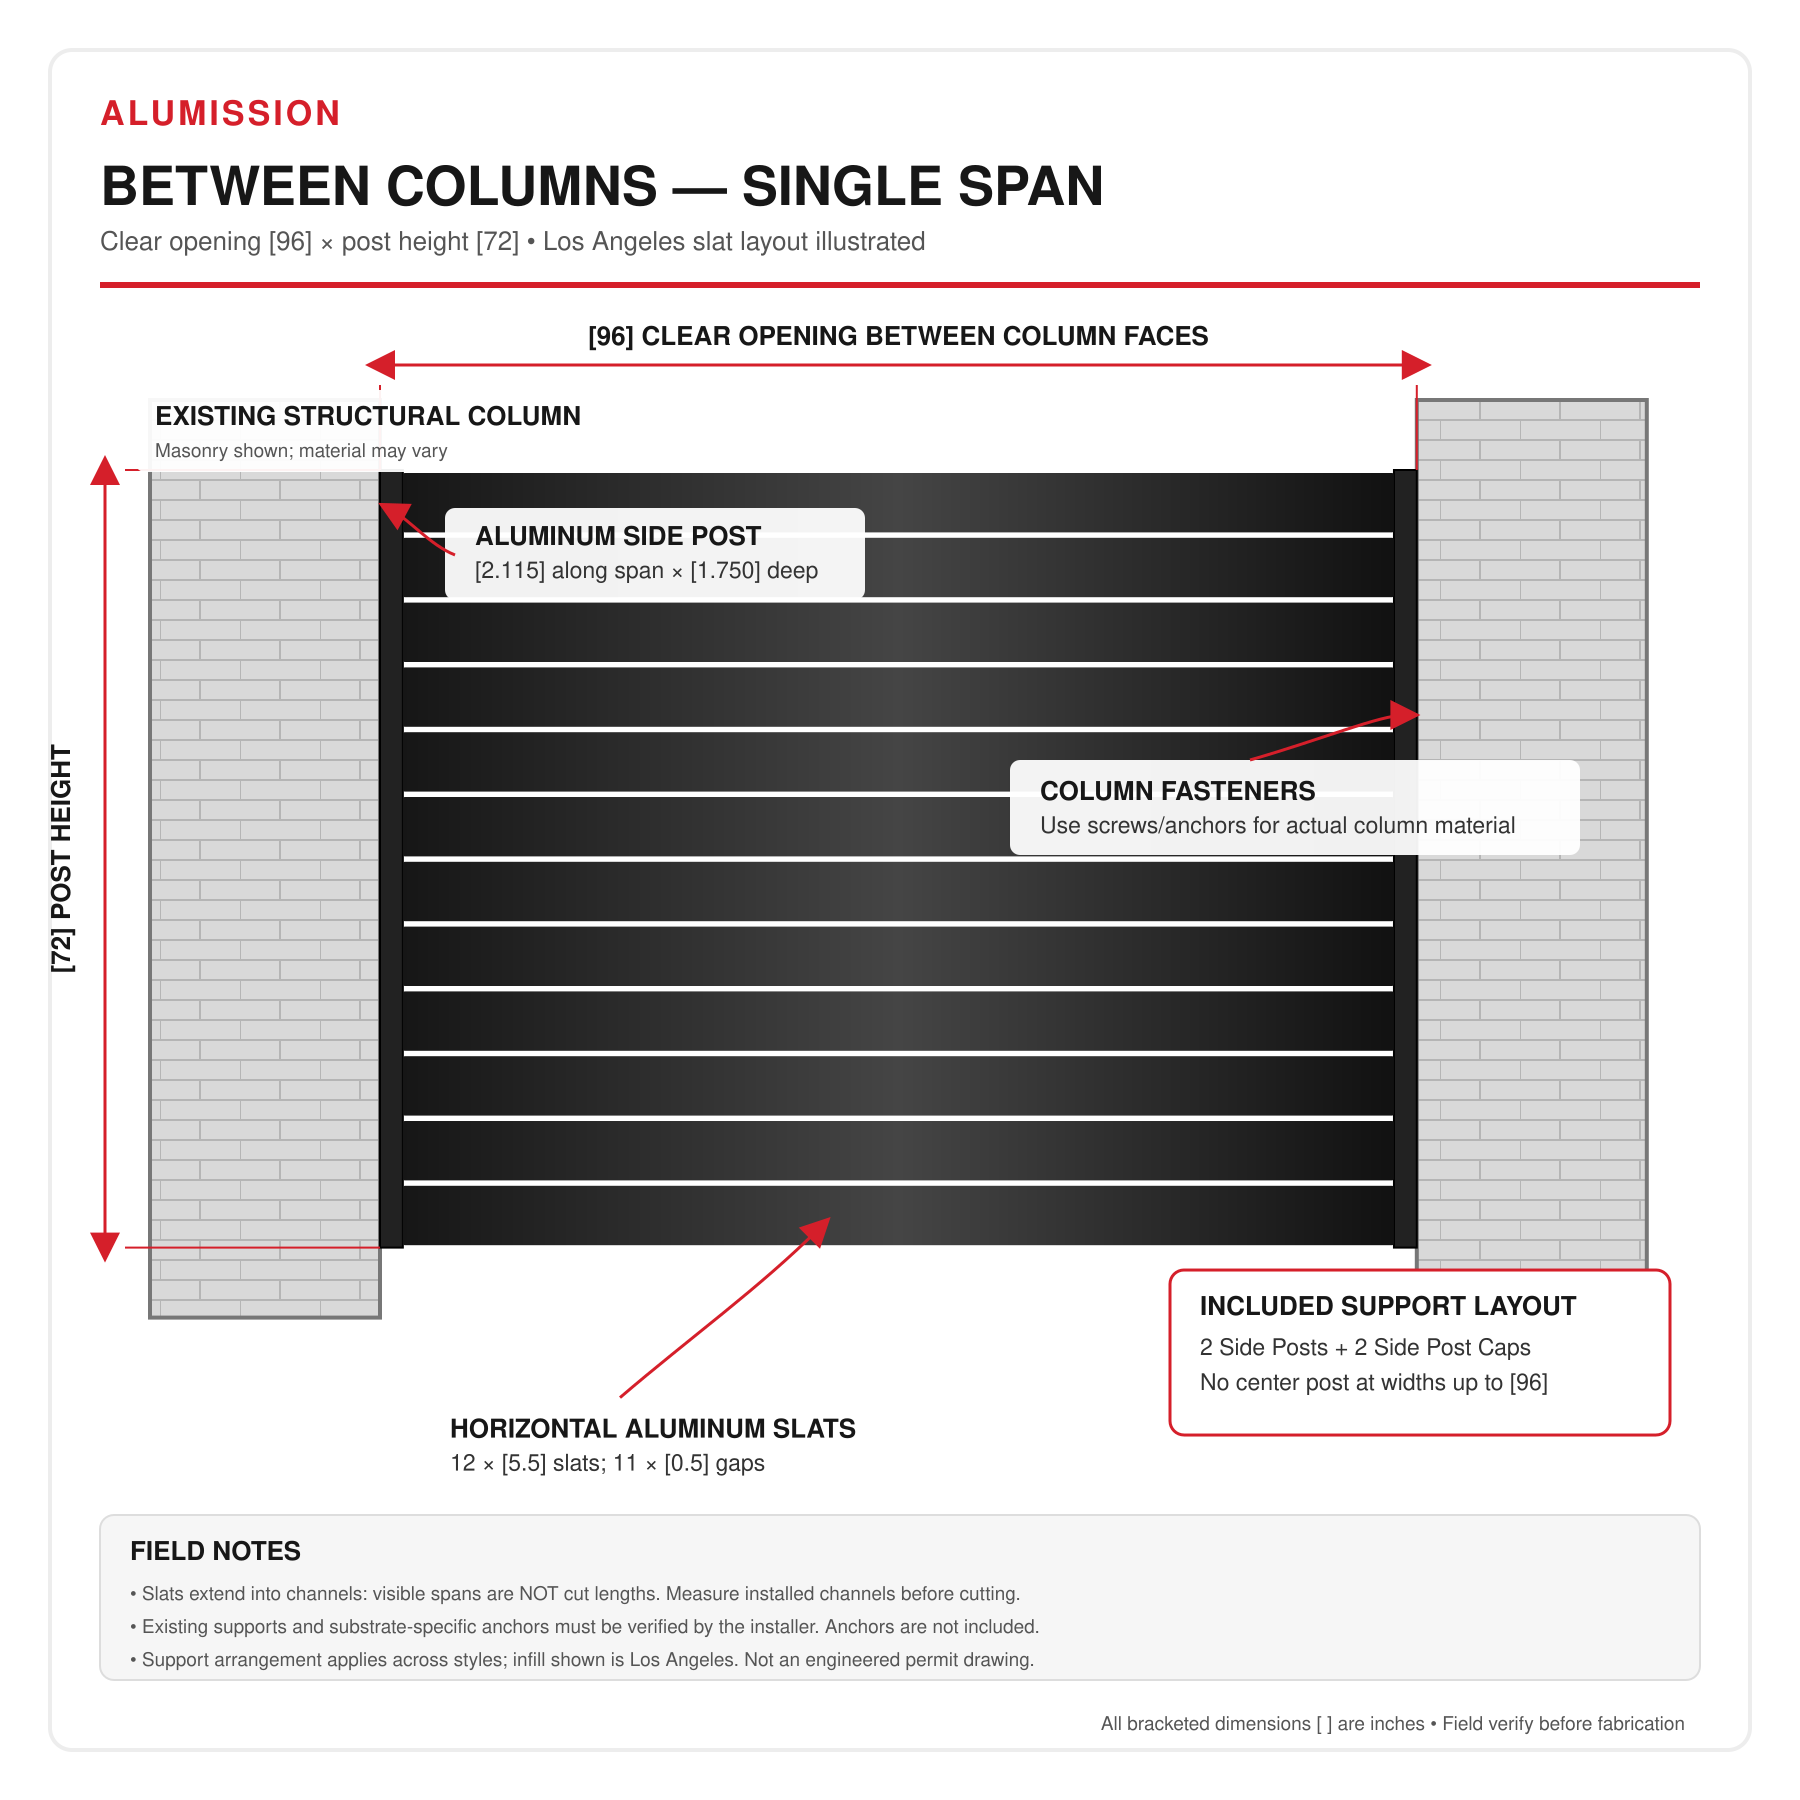
3′ through 8′ wide kits
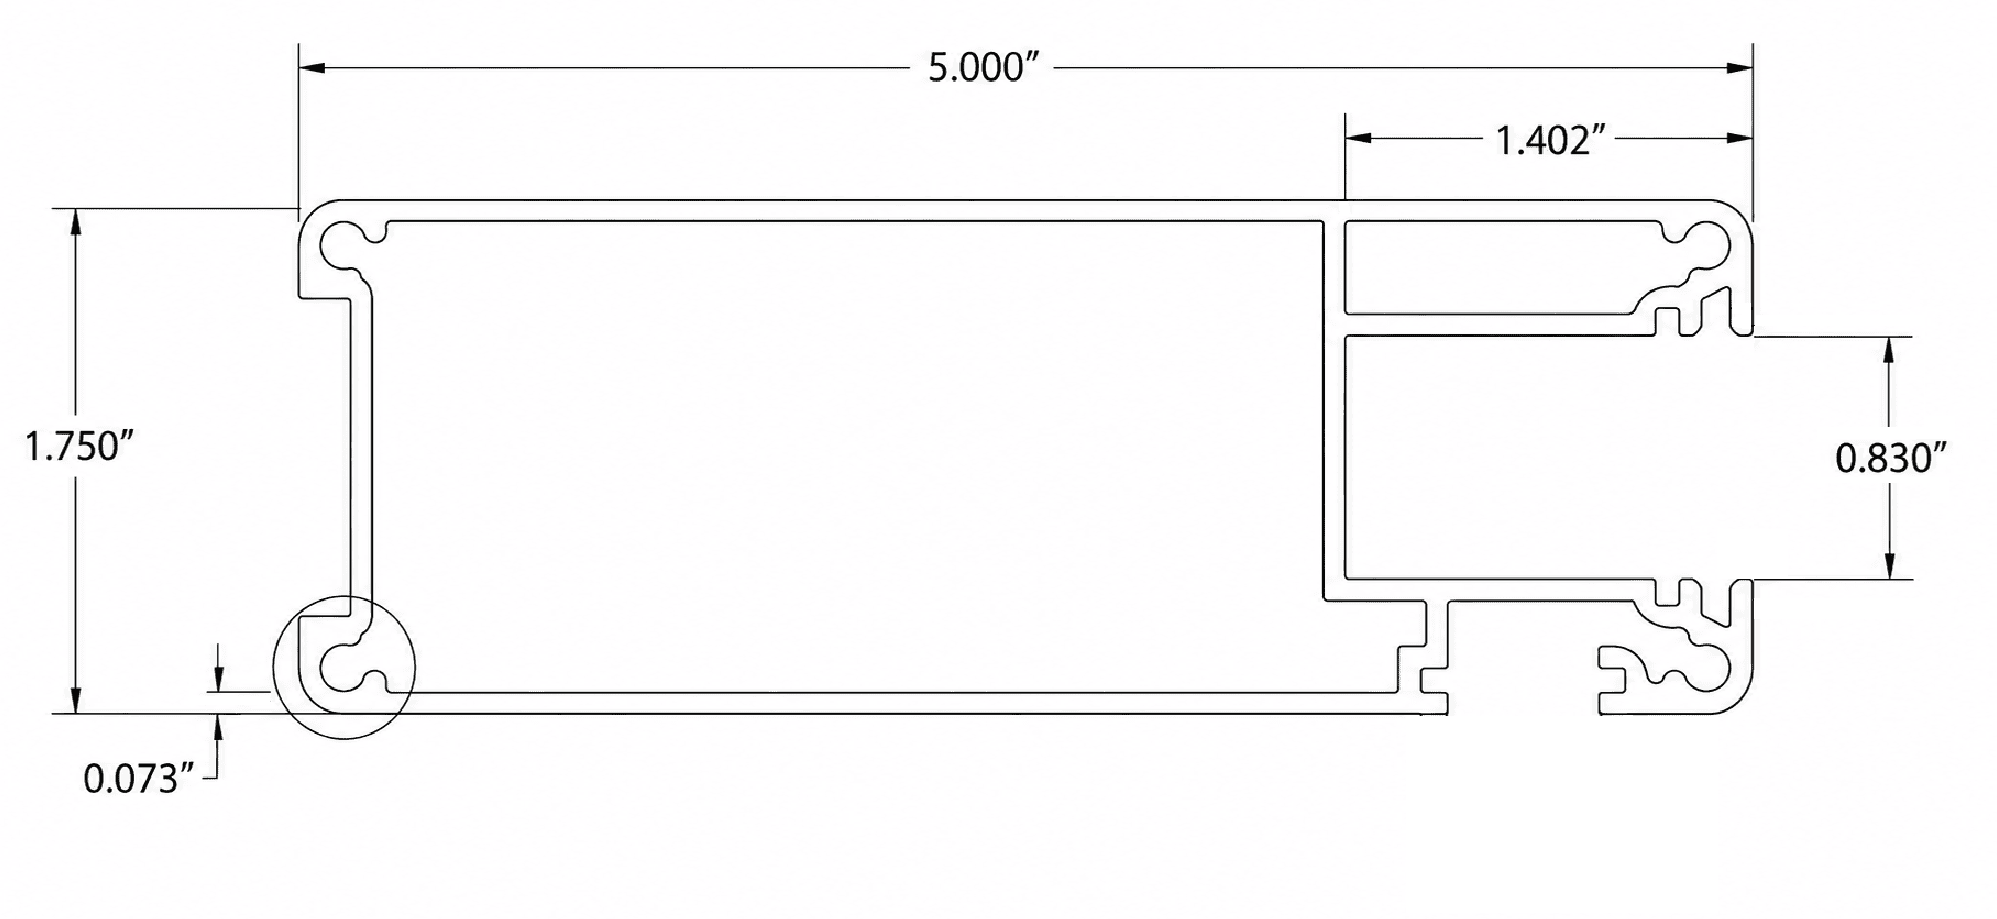
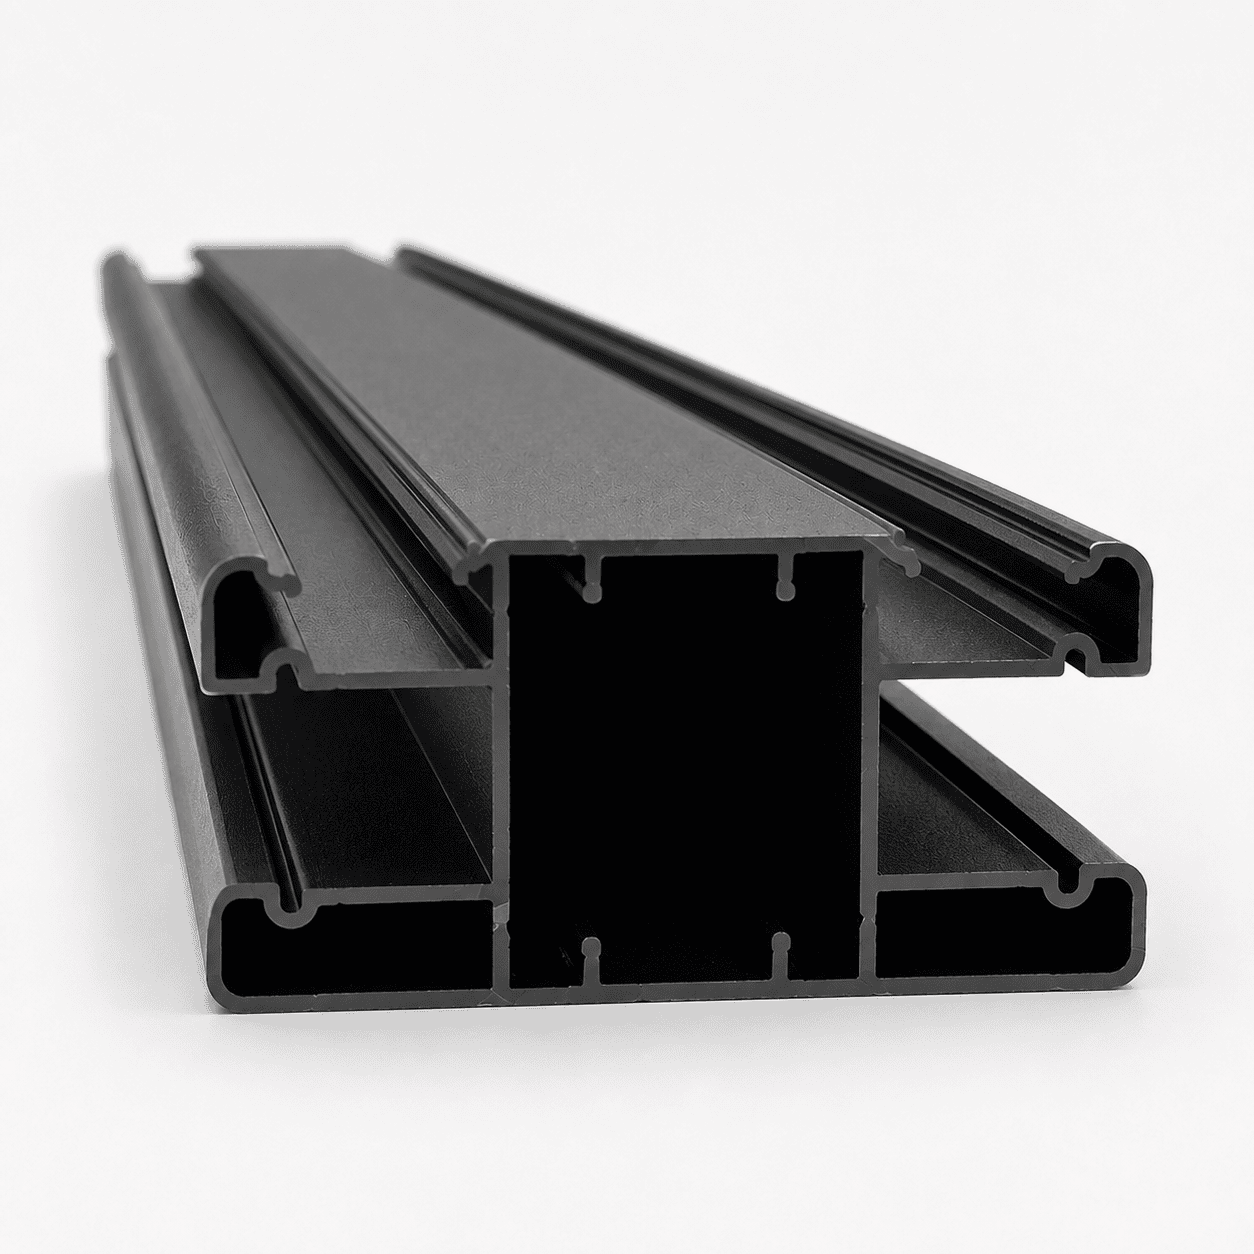
- 2 aluminum side posts, each supplied at the selected height
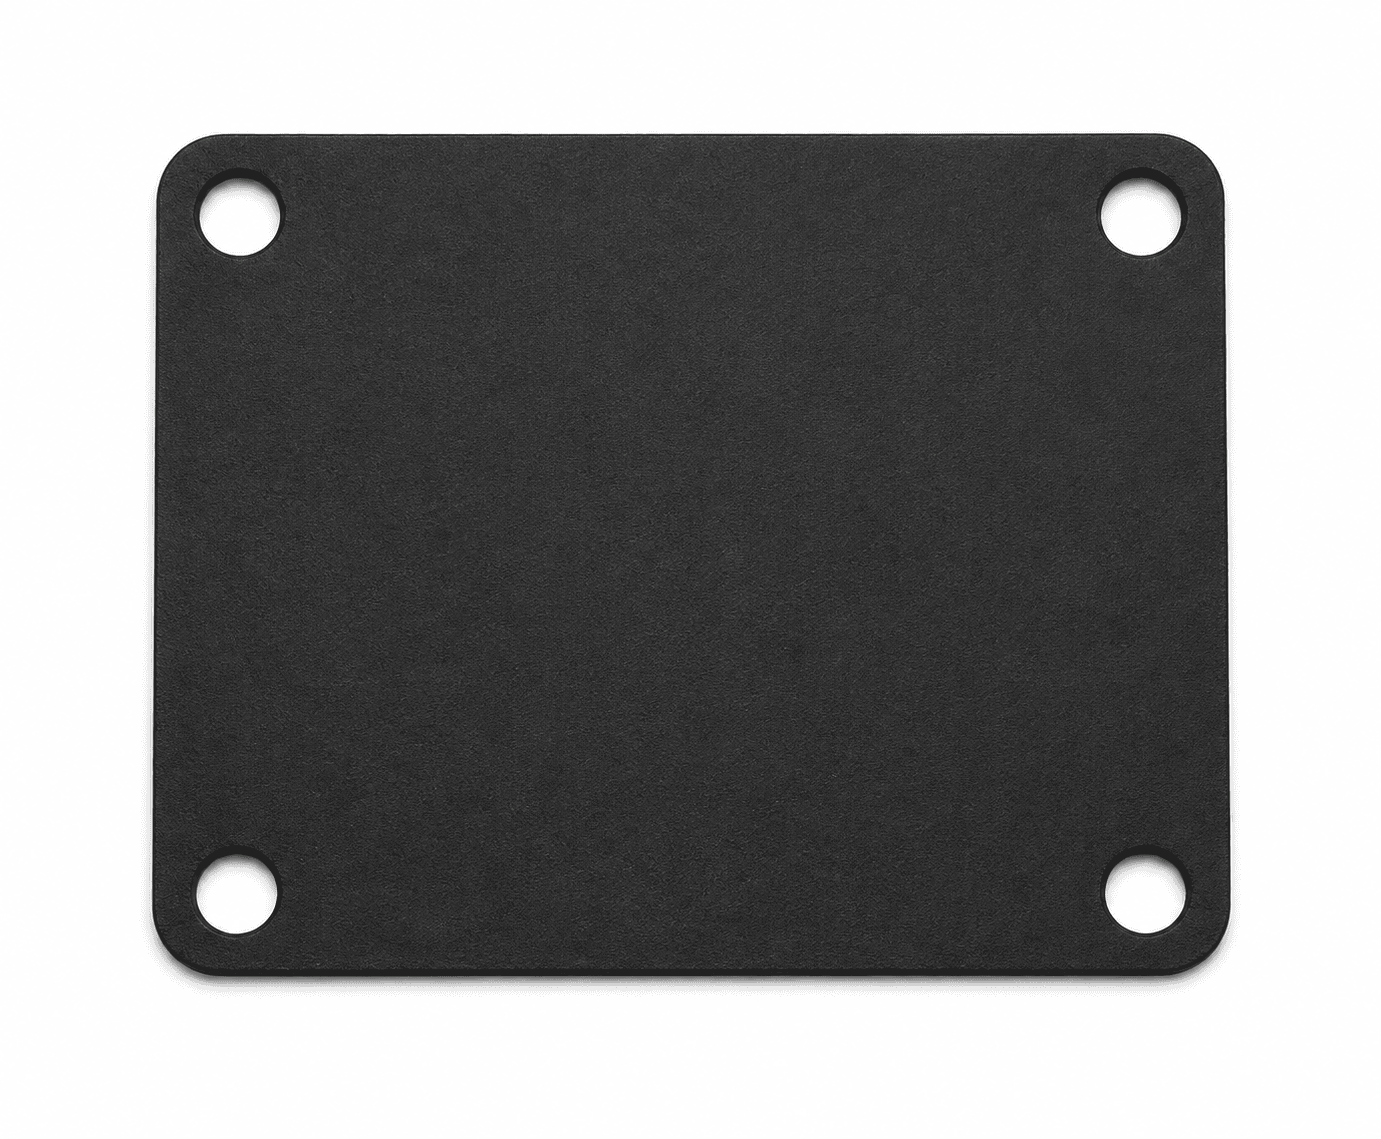
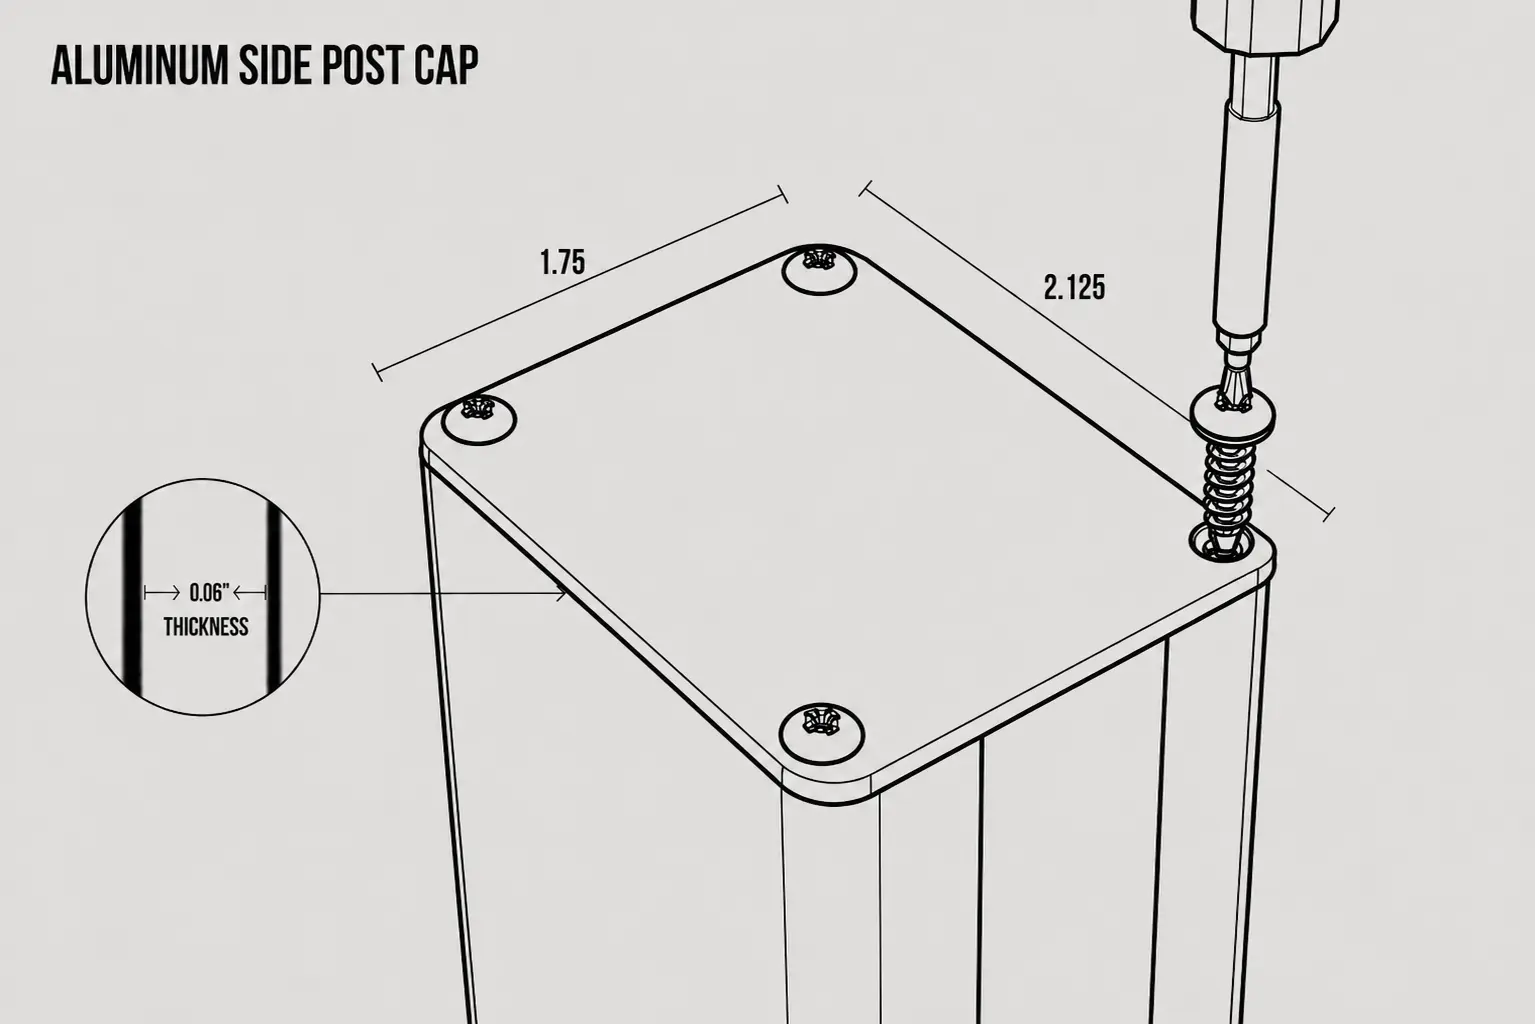
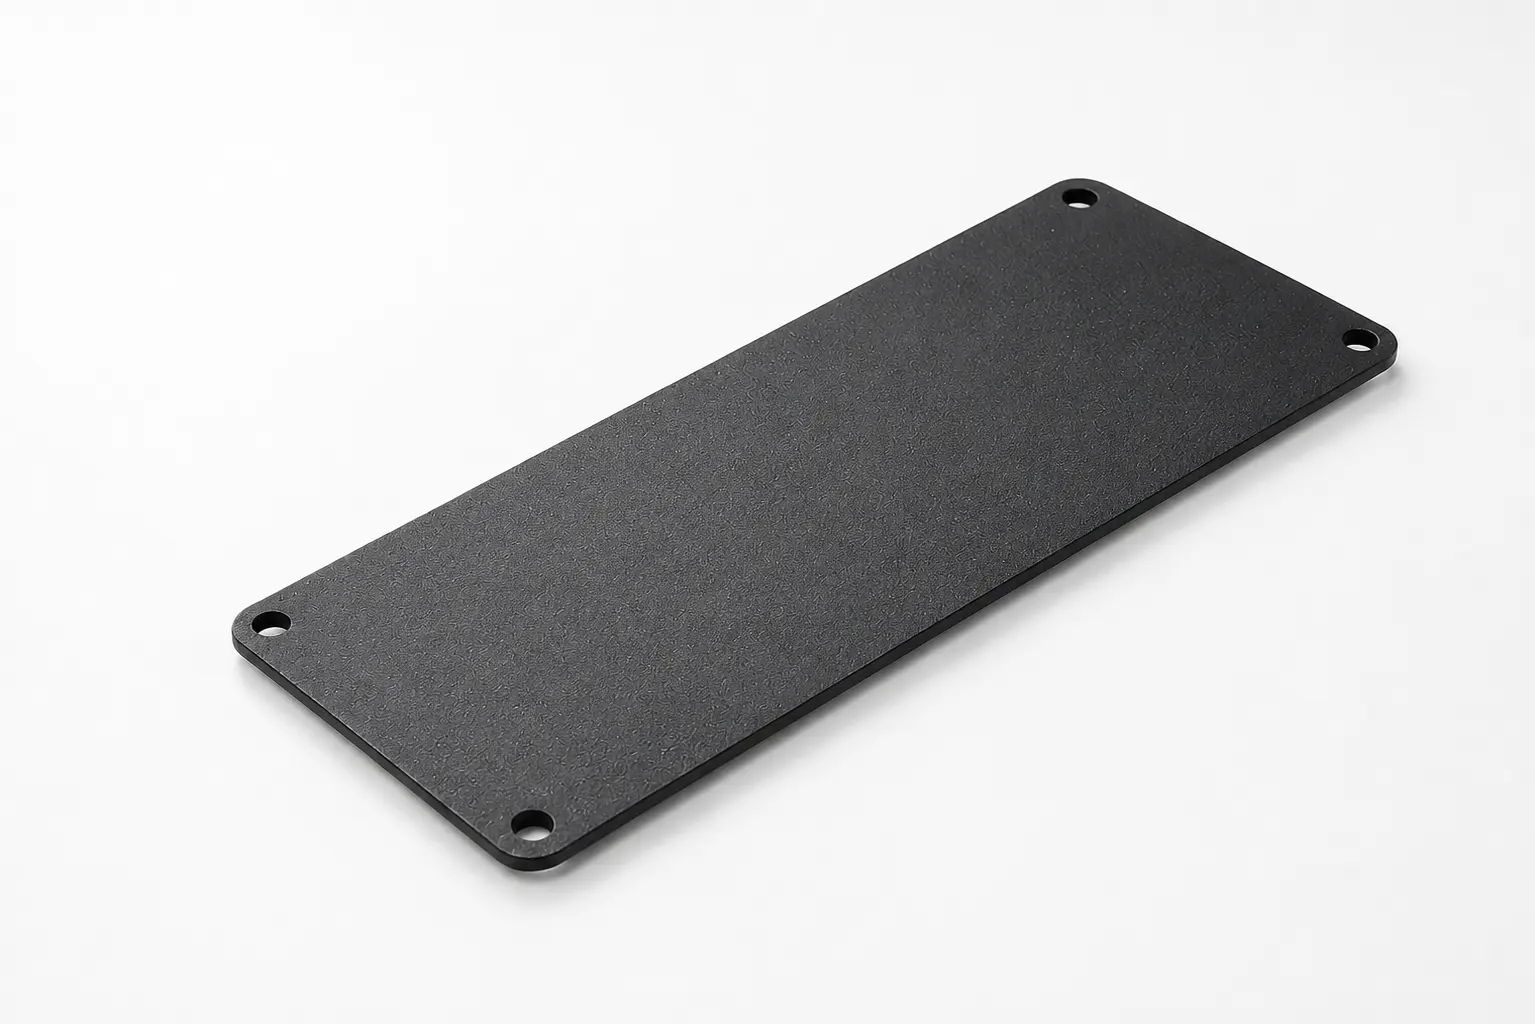
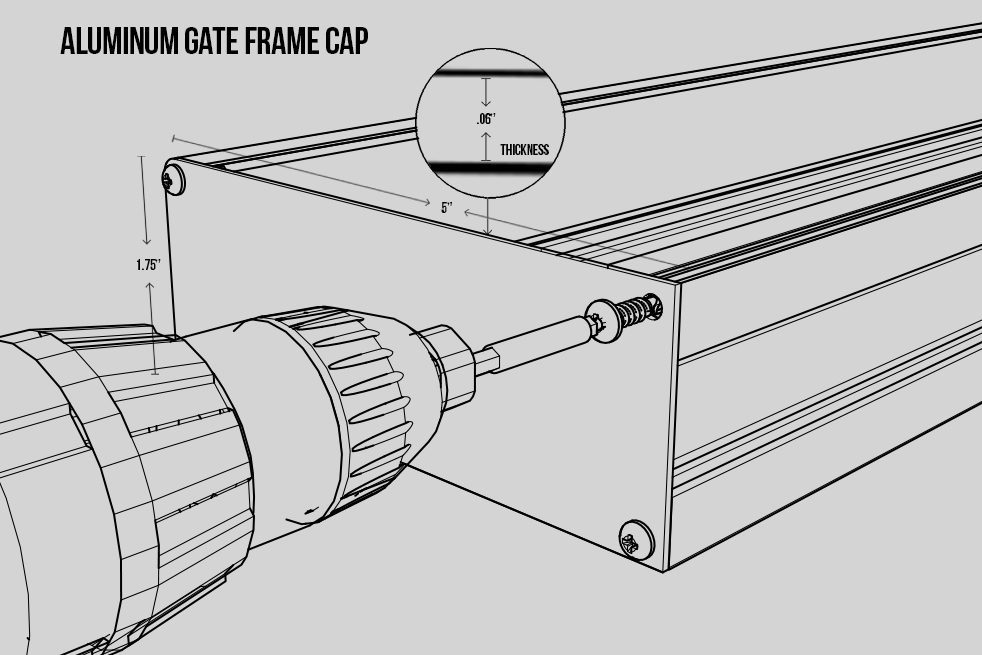
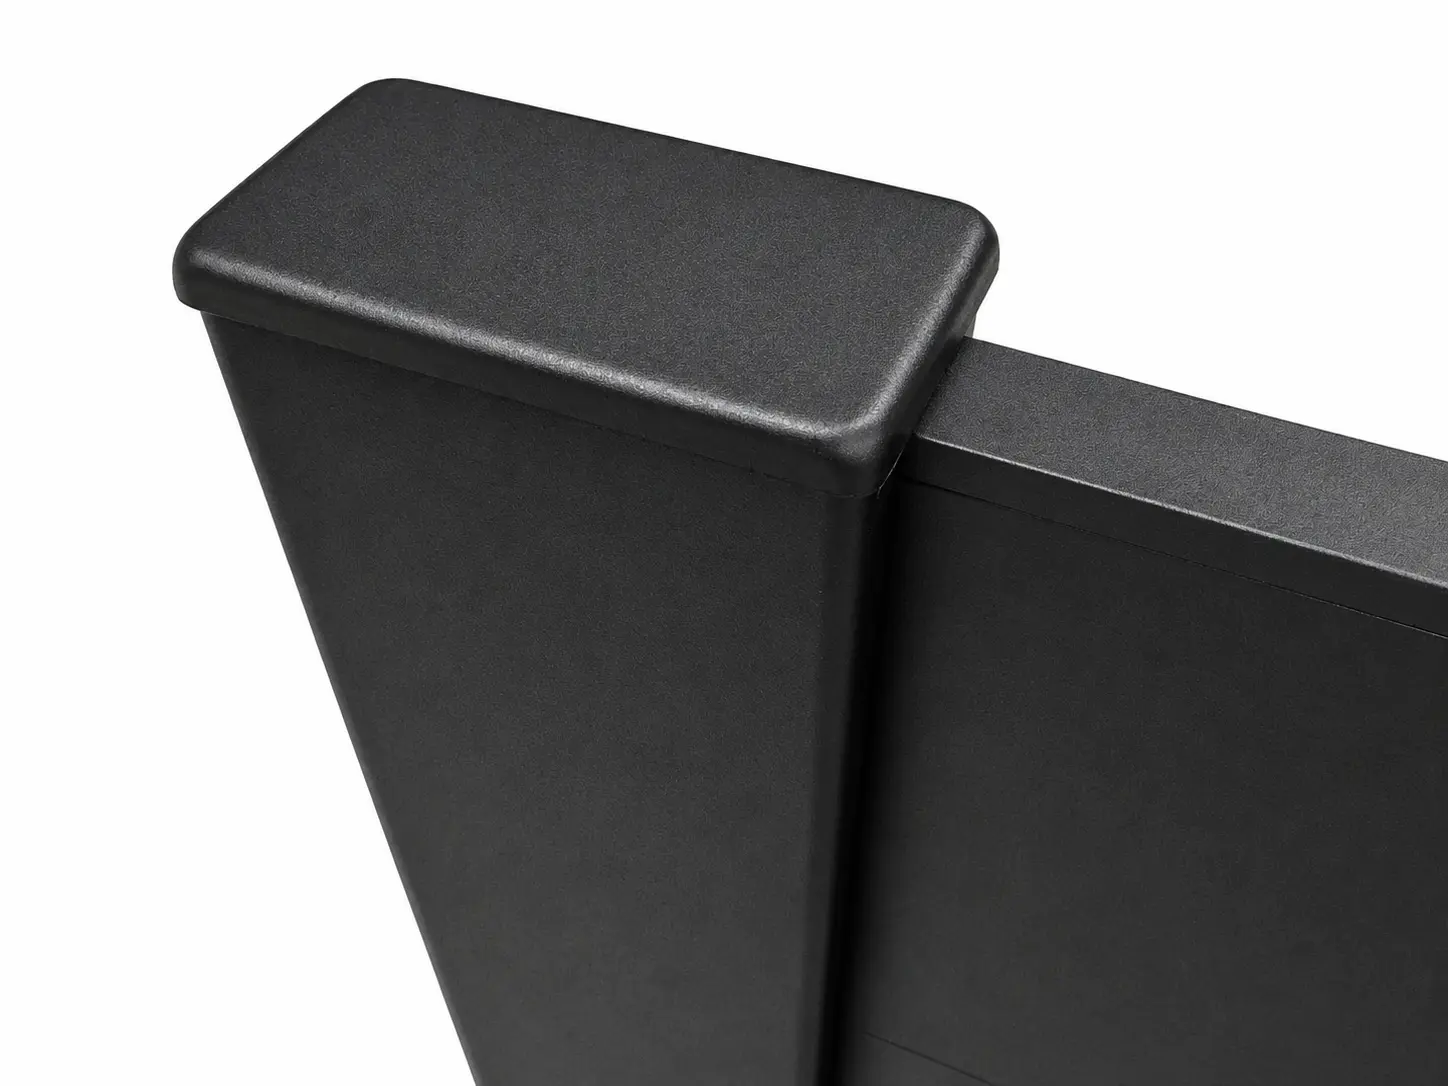
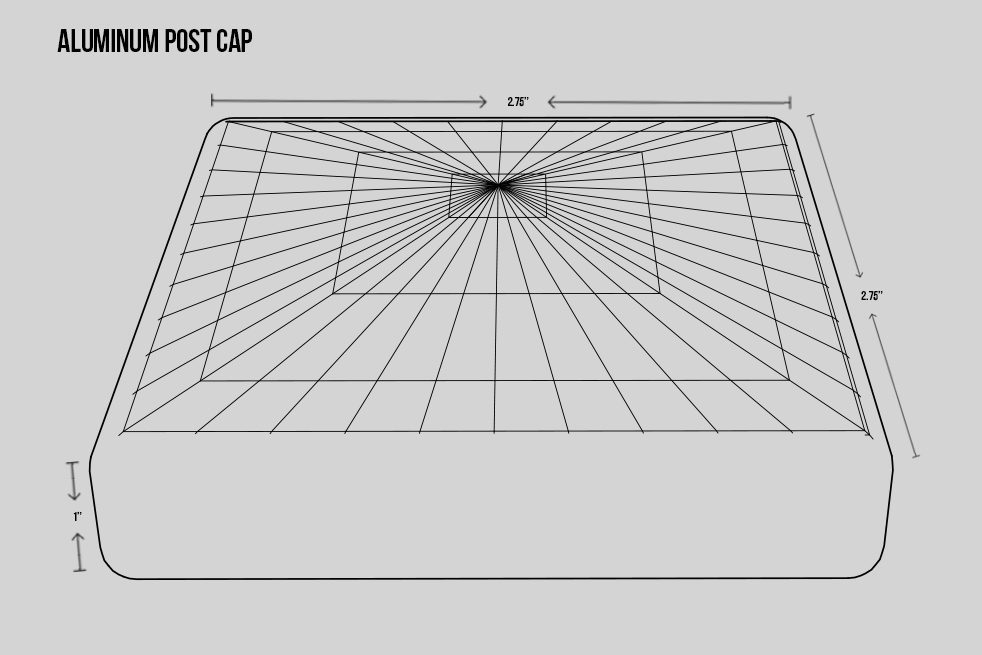
- 2 aluminum caps for the side posts
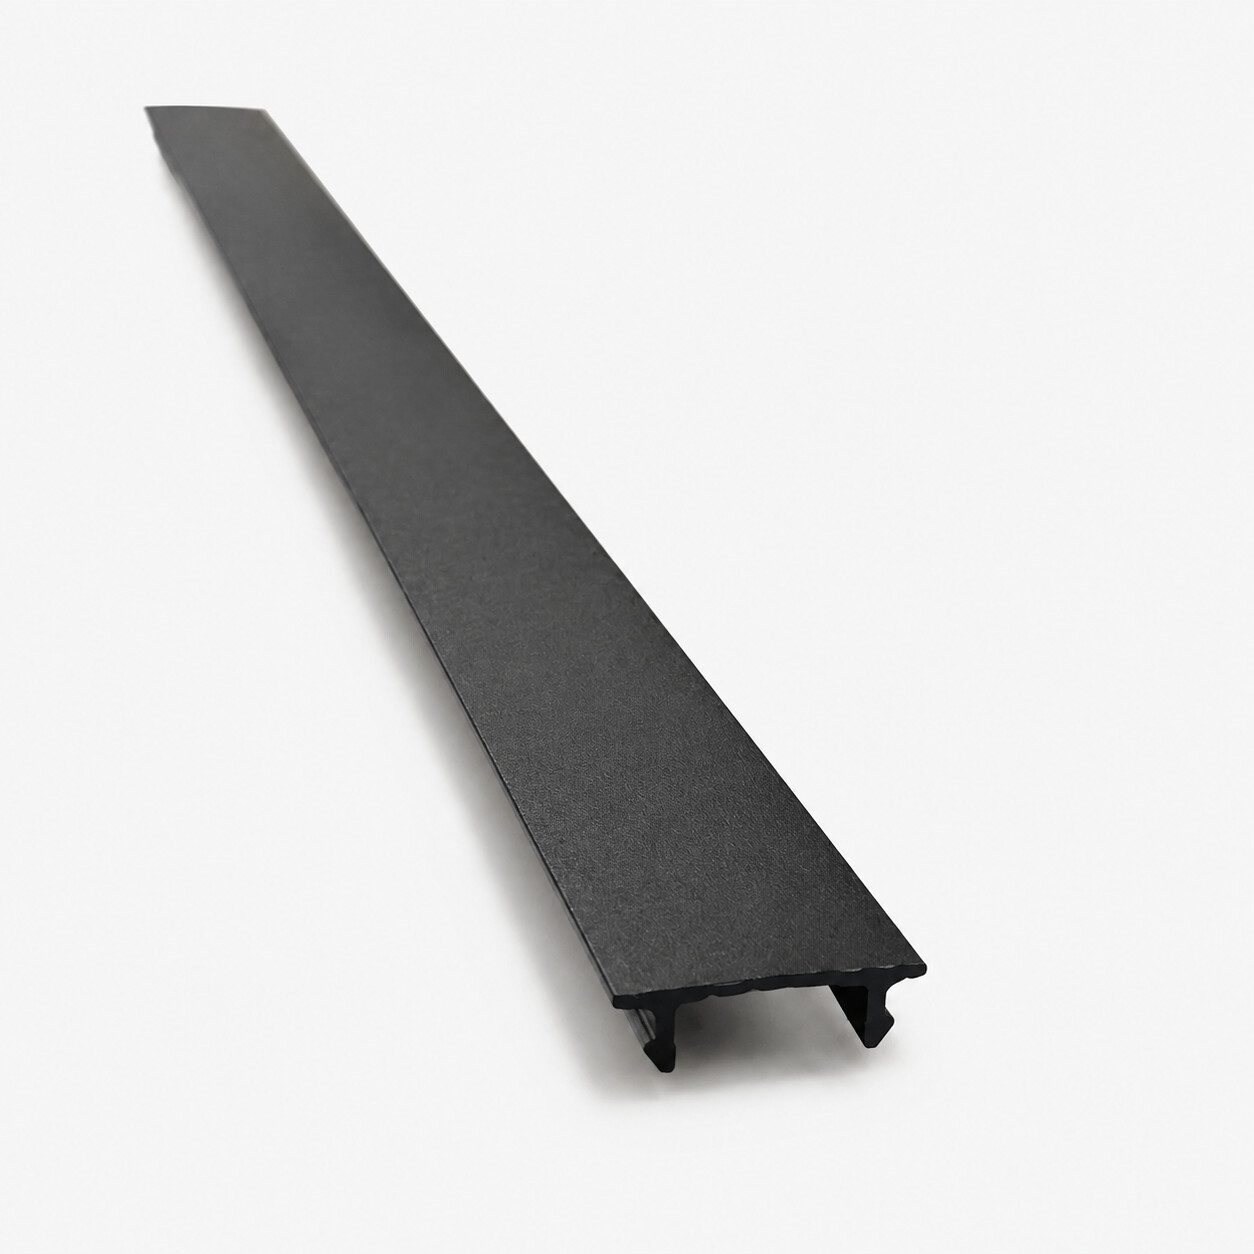
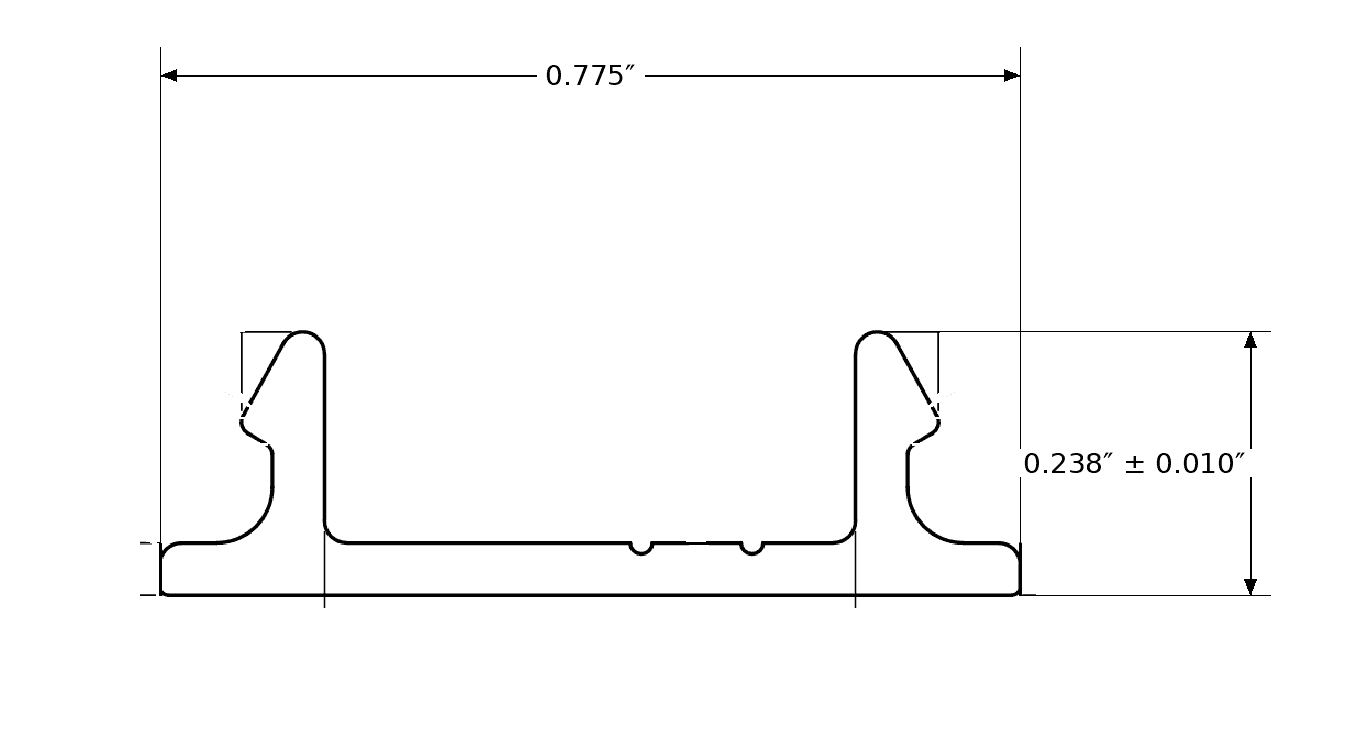
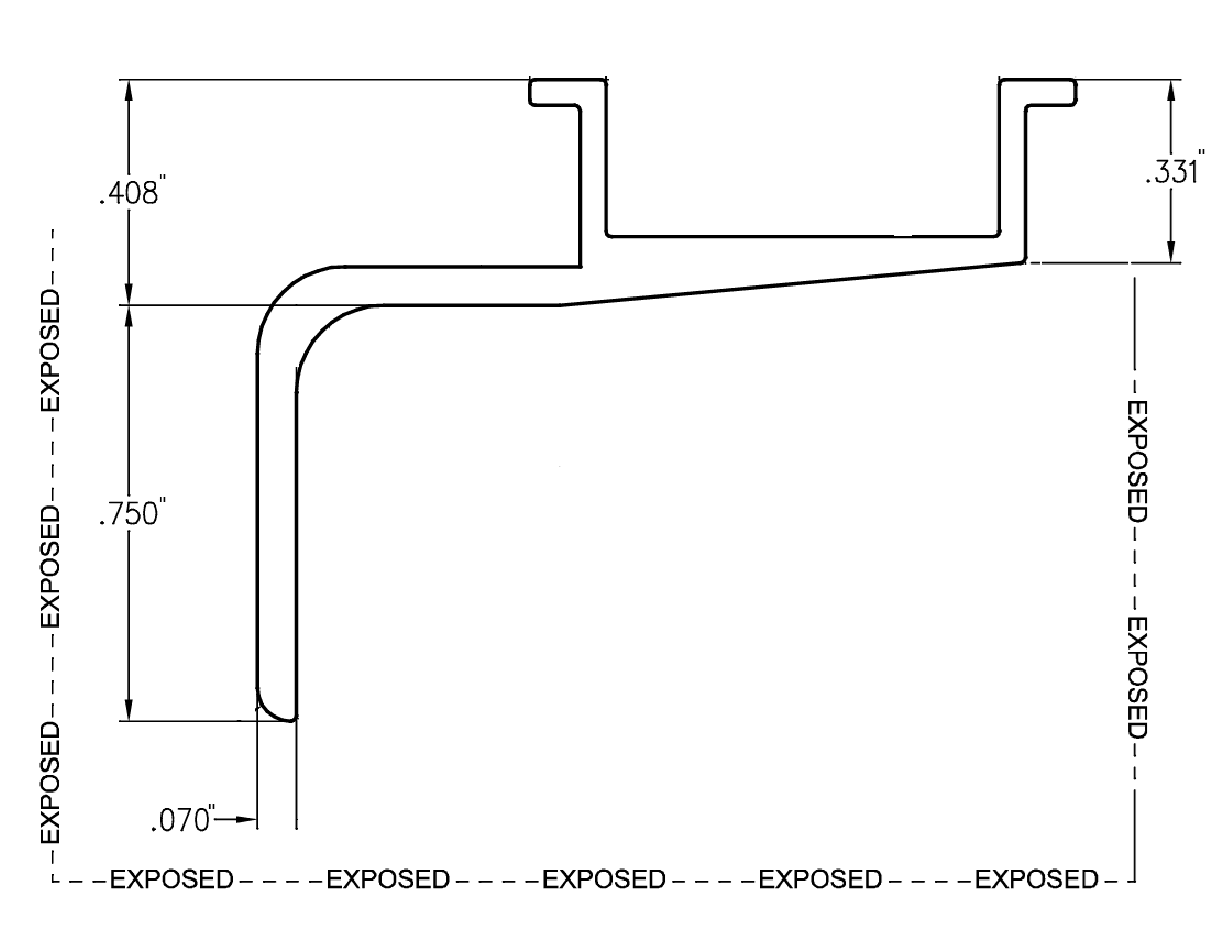
- New York Style 5.5-inch aluminum privacy boards in the selected width and size-specific quantity shown below
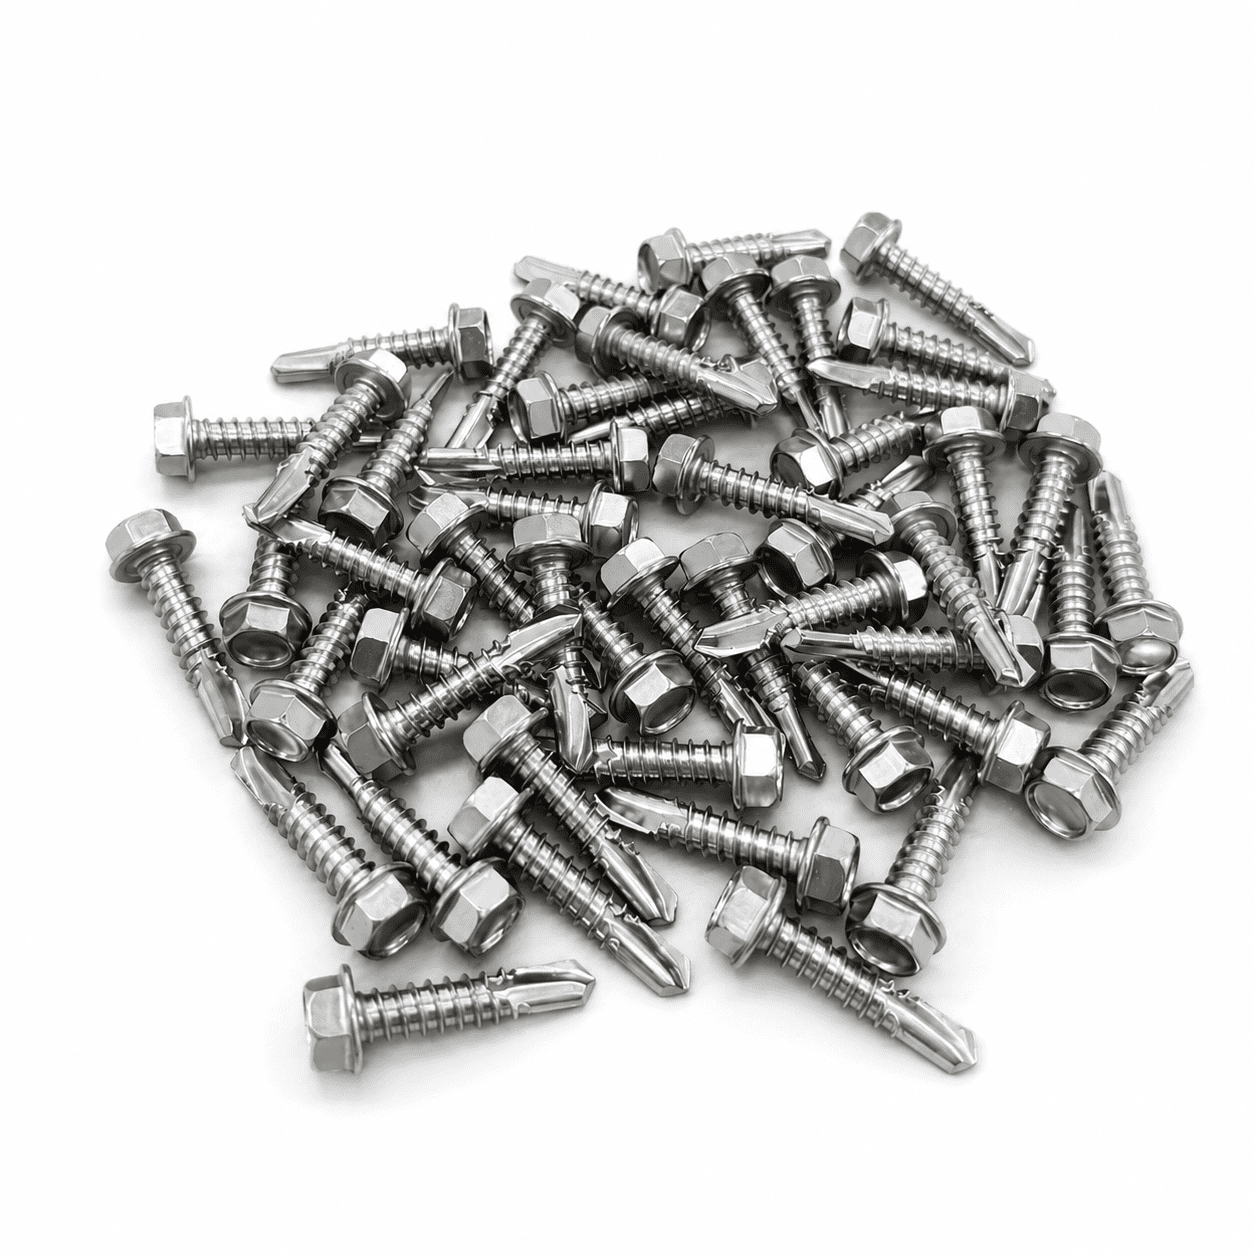
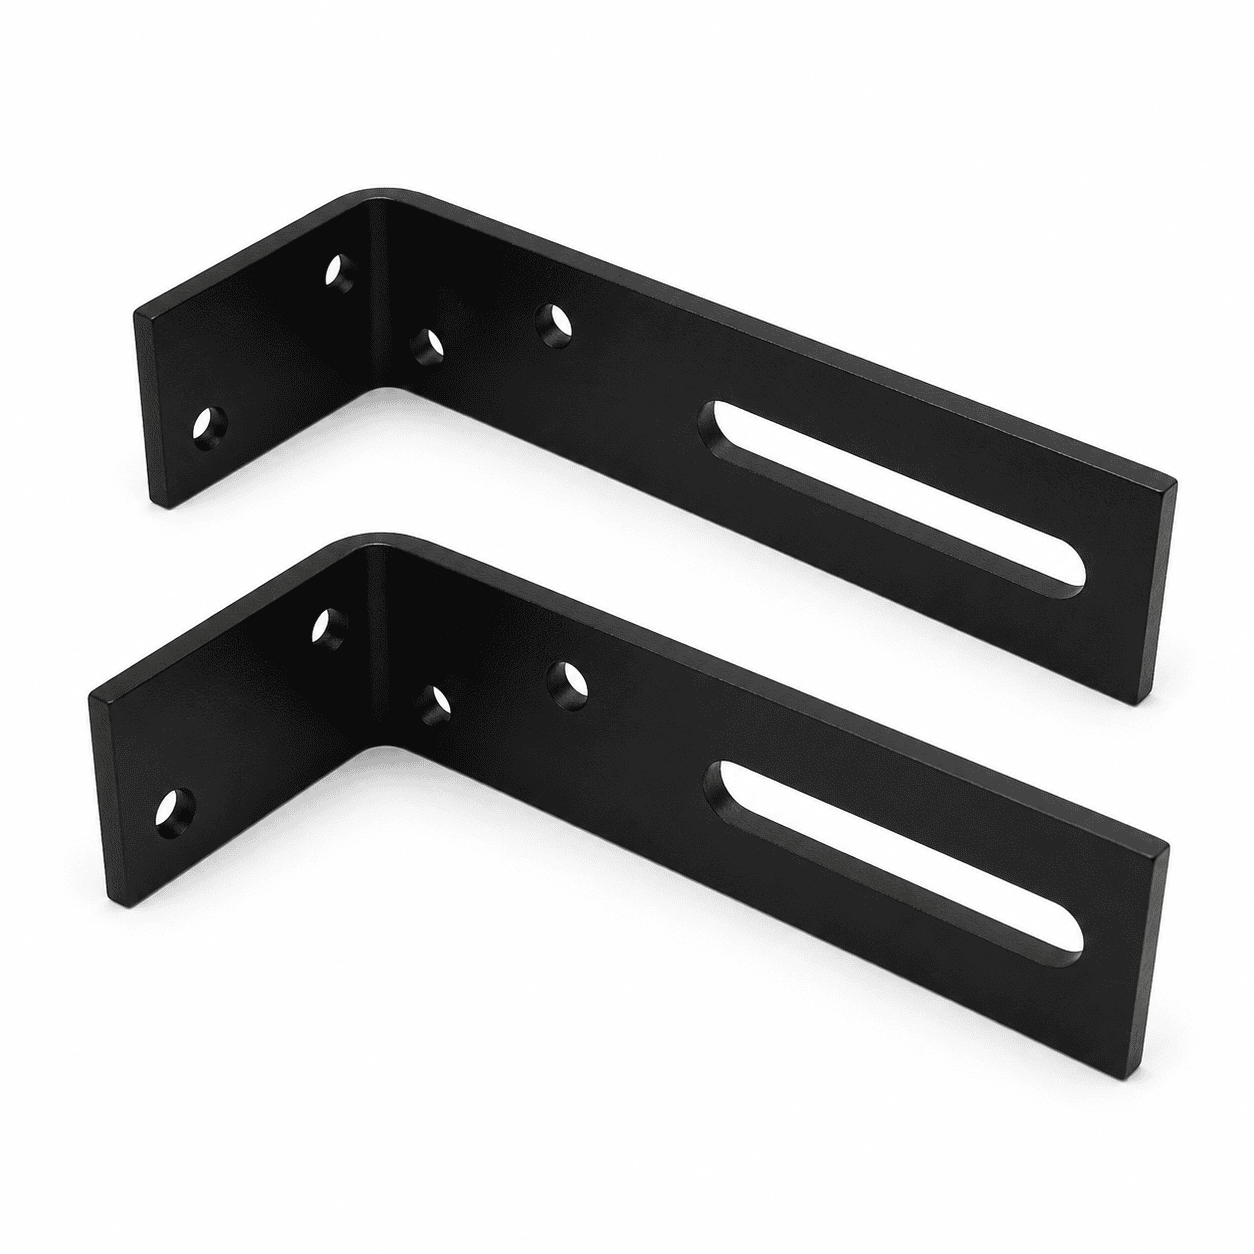
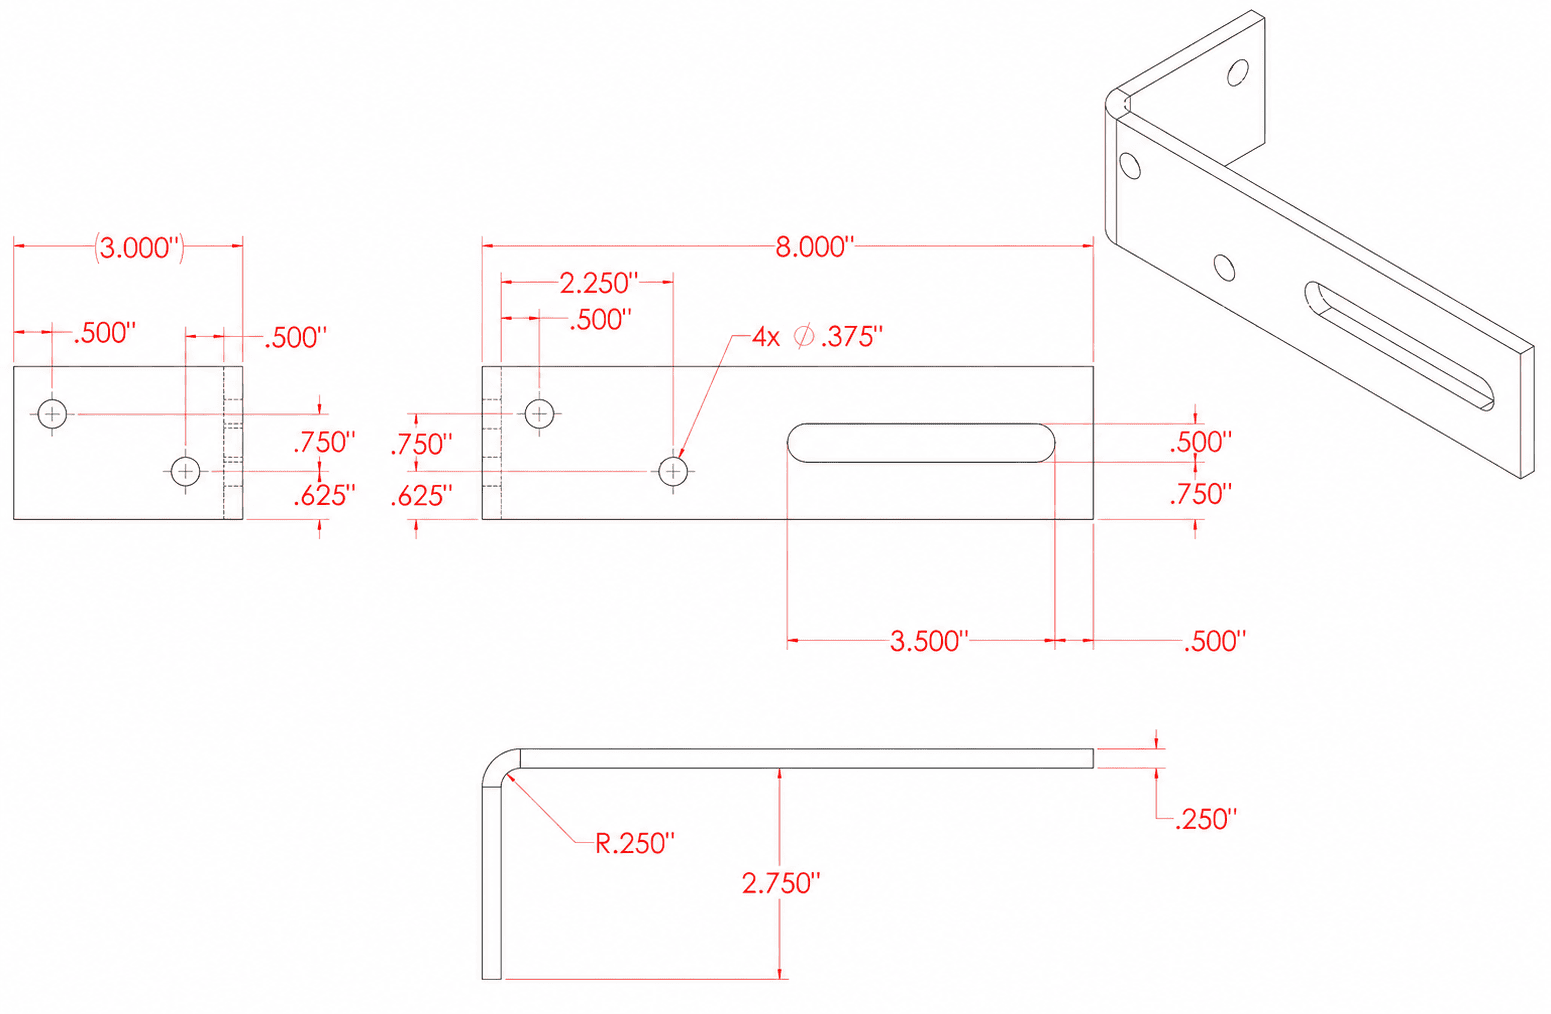
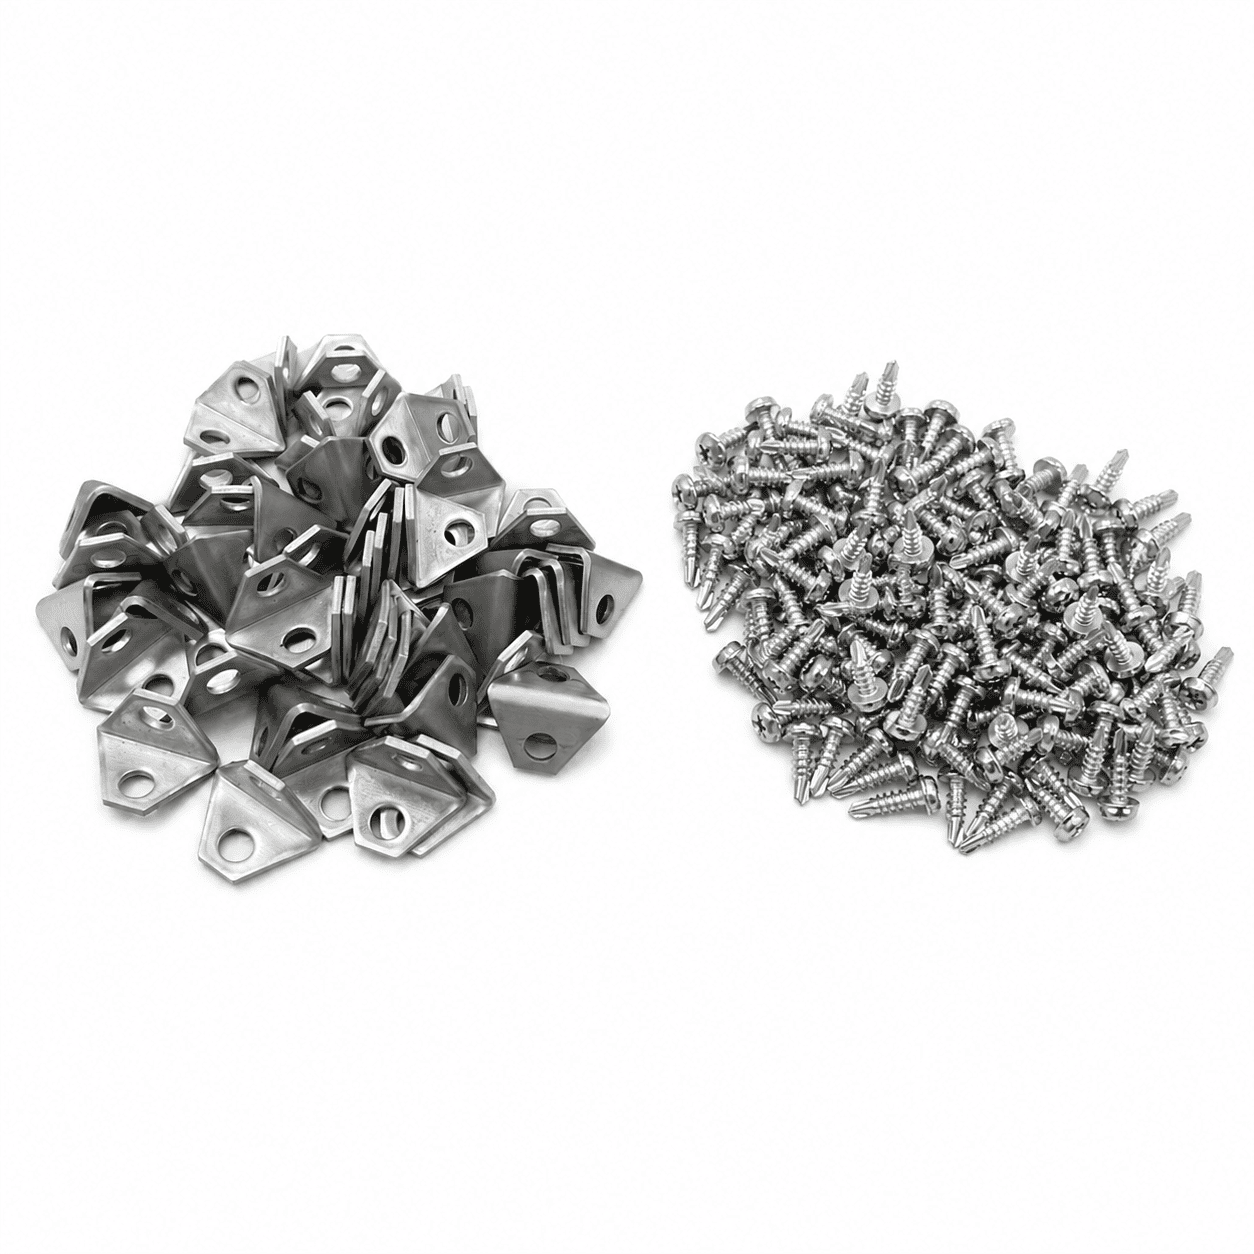
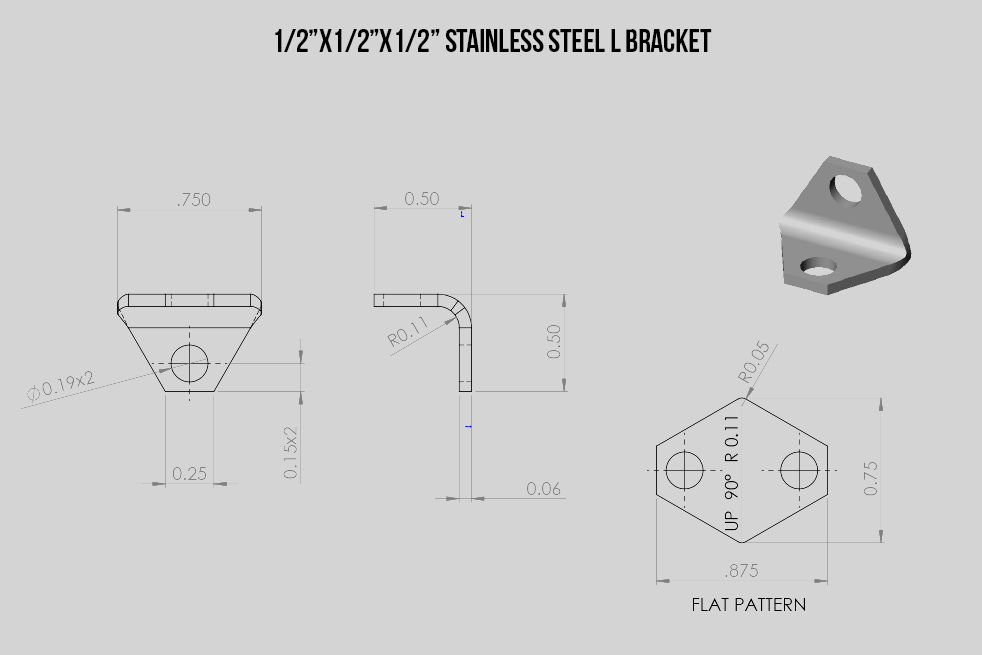
- 1 pack of 5 stainless steel L-brackets with #8 screws
10′ and 12′ wide kits
- 2 aluminum side posts and 2 side-post caps
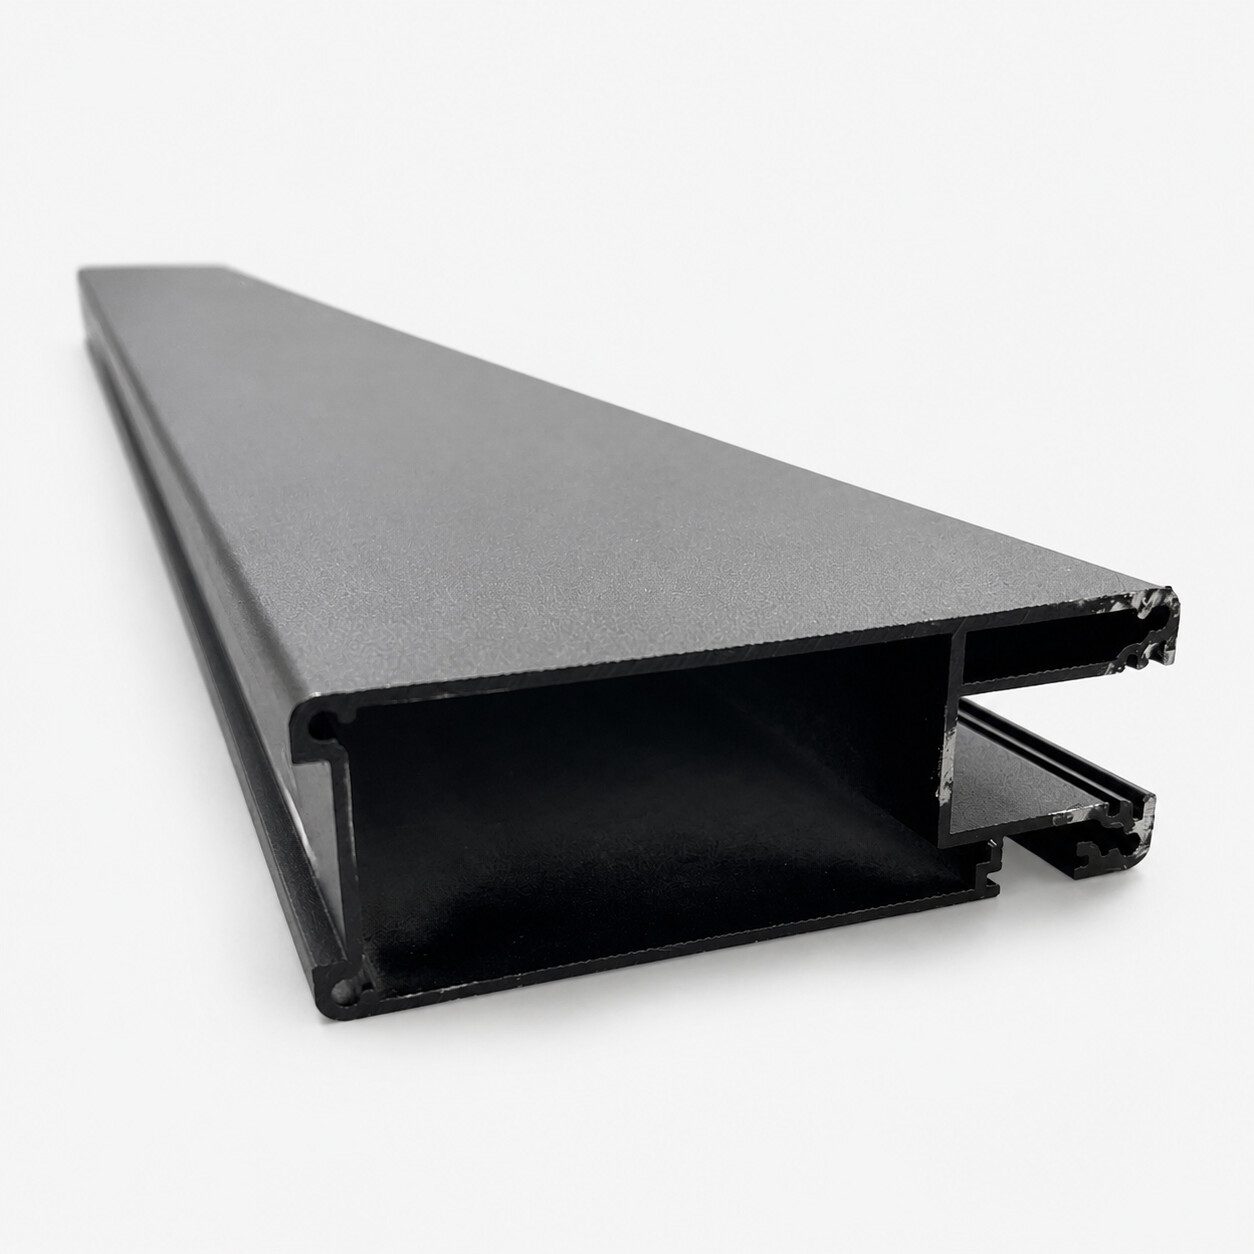
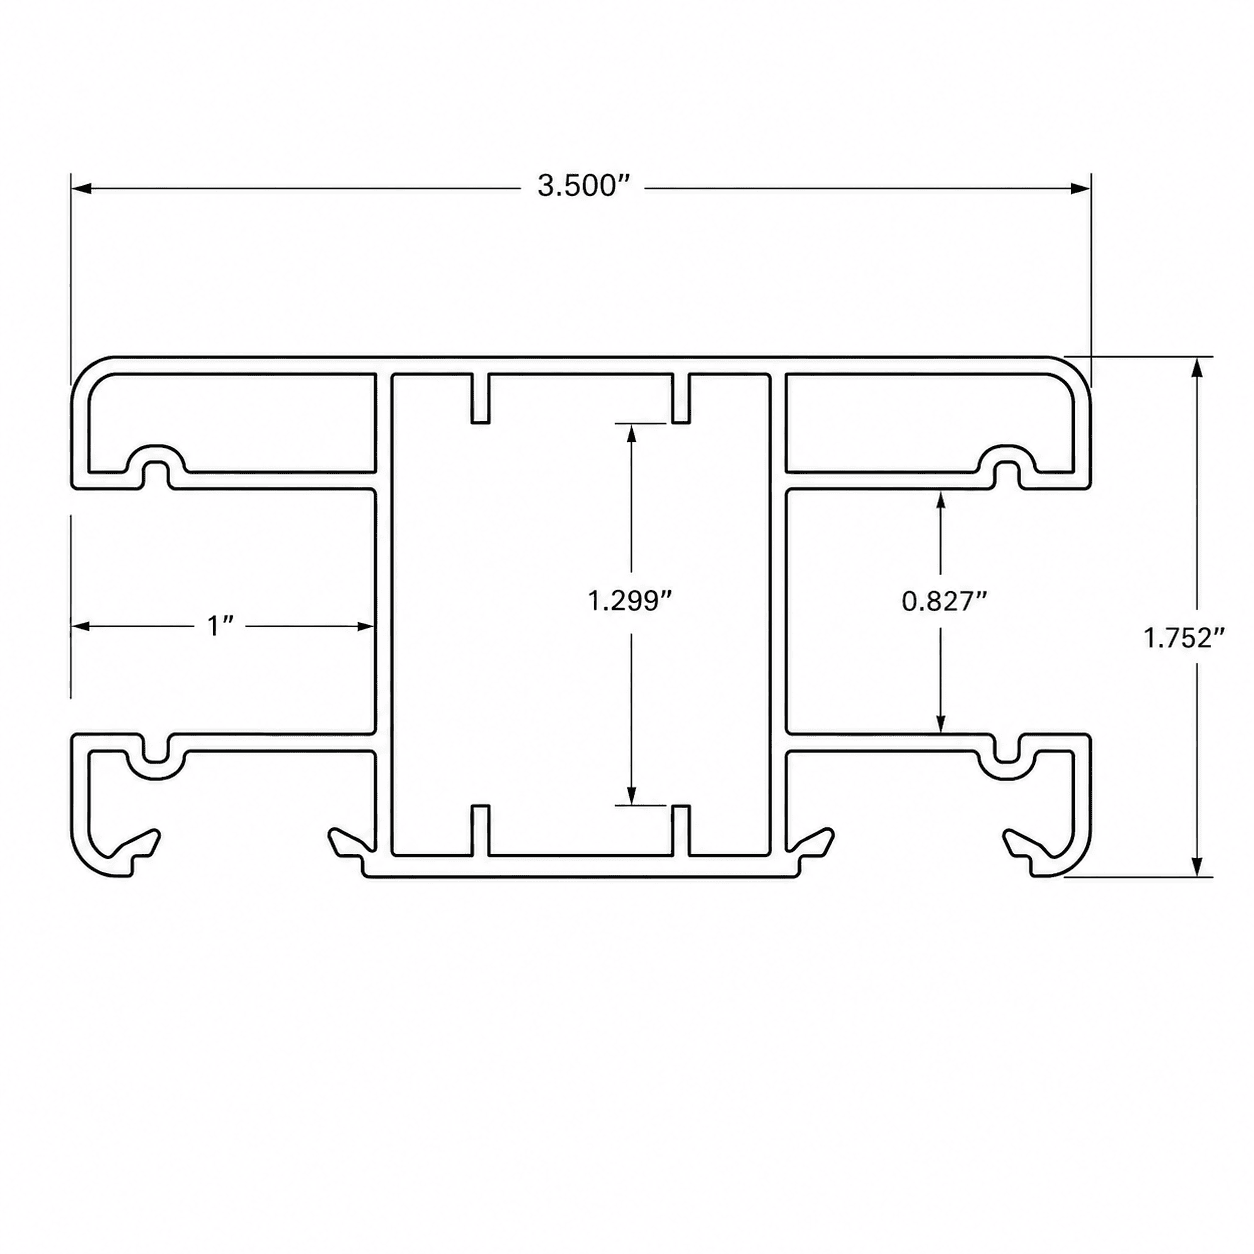
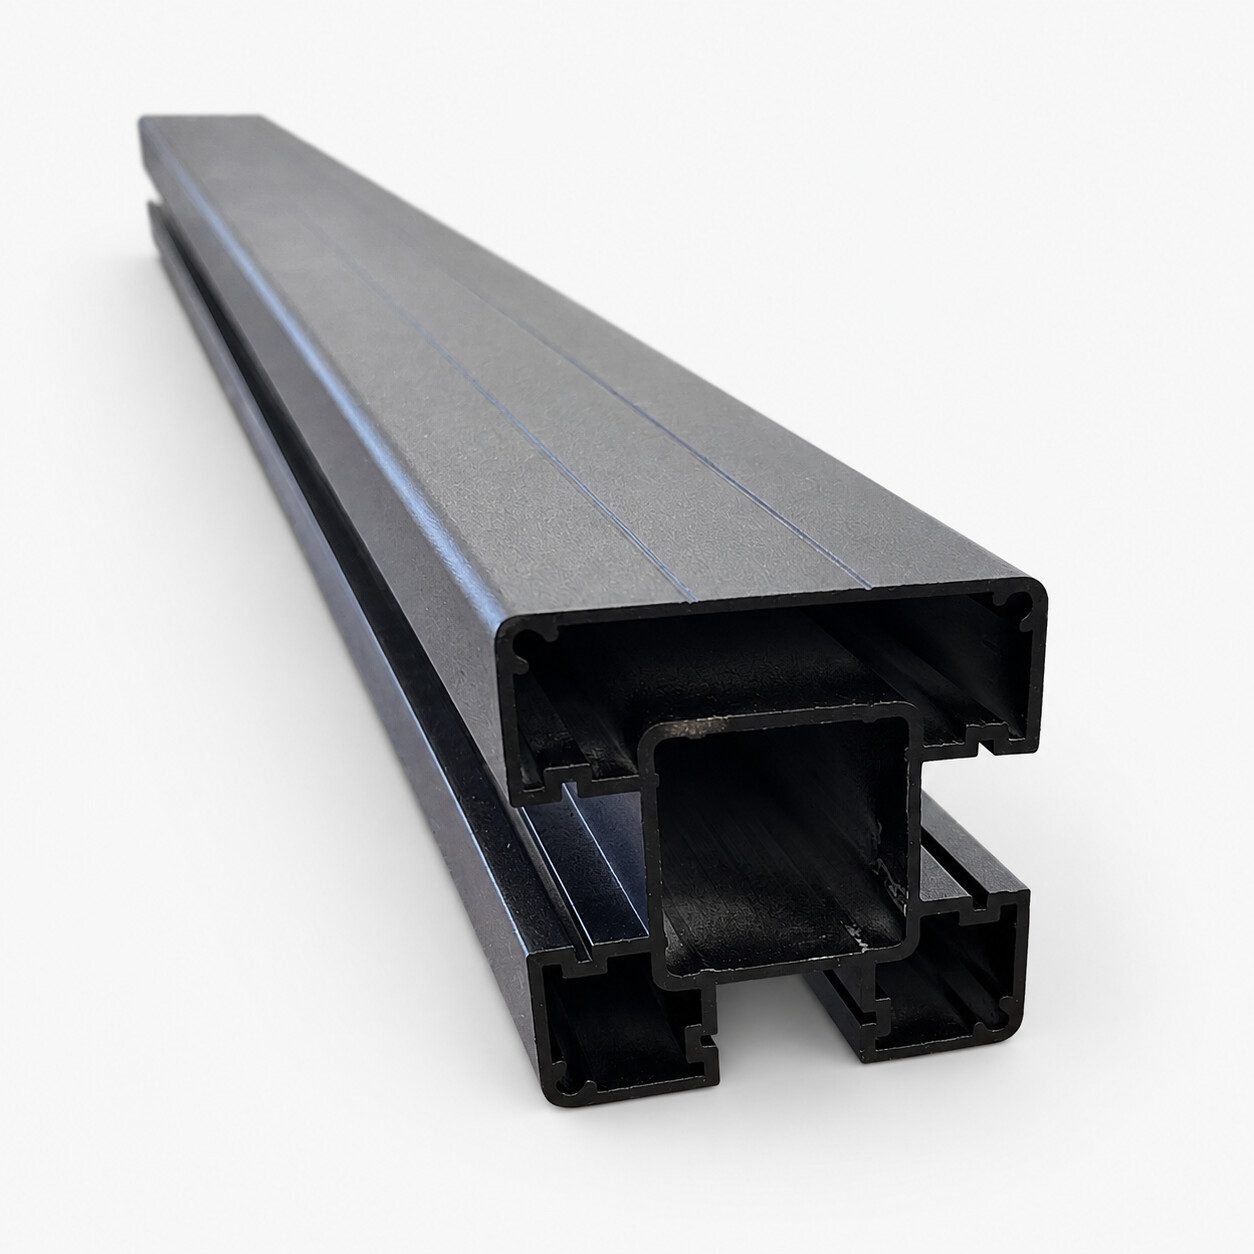
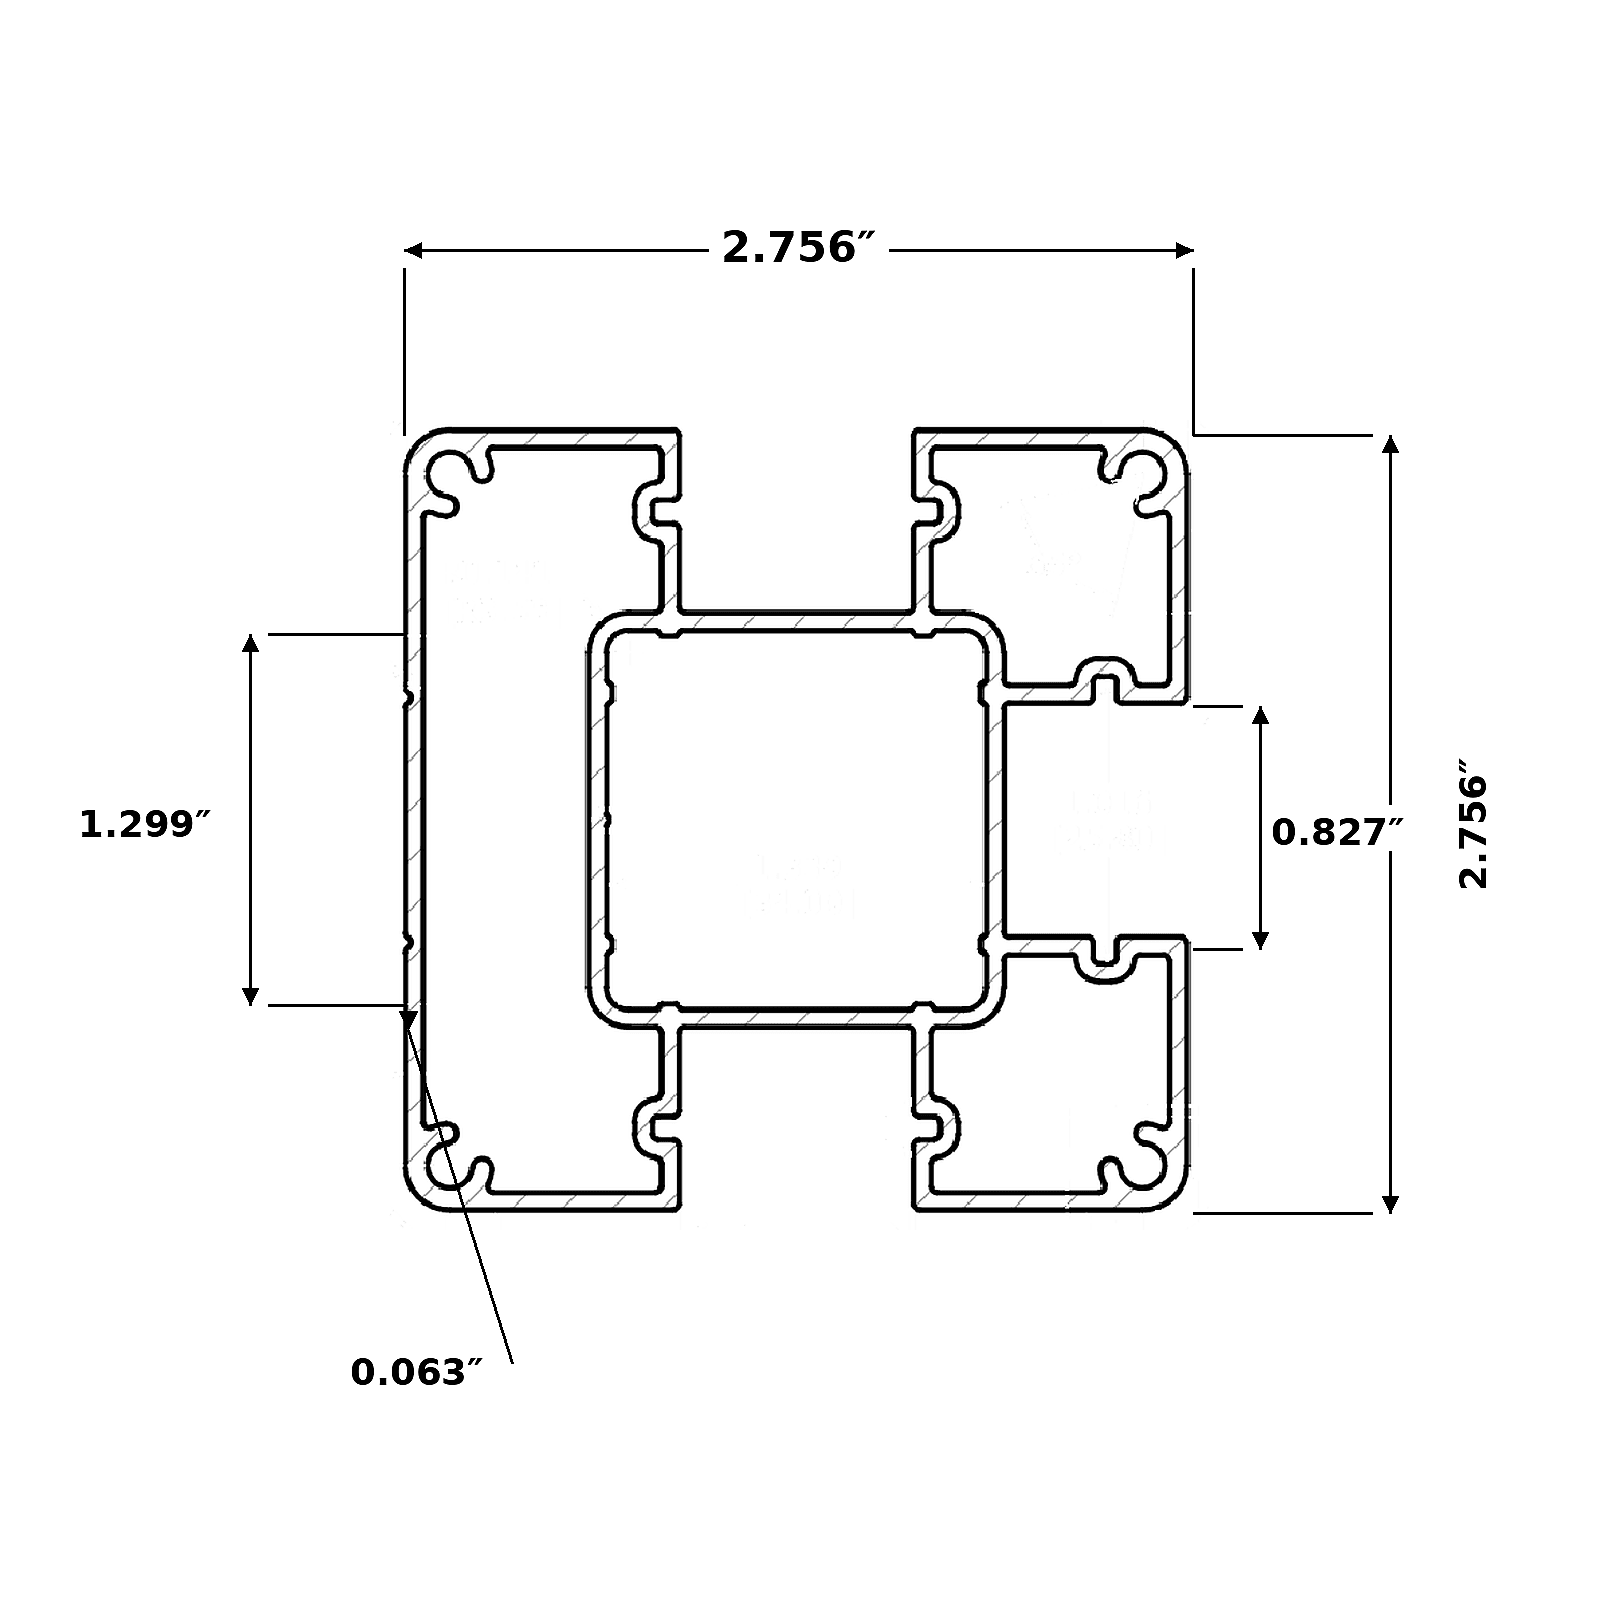
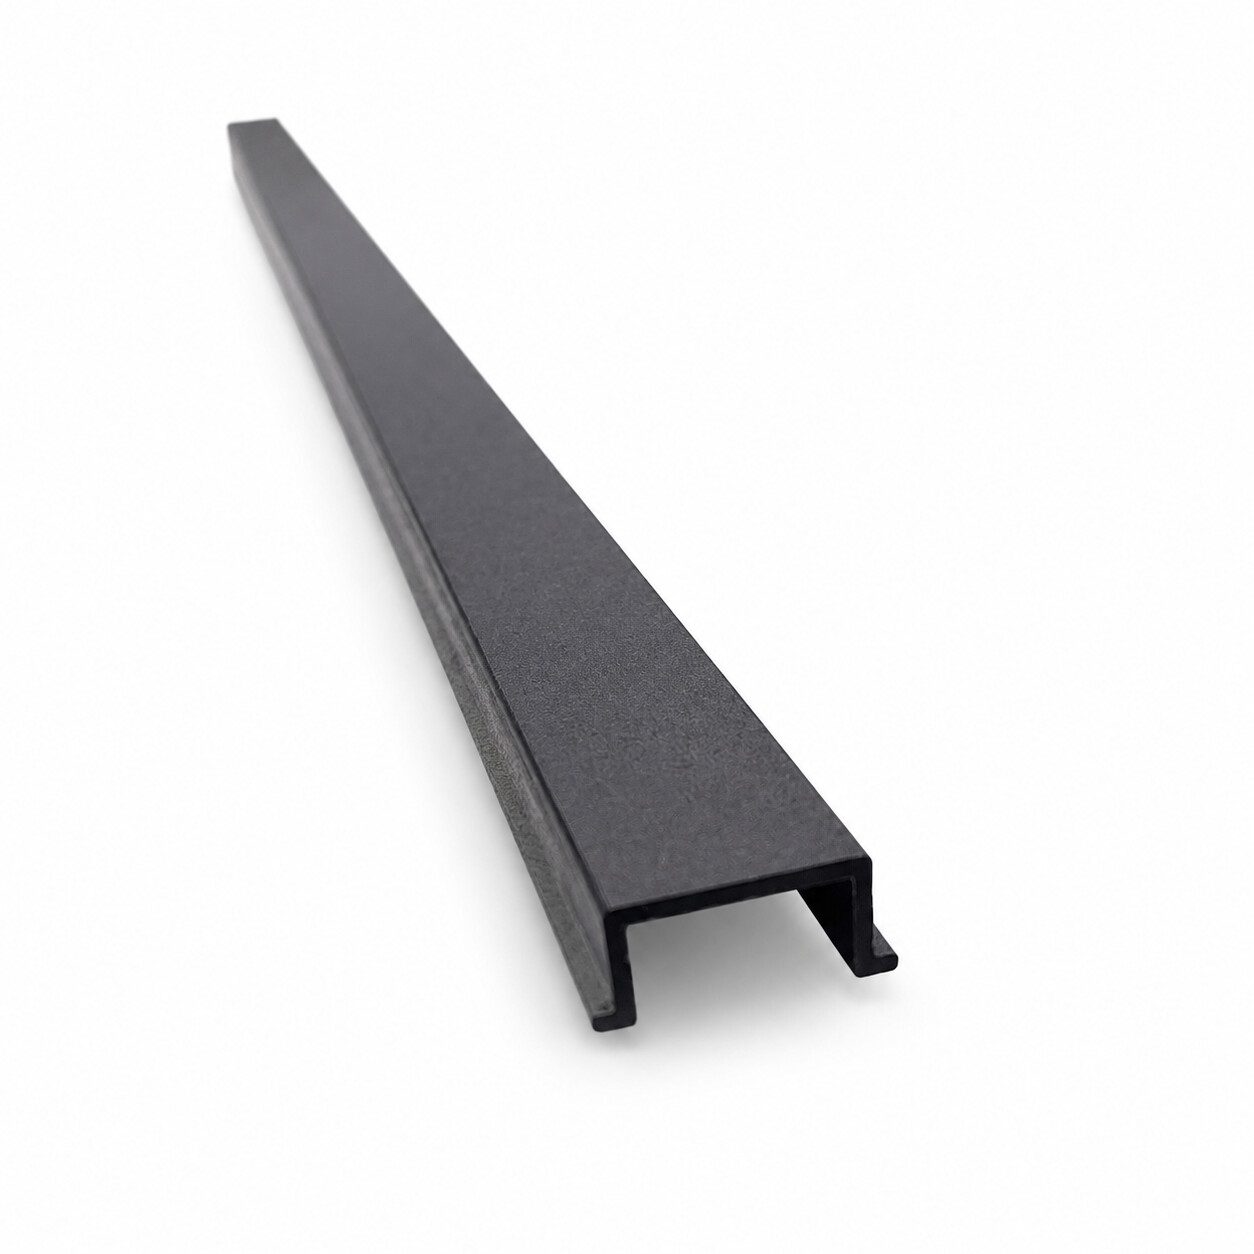
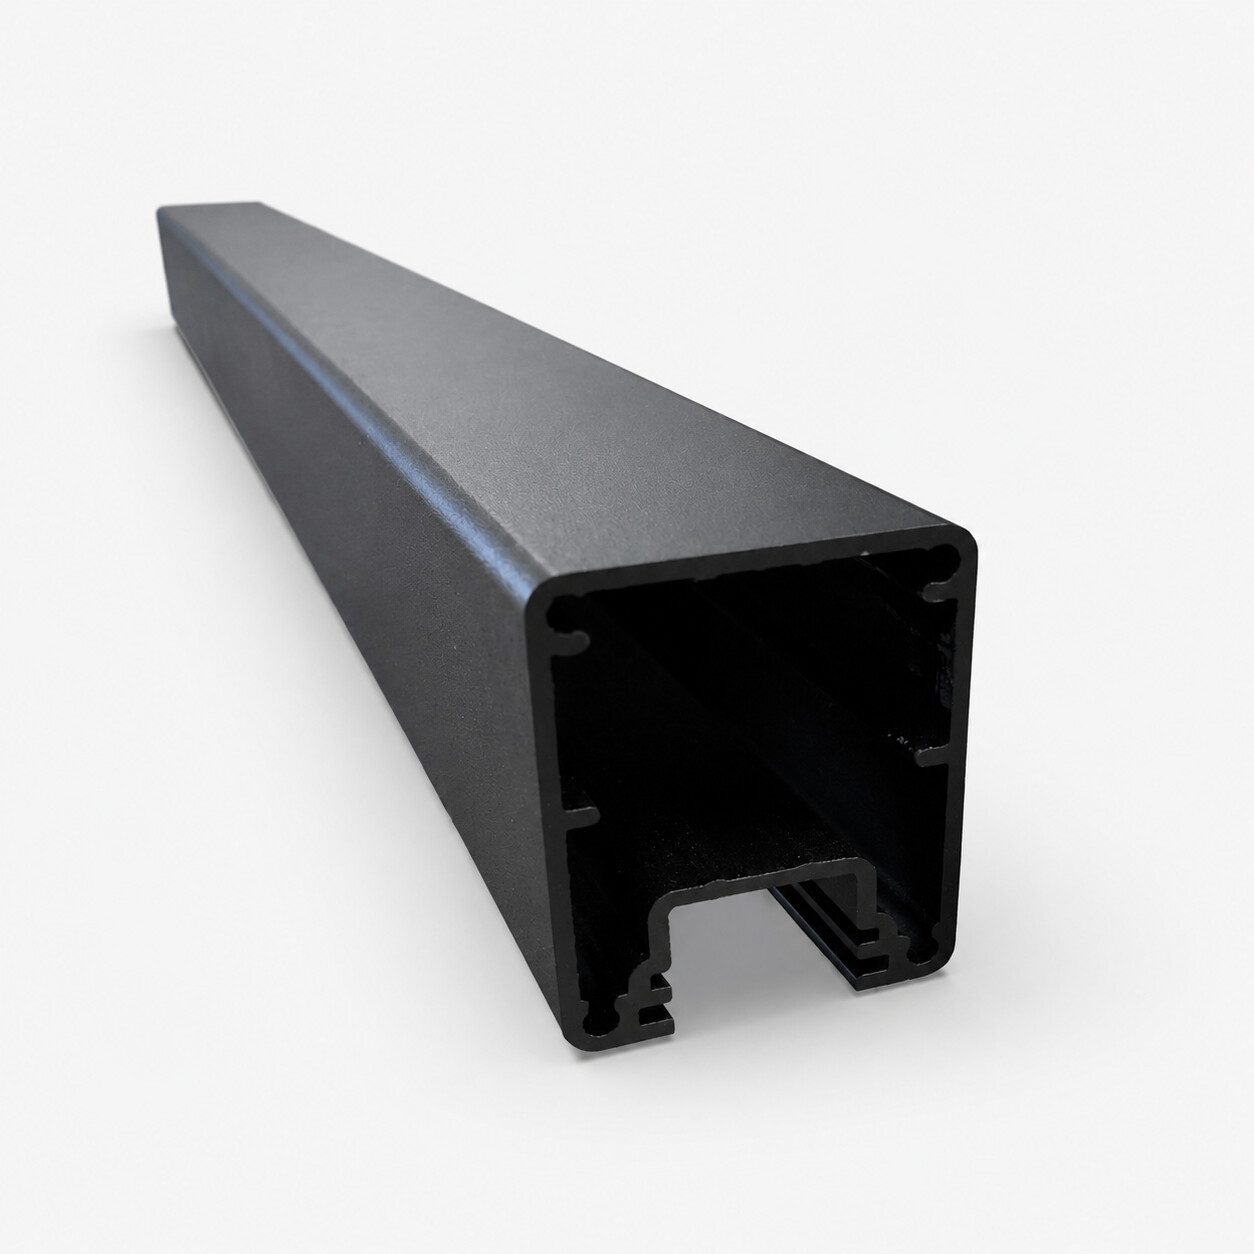
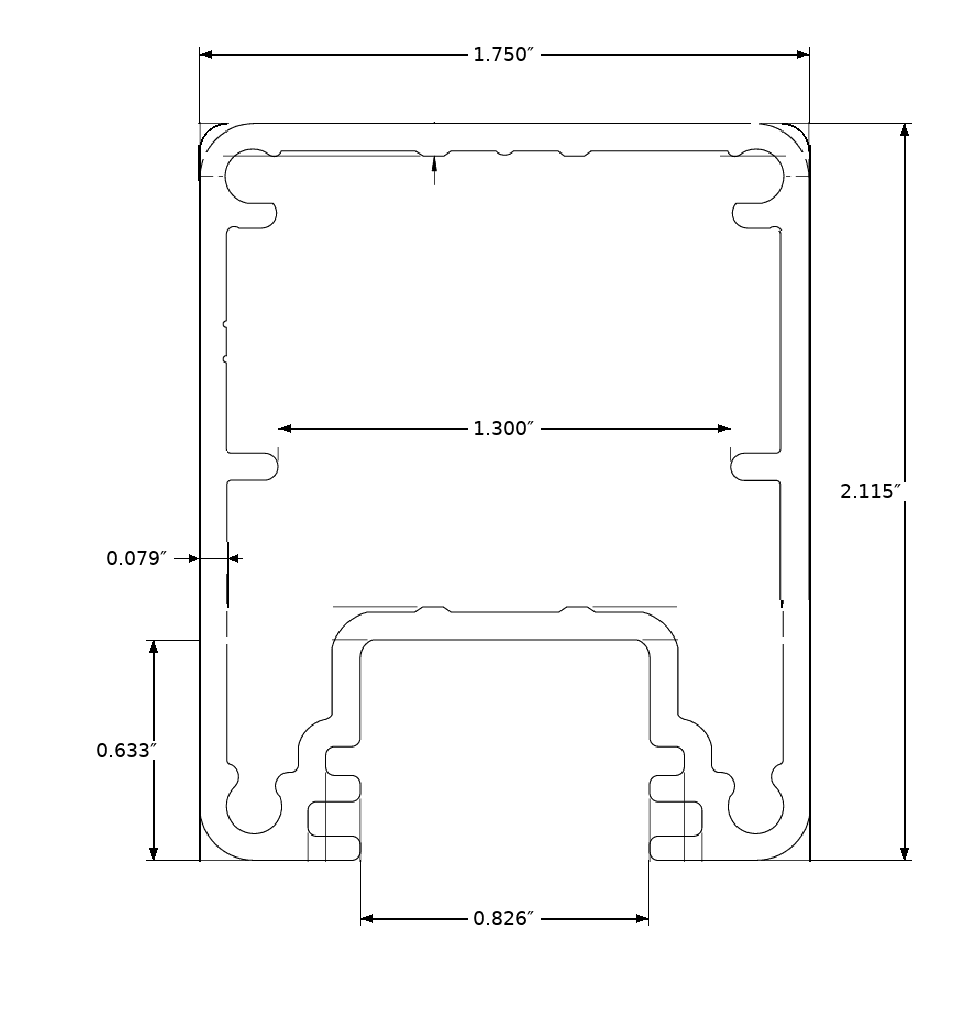
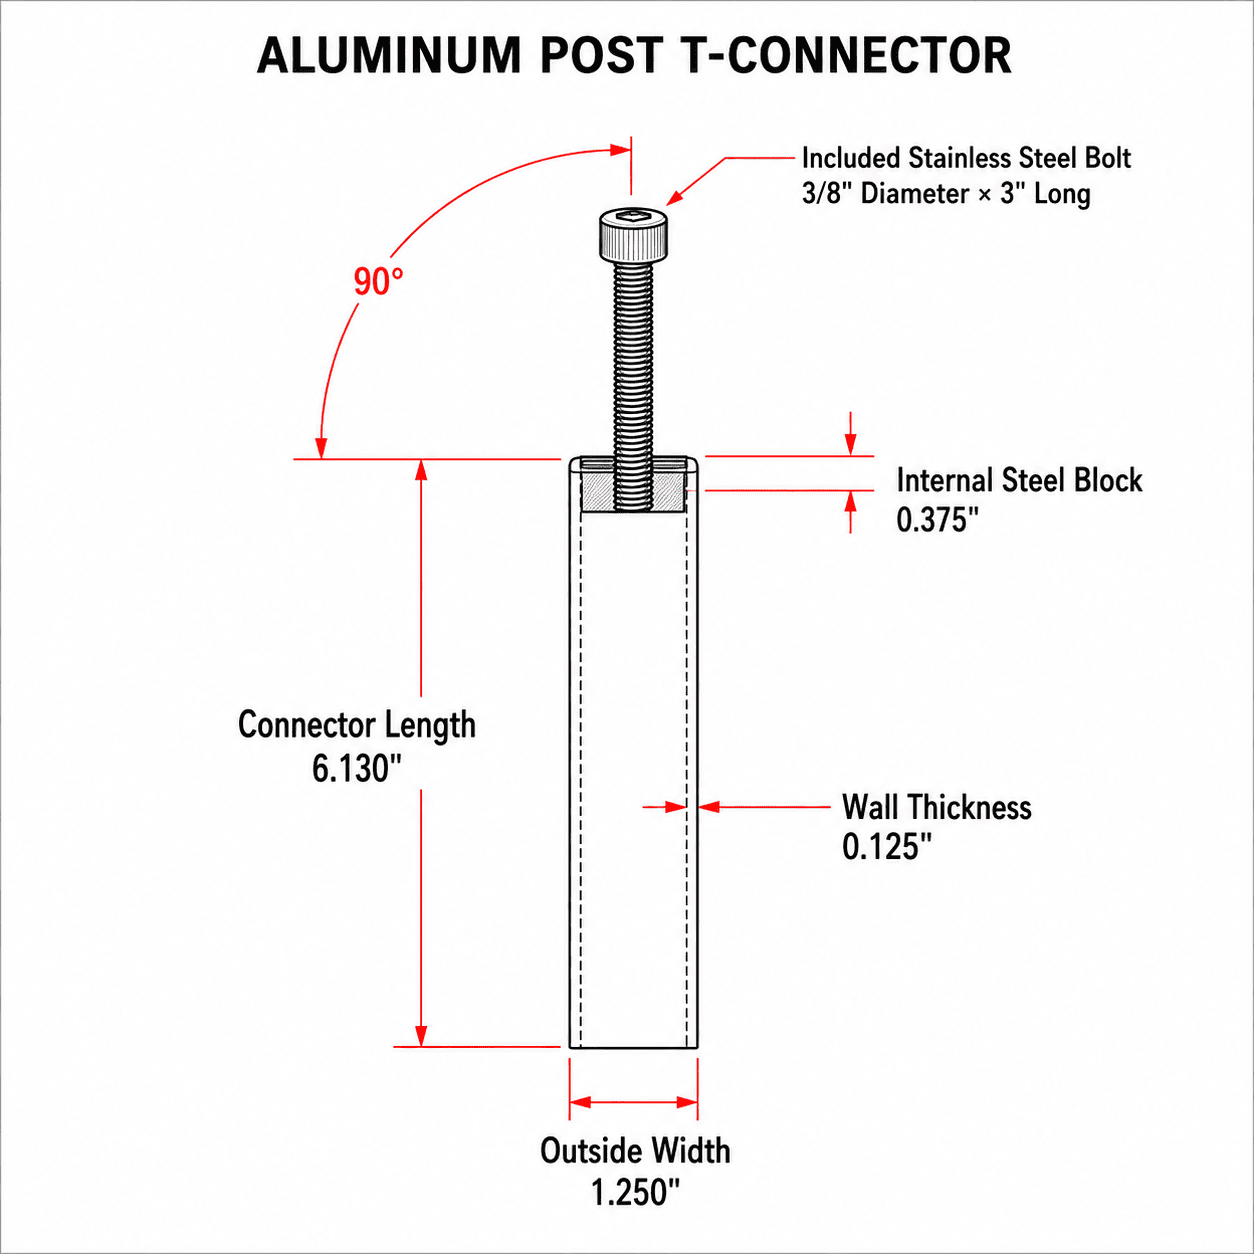
- 1 aluminum two-channel center post at the selected height
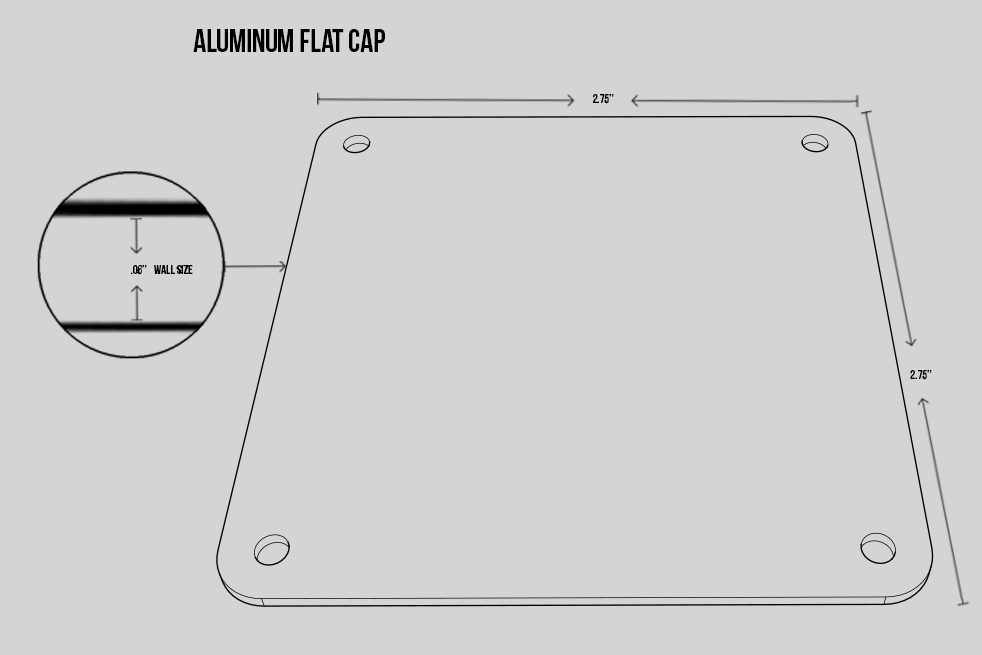
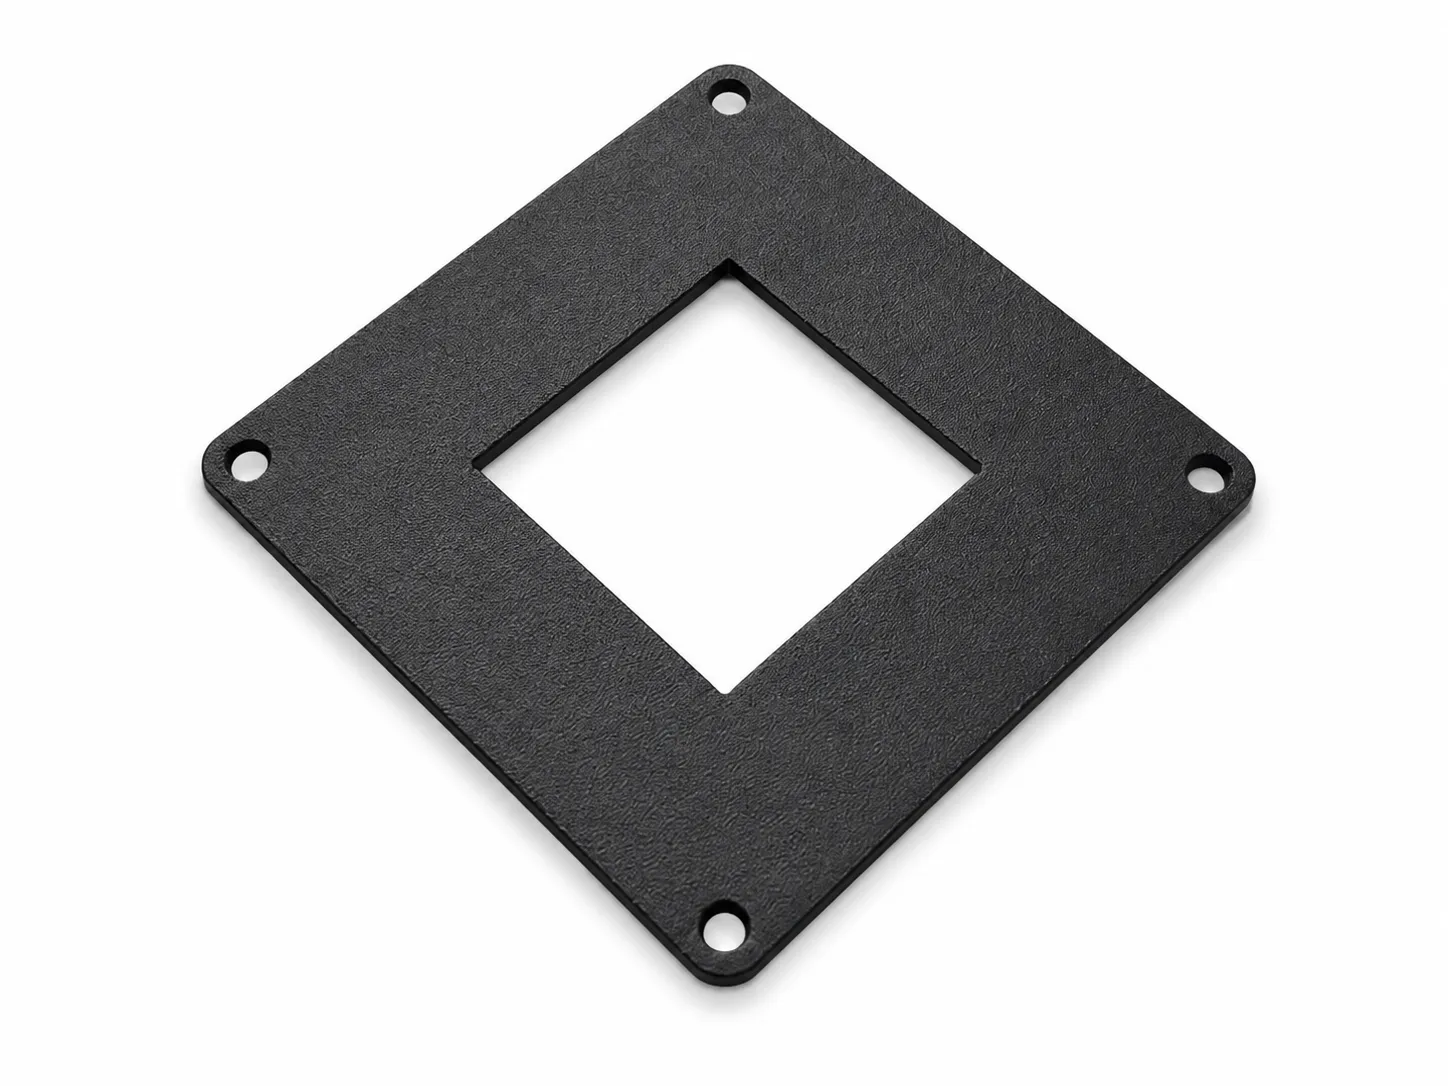
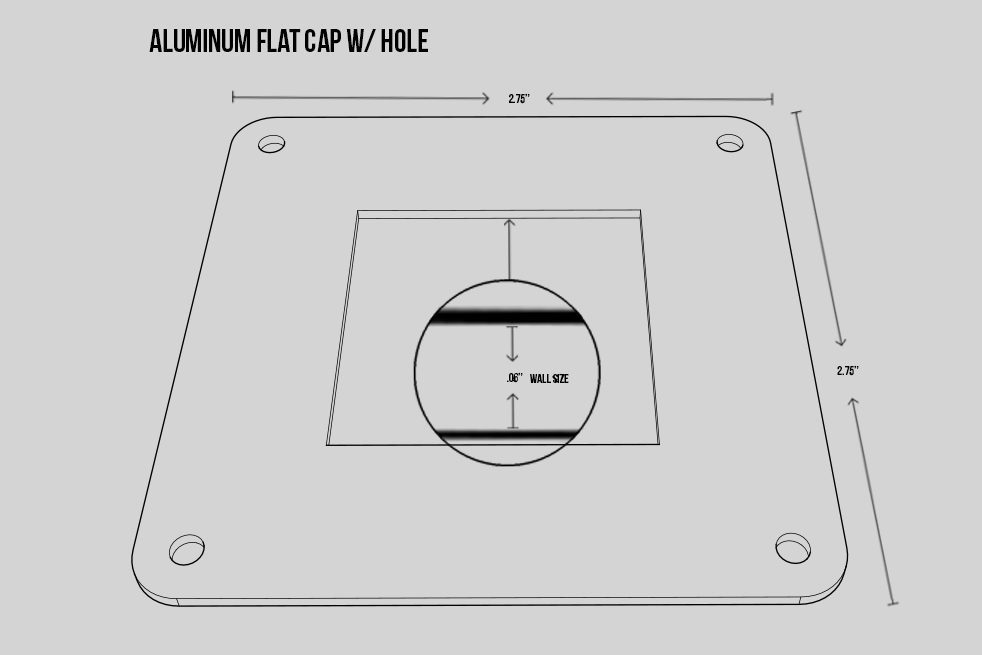
- 2 snap covers and 1 cap for the two-channel center post
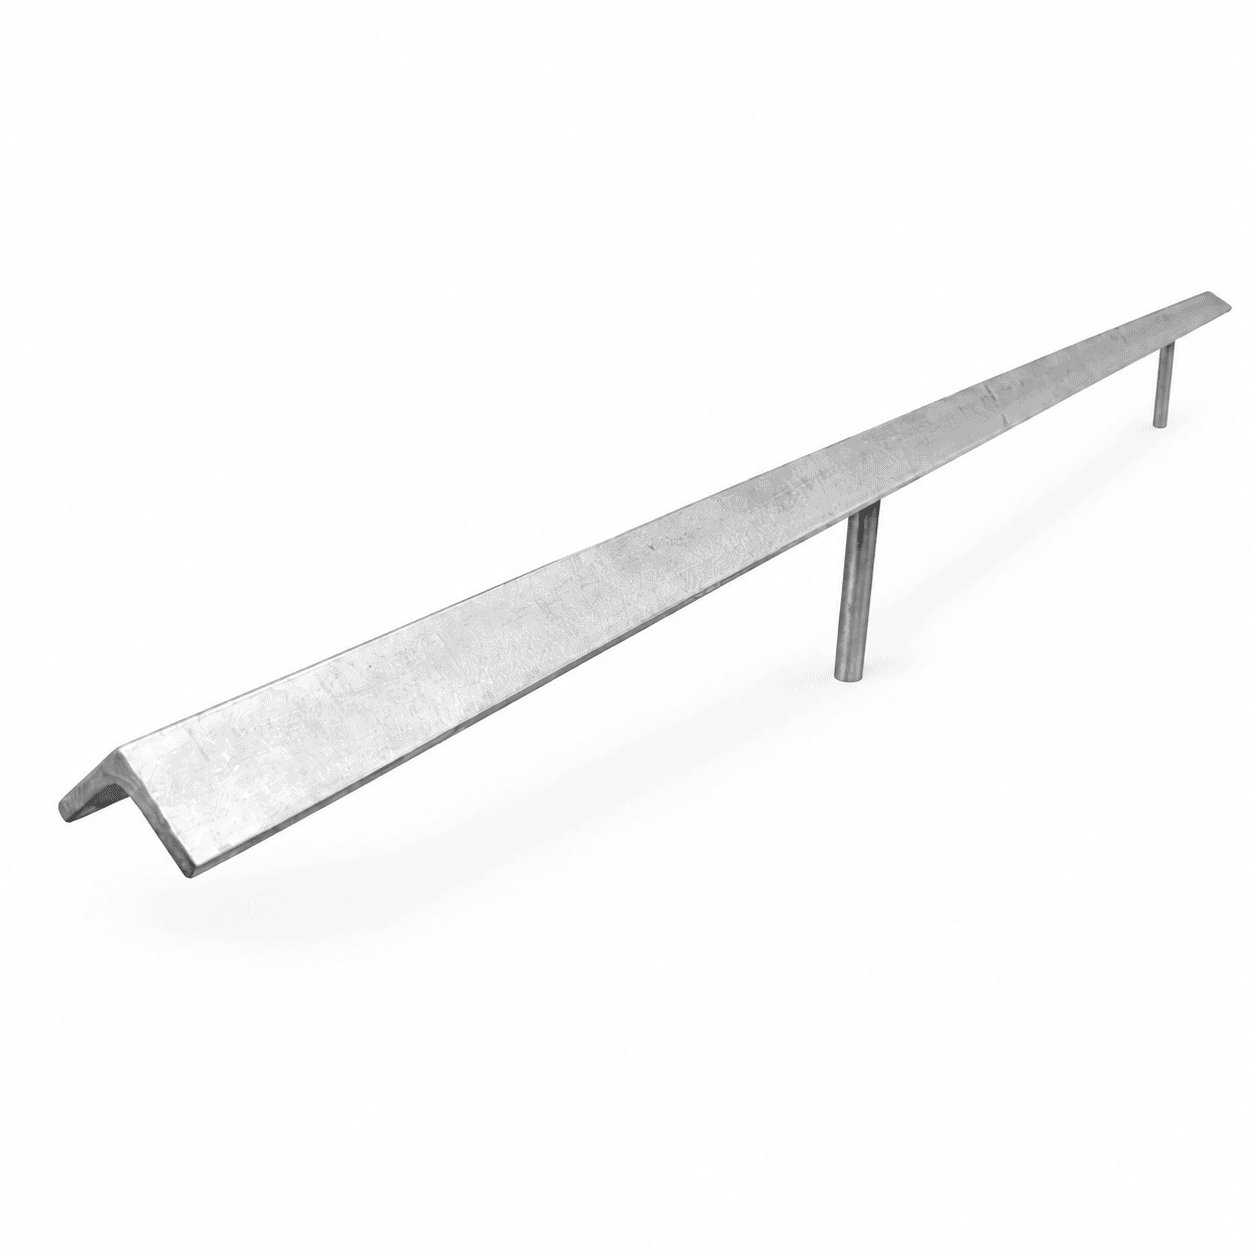
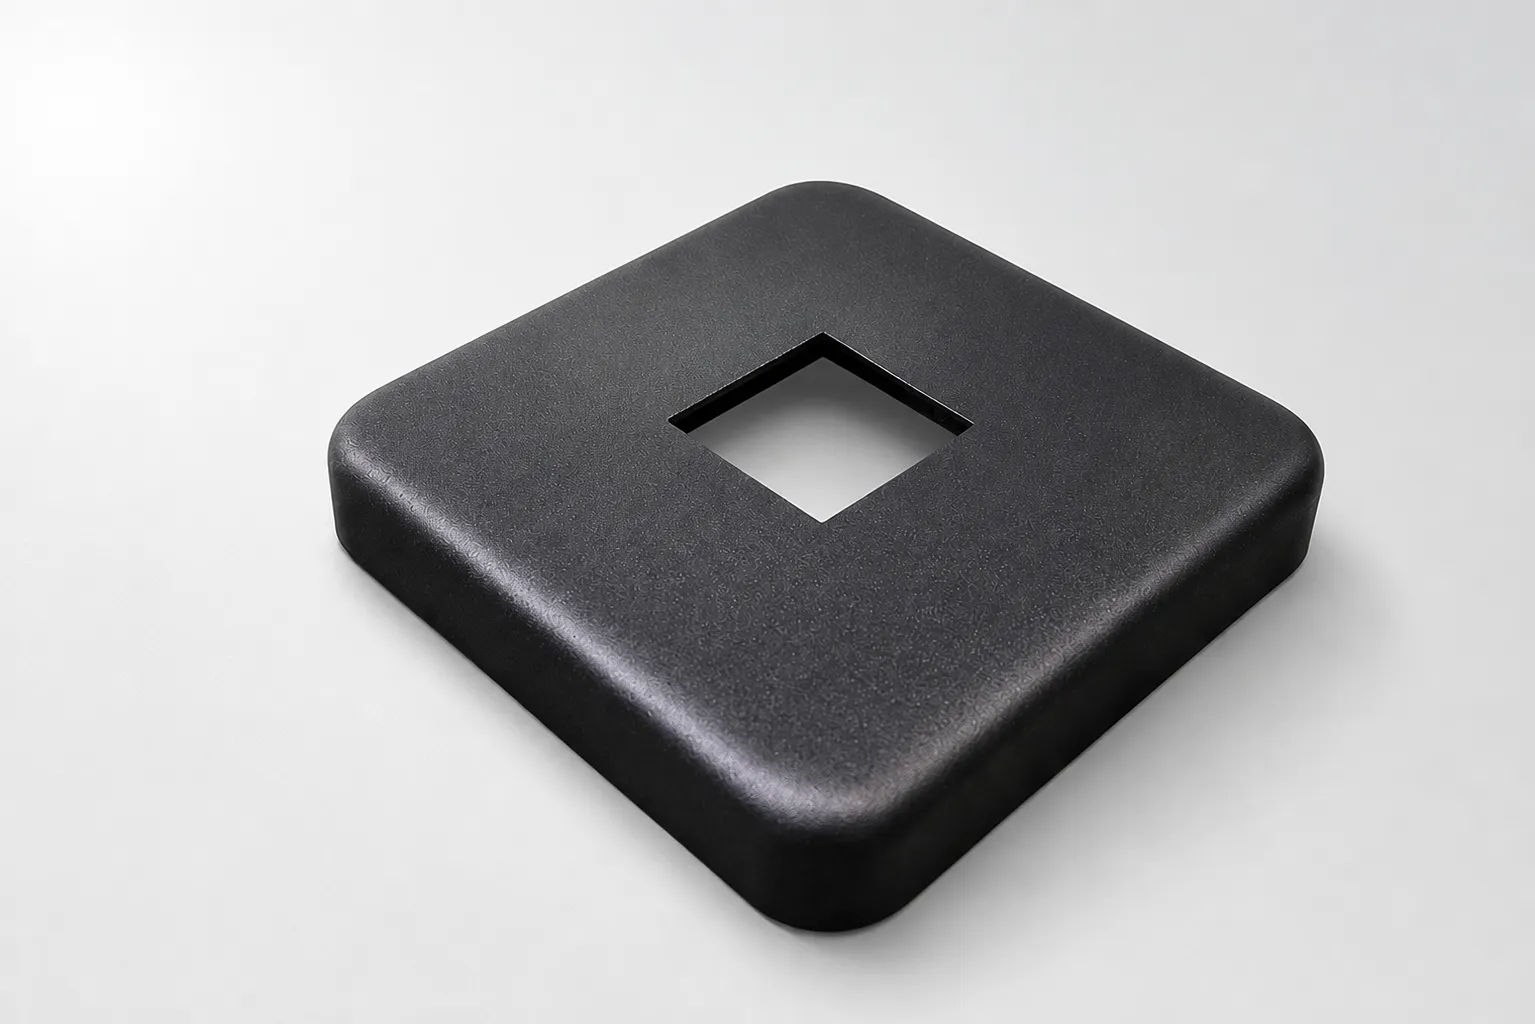
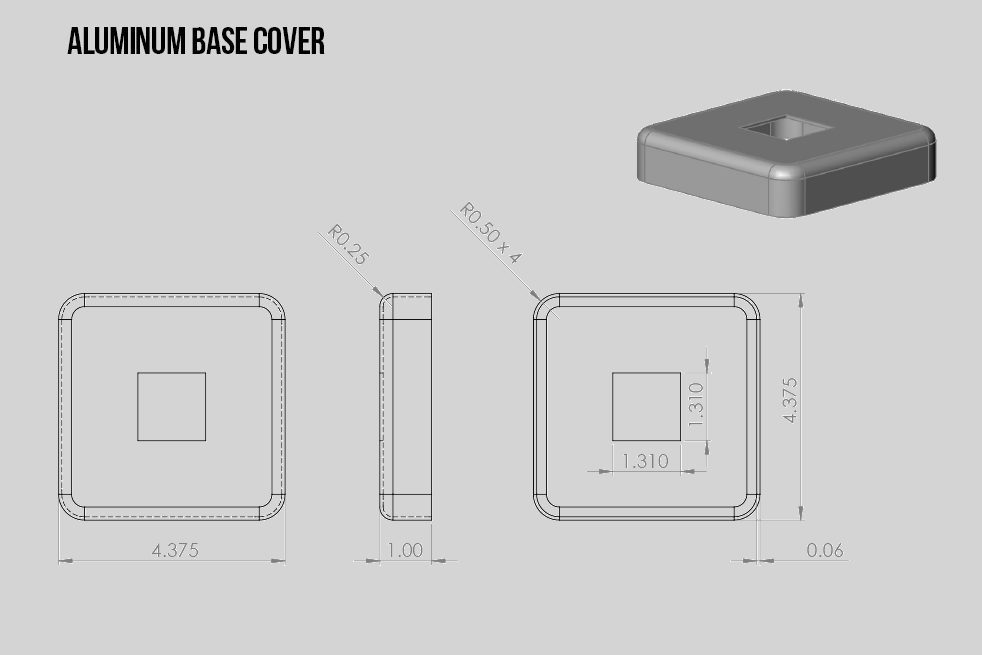
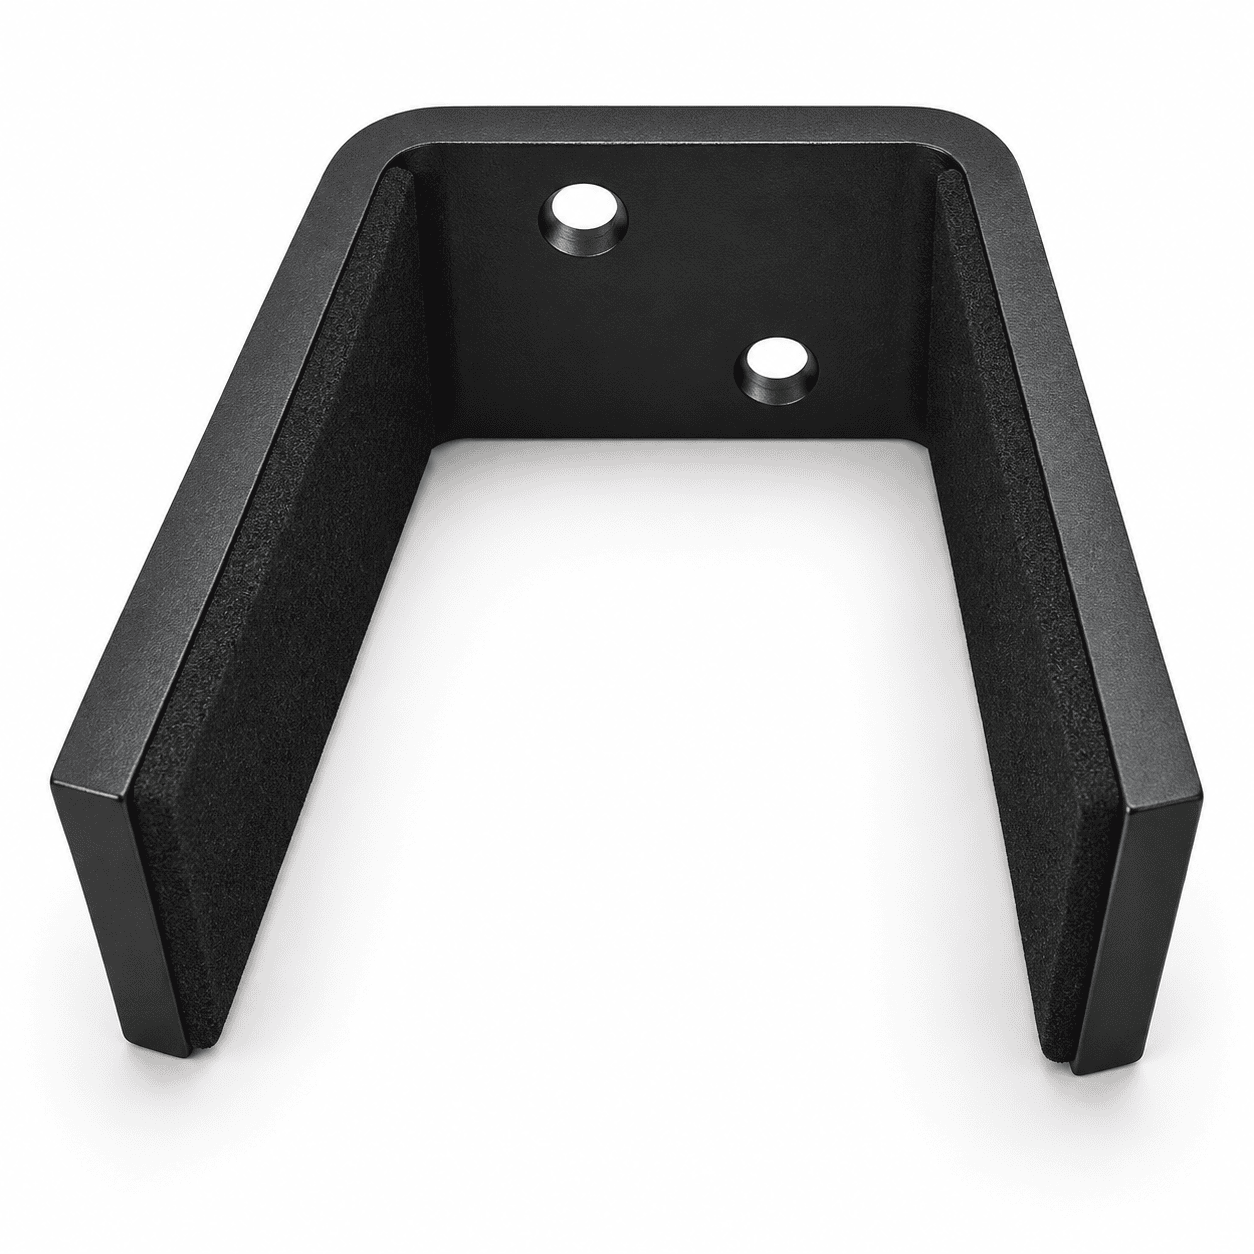
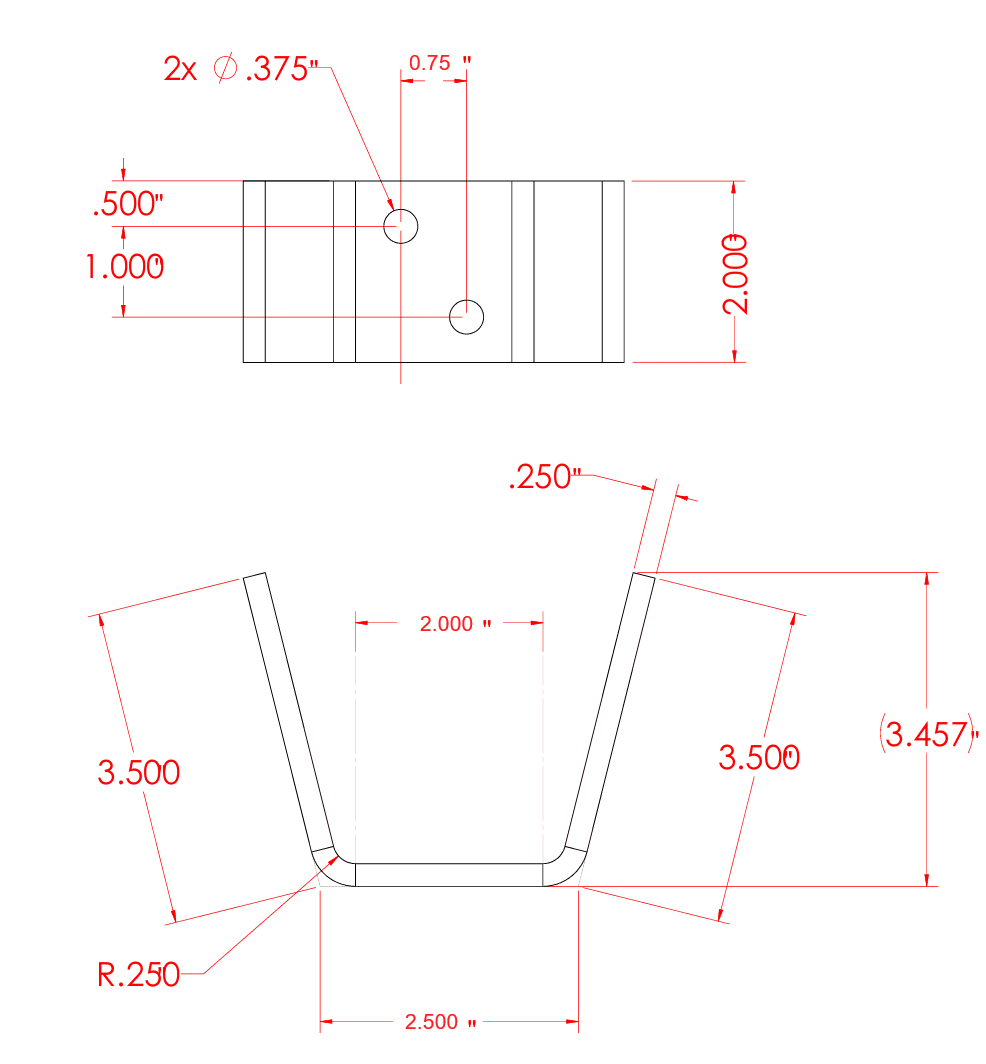
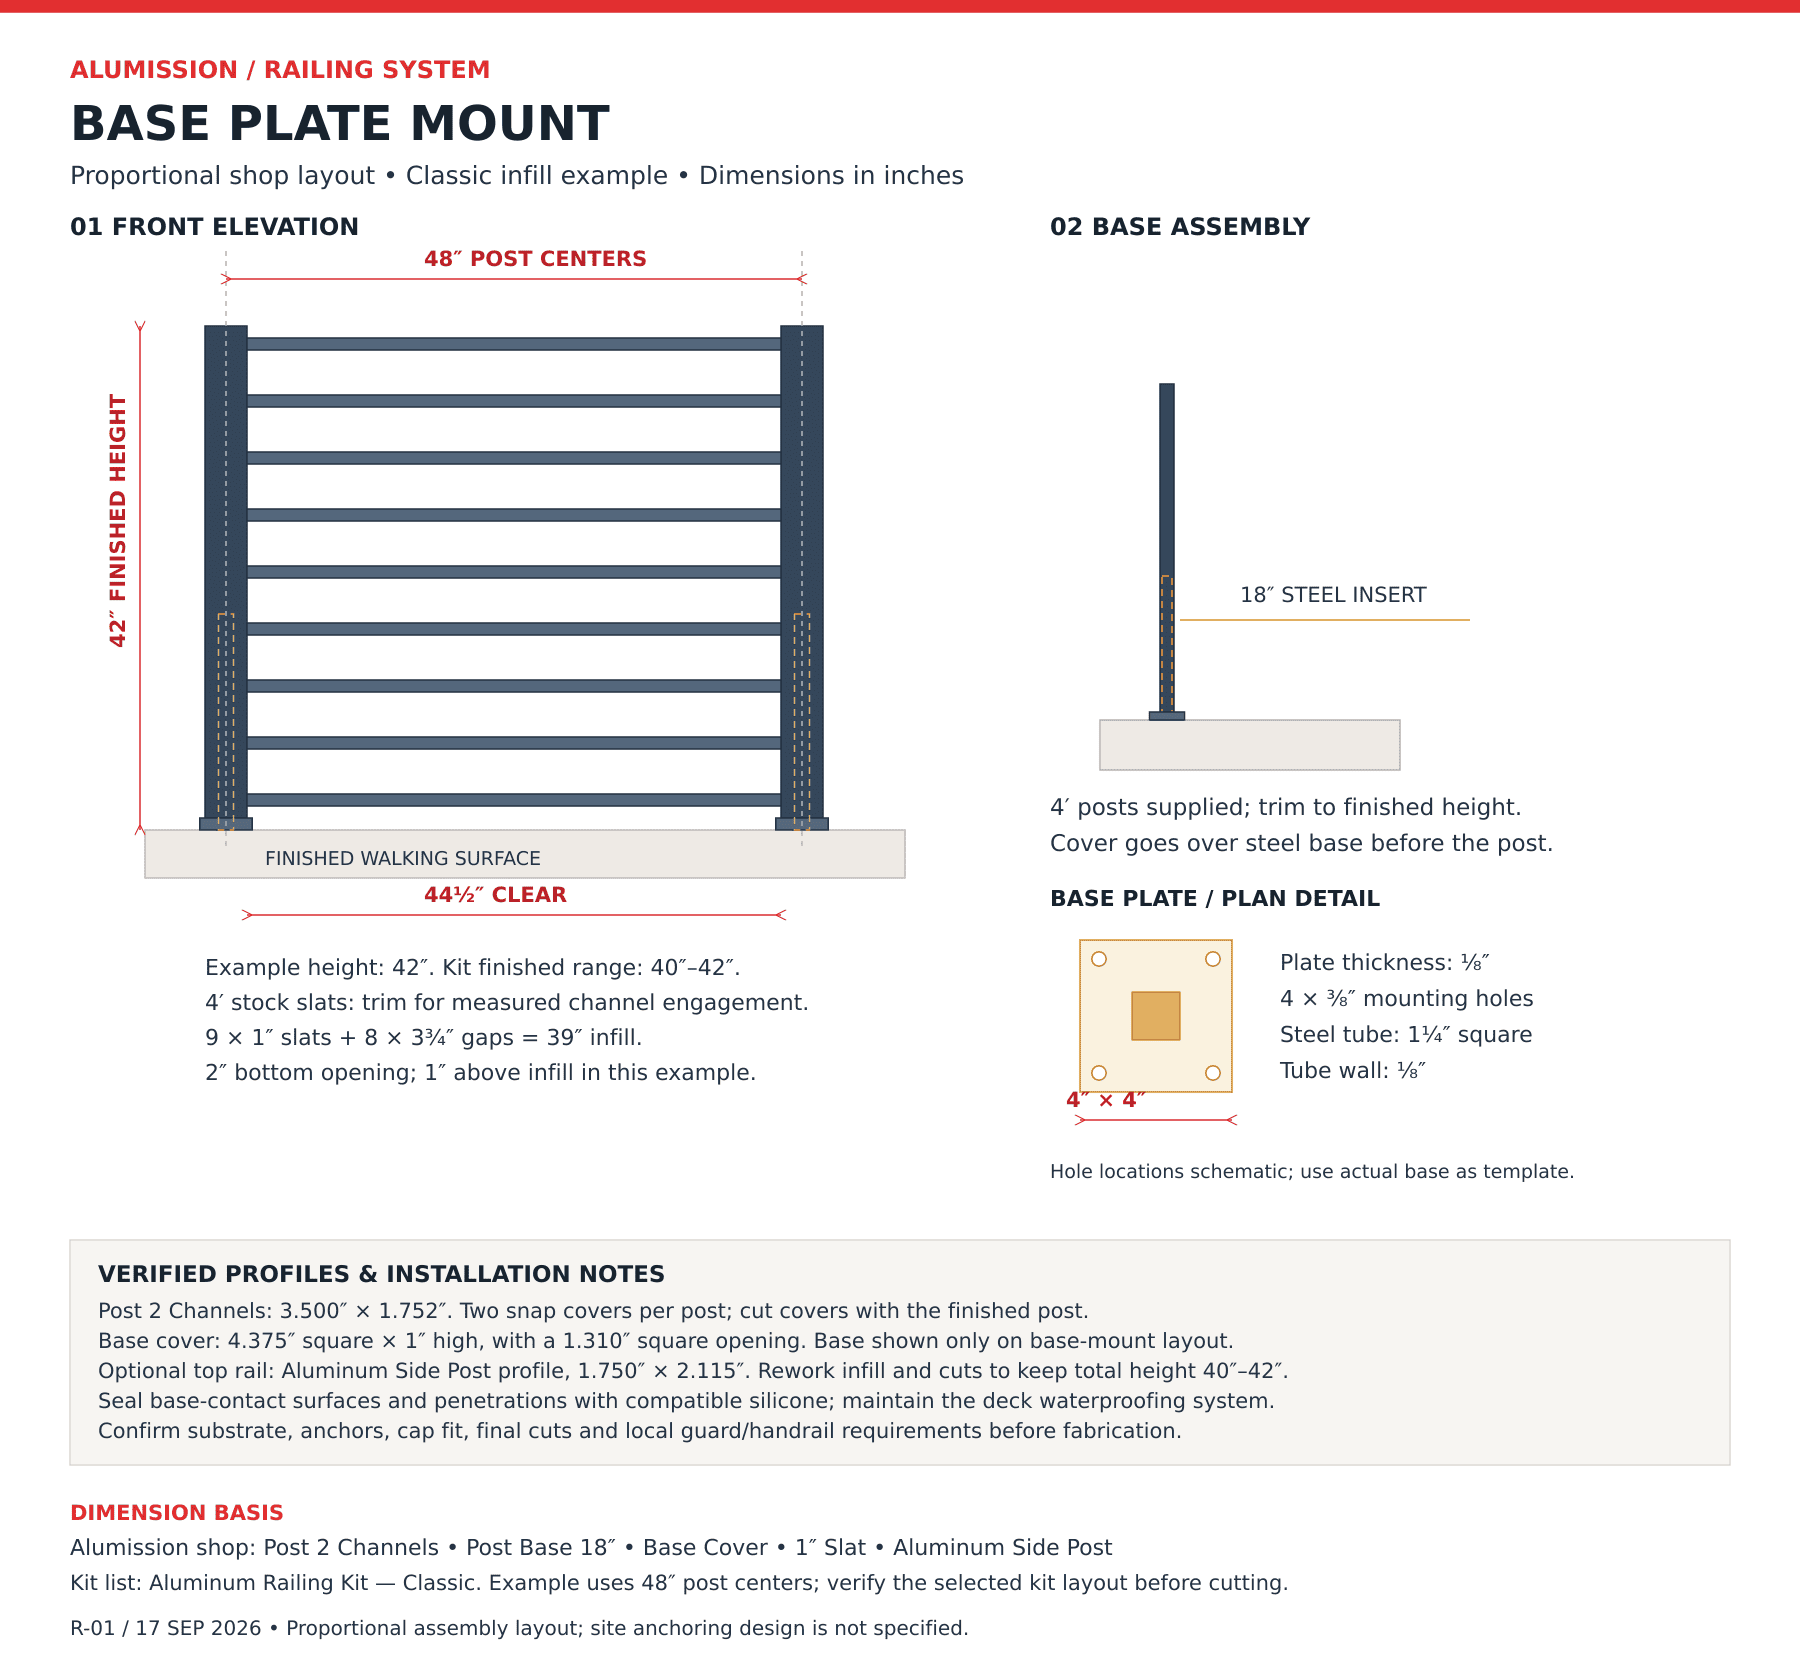
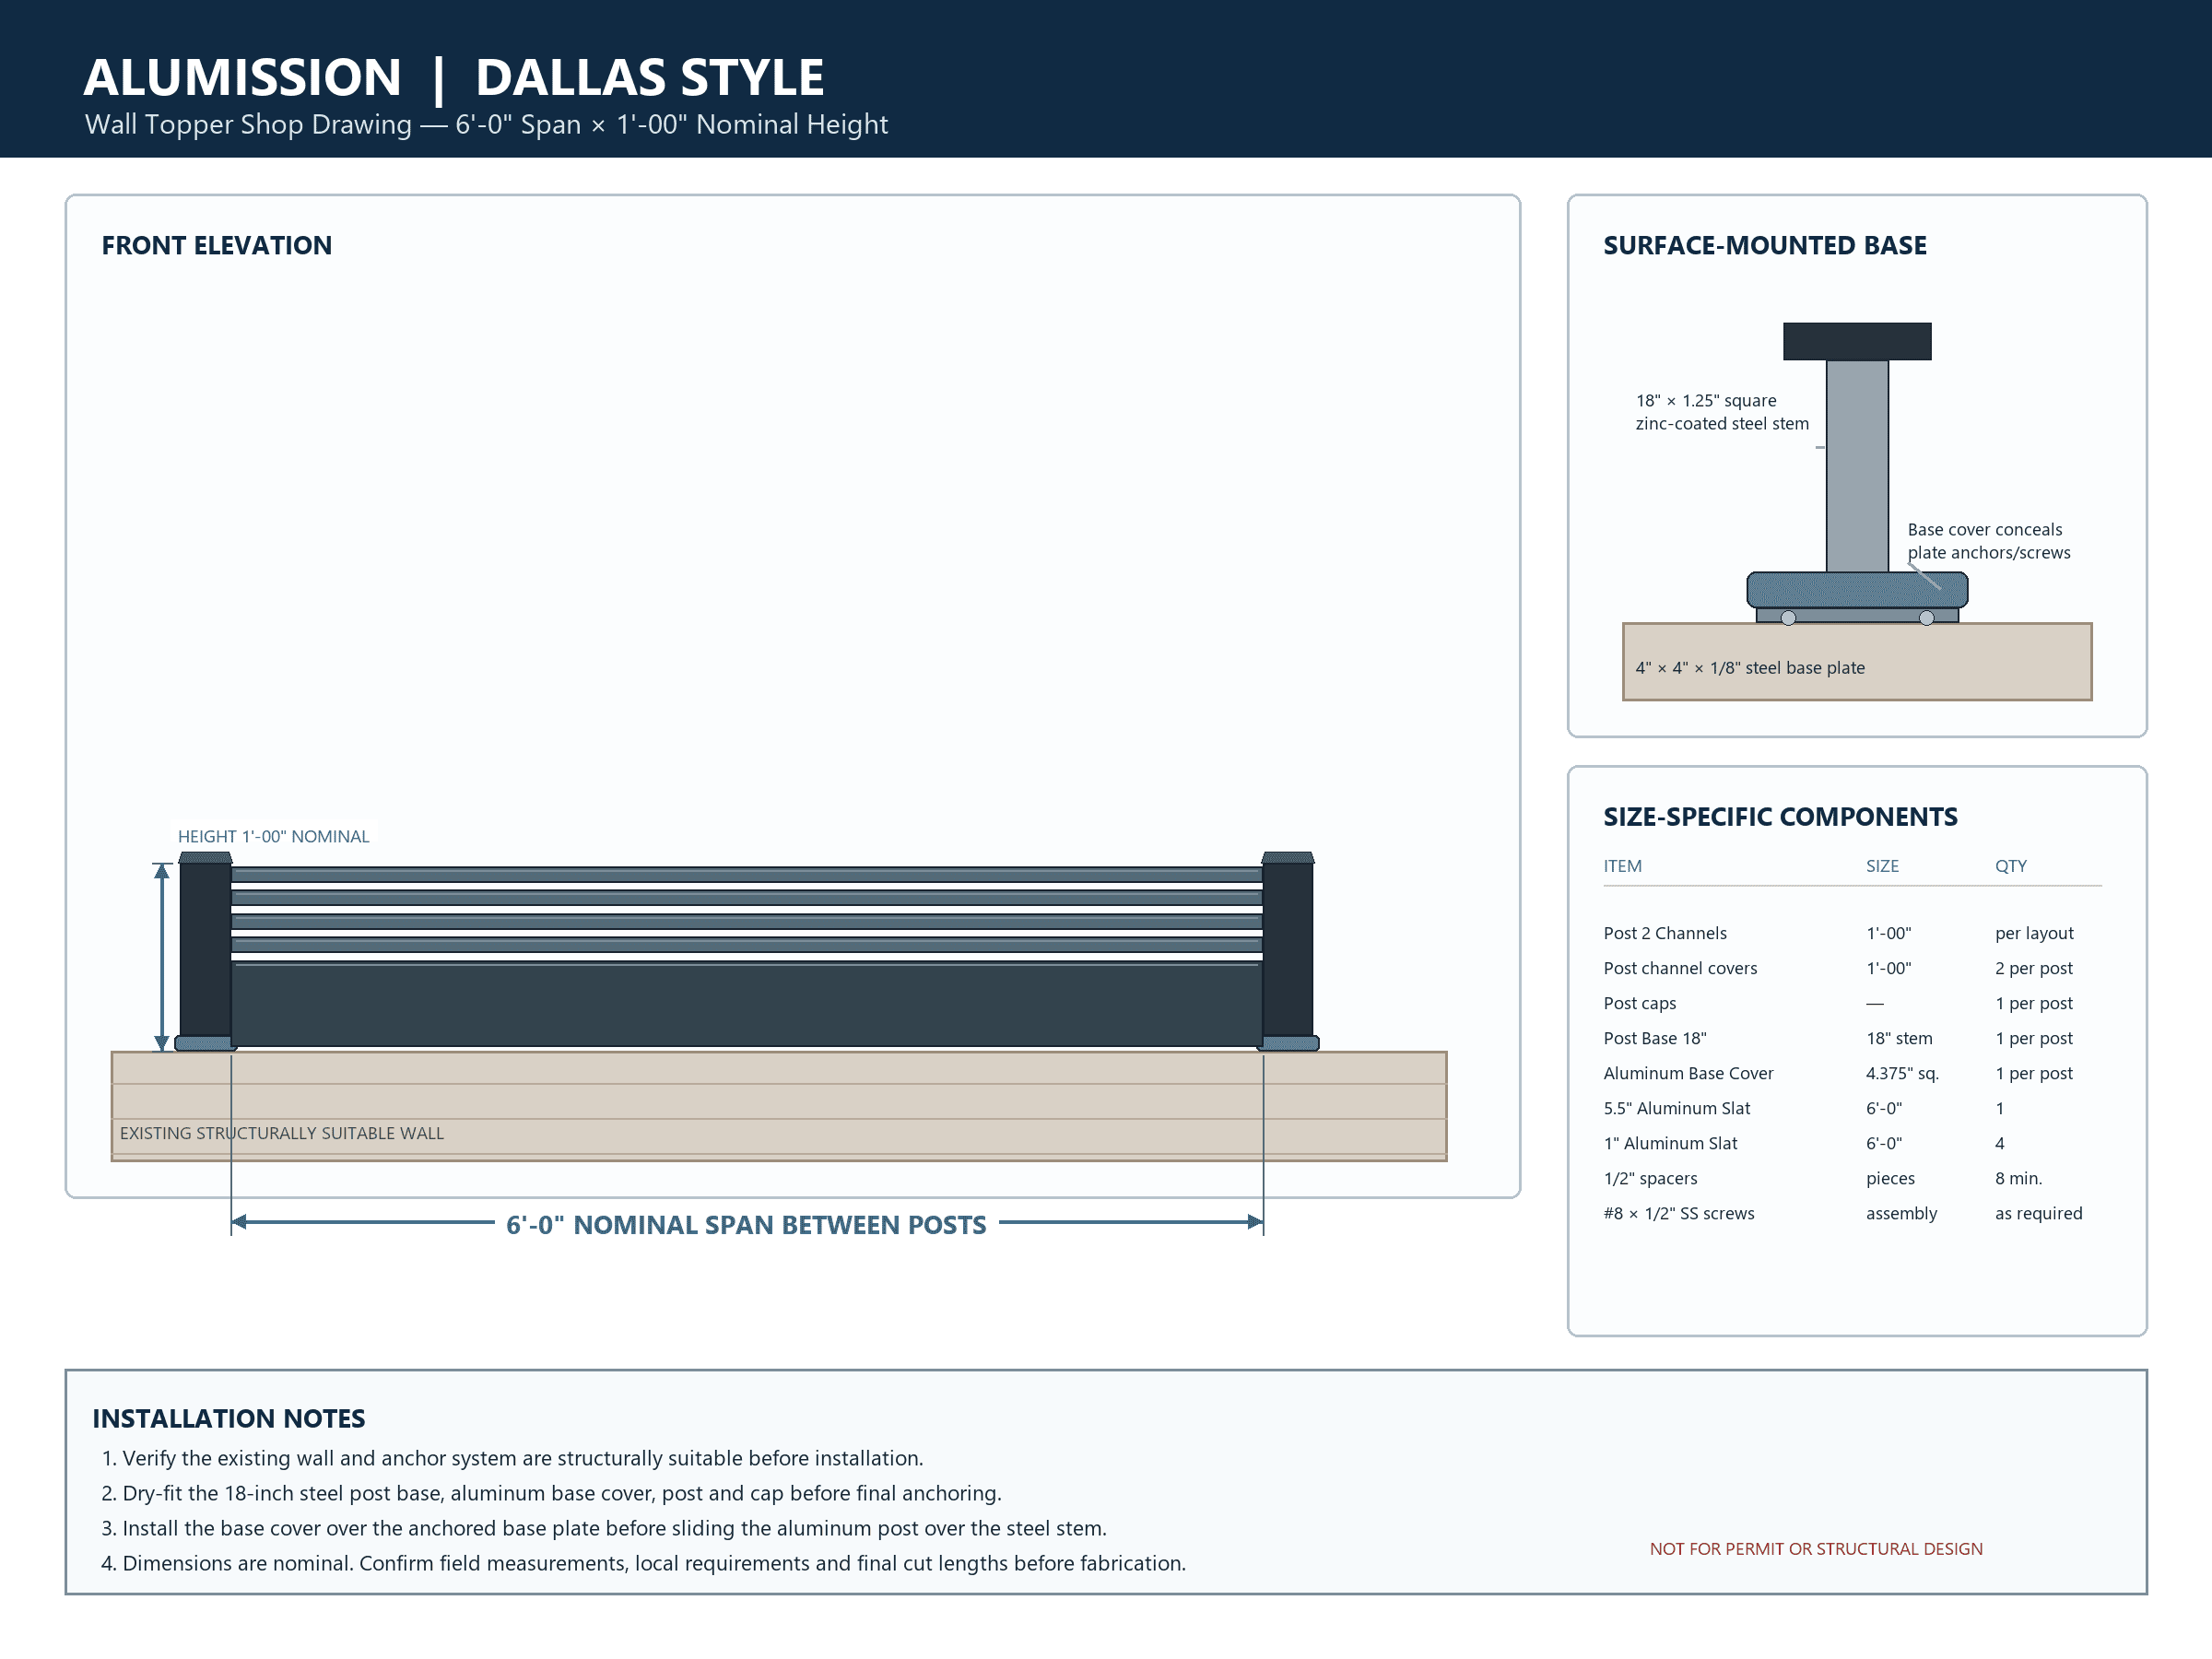
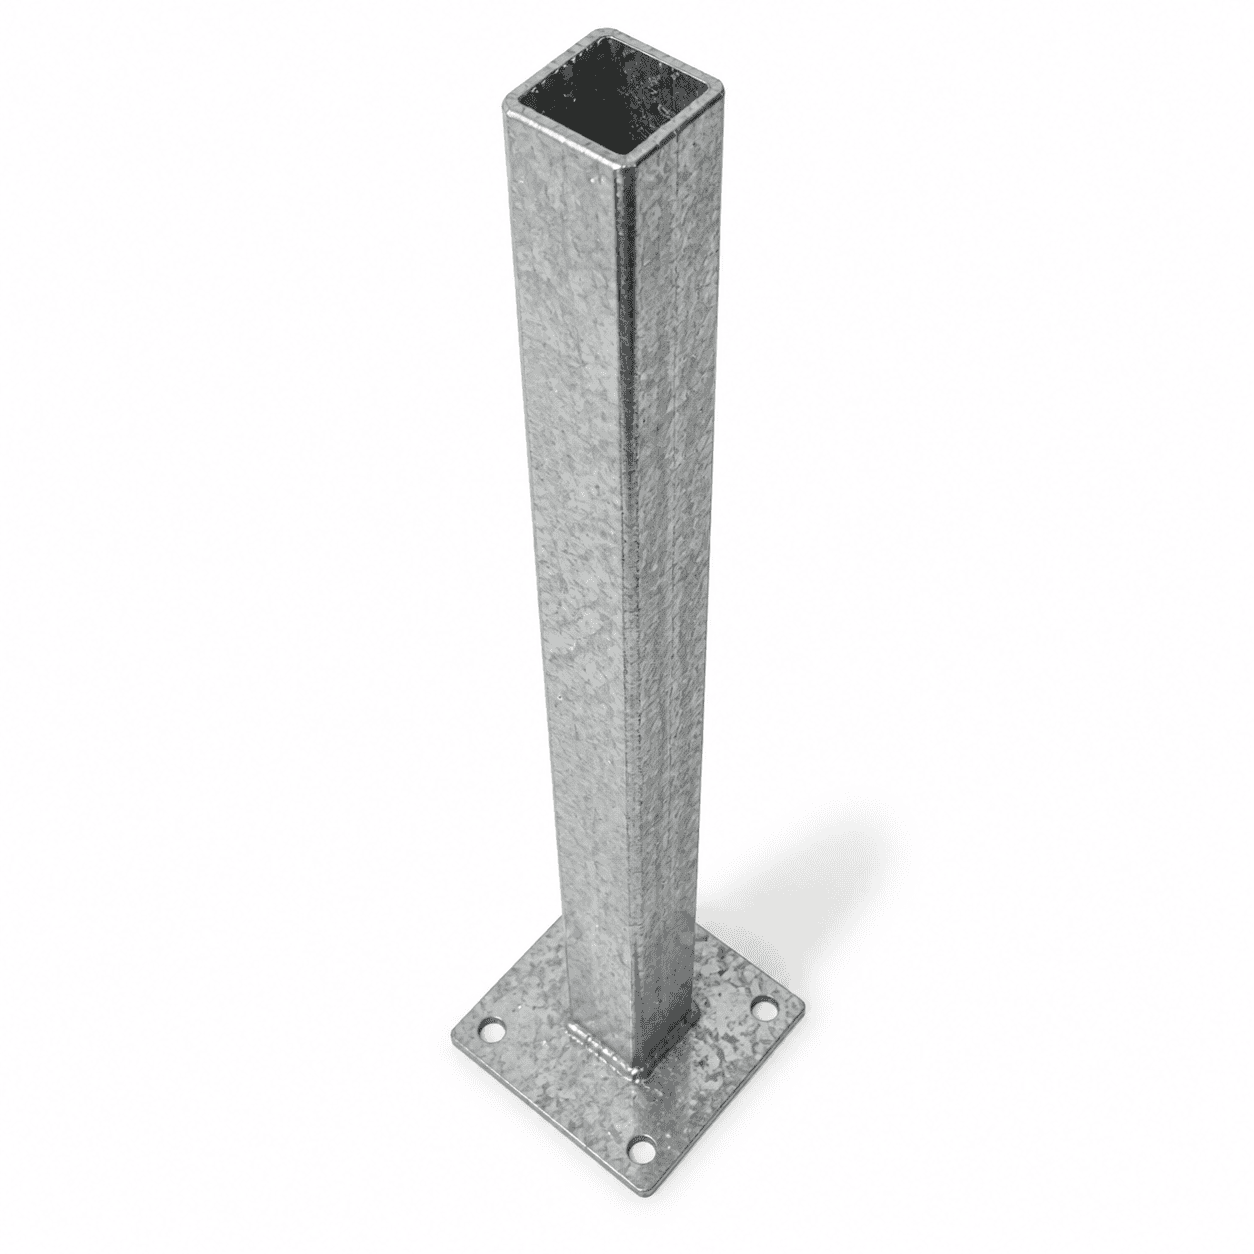
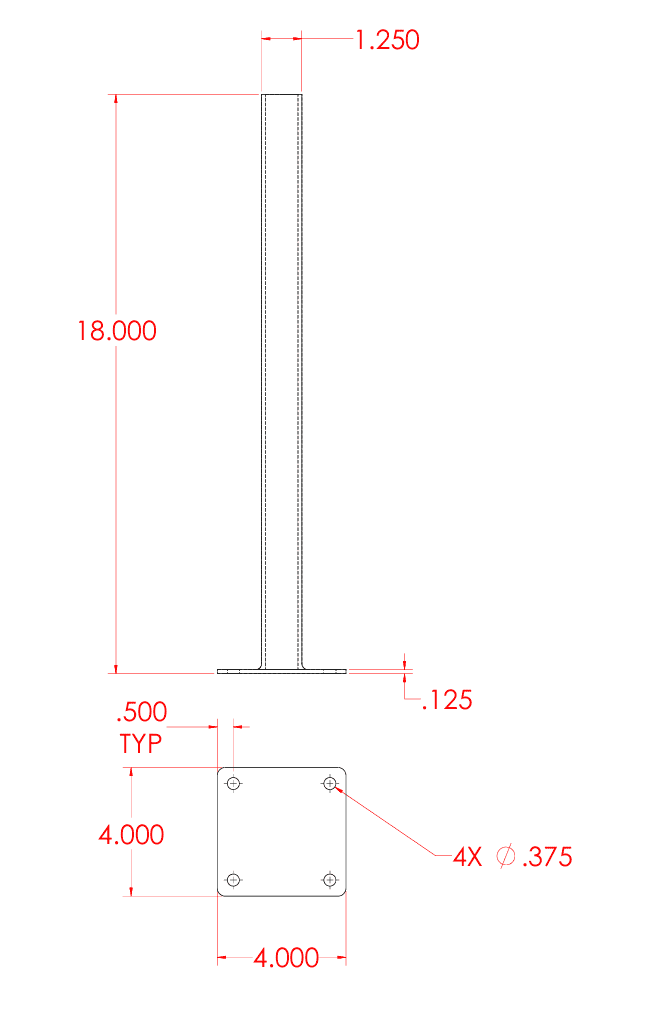
- 1 zinc-coated steel post base and 1 aluminum base cover
- 1 pack of 10 stainless steel L-brackets with #8 screws
- New York Style 5.5-inch aluminum privacy boards in two equal bays
Exact size-specific material schedule
| Selected size | 5.5″ boards | Each board | Center support | Steel base |
|---|---|---|---|---|
| 3′ W × 3′ H | 7 | 3′ | Not required | — |
| 3′ W × 4′ H | 9 | 3′ | Not required | — |
| 3′ W × 5′ H | 11 | 3′ | Not required | — |
| 3′ W × 6′ H | 13 | 3′ | Not required | — |
| 4′ W × 3′ H | 7 | 4′ | Not required | — |
| 4′ W × 4′ H | 9 | 4′ | Not required | — |
| 4′ W × 5′ H | 11 | 4′ | Not required | — |
| 4′ W × 6′ H | 13 | 4′ | Not required | — |
| 5′ W × 3′ H | 7 | 5′ | Not required | — |
| 5′ W × 4′ H | 9 | 5′ | Not required | — |
| 5′ W × 5′ H | 11 | 5′ | Not required | — |
| 5′ W × 6′ H | 13 | 5′ | Not required | — |
| 6′ W × 3′ H | 7 | 6′ | Not required | — |
| 6′ W × 4′ H | 9 | 6′ | Not required | — |
| 6′ W × 5′ H | 11 | 6′ | Not required | — |
| 6′ W × 6′ H | 13 | 6′ | Not required | — |
| 8′ W × 3′ H | 7 | 8′ | Not required | — |
| 8′ W × 4′ H | 9 | 8′ | Not required | — |
| 8′ W × 5′ H | 11 | 8′ | Not required | — |
| 8′ W × 6′ H | 13 | 8′ | Not required | — |
| 10′ W × 3′ H | 14 | 5′ | 1 × 3′ center post | 18″ |
| 10′ W × 4′ H | 18 | 5′ | 1 × 4′ center post | 18″ |
| 10′ W × 5′ H | 22 | 5′ | 1 × 5′ center post | 4′ |
| 10′ W × 6′ H | 26 | 5′ | 1 × 6′ center post | 4′ |
| 12′ W × 3′ H | 14 | 6′ | 1 × 3′ center post | 18″ |
| 12′ W × 4′ H | 18 | 6′ | 1 × 4′ center post | 18″ |
| 12′ W × 5′ H | 22 | 6′ | 1 × 5′ center post | 4′ |
| 12′ W × 6′ H | 26 | 6′ | 1 × 6′ center post | 4′ |
Installation supplies not included: anchors or mounting screws for the columns/posts, cutting and drilling tools, drill bits, and silicone. Select mounting hardware appropriate for the actual support material.
Box Weight
Box Dimension
TECHNICAL SPECIFICATIONS & INSTALLATION
New York Style Aluminum Privacy Fence Kit for Existing Columns
Create a clean, full-privacy aluminum fence between existing masonry columns, pillars, or structural posts. The New York Style uses tightly stacked 5.5-inch horizontal aluminum boards with subtle seams and no see-through gaps. Every kit is cut-to-fit on site and supplied as one coordinated system.
- Full privacy: solid 5.5-inch horizontal boards with no intentional gaps.
- Built for existing columns: not a wall topper and not a freestanding fence run.
- 28 selectable sizes: 3′, 4′, 5′, 6′, 8′, 10′, or 12′ wide and 3′, 4′, 5′, or 6′ high.
- Six architectural finishes: Black, Bronze, White, Dark Grey, Light Gray, and Wood.
- Wide-kit support: 10′ and 12′ kits include a center two-channel post, covers, cap, steel base, and base cover.
- DIY installation help: watch the Between Columns installation video in the product gallery before beginning.
Before ordering: measure the clear opening at the top, middle, and bottom and check height in several locations. Choose a kit large enough to cover the opening; posts and boards are trimmed to the final dimensions during installation.
What’s Included
3′ through 8′ wide kits
- 2 aluminum side posts, each supplied at the selected height
- 2 aluminum caps for the side posts
- New York Style 5.5-inch aluminum privacy boards in the selected width and size-specific quantity shown below
- 1 pack of 5 stainless steel L-brackets with #8 screws
10′ and 12′ wide kits
- 2 aluminum side posts and 2 side-post caps
- 1 aluminum two-channel center post at the selected height
- 2 snap covers and 1 cap for the two-channel center post
- 1 zinc-coated steel post base and 1 aluminum base cover
- 1 pack of 10 stainless steel L-brackets with #8 screws
- New York Style 5.5-inch aluminum privacy boards in two equal bays
Exact size-specific material schedule
| Selected size | 5.5″ boards | Each board | Center support | Steel base |
|---|---|---|---|---|
| 3′ W × 3′ H | 7 | 3′ | Not required | — |
| 3′ W × 4′ H | 9 | 3′ | Not required | — |
| 3′ W × 5′ H | 11 | 3′ | Not required | — |
| 3′ W × 6′ H | 13 | 3′ | Not required | — |
| 4′ W × 3′ H | 7 | 4′ | Not required | — |
| 4′ W × 4′ H | 9 | 4′ | Not required | — |
| 4′ W × 5′ H | 11 | 4′ | Not required | — |
| 4′ W × 6′ H | 13 | 4′ | Not required | — |
| 5′ W × 3′ H | 7 | 5′ | Not required | — |
| 5′ W × 4′ H | 9 | 5′ | Not required | — |
| 5′ W × 5′ H | 11 | 5′ | Not required | — |
| 5′ W × 6′ H | 13 | 5′ | Not required | — |
| 6′ W × 3′ H | 7 | 6′ | Not required | — |
| 6′ W × 4′ H | 9 | 6′ | Not required | — |
| 6′ W × 5′ H | 11 | 6′ | Not required | — |
| 6′ W × 6′ H | 13 | 6′ | Not required | — |
| 8′ W × 3′ H | 7 | 8′ | Not required | — |
| 8′ W × 4′ H | 9 | 8′ | Not required | — |
| 8′ W × 5′ H | 11 | 8′ | Not required | — |
| 8′ W × 6′ H | 13 | 8′ | Not required | — |
| 10′ W × 3′ H | 14 | 5′ | 1 × 3′ center post | 18″ |
| 10′ W × 4′ H | 18 | 5′ | 1 × 4′ center post | 18″ |
| 10′ W × 5′ H | 22 | 5′ | 1 × 5′ center post | 4′ |
| 10′ W × 6′ H | 26 | 5′ | 1 × 6′ center post | 4′ |
| 12′ W × 3′ H | 14 | 6′ | 1 × 3′ center post | 18″ |
| 12′ W × 4′ H | 18 | 6′ | 1 × 4′ center post | 18″ |
| 12′ W × 5′ H | 22 | 6′ | 1 × 5′ center post | 4′ |
| 12′ W × 6′ H | 26 | 6′ | 1 × 6′ center post | 4′ |
Installation supplies not included: anchors or mounting screws for the columns/posts, cutting and drilling tools, drill bits, and silicone. Select mounting hardware appropriate for the actual support material.
Technical Specifications
| Application | Fixed aluminum privacy fence installed between existing columns, pillars, or structural posts |
|---|---|
| Design | New York Style full-privacy horizontal layout |
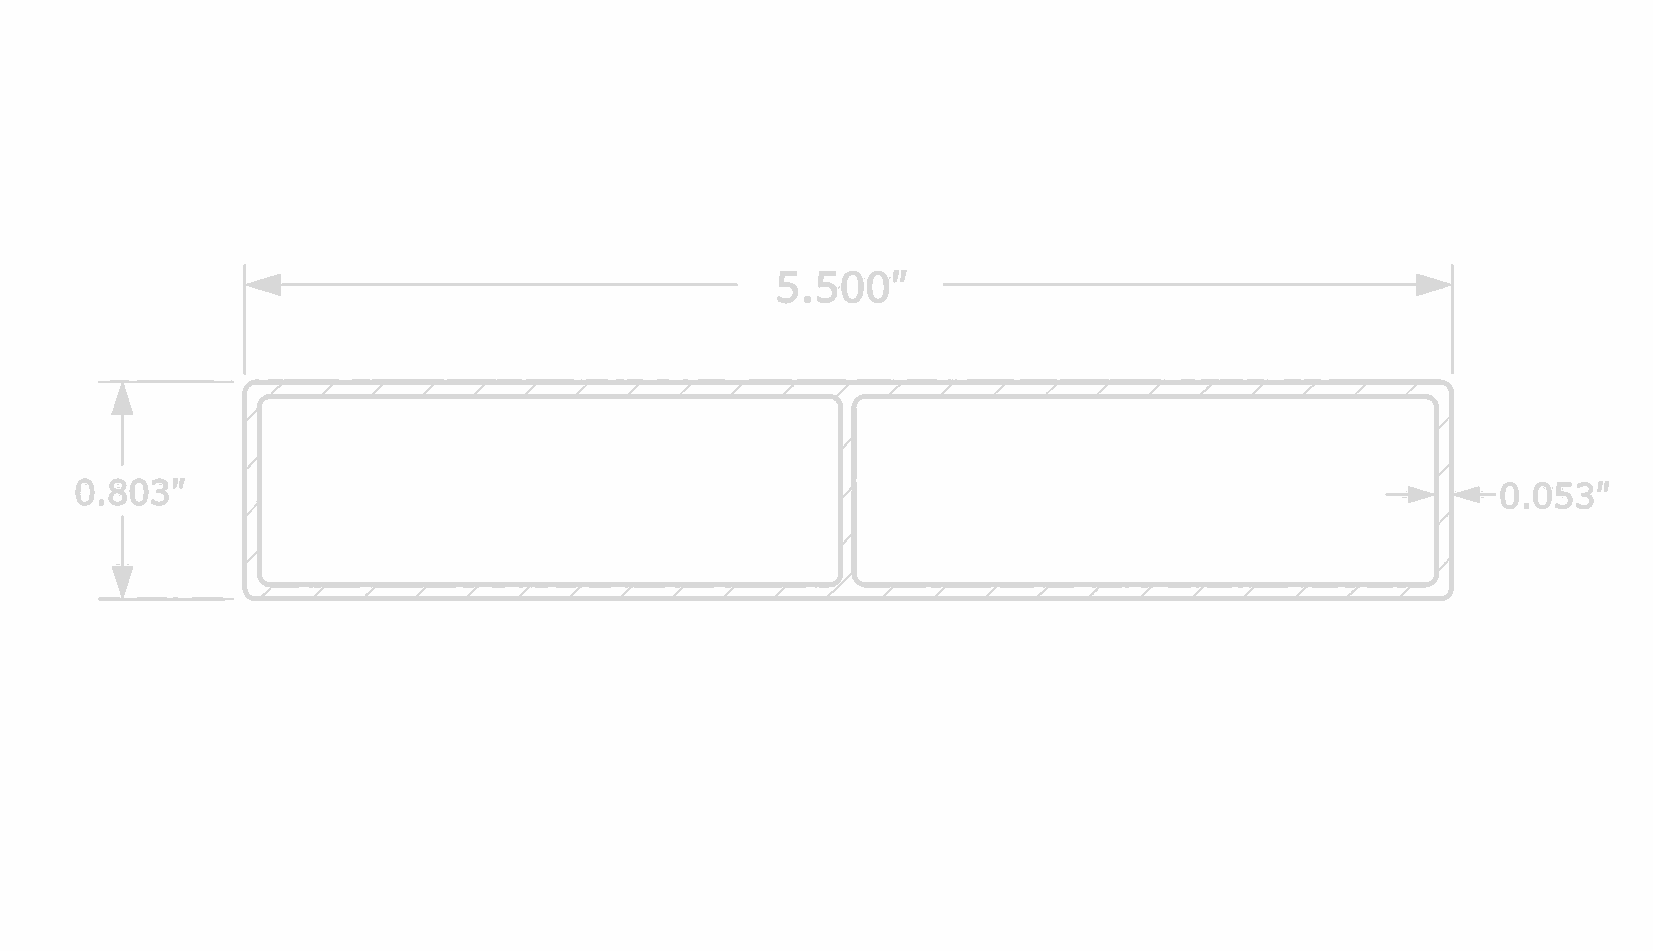
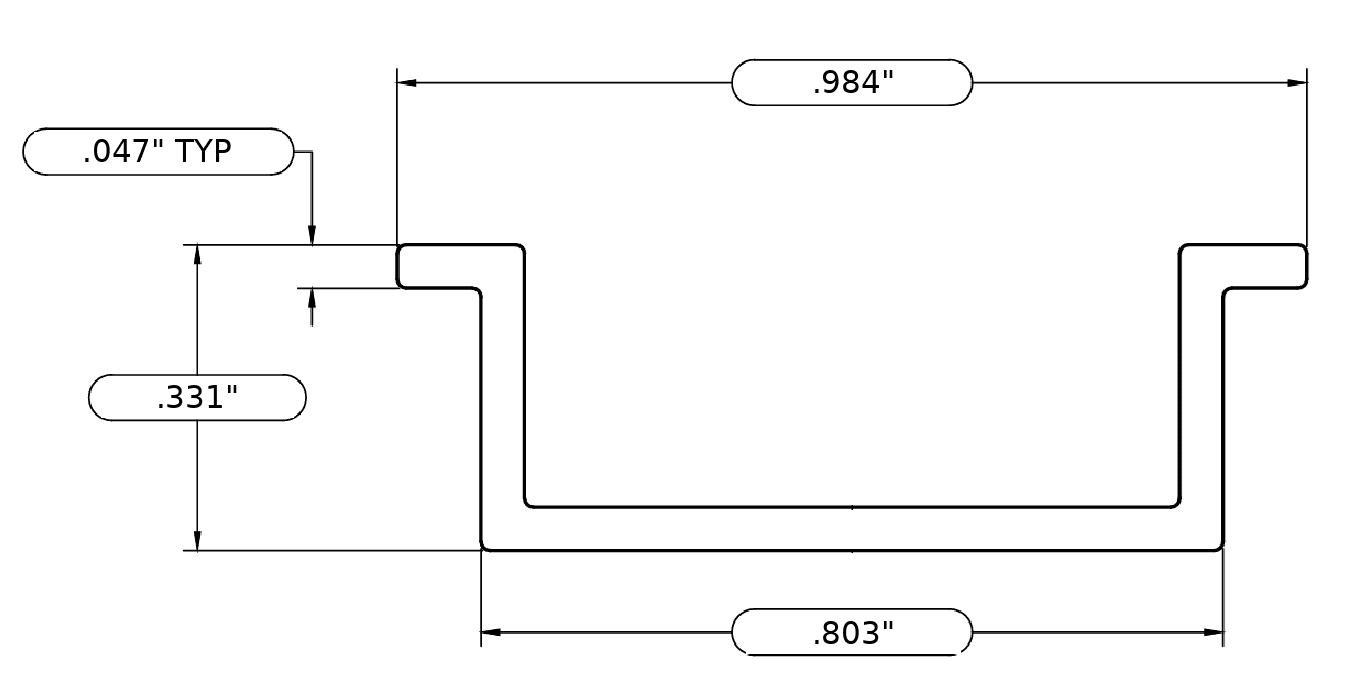
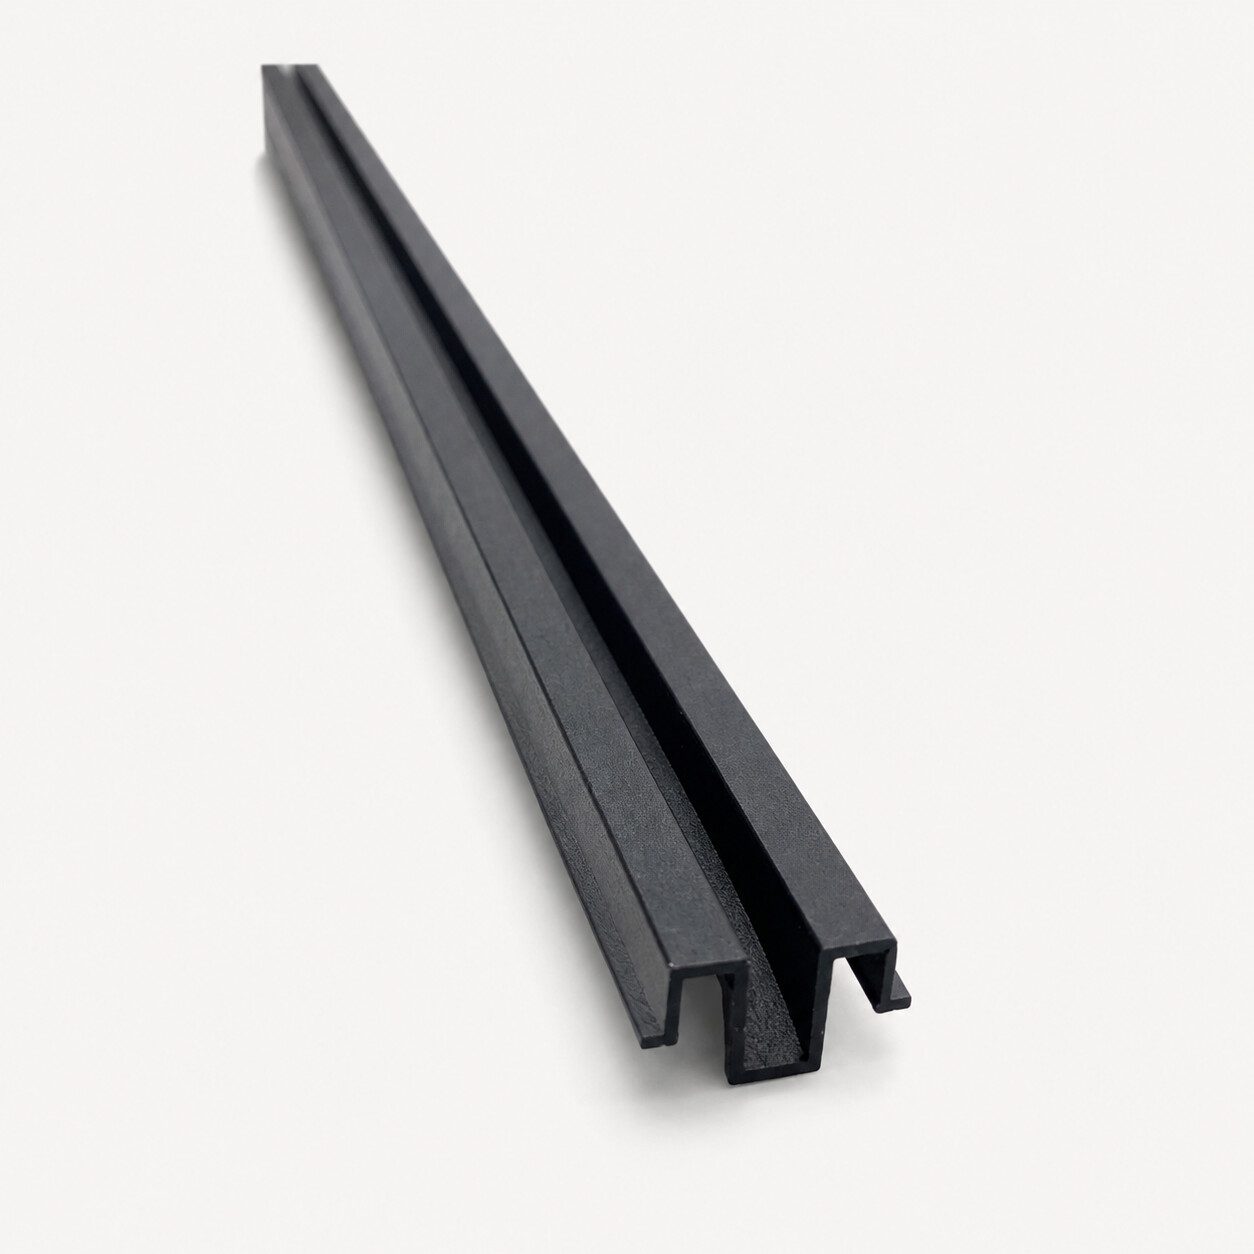
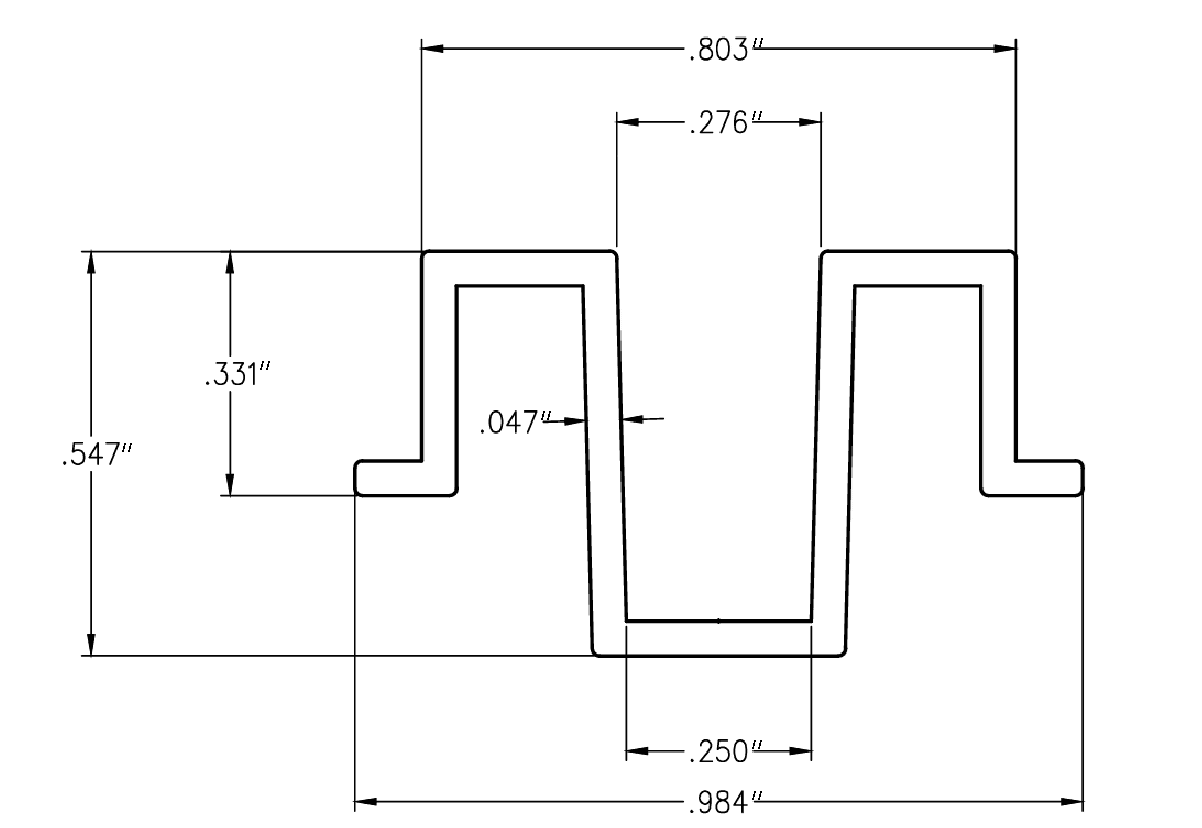
| Board profile | 5.5-inch aluminum boards, tightly stacked with no intentional view-through gap |
| Available widths | 3′, 4′, 5′, 6′, 8′, 10′, and 12′ |
| Available heights | 3′, 4′, 5′, and 6′ |
| Finishes | Black, Bronze, White, Dark Grey, Light Gray, and Wood |
| Fit method | Cut posts and boards on site to match the measured clear opening |
| Wide-kit structure | 10′ and 12′ widths use two equal bays with one center two-channel support post |
| Material | Powder-coated aluminum components with stainless-steel brackets and zinc-coated center-post base where specified |
| Maintenance | Wash with mild soap and water; do not use abrasive cleaners |
Installation sequence
- Measure the clear opening at multiple points and confirm the supporting surfaces are sound.
- Mark the finished height and trim the side posts to fit.
- For 10′ and 12′ kits, establish and anchor the center post before cutting the two board bays.
- Cut the horizontal boards evenly, dry-fit the system, then fasten the channels/posts to the supports.
- Stack the 5.5-inch boards tightly, verify level and alignment, and install caps and covers.
- Seal appropriate exterior penetrations and complete a final fastener and alignment check.
Important: installation conditions vary. Confirm local requirements and choose anchors suitable for concrete, masonry, steel, or wood supports.
Questions & Answers
Find answers about fit, measuring, style selection, kit contents, installation, finishes, pricing, delivery, and support for Alumission Aluminum Between Columns Kits.
Product & Applications
What is an Aluminum Between Columns Kit?
It is a cut-to-fit stationary aluminum fence-panel system designed to fill an opening between two existing columns, pillars, or structural posts. Each style has its own slat pattern and exact size-specific parts schedule.
Is this the same product as a wall-topper kit?
No. This kit installs between two existing supports. A wall-topper sits above a continuous wall and uses a different layout.
Can I use this kit as a freestanding fence section?
Not by itself. The standard 3- through 8-foot kits require existing supports at both ends. The 10- and 12-foot kits add a center support system but still require suitable end supports.
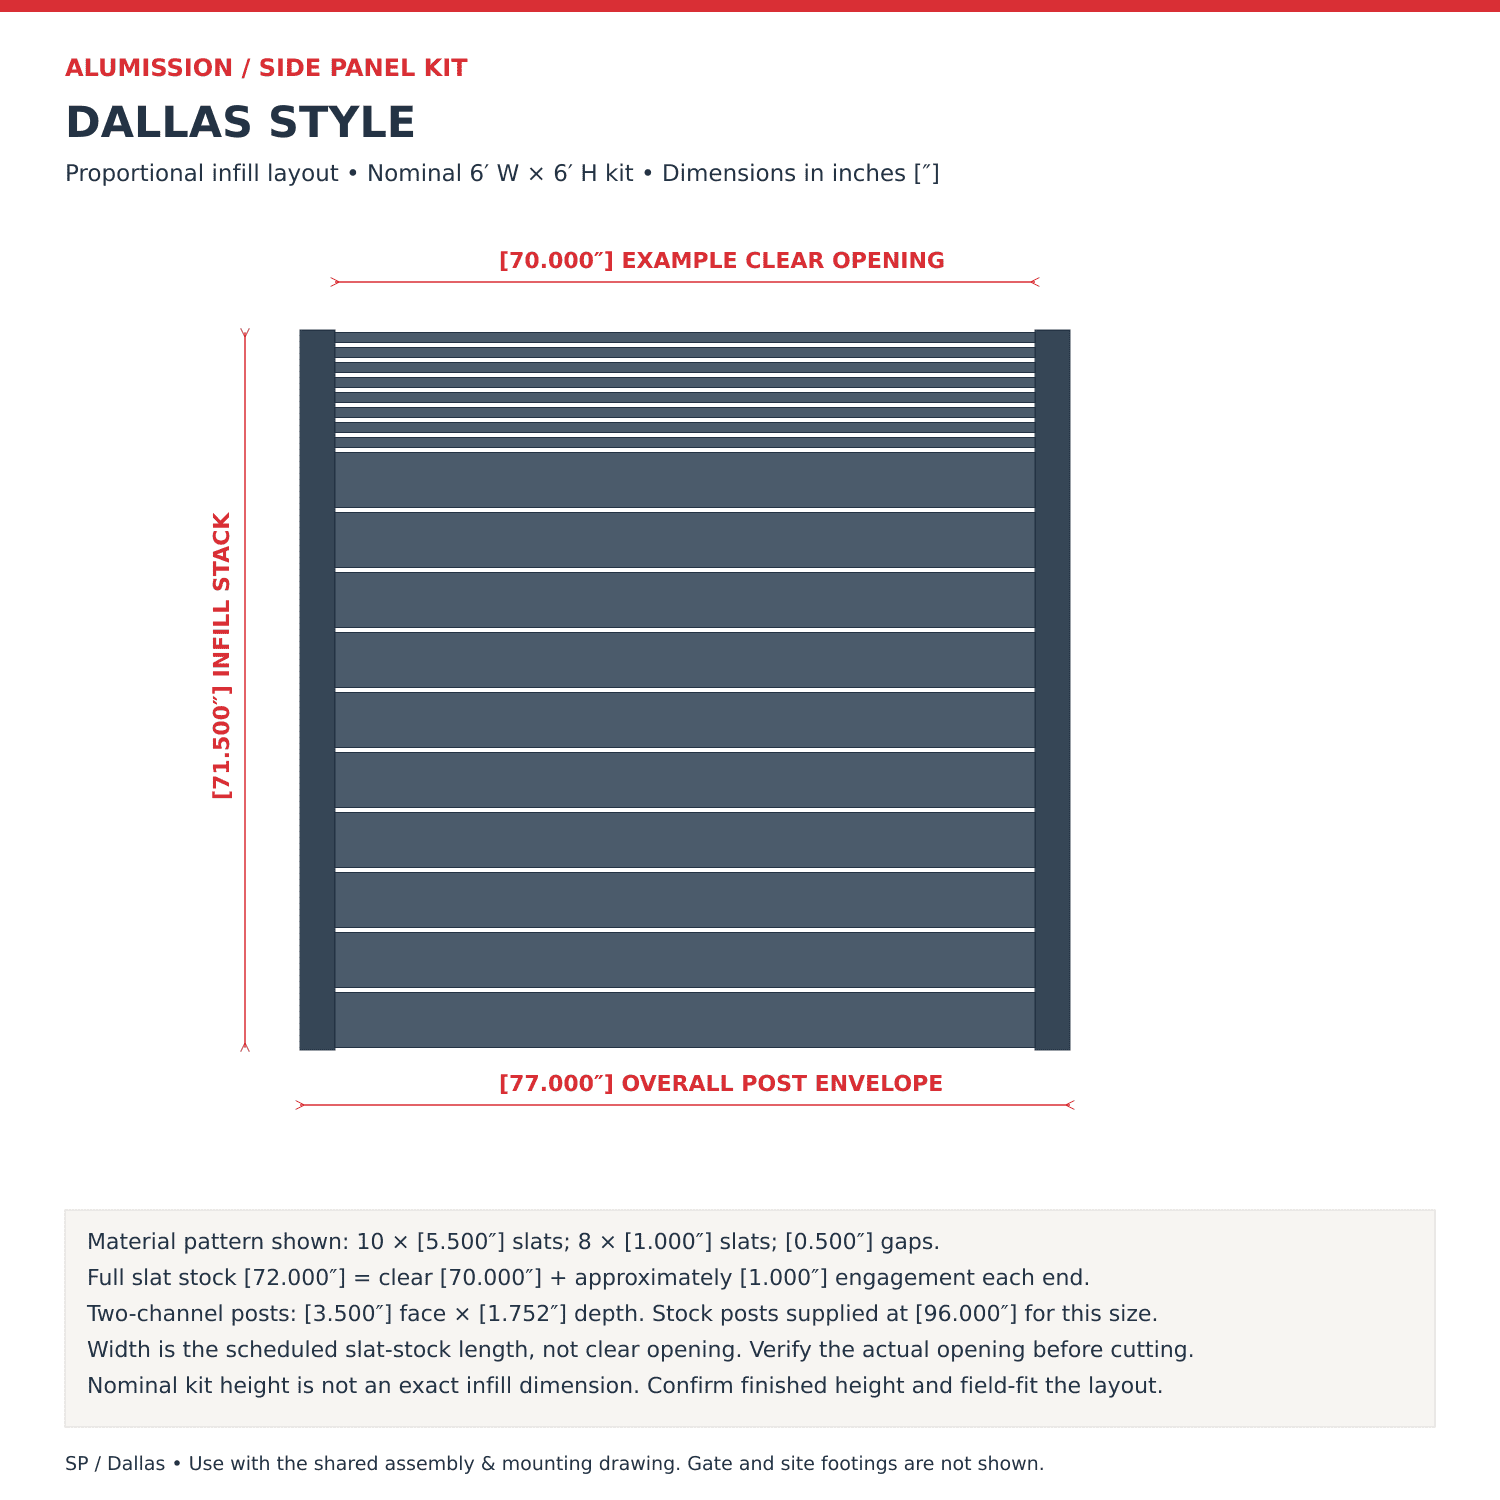
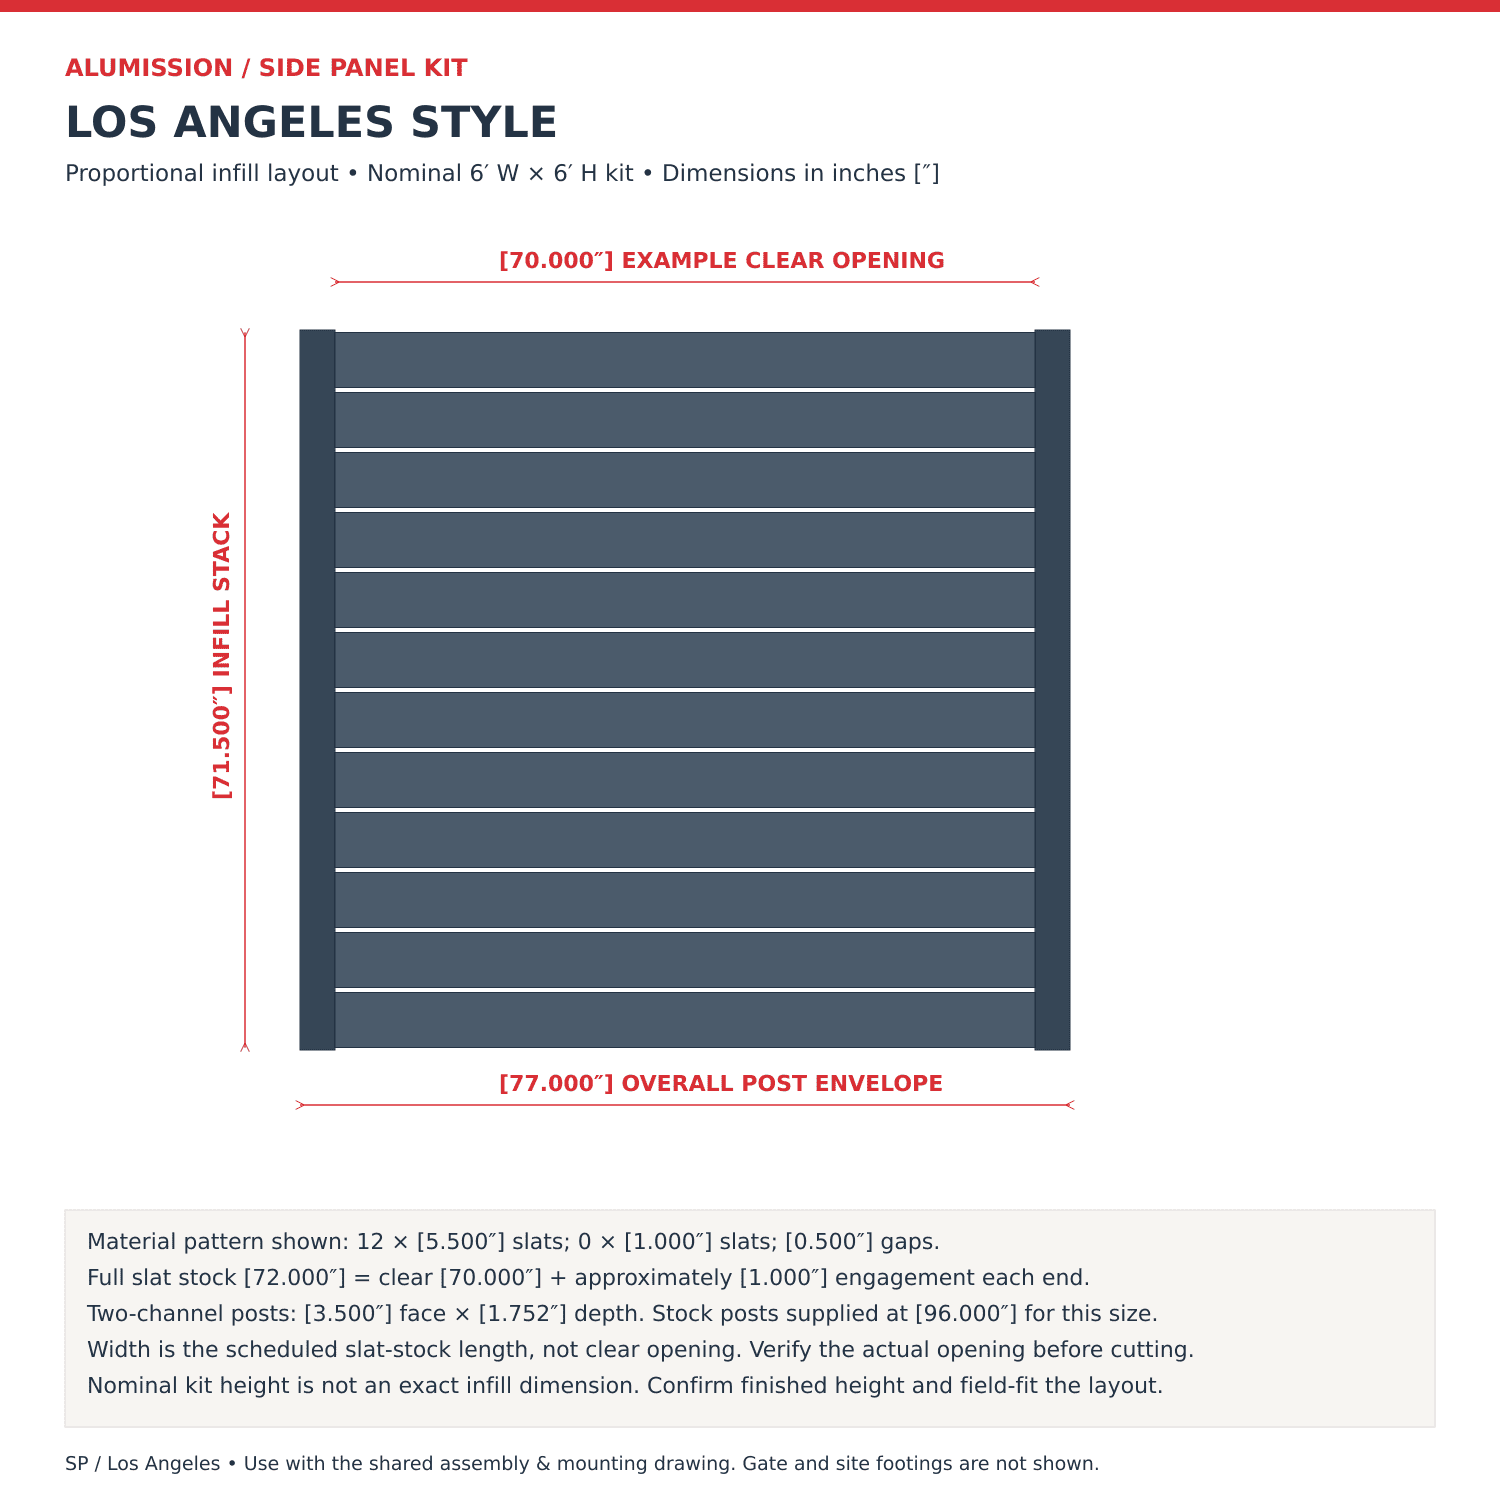
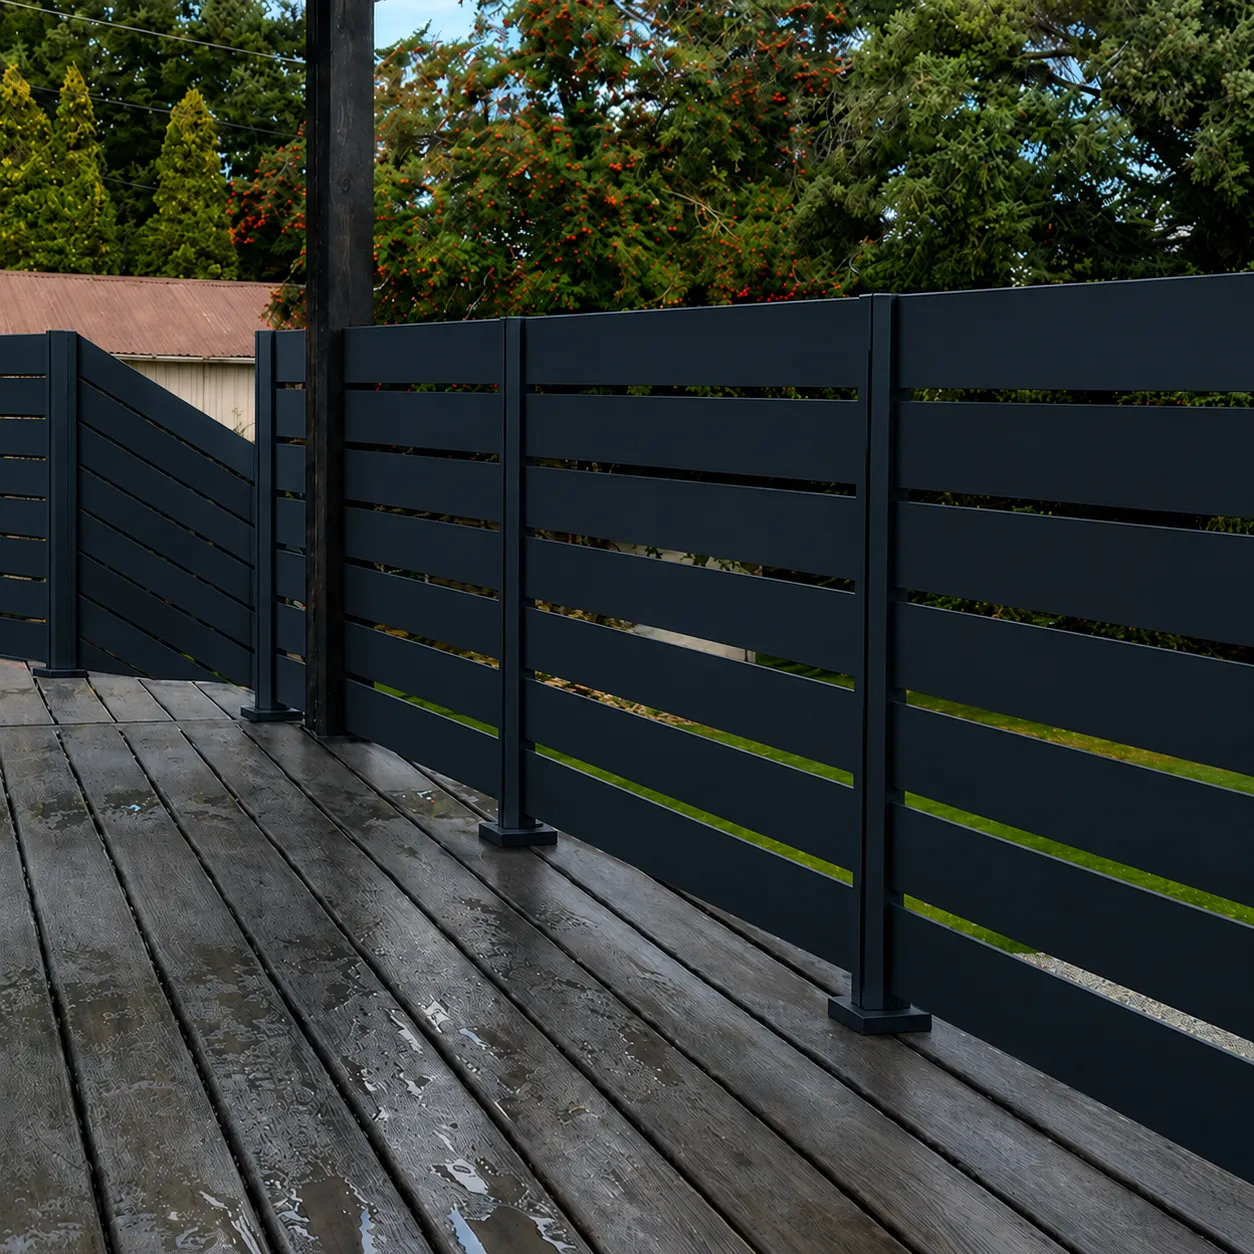
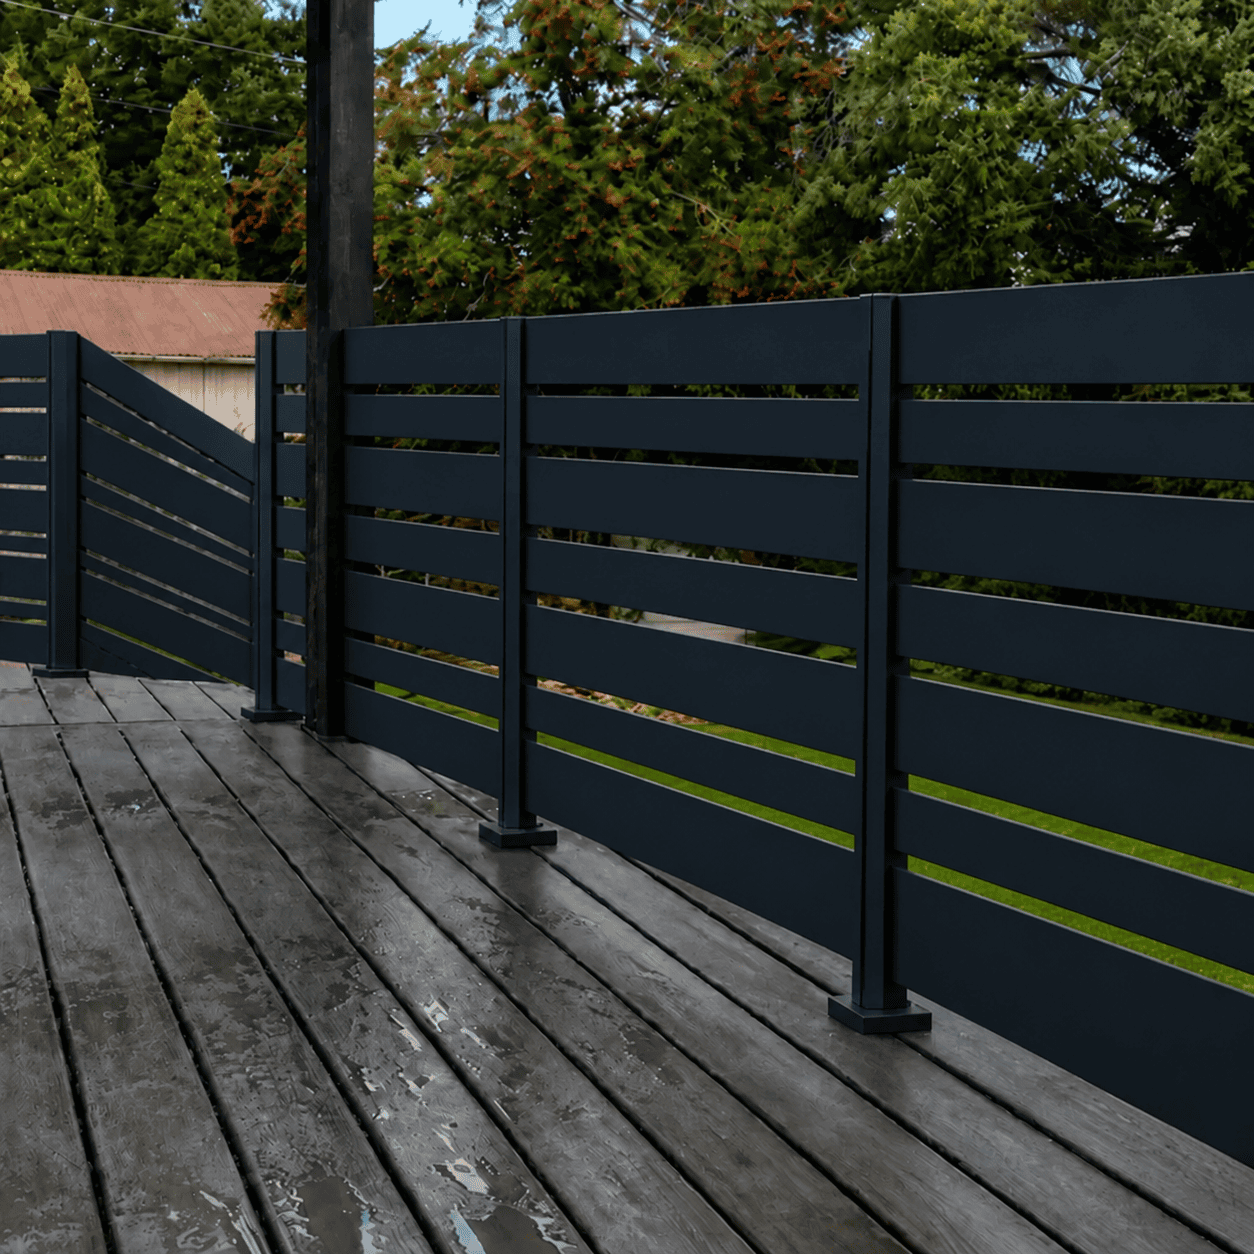
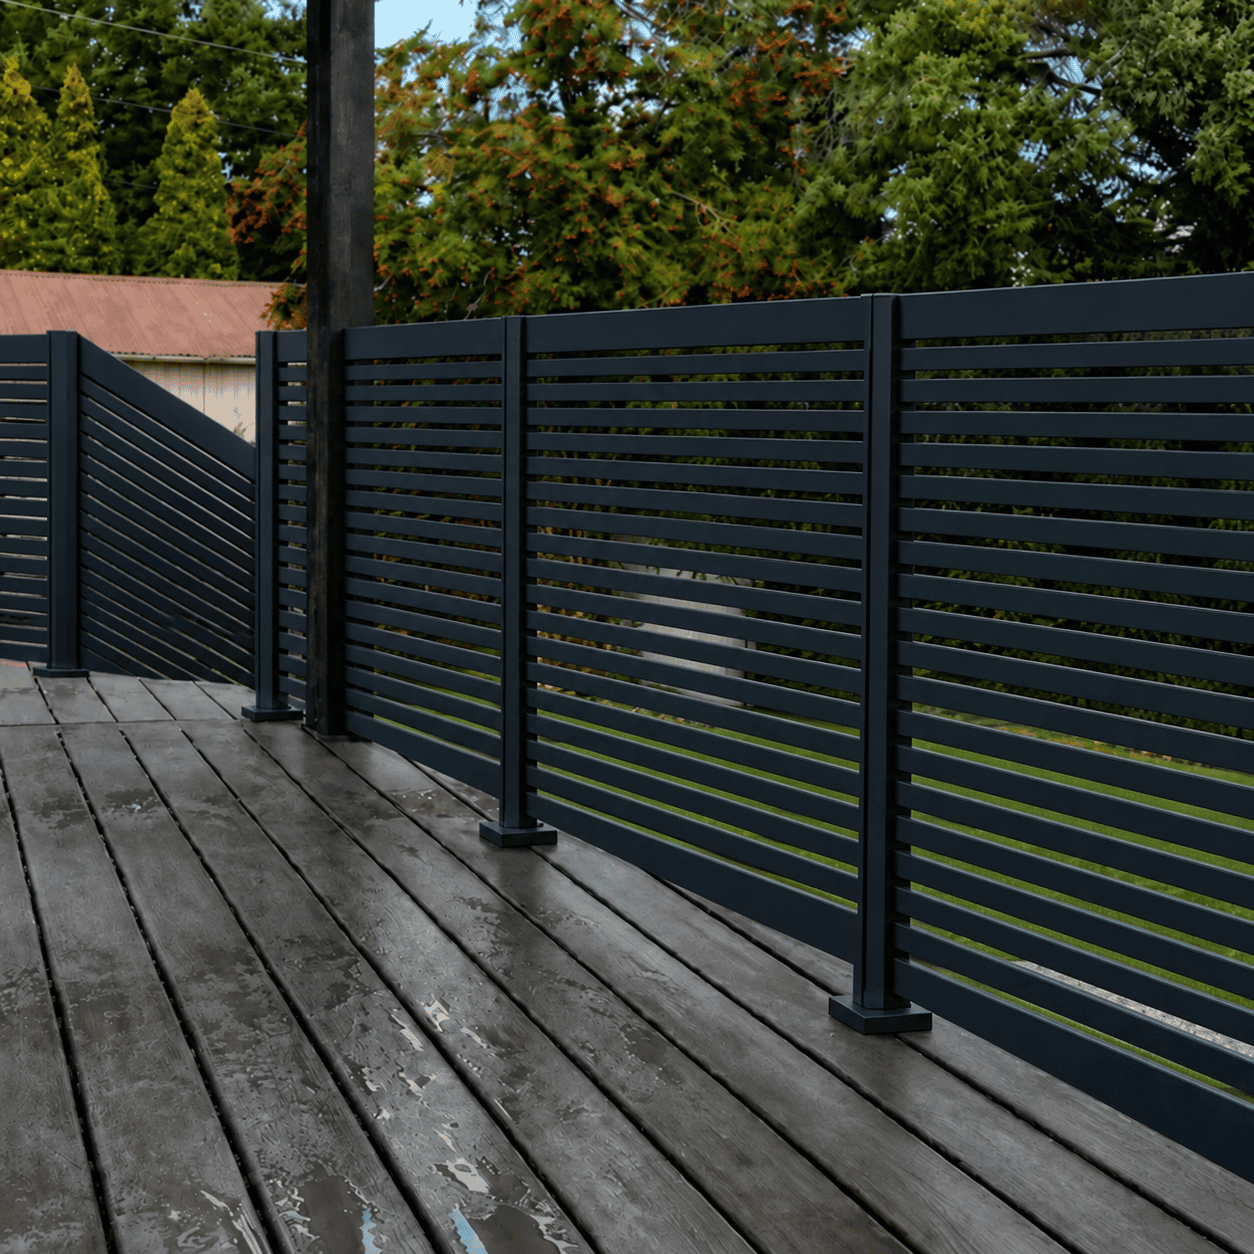
How do the Los Angeles, Dallas, Miami, San Francisco, and Las Vegas styles differ?
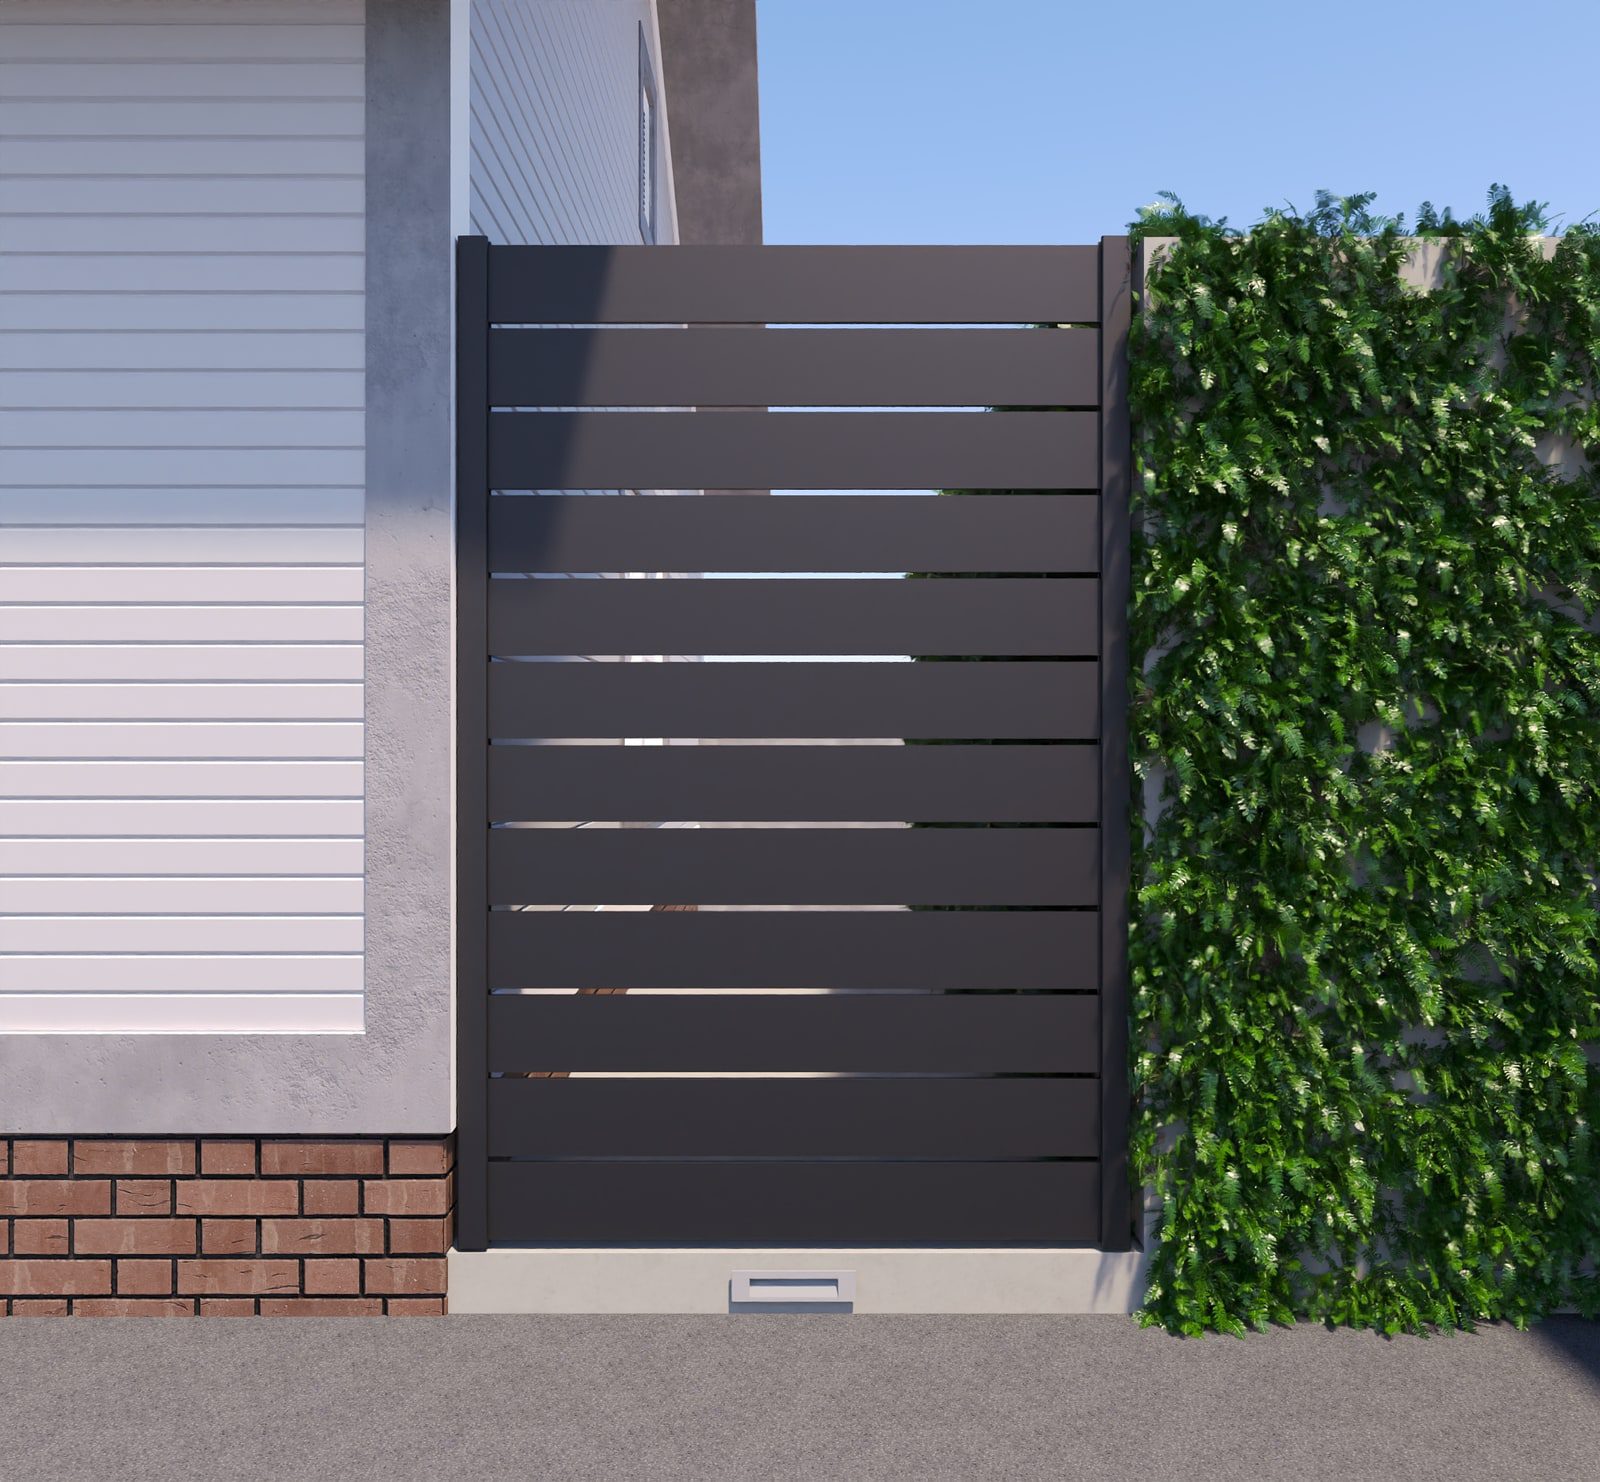
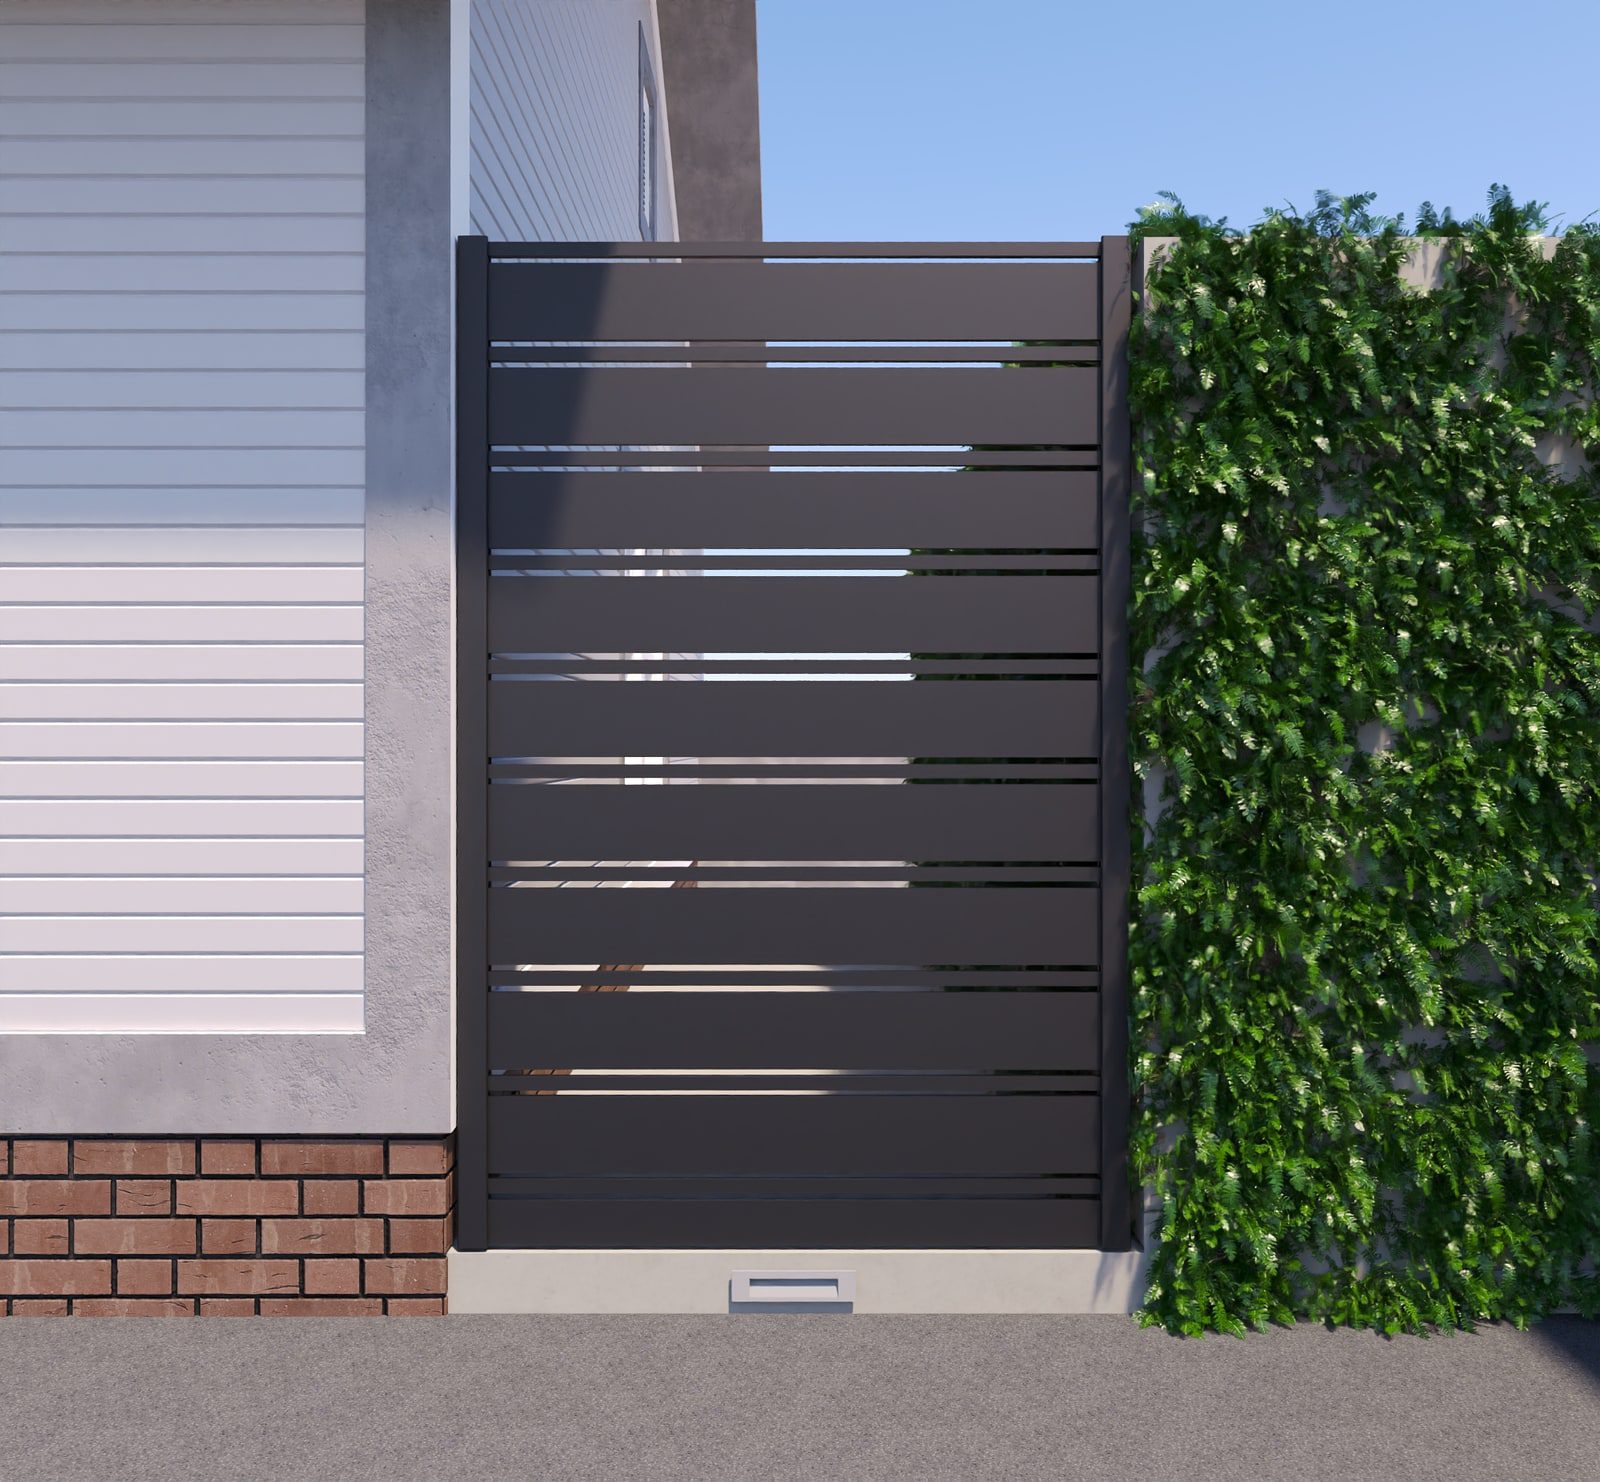
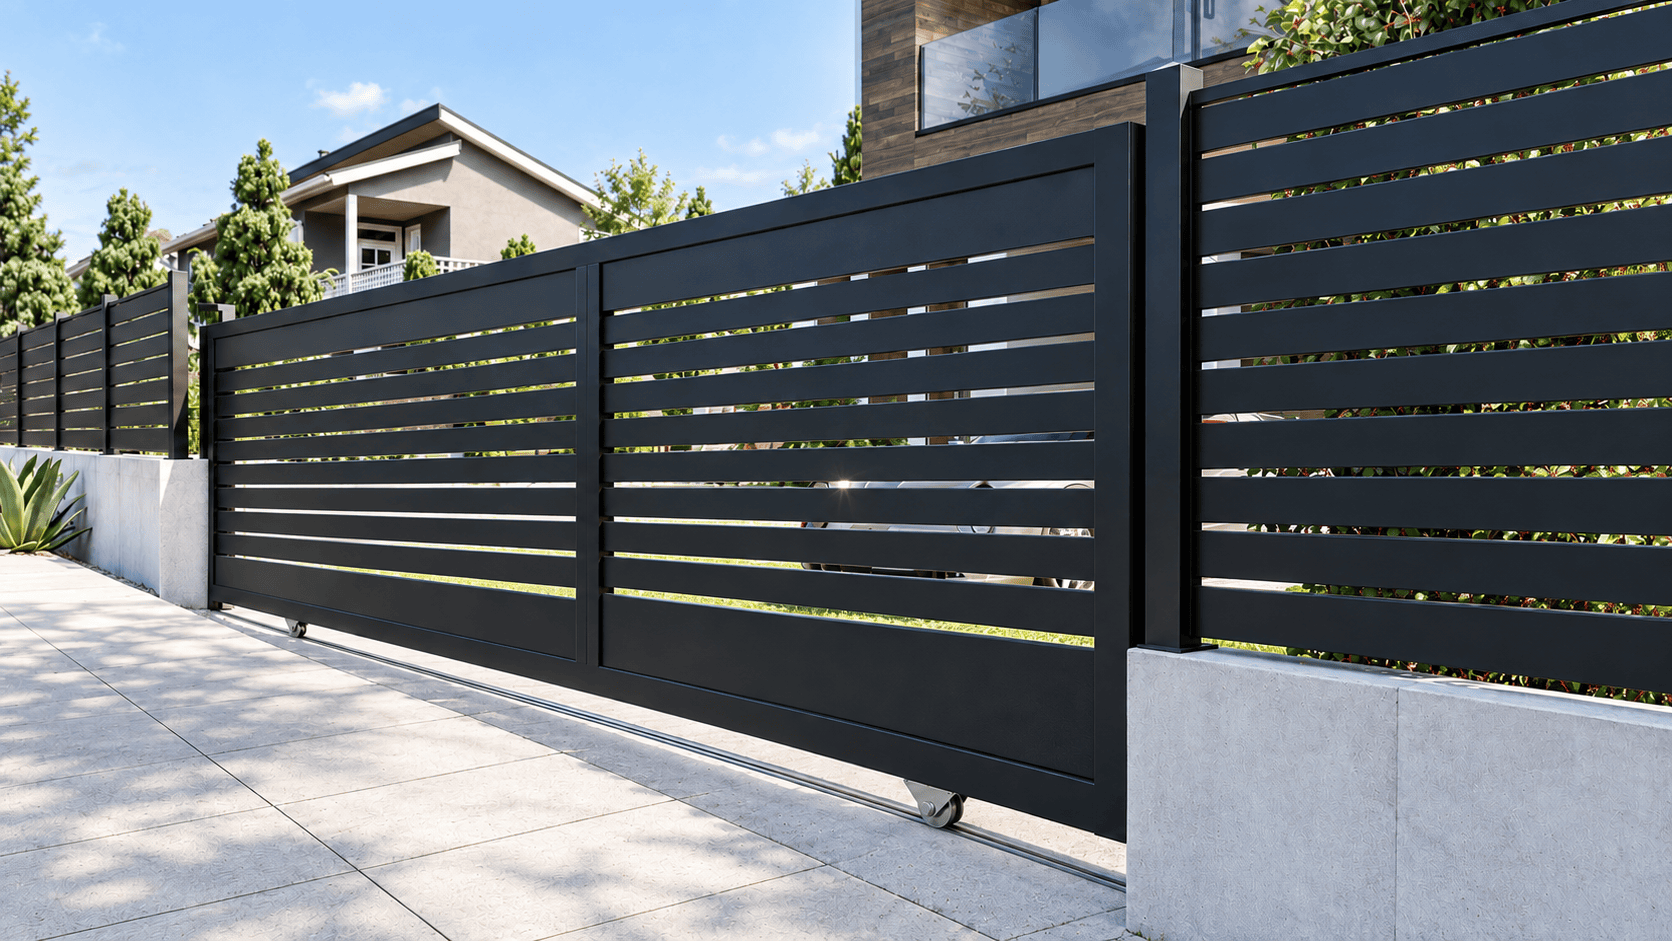
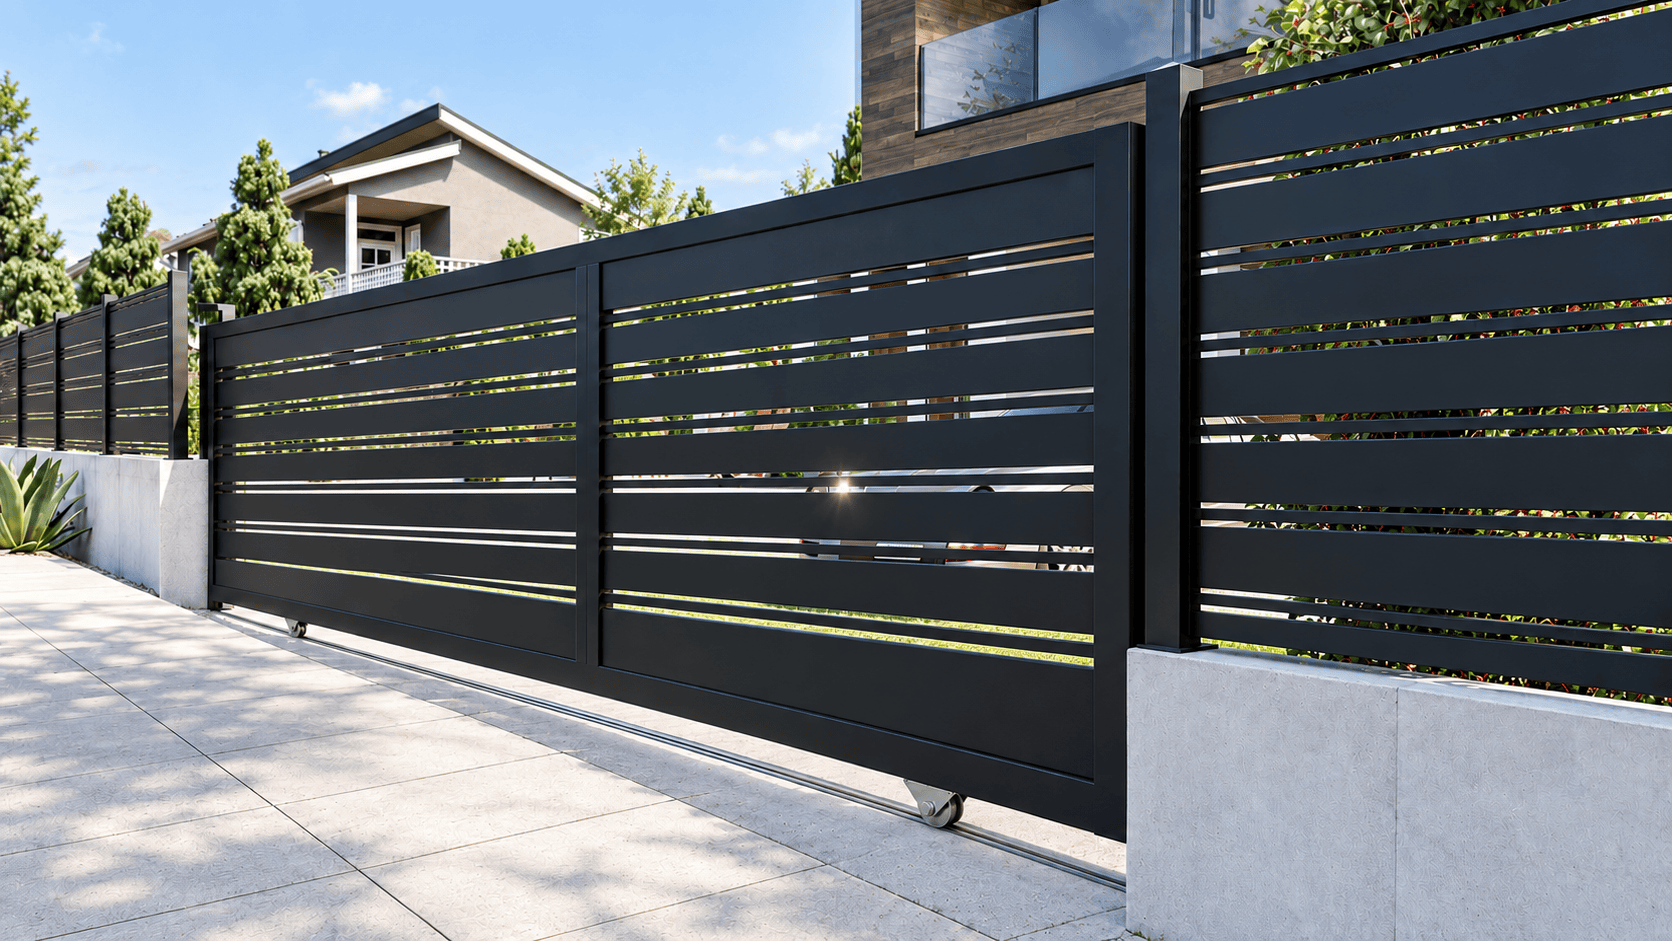
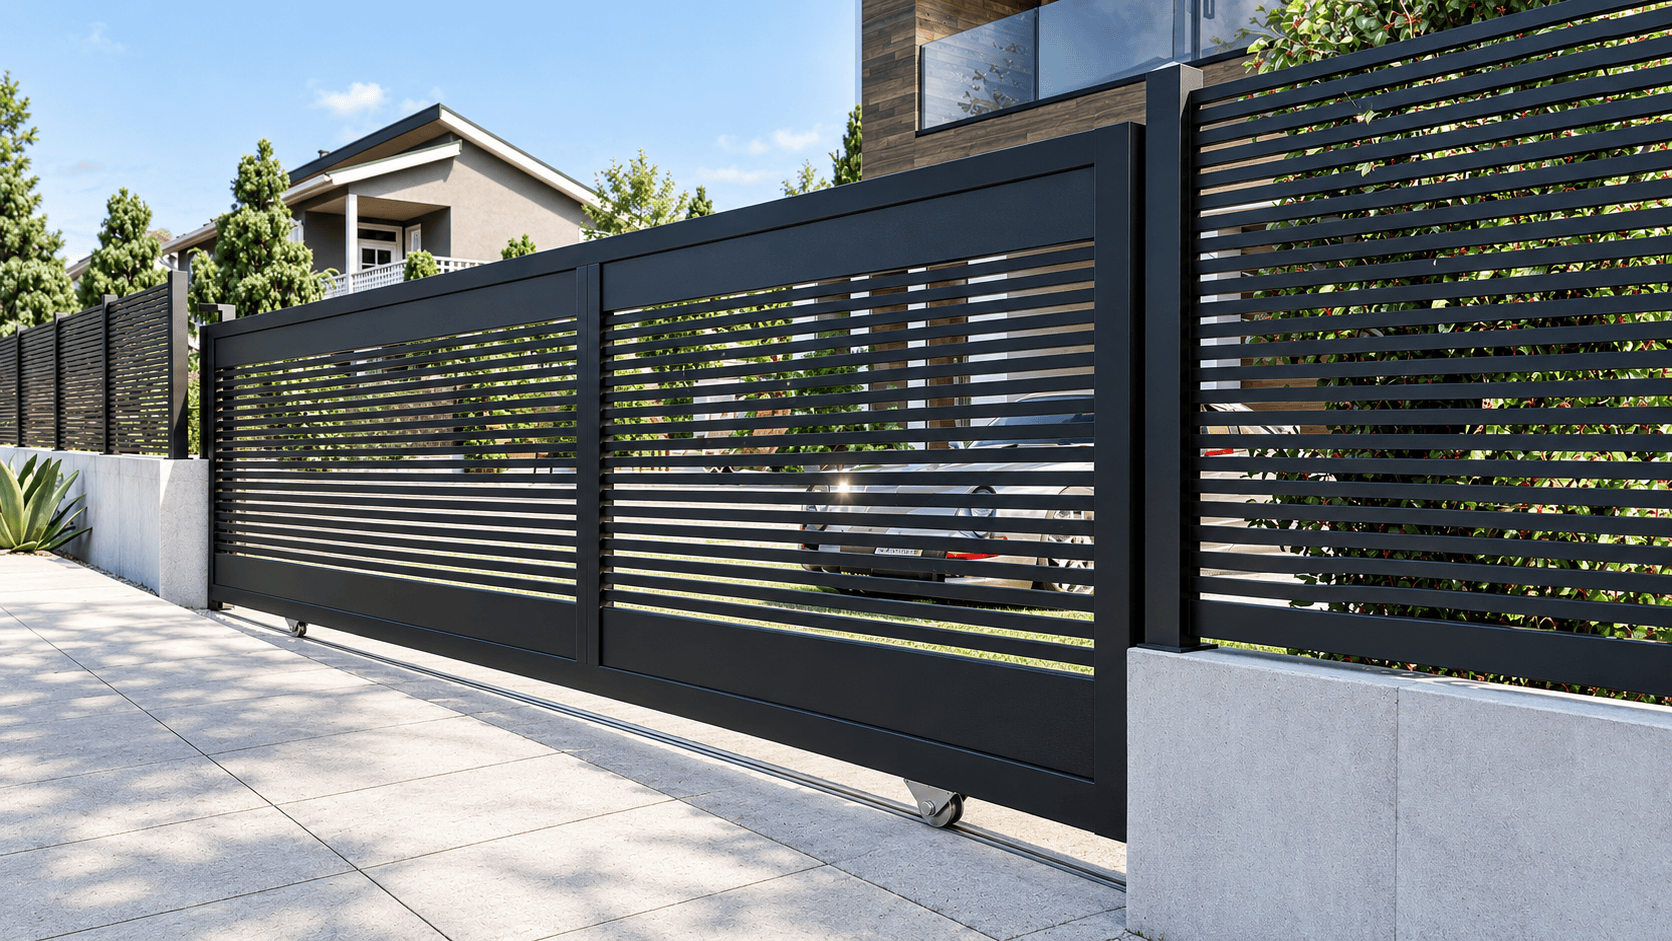
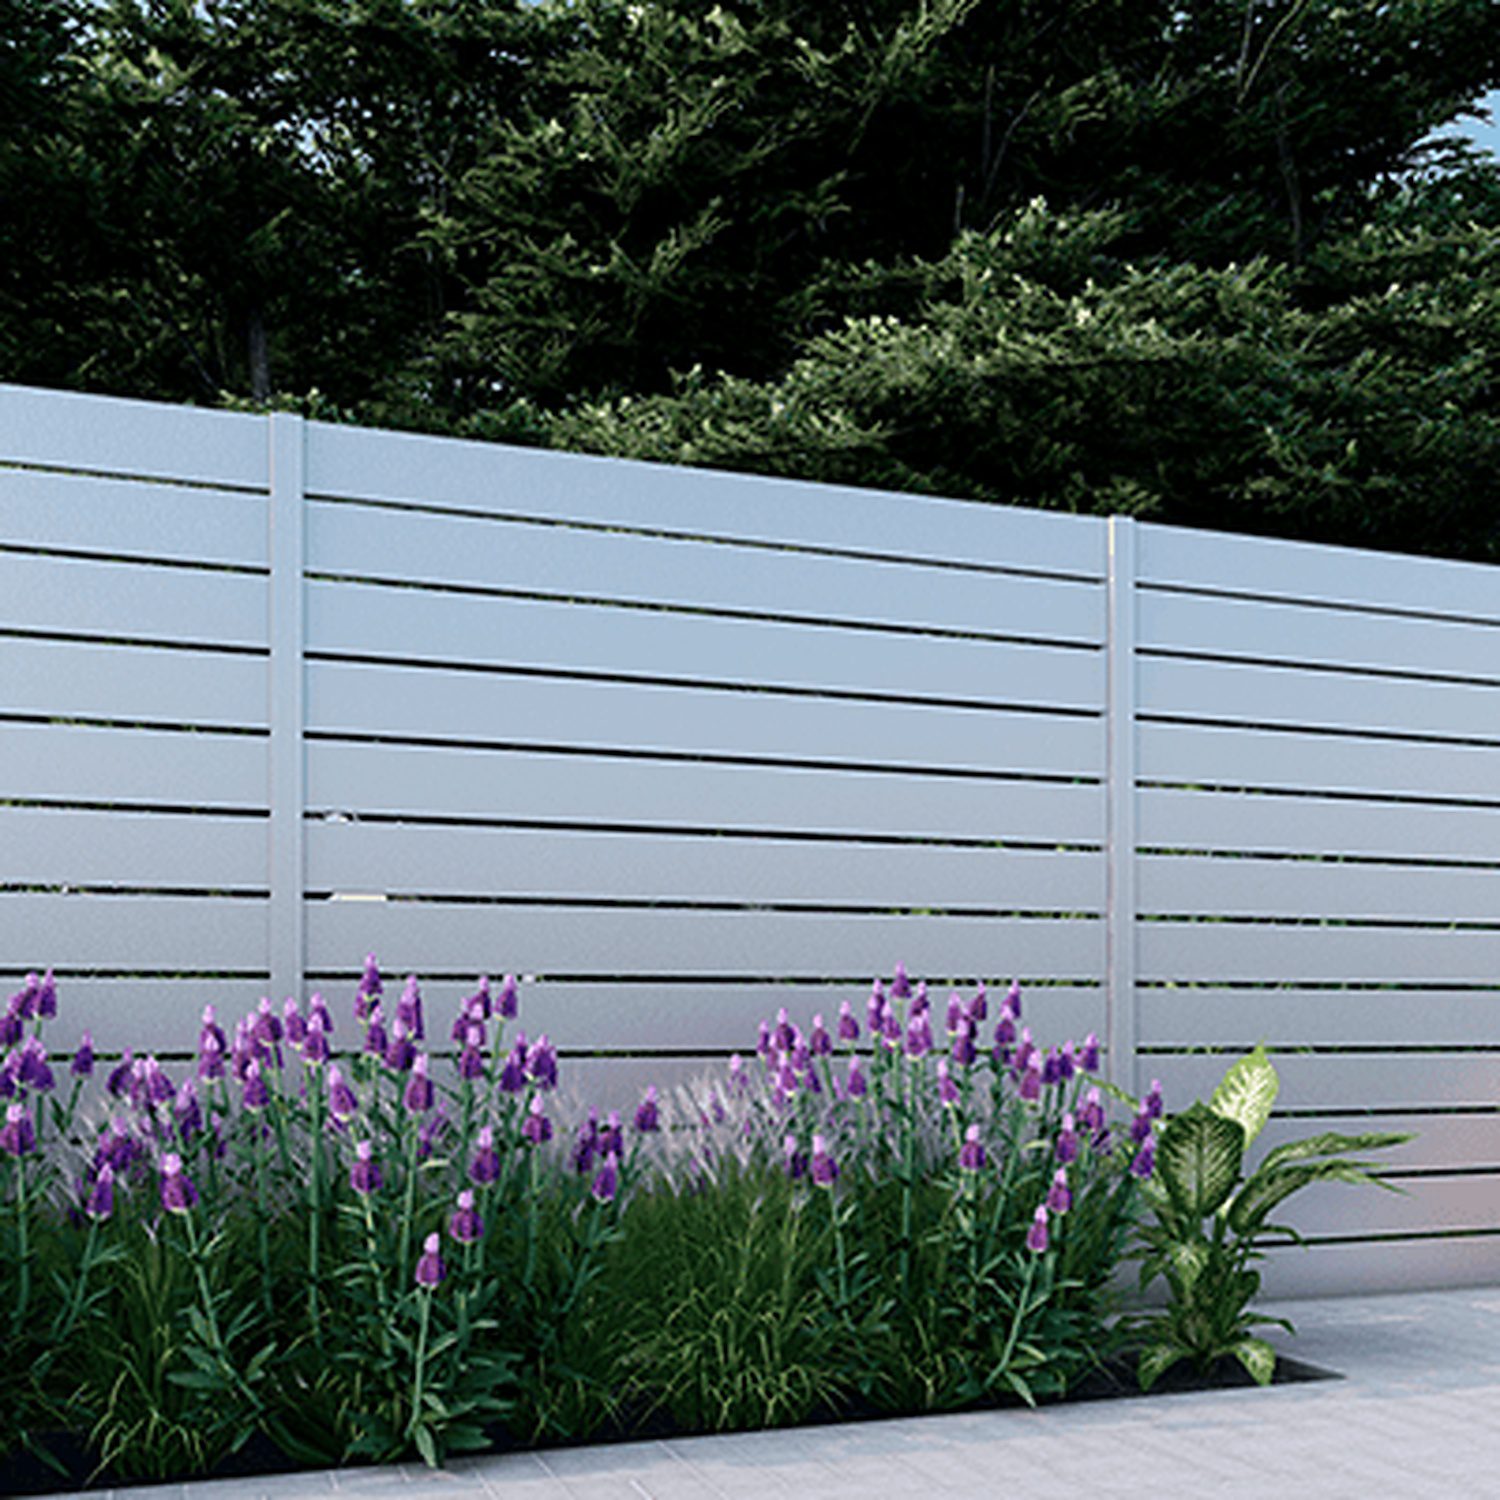
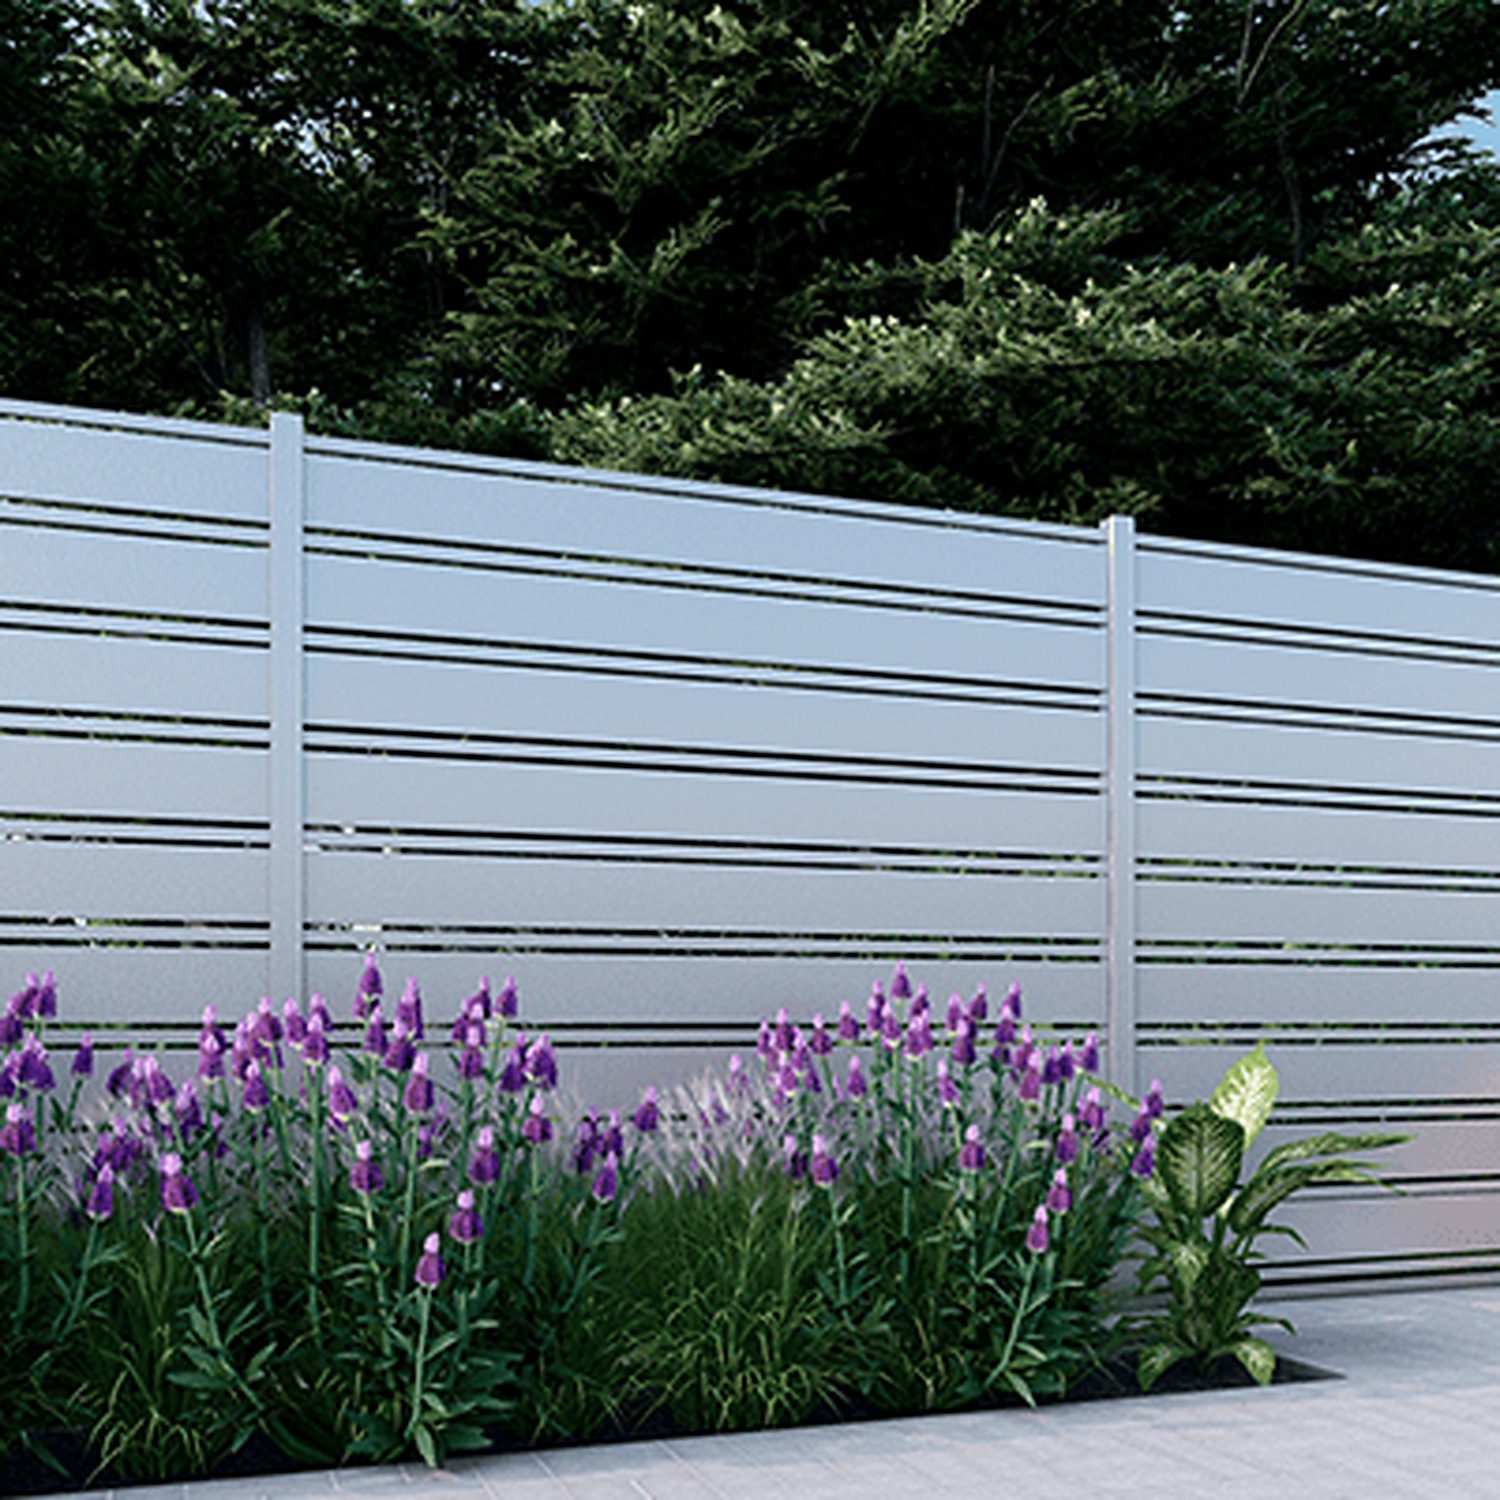
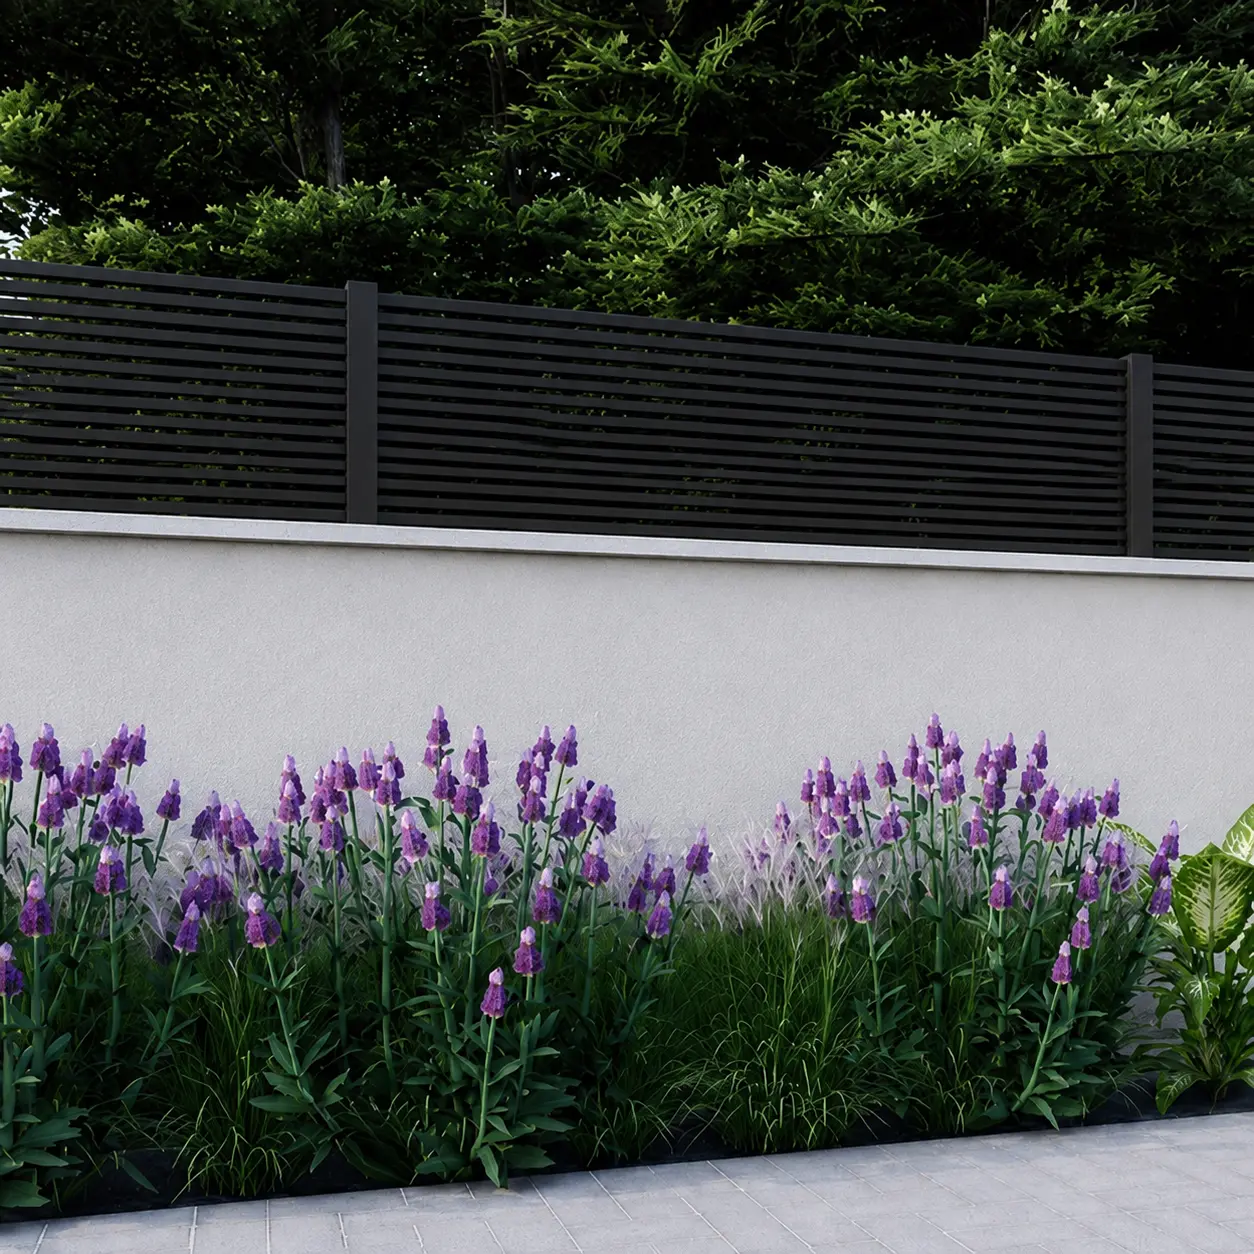
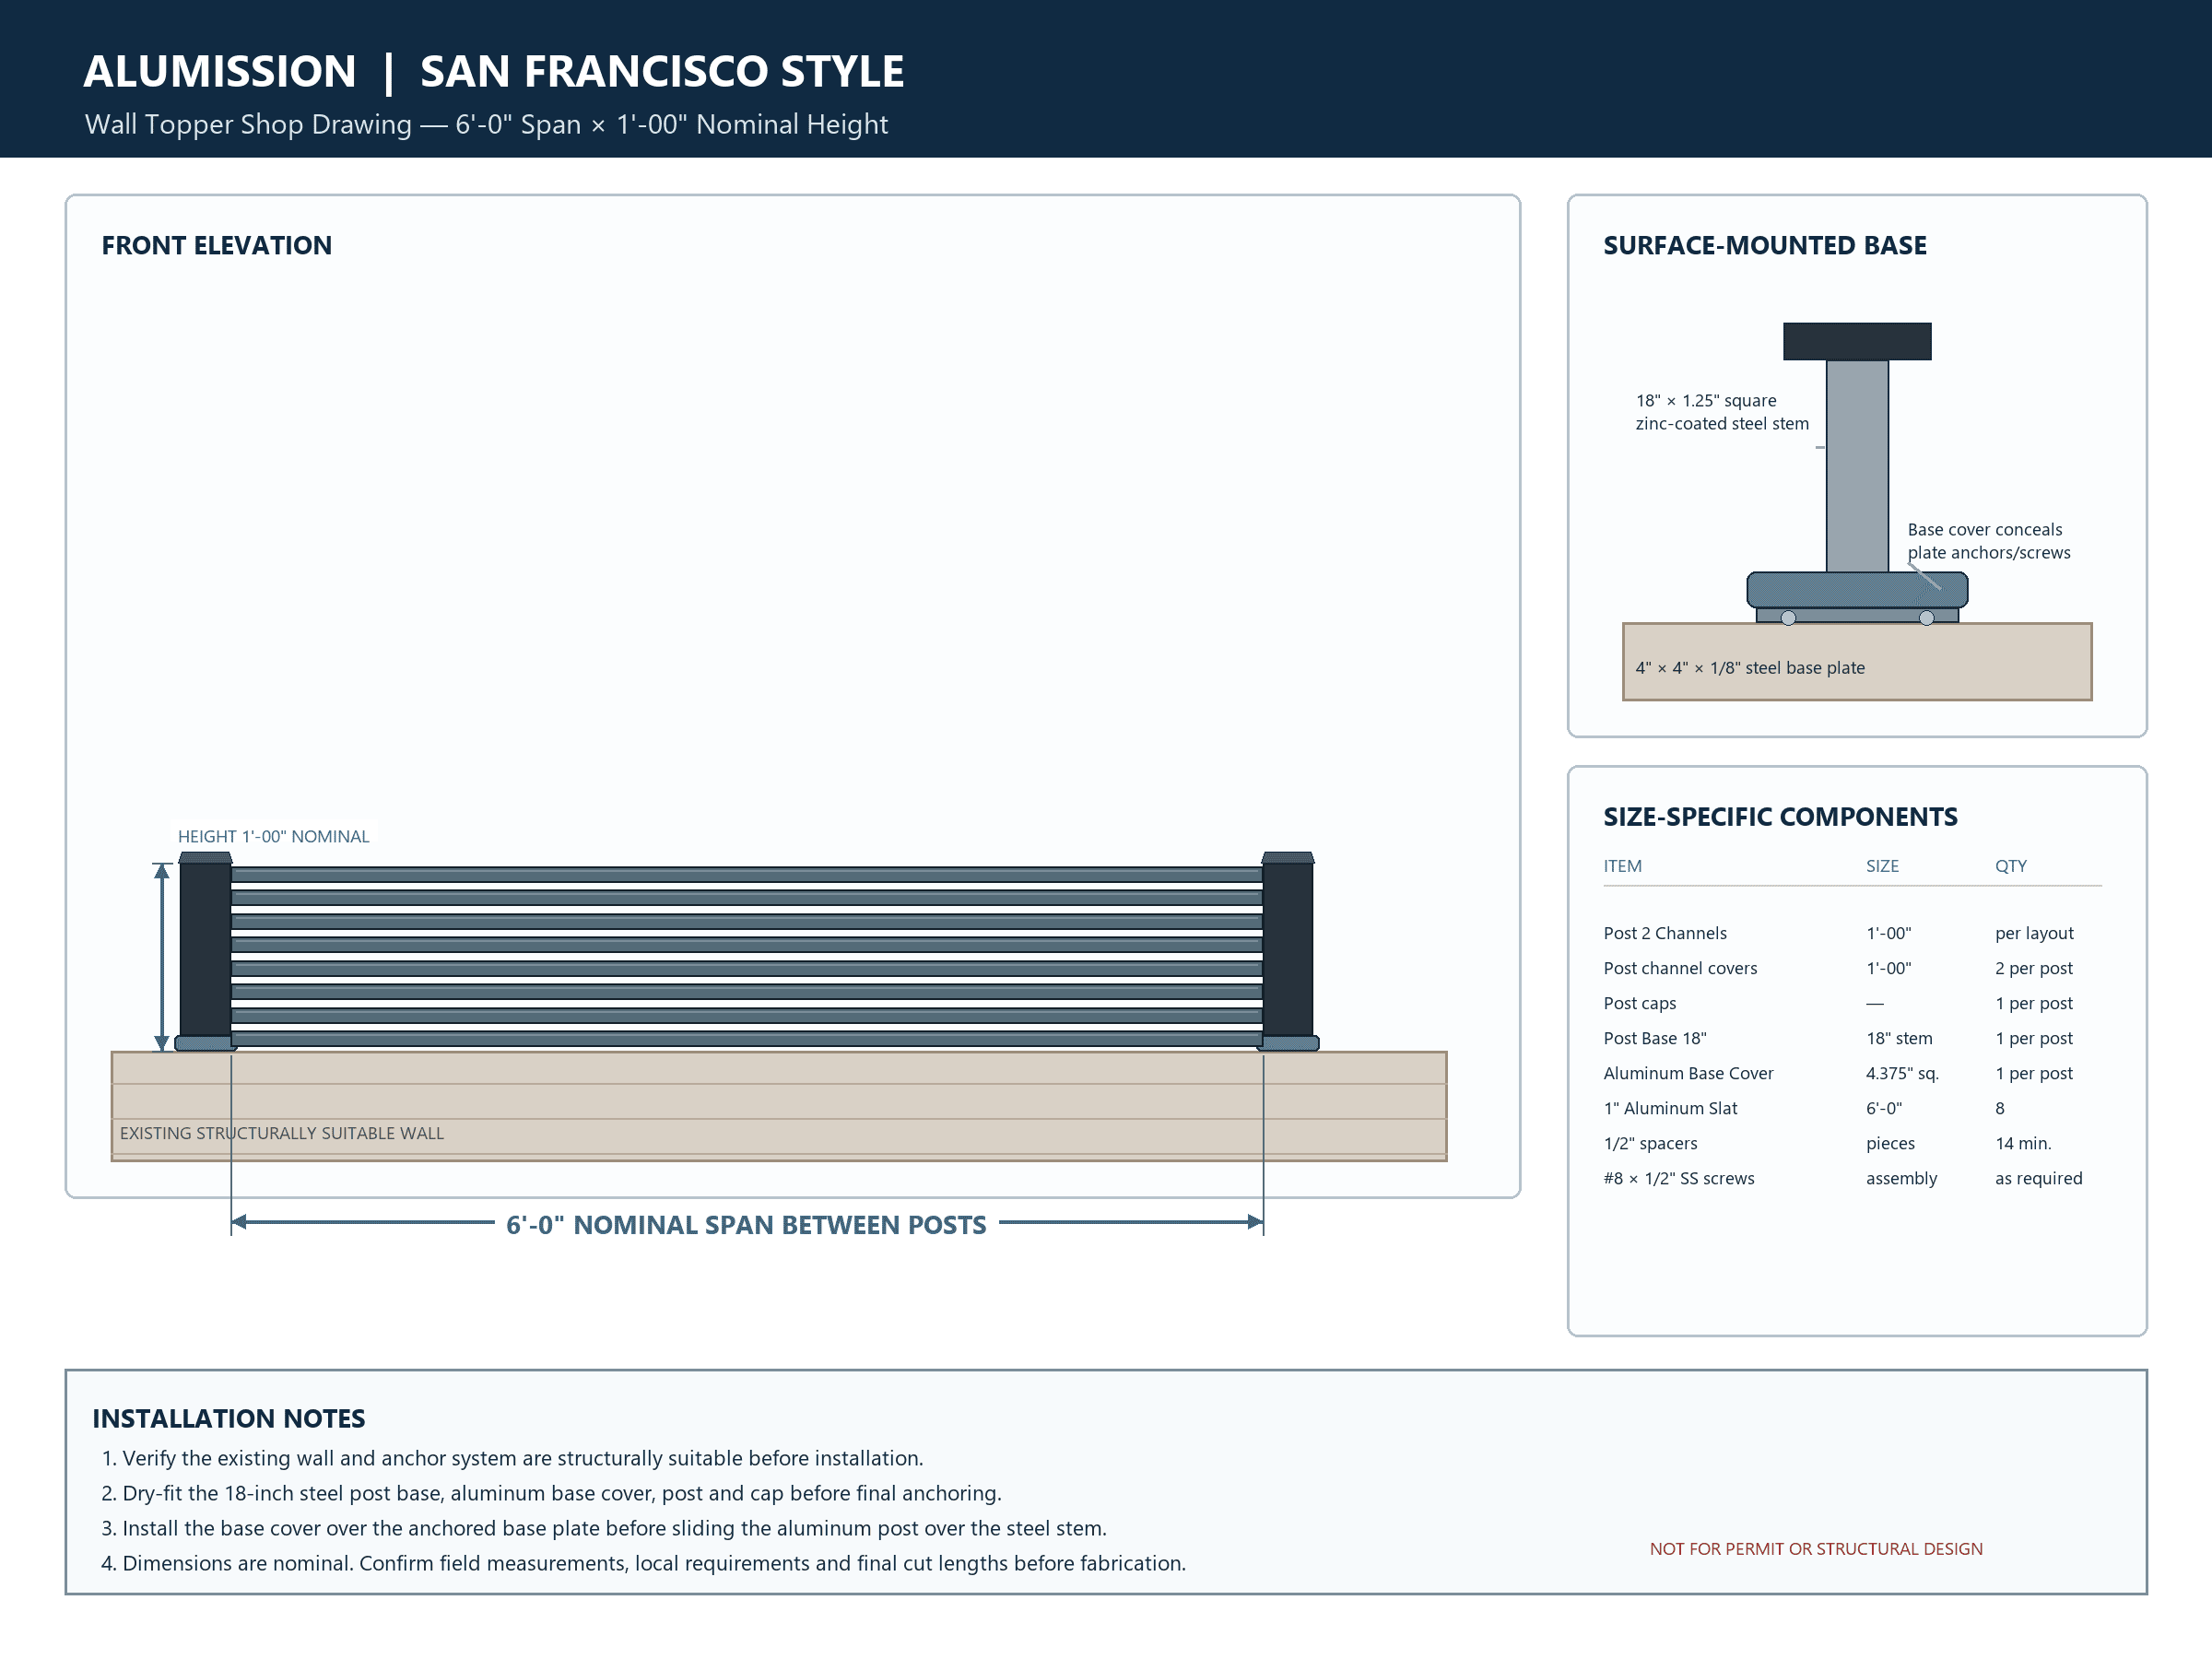
Each style uses a different arrangement of wide and/or narrow horizontal aluminum slats. Select the style you prefer, then use its Product Details tab for the exact slat quantities included with every size.
How much privacy does the panel provide?
Privacy varies by style. Wider-slatted patterns provide more screening, while narrow or mixed-slat patterns preserve more light and airflow. Review the selected style photo before ordering.
Can it be installed outdoors?
Yes. The aluminum components and exterior powder-coated finishes are intended for outdoor fence applications. Correct anchoring, drainage, and installation remain essential.
Sizing & Measuring
Which kit sizes are available?
Choose widths of 3, 4, 5, 6, 8, 10, or 12 feet and heights of 3, 4, 5, or 6 feet, for 28 selectable size combinations.
How should I measure the opening?
Measure the clear distance between the supports at the top, middle, and bottom. Measure the available height in more than one location. Use the smallest clear opening when planning the finished panel and record every measurement before ordering.
How do I choose the correct nominal kit size?
Choose a listed width and height that provide enough material to cover your measured opening. The aluminum posts and slats are cut on site for the final fit. If your opening falls between sizes or is unusually shaped, contact Alumission before ordering.
Can the posts and slats be cut to fit?
Yes. The installation video shows the side posts being cut to height and the horizontal slats being cut to the measured span. Make final cuts from the actual installed opening, not only from the nominal kit size.
What if my columns are not parallel or the opening is out of square?
Measure at several points and do not assume both sides are parallel. Minor differences may be handled during field fitting, but a visibly tapered or out-of-square opening should be reviewed with Alumission before you order or cut material.
Is the selected width the exact finished panel width?
The selected width is the kit’s nominal material size, not a promise that the assembled panel will finish at that exact dimension. The system is designed to be measured and cut for the actual opening.
Kit Contents & Configurations
What is included in 3-, 4-, 5-, 6-, and 8-foot-wide kits?
These single-span kits include two aluminum side posts, two caps, the selected style’s size-specific slats and spacer packs, plus one pack of five stainless steel L-brackets with #8 screws. See Product Details for exact counts.
How do I find the exact slat quantity for my style and height?
Open the Product Details tab on the selected style. Its tables list 5.5-inch slats, 1-inch slats, spacer packs, supplied slat length, and center-support parts for every available size.
What is different about the 10- and 12-foot-wide kits?
The 10-foot kit forms two 5-foot spans and the 12-foot kit forms two 6-foot spans. Both add a two-channel center post, two snap covers, a center-post cap, zinc-coated steel base, aluminum base cover, and a ten-bracket hardware pack.
Which steel post base comes with a 10- or 12-foot kit?
The center-support base is height-specific: 3-foot and 4-foot heights include an 18-inch zinc-coated steel post base; 5-foot and 6-foot heights include a 4-foot base.
Are spacers, caps, and L-brackets included?
Yes. Size-appropriate caps, aluminum 1/2-inch spacer packs, and stainless steel L-brackets with #8 screws are included according to the selected style and size schedule.
Are wall anchors or column-mounting screws included?
No. The correct fastener depends on whether each existing support is concrete, masonry, wood, steel, or another material. Select properly rated anchors or screws for the actual support and local conditions.
Installation & Mounting
Can I install this kit myself?
A capable DIY customer or contractor can install it, but the work requires accurate measuring, cutting aluminum, drilling metal and the mounting surface, leveling, anchoring, and safely handling long components. Use a qualified installer if you are uncertain about the supports or anchors.
Is there an installation video?
Yes. The product gallery includes a 1-minute 29-second Between Columns installation video demonstrating the main sequence from removing the old infill through cutting, mounting, assembling the slats, and installing the caps.
What tools and supplies should I prepare?
Typical items include a tape measure, level, marker, saw and blade suitable for aluminum, drill/driver, hammer drill for masonry, 1/2- to 3/4-inch and 1/4- to 3/8-inch metal bits, the correct masonry or support bit, properly rated anchors, silicone, eye protection, and hearing protection.

What is the basic installation sequence?
Remove the old infill, measure the opening, cut the side posts, drill access and mounting holes, position and level the posts, mark and drill the supports, fasten the posts, cut the slats, install slats and spacers, and secure the caps.
Why are two different metal-hole sizes used in the video?
The larger access hole on the outer face allows the installer to reach the mounting fastener. A smaller hole is drilled through the mounting side of the post for the fastener itself. Match the final holes and fasteners to the installation conditions.
Should I fully tighten the posts immediately?
No. Start the fasteners, recheck the post for level and alignment, then tighten securely. This helps prevent locking the post into an incorrect position.
How are the 10- and 12-foot center posts installed?
Lay out the center carefully so the two equal spans align: two 5-foot spans for a 10-foot kit or two 6-foot spans for a 12-foot kit. Secure the supplied steel post base to an appropriate foundation, install the center aluminum post and base cover, and verify the center post is plumb before fitting the slats.
How are the post caps secured?
The installation video recommends silicone to secure the aluminum caps after the panel is assembled and alignment has been checked.
Finish, Color & Care
Which colors are available?
Available finishes are Black, Bronze, White, Dark Grey, Light Gray, and Wood.
How are the colors priced?
Black is priced at $38 per square foot. Bronze, White, Dark Grey, Light Gray, and Wood are each priced 17% above Black. The displayed product price updates after color, height, and length are selected.
Will the product image change when I choose a color?
Yes. The product’s color swatches are configured to show the matching fence image when a finish is selected, helping you compare the finished appearance before ordering.
How should I clean the powder-coated aluminum?
Use water, mild soap, and a soft cloth or non-abrasive sponge. Rinse thoroughly. Avoid abrasive pads, harsh chemicals, and tools that may scratch the finish.
What should I do if a coated surface is scratched or a cut edge needs attention?
Keep cut edges clean and avoid damaging surrounding powder coat. For a visible scratch or exposed cut that needs cosmetic touch-up, contact Alumission for a finish-compatible recommendation before applying another coating.
Ordering, Delivery & Support
How do I see the exact price for my kit?
Select a color, height, and length on the product page. The price will update for that exact combination before you add it to the cart.
What should I verify before ordering?
Confirm the product is for a between-columns application, measure the opening in several locations, choose the correct nominal width and height, select the finish, and review which mounting anchors you will need to supply.
What should I check when the shipment arrives?
Before cutting or installing anything, compare the delivered components with the Product Details kit schedule for your selected size. Inspect the slats, posts, caps, spacers, brackets, and any 10-foot center-support parts.
What should I do if a component is missing or arrives damaged?
Keep the packaging, photograph the package and affected part, and contact Alumission promptly with your order information and the photos. Do not cut or install a damaged component before receiving guidance.
Can I return components after they have been cut or drilled?
Cutting or drilling changes the product and may affect return eligibility. Review Alumission’s current return policy and contact the team before modifying material if there is any concern about fit, color, or the order.
Who should I contact for an unusual opening or installation condition?
Contact Alumission before ordering if the opening is tapered, out of square, wider than the offered sizes, supported by questionable material, or requires a configuration not shown on the product page.
Reviews
There are no reviews yet.
Related
Products
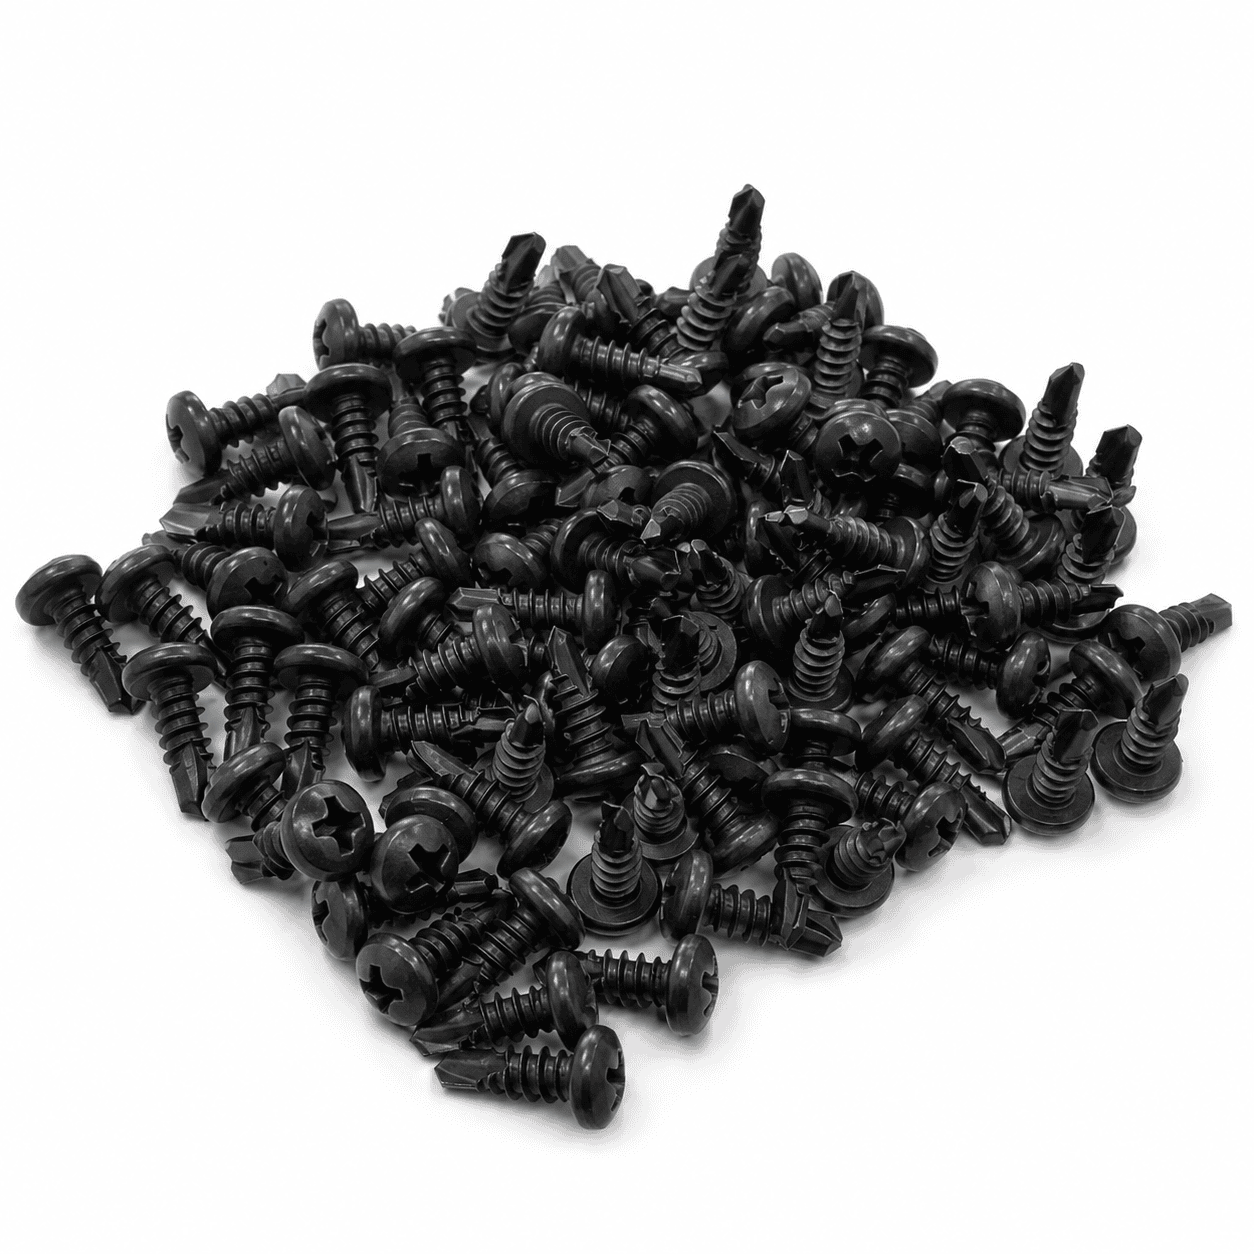
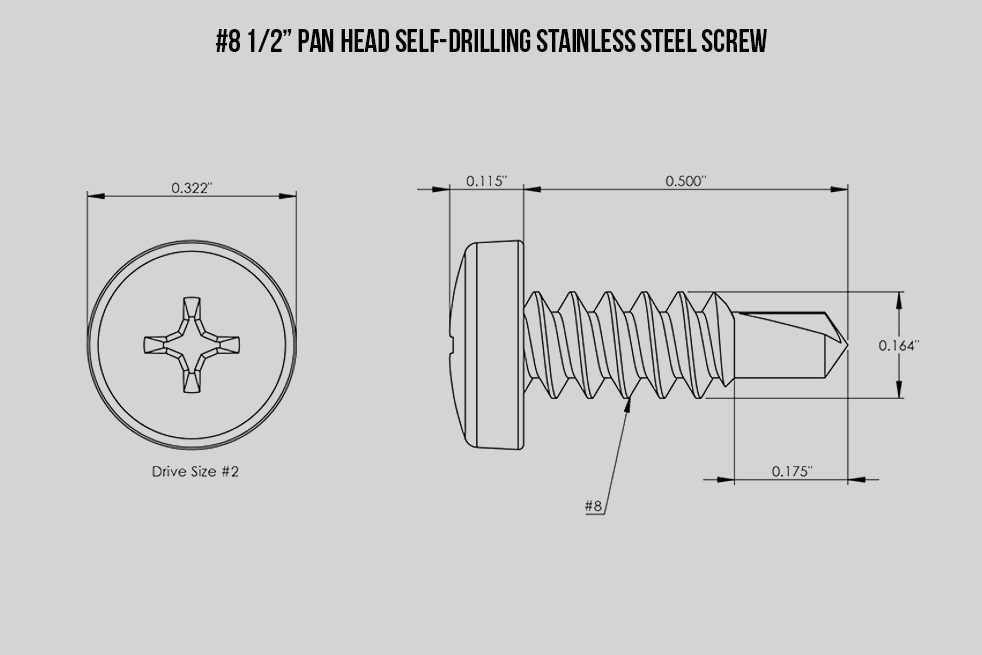
#8 × 1/2″ Stainless Steel Pan-Head Self-Drilling Screws – Pack of 100
STARTING AT $40.521-1/4″ × 1-1/4″ Galvanized Square Steel Tube – 1/8″ Wall
STARTING AT $33.571″ Aluminum Slat
1″ Aluminum Slat For Glass
STARTING AT $28.9412″ Heavy-Duty Gate Cane Bolt for Double Swing Gates
STARTING AT $45.152.5″ Aluminum Slat
STARTING AT $44.043″ x 3″ Heavy-Duty Steel Gate Post – 8 ft with Cap
STARTING AT $260.474″ Adjustable Self-Closing Gate Hinges – Set of 2
STARTING AT $58.484″ Stainless Steel Ball-Bearing Gate Hinges – Set of 2
STARTING AT $58.485.5″ Aluminum Slat
STARTING AT $37.636″ Aluminum Snap Slat 8′
STARTING AT $51.006″ Aluminum Top Snap Slat 8′
STARTING AT $51.00Aluminum Base Cover
STARTING AT $18.52Aluminum Cap For Side Post
STARTING AT $16.21Aluminum Fence Kit- Los Angeles Style
STARTING AT $999.00


Discussions
There are no questions yet.