

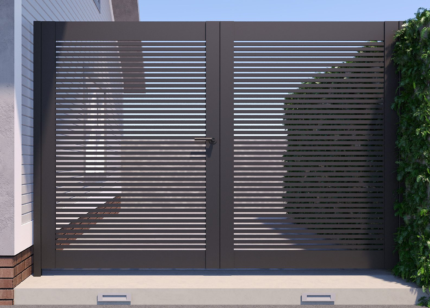
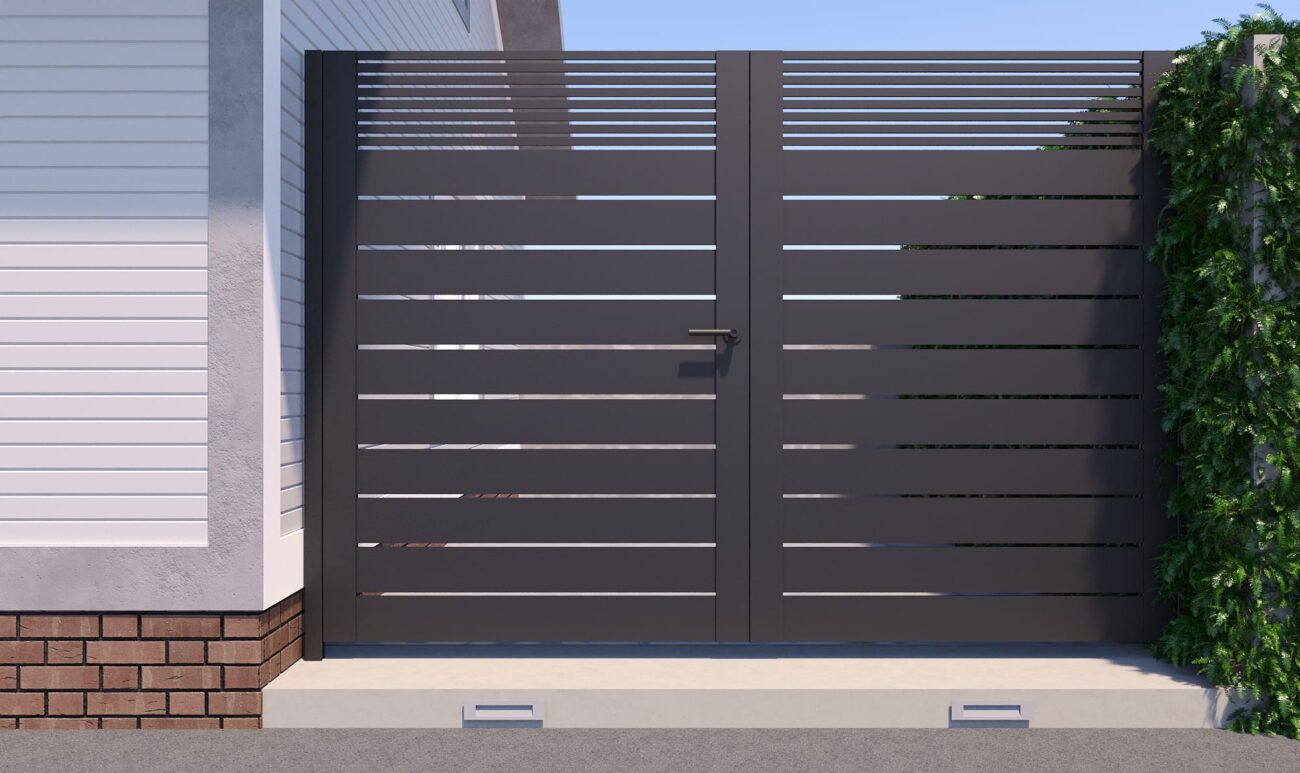
Choose your size.
Width options: 7′, 9′, 11′ and 13′. Height options: 4′, 5′ and 6′. The width selection covers the two-leaf kit together. Confirm your actual opening, structural supports and installation allowances before cutting.
A better entrance starts here
Two coordinated gate leaves. Five modern styles. A kit you can size and assemble for your driveway.
Choose an Alumission aluminum driveway gate kit for clean horizontal lines and a powder-coated finish. Compare the designs, understand the components, and plan the opening before you buy.
Find your look
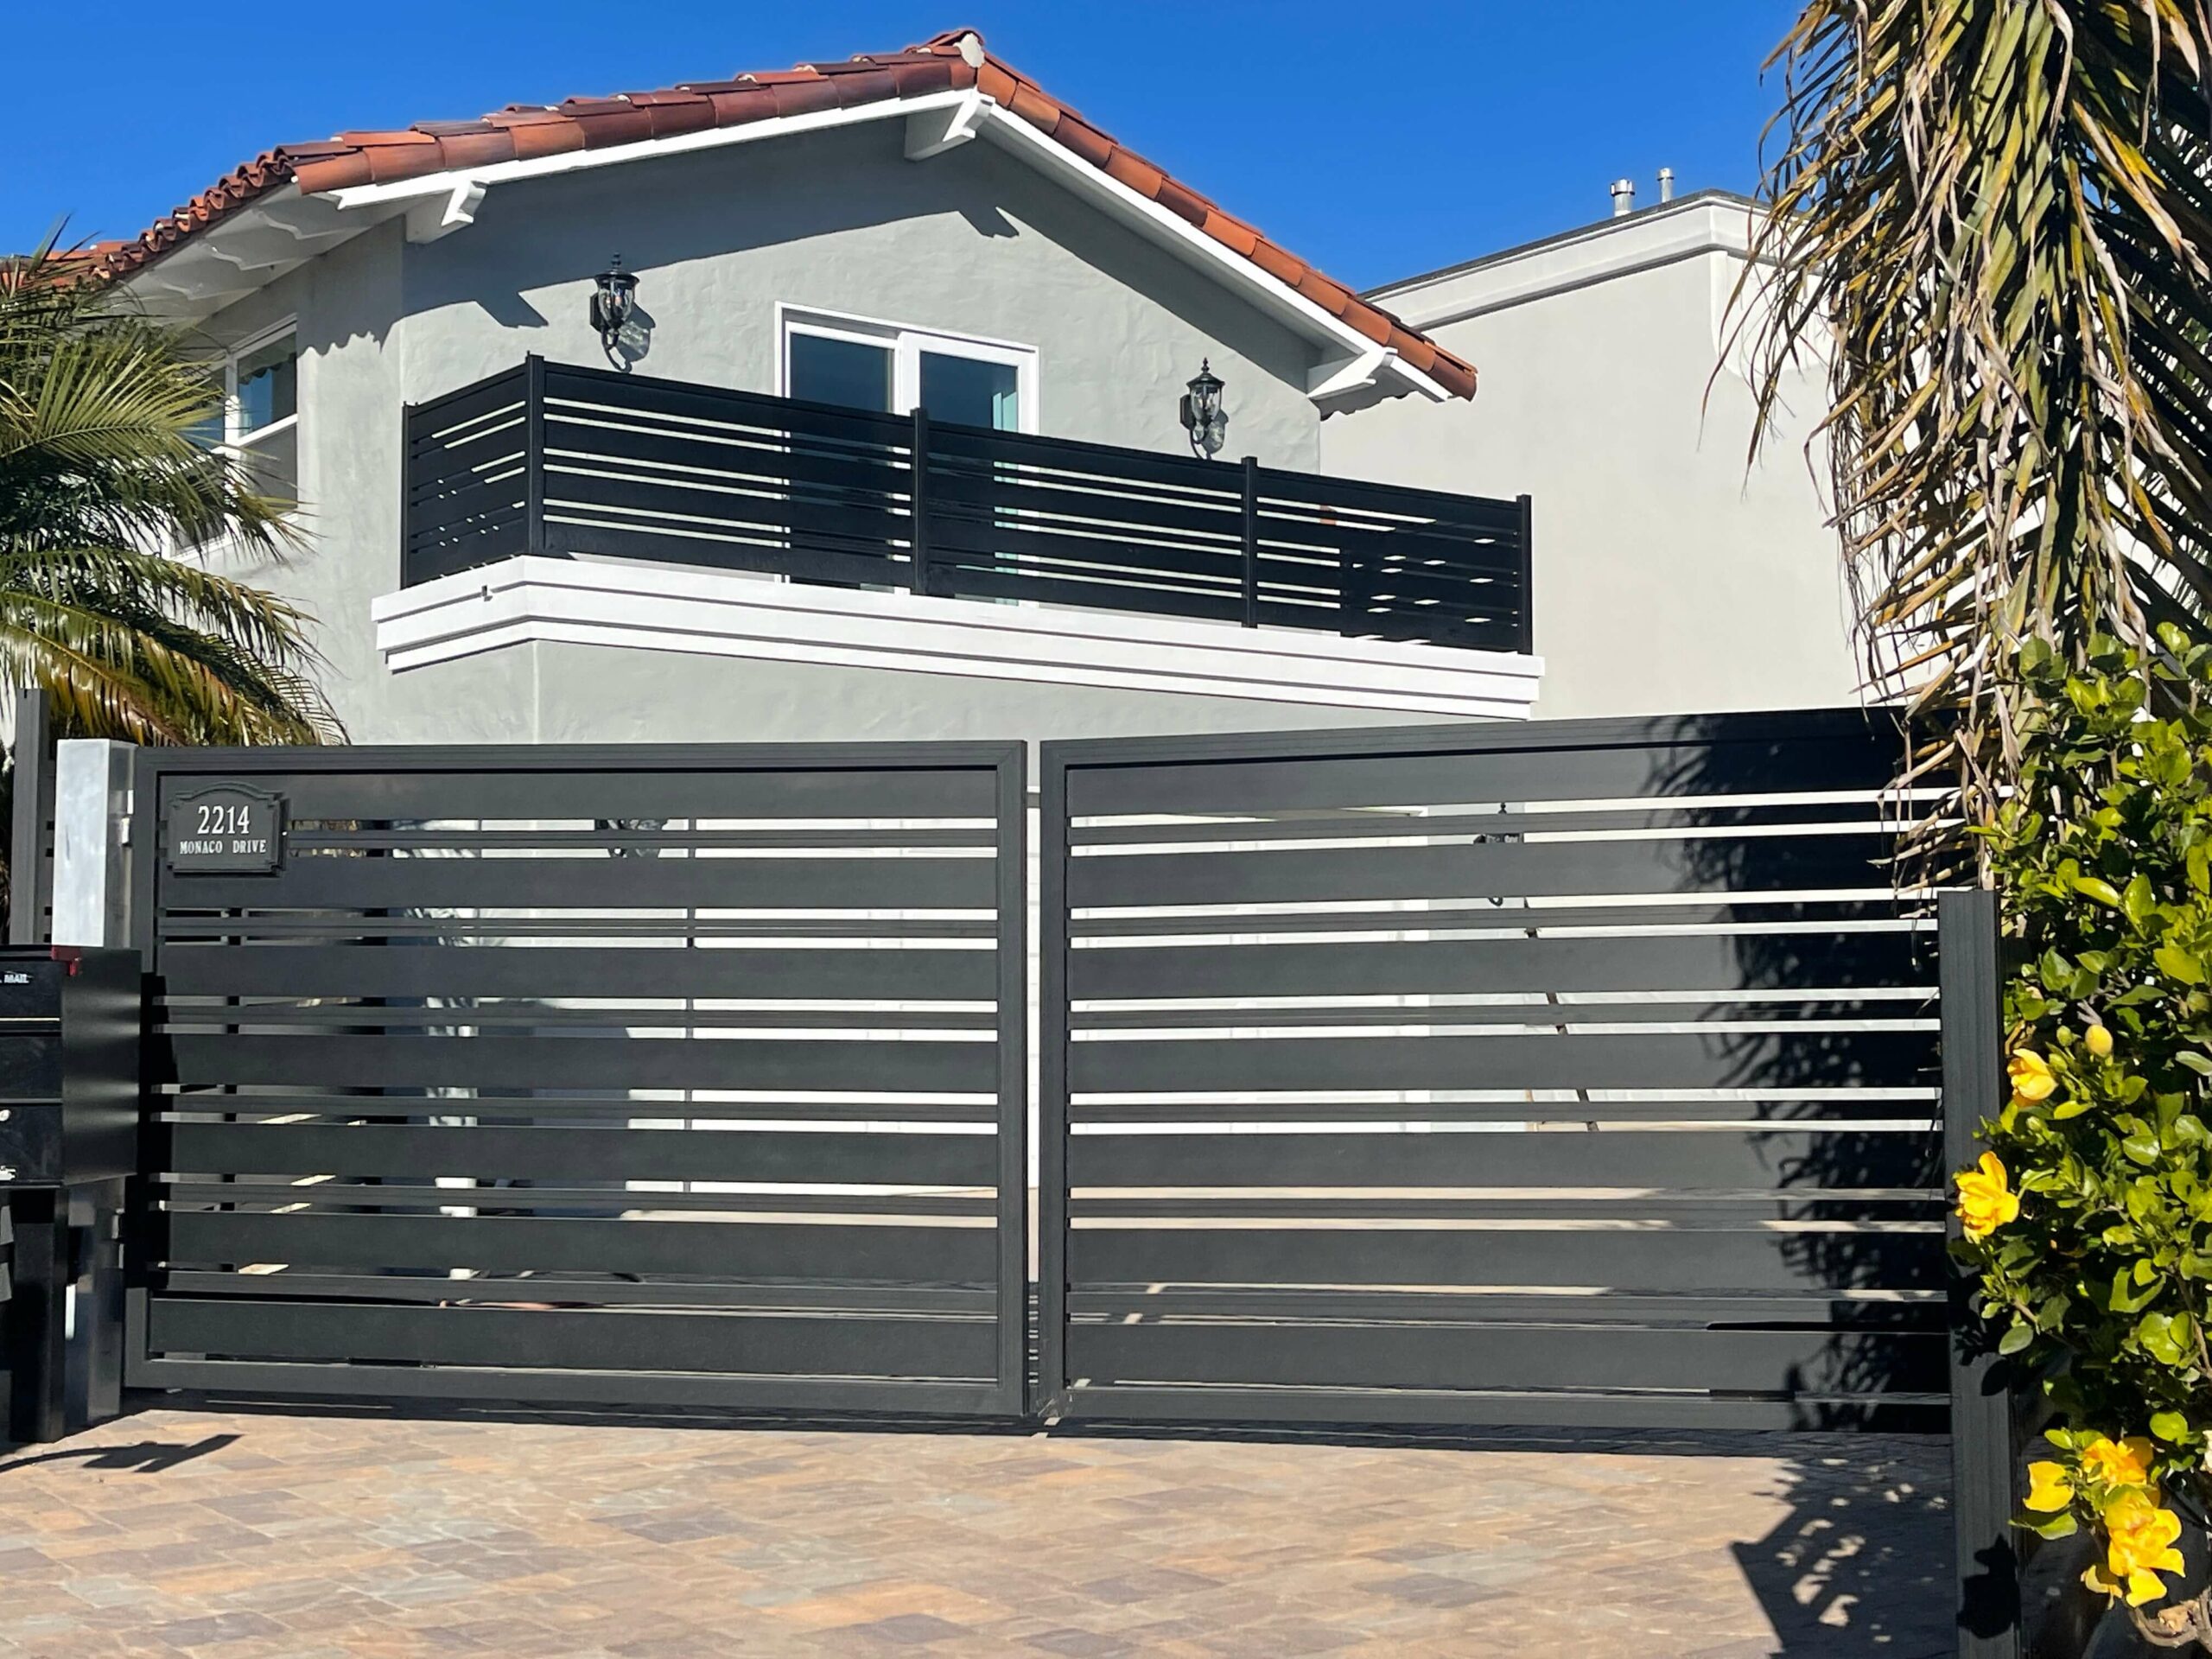
Choose the slat pattern that works with your home’s architecture and the amount of screening you want. All five styles are offered as double swing aluminum gate kits; each product page shows the current size, finish and price options.
| Style | The look | Slat pattern | Explore |
|---|---|---|---|
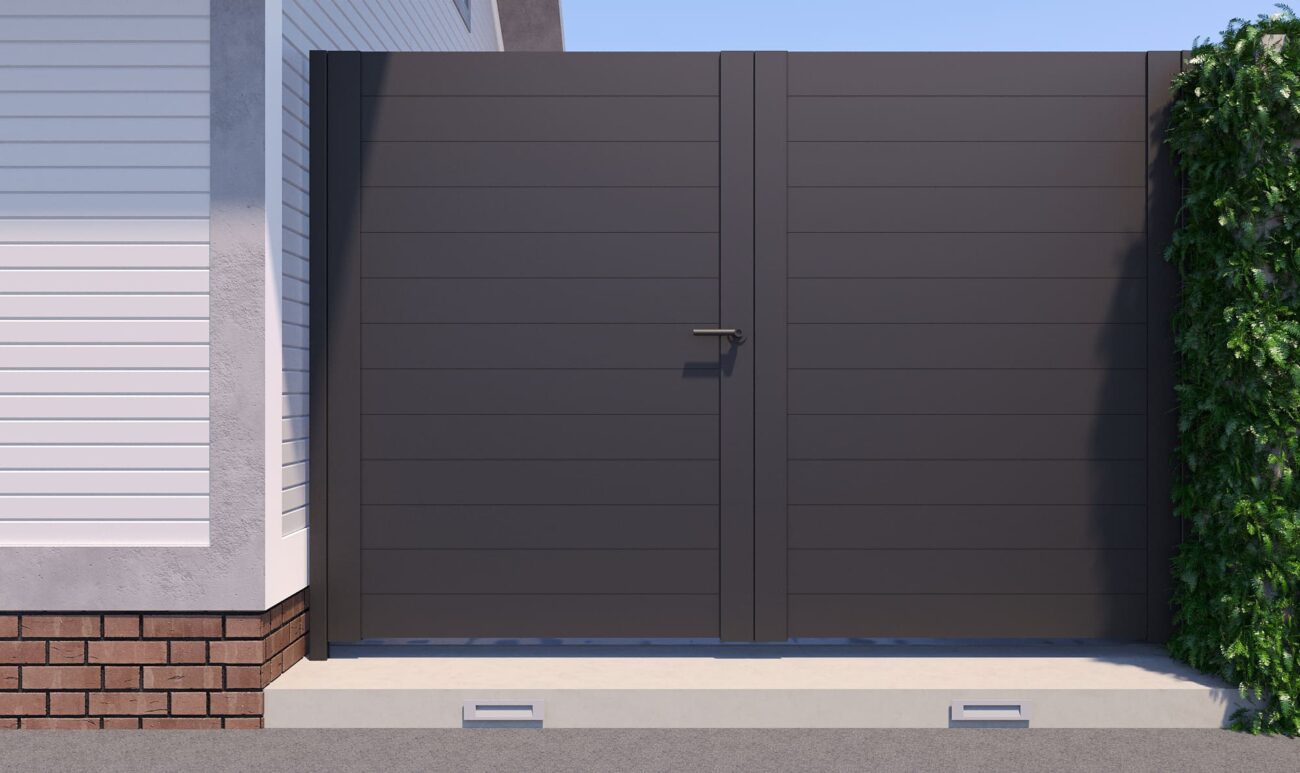
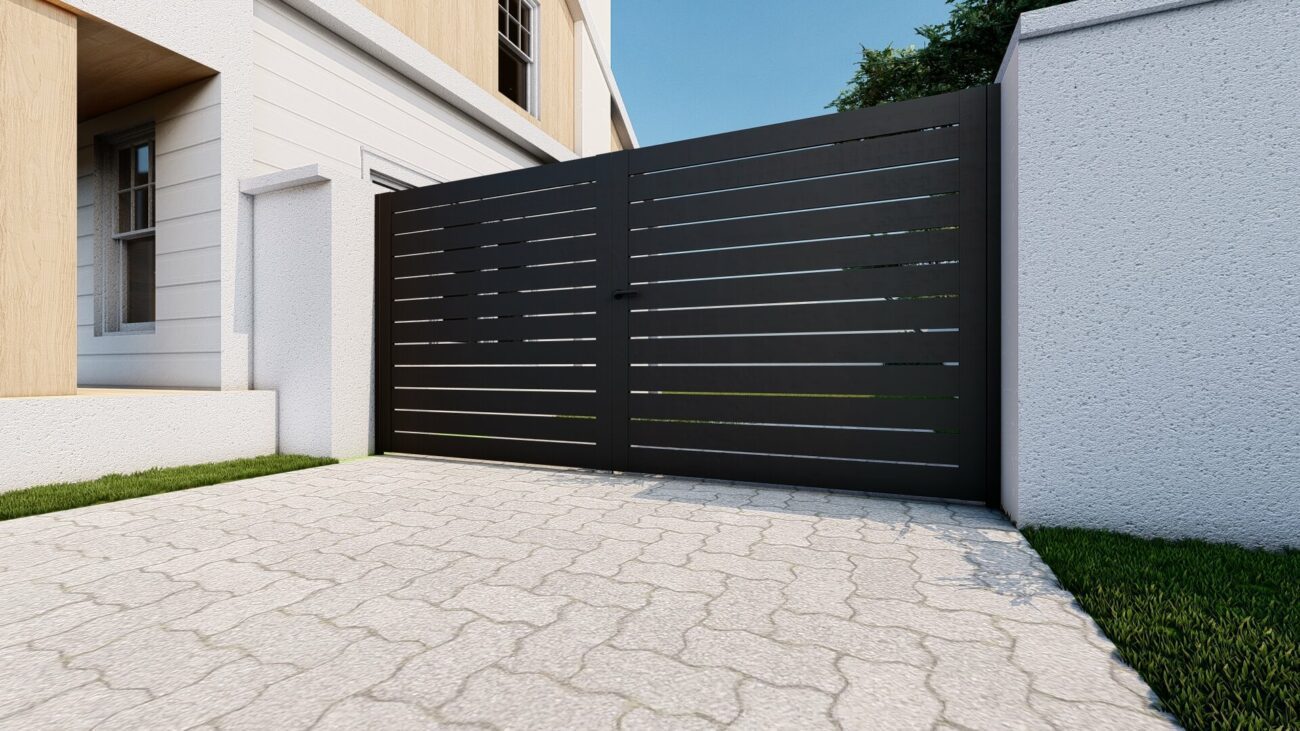
| Los Angeles | Broad horizontal lines | 5.5″ slats with 1/2″ spacers; a clean, open pattern. | modern double swing driveway gate — Los Angeles Style |
| New York | Close-set privacy | 5.5″ slats in a close-set pattern for greater visual screening. | aluminum privacy double swing gate — New York Style |
| Dallas | Semi-private dual slat | Broad 5.5″ lower slats beneath narrow 1″ upper accents. | semi-private double swing driveway gate — Dallas Style |
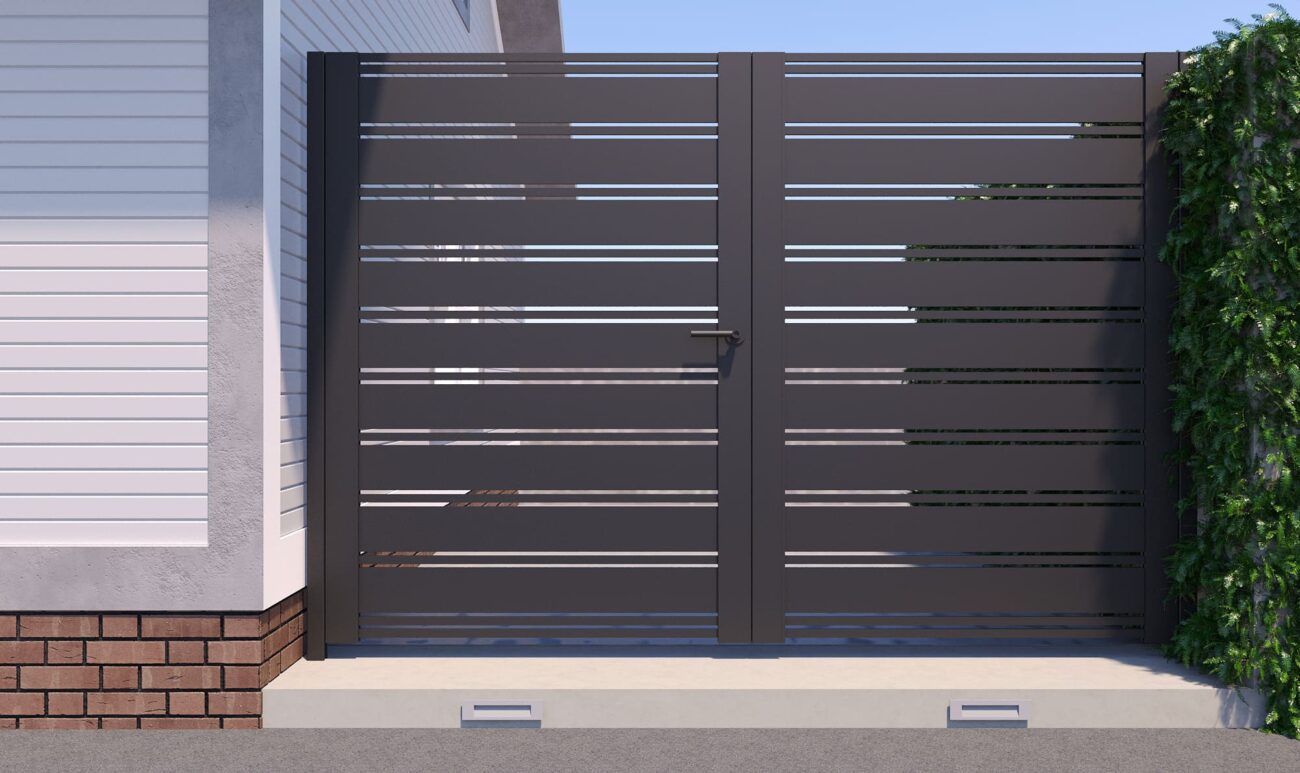
| Miami | Modern mixed pattern | 5.5″ and 1″ slats with 1/2″ spacers in the Miami arrangement. | contemporary double swing gate kit — Miami Style |
| San Francisco | Fine horizontal rhythm | 1″ slats with 1/2″ spacers for a lighter, detailed appearance. | narrow slat double driveway gate — San Francisco Style |
Width options: 7′, 9′, 11′ and 13′. Height options: 4′, 5′ and 6′. The width selection covers the two-leaf kit together. Confirm your actual opening, structural supports and installation allowances before cutting.
Black, Bronze, White, Dark Grey, Light Gray or Wood. Wood-finish slats are paired with Black frames and components. Black, Bronze, Dark Grey and Wood use Black hardware; White and Light Gray use Silver hardware.
Privacy is a design choice. A close-set pattern gives more visual screening, while spaced slats keep the entrance more open. Consider views from the street, the angle of approach and wind exposure along with appearance.
Know what arrives
You receive the components to assemble two gate leaves. The exact slat and spacer quantities and supplied lengths change with the style and selected size. Every product has a variation-specific included-items table below the gallery and purchase area.
Assembly and installation labor, tools, site-specific anchors, structural supports and foundations are separate. Automatic openers, power, safety devices and access controls are also separate from the standard manual gate kit.
Check your project requirements →A clear price for the selected kit. Each variation is priced from the individual components required to build it. A frame’s included slide-on cover is counted once. Select the style, size and color for the current price and full packing list; review checkout for shipping and tax.
Built in real driveways
Explore completed Alumission entrances for ideas about proportions, horizontal patterns and the relationship between the gates and surrounding columns. These are real projects; dimensions, finishes, automation and site work shown may differ from the standard kit you select.
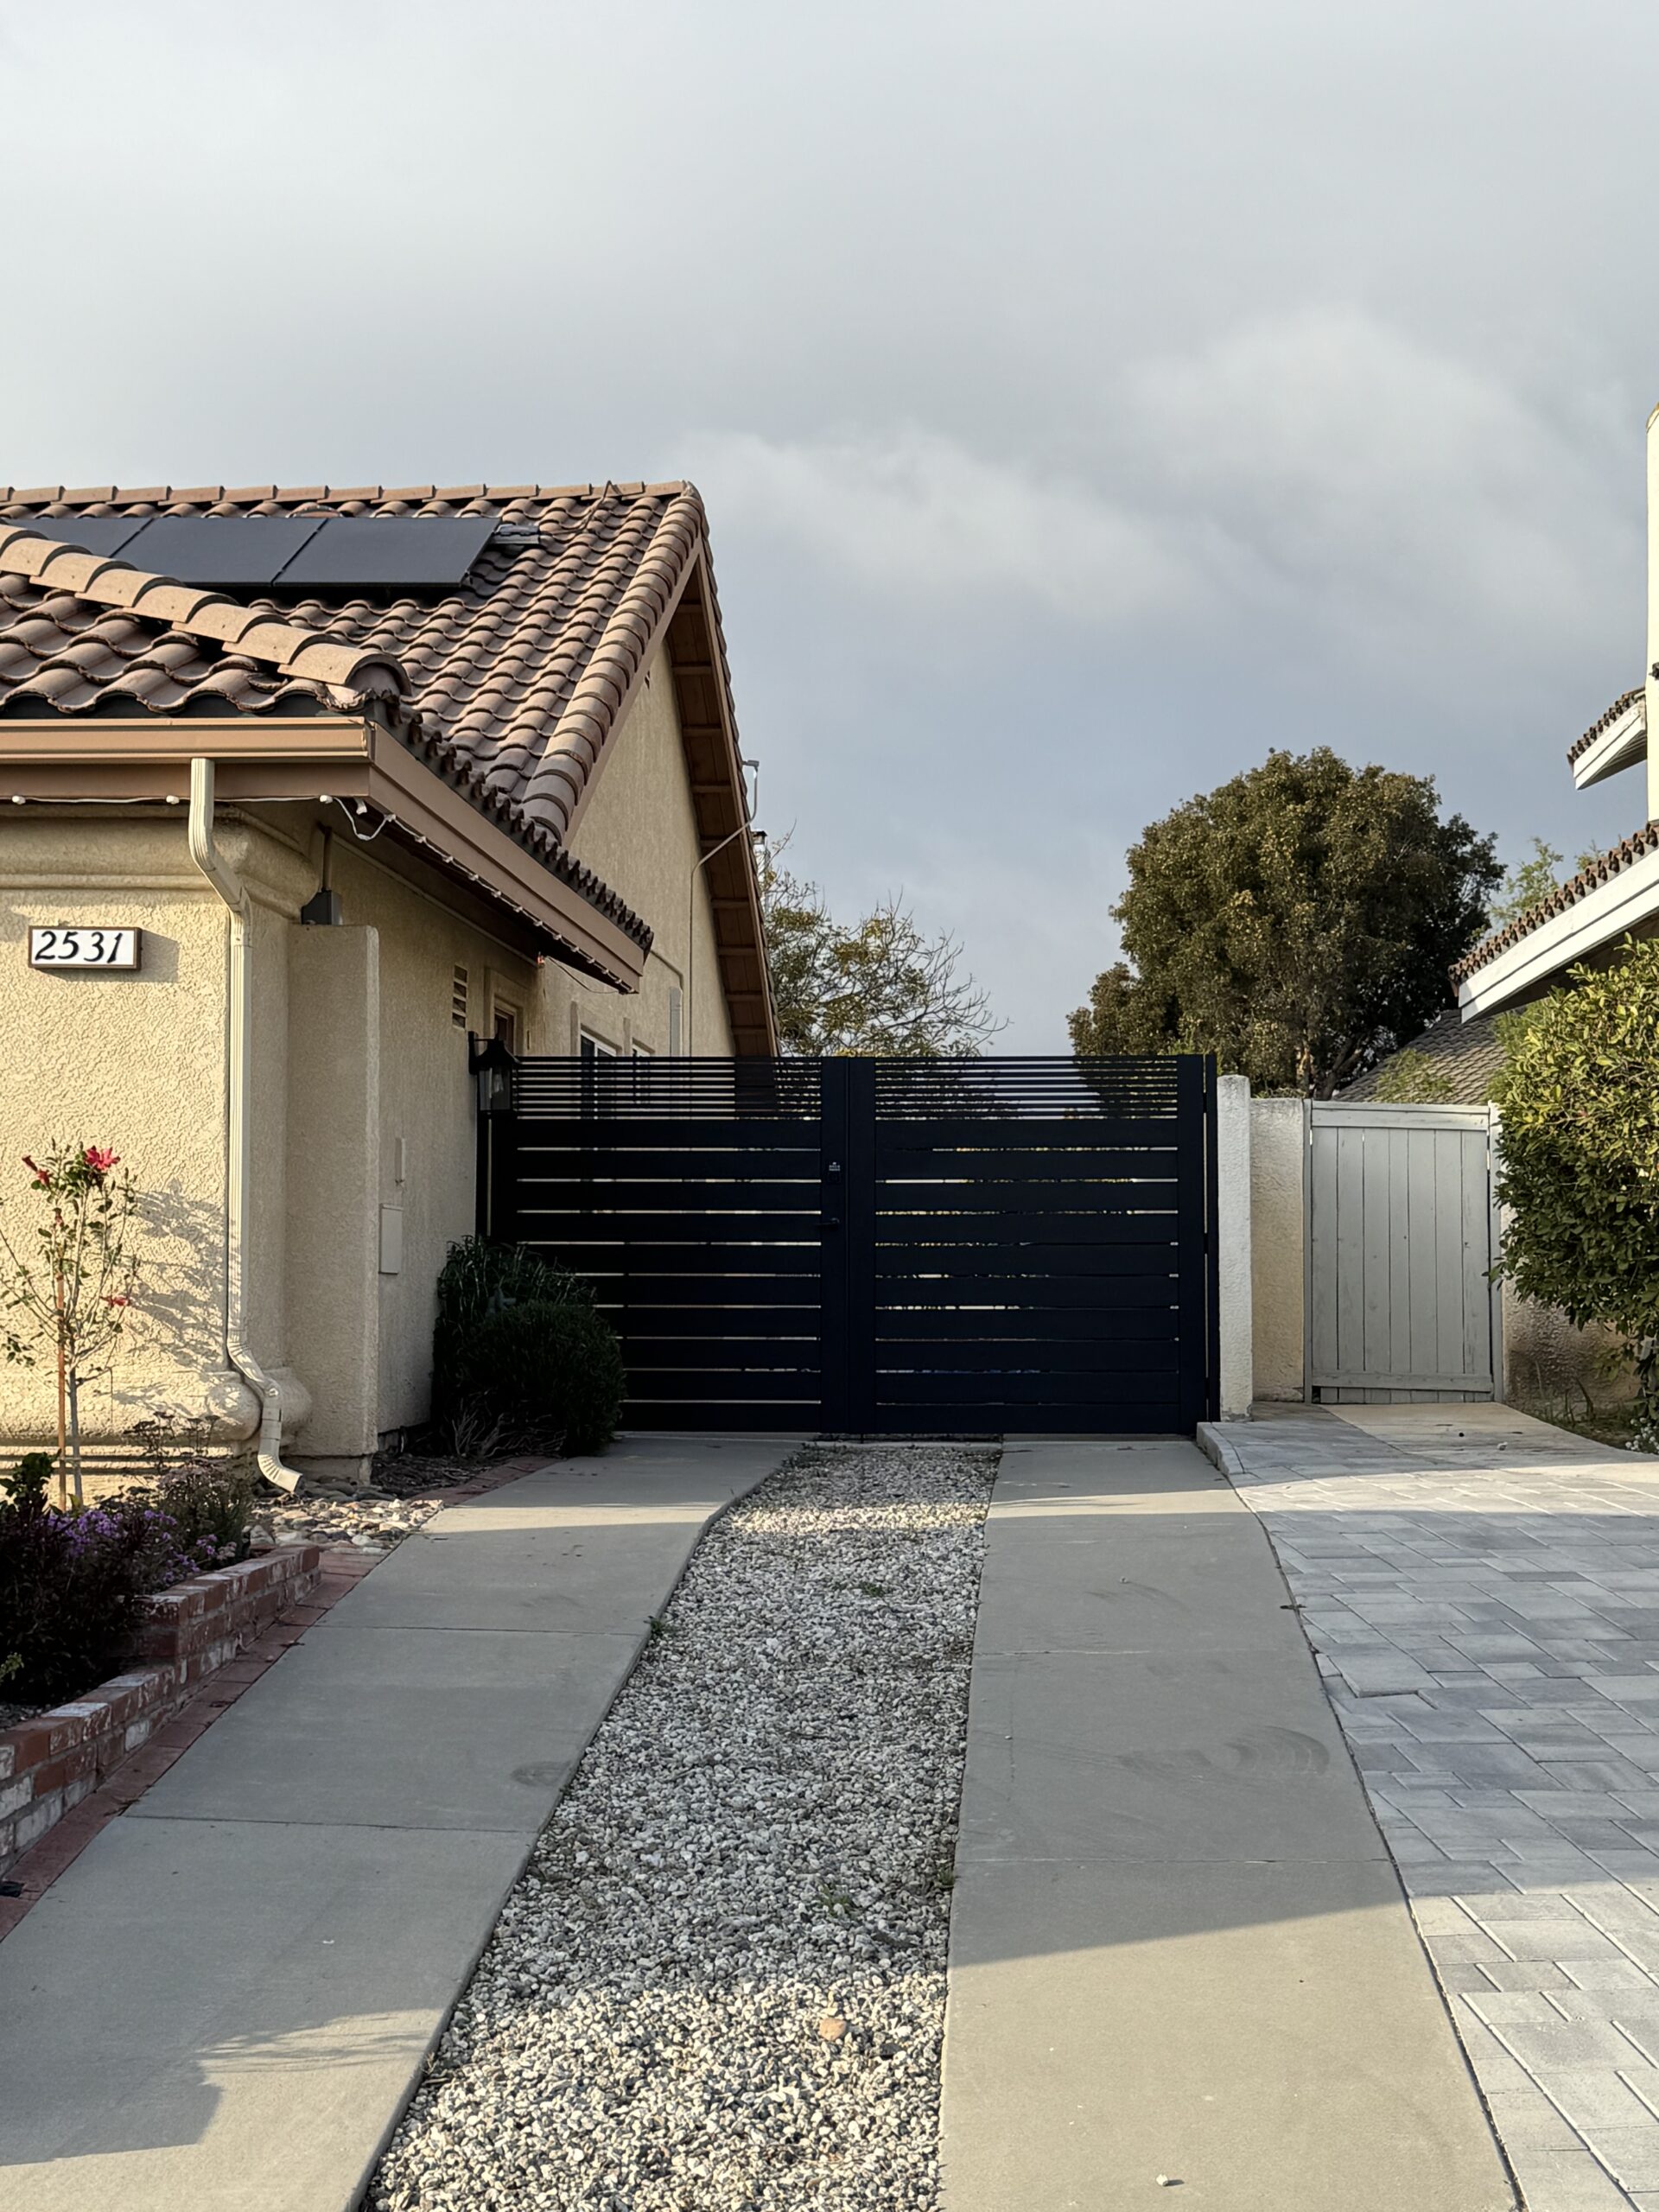
View the finished double swing entrance, gate proportions and surrounding supports.
View the project →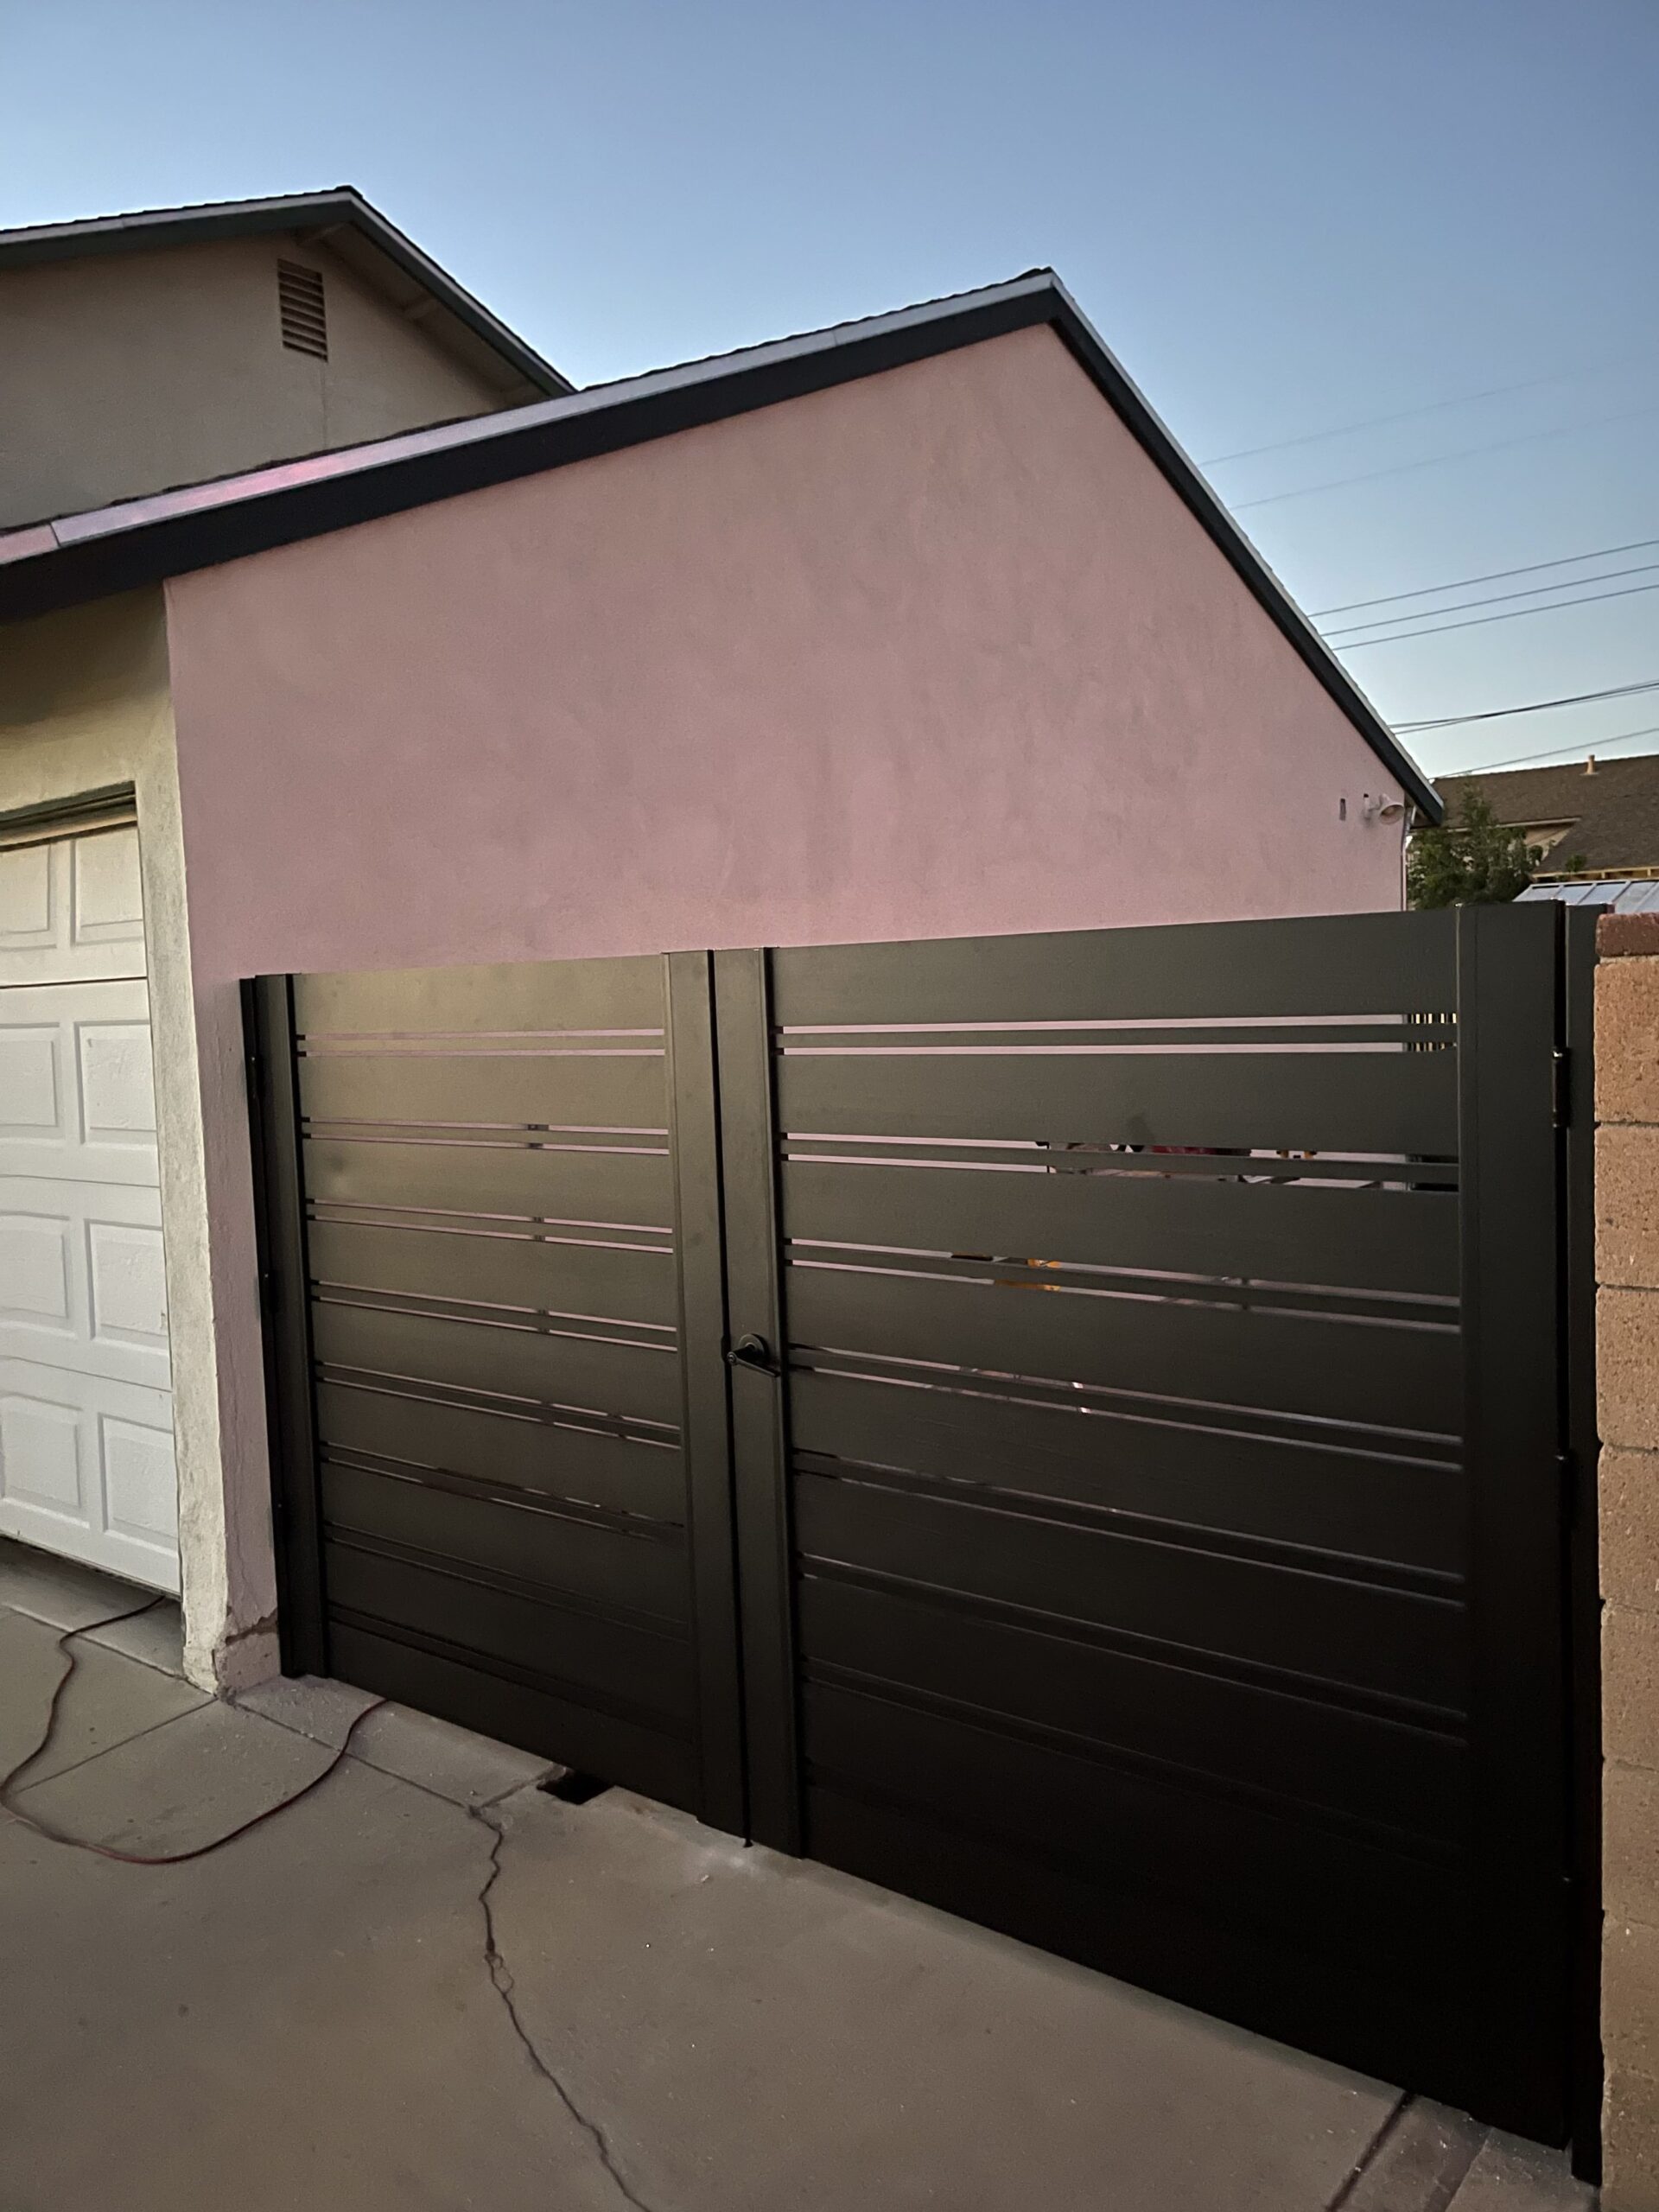
View the finished double swing entrance, gate proportions and surrounding supports.
View the project →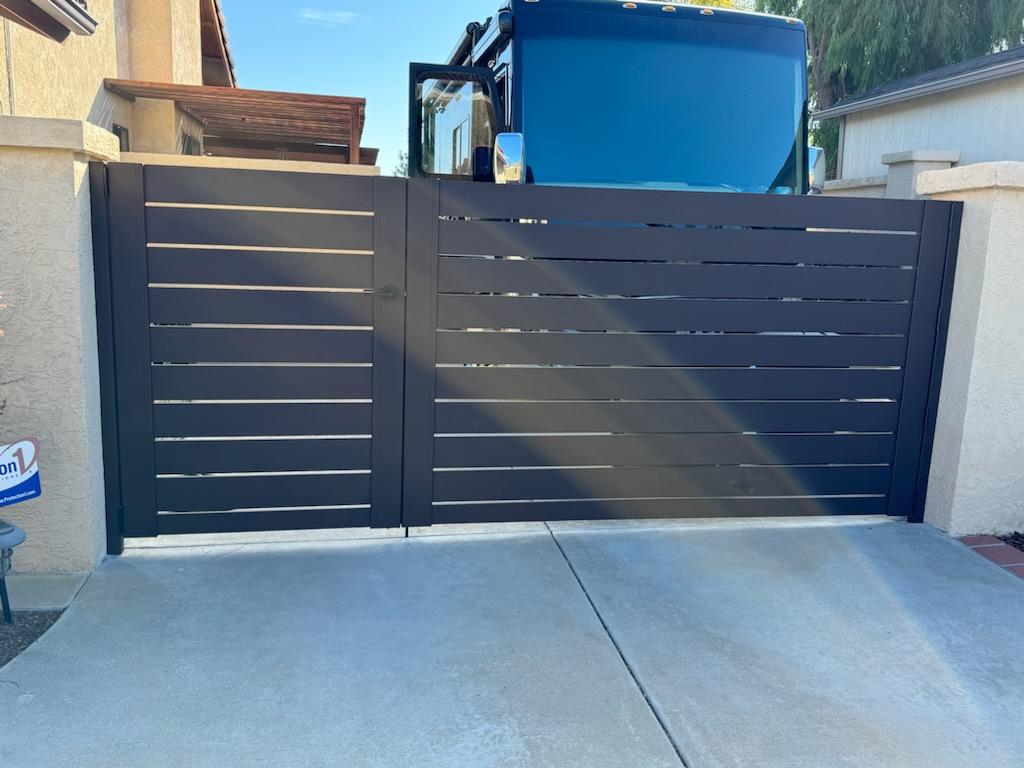
View the finished double swing entrance, gate proportions and surrounding supports.
View the project →See a completed motorized double gate entrance and its site-specific operator arrangement.
View the project →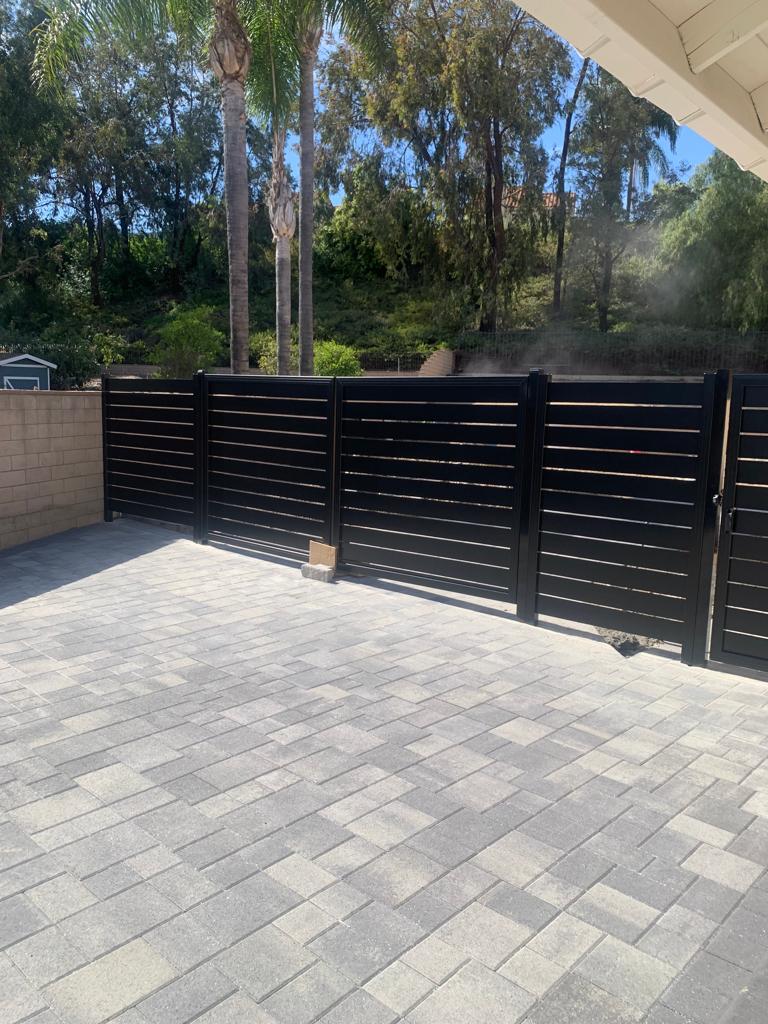
See how a horizontal aluminum driveway gate works with the surrounding property.
View the project →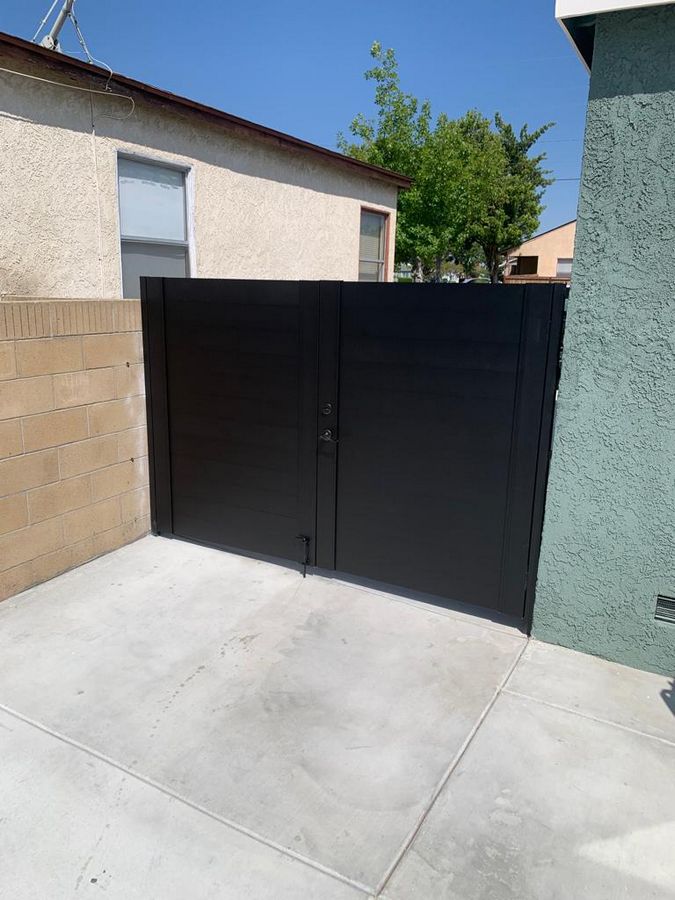
Explore a two-leaf horizontal driveway entrance in Austin.
View the project →Watch real gate projects
Hear from contractors working with Alumission gates and see completed driveway installations. These project and product testimonials provide context for your selection; use the instructions for your exact double gate kit and hardware when building.
A contractor’s Alumission testimonial filmed with a completed horizontal driveway gate.
Watch on YouTube →See an automated double driveway gate in this Alumission product review. Operators and access equipment are separate purchases.
Watch on YouTube →Customer experience
“I install it myself with my father-in-law. It was easy. Thanks again for this support.”
Don Hope
Los Angeles double swing gate product review · October 1, 2026
Google customer review
“Both gates open and close smoothly. We’re totally sold on Alumission, as is our contractor, who is now recommending it.”
Toby Bernstein
Customer feedback about a single and double gate purchase
Excerpt from the customer’s Google review. Individual installation experiences vary.
Understand the geometry
Explore a simple equal-leaf example. Splitting an assumed span into two leaves reduces each ideal swing radius compared with one leaf spanning the same distance.
Two ideal 4.5-foot leaves each sweep about 54 inches deep at 90°.
This is geometry, not a cut list or a required-clearance specification. Catalog kit widths, actual leaf widths and supplied slat stock lengths differ. Allow for posts, hinge offsets, meeting gaps, stops, slopes and any operator.
| Assumed pair span | Leaf count | Ideal half-span per leaf | Ideal 90° sweep depth |
|---|---|---|---|
| 7 ft | 2 | 3.5 ft | 42 in |
| 9 ft | 2 | 4.5 ft | 54 in |
| 11 ft | 2 | 5.5 ft | 66 in |
| 13 ft | 2 | 6.5 ft | 78 in |
How to use this table: These are assumed-span examples, not finished leaf dimensions or minimum clearance requirements for a kit. At 90°, an ideal equal leaf sweeps a depth equal to half the assumed pair span. Mark the actual hinge positions and trace both finished leaves on site; check vehicles, walls, slopes, stops and any operator throughout the movement.
If your driveway lacks room for two swing arcs, compare aluminum sliding driveway gate kits. A sliding system needs suitable side run-back space and its own ground and track assessment. For leaf dimensions, slopes and automation, read the double swing gate FAQs below.
Trace the actual leaf movement on your site and confirm the double-swing cutting plan before ordering or cutting. Ask Alumission about your opening and swing space.
Measure before you choose
A successful entrance starts with the opening, the supports and the way your vehicles approach it. Check the whole movement of both leaves before choosing the kit.
Record clear widths at the top, middle and bottom. Note the intended height, column or post sizes, and ground levels. Include mirrors, turning space and access for larger vehicles when assessing the usable opening.
Mark where each leaf will travel and park when open. Check uphill ground, curbs, walls and landscaping. Confirm the swing stays within the permitted property area and leaves enough room for vehicles to wait clear of the road.
The supplied side-post profiles need a suitable mounting structure. Have existing columns, structural posts, anchors and foundations assessed for the gate geometry, exposure and any planned automation.
For manual operation, plan the active leaf, lever, meeting point, stopper and cane bolt. If you want automatic driveway gates now or later, plan the operator locations and supporting structure before assembly.
Ask the automation installer about equipment ratings, opening sequence, power, manual release and required protection. Keep pedestrians’ access needs in the plan.
Double swing gates split the opening into two shorter leaves, each needing its own clear arc. A sliding gate instead needs a suitable run-back area alongside the driveway. Ground slope and the layout may favor one arrangement.
Compare the site requirements with our aluminum sliding driveway gate kits, or send photos for help choosing the system.
From delivery to daily use
Check the delivered components against your selected variation’s packing list. Review the correct kit instructions, mounting details and final dimensions. Work on a protected surface and have suitable cutting, drilling, measuring and squaring tools ready.
Confirm cutting allowances before making cuts. Assemble square frames, fit the slat pattern, hang both leaves and adjust the center meeting point. Test the lever, stopper and cane bolt throughout the full travel before calling the manual installation complete.
Clean the powder-coated aluminum with mild soap, water and a soft cloth. Inspect hinges, screws, anchors and locking hardware periodically. Address dragging or support movement promptly, and follow each hardware maker’s care instructions.
Need project-specific assembly guidance? Contact Alumission with your kit details and measurements. Use the instructions for the double gate arrangement you are building.
Driveway gate questions, answered
Find answers about sizes, swing clearance, mounting, automatic openers, finishes, ordering and care. Start with a topic or search the 48 questions below.
48 questions across 8 topics
The standard Alumission double swing kit options on this page are 7′, 9′, 11′ and 13′ wide, with 4′, 5′ or 6′ heights. These are the combined two-leaf kit options. For another opening size, send measurements and photos before choosing a kit.
It is the combined double gate option, not the width of each leaf. A 13′ selection does not supply two 13′ leaves. Final leaf dimensions also depend on the supporting opening, side posts, hinges and meeting gap.
There is no single size that fits every driveway. Measure the usable opening and consider your widest vehicle, mirrors, turning approach and delivery access. Then compare those needs with the available kit sizes; do not choose by vehicle body width alone.
Allowances depend on the actual post, hinge, latch and center-gap arrangement. Do not subtract a generic allowance or copy a single gate cutting formula. Confirm the double gate layout and dimensions with Alumission before cutting.
Record the clear opening at the top, middle and bottom, plus the desired finished height. Photograph both supports and the ground. Note whether your measurement is between existing columns, structural posts or proposed new supports.
The kit is assembled and cut to fit on site. Confirm that the selected option contains sufficient material for your final layout and height. Cutting is irreversible, so approve the leaf dimensions, gaps and hardware positions before starting.
Choose the direction after checking your property line, road or sidewalk, ground levels and local requirements. The full path of both leaves must remain clear. A gate should not swing into public access or traffic.
Each leaf needs a clear arc based on its finished width and hinge position. Mark both arcs on the ground and check vehicles, walls, landscaping and any operator arms. Include clearance at the open position, not only at the center.
Possibly, but a rising driveway can obstruct the leaves as they open. Measure the ground through the entire swing path. Share slope photos and elevations before ordering; more clearance, a different layout or another gate system may be needed.
Set the bottom clearance from the highest point along each leaf’s travel, drainage needs and the chosen installation details. One fixed gap does not suit every driveway. Also consider pets and any applicable opening restrictions.
Do not assume a specialty rising hinge is compatible with the included profiles, mounting details or a future operator. Ask Alumission and the hinge manufacturer to review the exact arrangement before substituting hardware.
A manual double gate can be arranged with one active leaf and the other secured by the cane bolt. Confirm the lever, stopper and bolt positions during layout. Automated partial-opening functions depend on the operator and controls.
An experienced DIY installer may be able to assemble the kit with suitable tools, accurate measuring and sound structural supports. The project includes two leaves and a center meeting point. Get professional help for uncertain supports, footings or automation.
The aluminum kit uses mechanical assembly rather than field welding. Cutting, drilling, squaring the leaves and fitting hardware are still required. Use the instructions for your supplied kit and protect the coated surfaces while working.
Do not treat the supplied side-post profiles as an engineered in-ground footing system. Confirm how they attach to your structural posts or columns. The supporting structure and its foundation must be suitable for the gate and site.
Only if the actual supporting construction and fixing arrangement are adequate. A decorative veneer or hollow block is not automatically a suitable anchor point. Have the substrate, anchor selection and edge distances checked for your installation.
Footing depth and size depend on soil, frost, gate geometry, wind and structural design. There is no universal depth supplied by the kit. Ask your installer or structural professional to specify the supports and foundations for the site.
Start with rigid, plumb supports and square leaf assemblies. Fit and adjust the hinges, then check the meeting gap, lever, stopper and cane bolt through full travel. If alignment changes, inspect the supports and connections before simply tightening hardware.
Automation must be planned for the finished gate and site. Have an installer confirm suitable operator mounting, leaf size and weight, wind exposure, supports and safety devices. The standard kit price does not include an automatic opener.
A dual swing setup normally operates each leaf with its own matched actuator or operator within a coordinated system. The exact arrangement and opening sequence depend on the selected equipment. Do not assume a single-leaf opener package serves both leaves.
Compare the manufacturer’s leaf length and weight limits and its guidance for gate construction, mounting geometry, duty cycle and wind exposure. Have the installer assess the complete installation; a weight rating alone does not establish compatibility.
Those features depend on the operator, power budget and compatible accessories. Solar suitability depends on sunlight and usage. List your preferred access methods early so the installer can plan wiring, charging, controls and backup access.
Check the selected operator’s manual release procedure and any battery backup provision. Keep the release accessible to authorized users and know how to secure the gate afterward. Backup capability is equipment-specific and is not included with this manual gate kit.
Ask a qualified gate automation installer to assess entrapment areas and specify the required protection and controls for the actual system. Follow the operator instructions and applicable requirements. A vehicle gate also needs a separate plan for pedestrian access.
New York uses a close-set 5.5″ horizontal slat pattern for the strongest visual screening among these five styles. Other designs include spaced patterns. Review product images, dimensions and your viewing angle; a gate is not a sealed privacy wall.
Both use broad 5.5″ aluminum slats. Los Angeles uses 1/2″ spacers for an open horizontal rhythm, while New York uses a close-set pattern. Compare their product images to choose the privacy and appearance you prefer.
Dallas and Miami use mixed 5.5″ and 1″ slats in their respective arrangements. San Francisco uses fine 1″ horizontal slats. Their product galleries show the patterns; select the style first, then the height, width and finish.
The six finish options are Black, Bronze, White, Dark Grey, Light Gray and Wood. Use the selected variation image and contents table on the product page to confirm the complete combination before ordering.
Wood is the slat finish option on an aluminum kit. Wood kits pair Wood-finish slats with Black frames and components. They provide the visual warmth of wood without using timber slats.
Black, Bronze, Dark Grey and Wood kits use Black hardware. White and Light Gray kits use Silver hardware. Aluminum components match the selected finish, except the Black components paired with Wood slats.
Components cover two gate leaves: side posts, gate frames with slide-on covers, slats, applicable spacers, post covers, caps, four hinges, keyed lever, stopper, cane bolt and assembly screws. Select a variation to see its exact item names, lengths and quantities.
No. These are kits requiring assembly, cutting to fit and installation. Plan an appropriate work area, tools, support preparation and installation time. Confirm the packing list against your selected variation before cutting components.
The selected kit price is the sum of the components required for that style, size and finish. The gate frame’s included slide-on cover is counted once. See the live product page for the current variation price rather than relying on a general price example.
The kit price covers the listed components. Labor, automatic operators, access controls, structural site work and site-specific mounting anchors are separate. Confirm shipping, taxes and any additional purchases at checkout or with your project quote.
Open a style and select the size and color. The included-items table appears below the product gallery and purchase buttons, above Product Details. It updates for the chosen variation and shows item name, details, length and quantity.
Send the opening width at several heights, desired gate height, photos of the supports and driveway, slope details, preferred swing direction, style, finish and ZIP code. Include plans for automation and any unusual access needs.
Aluminum does not develop the red rust associated with ordinary steel. Hinges, fasteners, the lever and other hardware need their own care. Inspect the whole assembly, including anchors and damaged coating, rather than treating the gate as maintenance-free.
Use mild soap, water and a soft nonabrasive cloth, following the supplied finish-care guidance. Rinse residue off. Avoid aggressive chemicals and abrasive tools that may damage the coating.
Discuss salt exposure and appropriate care for all components before ordering. Rinse accumulated salt with fresh water and inspect the finish, hardware and connections regularly. Coastal conditions can require more frequent attention.
Keep moving parts clear of debris, inspect their fixings and follow each hardware manufacturer’s adjustment and lubrication instructions. Check that the bolt engages correctly and the leaves move without rubbing or binding.
Individual components can be assessed for replacement. Identify the original style, finish, dimensions and connection details first. Access and disassembly vary, and an older finish may not match a new part perfectly.
Stop forcing the leaf. Check for ground changes, loose connections, shifted supports, hinge wear or a leaf that is no longer square. Resolve the cause before adjusting the latch or adding an operator to overcome resistance.
Requirements vary by location and property. Confirm height, setbacks, sight lines, access and any HOA rules with the relevant authority before ordering. The availability of a kit size does not establish approval for a particular site.
There is no single site wind rating established here for every kit, support and opening. Height, slat pattern, exposure, anchors and automation all affect the installation. Have exposed locations and more closed patterns assessed before choosing the layout.
It can suit an opening where two shorter leaves have enough room to swing. Check actual vehicle clearance and turning movement after the posts are accounted for. The narrowest kit is not automatically suitable for every car entrance.
A double swing gate needs clear arcs inside or outside the opening. A sliding gate needs a suitable run-back area, support and rolling or cantilever arrangement. Compare the actual driveway geometry and grade before deciding.
Do not assume the standard kit and keyed lever meet pool barrier requirements. Those applications can require specific heights, openings, self-closing and self-latching equipment. Confirm a suitable approved arrangement for the intended use.
A gate controls an opening, but containment depends on slat spacing, side and bottom gaps, latch use and the animal. Security also depends on the surrounding boundary and access controls. Review the complete installation for your needs.
For equipment-specific automation guidance, see Nice’s swing gate FAQs and LiftMaster’s residential operator buyer’s guide. Your chosen manufacturer’s instructions and the actual installation determine the requirements.
Ready to plan your entrance?
Start with the style you like. Select the size and finish to see the exact kit price and included-items table, or send your measurements and photos for help.
