
Aluminum Enclosures & Privacy Screens
Make room for a better-looking outdoor space. Explore modular enclosures for pool equipment, AC units, trash bins and everyday utility areas—then choose the style, height and layout that suit your project.
PRACTICAL SCREENING. A COORDINATED FINISH.
Turn a utility area into part of your outdoor design.
Enclosures help tidy the view without hiding the character of your home. Use matching aluminum panels to screen a condenser, define a bin area or give pool equipment a more considered backdrop. Choose an open arrangement for access or plan corners around the space you want to screen.
Start with the equipment footprint and the access it needs. Then compare slat designs, panel counts and mounting methods. Our modular system gives you options for both a single screen and a larger installed enclosure.
48″ panels
Four feet of nominal width per panel. Account for posts and corners in the finished footprint.
3 heights
Choose 4′, 5′ or 6′ to suit the view you want to screen.
1–4 panels
Select the panel count for your straight run or corner layout.
5 finishes
Black, Bronze, White, Dark Grey and Light Gray.
CHOOSE YOUR ENCLOSURE
Find the right balance of privacy and openness.
Compare the five enclosure styles below. Each product lets you choose the height, panel count, finish and installation method. Open your chosen style to review its configuration and exact included components.
Mixed Slat Aluminum Privacy Screen – Miami Style
STARTING AT $860.89Narrow Slat Aluminum Privacy Screen – San Francisco Style
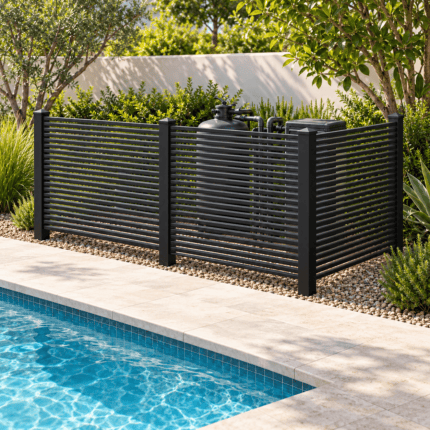
STARTING AT $918.84Semi-Private Aluminum Privacy Screen – Dallas Style
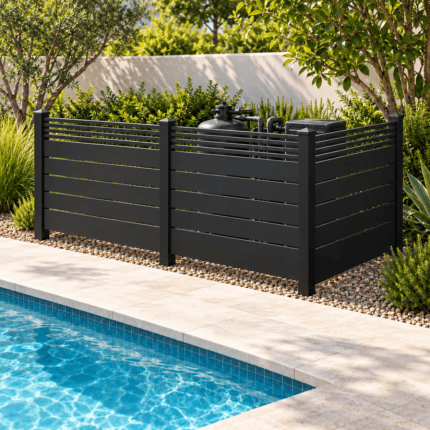
STARTING AT $829.05Solid Aluminum Privacy Screen – New York Style
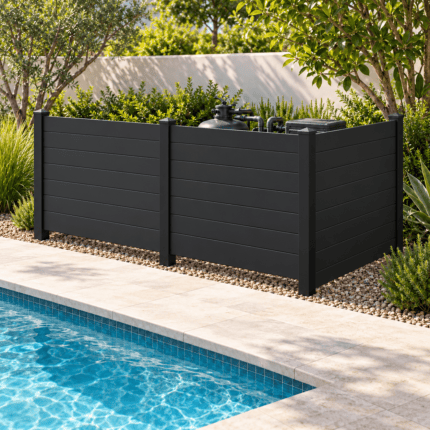
STARTING AT $860.25PLAN AROUND THE WAY YOU USE YOUR SPACE
Enclosures for everyday outdoor essentials.
Pool equipment
Give pumps, filters and exposed utility equipment a cleaner backdrop. Plan access to valves, controls and service points, and leave the clearances each manufacturer requires.
AC units & utility areas
Screen an outdoor condenser from view while preserving its specified airflow, exhaust and maintenance space. Choose the layout around the equipment’s instructions; slat gaps alone do not establish adequate ventilation.
Trash & recycling bins
Create a coordinated bin area beside a driveway or side yard. Measure with the lids open and allow enough room to roll bins out without lifting them over a panel.
Patios & garden storage
Define a seating corner, screen garden supplies or divide an outdoor utility zone. Match the enclosure’s finish and slat pattern to the surrounding fence and entrance.
WATCH BEFORE YOU PLAN
See a pool equipment enclosure come together.
Aluminum Horizontal Pool Equipment Enclosure
Watch Alumission’s enclosure video for a closer look at the horizontal screen system and its installation. Use it alongside the drawing and parts information for your selected enclosure.
Before fixing posts in place, confirm the layout, the mounting surface and every equipment clearance. Keep the service side accessible throughout your plan.
MEASURE FIRST. CHOOSE YOUR SHAPE.
Plan the enclosure footprint before choosing panel count.
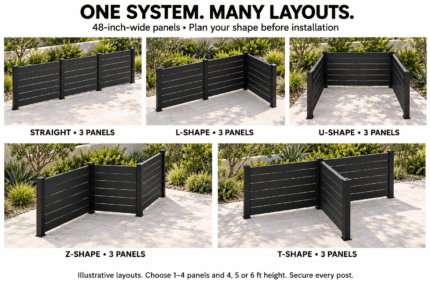
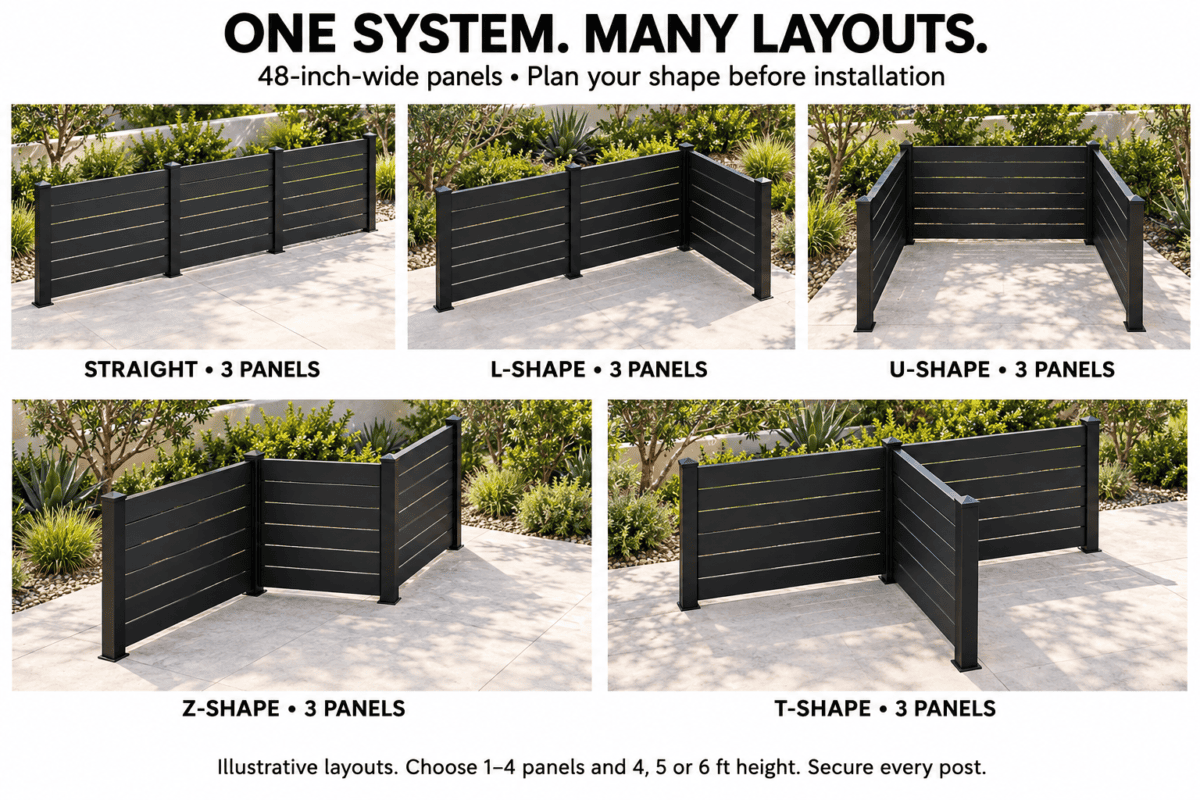
Each enclosure panel measures 48 inches wide. Use one panel as a screen or combine panels in a straight, L, U, Z or T arrangement as your panel count and site allow. Three-channel posts support straight connections and right-angle returns.
Two, three and four panels provide 96, 144 and 192 inches of combined panel width. These totals do not describe the enclosure’s clear internal space: posts, corners and access openings also affect its footprint.
For a three-sided enclosure, plan where people will enter and how equipment or bins will come out. This system forms an installed screen; it does not operate as a hinged folding screen.
FIVE STYLES. ONE COORDINATED SYSTEM.
Compare enclosure designs at a glance.
Los Angeles Style
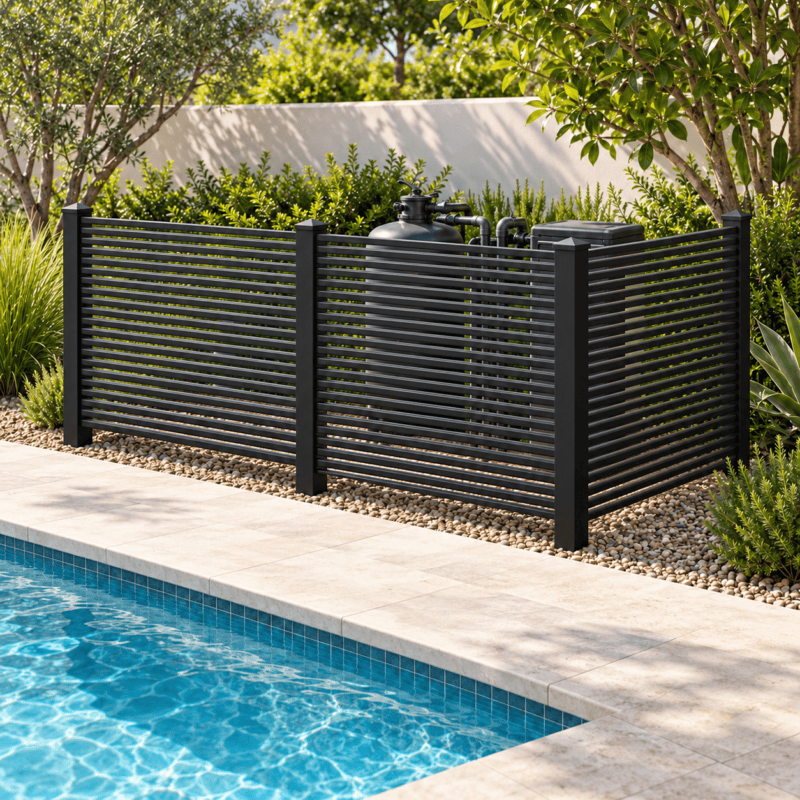
Broad horizontal slats with evenly spaced openings create a balanced, contemporary screen.
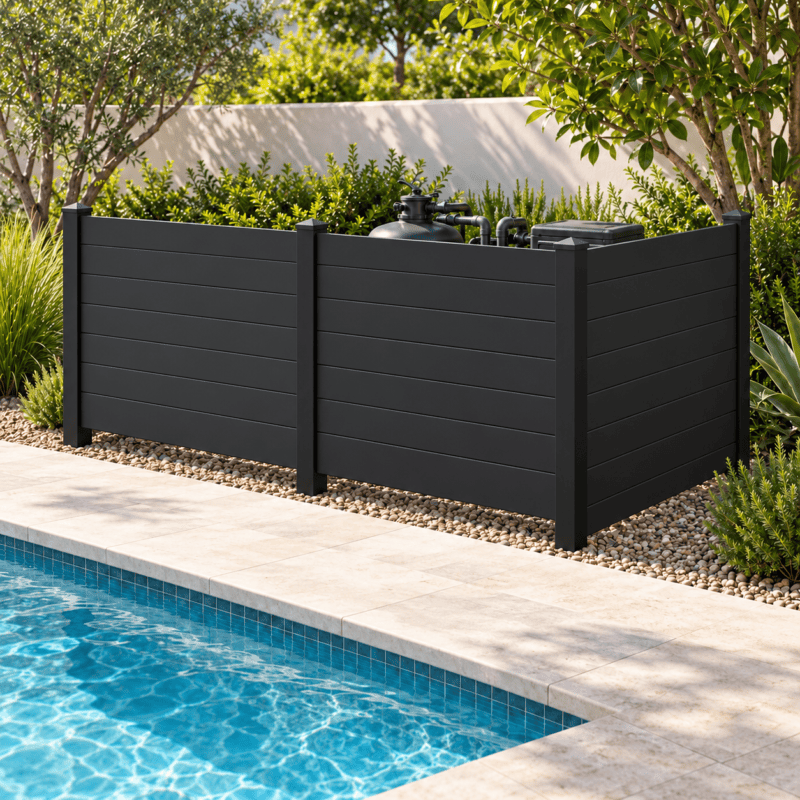
New York Style
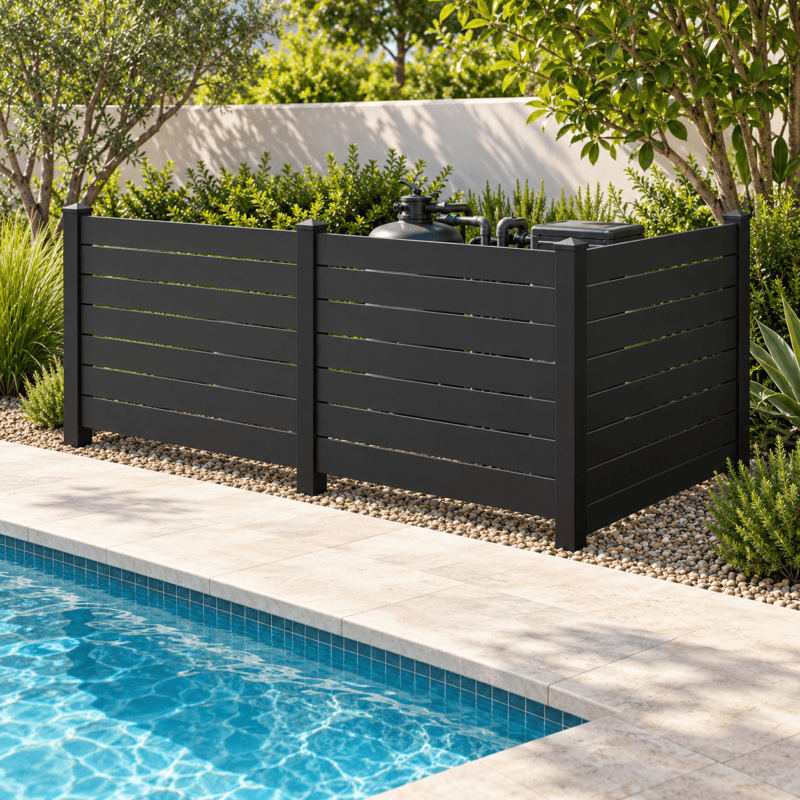
Closely stacked broad slats create the most visually closed look in this enclosure collection.
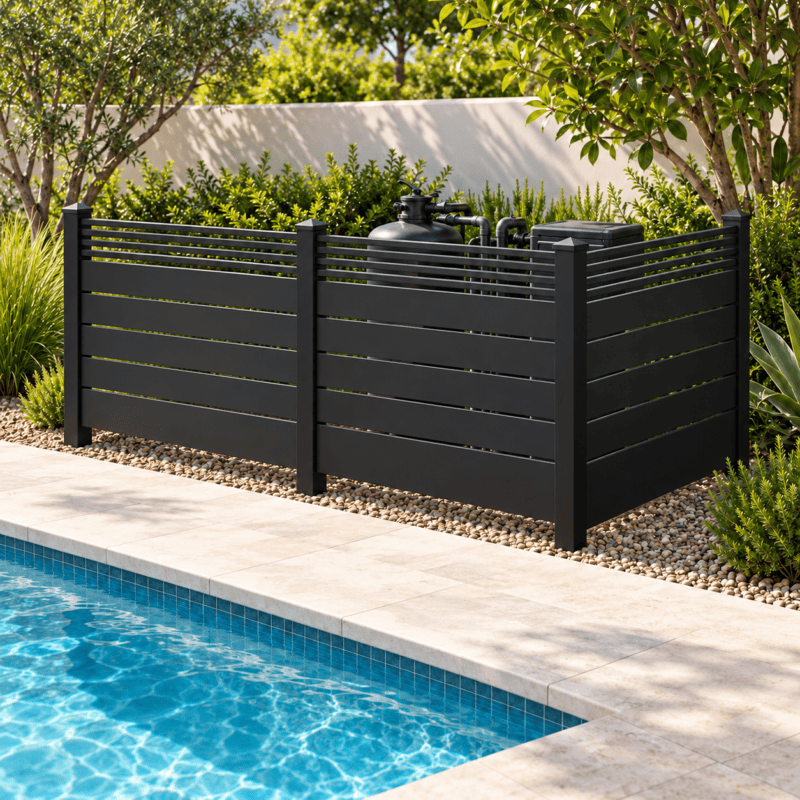
Dallas Style
Broad lower slats and slim accents above give the enclosure a distinctive two-part design.
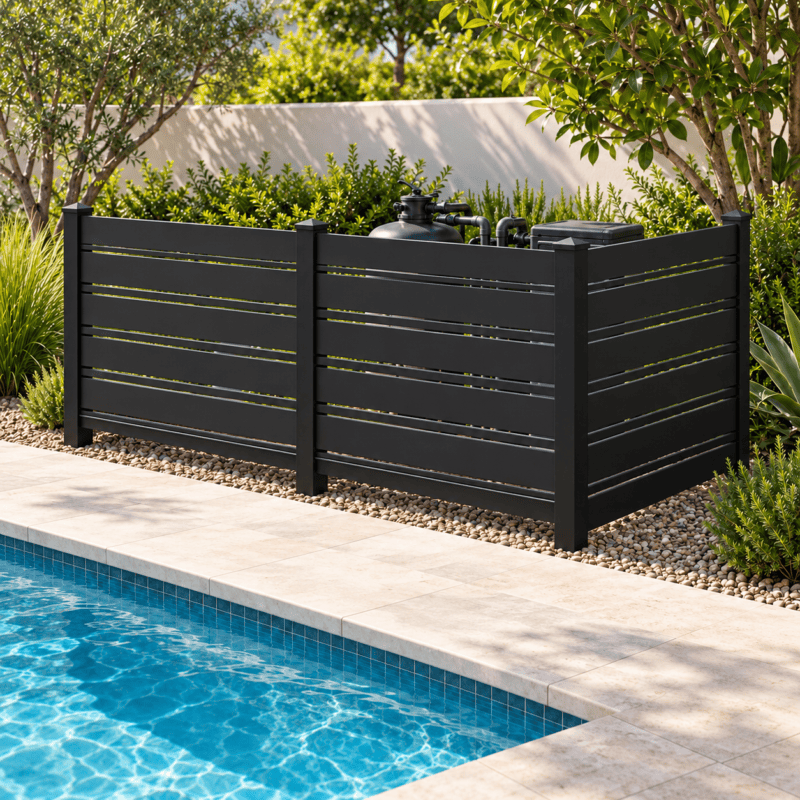
Miami Style
Broad slats alternate with narrow accents for a layered horizontal pattern.
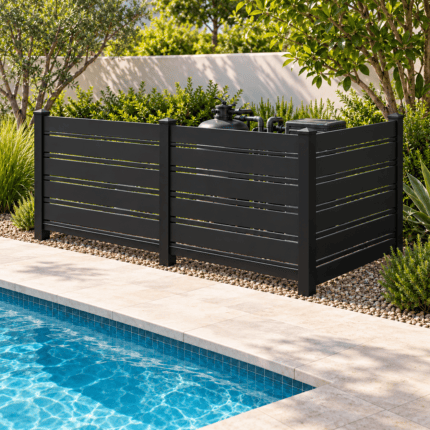
San Francisco Style
Slim horizontal slats create an open, fine-lined screen with greater visibility through the panel.
Product images are visualizations of illustrative layouts and finishes. The height and panel count in your order follow the options you select. Equipment, bins and landscaping are not included.
INSTALLATION & SUPPORT
Choose the mounting method that suits your site.
Enclosures offer In-Ground and Post Base installation options. Check your selected product’s drawing and component list first, then use these related guides to understand post and panel installation. Match foundations, fixings and clearances to your particular site.
01 · Review the assembly
Start with the enclosure video above and your style’s product information. Confirm the panel count, post positions, corners and access opening before laying out the parts.
02 · Plan an in-ground installation
For posts installed in soil, review the in-ground fence guide as a supporting resource. Confirm foundations and post embedment for the height, ground and conditions at your enclosure site.
03 · Plan surface mounting
For Post Base installations, assess the structural surface and suitable anchors before drilling. The deck installation guide explains related mounting considerations; your enclosure’s requirements depend on its site and configuration.
KNOW WHAT YOU ARE ORDERING
Check the enclosure’s included components.
Your selected style, height and panel count determine the parts package. Kits include style-specific aluminum slats, three-channel posts, channel covers, post caps and L-brackets with screws. Spacers accompany designs that use gaps.
Post Base configurations also include steel post bases and aluminum base covers. Equipment, bins, gates, concrete and site-specific foundation anchors do not form part of the listed enclosure package. Review your chosen product before placing the order.
A SIMPLE PLANNING CHECKLIST
- Measure the equipment or bin area, including open lids and access.
- Confirm manufacturer clearances for ventilation, exhaust and service.
- Sketch the layout and count the 48-inch panels.
- Choose the height, style and matching finish.
- Select In-Ground or Post Base installation for your site.
FROM AN ENCLOSURE CUSTOMER
A cleaner view of the pool equipment.
★★★★★ · 5 out of 5
“Love my pool equipment enclosure😍”
Susie r
October 2, 2026 · Los Angeles Style enclosure
See the details behind your choice.
This review comes from the Los Angeles Style enclosure product. Compare the five styles and review each product’s dimensions, options and customer feedback before choosing the look for your own space.
BEFORE YOU ORDER
Questions about outdoor enclosures.
Use the aluminum panels to screen pool equipment, an AC unit, trash bins, garden storage or an outdoor utility area. Choose the layout around the equipment’s access and clearance requirements.
Each panel is 48 inches wide. Select a height of 4, 5 or 6 feet and a kit with one, two, three or four panels. Allow for posts, corners and access openings when planning the finished footprint.
Yes. Plan a U-shaped layout with a suitable panel count, or compare L, straight, Z and T arrangements. Keep an opening where you need to service equipment or remove bins. The panels form an installed screen rather than a folding screen.
New York Style has the most visually closed slat arrangement in this collection. The other four styles offer different horizontal patterns and openings. For equipment screening, check the required airflow and service clearances before choosing any style.
In-Ground configurations use posts installed into the ground. Post Base configurations use bases fixed to a suitable structural surface. Your site, panel height and conditions determine the foundation and anchors you need.
The listed parts package covers the screen system. Equipment, bins, gates, concrete and site-specific foundation anchors are not included. Review the selected product’s component list before you order.
Clean the finish with mild detergent, water and a soft cloth, then rinse away residue. Avoid abrasive cleaners. Check connections and fixings periodically, and follow the finish care information supplied with the product.
Yes. Send your measurements, a photo of the area, the equipment clearance requirements and your preferred style through the quote form. You can also browse the installer directory if you need installation support.
LET’S PLAN YOUR ENCLOSURE
Bring a more finished look to your outdoor space.
Choose a style you like, note your measurements and tell us what you want to screen. We can help you compare enclosure configurations and identify the next steps for your project.