

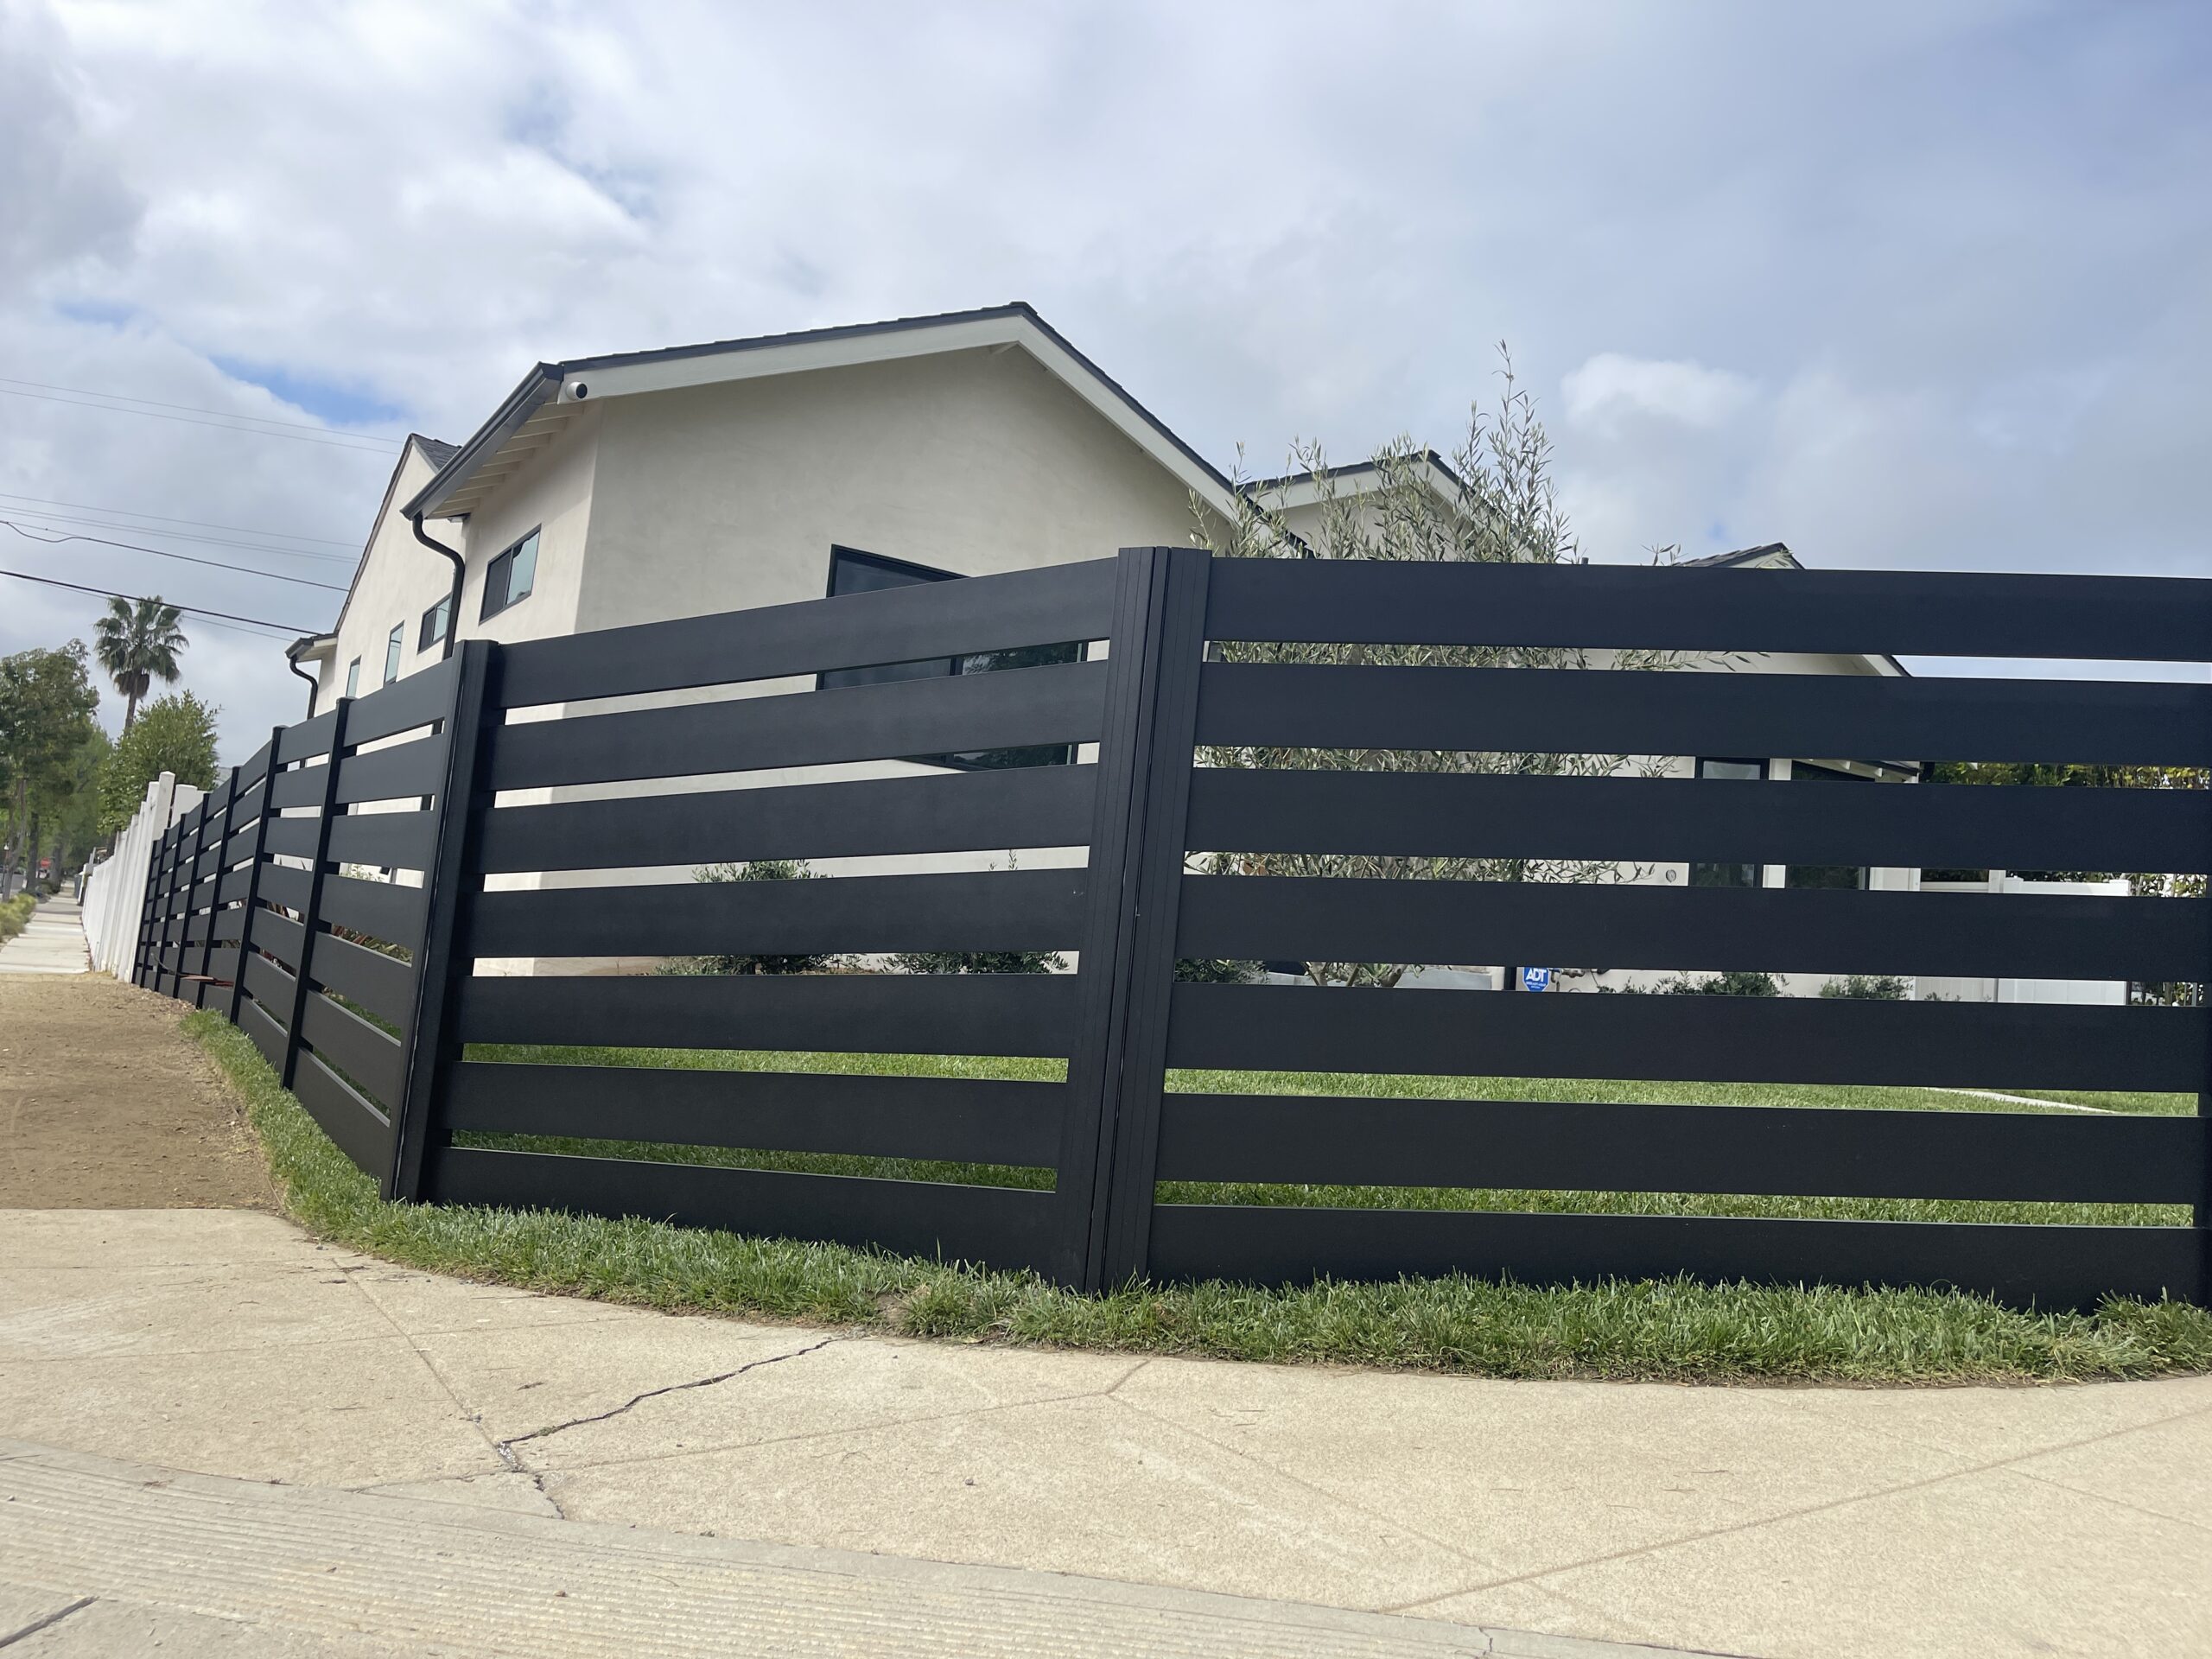
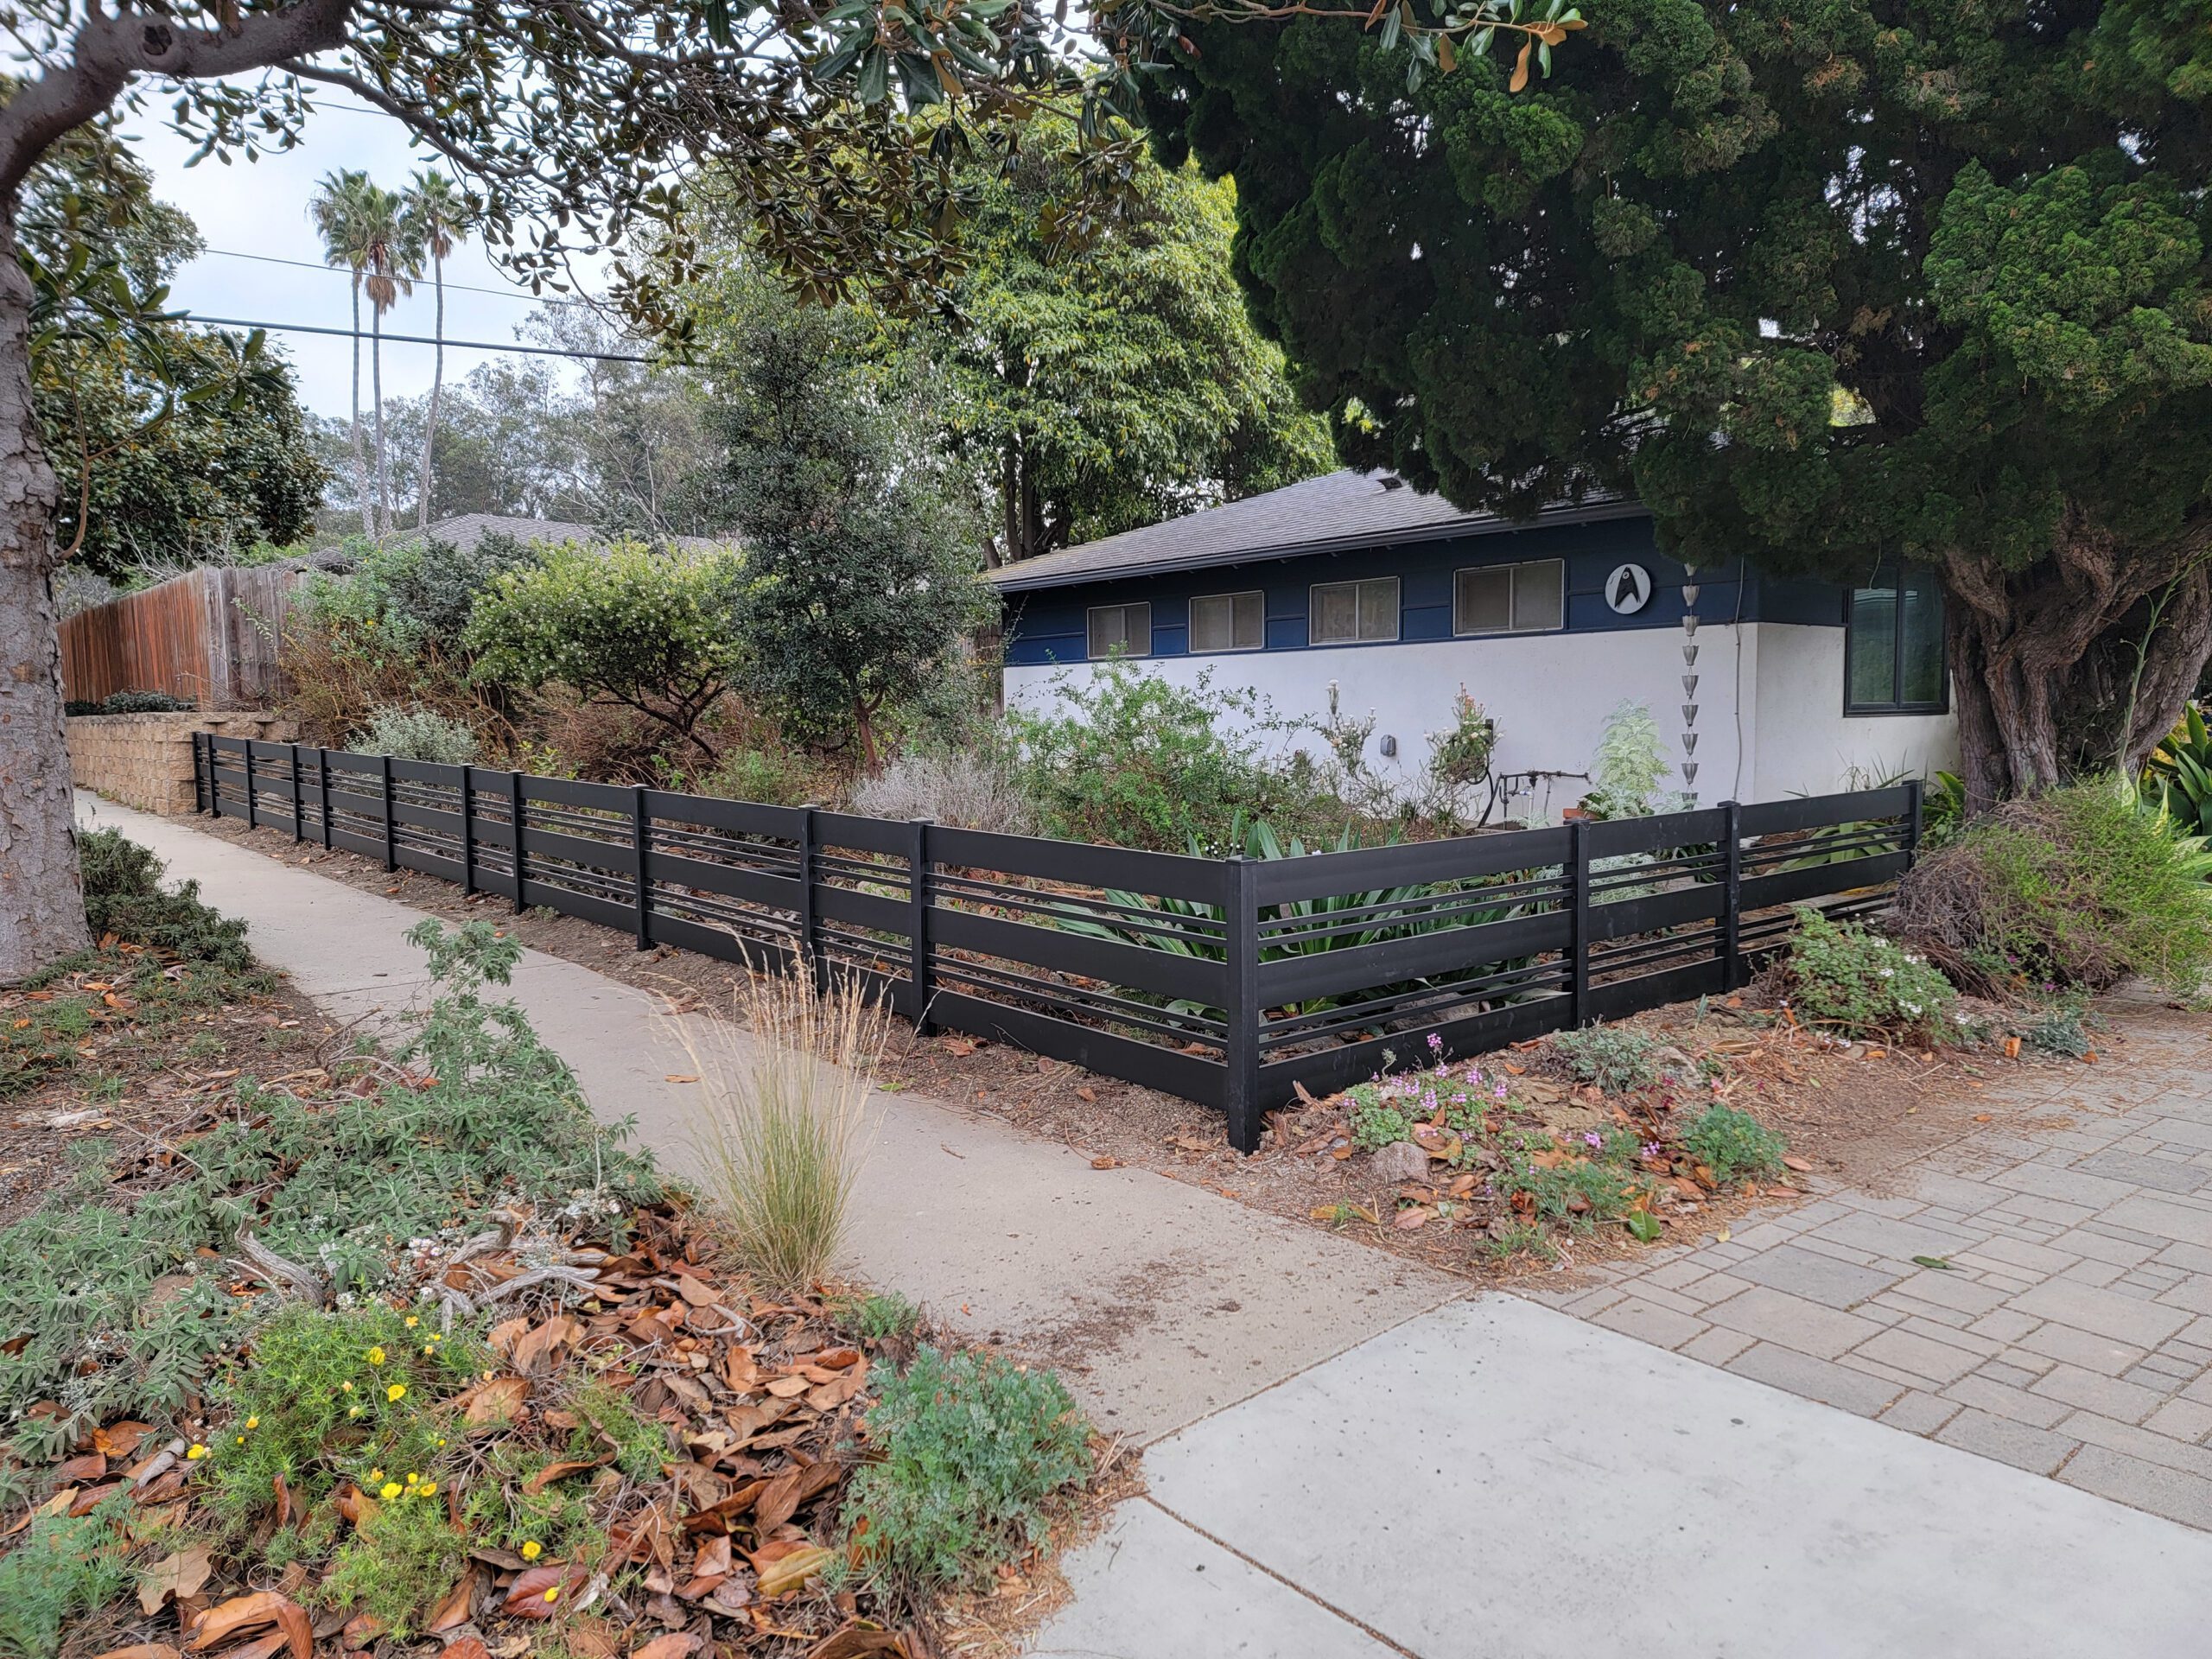
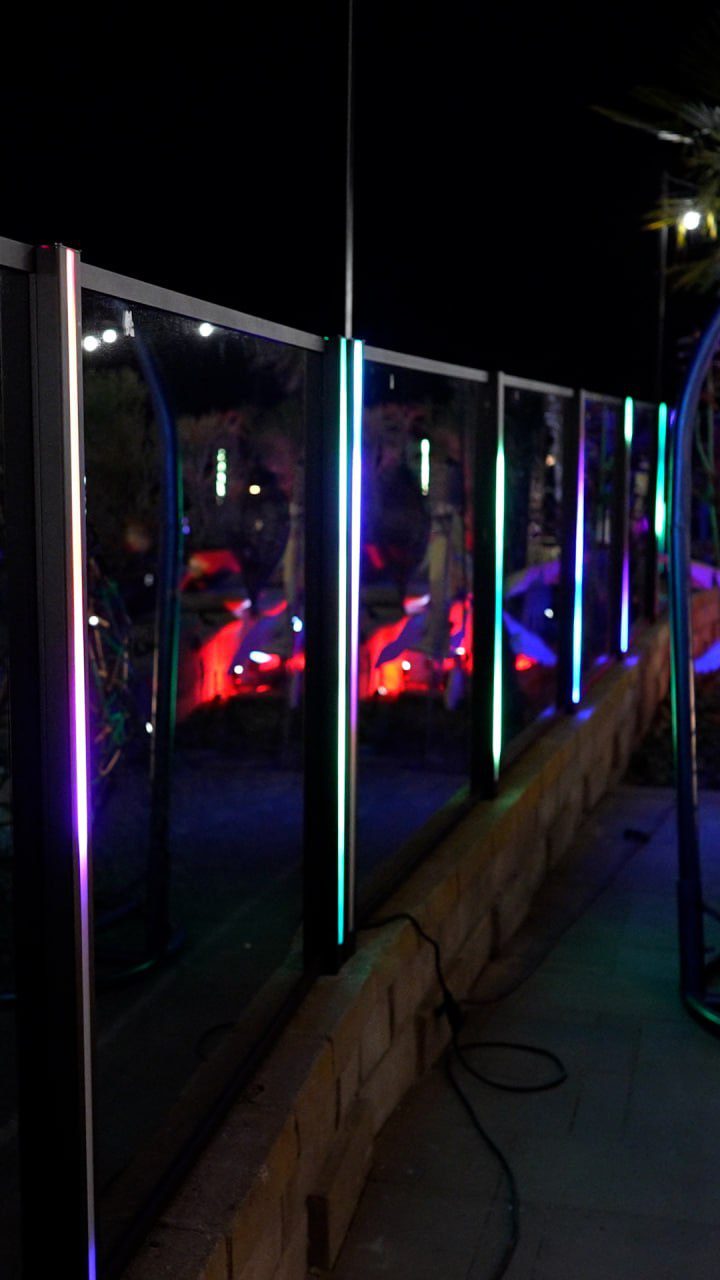
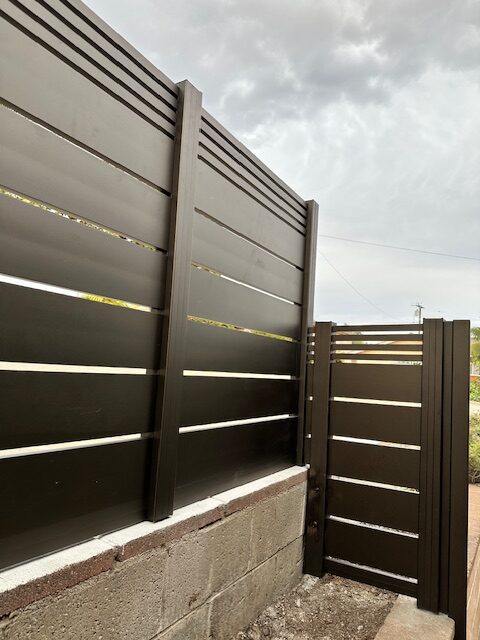
SHOP BY CATEGORY
Aluminum Side Panel Kits →
ALUMISSION SHOP
Home » Aluminum Fence Kits

Aluminum Fence Kits

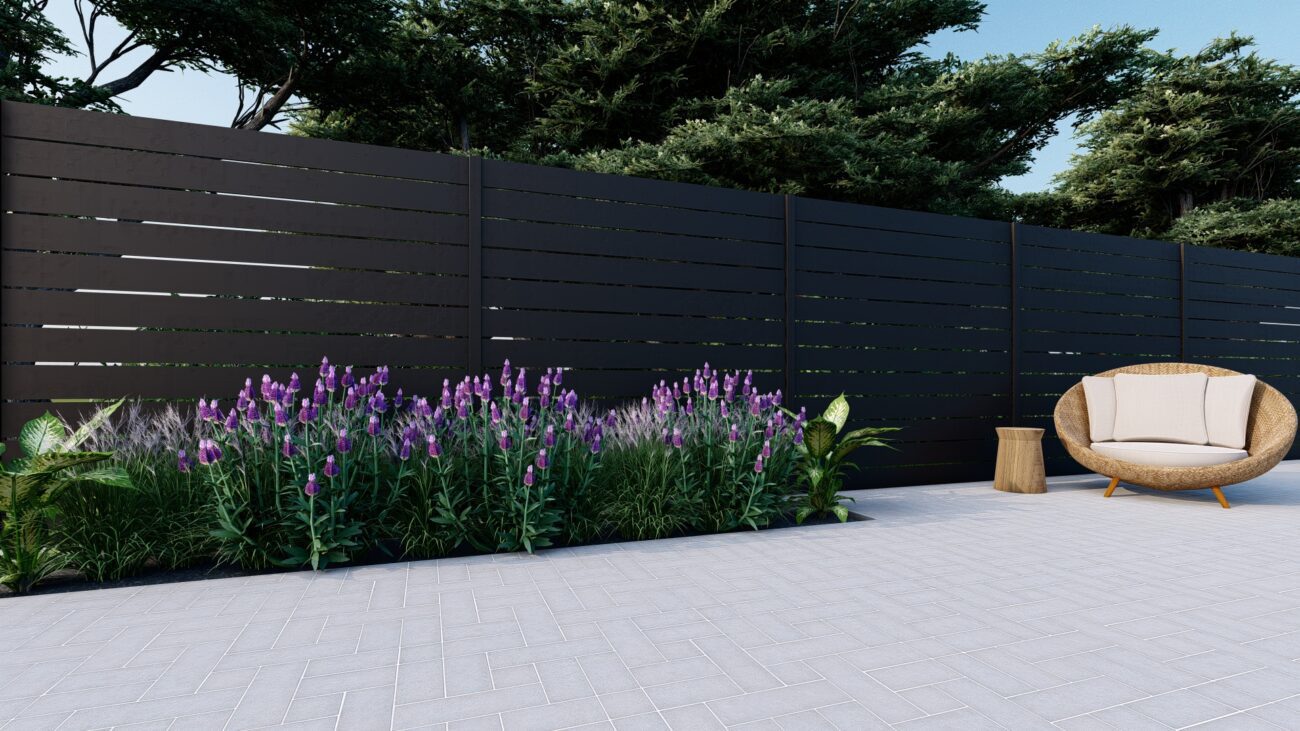
Los Angeles Style Panels from Alumission Modern Aluminum Fences & Gates
Aluminum Fence - los angeles style 15
Select options This product has multiple variants. The options may be chosen on the product page
-30%
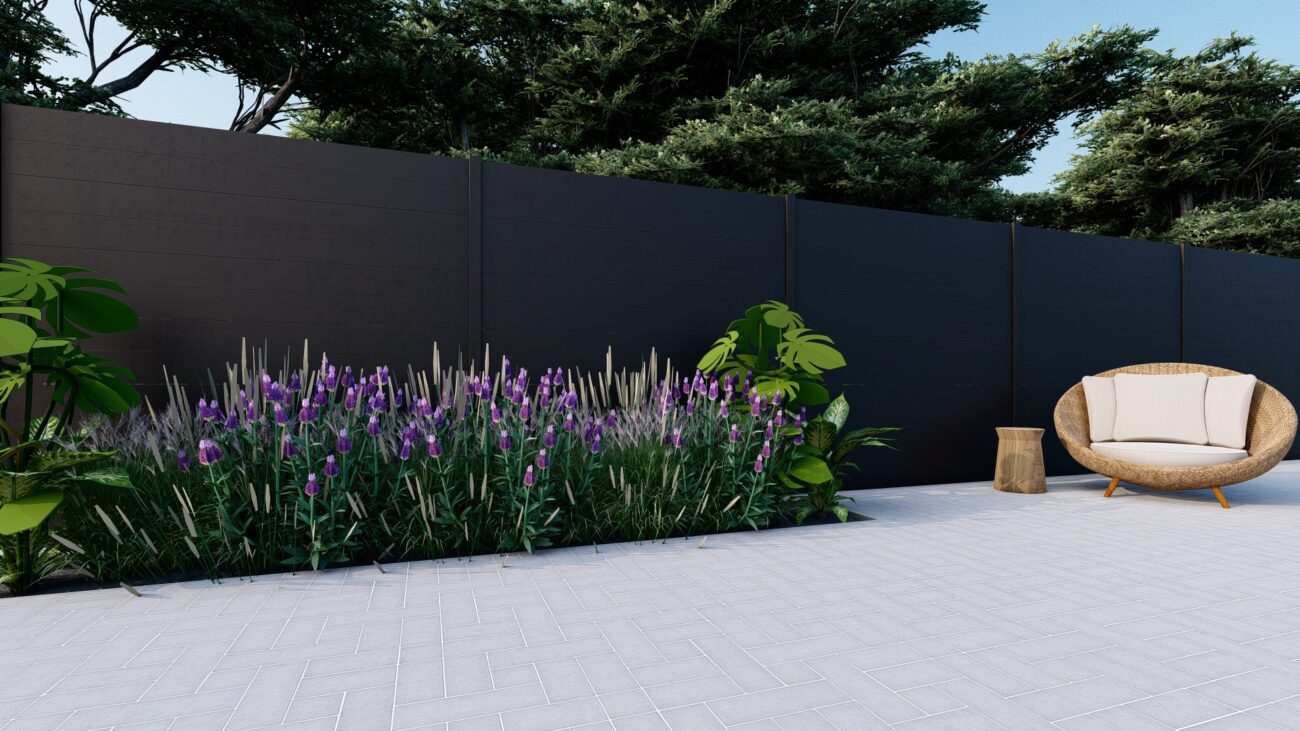
Aluminum Fence Panel
FenceOn Front Side 1
Select options This product has multiple variants. The options may be chosen on the product page
Aluminum Black Railing Kit Classic Style
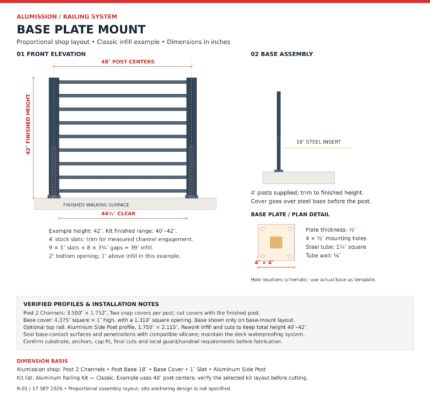
Proportional base-mounted aluminum railing shop drawing with 42-inch finished height, 48-inch post centers, steel base and cover dimensions
Select options This product has multiple variants. The options may be chosen on the product page

Classic Aluminum Railing – Classic Style

STARTING AT $442.14
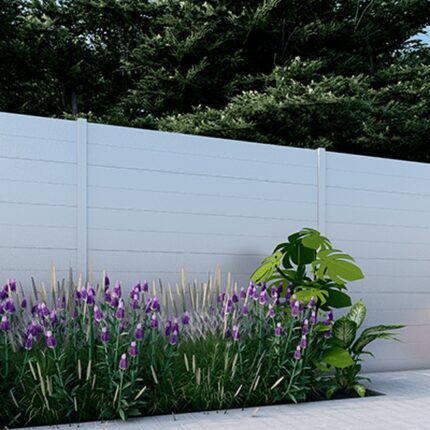
White New York Style Alumission aluminum fence kit installed in a landscaped yard
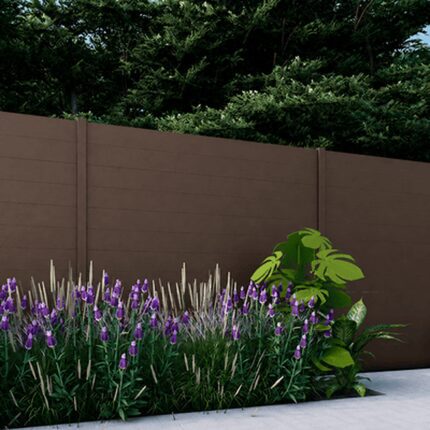
Bronze New York Style Alumission aluminum fence installed in a landscaped yard
Select options This product has multiple variants. The options may be chosen on the product page
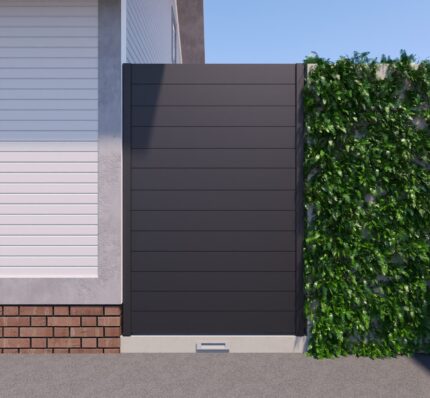
New York Style Aluminum Side Panel, 4 ft wide × 6 ft high, Black
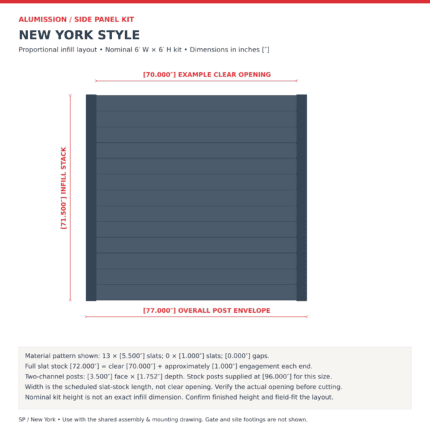
New York Style Aluminum Side Panel — Dimensioned Layout
Select options This product has multiple variants. The options may be chosen on the product page
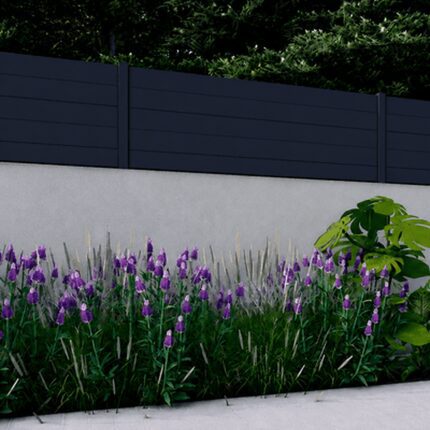
Black New York Style Alumission aluminum wall topper kit installed above a garden wall
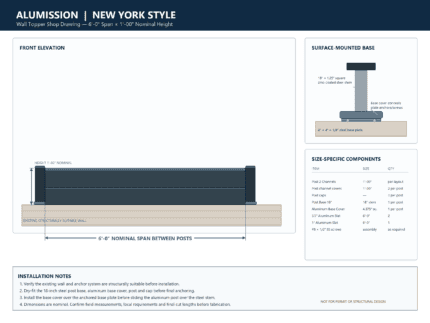
New York Style aluminum wall topper shop drawing, 6-foot span by 1-foot high, with base plate and base cover
Select options This product has multiple variants. The options may be chosen on the product page
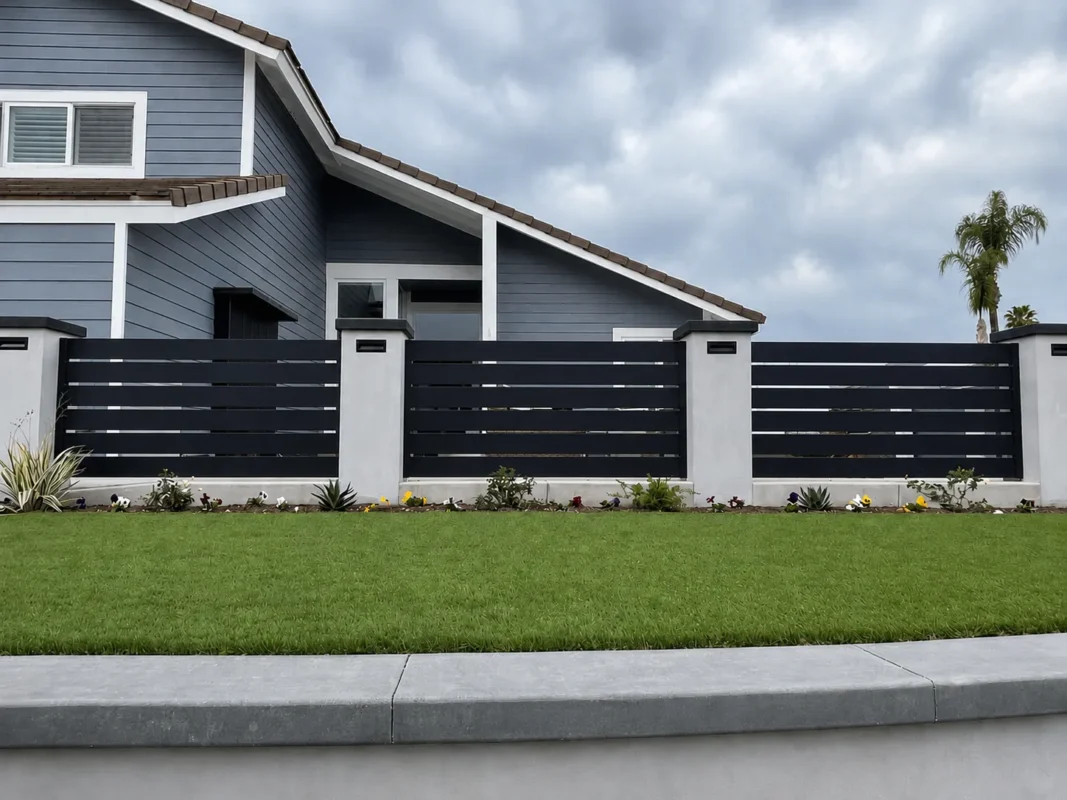
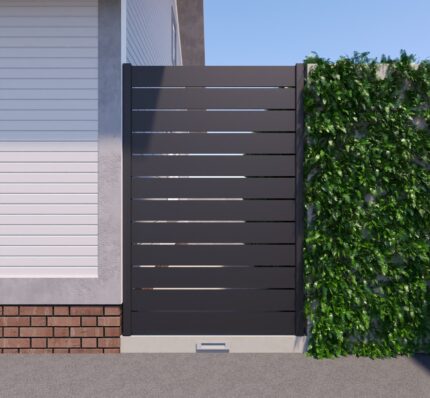
aluminum between columns in black Los Angeles
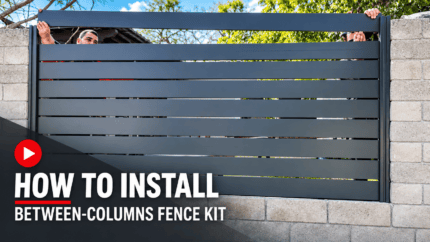
How to install an Alumission aluminum fence kit between masonry columns
Select options This product has multiple variants. The options may be chosen on the product page
Los Angeles Style Aluminum Side Panel, 4 ft wide × 6 ft high, Black
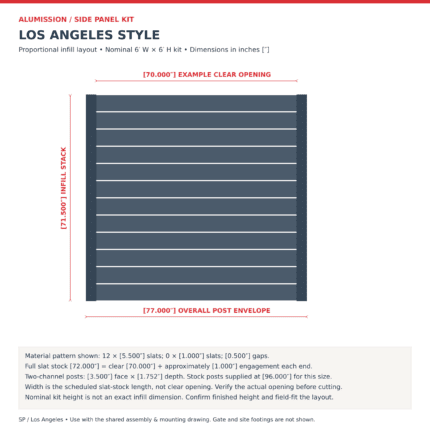
Los Angeles Style Aluminum Side Panel — Dimensioned Layout
Select options This product has multiple variants. The options may be chosen on the product page
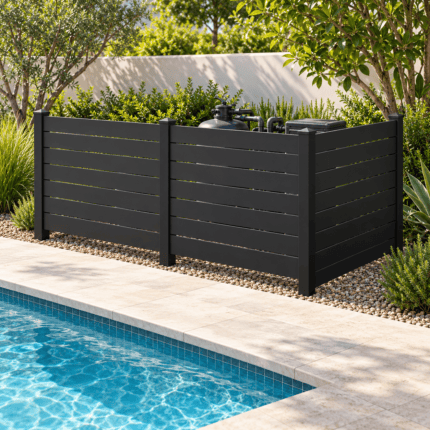
Black los angeles style aluminum privacy screen, three 48-inch-wide panels in an L-shaped pool equipment enclosure visualization
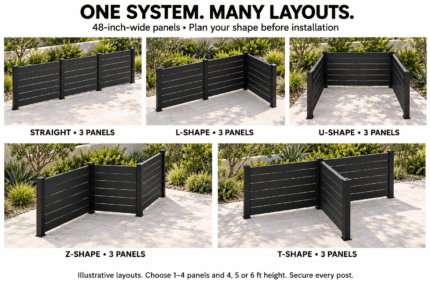
Illustrative straight, L, U, Z and T layouts with three 48-inch-wide aluminum privacy screen panels
Select options This product has multiple variants. The options may be chosen on the product page

Horizontal Aluminum Privacy Screen – Los Angeles Style

STARTING AT $820.77
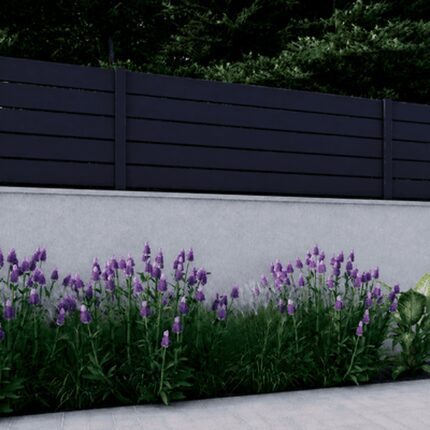
Black Los Angeles Style Alumission aluminum wall topper kit installed above a garden wall
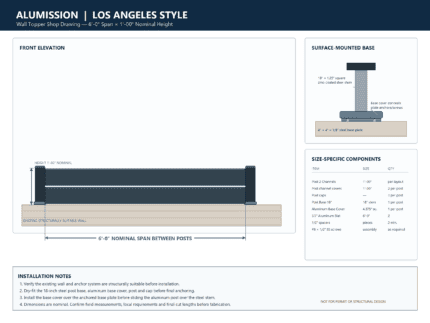
Los Angeles Style aluminum wall topper shop drawing, 6-foot span by 1-foot high, with base plate and base cover
Select options This product has multiple variants. The options may be chosen on the product page

Horizontal Aluminum Wall Topper – Los Angeles Style

STARTING AT $456.69
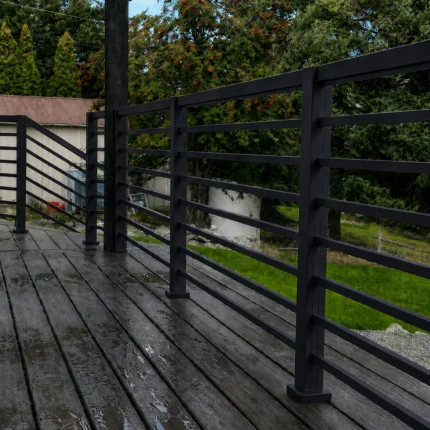
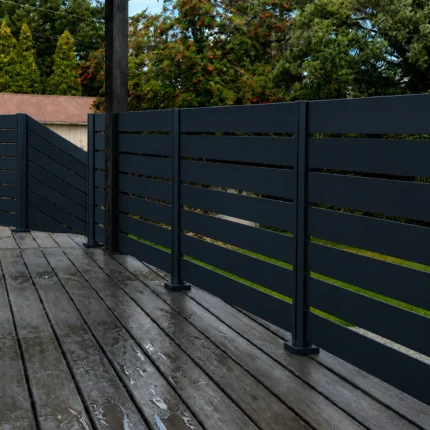
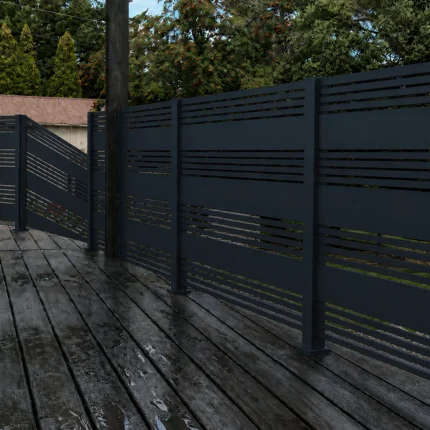
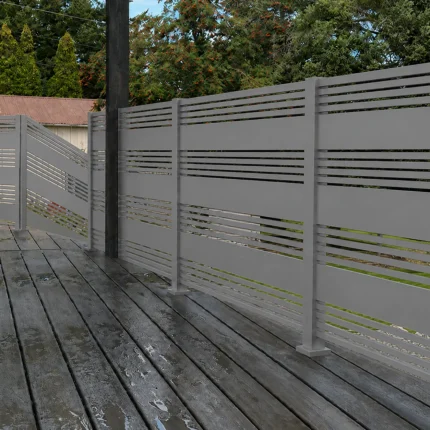
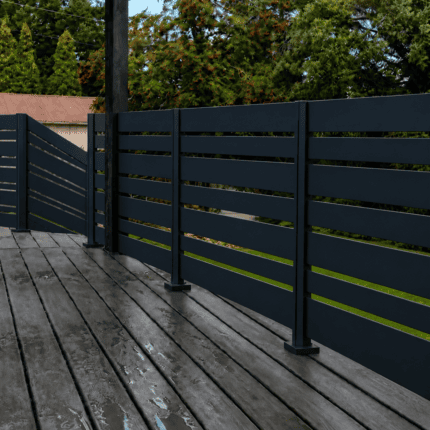
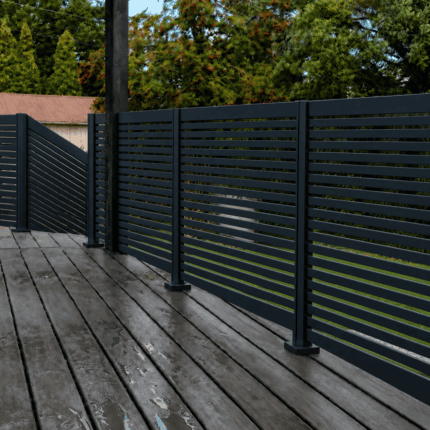
Black Los Angeles style aluminum railing with wide horizontal slats on a wood deck
Proportional base-mounted aluminum railing shop drawing with 42-inch finished height, 48-inch post centers, steel base and cover dimensions
Select options This product has multiple variants. The options may be chosen on the product page

Horizontal Slat Aluminum Railing – Los Angeles Style

STARTING AT $656.95
Aluminum Black Railing Kit Las Vegas Style
Aluminum Ligh Gray Railing Kit Las Vegas Style
Select options This product has multiple variants. The options may be chosen on the product page

Las Vegas Style Aluminum Railing

STARTING AT $697.70
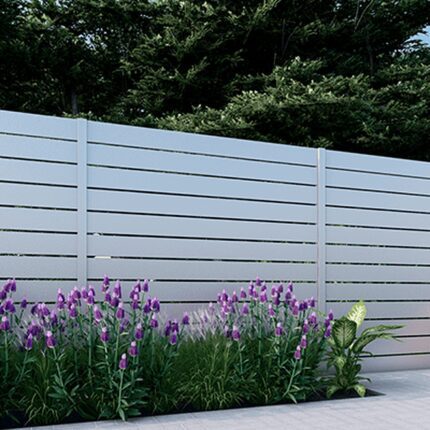
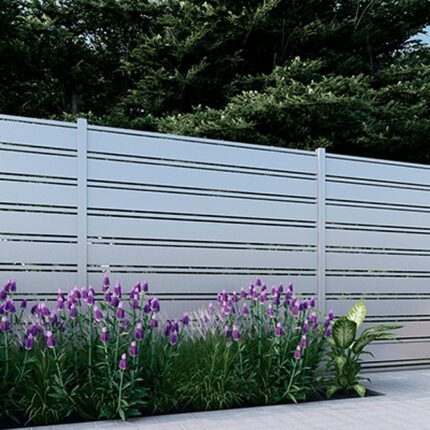
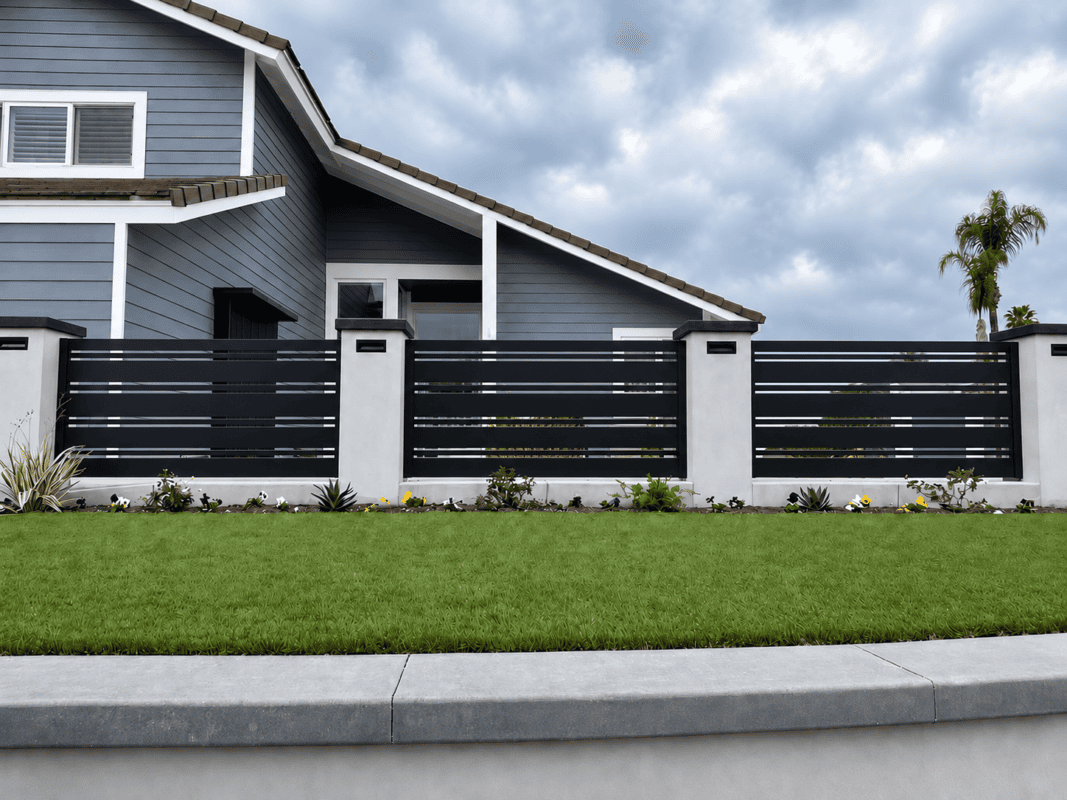
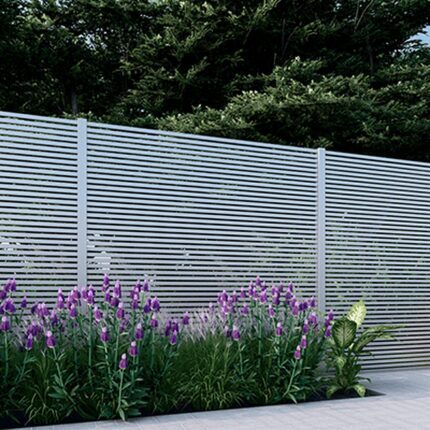
White Los Angeles Style Alumission aluminum fence kit installed in a landscaped yard
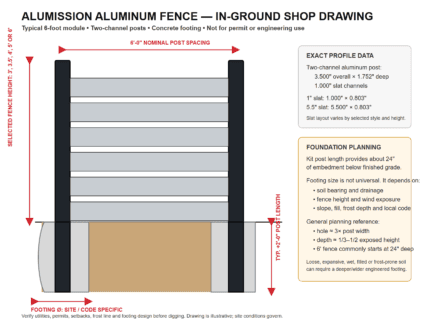
Aluminum fence shop drawing showing in-ground posts in concrete footings
Select options This product has multiple variants. The options may be chosen on the product page

Los Angeles Style Aluminum Fence Panels

STARTING AT $765.83
White Miami Style Alumission aluminum fence kit installed in a landscaped yard
Aluminum fence shop drawing showing in-ground posts in concrete footings
Select options This product has multiple variants. The options may be chosen on the product page

Mixed Slat Aluminum Fence – Miami Style

STARTING AT $779.81
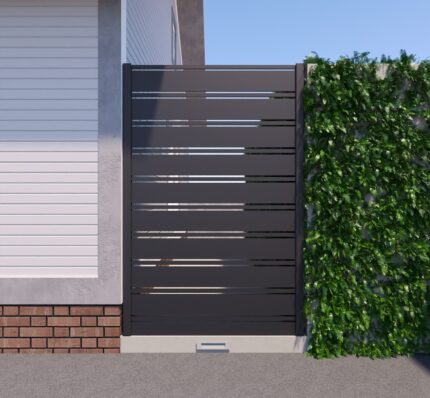
Black Miami Style aluminum fence panel installed between masonry columns
How to install an Alumission aluminum fence kit between masonry columns
Select options This product has multiple variants. The options may be chosen on the product page
Miami Style Aluminum Side Panel, 4 ft wide × 6 ft high, Black
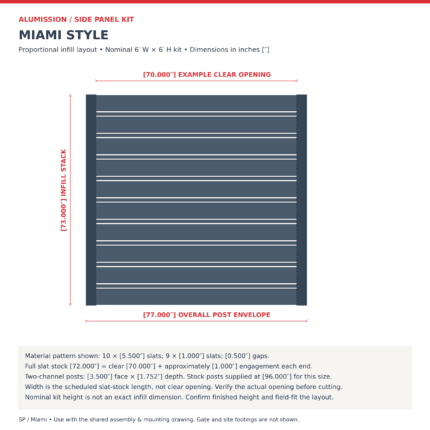
Miami Style Aluminum Side Panel — Dimensioned Layout
Select options This product has multiple variants. The options may be chosen on the product page
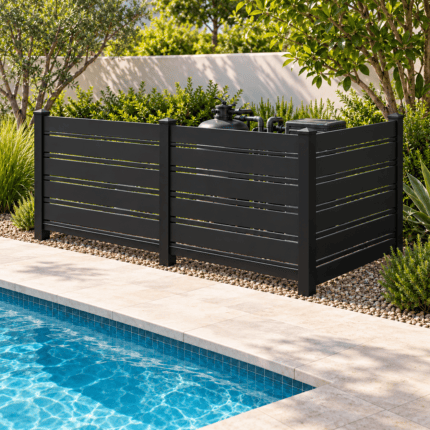
Black miami style aluminum privacy screen, three 48-inch-wide panels in an L-shaped pool equipment enclosure visualization
Illustrative straight, L, U, Z and T layouts with three 48-inch-wide aluminum privacy screen panels
Select options This product has multiple variants. The options may be chosen on the product page
Black Miami aluminum railing with six 5.5-inch slats, five one-inch accent slats and half-inch gaps
Proportional base-mounted aluminum railing shop drawing with 42-inch finished height, 48-inch post centers, steel base and cover dimensions
Select options This product has multiple variants. The options may be chosen on the product page
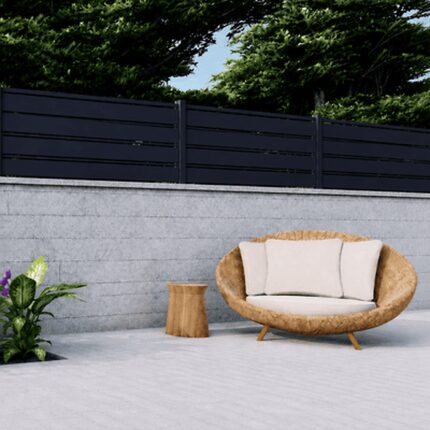
Black Miami Style Alumission aluminum wall topper kit installed above a modern patio wall
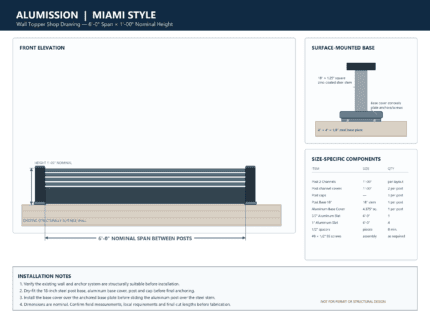
Miami Style aluminum wall topper shop drawing, 6-foot span by 1-foot high, with base plate and base cover
Select options This product has multiple variants. The options may be chosen on the product page
White San Francisco Style Alumission aluminum fence kit installed in a landscaped yard
Aluminum fence shop drawing showing in-ground posts in concrete footings
Select options This product has multiple variants. The options may be chosen on the product page

Modern Narrow Slat Aluminum Fence – San Francisco Style

STARTING AT $865.62
San Francisco Style Aluminum Side Panel, 4 ft wide × 6 ft high, Black
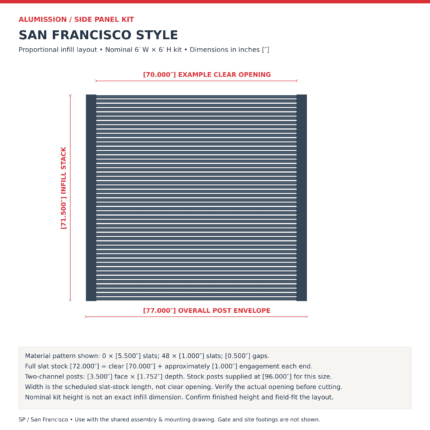
San Francisco Style Aluminum Side Panel — Dimensioned Layout
Select options This product has multiple variants. The options may be chosen on the product page
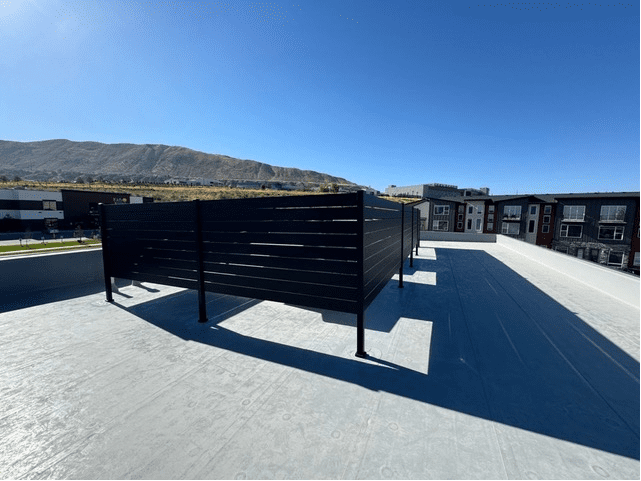
Black San Francisco aluminum railing with 28 one-inch horizontal slats and half-inch gaps
Proportional base-mounted aluminum railing shop drawing with 42-inch finished height, 48-inch post centers, steel base and cover dimensions
Select options This product has multiple variants. The options may be chosen on the product page
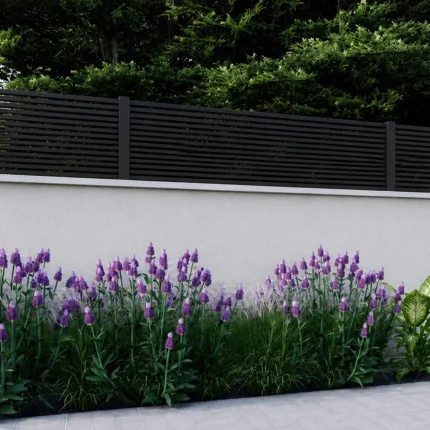
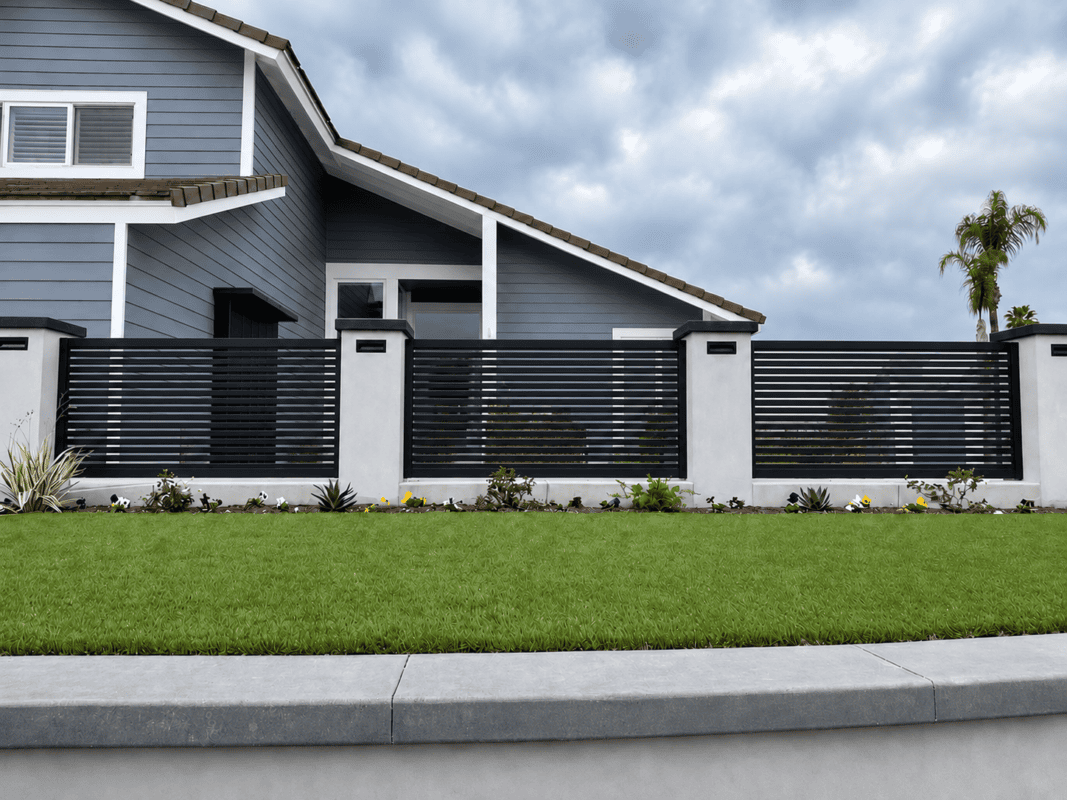
Black San Francisco style aluminum wall topper above a white garden wall
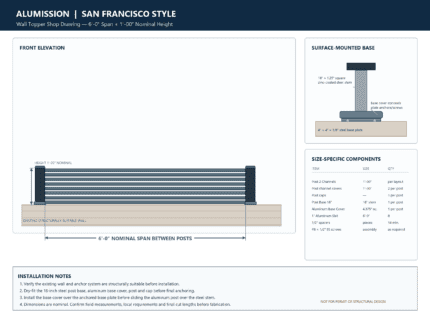
San Francisco Style aluminum wall topper shop drawing, 6-foot span by 1-foot high, with base plate and base cover
Select options This product has multiple variants. The options may be chosen on the product page
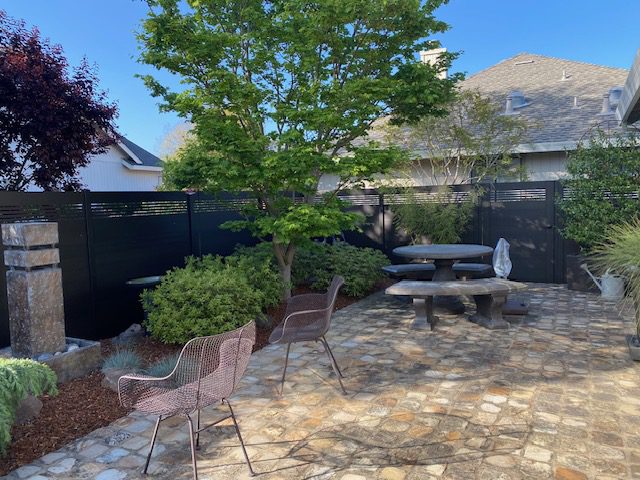
Black San Francisco Style aluminum fence panel installed between masonry columns
How to install an Alumission aluminum fence kit between masonry columns
Select options This product has multiple variants. The options may be chosen on the product page

FIRE RESISTANT

ALL ALUMINUM

RECYCLABLE

MAINTENANCE FREE

WEATHERPROOF

TERMITE FREE

WATER RESISTANT

MADE IN USA

More Info

Real Aluminum Fence Projects

Explore completed Alumission fences in front yards, gardens, and outdoor living spaces.

View All Fence Projects →
A modern boundary for your outdoor space

Choose an Aluminum Fence Kit With Confidence

Create a clean, coordinated fence for your front yard, backyard, or property boundary. Alumission aluminum fence kits offer five architectural styles, a choice of finishes, and options for different installation settings.

Start with the kit type that suits your project, then confirm the fence length, height, privacy preference, and mounting method.

Plan your fence before selecting your options

Three checks help turn your measurements into a practical fence layout.

Measure each fence run

Record the length of each straight section and your desired finished height. Mark corners, ends, openings, and changes in ground level.

Choose the mounting method

Identify where posts will stand and whether your project needs in-ground installation, post bases, or attachment between existing columns.

Match style and privacy

Compare the slat designs, spacing, and finishes. Select the balance of screening, visibility, and airflow that works for your outdoor space.

Helpful sizing rule: Total fence length is not the same as the clear span between posts. Confirm post spacing, end sections, corners, mounting details, and any required cuts using the selected kit’s instructions before ordering.

Watch the aluminum fence installation process

Use these two Alumission videos to help prepare for your fence project, alongside the instructions for your selected kit.

3D aluminum fence installation

Preview how the aluminum fence components fit together with a 3D installation walkthrough.

Watch on YouTube →

Installing fence posts in dirt

See how to install aluminum fence posts in the ground and prepare for your fence sections.

Watch on YouTube →

What Alumission customers say

G Google Reviews
★★★★★
“The aluminum fencing materials are amazing… light, yet sturdy and worlds above wood fencing that eventually rots and collapses.”
R Cavagrotti
Google review
★★★★★
“I cannot imagine an easier way to order the materials to complete a masterful renovation of our back yard fence and gate.”
John Naber
Google review
★★★★★
“We could not be happier with her service and the quality of the product and the pricing. It is the exact look we wanted.”
Elise Lentini
Google review

Compare five aluminum fence designs

Explore Dallas, Los Angeles, Miami, New York, and San Francisco. Each product page shows the fence sizes, finishes, and installation options for that style.

Which aluminum fence kit fits your project?

Fence kits

Build a fence along your property with your choice of height, length, style, and in-ground or post-base installation.

Shop Fence Kits

Between columns

Fill an opening between existing columns, pillars, or posts with a coordinated aluminum fence design.

Shop Between Columns Kits

Wall toppers

Add an aluminum section above a suitable existing wall. Confirm the wall and mounting requirements for your project.

Shop Wall Topper Kits

Aluminum railing

For a railing project, explore the dedicated railing kits and review the product and installation requirements for your application.

Explore Aluminum Railing

From delivered kit to finished fence

Choose and confirm

Select the kit type, style, dimensions, and finish after confirming your fence layout and mounting method.

Prepare and assemble

Review the installation videos and kit instructions, organize the components, and prepare the supporting surfaces and tools.

Install and inspect

Install posts and fence sections according to the instructions, then check alignment, spacing, and all connections.

Aluminum fence kit FAQs

How do I measure for an aluminum fence kit?

Measure each straight fence run separately, record the desired finished height, and mark corners, ends, and any openings. Note changes in grade and confirm the post layout and mounting method before selecting your kit.

Which fence sizes and finishes are available?

The five standard fence styles list lengths from 6 to 96 feet in 6-foot increments and heights of 3, 3.5, 4, 5, and 6 feet. Finish options include Black, Bronze, White, Dark Grey, Light Gray, and Wood. Check the selected product for its available combinations.

Should I choose in-ground or post-base installation?

In-ground installation places posts in the ground with the footing specified for the project. Post-base installation secures posts to a suitable supporting surface. The right choice depends on your site and the selected kit; confirm the required foundation and anchors before ordering.

Can I install a fence between existing columns?

Yes. Choose a Between Columns kit for an opening between suitable existing columns, pillars, or posts. Measure the clear opening and review the selected kit’s mounting and support requirements.

Will I need to cut the aluminum components?

Some layouts require trimming components to fit the final section or an existing opening. Follow the selected kit’s instructions and use tools and blades suitable for aluminum.

How do I choose the right level of privacy?

Compare the slat spacing and product photos for each style. A more closed design provides greater screening, while spaced slats allow more visibility and airflow. Confirm the chosen design before ordering.

What is included in my fence kit?

The components depend on the kit type, dimensions, and installation method. Review the selected product’s included-parts list and confirm any additional posts, mounting hardware, anchors, or installation supplies needed for your layout.

How do I maintain an aluminum fence?

Clean the finish as needed with mild soap and water, rinse thoroughly, and periodically check posts, brackets, and fasteners. Avoid abrasive cleaners and follow the finish-care guidance for your product.

Need help planning your aluminum fence?

Send your fence-run measurements, desired height, mounting-surface details, preferred style, and photos of the area. The Alumission team can help you review the layout before you order.

Craft a beautiful and secure boundary for your property with Alumission’s Aluminum Fence Kits.

Our pre-cut panels and posts offer a simple DIY solution for long-lasting style and easy maintenance. Choose from a range of heights, styles, and privacy options to create the perfect fence for your residential or commercial needs.

Related
Categories

Make room for a better entrance

Aluminum sliding driveway gates, designed around the way you arrive.

Modern horizontal lines. Sideways movement. A cut-to-fit kit with clear choices for style, size, finish and hardware.

Build an Alumission sliding driveway gate that suits your opening and leaves the driveway free of a swing arc. Compare the five styles, watch the assembly videos and plan the complete rolling path before you order.

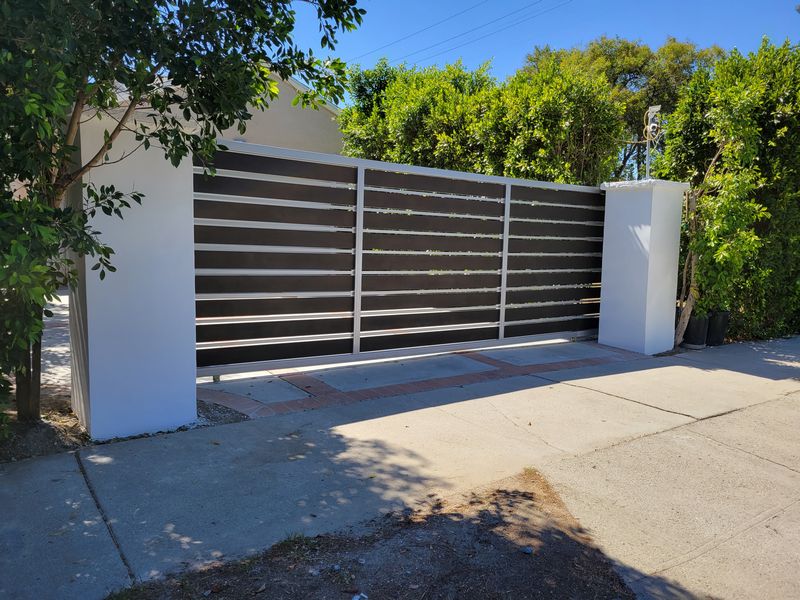
Real Alumission sliding driveway project · Whittier, California. Site installation and gate operator shown are separate from the kit.

5 styles

Modern horizontal gate designs

9 sizes

Opening width × height options

6 finishes

Including Wood slats with Black framing

2 selections

No Hardware or Add Hardware

Watch before you build

Three videos to help plan your sliding gate.

See the assembly, corner construction and one motor-installation example in the three Alumission videos below. Watch the whole relevant guide before starting the corresponding work.

Complete sliding gate assembly

Start here to see the Alumission framed sliding leaf assembled. Review measuring, frame layout and slat fitting before cutting; site track installation is a separate stage.

LiftMaster RSL12UL motor installation

Watch the demonstrated operator installation and chain arrangement. Use the current manufacturer instructions and an installer’s assessment for your own gate. Motor and automation equipment are separate.

Framed gate miter joints · no welding

Take a closer look at the mechanically assembled frame corners. Use this corner-detail video alongside the complete sliding gate guide and the instructions for your selected kit.

Continue with the illustrated sliding gate assembly guide for the matching system. Video dimensions describe the demonstrated layout; confirm your gate and hardware before making cuts.

Find your signature look

Compare five aluminum sliding gate kit styles.

Choose the slat pattern for your home, then select the opening-width group, height, finish and hardware. The current product galleries and variation lists show the actual sliding kit configuration.

Broad horizontal lines

Los Angeles style

An evenly spaced broad-slat look, using 5.5″ aluminum slats and 1/2″ spacers.

Privacy-focused

New York style

A close-set 5.5″ slat pattern for stronger visual screening.

Mixed-width detail

Dallas style

A distinctive arrangement of 5.5″ and 1″ horizontal slats.

Modern mixed pattern

Miami style

Broad and narrow slats arranged in the Miami style.

Fine horizontal detail

San Francisco style

A finer profile combination, including the 2.5″ slats listed for the sliding kit.

Opening widths & heights

Choose openings up to 12′, 16′ or 20′ wide, each at 4′, 5′ or 6′ high. These are opening groups for a cut-to-fit kit. Account for the complete leaf length, tail and site hardware when planning.

Colors & Wood finish

Choose Black, Bronze, White, Dark Grey, Light Gray or Wood. Wood-look aluminum slats use Black framing and components. The San Francisco sliding Wood kit also uses Black 2.5″ slats alongside its Wood 1″ slats.

Choose privacy thoughtfully. New York’s close-set pattern provides more visual screening; spaced designs create a more open rhythm. Consider viewing angles, working gaps, wind exposure and the surrounding boundary along with appearance.

Understand your order

What comes with your sliding driveway gate kit?

Each variation lists the components for its selected style, size, finish and hardware option. Frame stock lengths, slat quantities and extension parts vary. Open a product and make your selection to see the exact included-items table below the gallery and purchase area.

Included with either selection

  • Aluminum two-channel frame profiles and center members
  • Selected slats and applicable spacers
  • Frame covers, post covers and caps
  • Applicable galvanized steel extension inserts
  • Assembly screws and four corner L braces
  • V-groove sliding gate wheels

Added with Add Hardware

  • Listed 8′ stainless-steel V-track sections
  • One gate catcher
  • One dual-roller guide assembly
  • One set of two motor-chain attachment brackets

The standard package lists two track sections for the up-to-12′ and up-to-16′ groups and four for the up-to-20′ group. Check the full travel and site requirements for any additional track.

Arrange separately

The operator, drive chain, controls, power supply and safety devices are separate. Also plan structural supports, foundations, site-specific mounting work, tools and installation labor.

No Hardware requires compatible track, guidance and stopping provisions from your existing system or a separate purchase.

Wheels stay included with No Hardware. That selection excludes the optional track package, not the rolling wheels. Add Hardware includes the listed package in the selected variation price; it is not an automatic opener package.

Real sliding gate installations

Sliding driveway gate project gallery.

See completed Alumission sliding entrances in different settings. Project photos may show custom patterns, mixed finishes, surrounding fences and automation. Those site-specific details are inspiration and may differ from the standard kit you select.

Sliding driveway project

Portland, Oregon

See a custom sliding driveway entrance with mixed finishes and infill. This custom design differs from the five standard kits.

Sliding driveway project

Whittier, California

See a black sliding driveway gate and its relationship to the brick drive and boundary.

Sliding driveway project

La Jolla, California

Explore a Los Angeles style sliding gate with broad horizontal slats and matching surrounding work.

Sliding driveway project

Boston, Massachusetts

View a completed horizontal aluminum sliding gate in an urban entrance.

Sliding driveway project

Los Angeles, California

See the gate leaf during on-site assembly. This project also uses a solar-powered operator, separate from the standard kit.

Sliding driveway project

Van Nuys, California

Explore a custom two-color Miami style sliding gate. The combination shown is project-specific.

Customer feedback

A customer review from the sliding gate collection.

★★★★★

“Fantastic product!”

Maya Thompson
Review posted on the Miami sliding gate kit product page · October 1, 2026

Plan your own project with support

Have questions about the opening, full gate length or hardware? Send your measurements and photos to Alumission. Include the runback area and the motor details if you are reusing existing equipment.

Get help planning a sliding gate →

Measure the whole path

Plan the opening, runback and rolling hardware.

A sliding driveway gate moves beside the opening. It saves the swing arc, but it still needs a clear route and a stable track installation for the complete leaf. Start with a drawing of both the closed and fully open positions.

01 · Measure the vehicle opening

Record the finished clear width, desired height and vehicle approach. Check columns, boundaries and any turn immediately before the entrance. Choose a kit group that covers the proposed opening after confirming the installation layout.

02 · Allow for the complete leaf

The demonstrated frame uses the measured opening plus a 24″ tail. That full leaf must fit beside the driveway when open. Add the actual guide, stopping and operator clearances rather than planning from the opening width alone.

03 · Check the whole track route

Inspect ground levels, rail support and drainage along the full travel. Include the runback area, not just the road opening. Ask your installer to review a slope or unstable paving before ordering hardware.

Tracked sliding kit or cantilever system?

This kit is designed around V-groove wheels and ground V-track. A trackless cantilever gate uses a different support system and structural design. The standard sliding kit and its tail should not be treated as a cantilever package.

Sliding gate or double swing gate?

Compare the available sideways runback with the swing arcs needed by two leaves. A short driveway may favor sliding movement if there is enough side space and a suitable track route. If side space is limited, review the double swing driveway gate kits.

Manual today, automation planned

Choose the operating system for the finished gate.

Manual operation and automation both start with a gate that rolls freely, stays guided and stops in the intended positions. Plan equipment and protective provisions for the complete installation.

Plan the mechanical installation

Confirm the wheel-and-track match, guide arrangement, receiver, stops and how the leaf is secured. The full path should be clear of rubbing and binding before an operator is added.

Match the gate operator

Provide the installer with the finished gate dimensions and weight, expected usage and site conditions. Discuss chain or drive attachment, mounting space, power and any solar or battery options.

Plan access & protection

Choose compatible remotes, keypad or phone control with the installer. Confirm manual release and the operator’s required protective devices, and provide a suitable separate route for pedestrians.

For equipment-specific guidance, see Nice’s sliding gate FAQs and LiftMaster’s residential operator buyer’s guide. Follow the current instructions for the equipment selected for your site.

A clear path to ordering

Choose your kit, then check every included item.

The live product selection is the place to confirm your current price. Each variation is priced from the individual components required for the selected style, catalog size, finish and hardware choice.

Select your variation

Choose a style, opening group, height and finish. Then select No Hardware or Add Hardware. Cutting to a smaller final opening does not change the selected kit’s supplied contents or price.

Review the packing list

The included-items table lists names, details, supplied lengths and quantities for that variation. Check it against your site plan so you know what arrives and which installation parts you will provide separately.

Prepare to build

Watch the complete assembly guide and review the correct cutting plan. Arrange a protected work area, suitable tools, support preparation and installation help. Check delivered components before making irreversible cuts.

Practical answers by topic

Sliding gate Q&A: 48 questions to help you plan.

Browse the topics below for answers about sizing, side clearance, slopes, V-track, contents, assembly, finishes, motors, ordering and care.

48 questions across 8 topics

Sizes & side clearance

Choose an opening-width group up to 12′, 16′ or 20′, with a 4′, 5′ or 6′ height. Each of the five styles has six finish options and two hardware selections. Confirm the complete gate layout and available runback before choosing your variation.

The size selector refers to the opening-width group. The complete leaf also needs its tail. In the demonstrated Alumission assembly, the horizontal frame is cut to the measured opening plus 24″. Do not use the opening width alone as the finished leaf length.

Allow unobstructed runback for the complete assembled leaf, including its tail, plus the actual guide, stops, receiver and operator arrangement. Measure the entire travel path. Do not apply a generic percentage or a cantilever clearance formula to this wheeled kit.

Record the clear vehicle opening, desired finished height, side runback distance and ground levels across the entire rolling path. Note columns, walls, obstructions, drainage, vehicle approach and the intended opening direction. Send photos with the measurements for project guidance.

Yes. The profiles and slats are cut during assembly. Choose a width group and height with enough material for the complete design. Confirm the cutting plan before starting; cutting a kit smaller does not reduce the selected variation’s price.

Plan the direction around the available runback and the positions of guides, receiver, stops and any operator. Do not assume the site works equally well in both directions. Confirm the final layout and hardware arrangement before assembly.

Track, slopes & site preparation

This Alumission kit uses V-groove wheels with compatible ground V-track. The optional Add Hardware selection supplies the listed track package. No Hardware leaves you to provide compatible track, guides and other required site hardware; it does not make the gate trackless.

No. It is a ground-supported wheel-and-track system. A cantilever gate uses a different support arrangement and structural design. The 24″ tail shown in the assembly video is not a cantilever conversion or a substitute for cantilever hardware.

The grade where cars travel and the grade along the gate’s rolling path are different issues. A rising approach may leave space for sideways movement, but the complete track route still needs review for alignment, clearance, support and safe control. Send slope details before ordering.

The rail needs a stable, suitable foundation and the correct anchoring. Loose gravel is not a structural base, and existing paving is not automatically adequate. Ask the installer to specify the support and fixing method for the actual surface and site.

Plan track coverage from the closed position through the full open travel, supporting the wheels throughout. Confirm the track length, joints, stopping positions and anchoring in the site layout. Compare that requirement with the supplied package; extra track may be needed.

Keep the rail and wheel path clear and plan where water will drain. Gravel, leaves, mud and ice can interfere with rolling. Include access for cleaning and inspect the full track after storms or unusual ground movement before operating a binding gate.

Kit contents & hardware choices

The selected variation supplies the aluminum frame components, style-specific slats and spacers, covers, caps, applicable steel extension inserts, assembly fasteners, four corner braces and V-groove wheels. Exact supplied lengths and quantities appear in the product’s variation-specific included-items table.

Yes. The V-groove wheels remain included with both No Hardware and Add Hardware. The No Hardware option excludes the optional track, catcher, guide and motor-chain bracket package. It is intended for a project where compatible required site hardware will be provided separately.

It adds the listed 8′ stainless-steel V-track sections, one gate catcher, one dual-roller guide assembly and one set of two motor-chain attachment brackets. The current standard package lists two track sections for up-to-12′ and up-to-16′ groups and four for the up-to-20′ group. Check the selected packing list and site requirements.

No. The motor-chain attachment brackets are connection parts, not a motor or a complete drive system. The operator, drive chain, controls, power supply, safety devices and installation are separate. Confirm the automation plan with the selected operator’s installer.

Open a style, then select size, finish and hardware. The included-items table below the gallery and purchase area updates to show that variation’s item names, details, supplied lengths and quantities. Review it before placing the order and again when checking delivery.

Only after compatibility and condition have been checked for the completed gate. Compare wheel and rail geometry, guide clearances, stopping arrangements and operator requirements. Reusing parts should not be assumed from their appearance or from the old gate’s opening width.

Frame construction & assembly

Alumission Aluminum Post 2 Channels forms the horizontal and vertical frame members. Center members divide the leaf into slat bays. Covers close the channels, while the selected style determines the slat arrangement and spacers. Review the component list for your size.

The demonstrated kit is mechanically assembled with screws, corner braces and steel inserts at applicable extension joints. Field welding is not part of that assembly method. Accurate cutting, drilling, squaring and fastening are still necessary.

The top, bottom, end and center members capture the slats and form the leaf assembly. Use the full frame arrangement specified for the sliding system. A pedestrian gate assembly or an unframed fence panel is not an interchangeable sliding leaf.

It is the additional rear portion included in the demonstrated horizontal-frame layout. The video adds 24″ to the measured opening. Include that full length when planning the leaf, available stock and runback, and confirm the chosen installation before cutting.

Where the selected size requires extensions, the system uses galvanized square steel inserts and #12 screws. Follow the engagement and fastening details for the supplied system. Do not place an improvised splice wherever material happens to end.

Start with the complete sliding gate assembly guide. Use the miter-joint video for a closer view of framed corner construction. Watch the LiftMaster RSL12UL video when planning that specific operator; it does not establish compatibility with every gate or replace its current manual.

Styles, privacy & finishes

New York uses a close-set broad-slat pattern for stronger visual screening. Los Angeles, Dallas, Miami and San Francisco provide their own horizontal patterns and spacing. Compare the selected product images and consider the viewing angle, perimeter gaps and site exposure.

Los Angeles emphasizes broad 5.5″ horizontal slats; New York uses a close-set broad-slat pattern; Dallas and Miami use distinct mixed-width arrangements. San Francisco combines finer profiles, including the 2.5″ components listed for this sliding kit. Use the actual sliding product gallery rather than a swing-gate photo to confirm the pattern.

Choose Black, Bronze, White, Dark Grey, Light Gray or Wood. The variation image and item list show the selected combination. Screens and lighting can change how a finish appears, so ask about a physical finish reference if matching existing materials is important.

No. It is a wood-look finish on aluminum slats. Wood kits pair those slats with a Black frame and components. For the San Francisco sliding kit, the 2.5″ slats are Black and the 1″ slats use the Wood finish.

Materials and finishes vary by component. Some rolling and fixing parts are stainless steel or galvanized, and the guide uses nylon rollers. Wood kits use Black components alongside the Wood slats. Check the item details for the selected variation rather than expecting every part to share one finish.

Coordinate the style, height and finish, then check slat alignment and the different frame and operating gaps. Matching surrounding work is separate from the sliding gate kit. Send a site photo or drawing when planning a coordinated entrance.

Motors, controls & safe operation

A properly installed wheel-and-track gate can be planned for manual operation. It still needs suitable guidance, stops, a receiver or catcher and an appropriate securing arrangement. Ensure the leaf moves freely and is controlled through its full travel.

Yes, subject to a suitable complete gate and site design. Plan operator location, chain or drive arrangement, power, guides, stops and protective devices early. Have a qualified gate-automation installer confirm the finished leaf and system before choosing equipment.

Match the operator to the gate type, completed length and weight, expected daily and hourly cycles, mounting geometry and environment. Discuss desired controls with the installer. A maximum weight rating or a demonstration video alone does not establish compatibility.

No. The video demonstrates one installation. Your selected size, finished gate, wind exposure, usage and site may call for another arrangement. Follow the current operator manual and have the installer check the complete application before purchasing.

These options depend on the chosen operator and compatible accessories. Solar capacity depends on available sunlight and usage. List the access methods you want before installation so power, charging, communications and backup access can be planned together.

Confirm the operator’s manual release, any battery backup and required entrapment protection with the installer. Keep the moving gate and runback area clear, and provide a separate suitable pedestrian route. Those accessories and site provisions are not included in the standard gate kit.

Prices, ordering & delivery planning

The current variation price is the total of the components required for its selected style, catalog size, finish and hardware option. Optional hardware is included in that displayed total only with Add Hardware. Use the live product selection for current pricing.

No. Pricing is based on the selected supplied kit and its components. Cutting the profiles to suit a smaller opening does not change that kit’s listed price. Choose the appropriate width group and height before ordering.

Budget for tools or assembly labor, foundations and track support, mounting work and any additional site hardware. Automation, power, controls and protective devices are separate. Review the order and checkout for shipping, tax and any other applicable charges.

No. These are cut-to-fit kits requiring assembly and site installation. Plan protected working space for long profiles, suitable tools and enough help to handle the leaf. Check delivered components against the selected variation before cutting or fitting.

Send the opening width, desired height, available runback, ground levels and photos of the entire entrance and sliding path. Include the style, finish, ZIP code, intended use and any existing hardware or motor details.

Contact Alumission to confirm suitability for the actual opening, traffic and project requirements. Frequent use, access control, supports and automation may change the design. Do not assume a residential kit selection establishes a commercial duty rating.

Care, troubleshooting & suitability

Wash the coated aluminum with mild soap, water and a soft cloth. Keep the track, wheels and guide area clear of debris. Periodically inspect connections, covers, brackets and stopping arrangements, following the hardware and operator manufacturers’ care instructions.

Possible causes include debris, rail misalignment, worn wheels, a rubbing guide or support movement. Stop forcing the gate and inspect the mechanical path first. An automatic operator should not be used to overpower a binding or damaged leaf.

Stop using it, keep people away and have the leaf secured and inspected by a suitable installer. Check the cause, including rail support, wheel condition, guides and stops, before returning it to operation. A heavy displaced leaf needs controlled handling.

Aluminum does not form ordinary steel’s red rust, but the finish and all hardware still need care. Discuss salt exposure before ordering, rinse accumulated salt with fresh water and inspect the full assembly. Do not treat coastal suitability as a maintenance-free guarantee.

Wind and added screening change loads on the complete assembly and guides. Do not add fabric or extra cladding without review. Pet containment also depends on slat, side and bottom gaps; assess the whole boundary for the intended use.

Check local height, setback, sight-line, access and permit requirements, together with any HOA rules, before ordering. Keep the full travel and waiting area within the approved layout. A listed kit size is not approval for a particular property.

Ready to plan your entrance?

Find the sliding driveway gate kit for your home.

Choose the horizontal style you like, then select the size, finish and hardware to see your exact kit price and included-items table. Send your opening and runback measurements if you would like help with the choice.

Fence and gate design

Proudly
Made in America

We proudly support the domestic economy and promote integrity and excellence with American-made products.
Alumission manufacturing is in-house and our entire selection of fence and gate aluminum profiles and parts, hardware,
locks, and access control items are crafted with precision to ensure the highest level of quality control. You can be
confident in your Alumission purchase that not only are you getting a quality product, but that your purchase is
supporting American businesses and industries. Shop with us for a great value and discover the reliability and brilliance
of Alumission American-made aluminum fences and gates.