
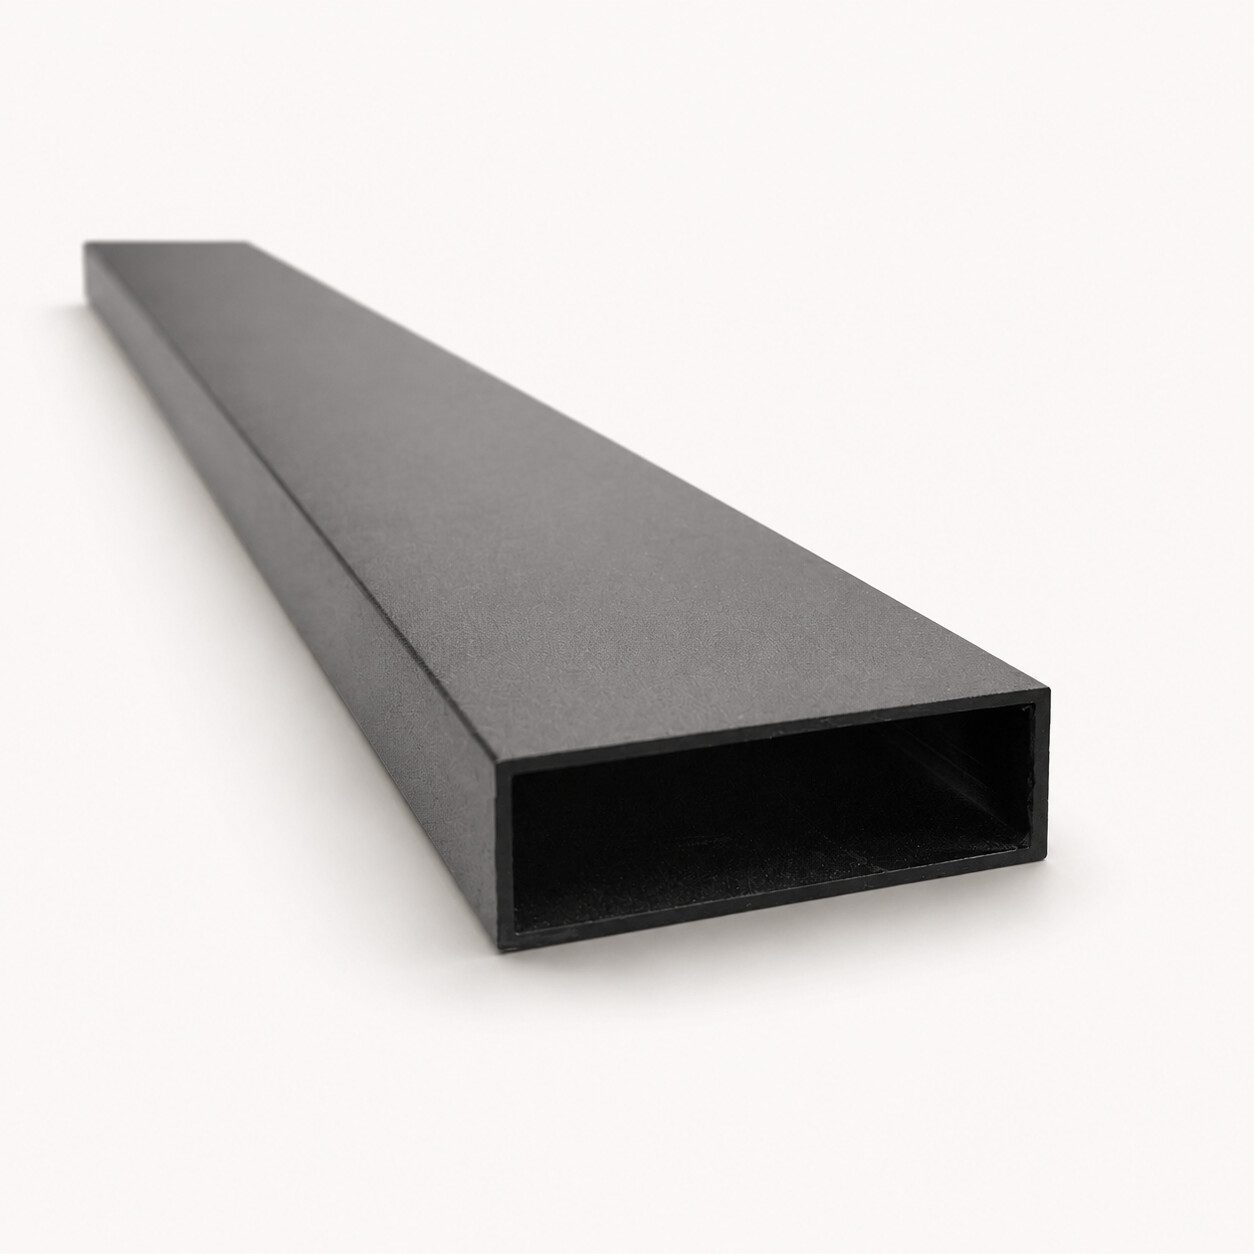
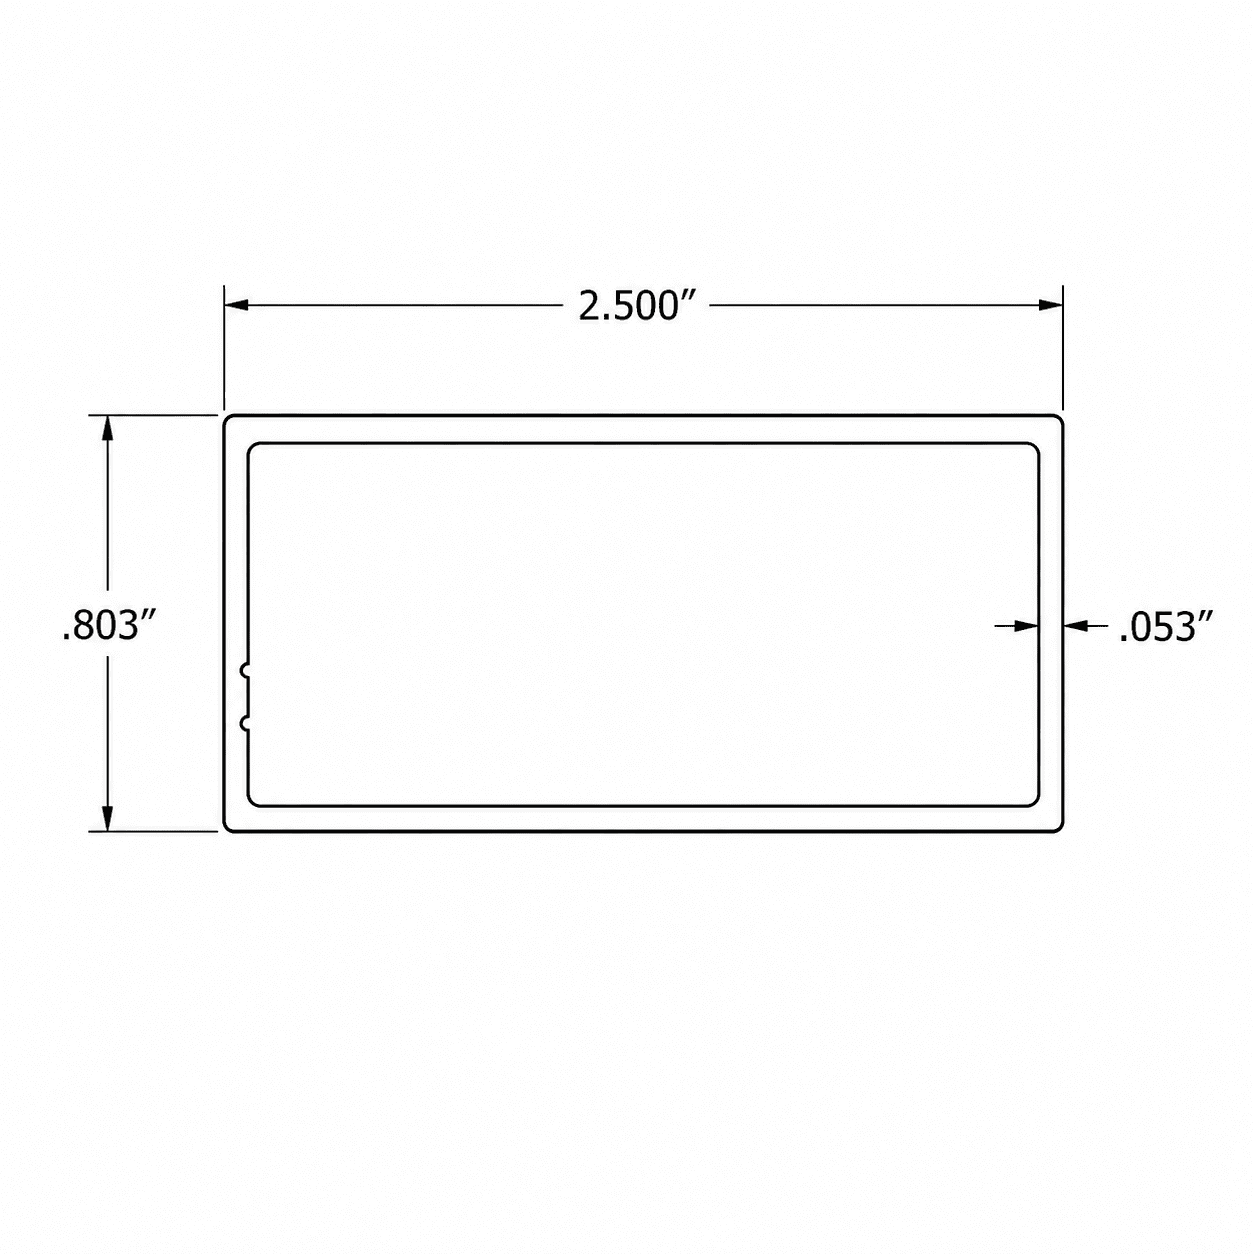
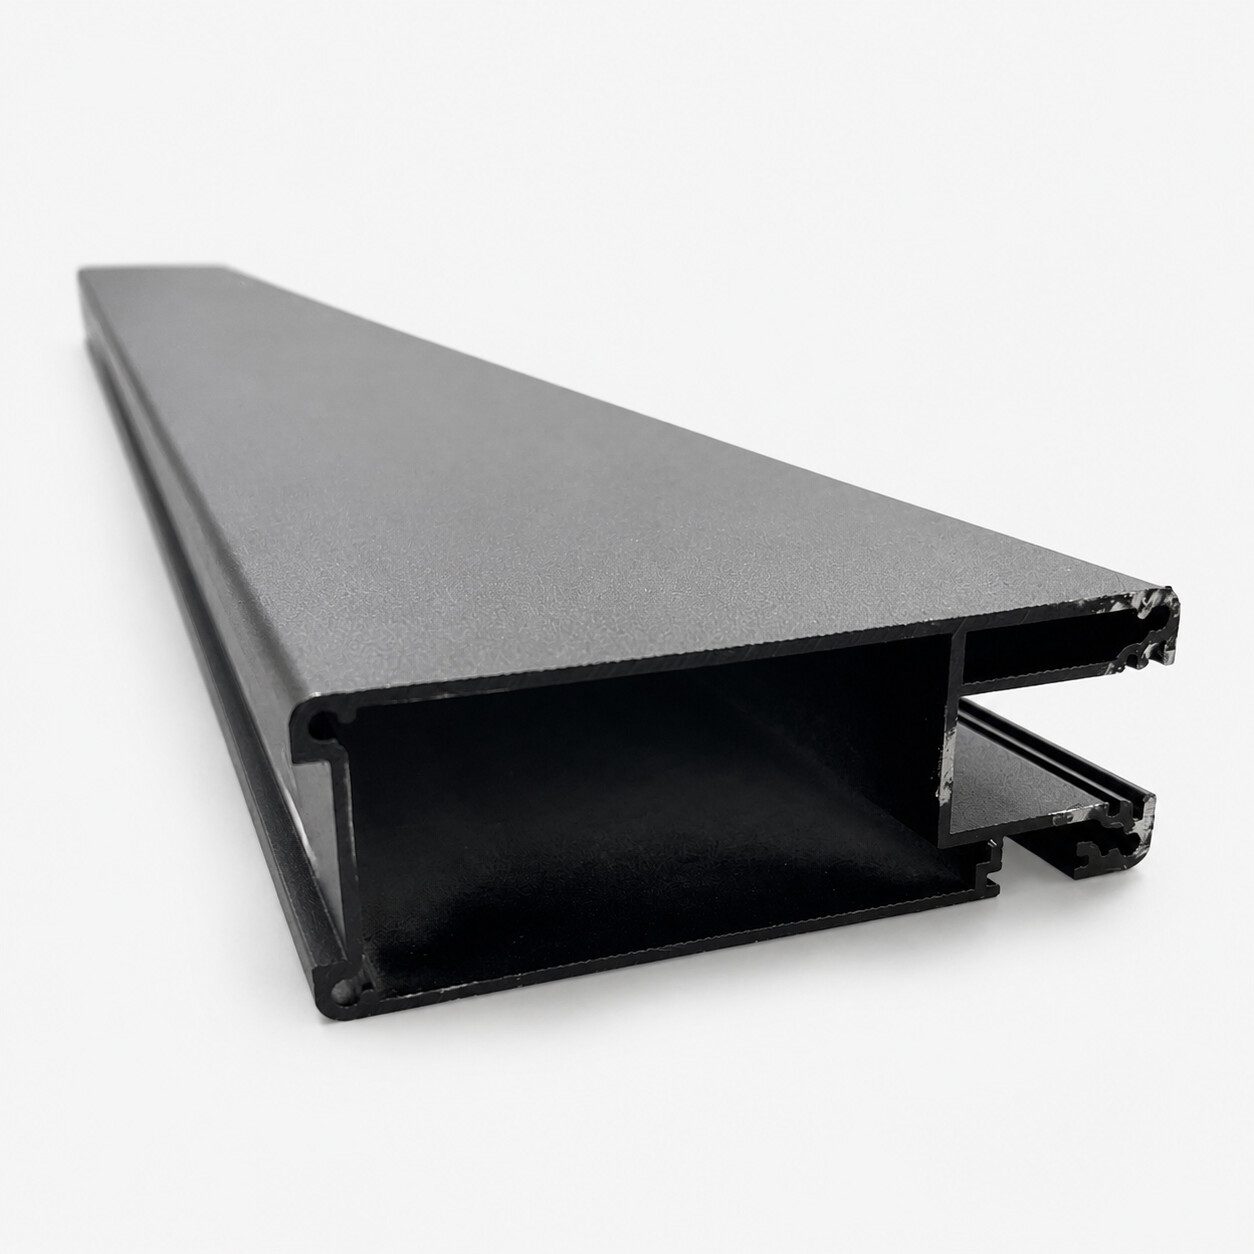
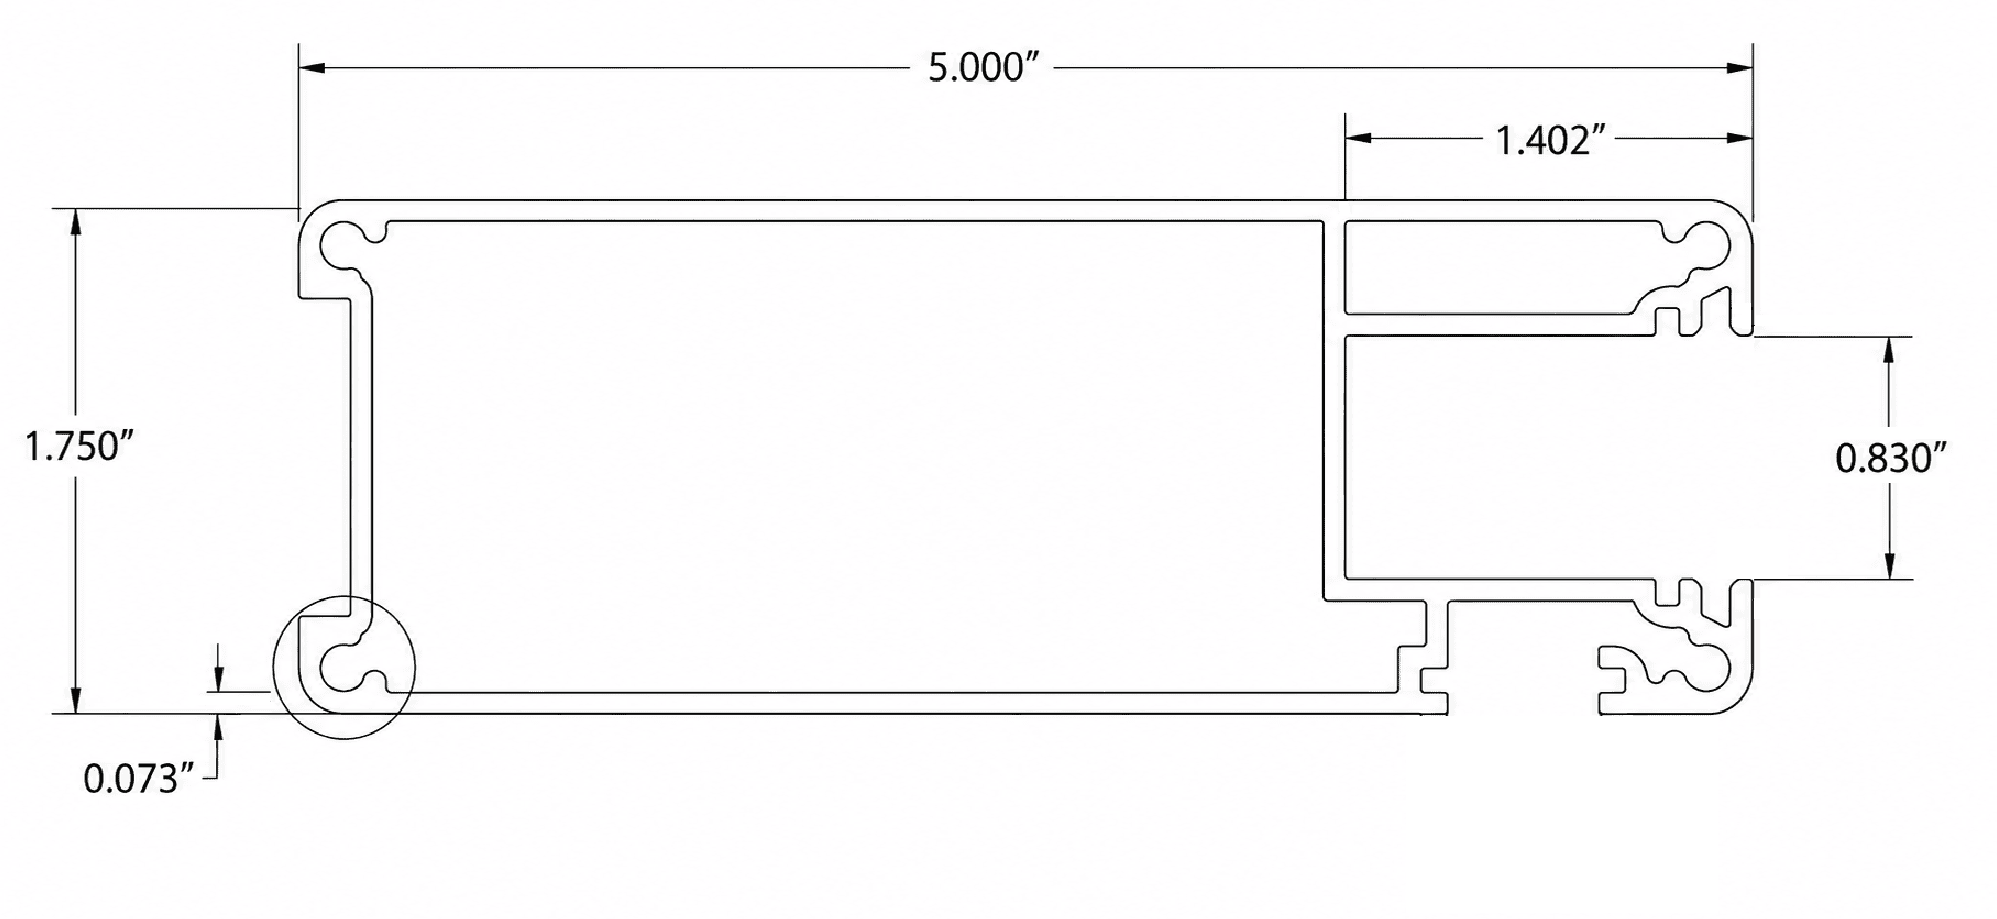
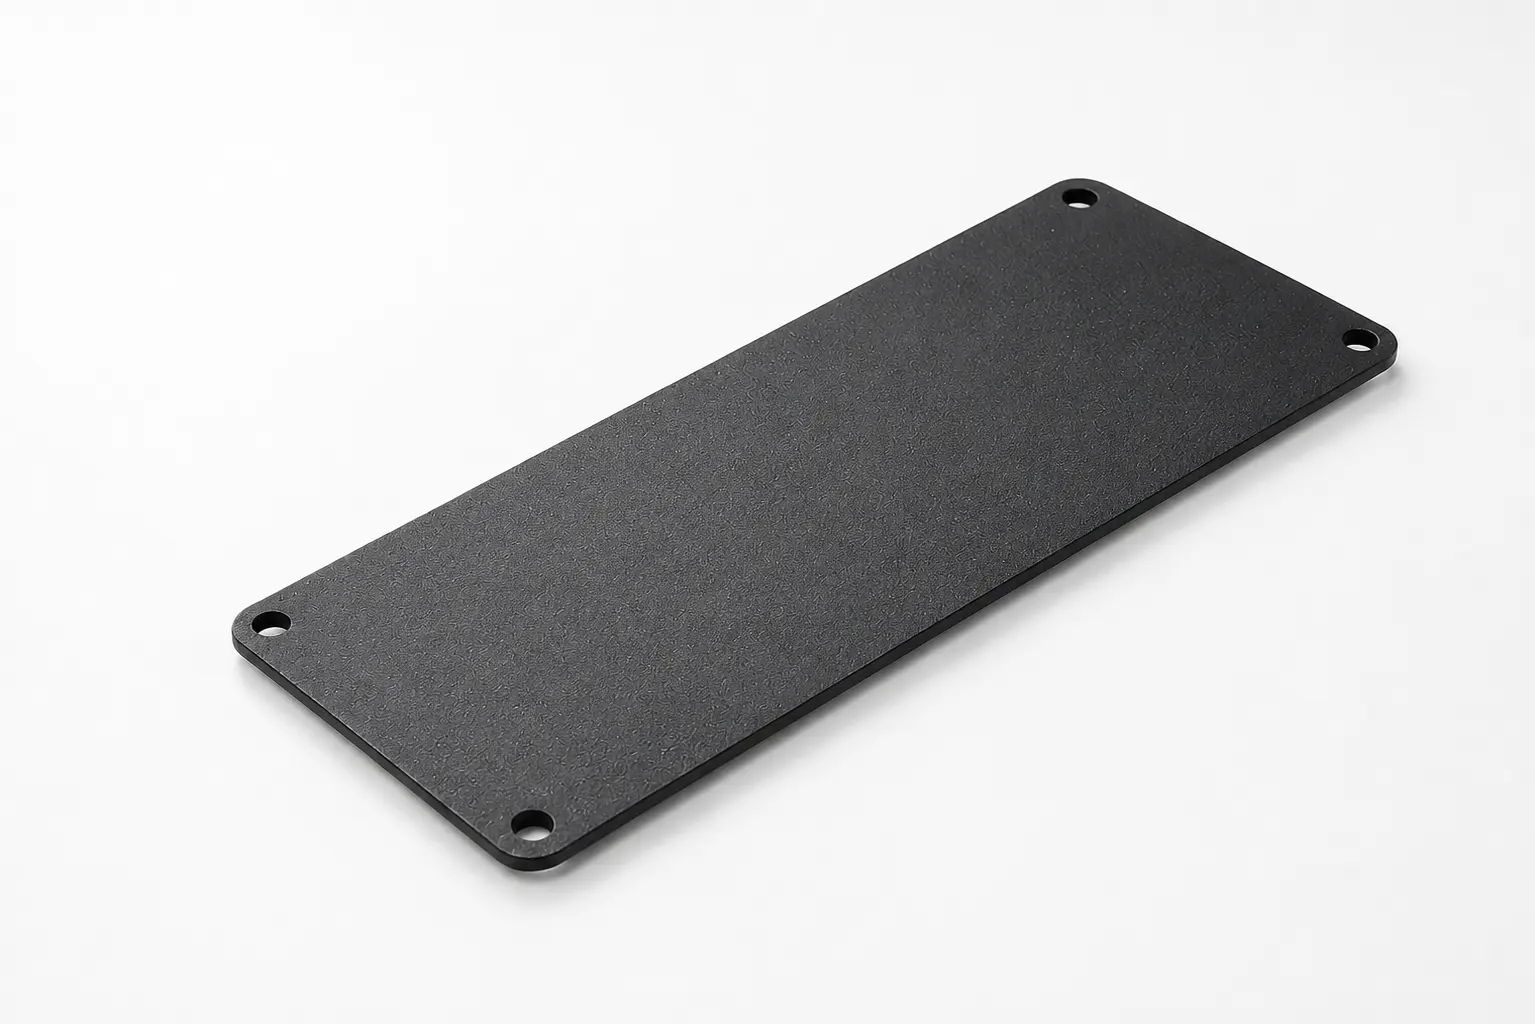
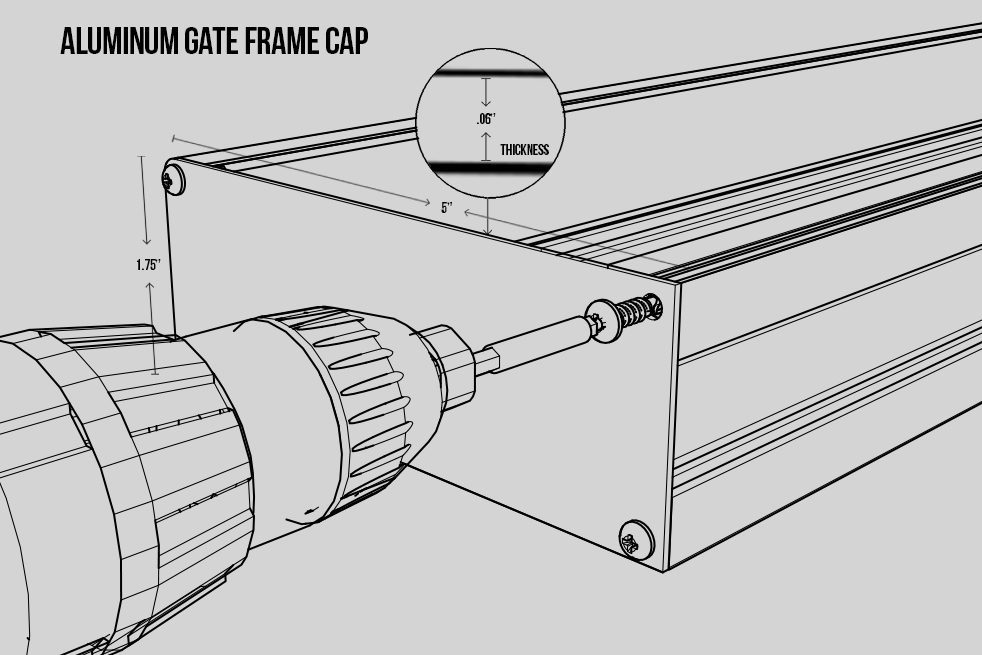
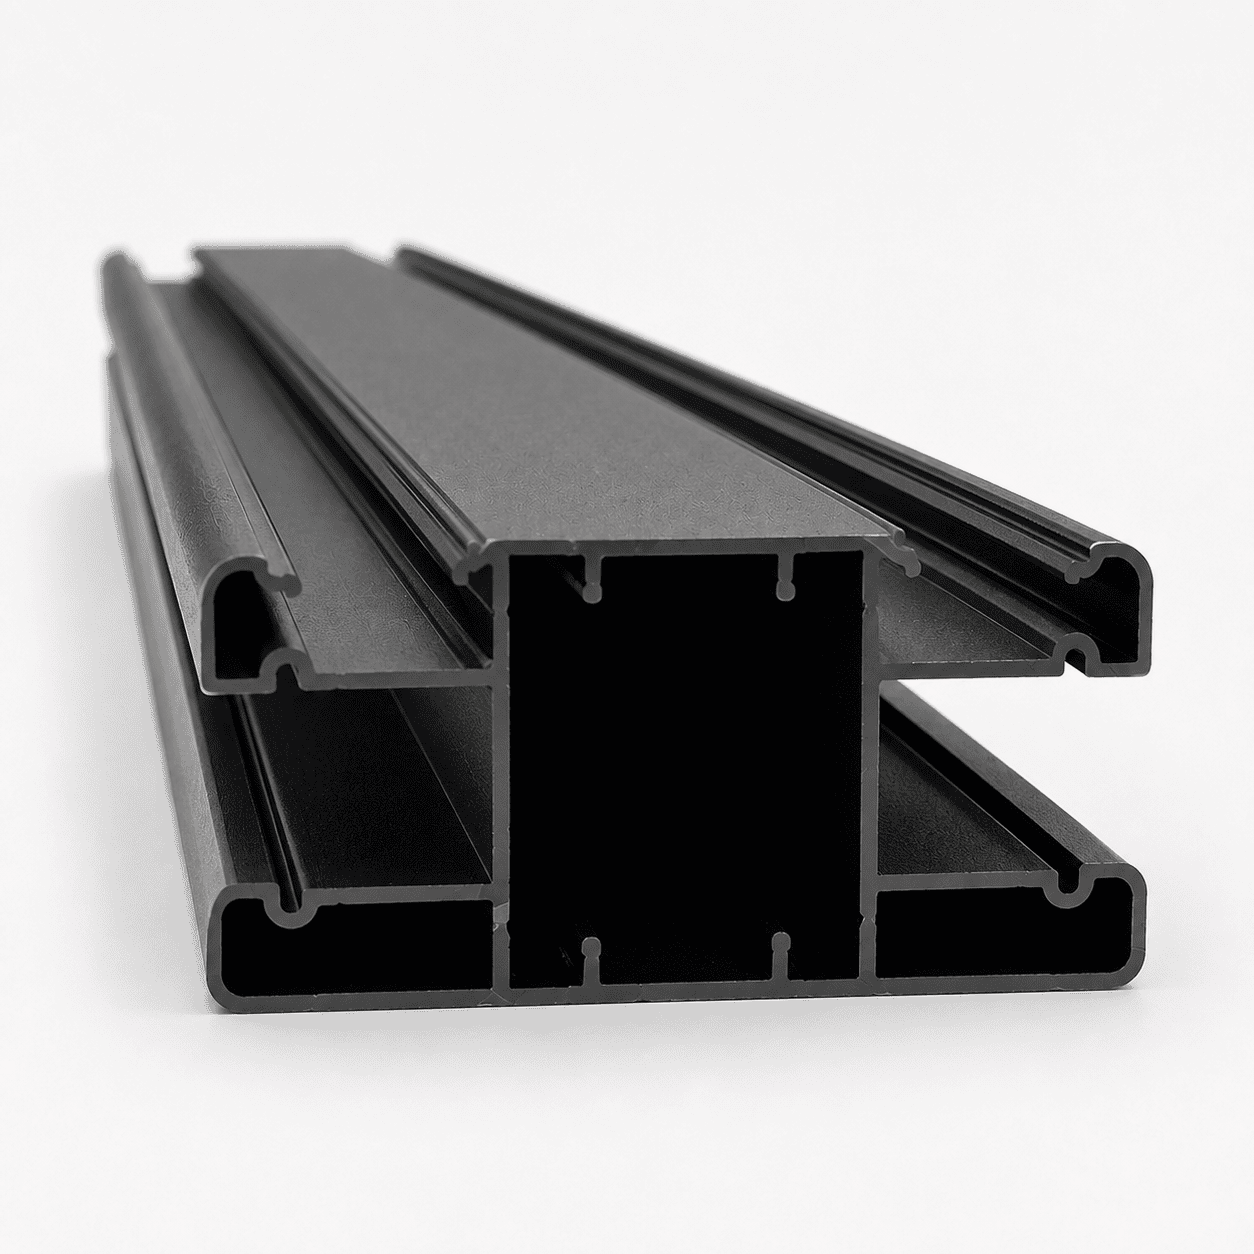
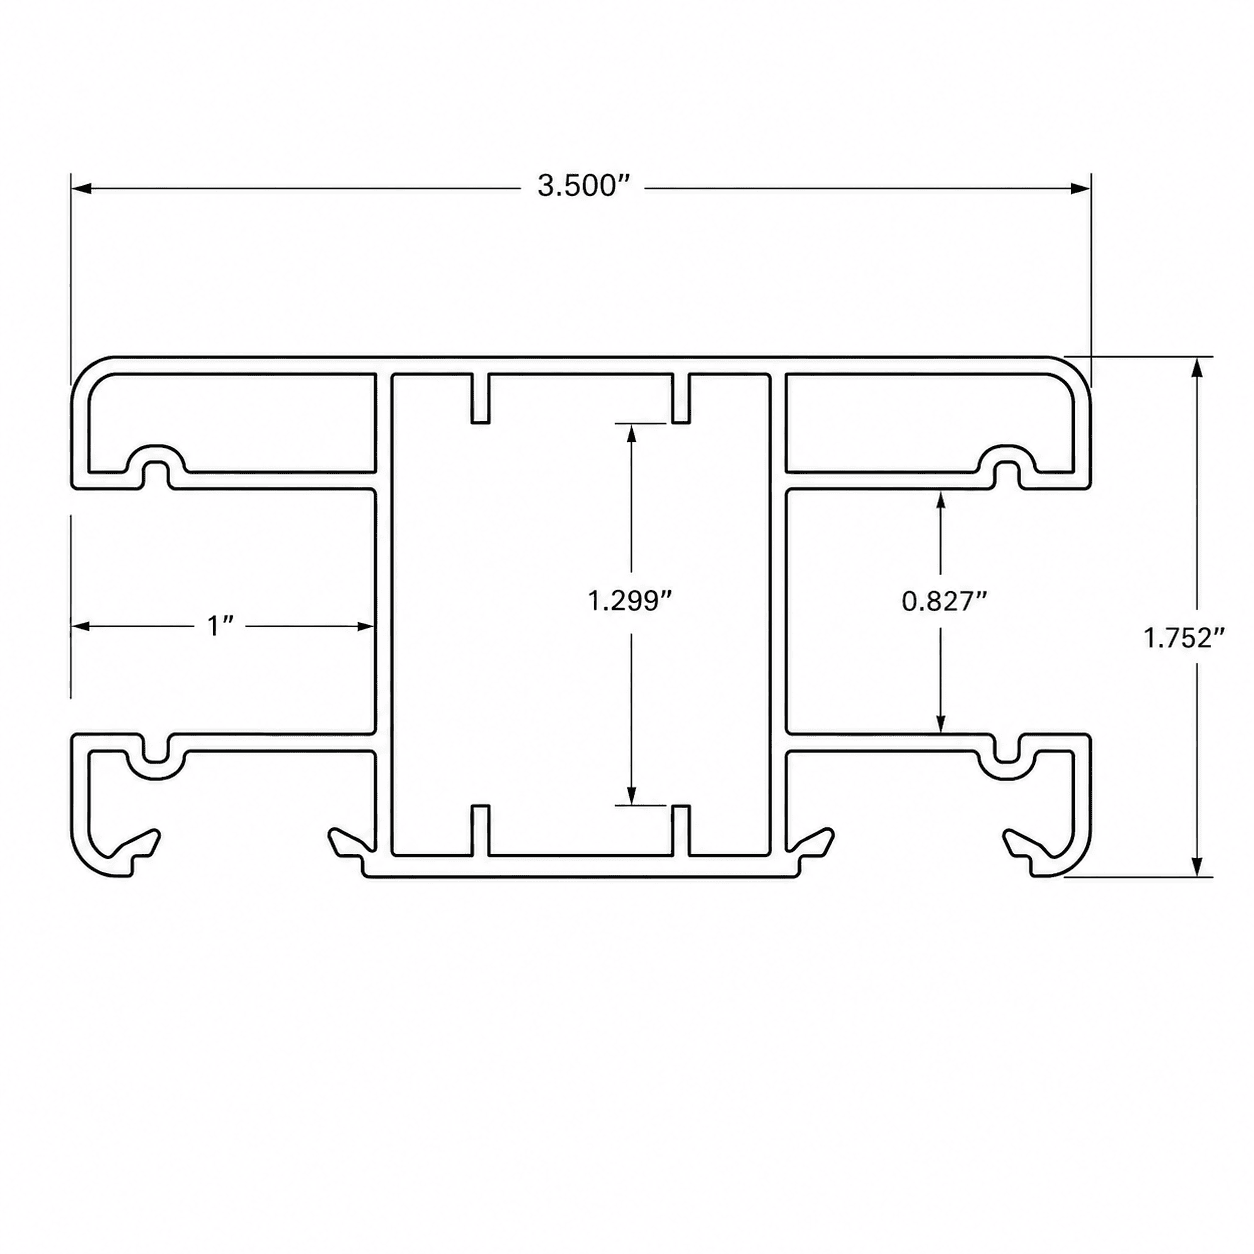
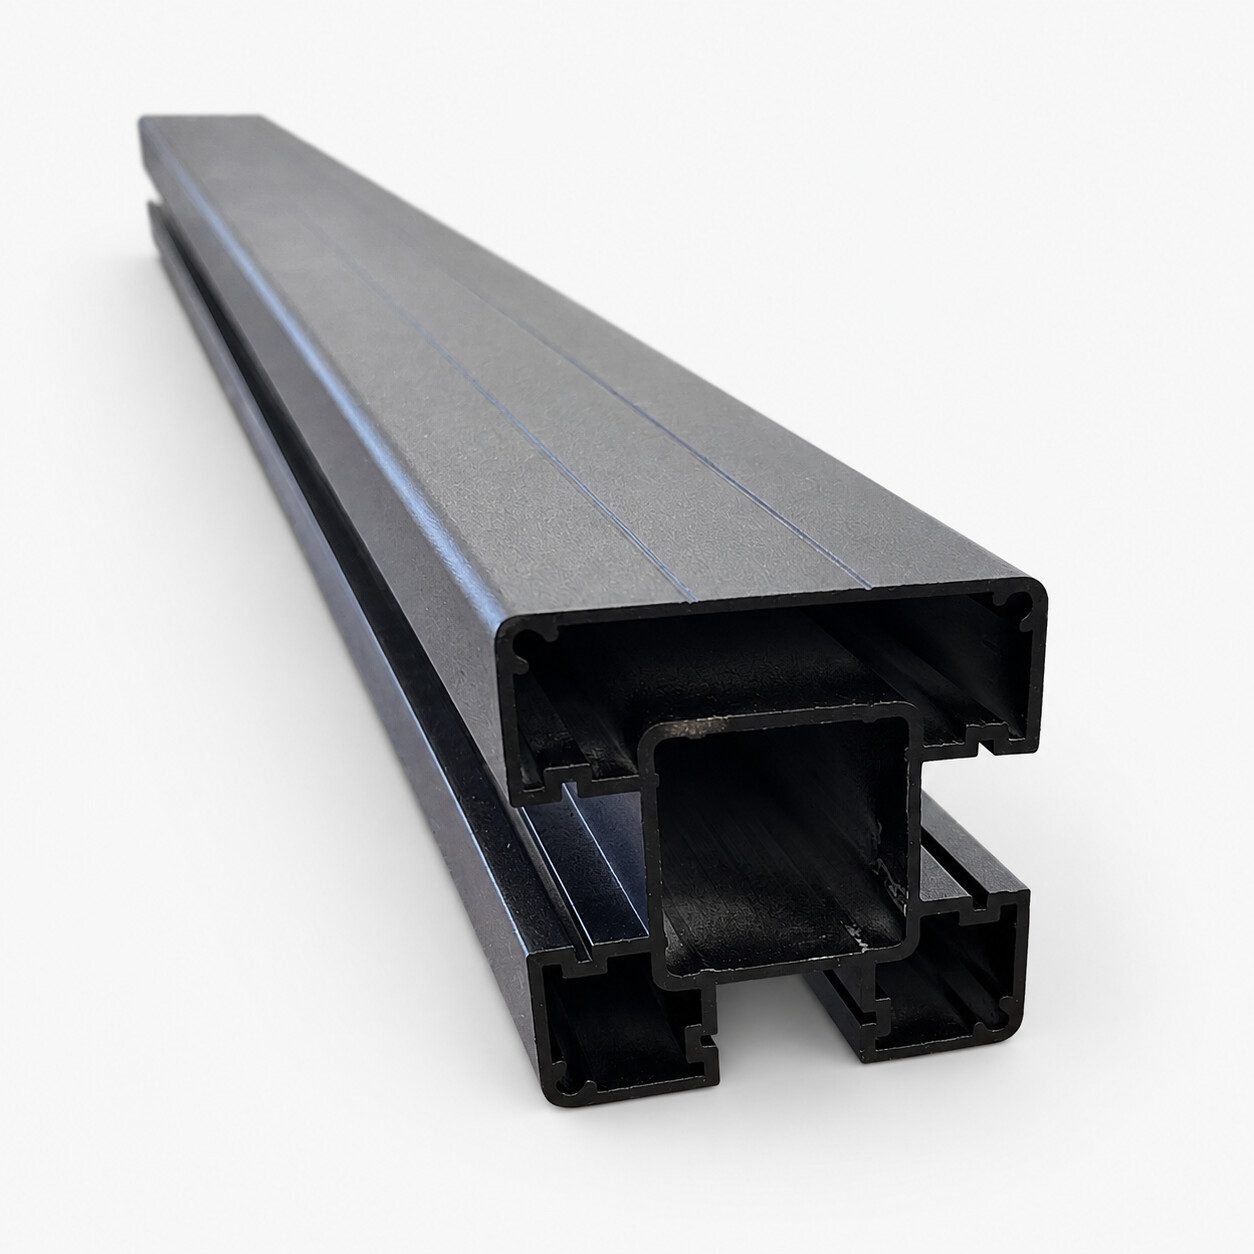
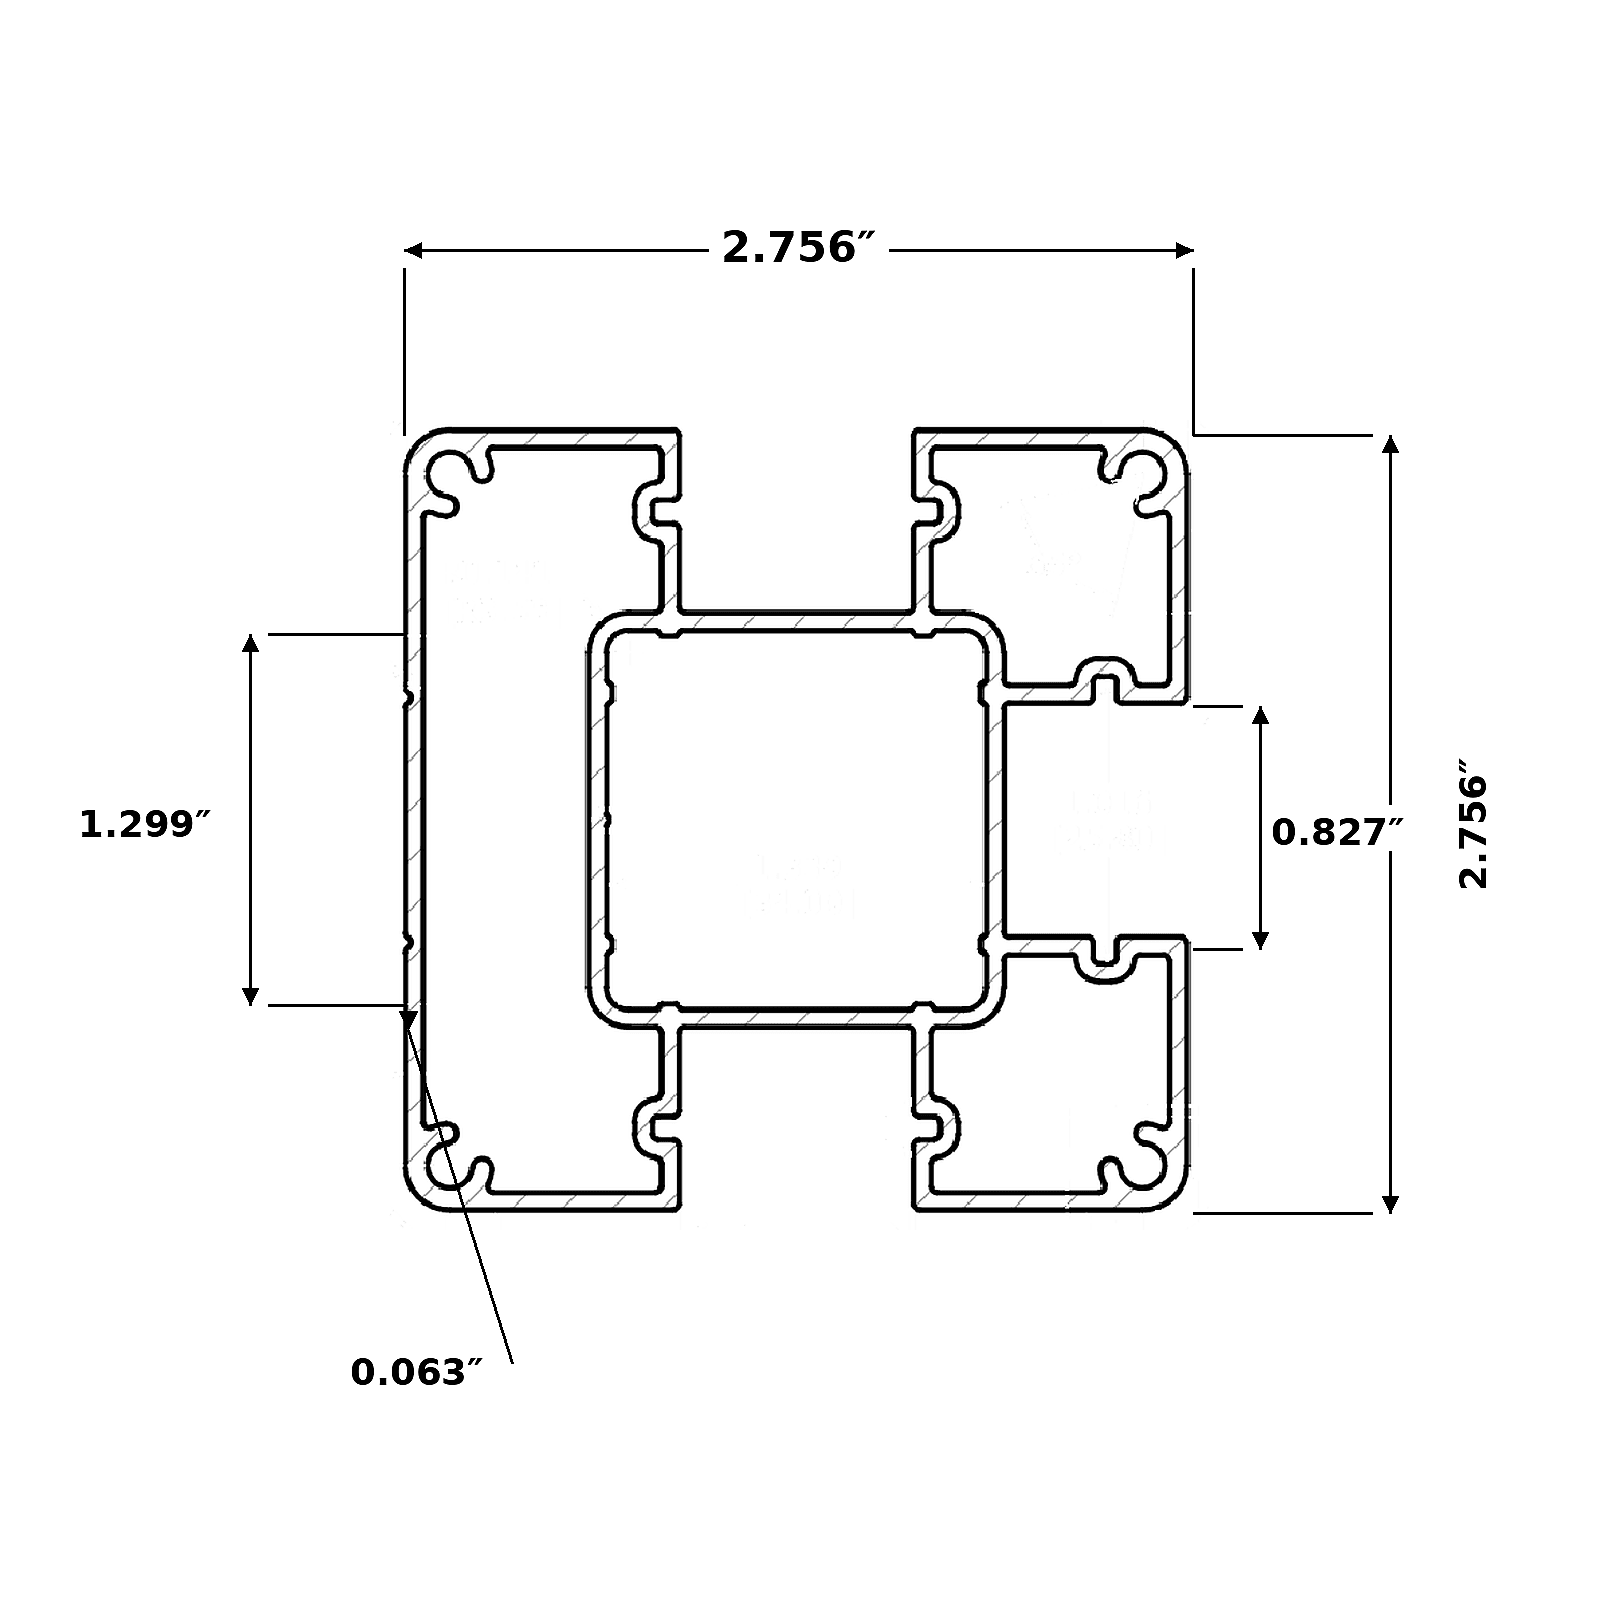
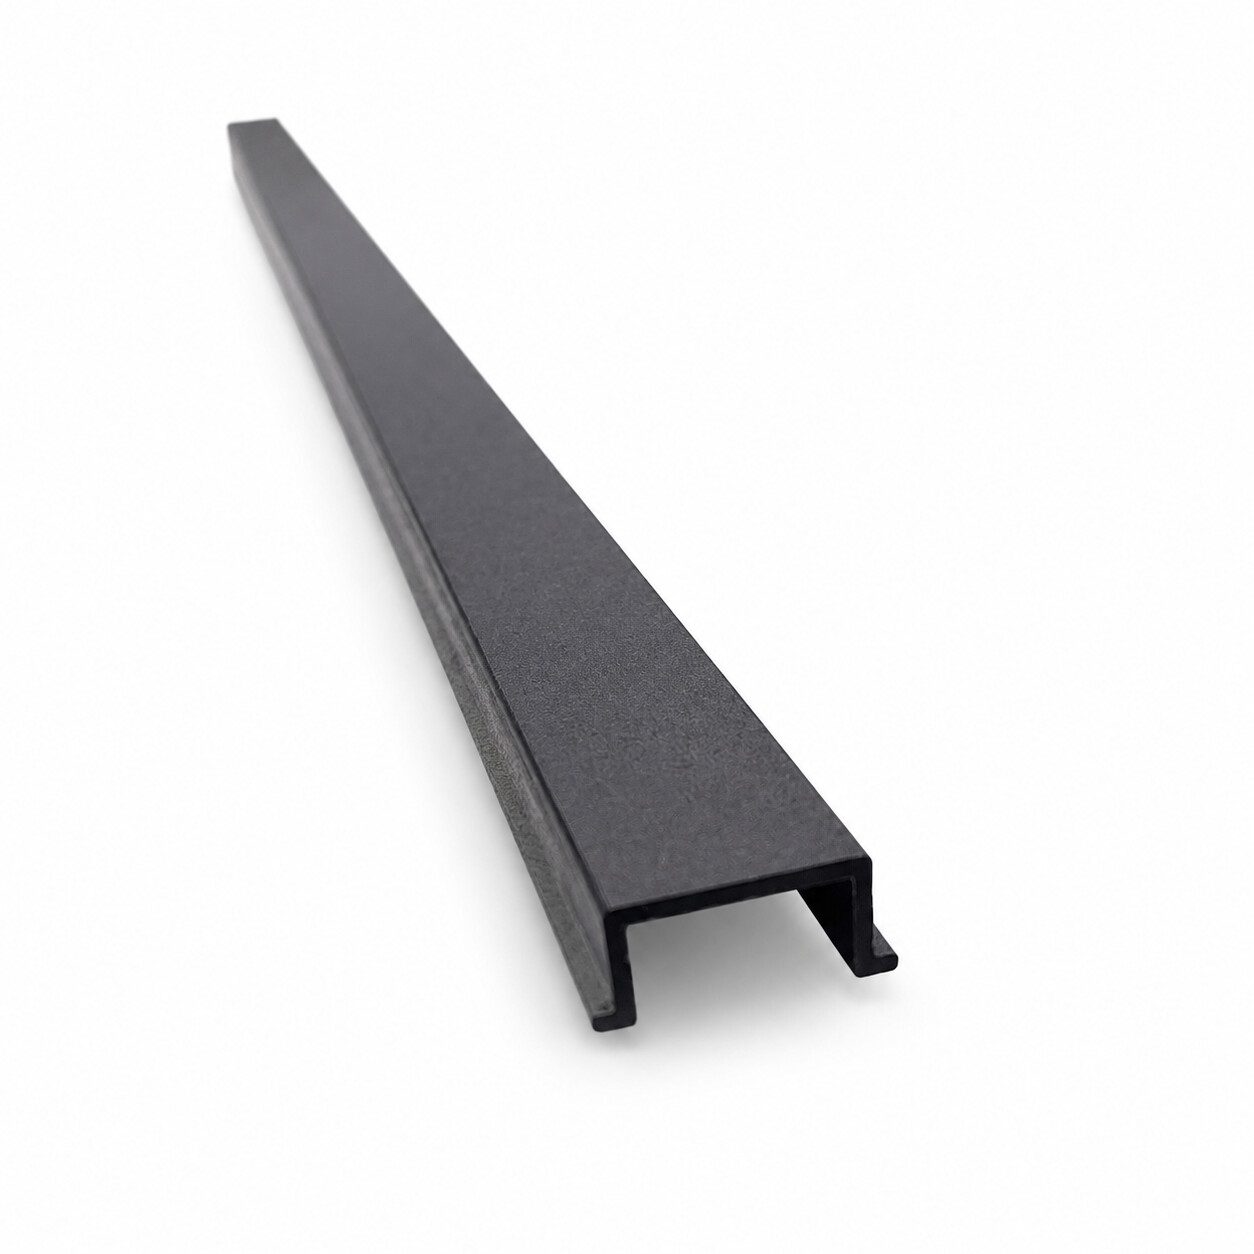
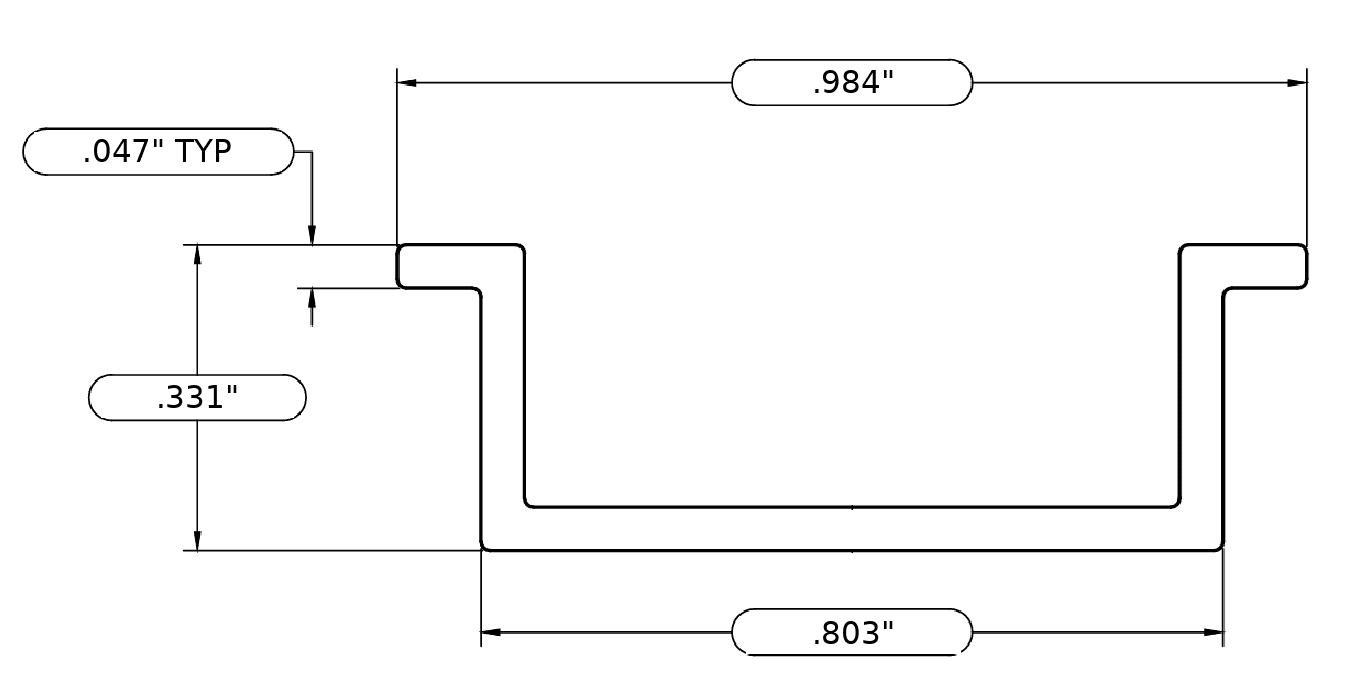
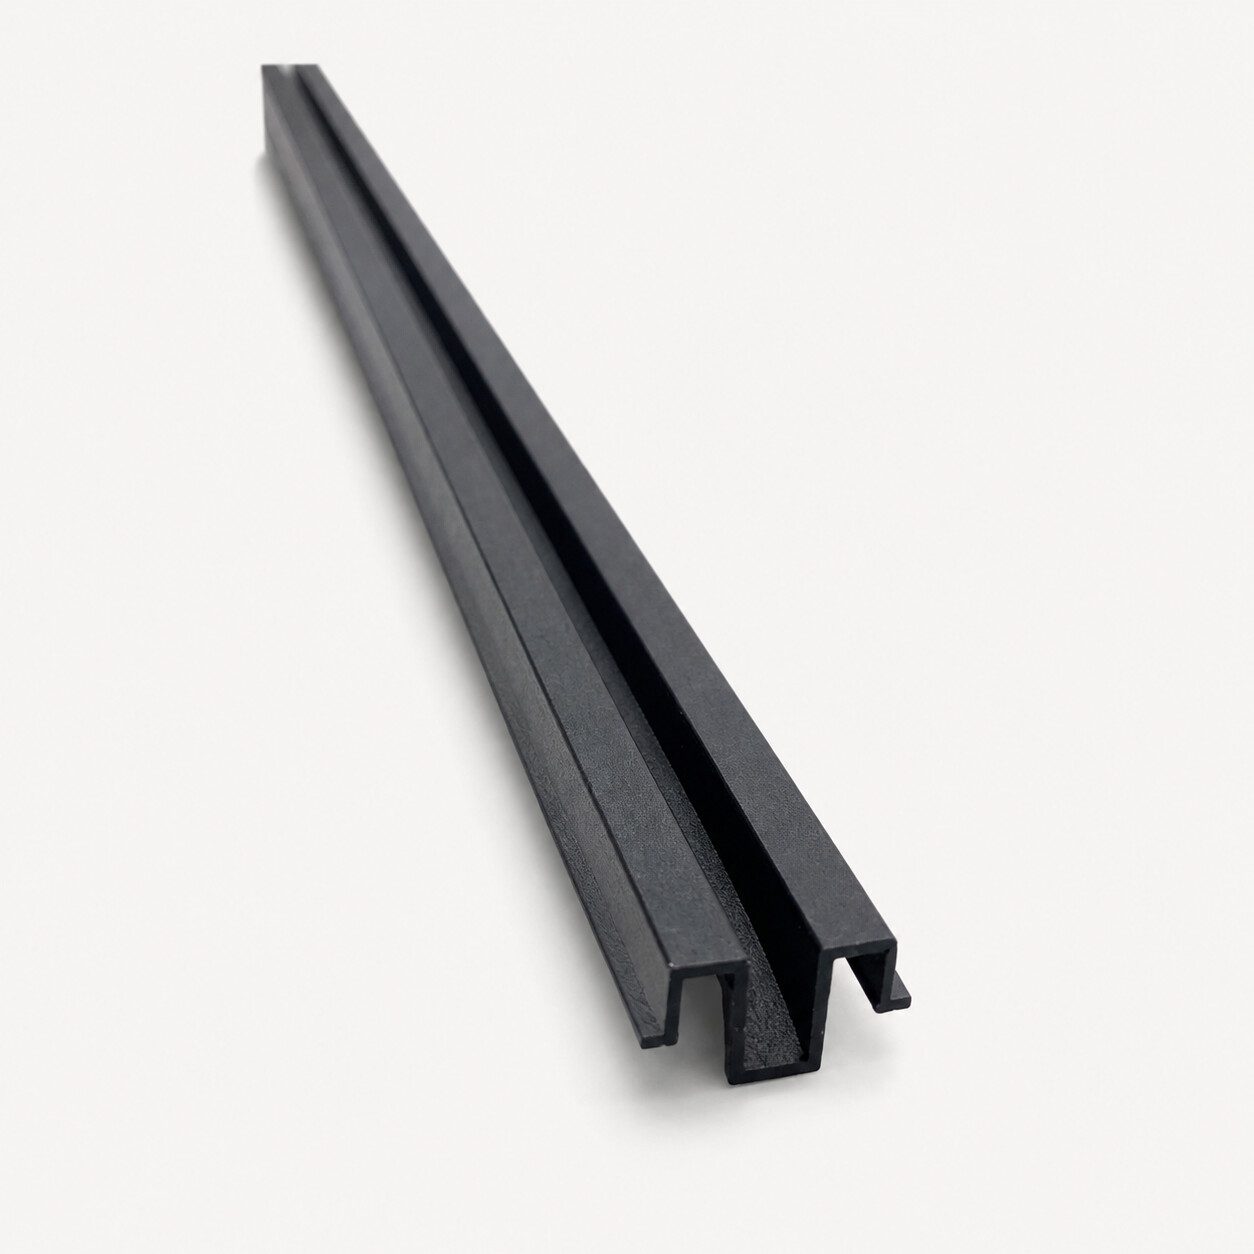
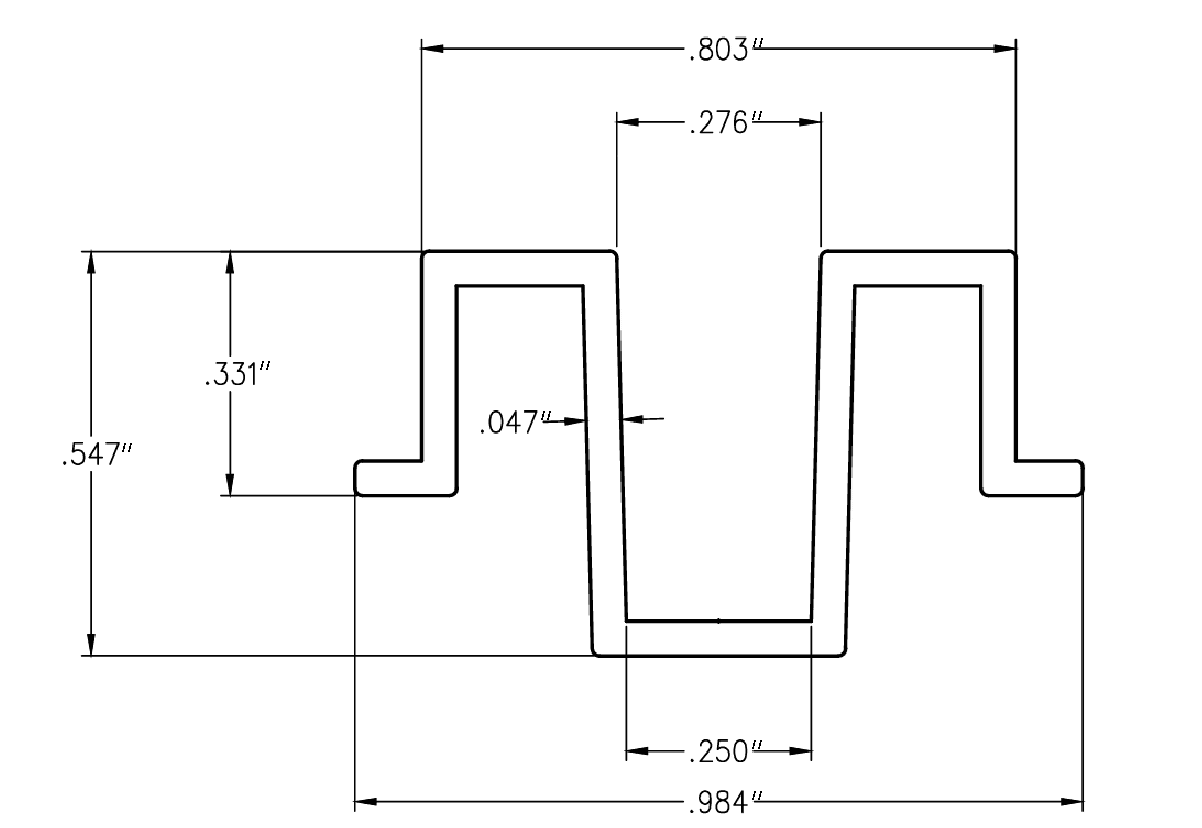
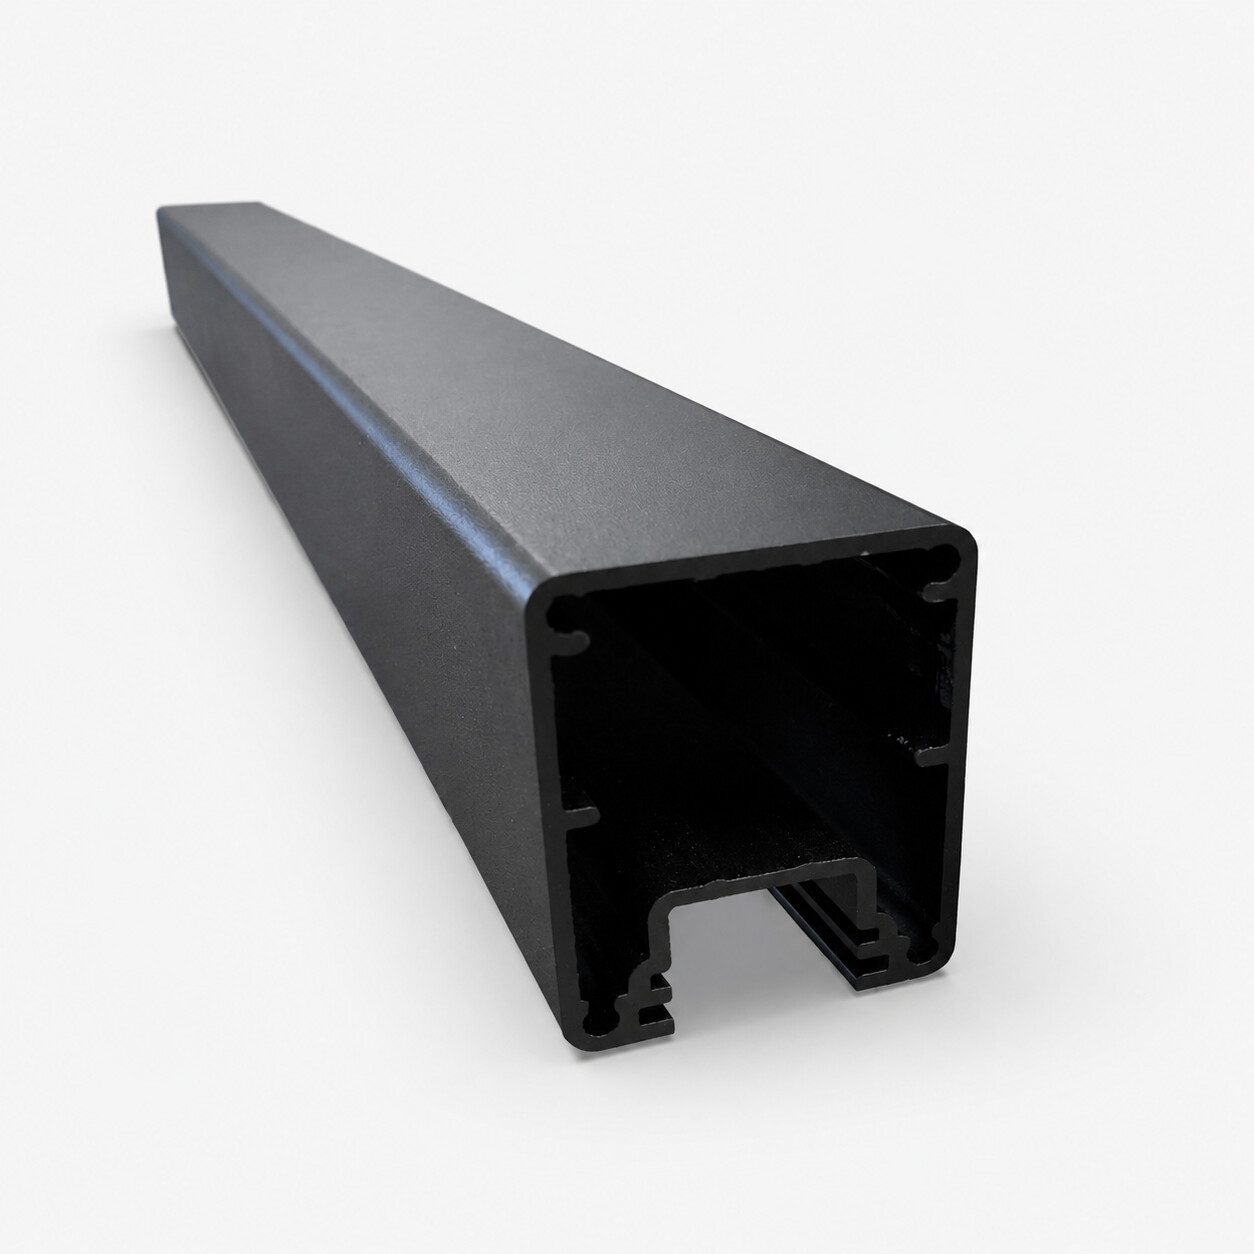
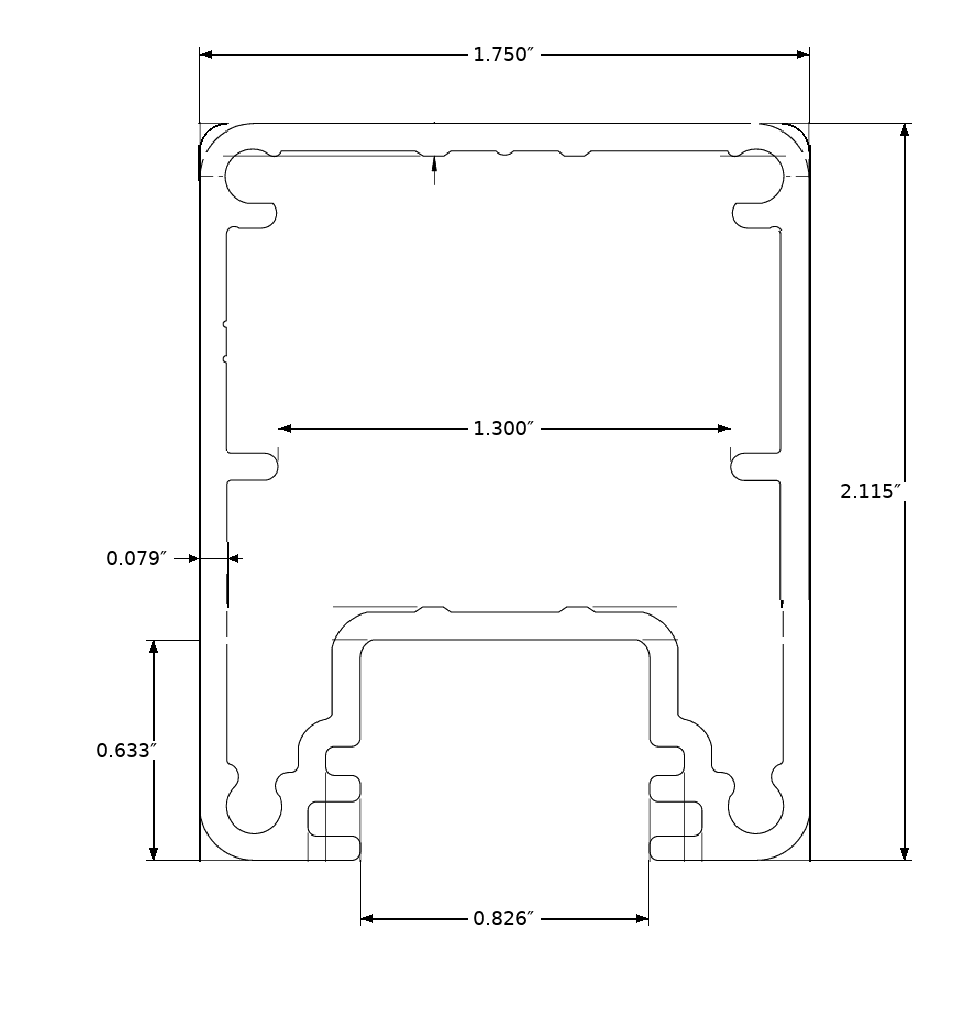
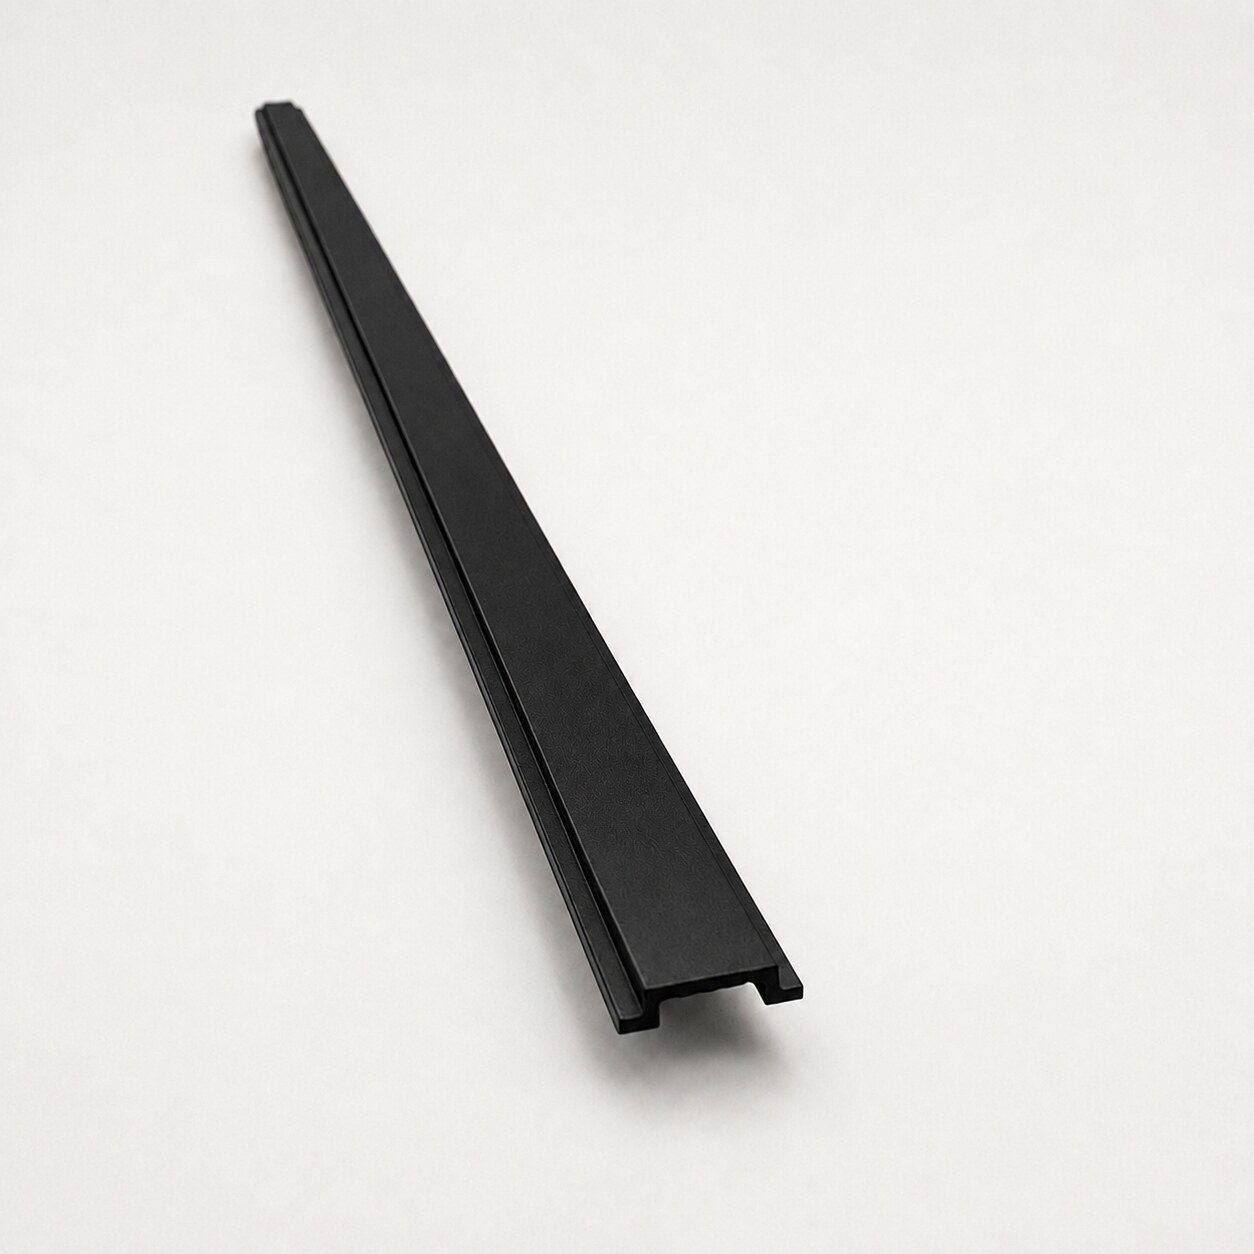
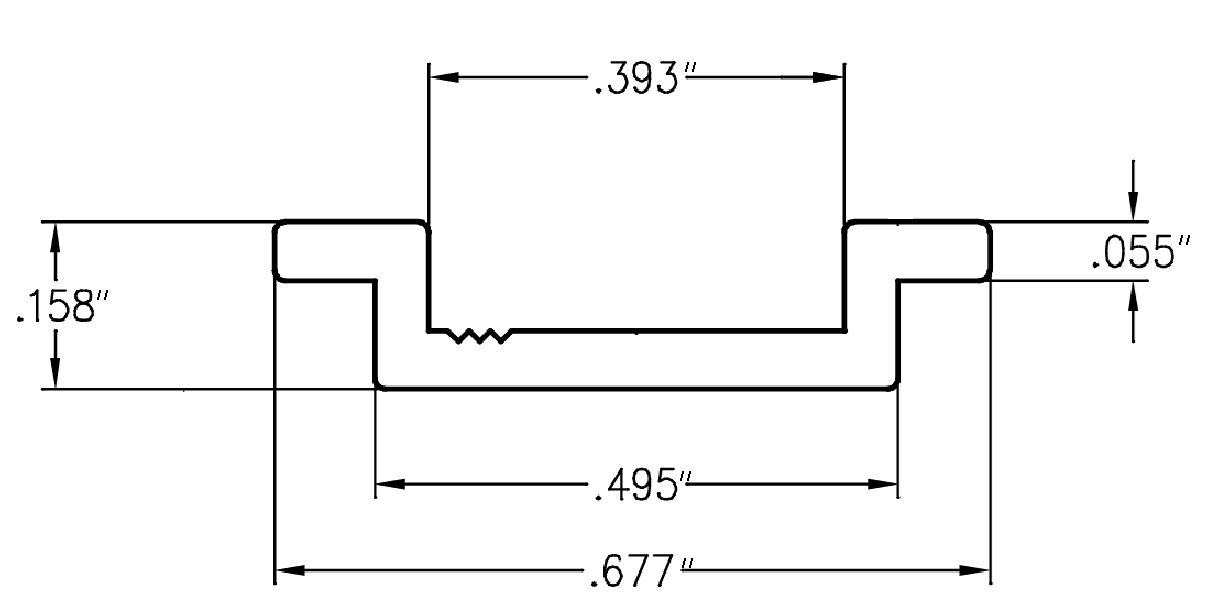
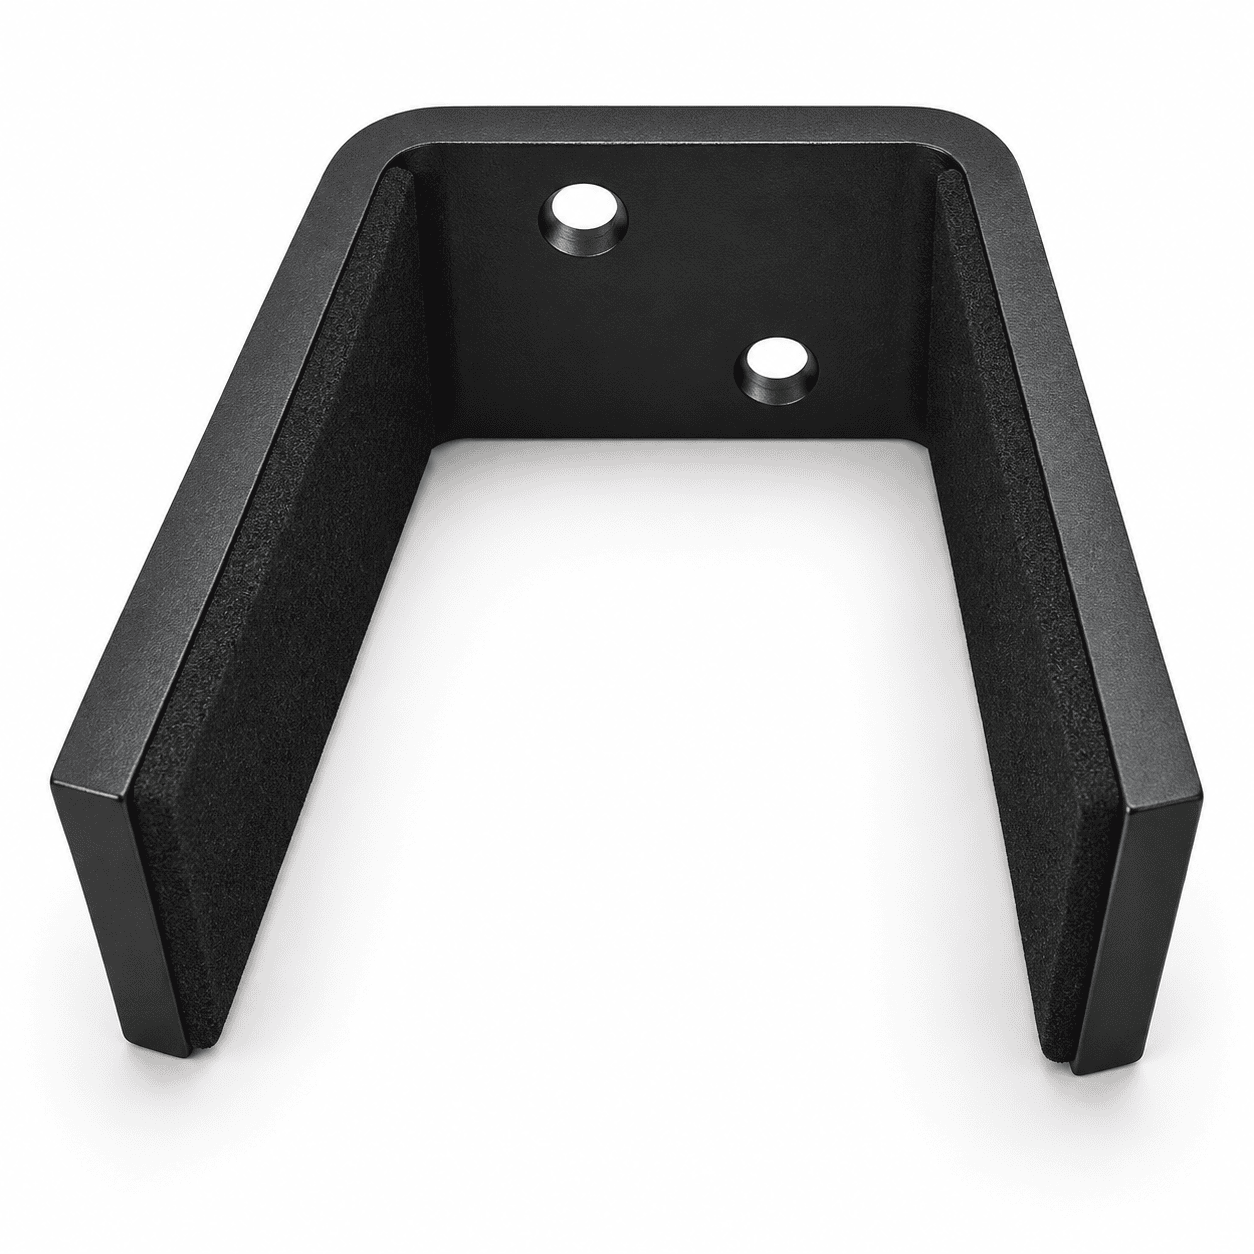
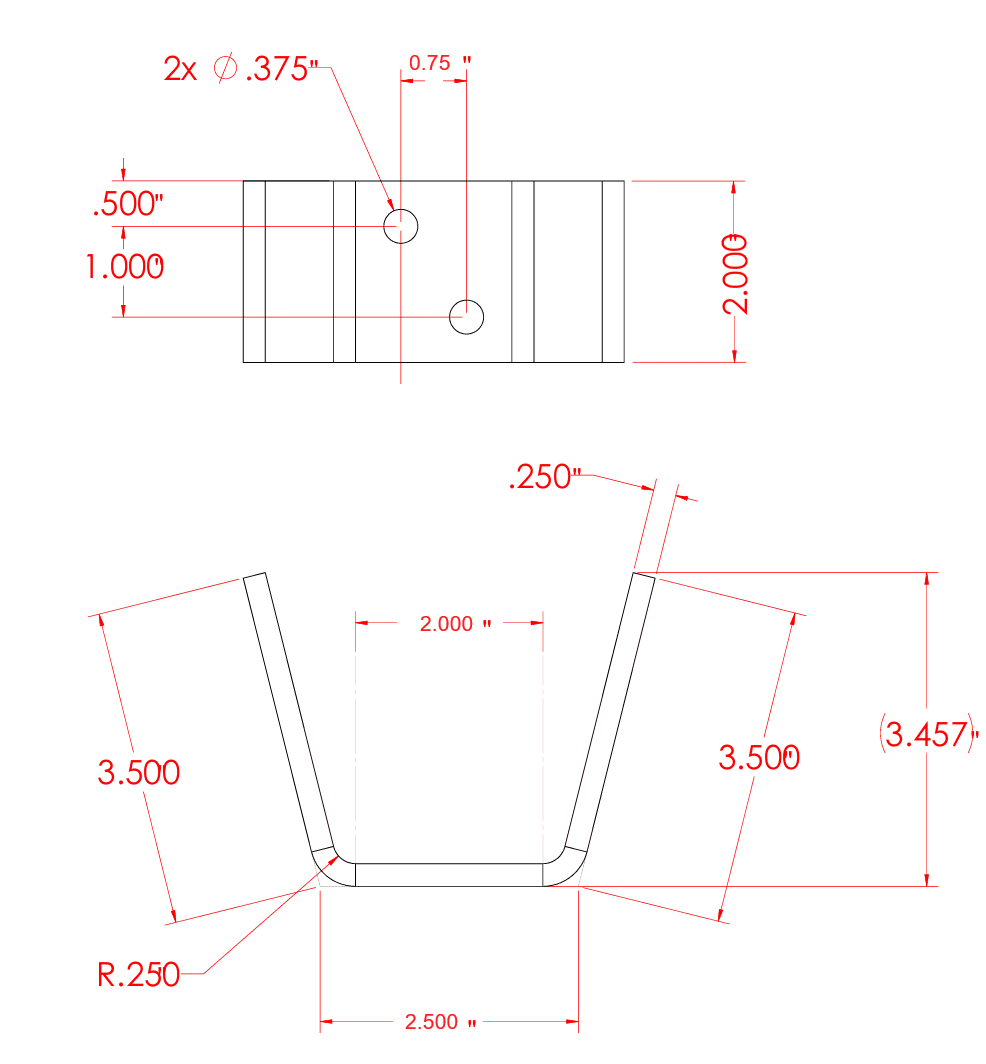
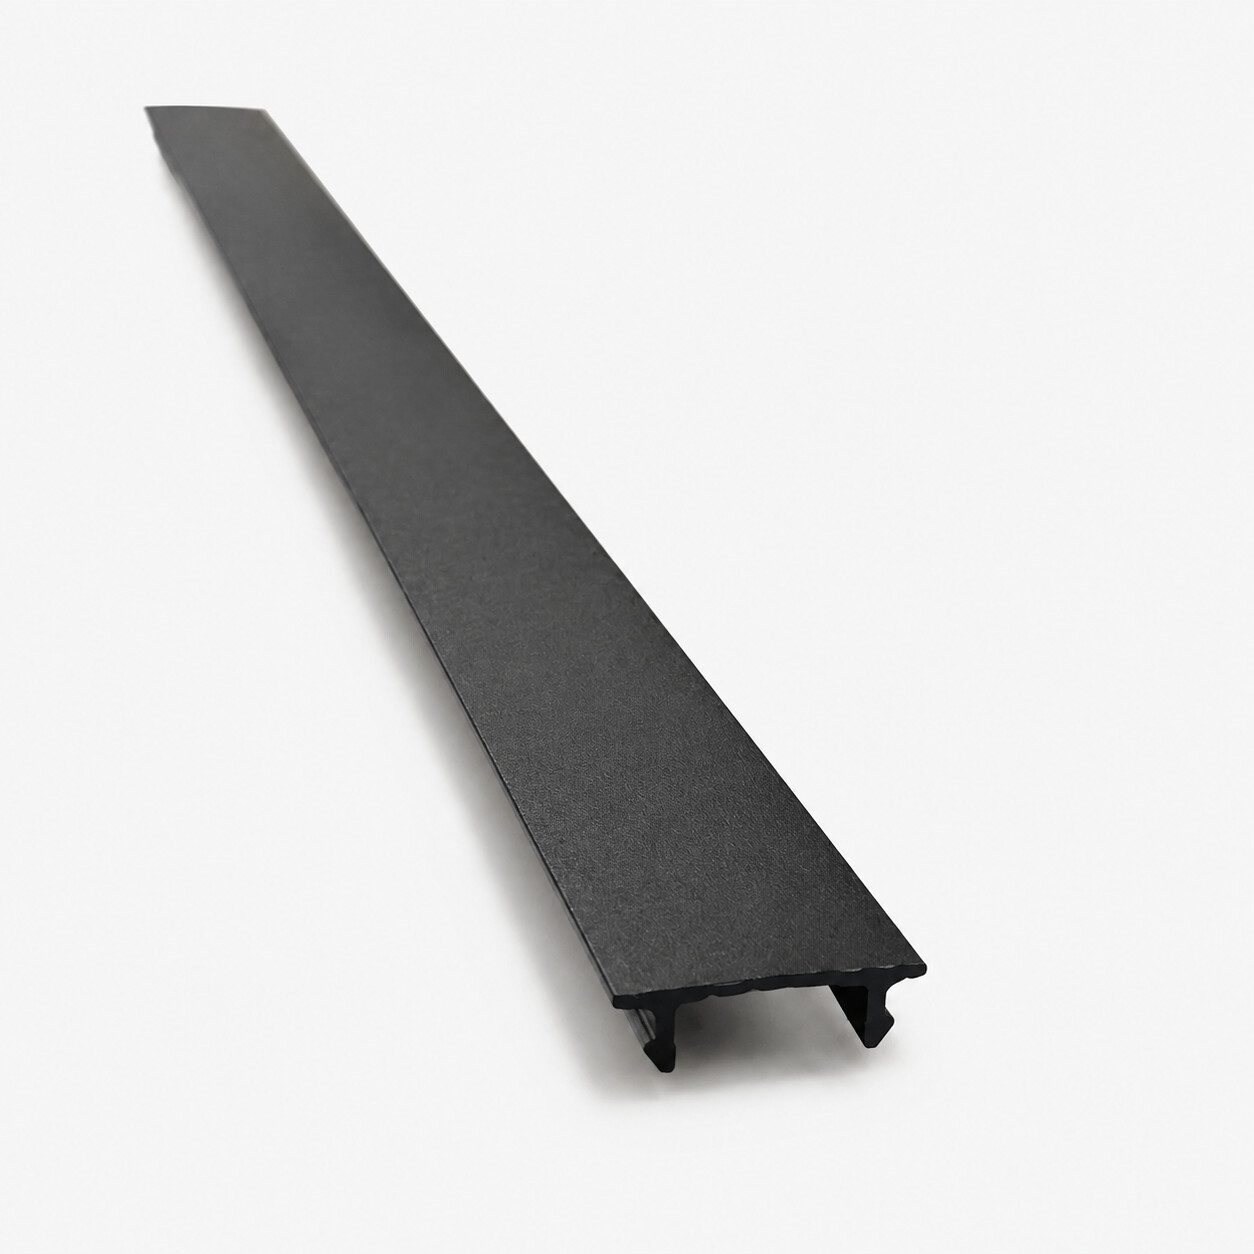
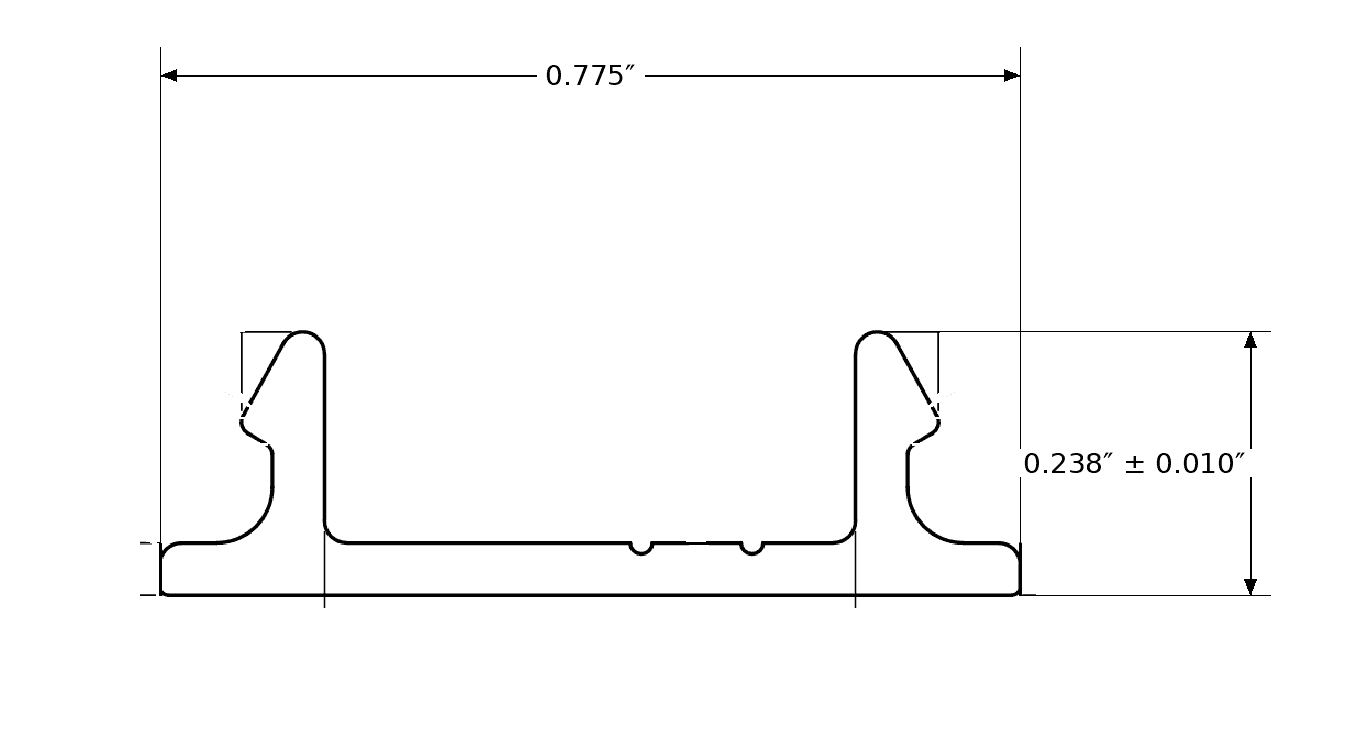
3-Channel Post
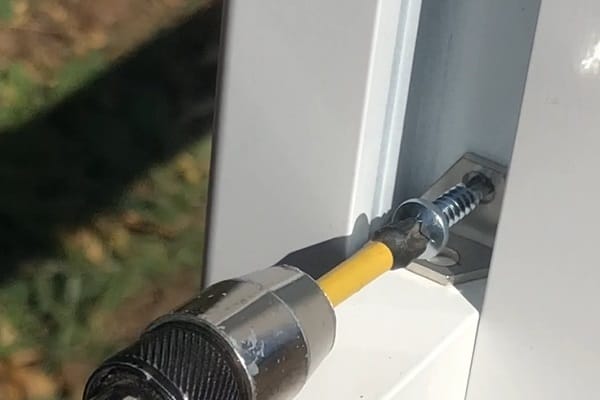
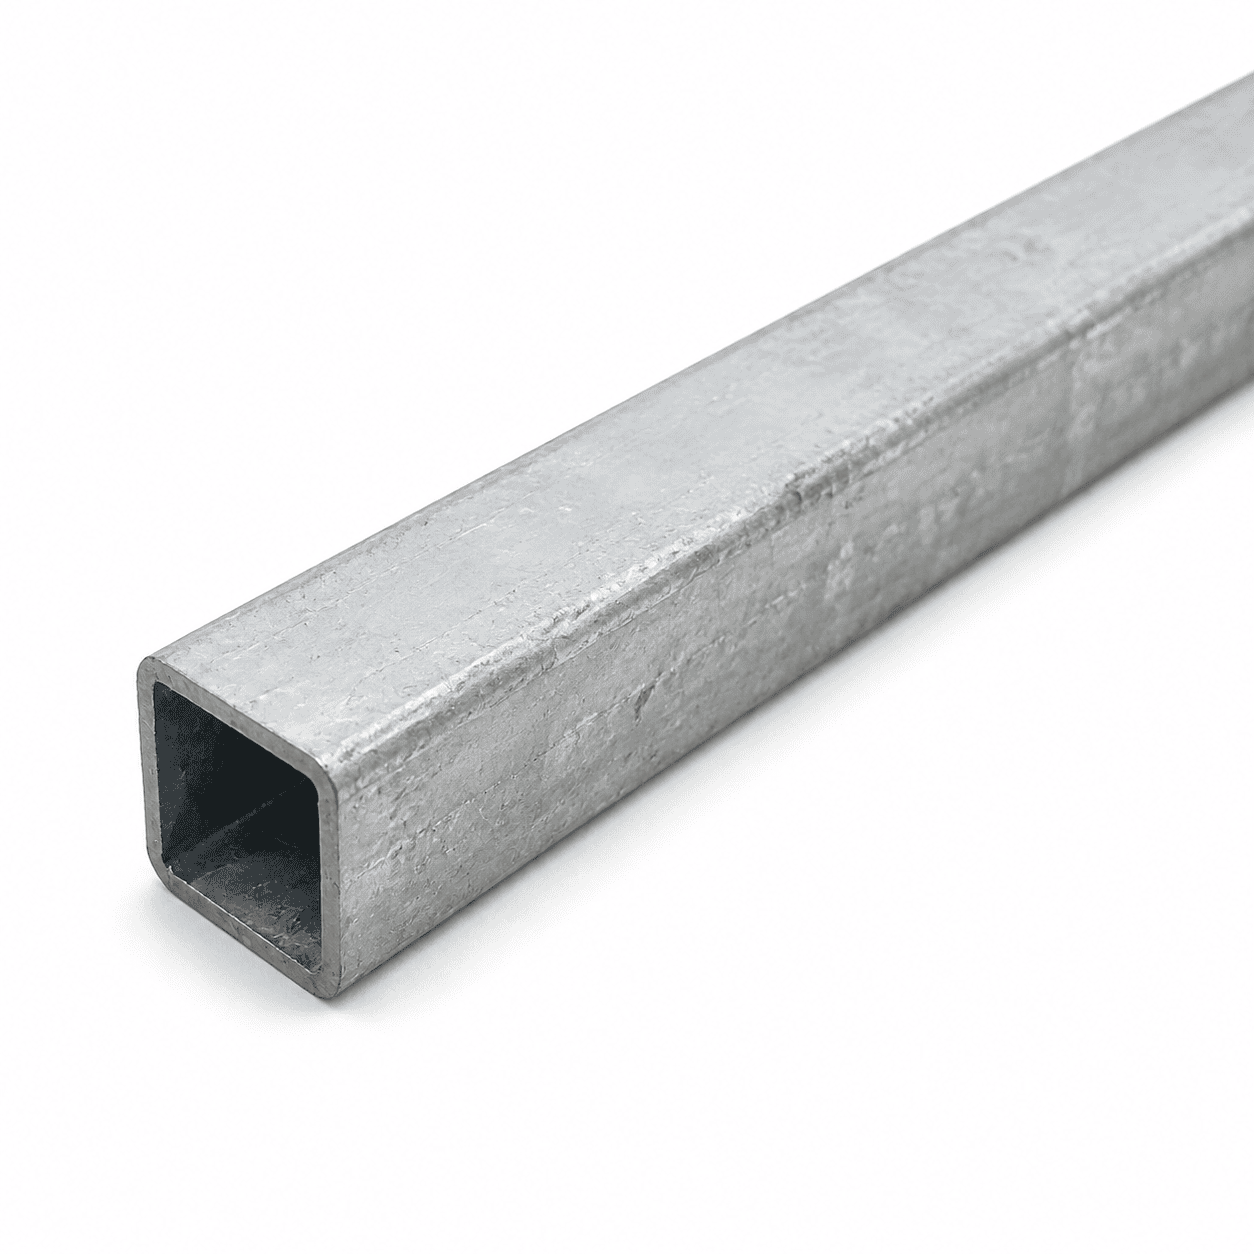
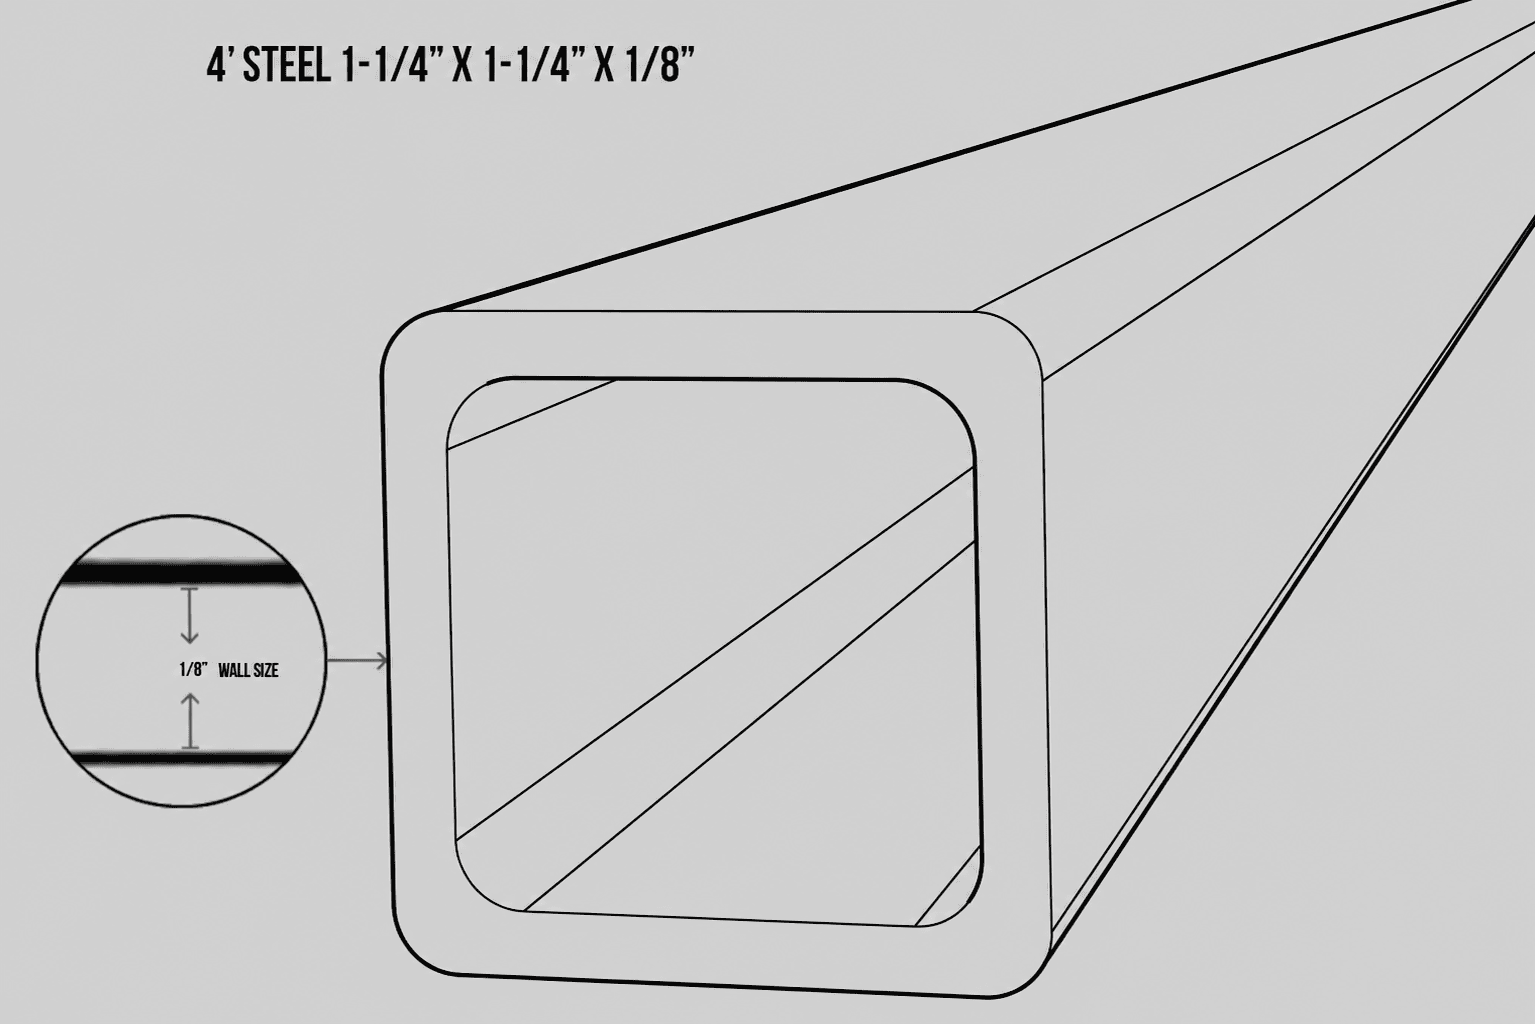
Use the bracket inside the appropriate channel to secure the end of an aluminum slat to the post.
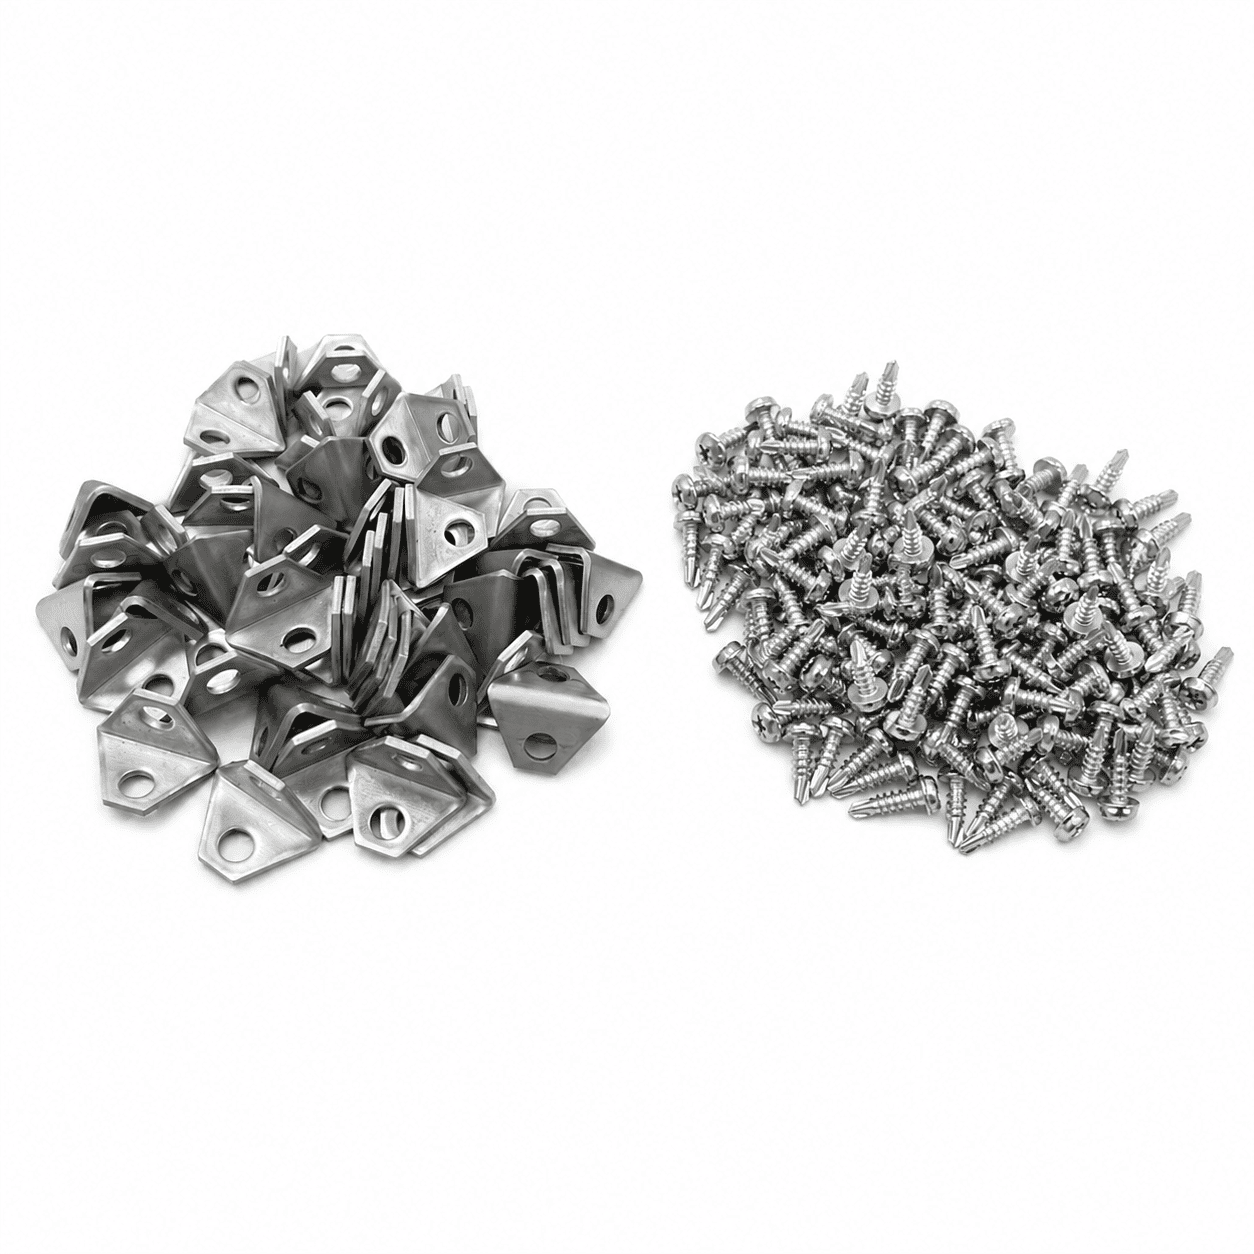
Select one pack:
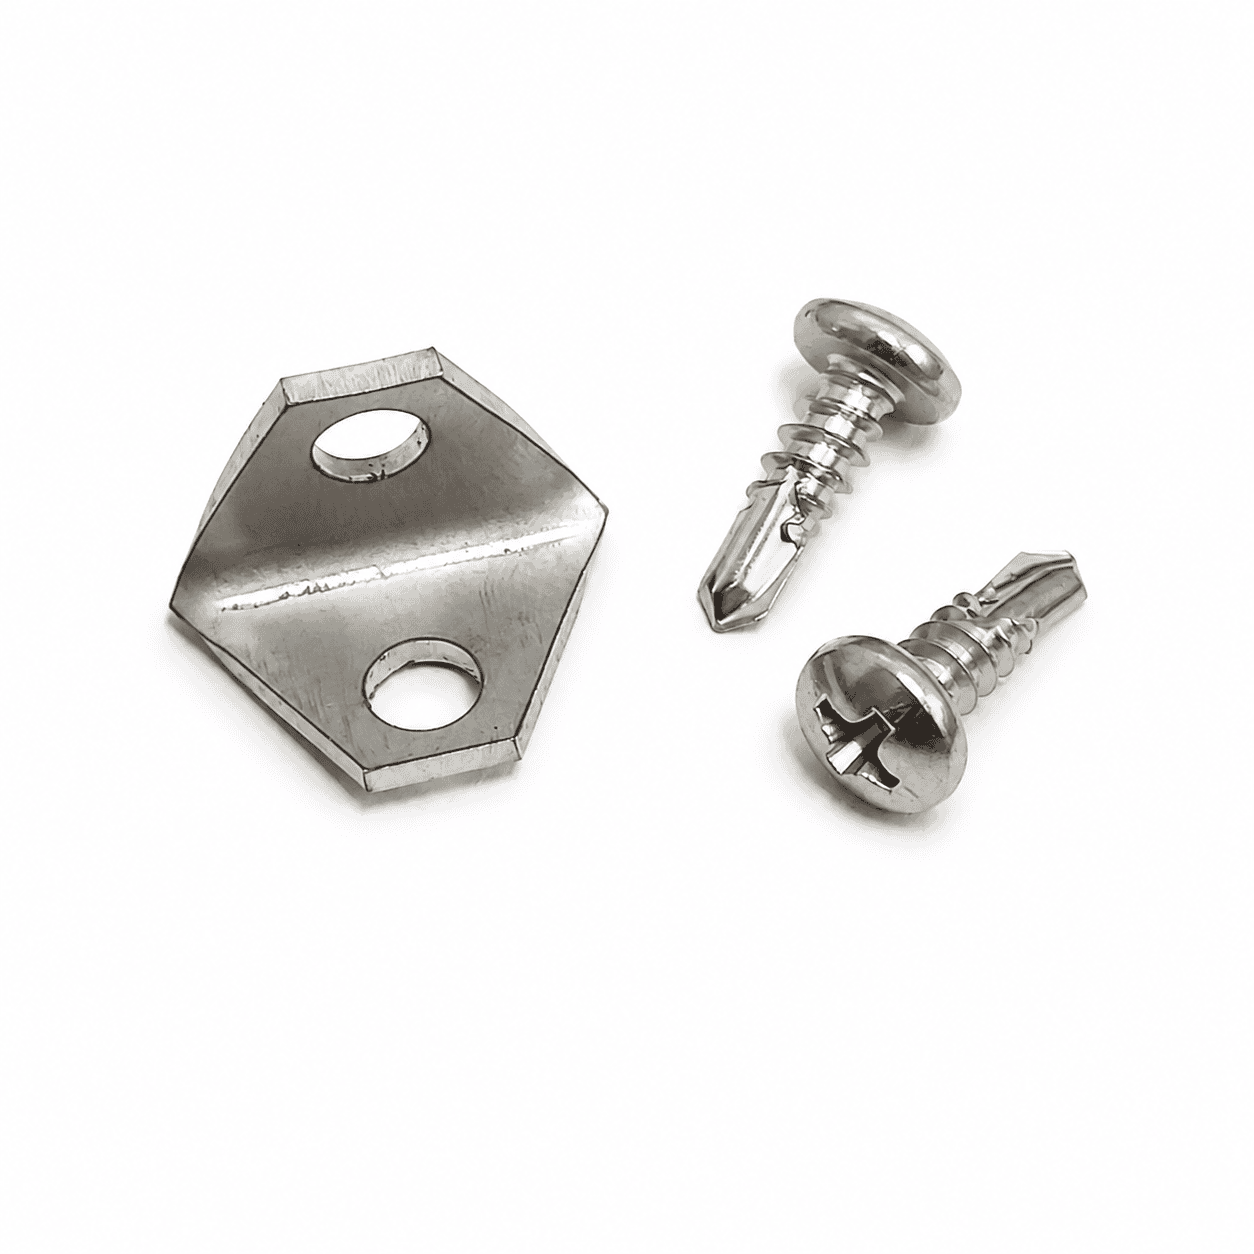
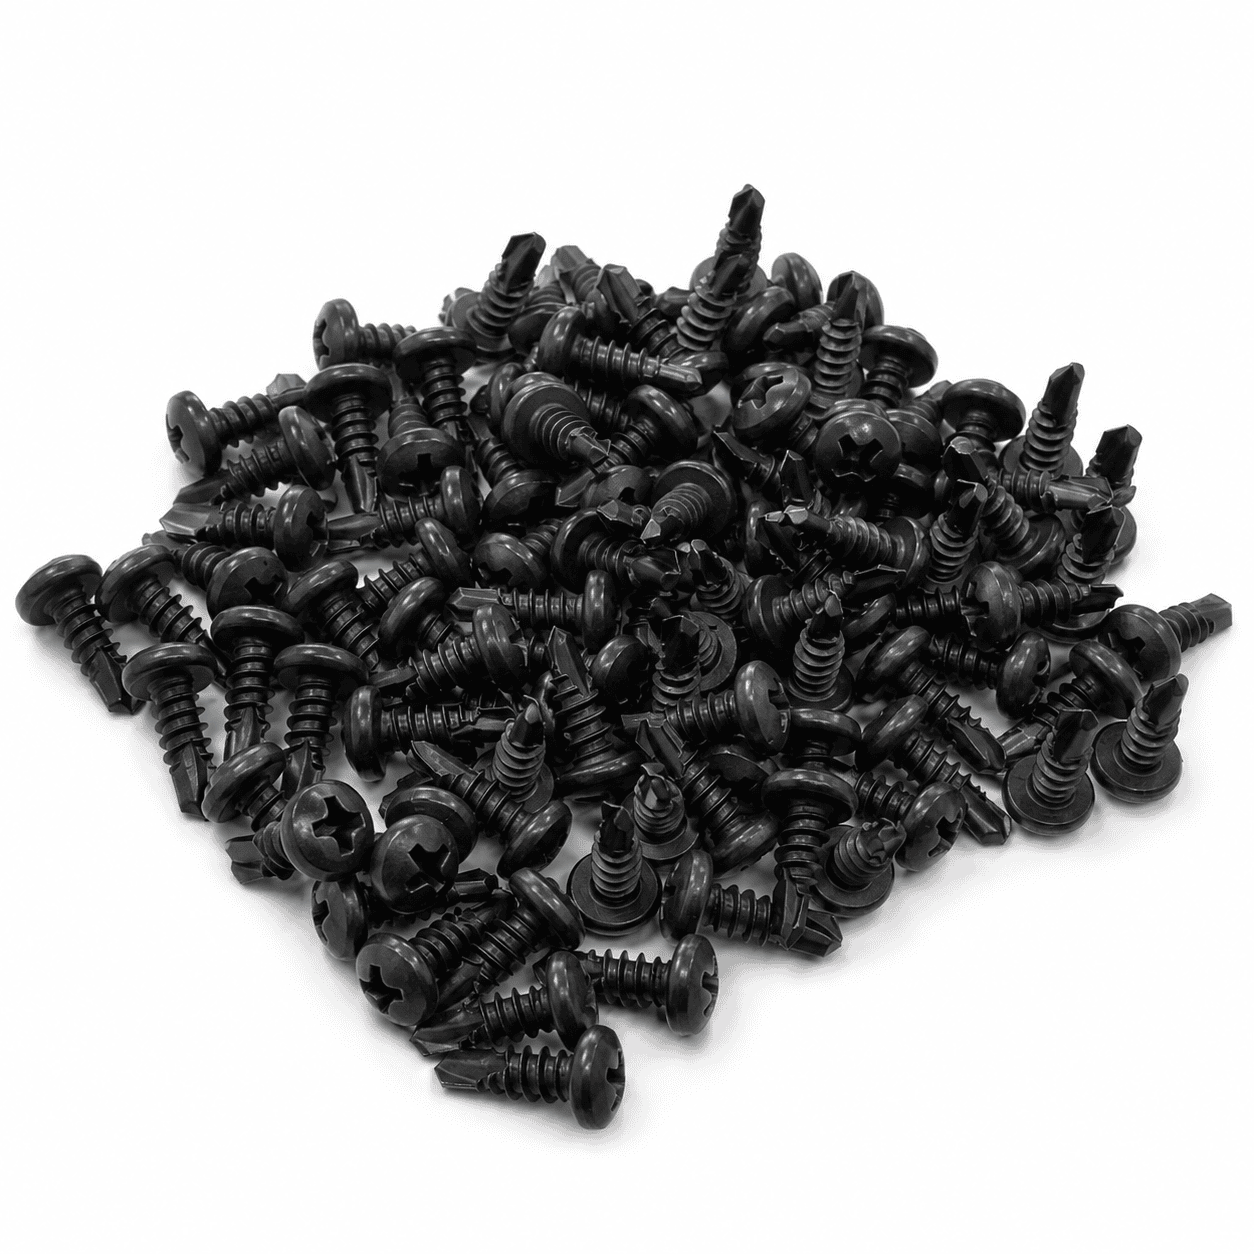
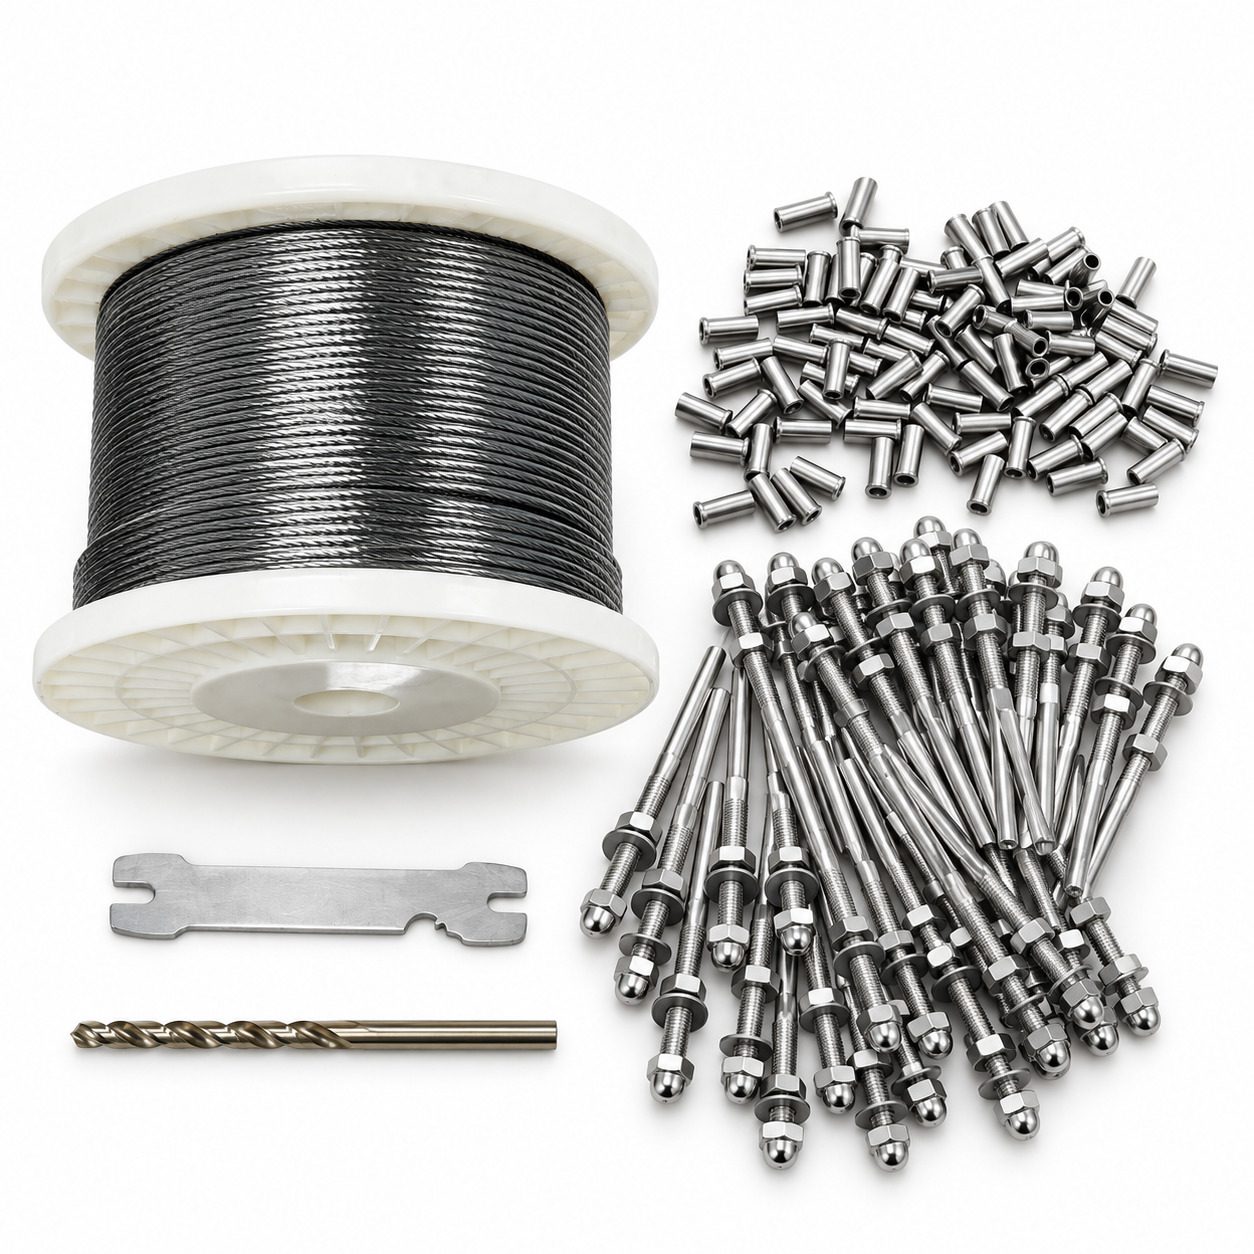
10 stainless steel L-brackets with 20 stainless steel #8 self-drilling screws
or
50 stainless steel L-brackets with 100 stainless steel #8 self-drilling screws
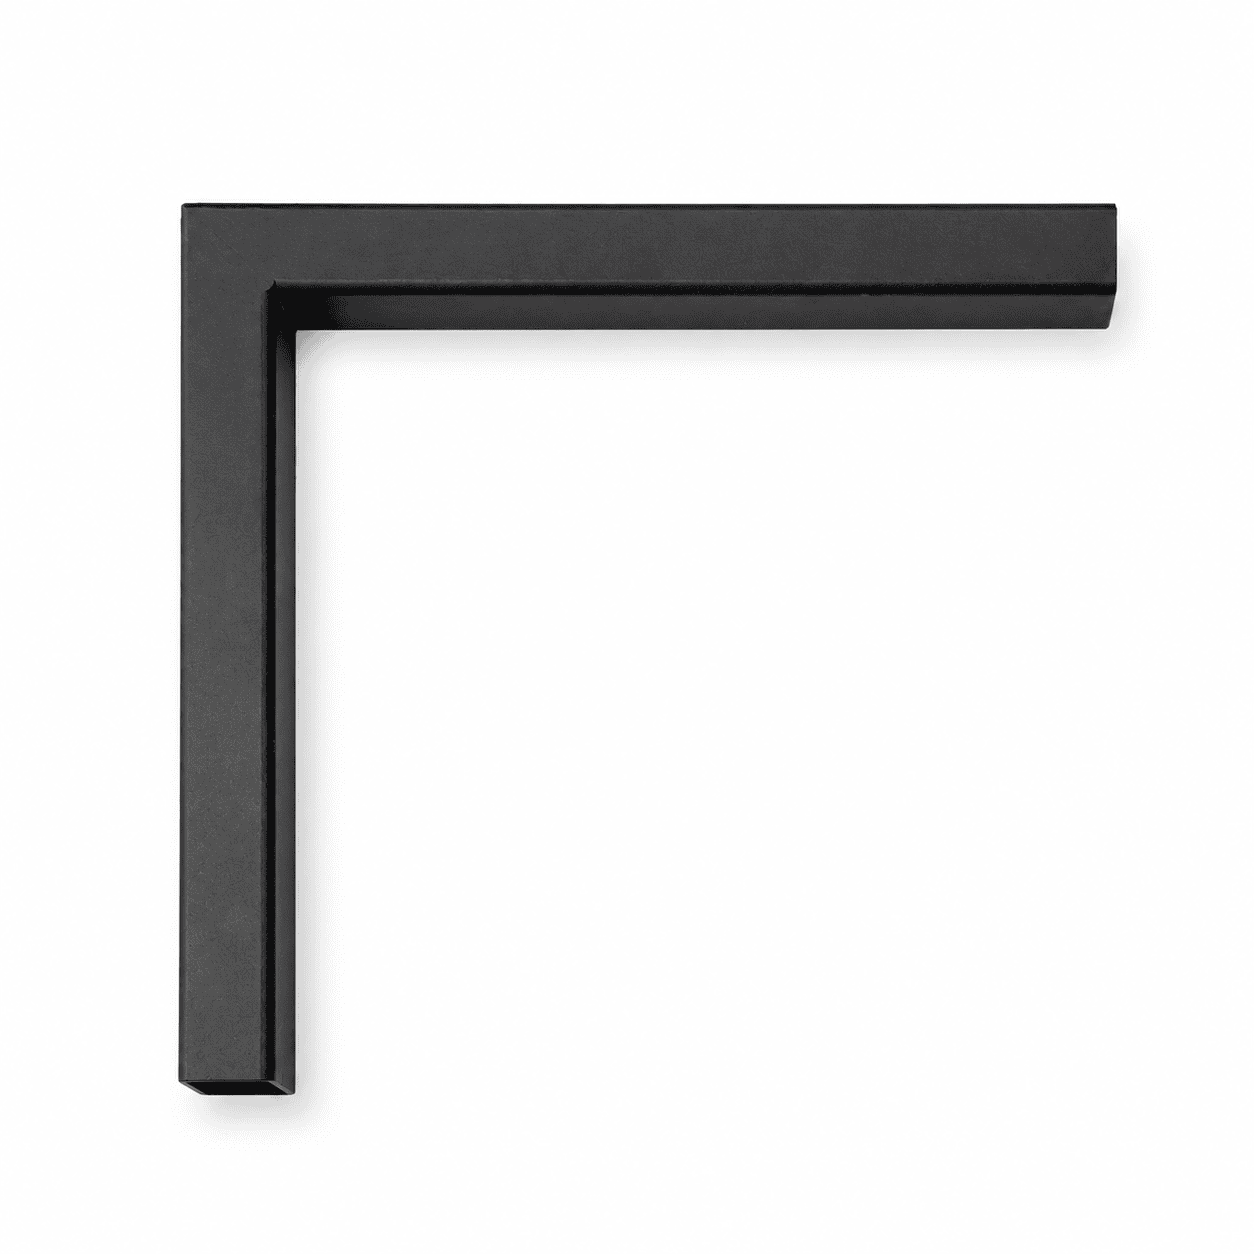
Stainless Steel L-Brackets With #8 Screws provide a compact, concealed way to connect Alumission aluminum slats to posts from inside the post channel. They are primarily used with the Aluminum Post – 3 Channel and Aluminum Side Post when the connection does not use a separate screw channel with a snap cover.
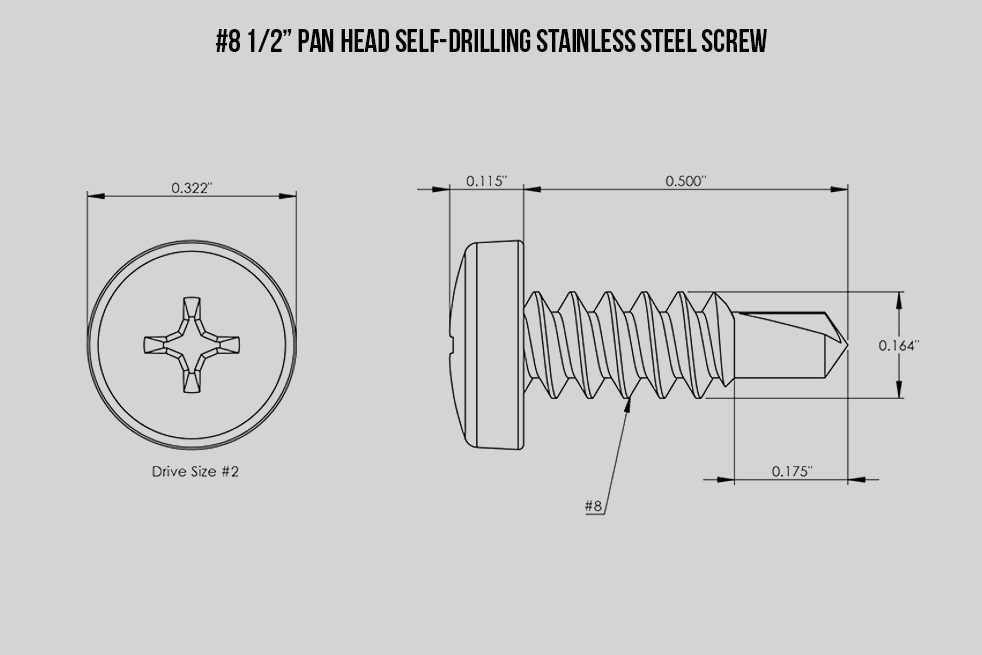
Each 90° bracket includes two stainless steel #8 self-drilling screws—the same screw type sold separately by Alumission. Choose a pack of 10 brackets with 20 screws or 50 brackets with 100 screws.
Find clear answers about Wall Topper sizing, 6-foot spans, included components, base-plate installation, concealed fasteners, style differences, finishes, maintenance and field fitting.
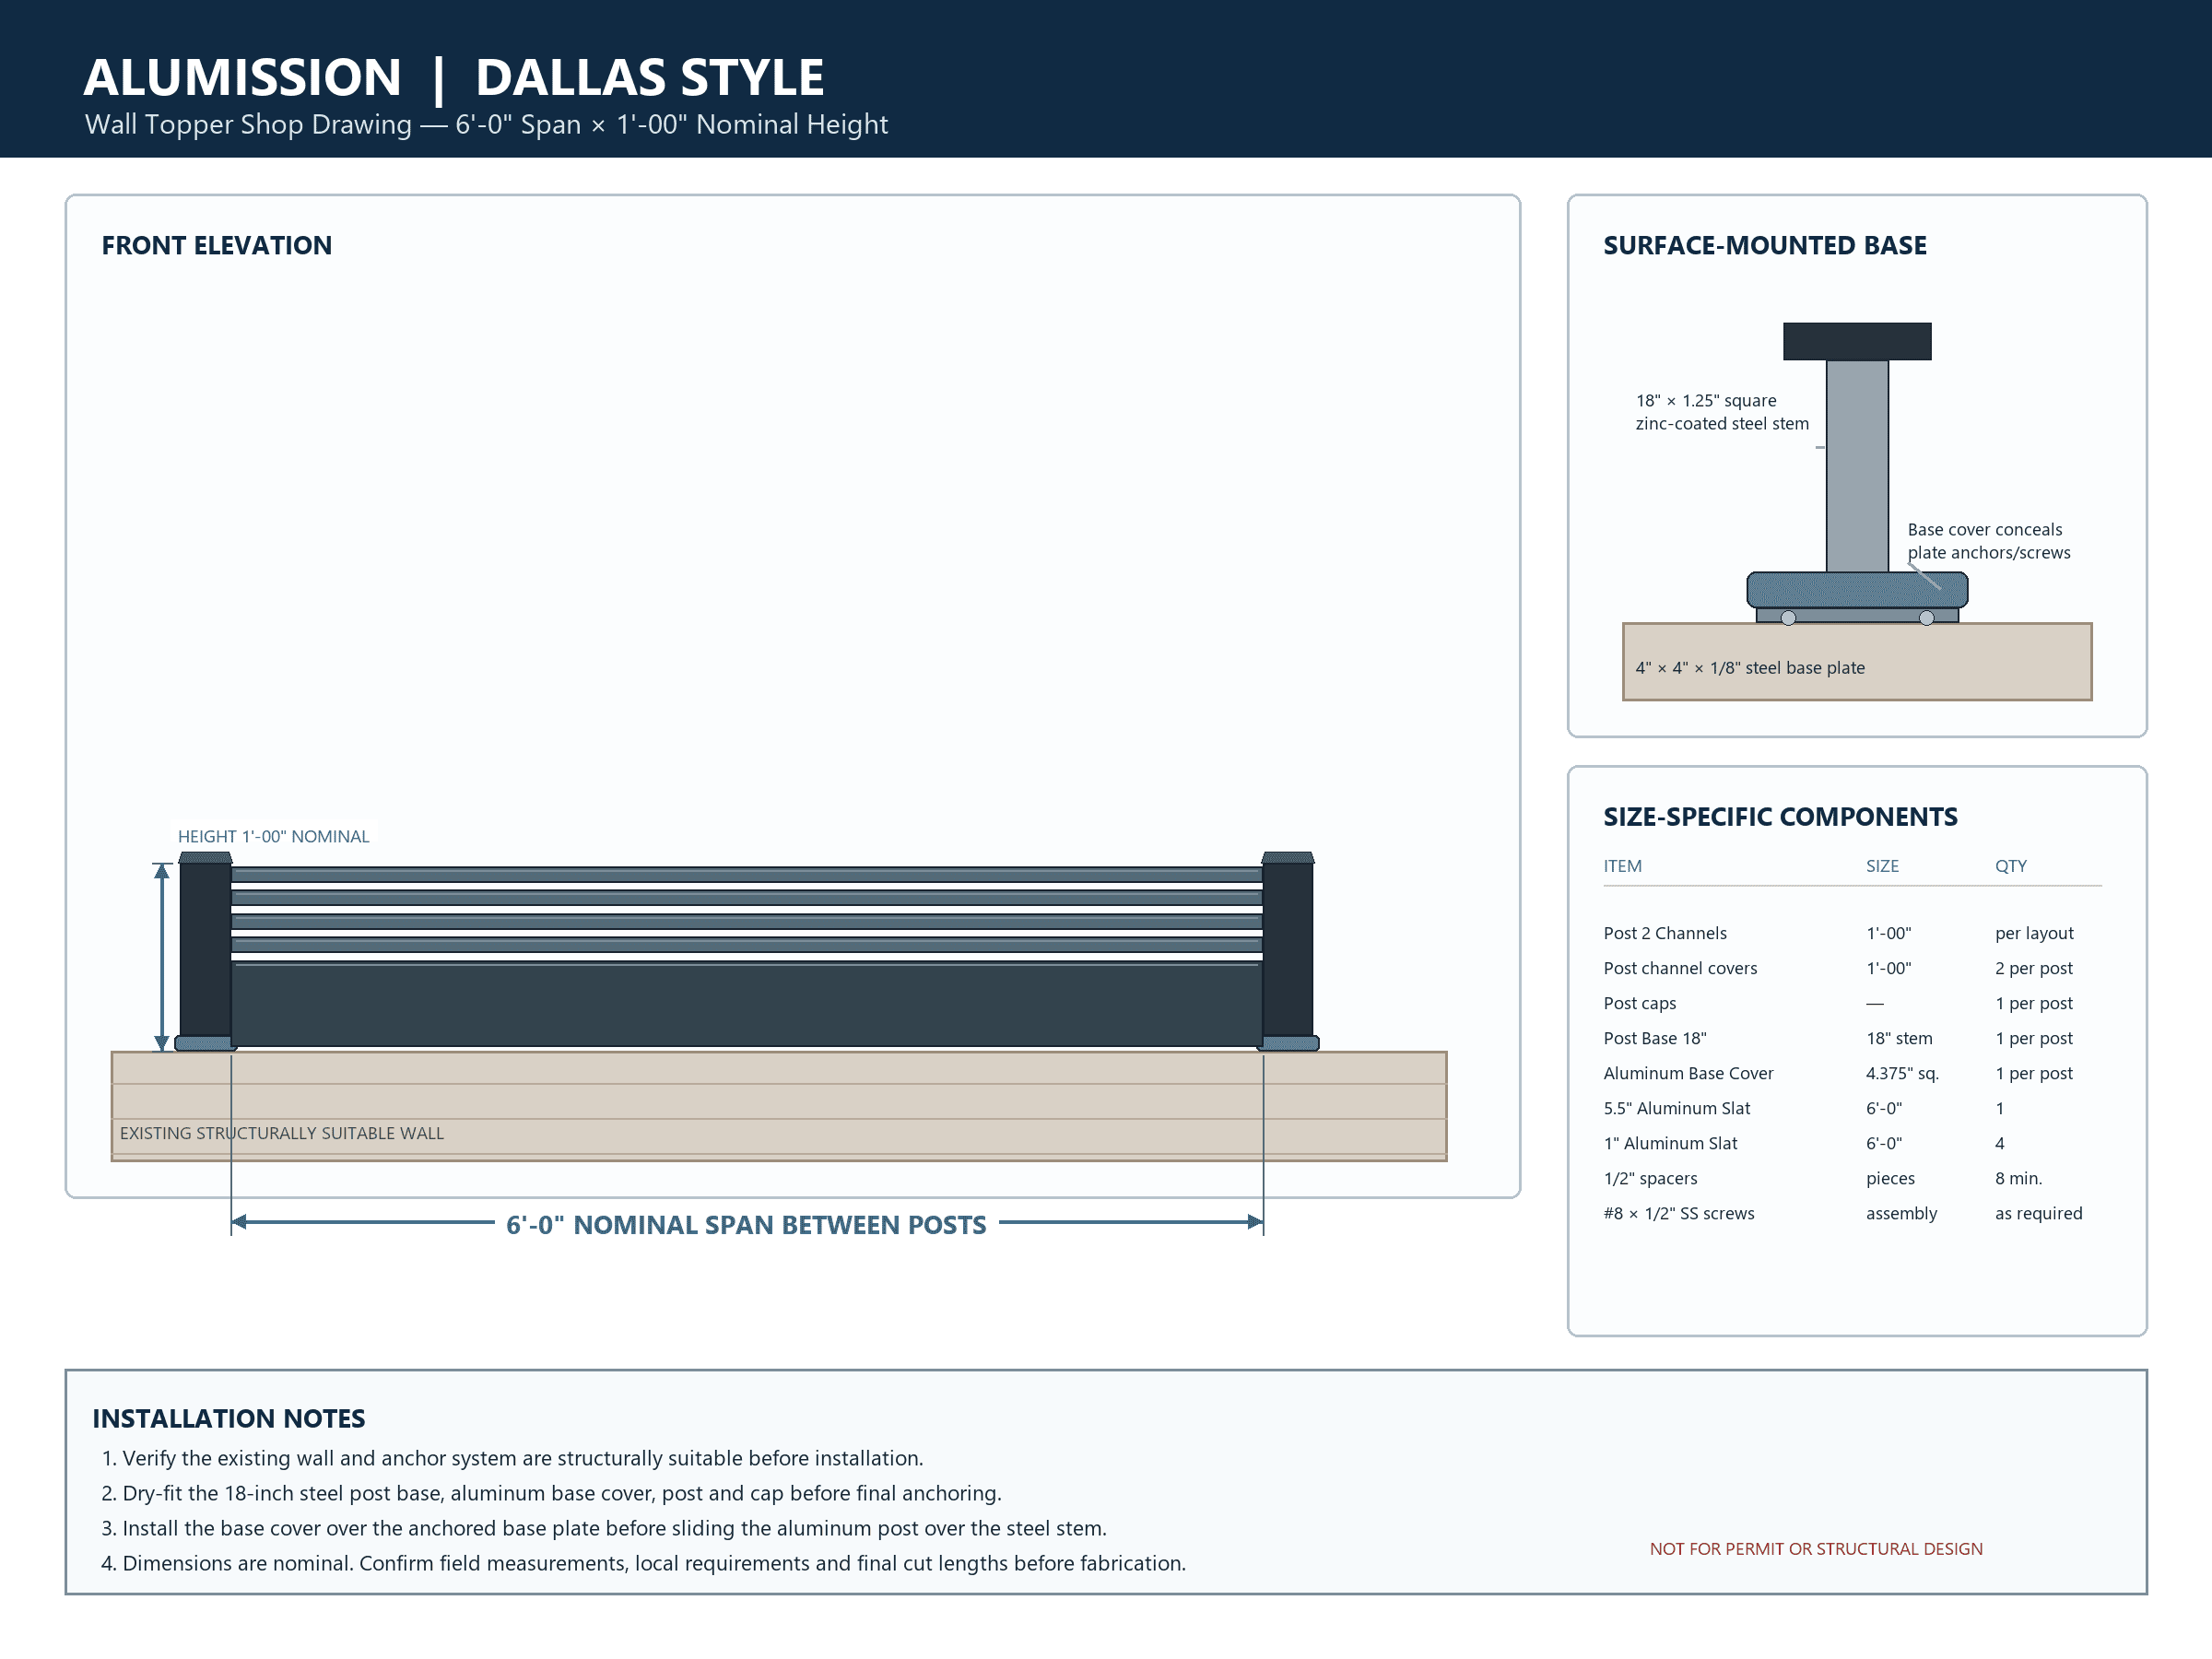
Each Wall Topper section is designed around a nominal 6-foot span between posts. The supplied horizontal slats are 6 feet long. Verify the actual field measurement before cutting, and plan one post per span plus one terminal post at the end of the run.
All five Wall Topper styles are offered in seven nominal heights: 1 foot, 1 foot 6 inches, 2 feet, 2 feet 6 inches, 3 feet, 3 feet 6 inches, and 4 feet. Select the height that fits the project, then review the exact style-specific material schedule shown on the product page.
Divide the finished run into nominal 6-foot sections. Use one post for each span and add one terminal post at the end of the run. Confirm corners, end conditions, wall steps, field cuts, post locations, and local requirements before ordering.
Measure the total finished run, each individual wall section, corners, steps, end conditions, and the usable mounting surface. Mark proposed post locations and check for caps, slopes, drains, utilities, or other obstructions. Use actual field measurements—not only nominal wall dimensions—before ordering or cutting.
Yes. The aluminum slats are supplied in 6-foot lengths and may be field cut to fit a shorter verified opening. Use suitable cutting equipment, keep cuts square, remove burrs, protect the finish, and confirm the finished post-to-post dimension before cutting.
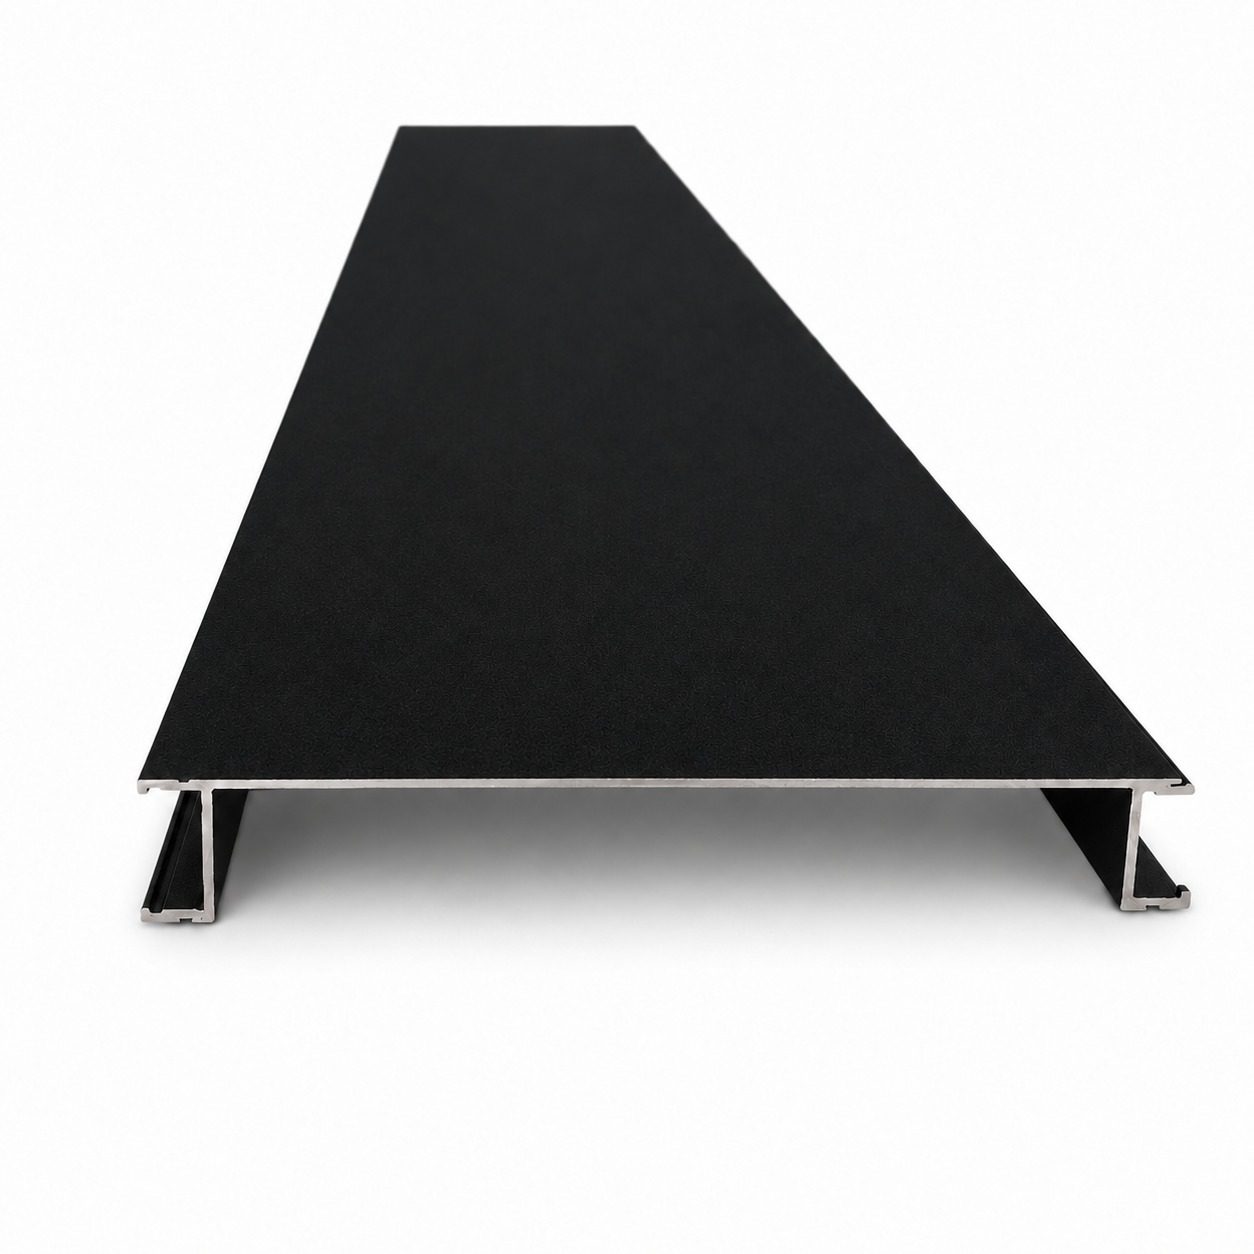
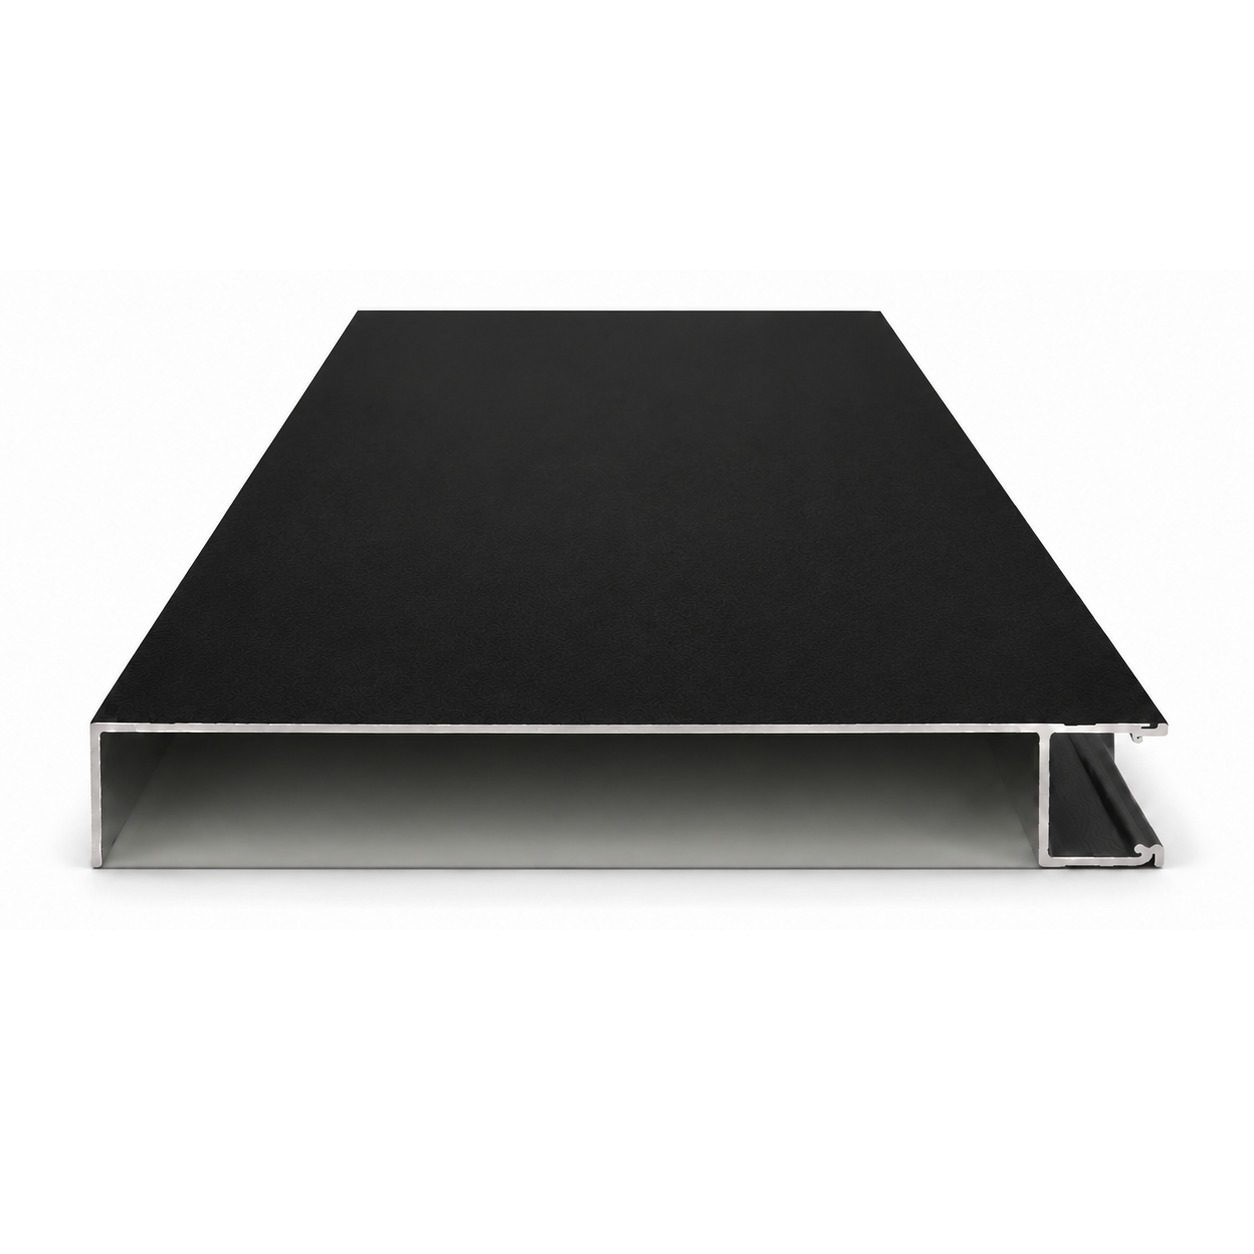
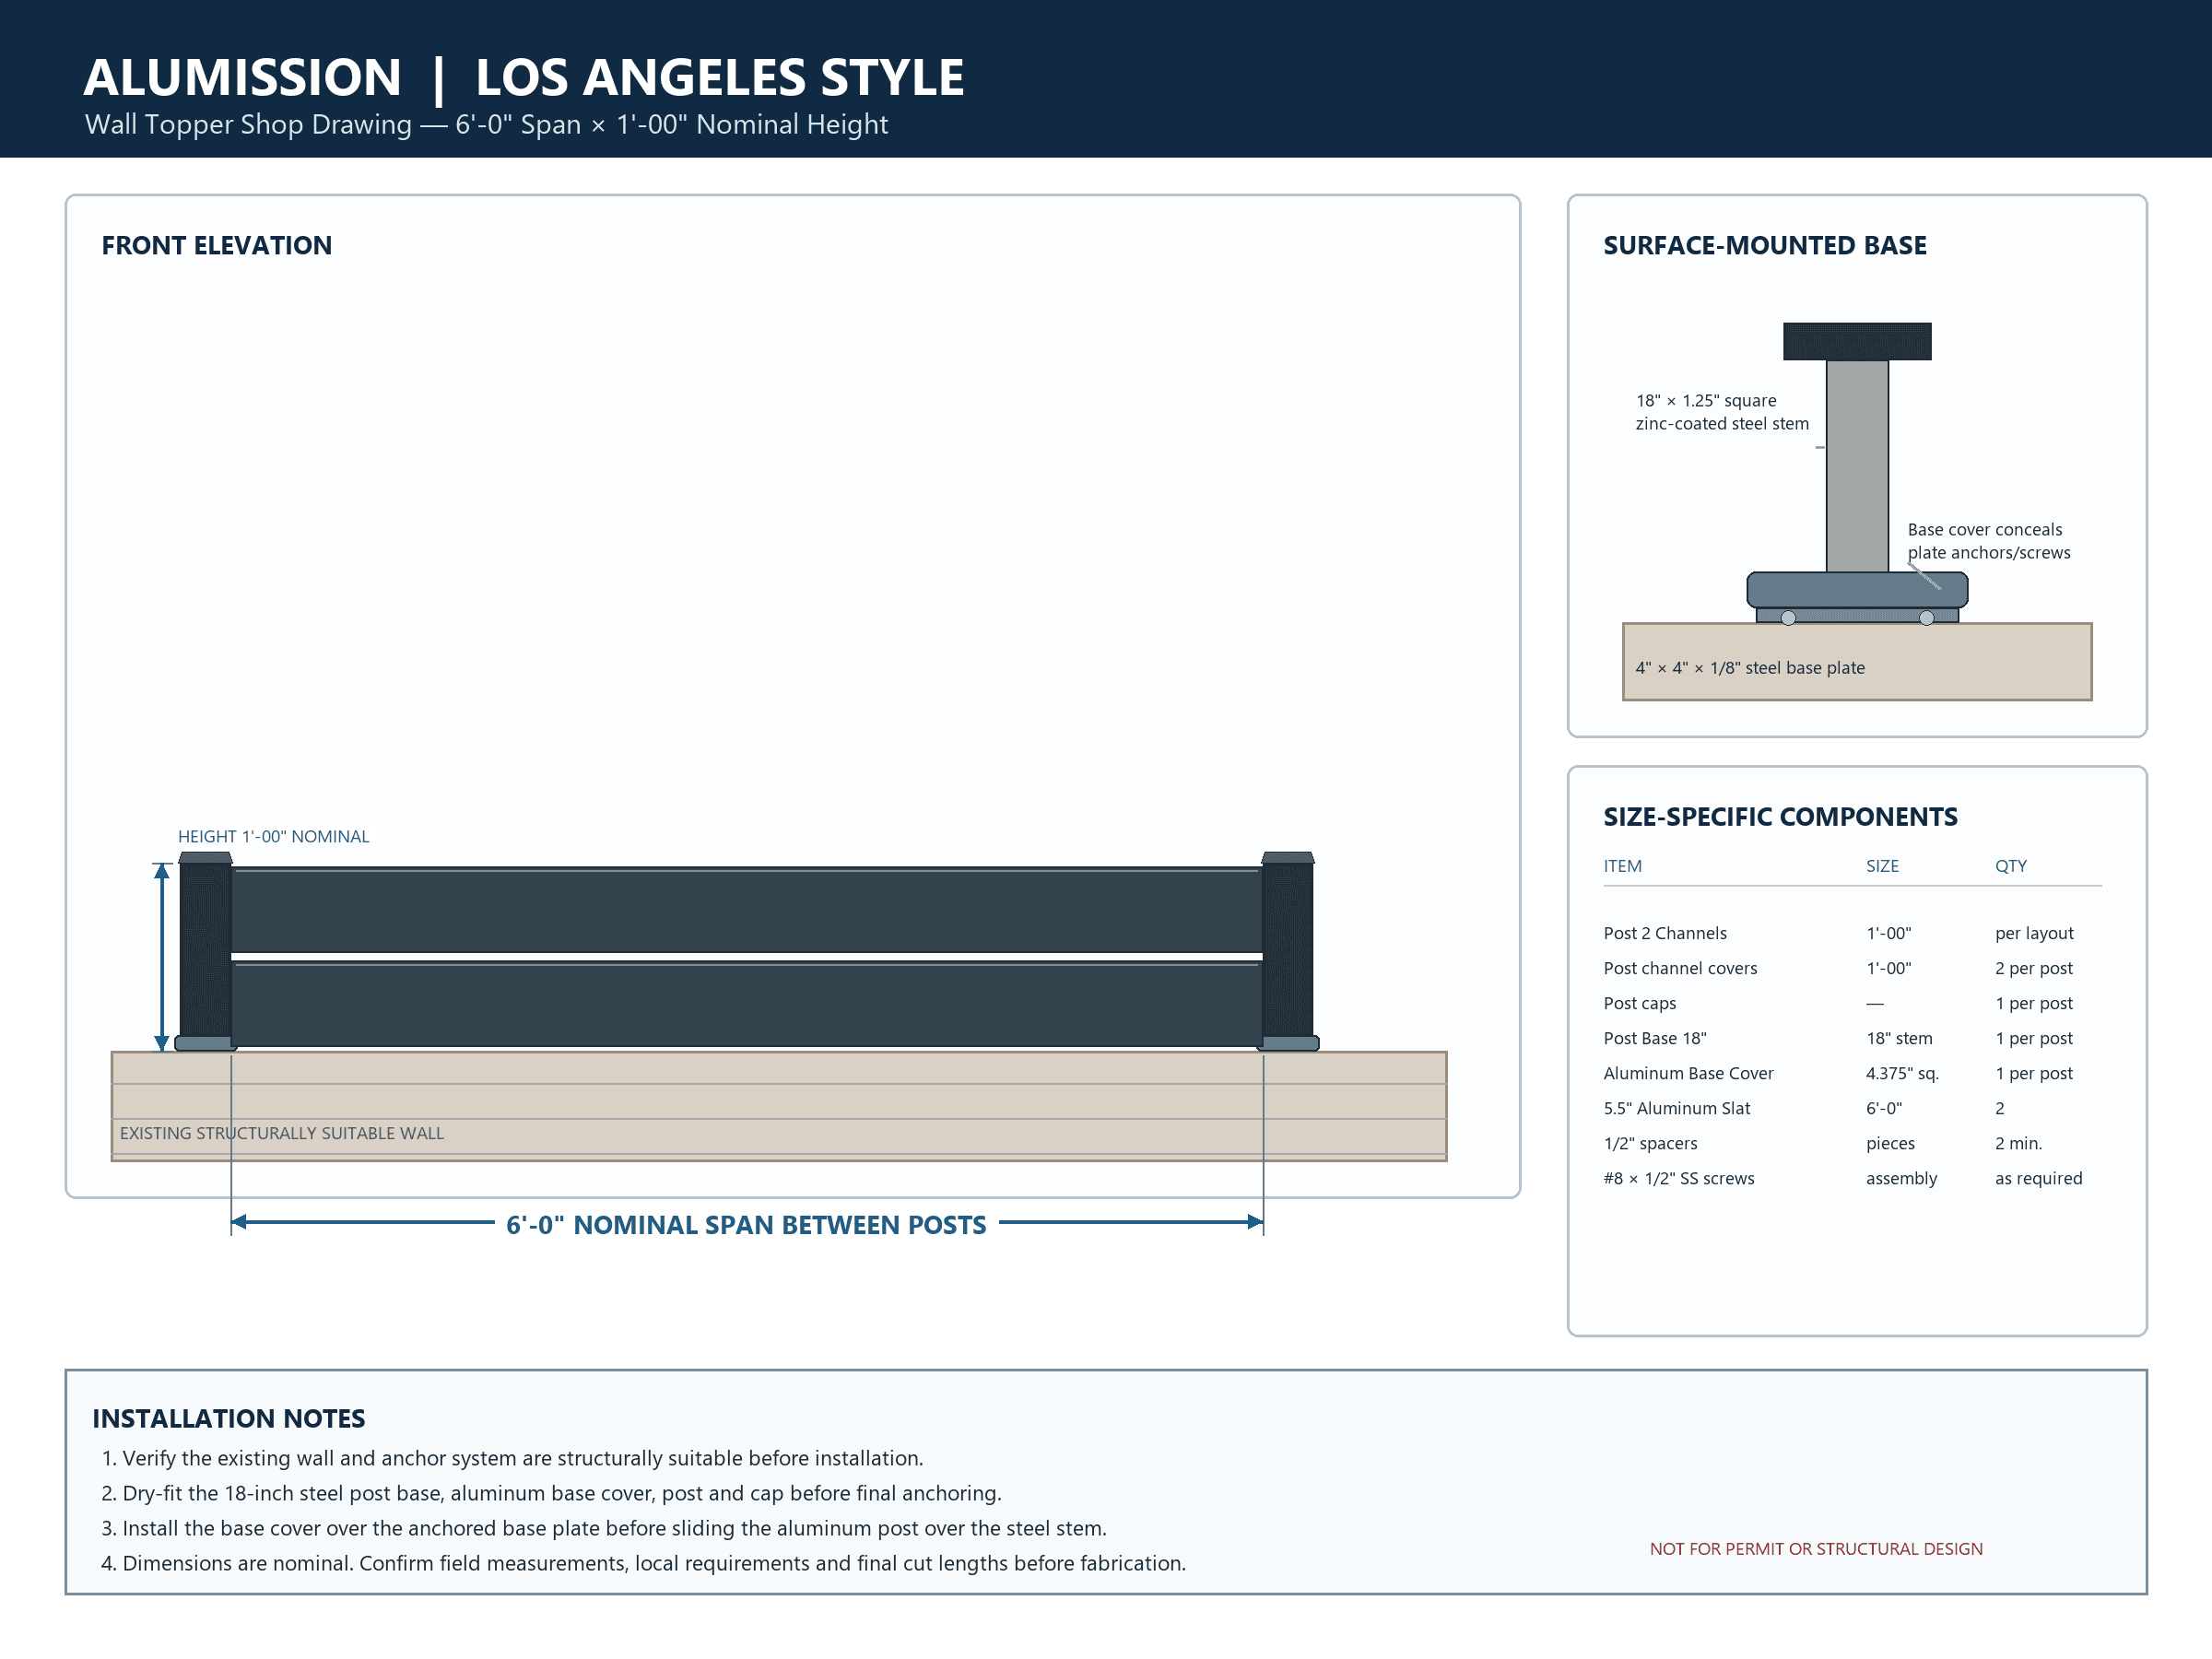
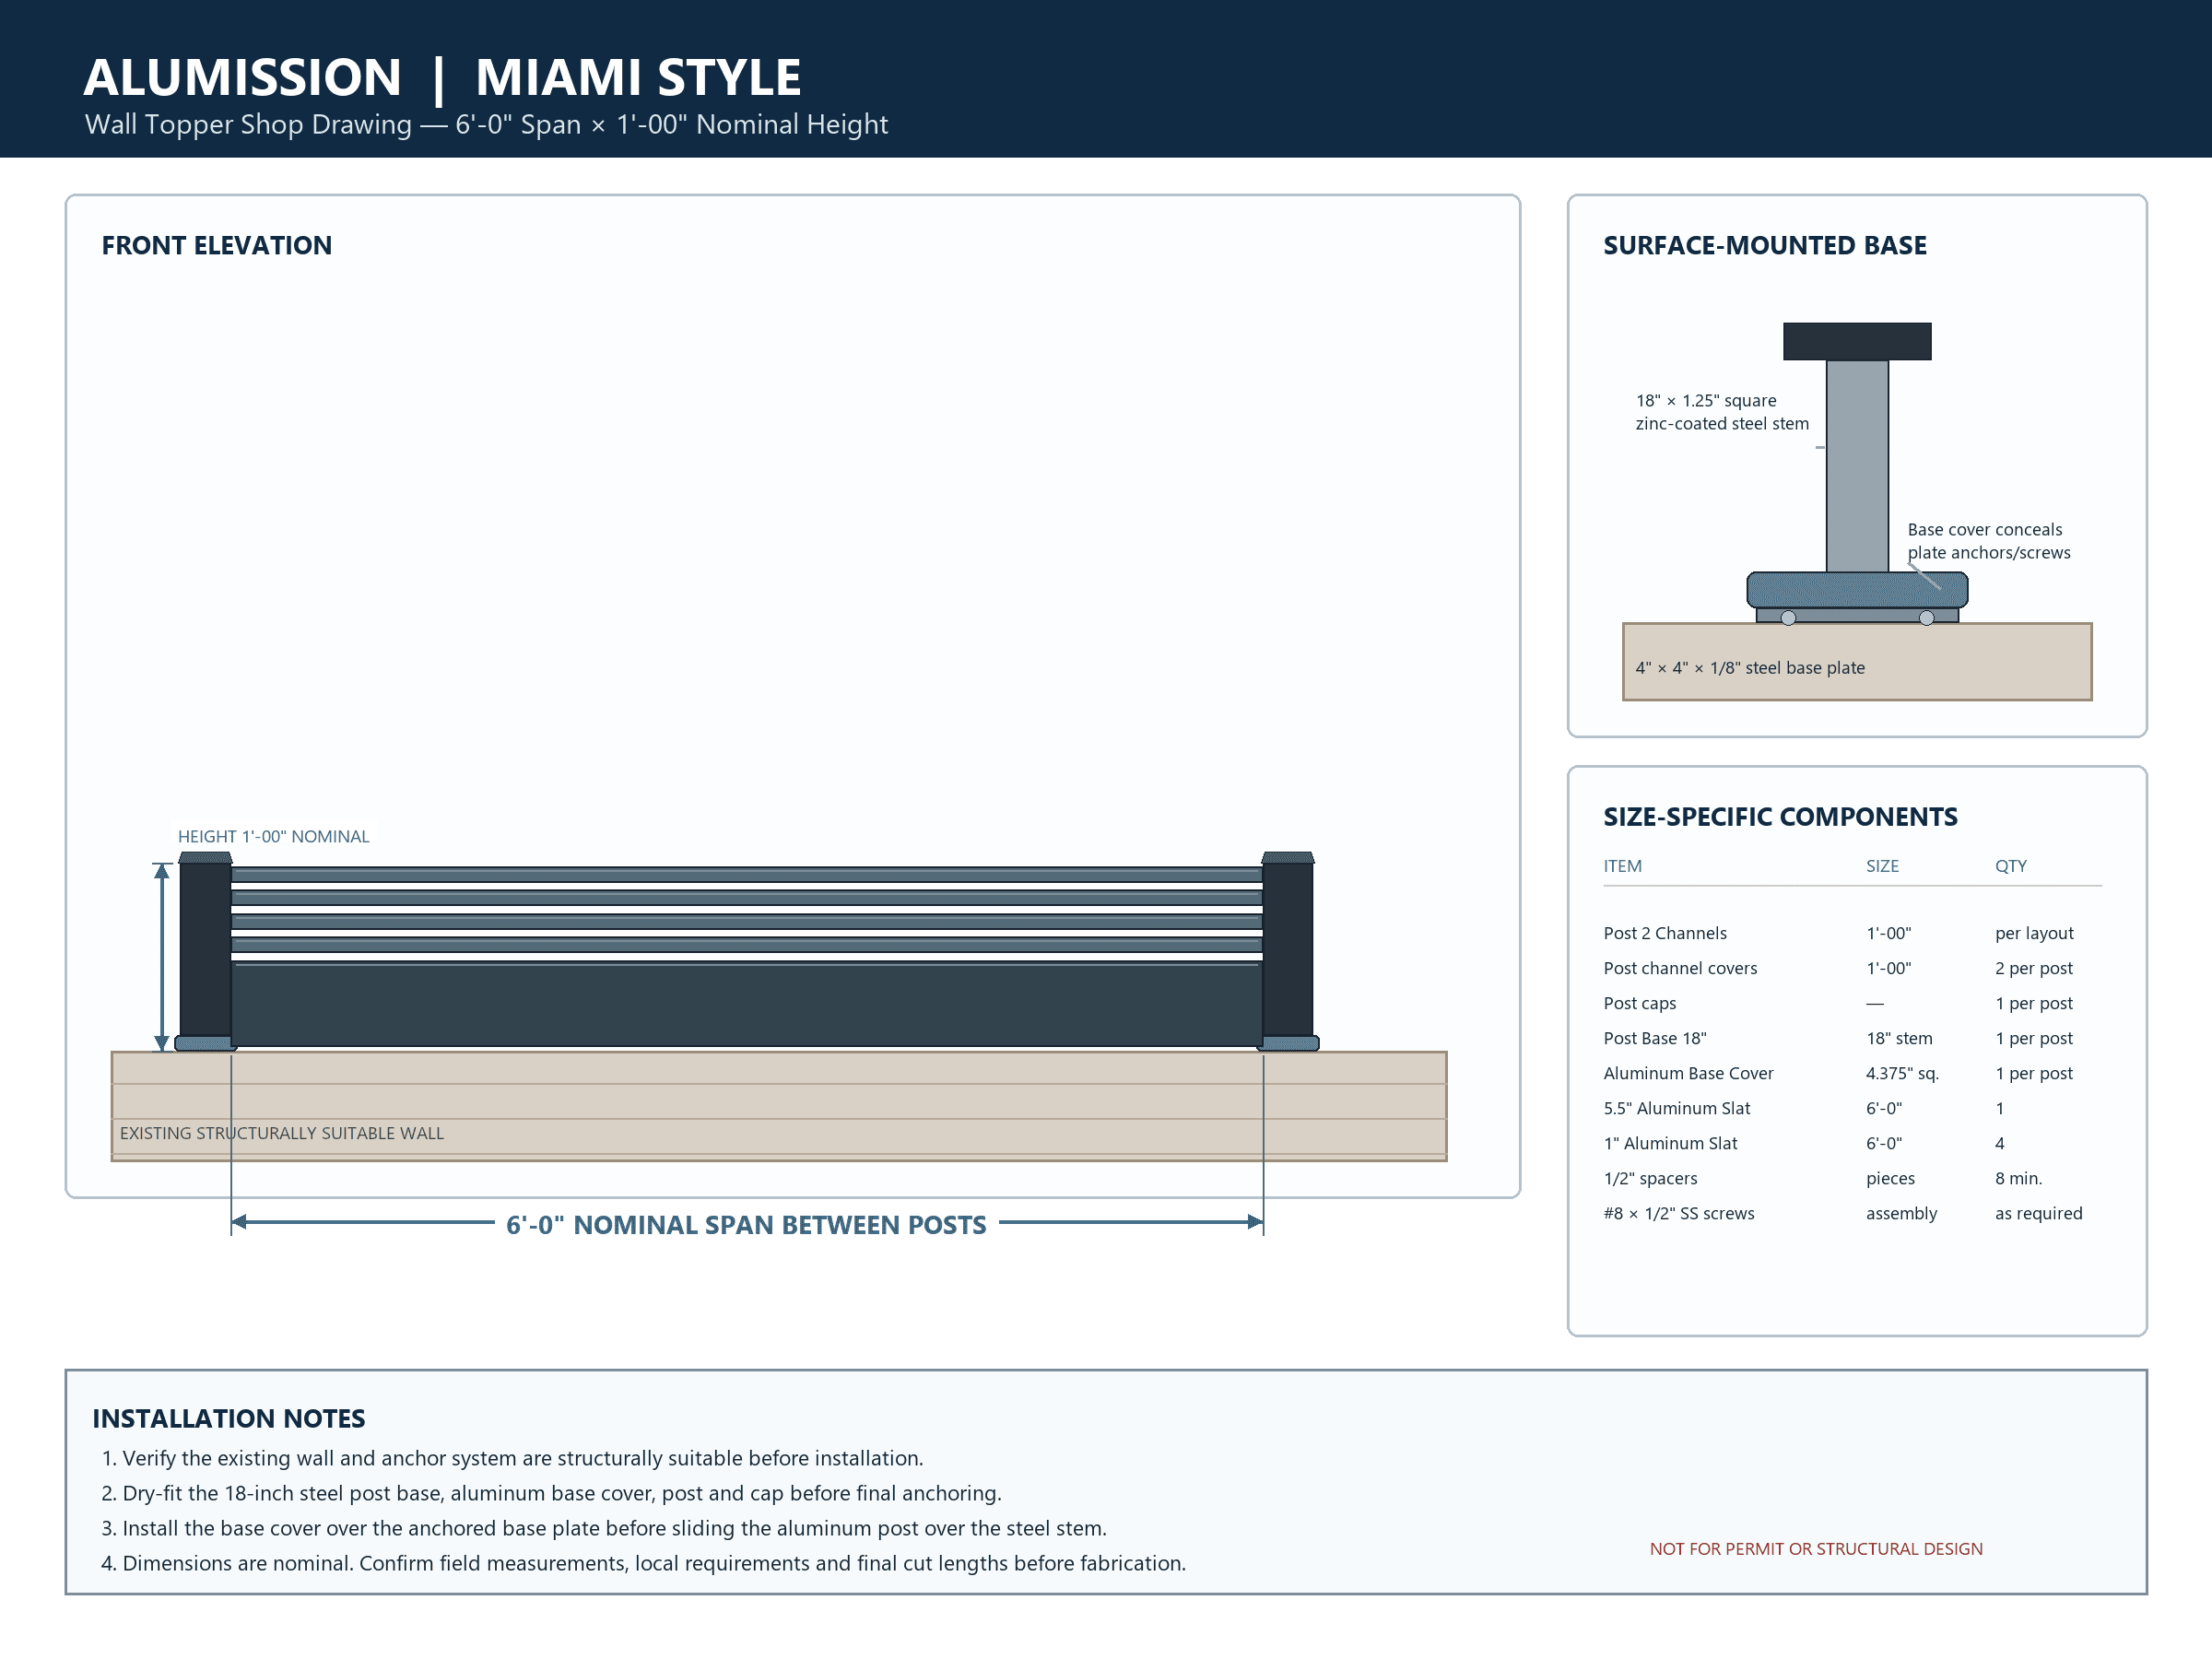
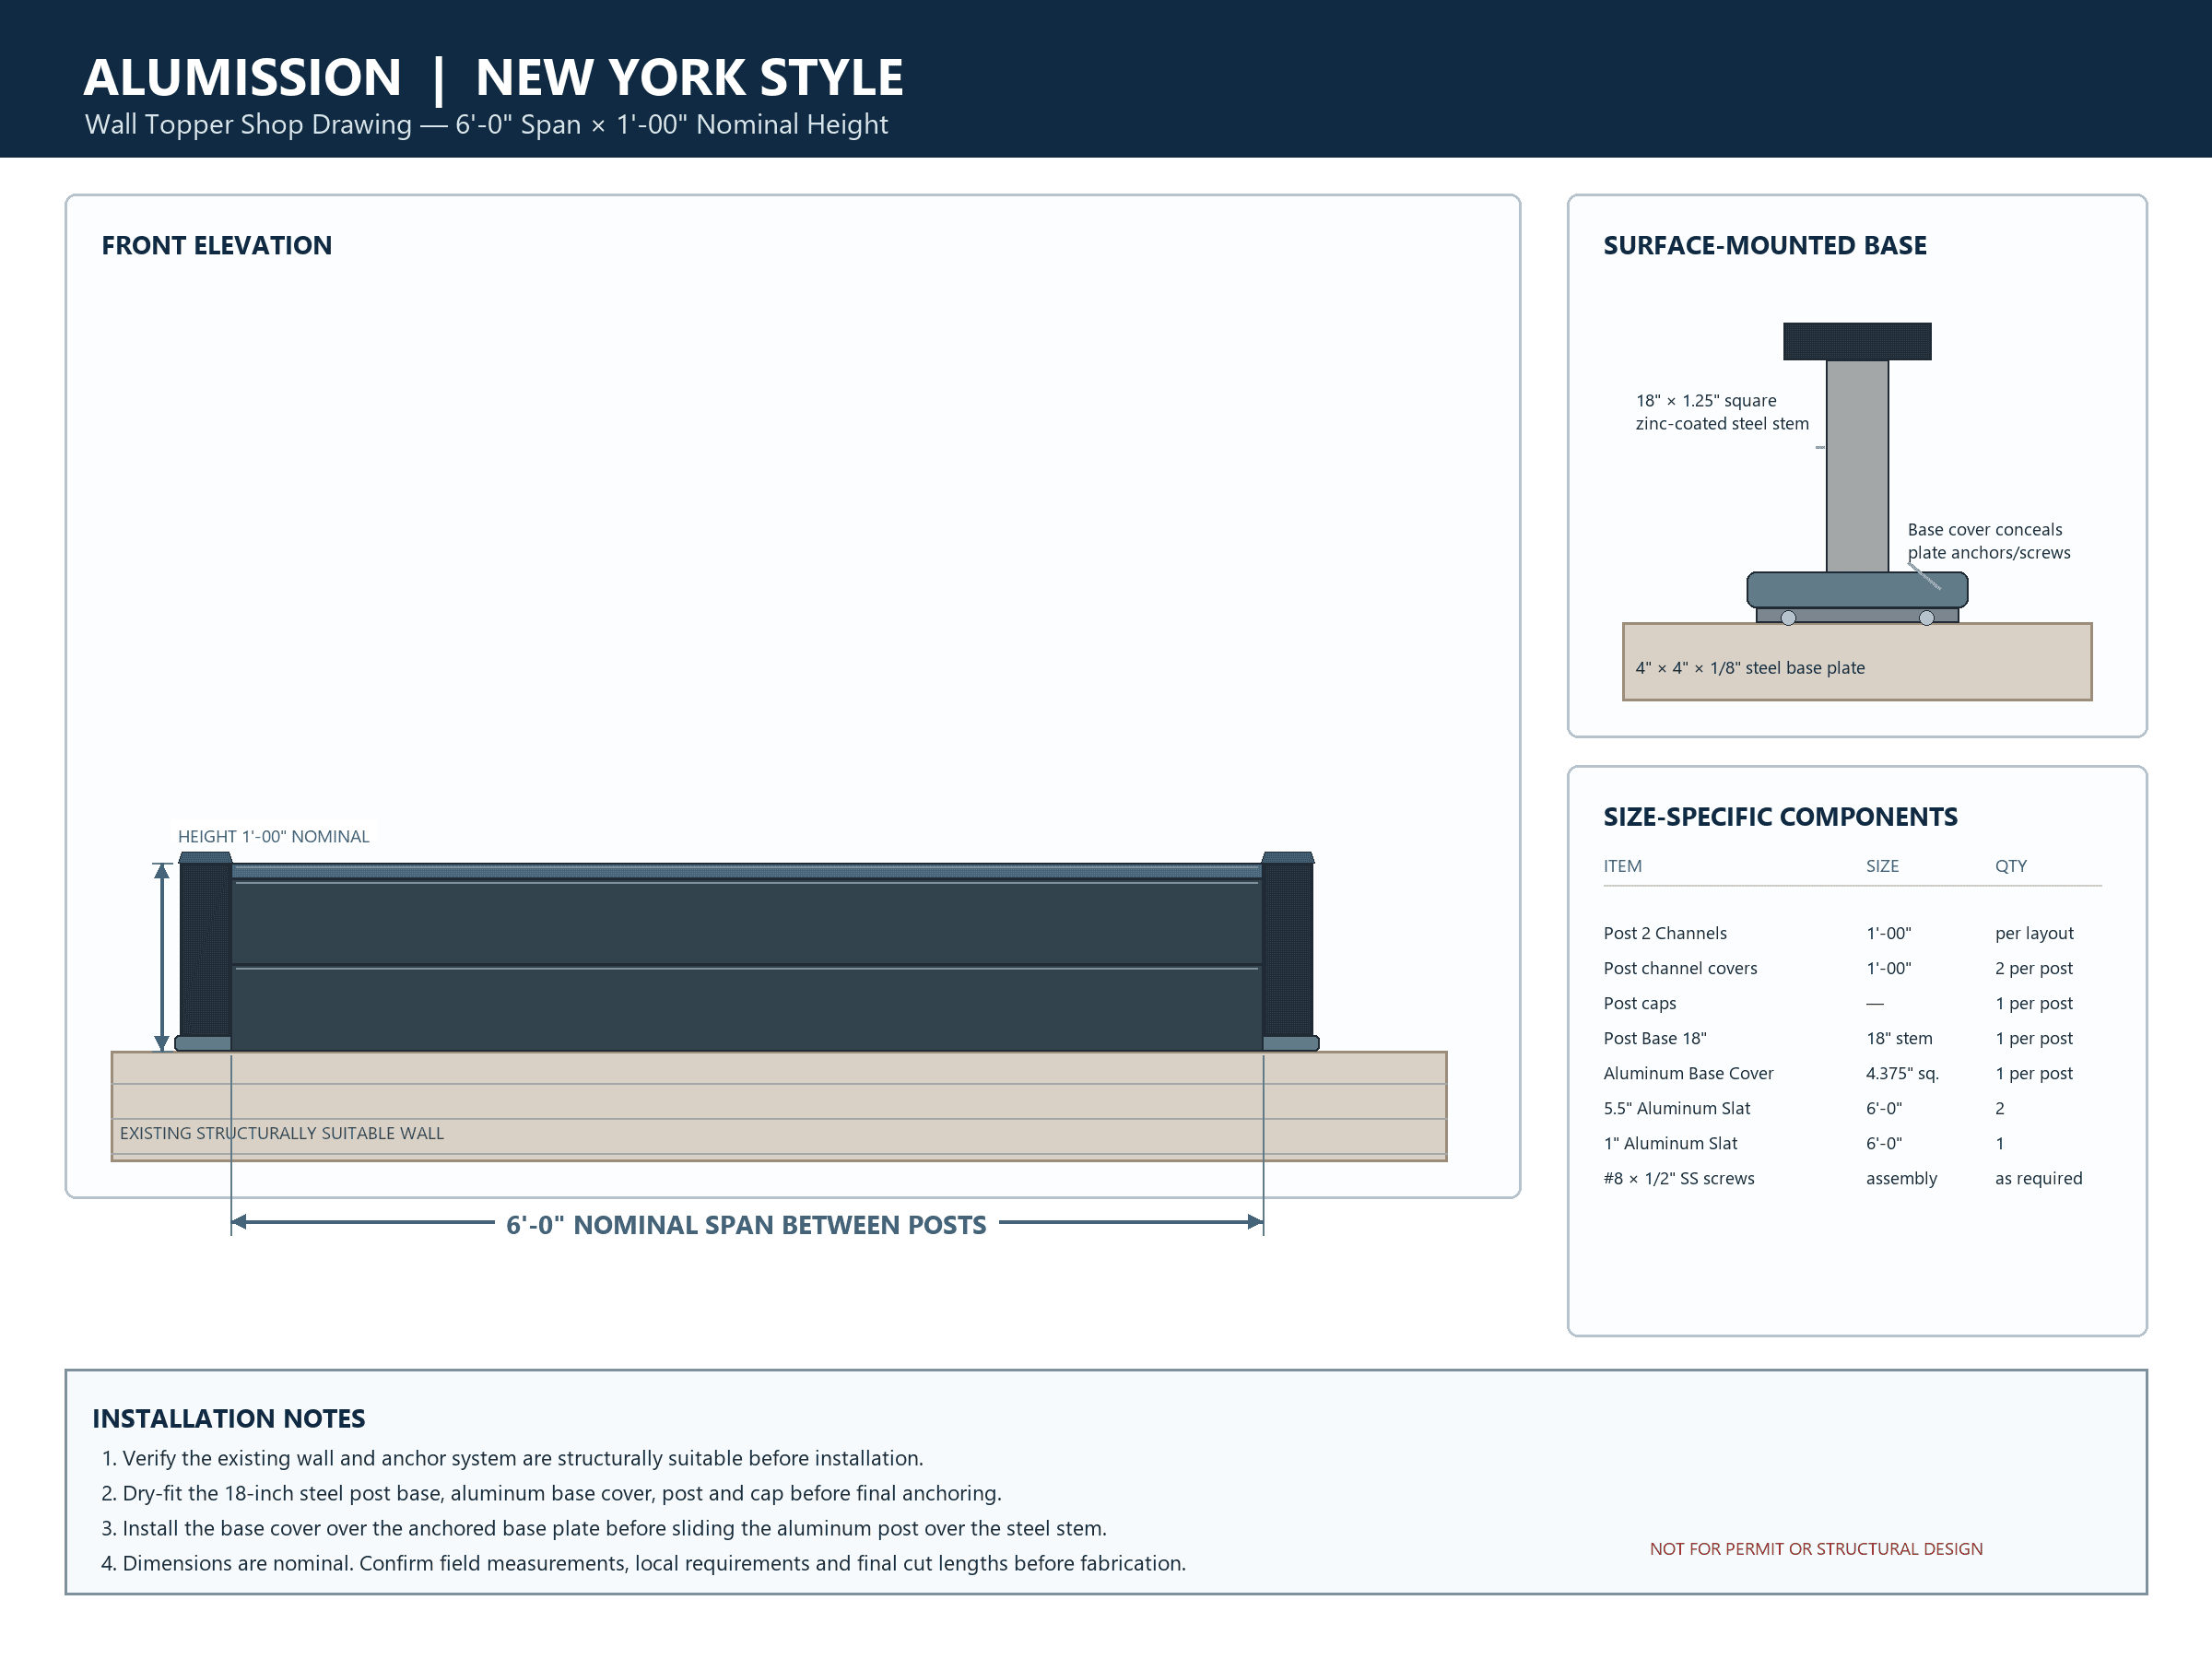
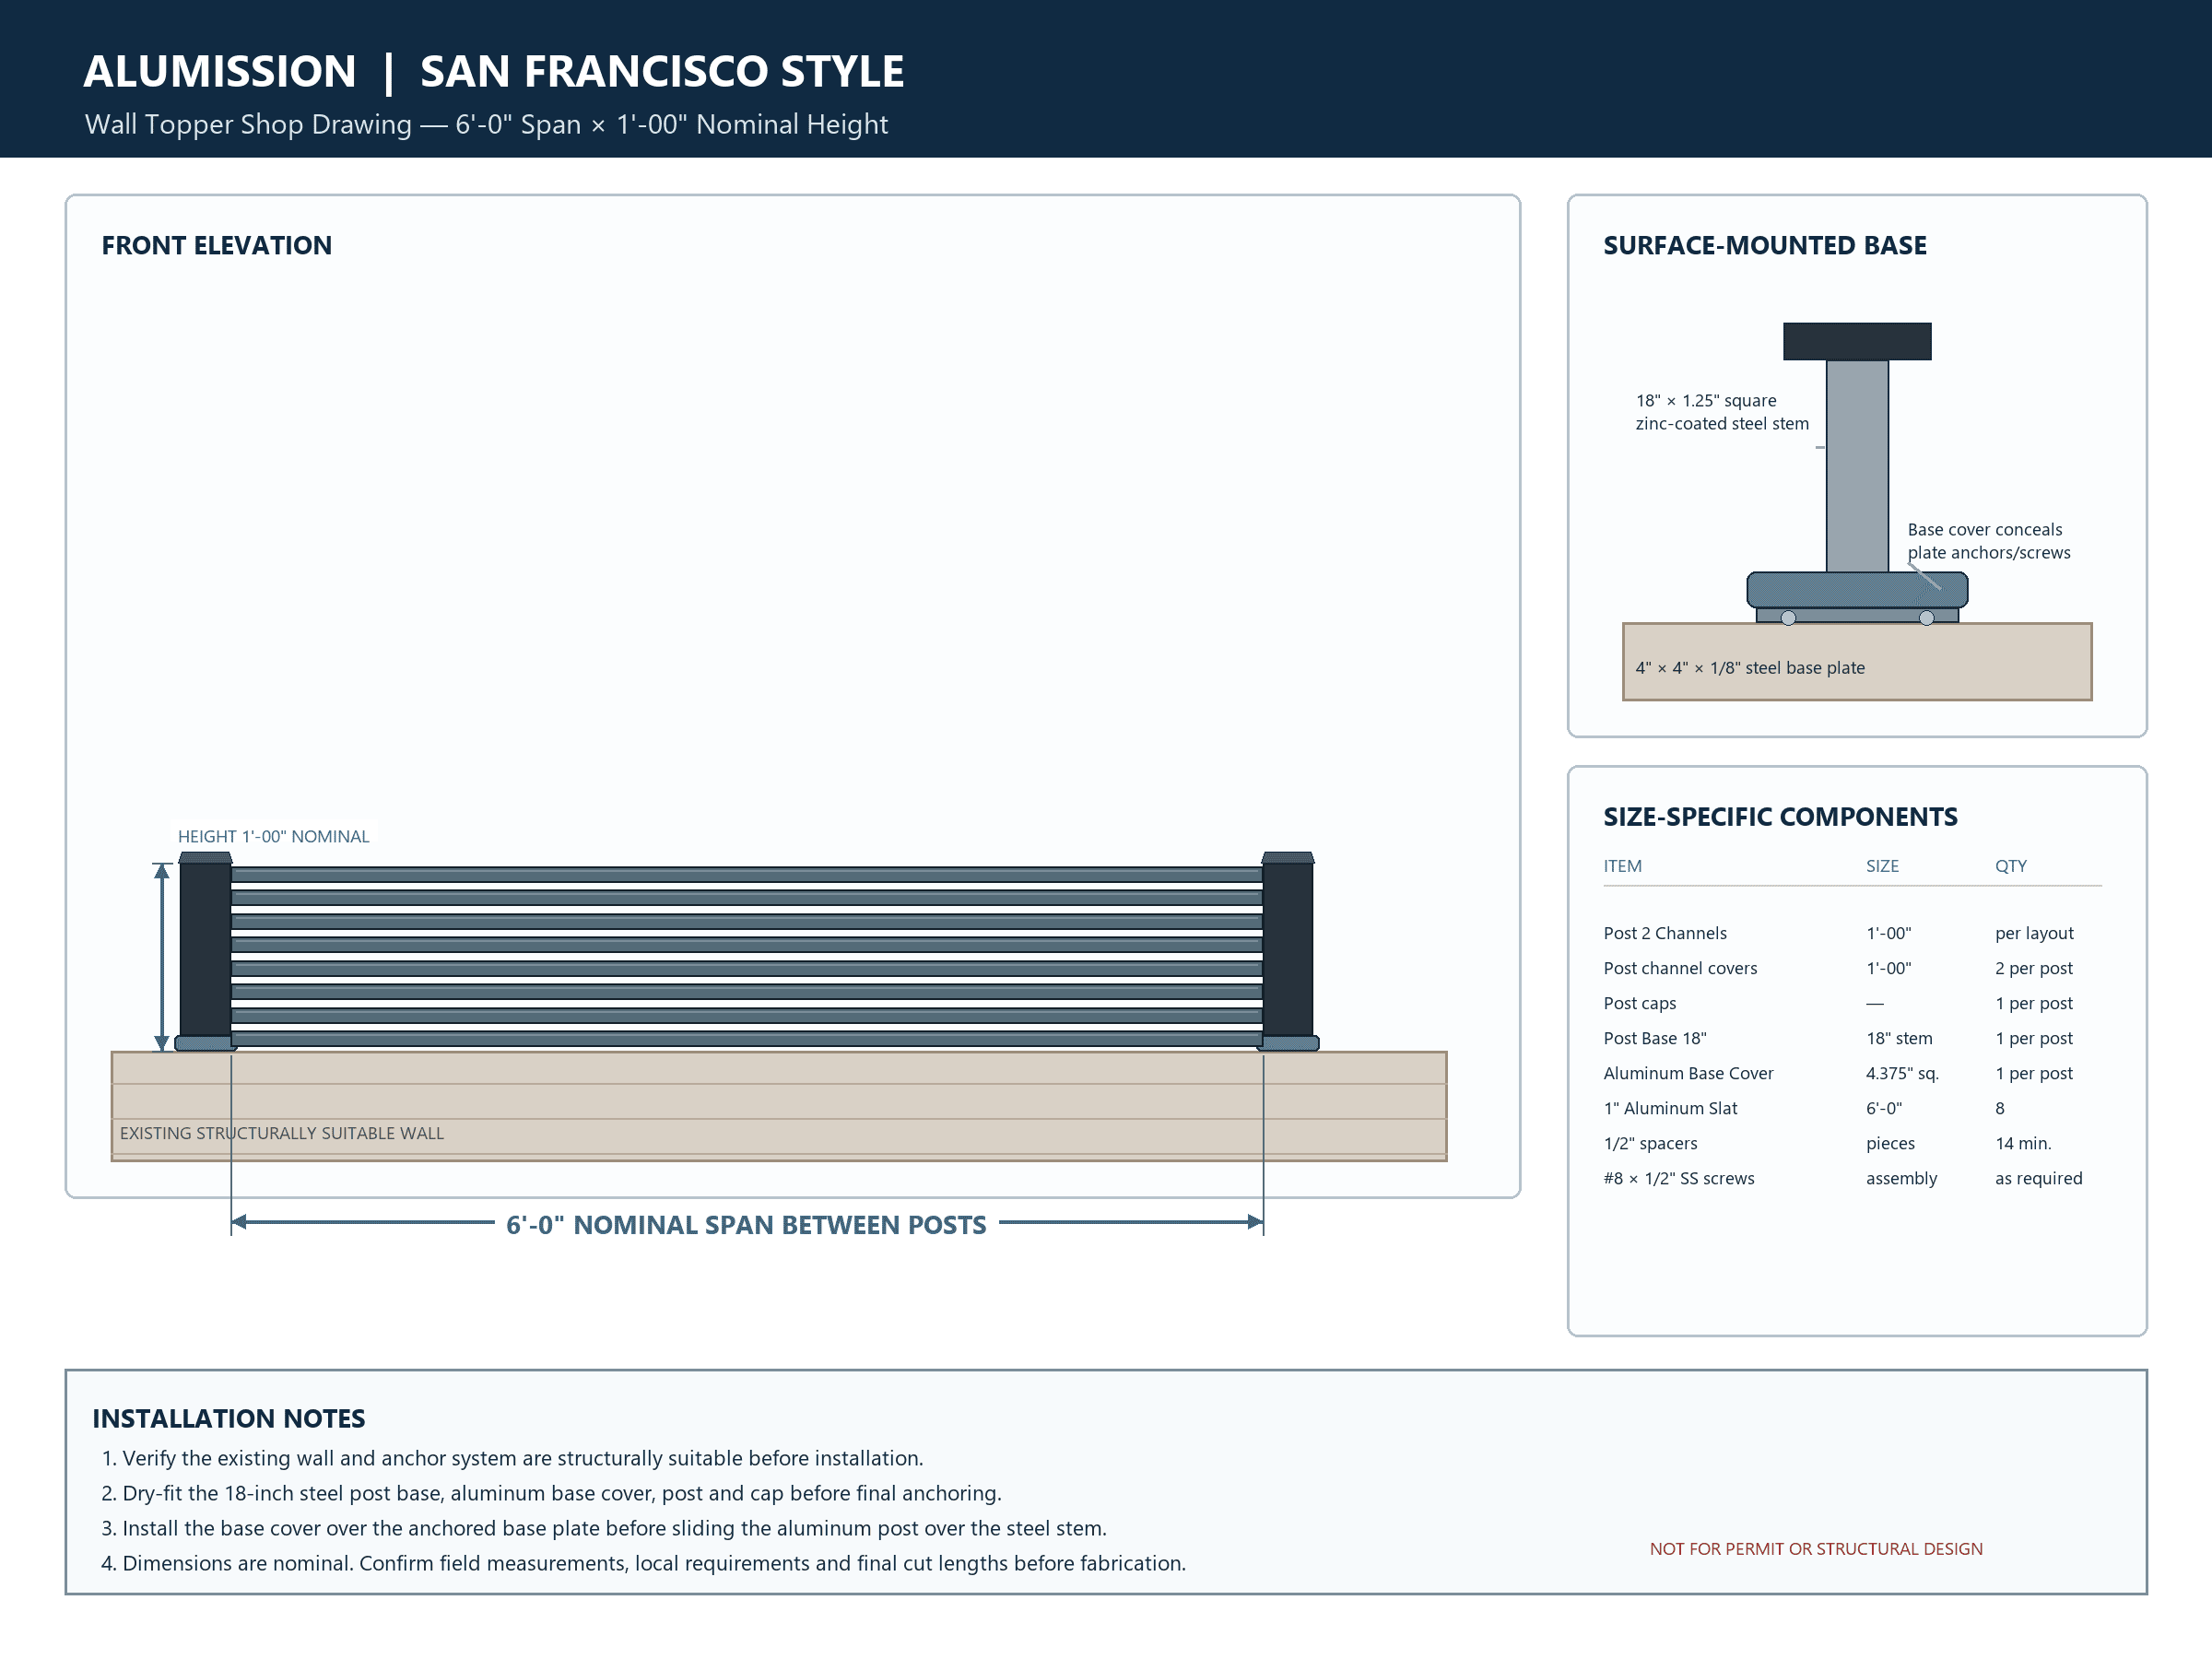
The selected kit includes Aluminum Post 2 Channels, two channel covers and one cap per post, an 18-inch zinc-coated steel post base and matching aluminum base cover per post, 6-foot aluminum slats in the selected style and height, the required pattern spacers where applicable, and stainless steel self-drilling assembly screws. Wall anchors are not included because the correct fastener depends on the wall material and project conditions.
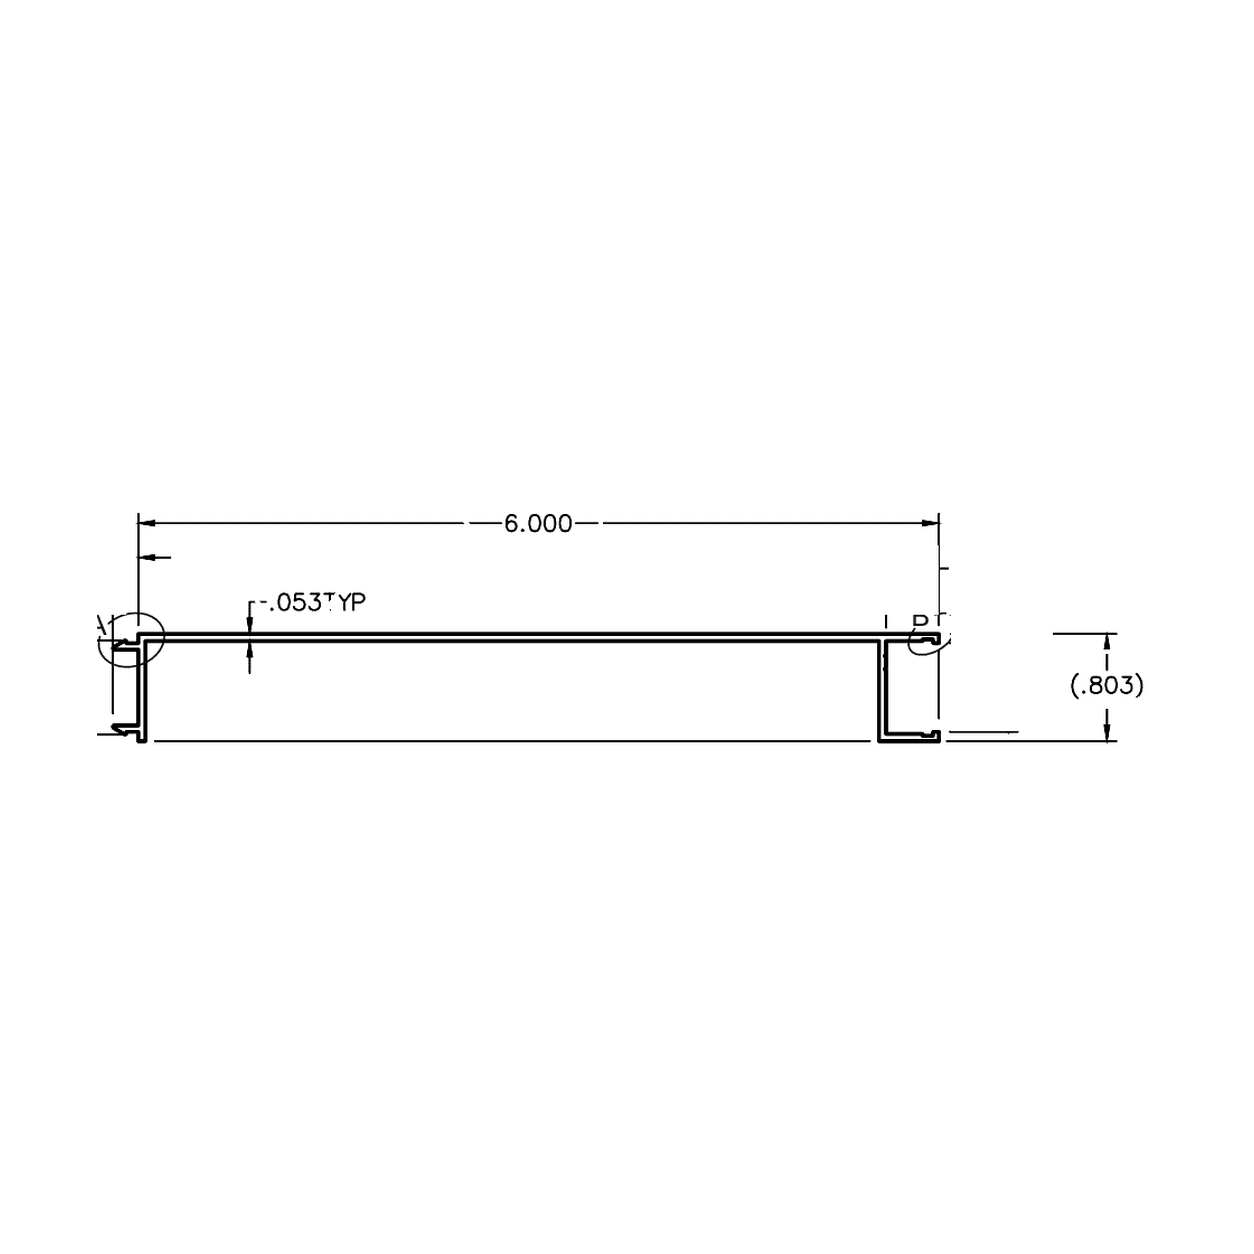
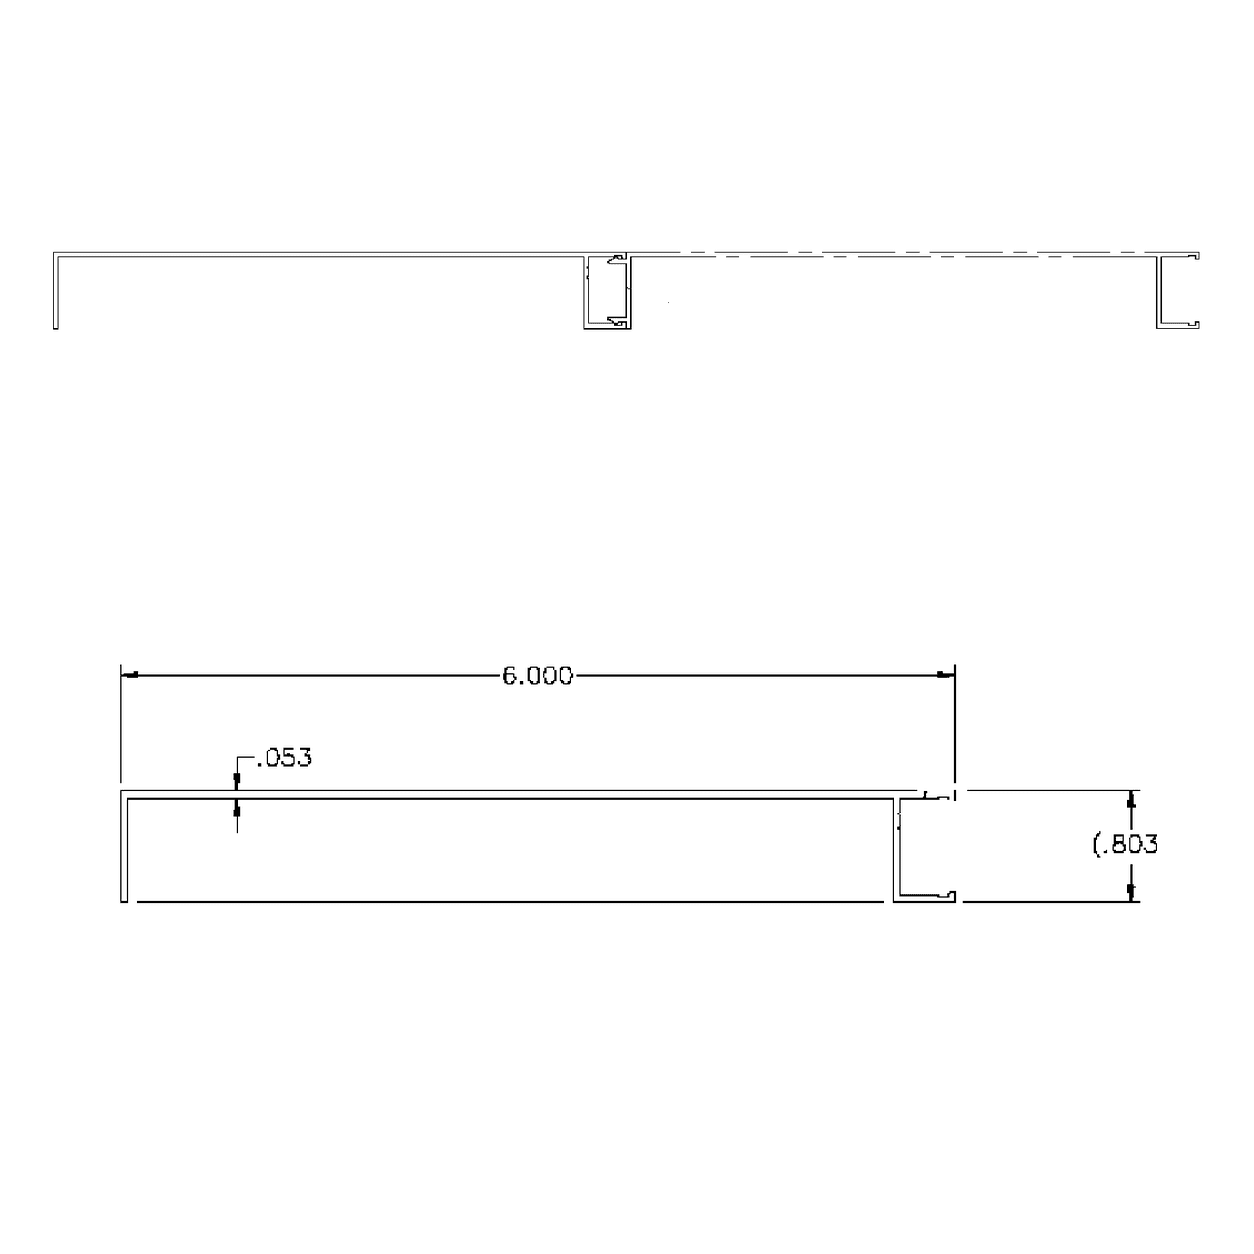
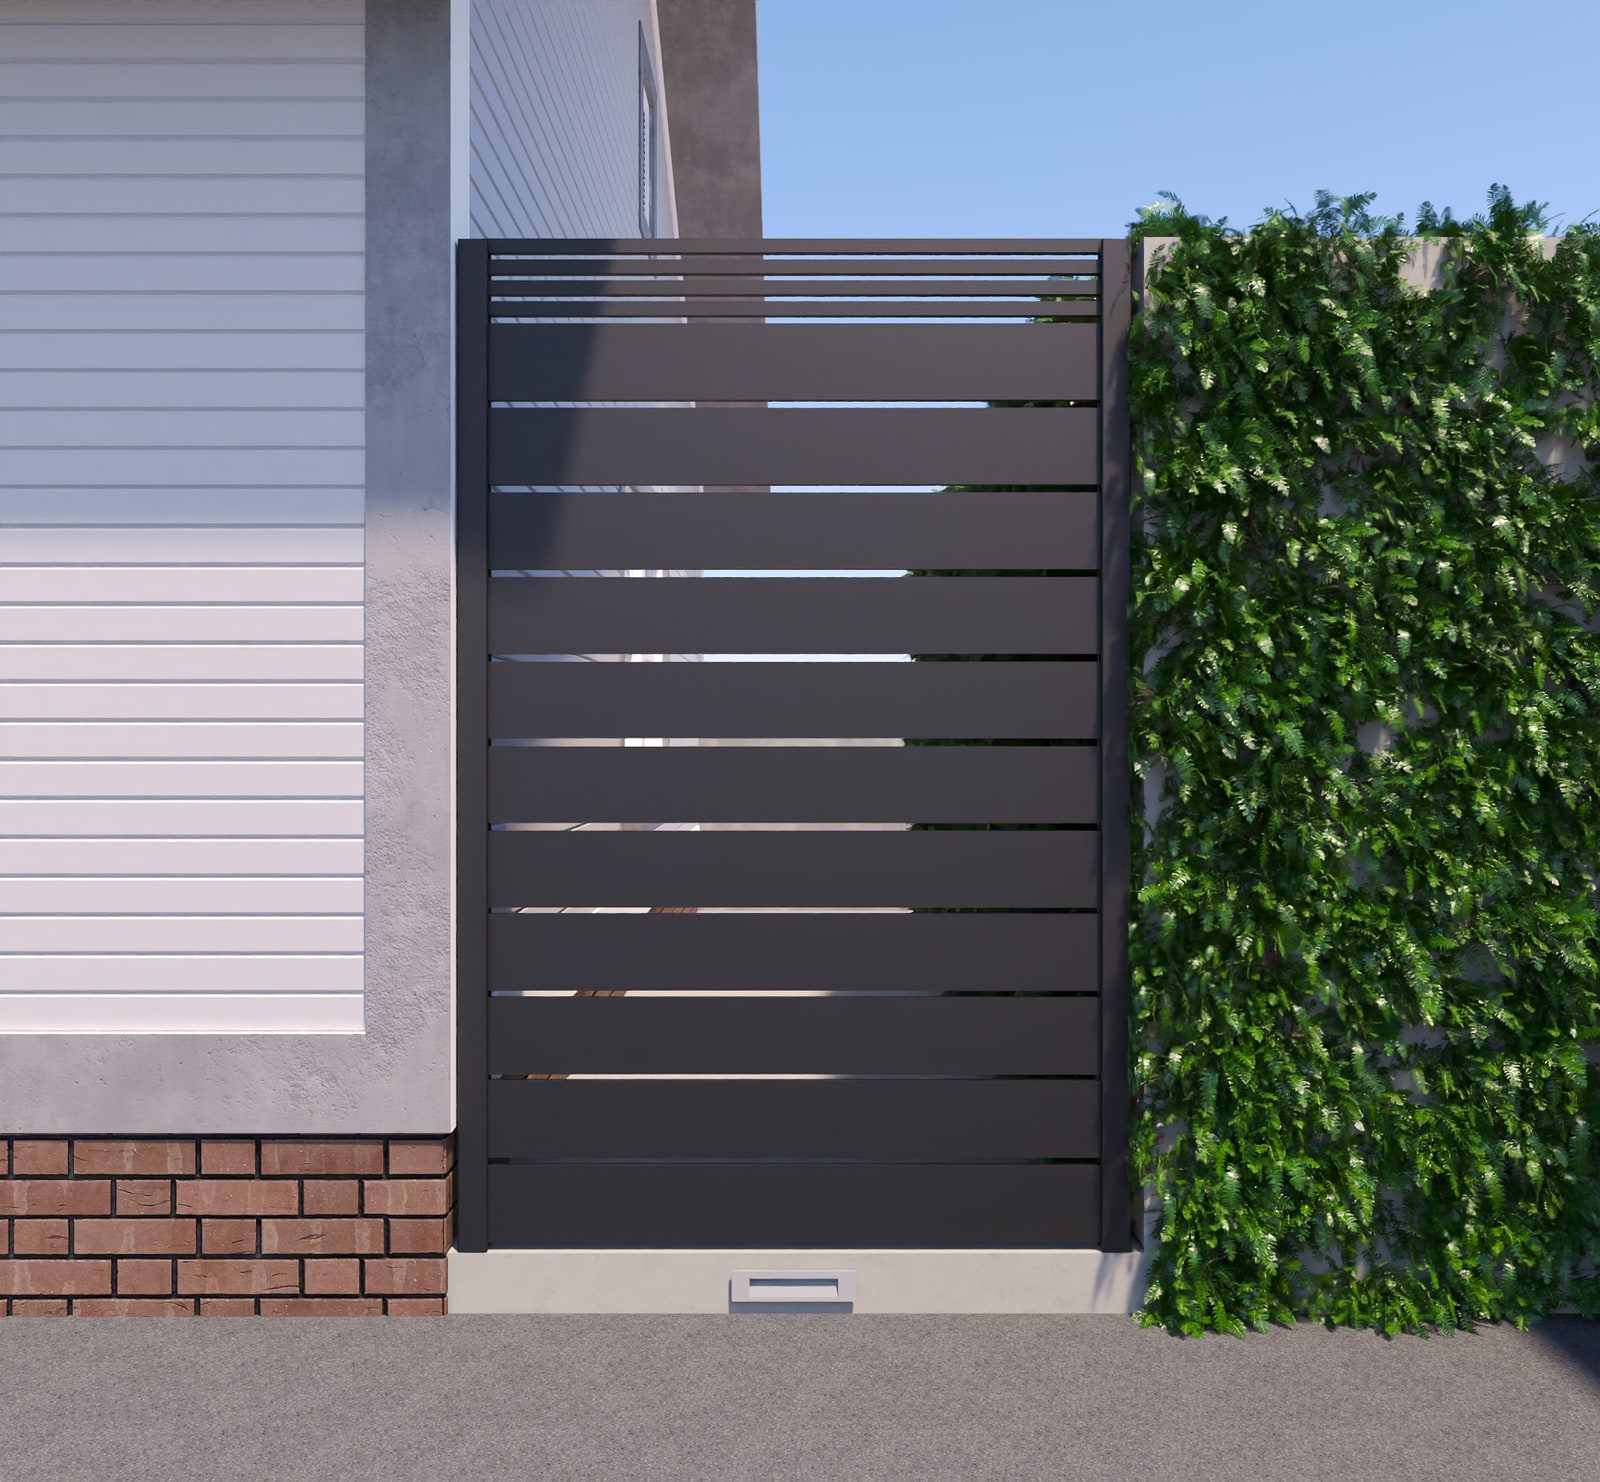
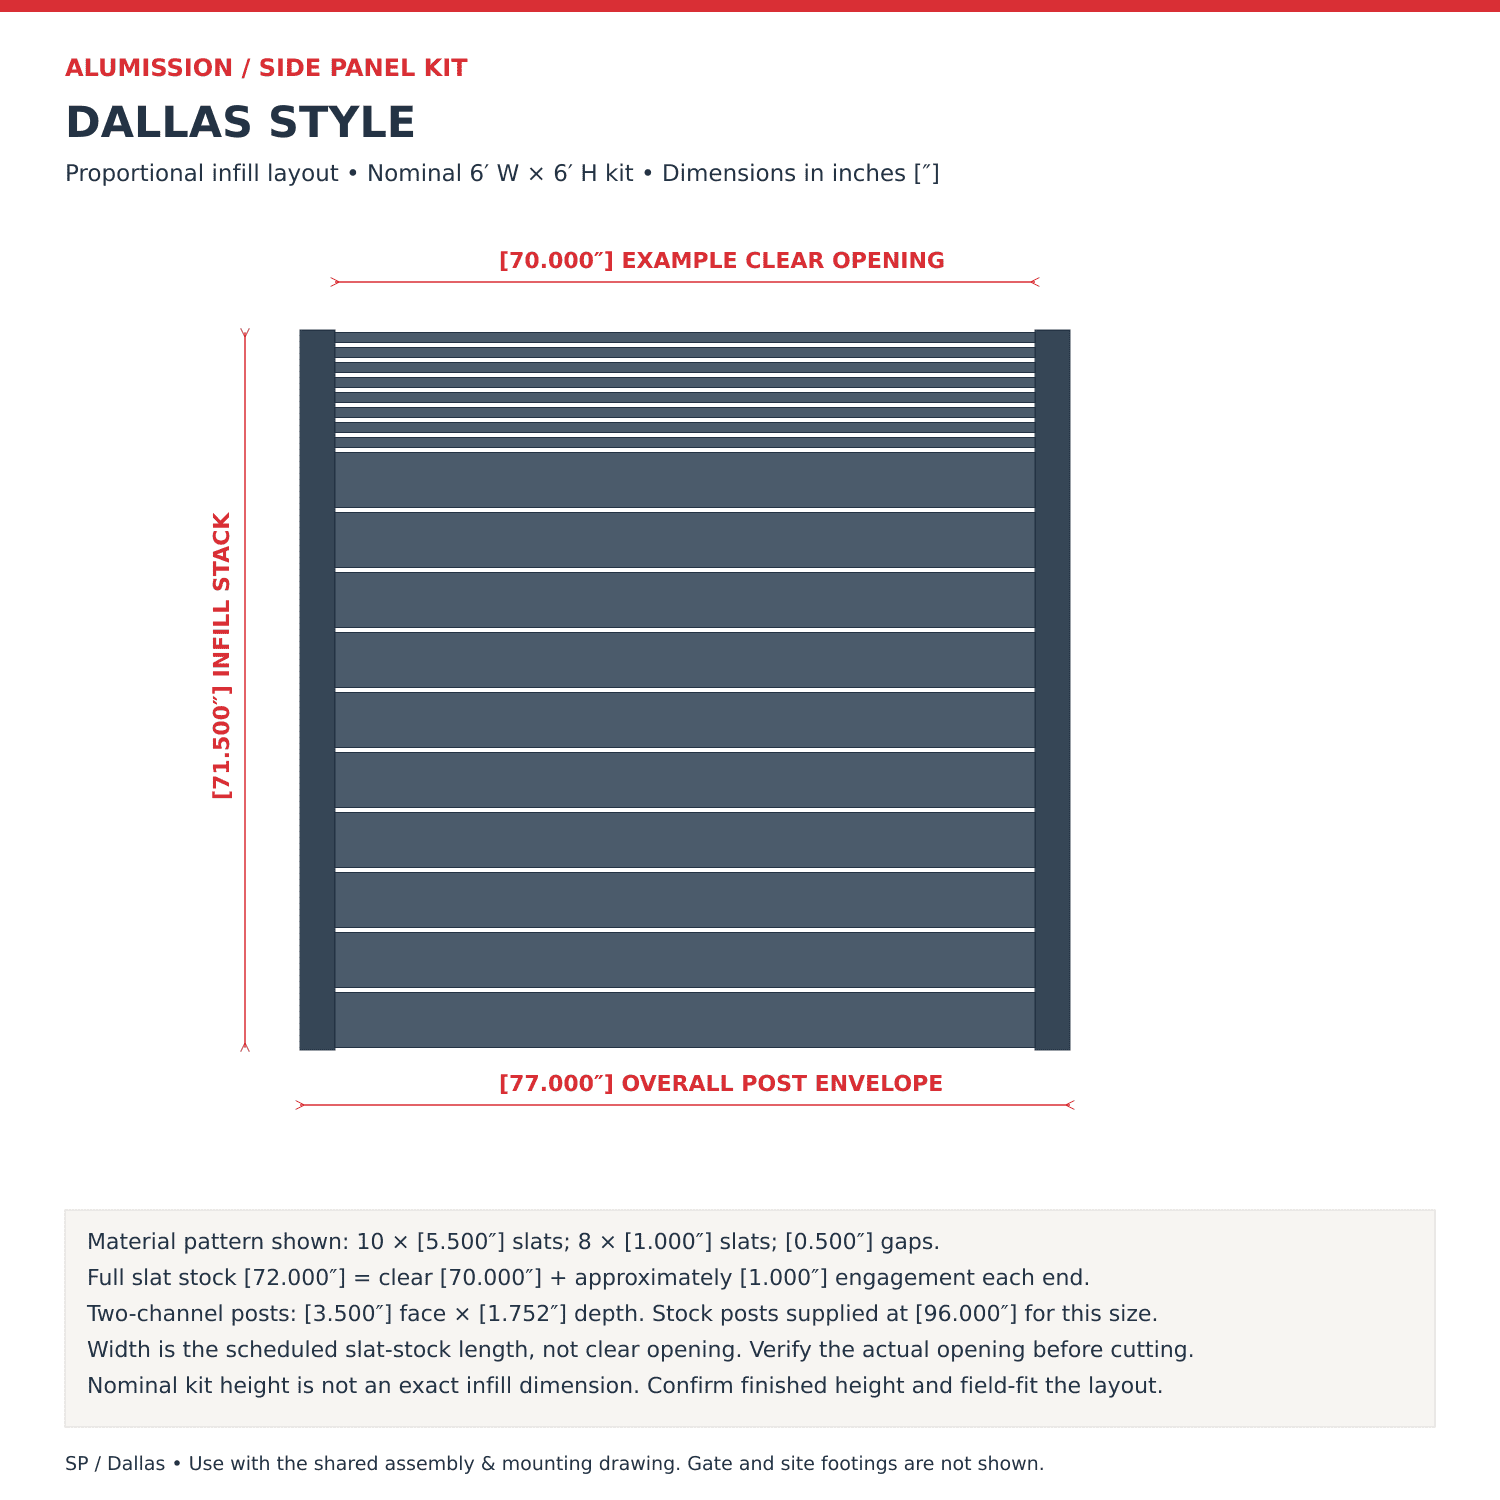
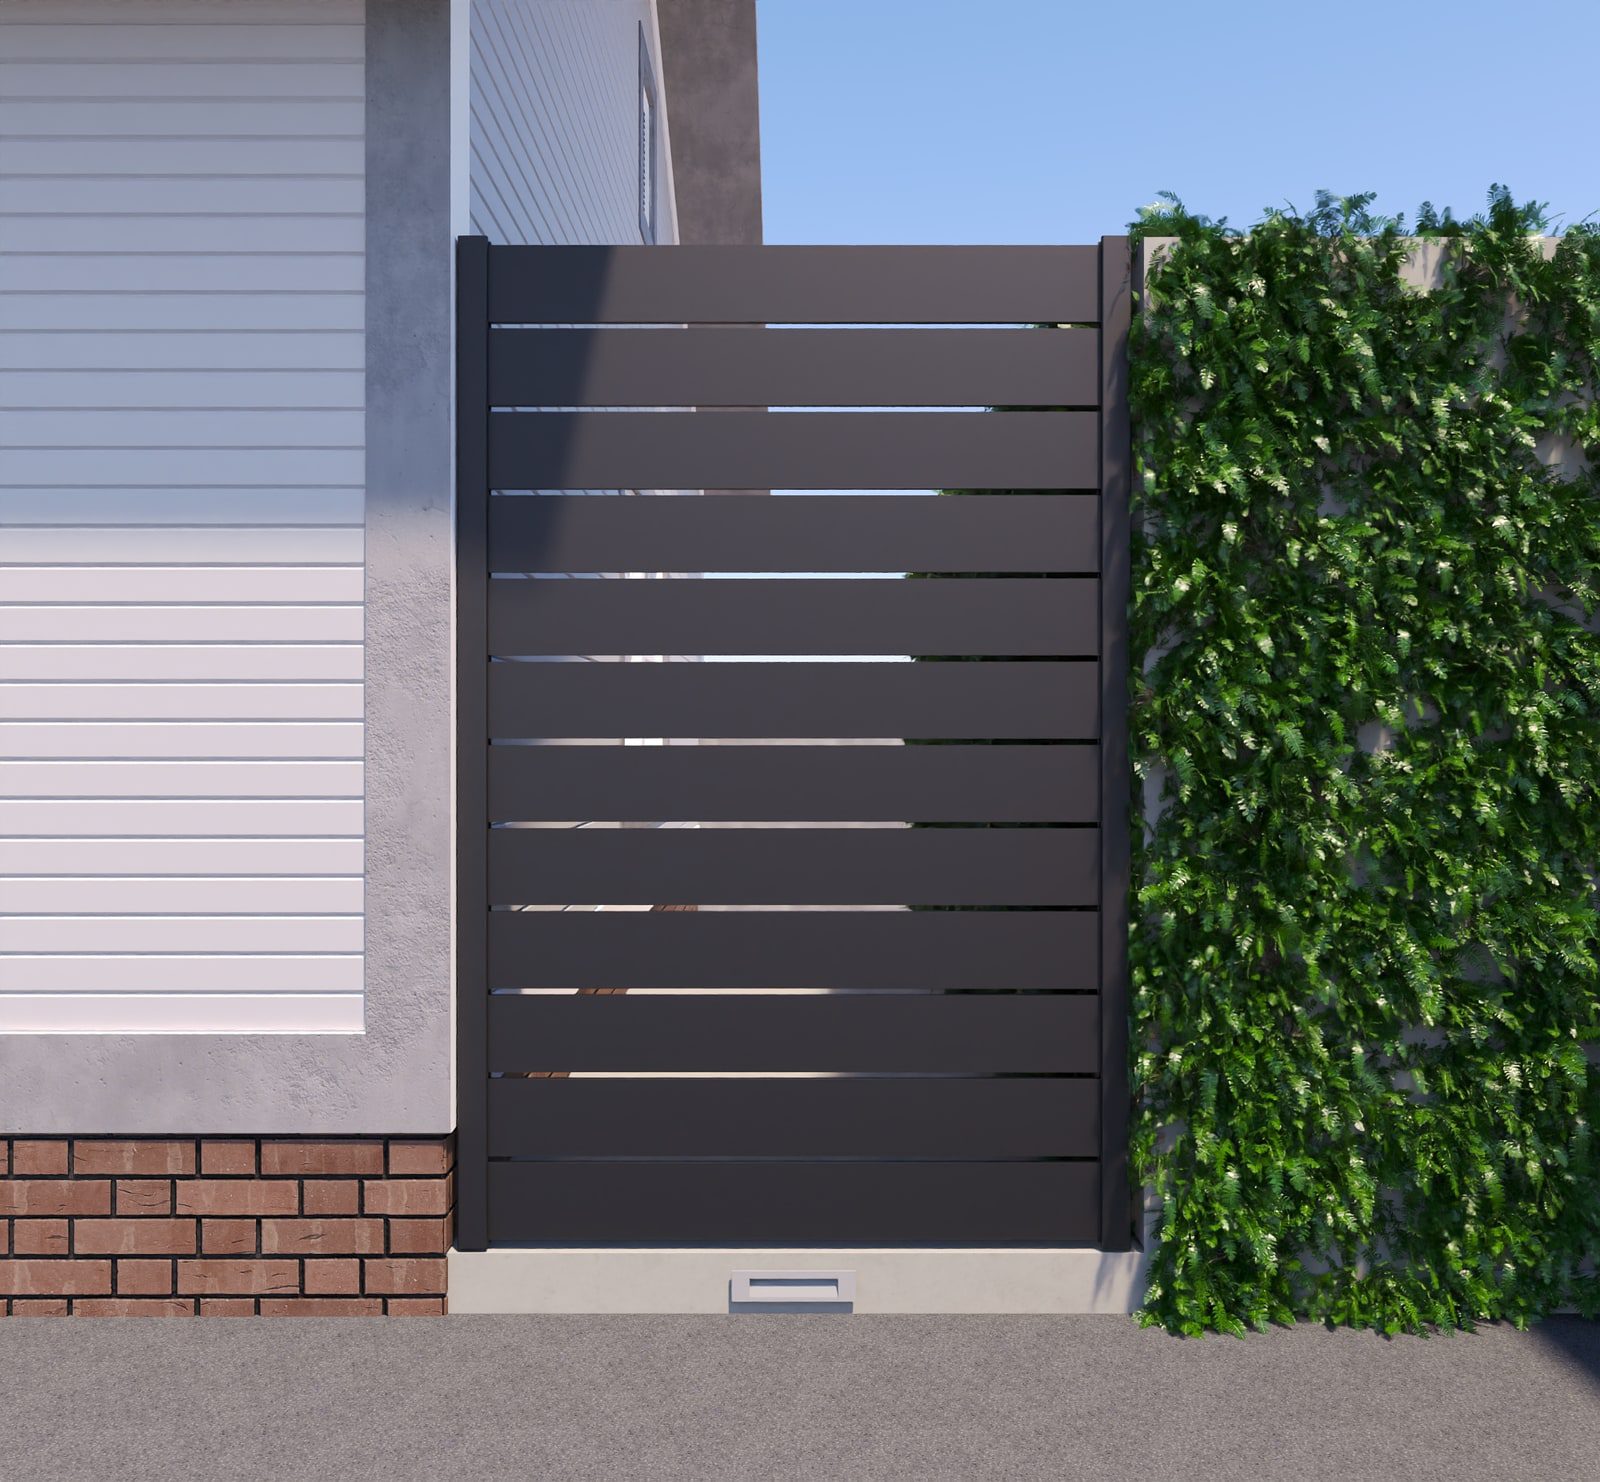
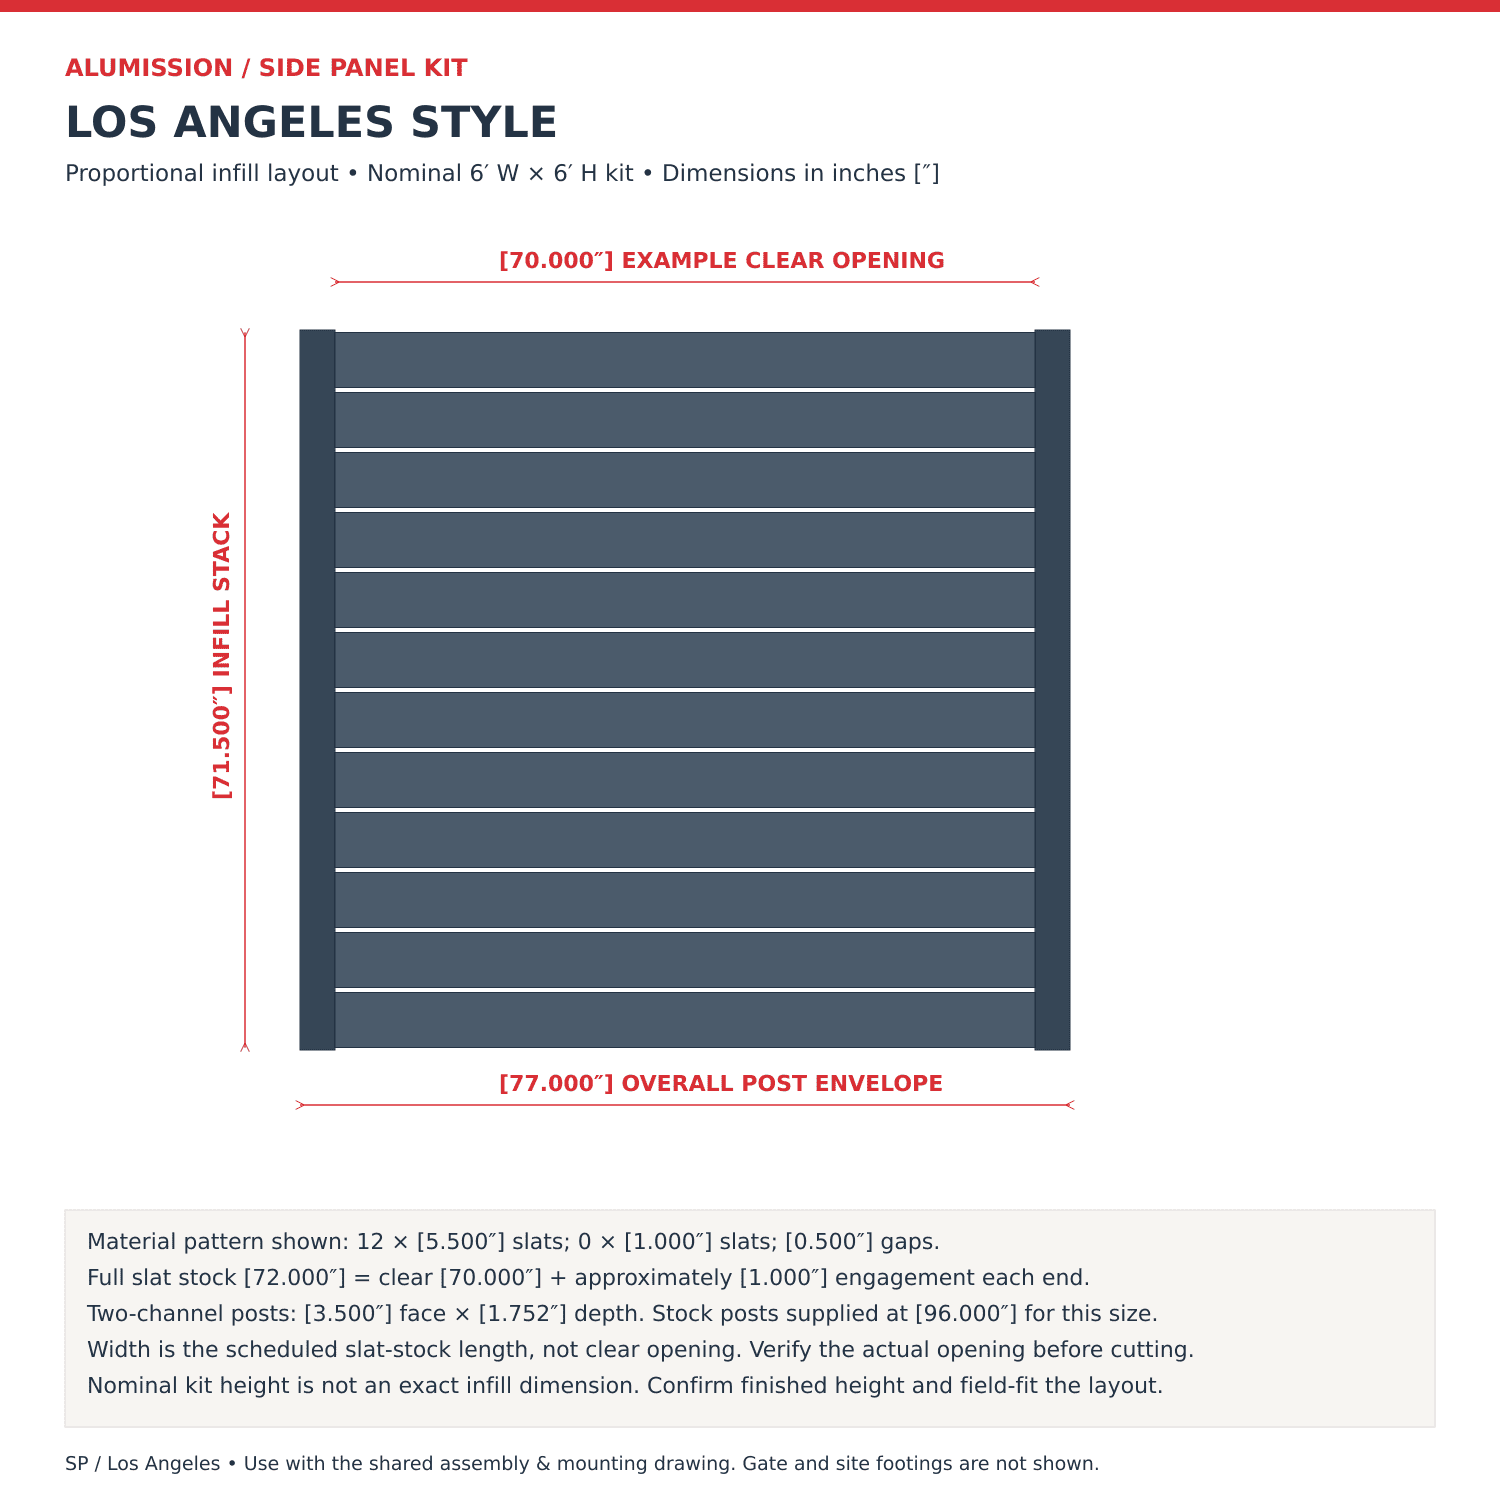
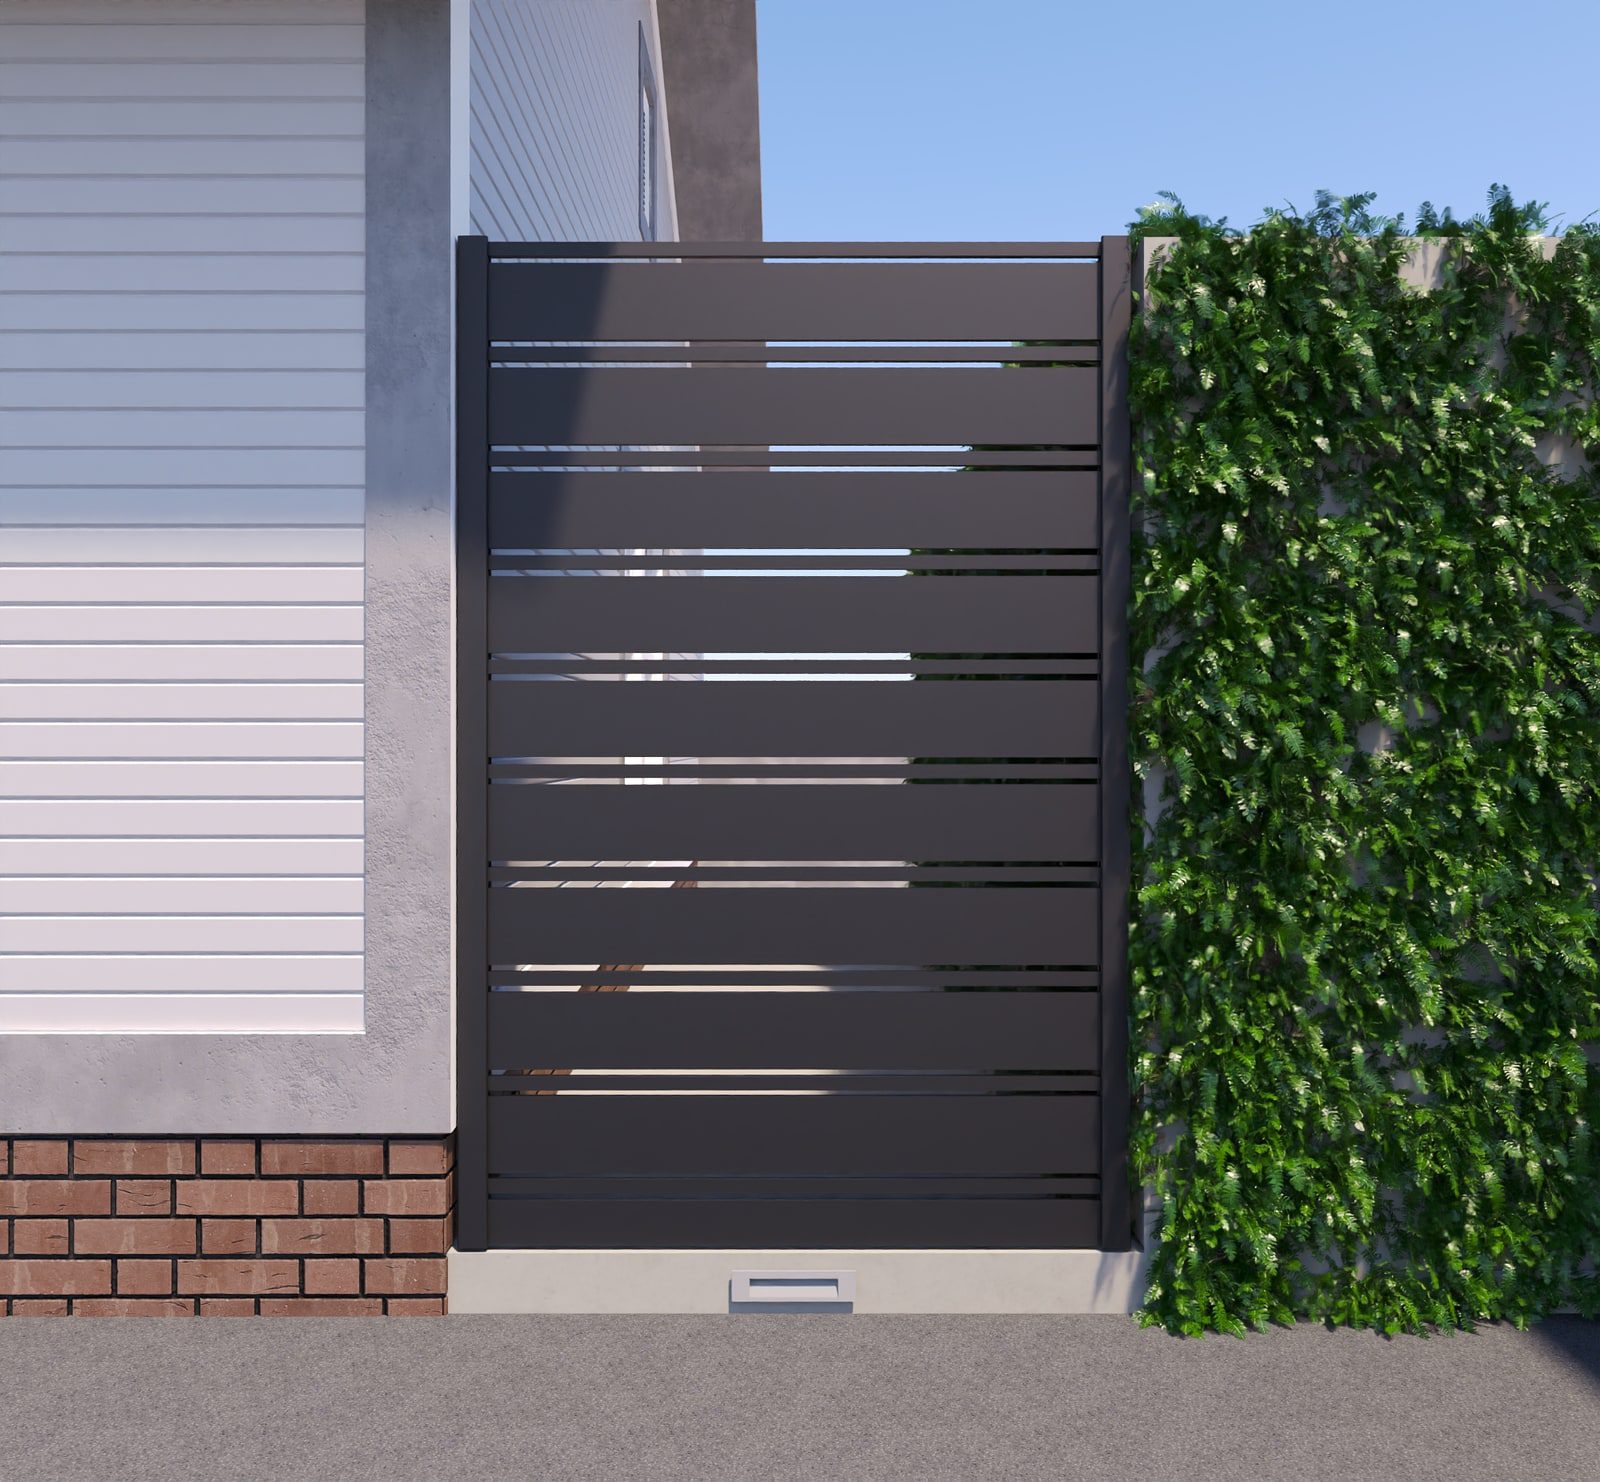
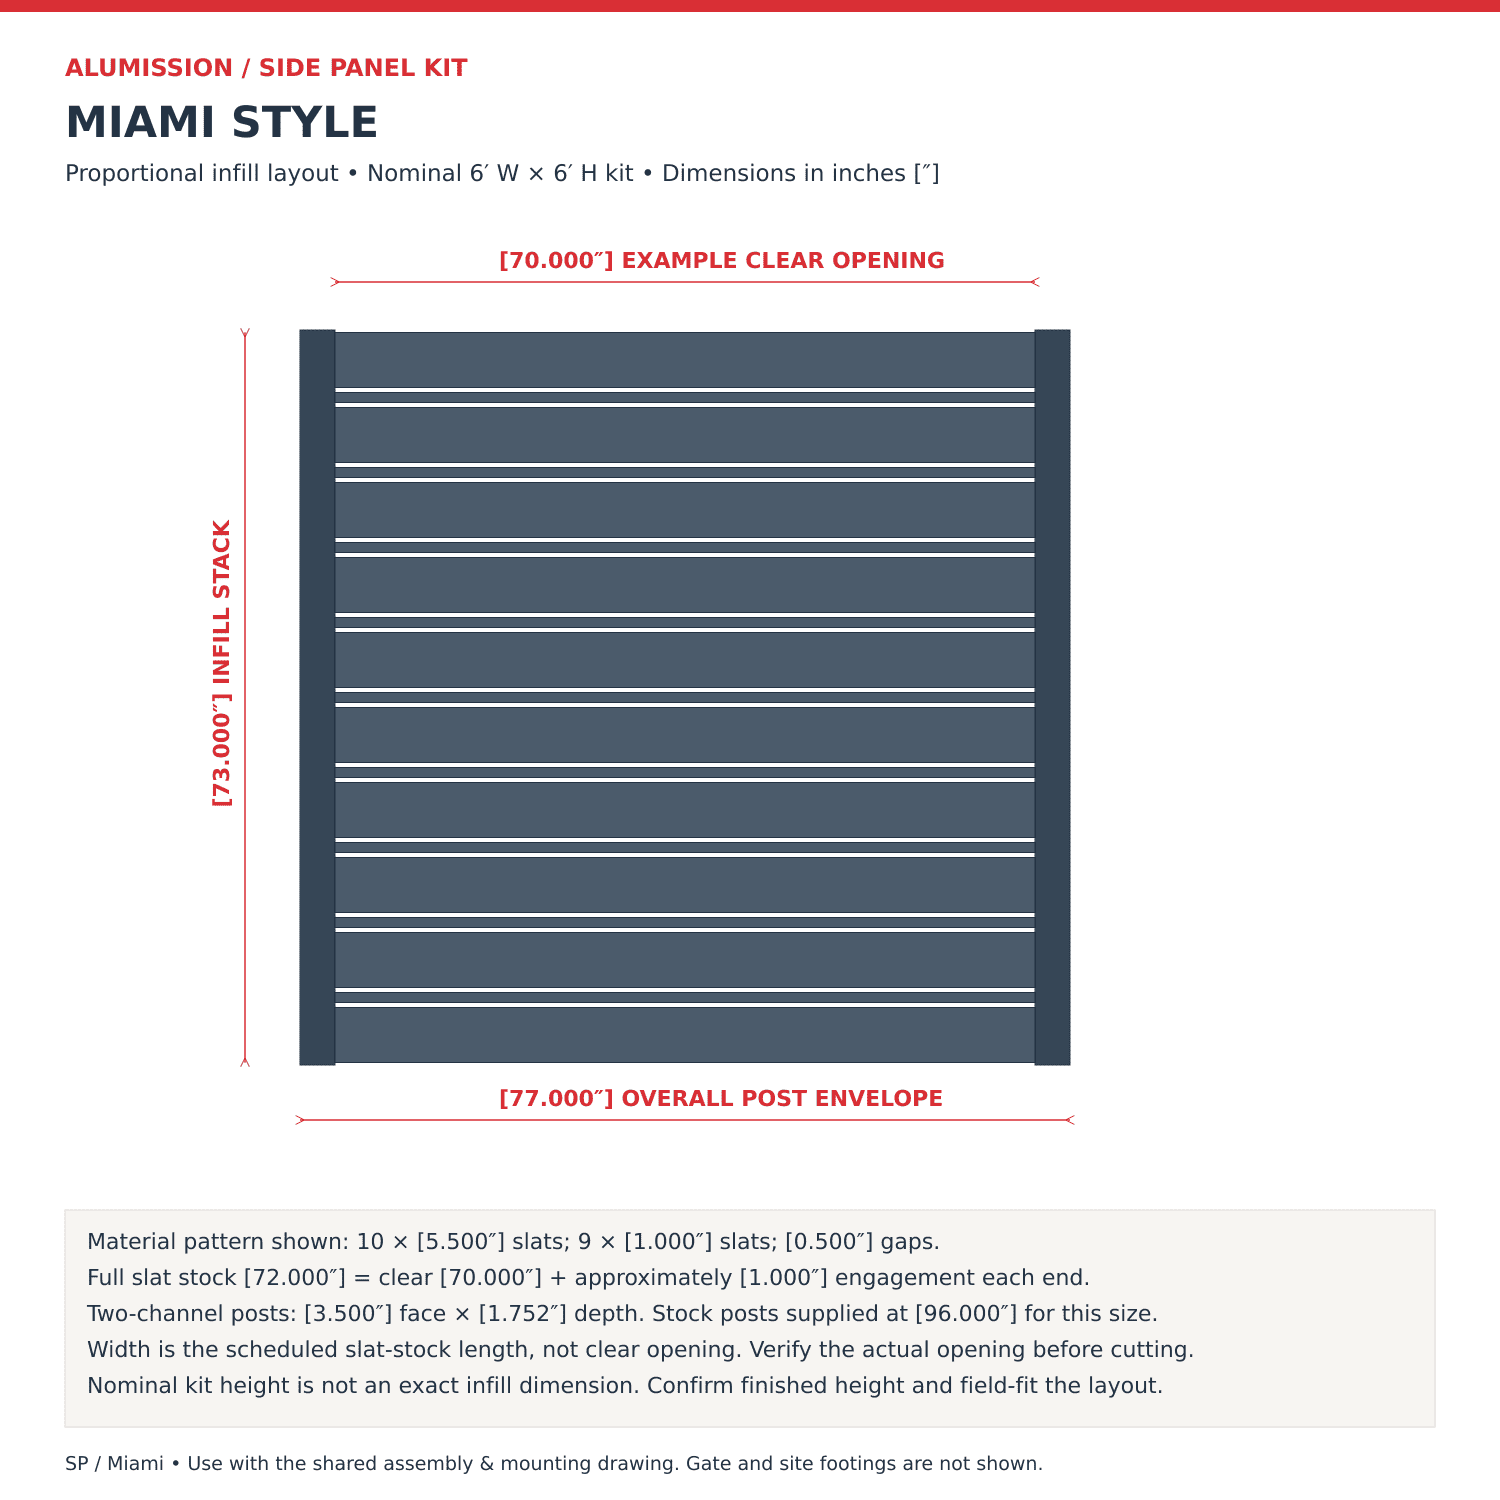
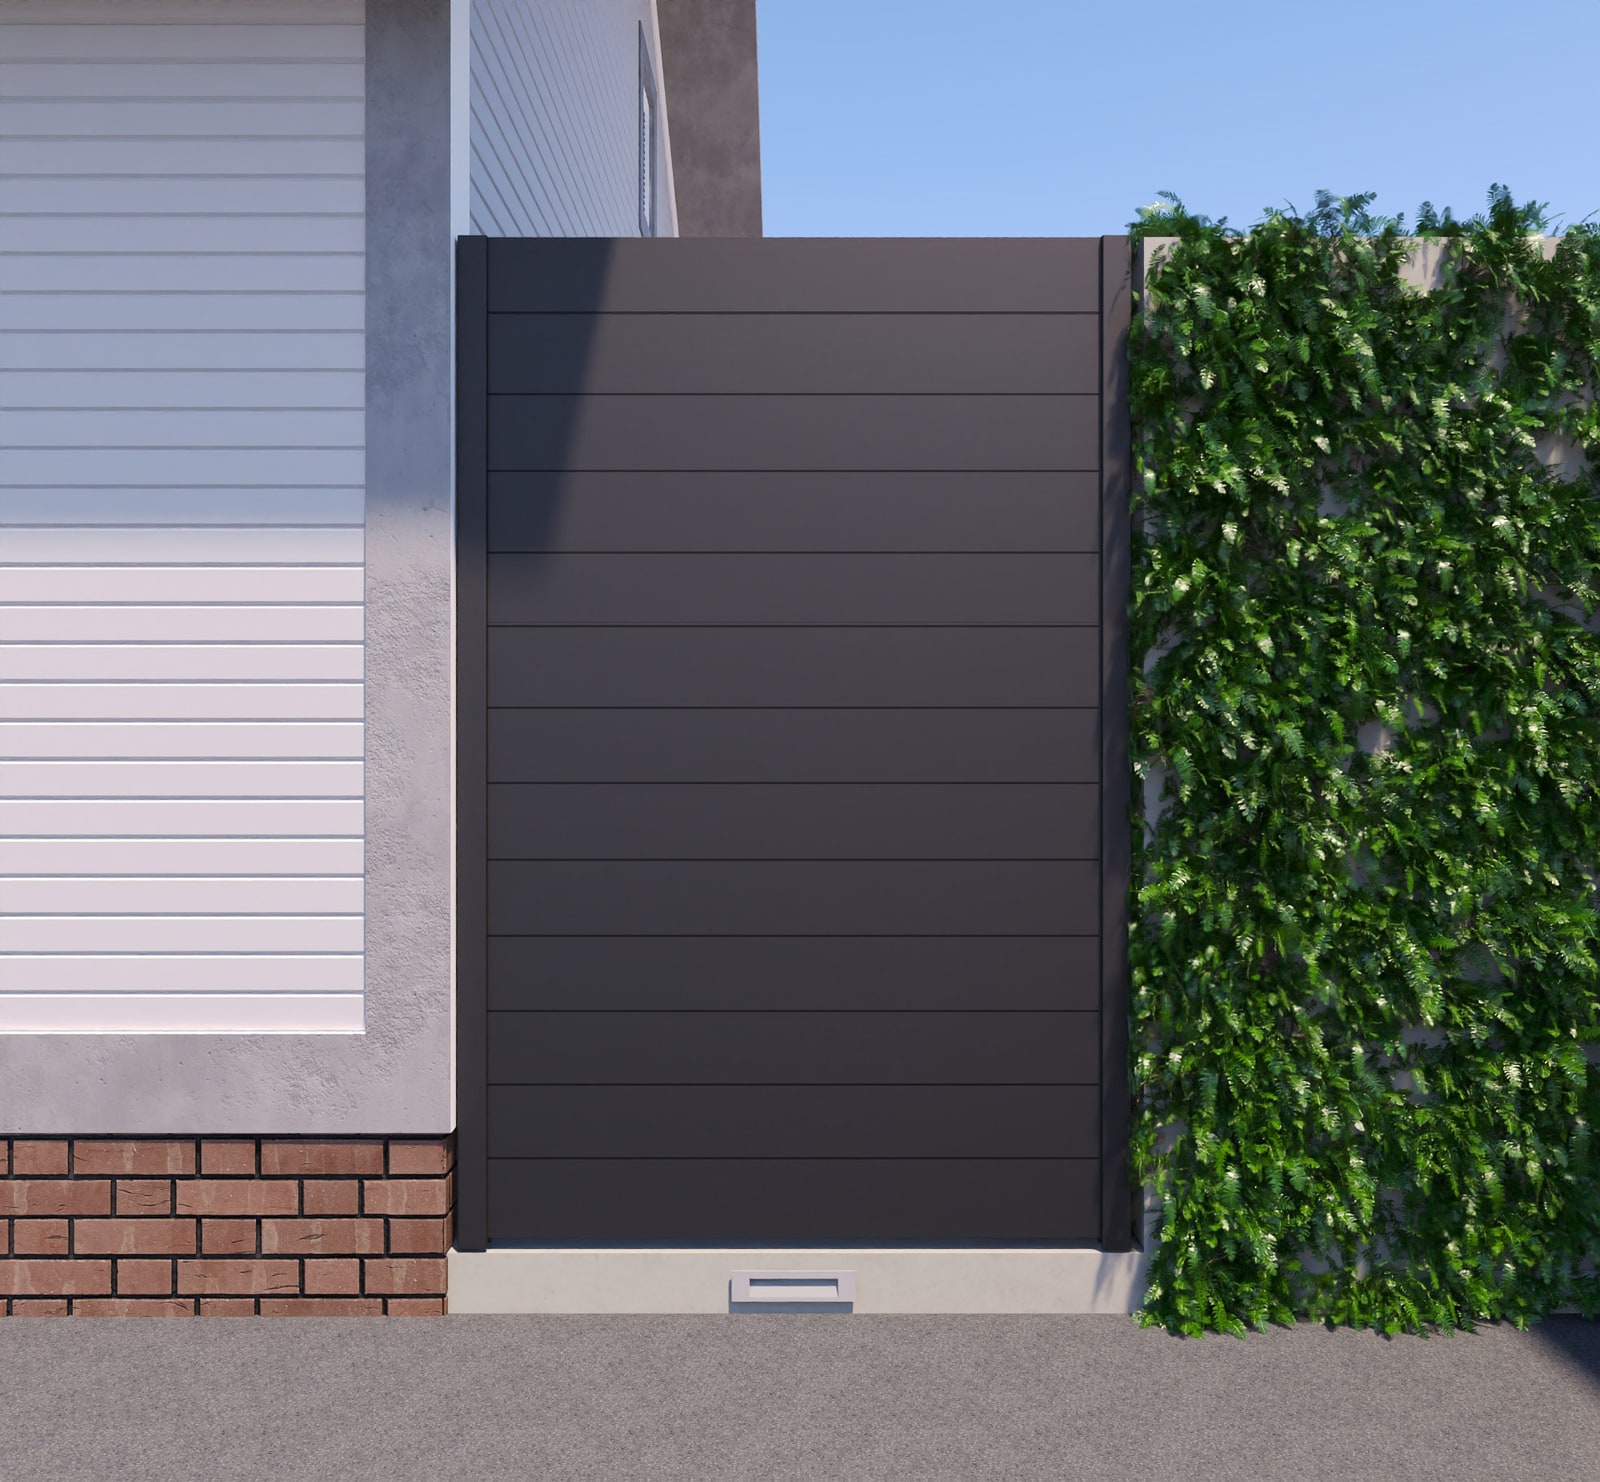
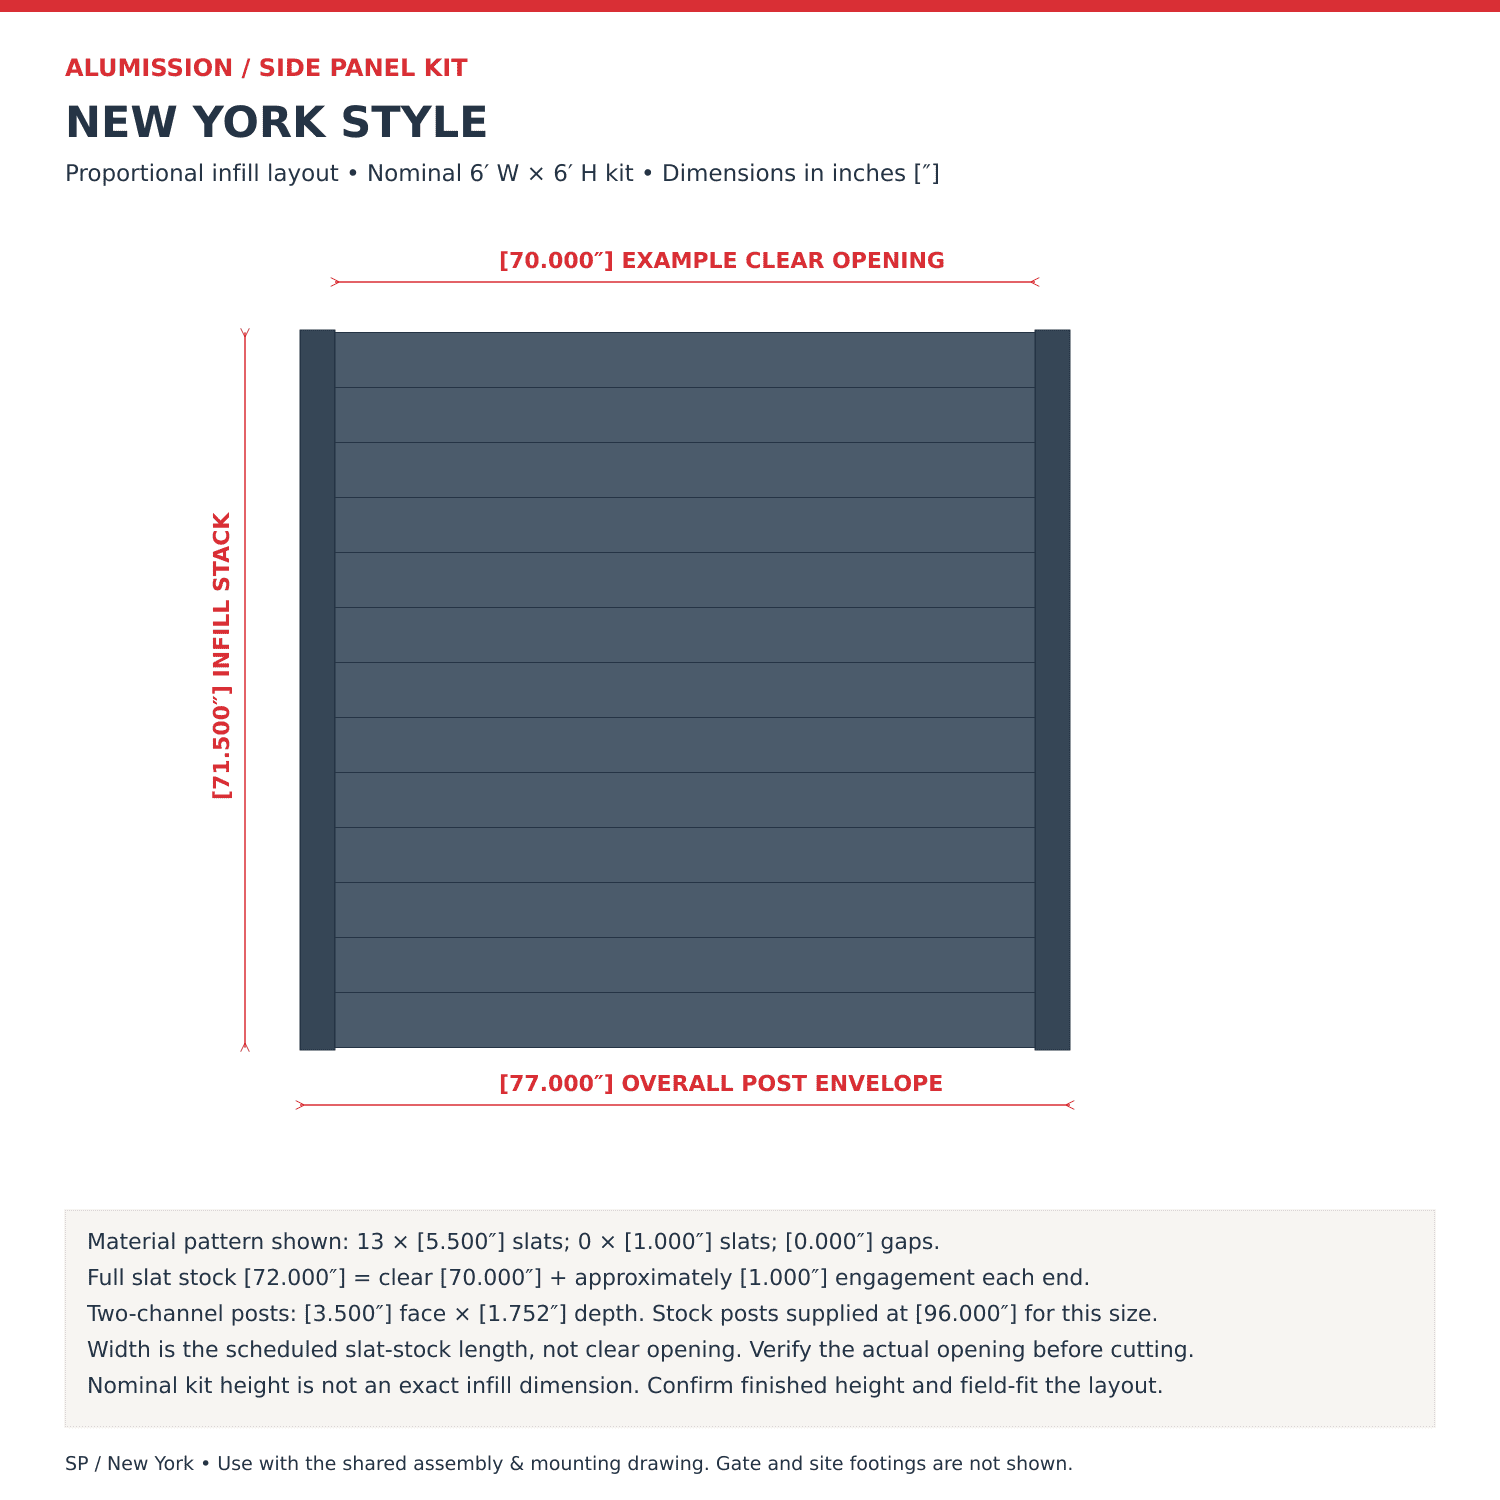
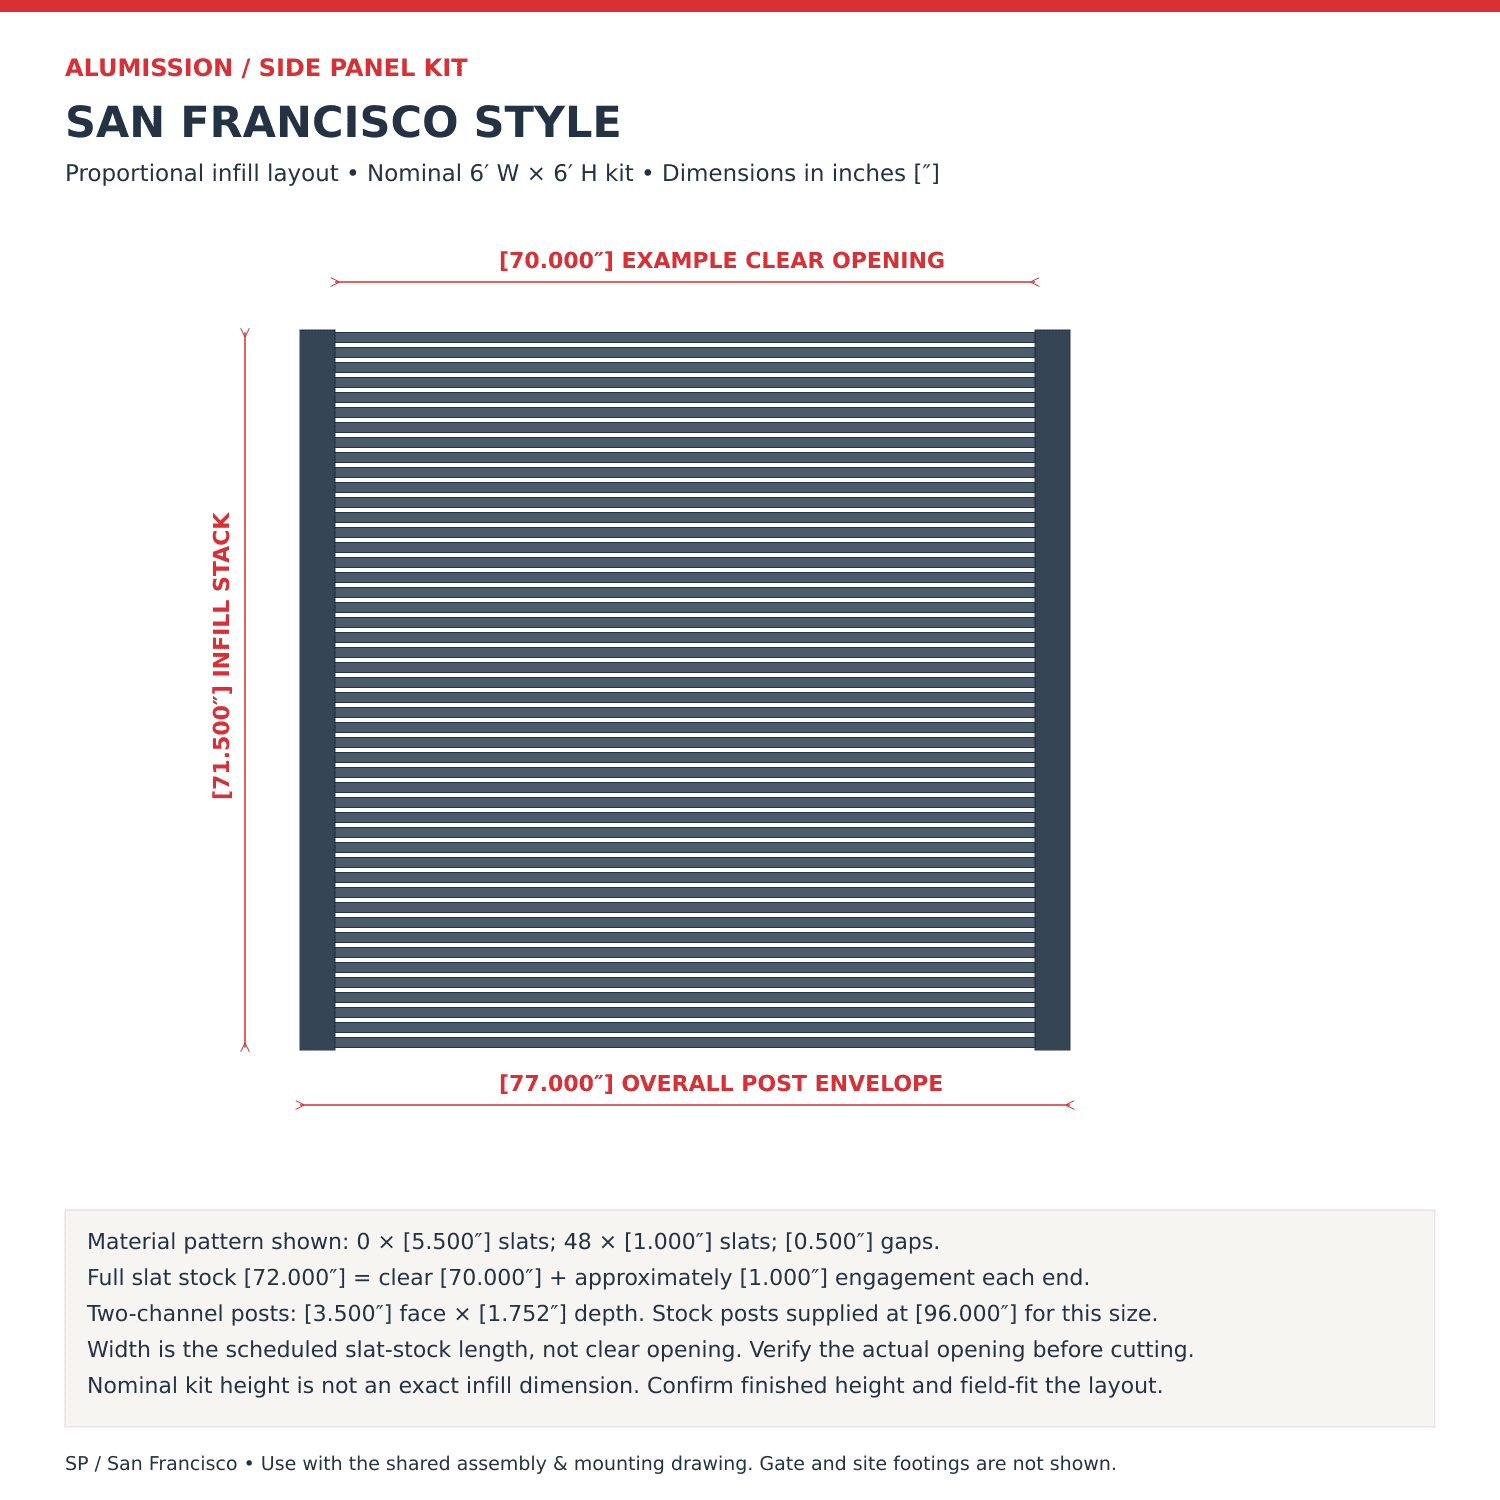
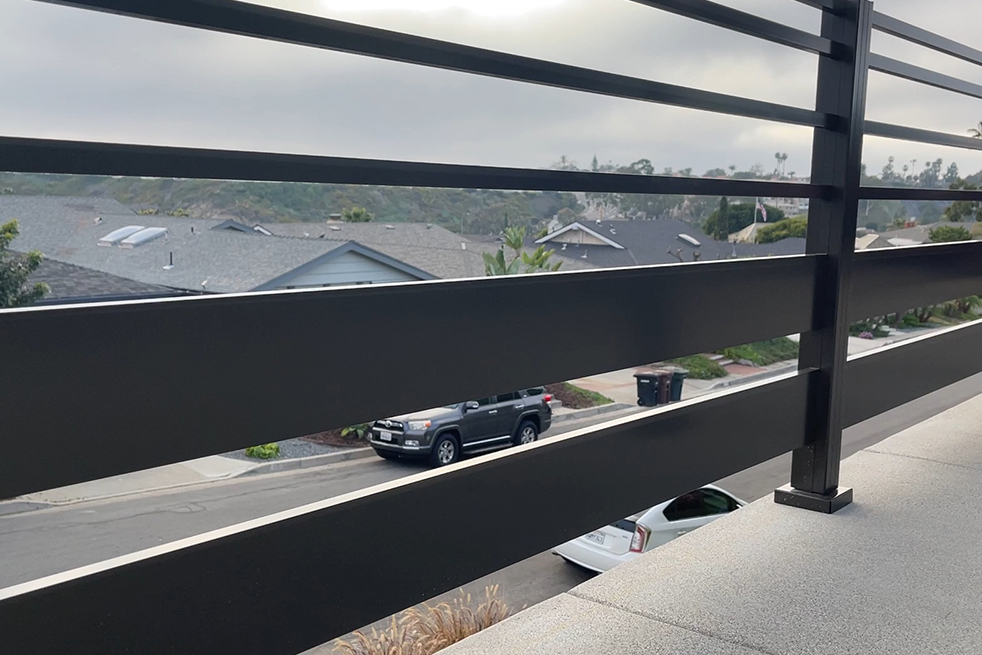
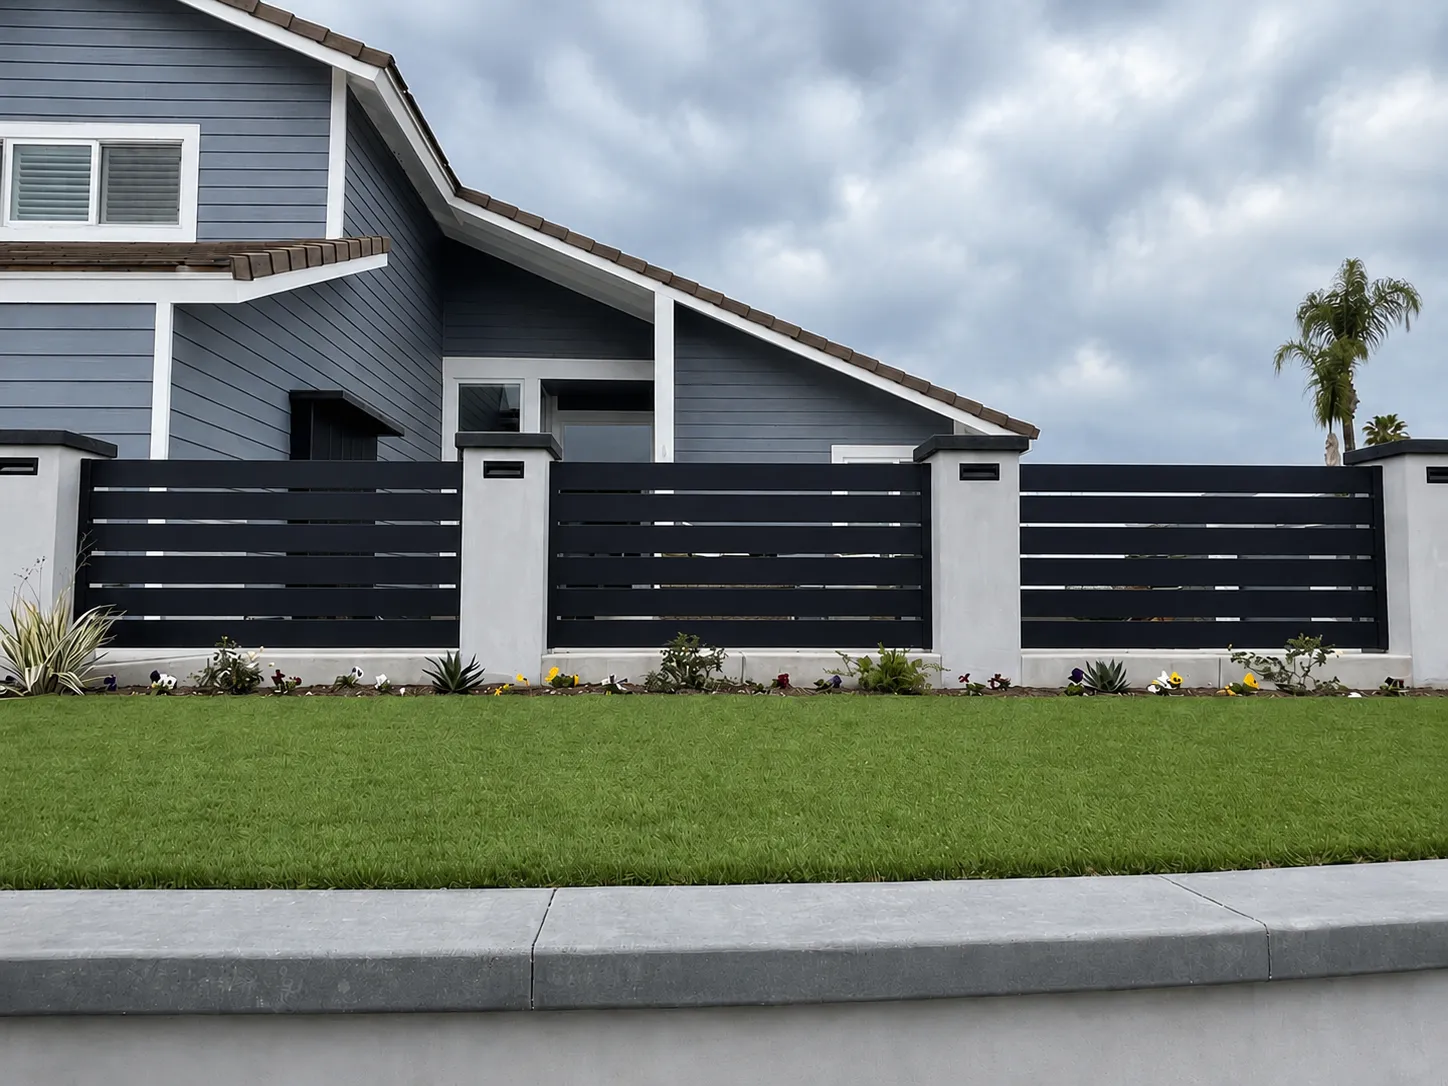
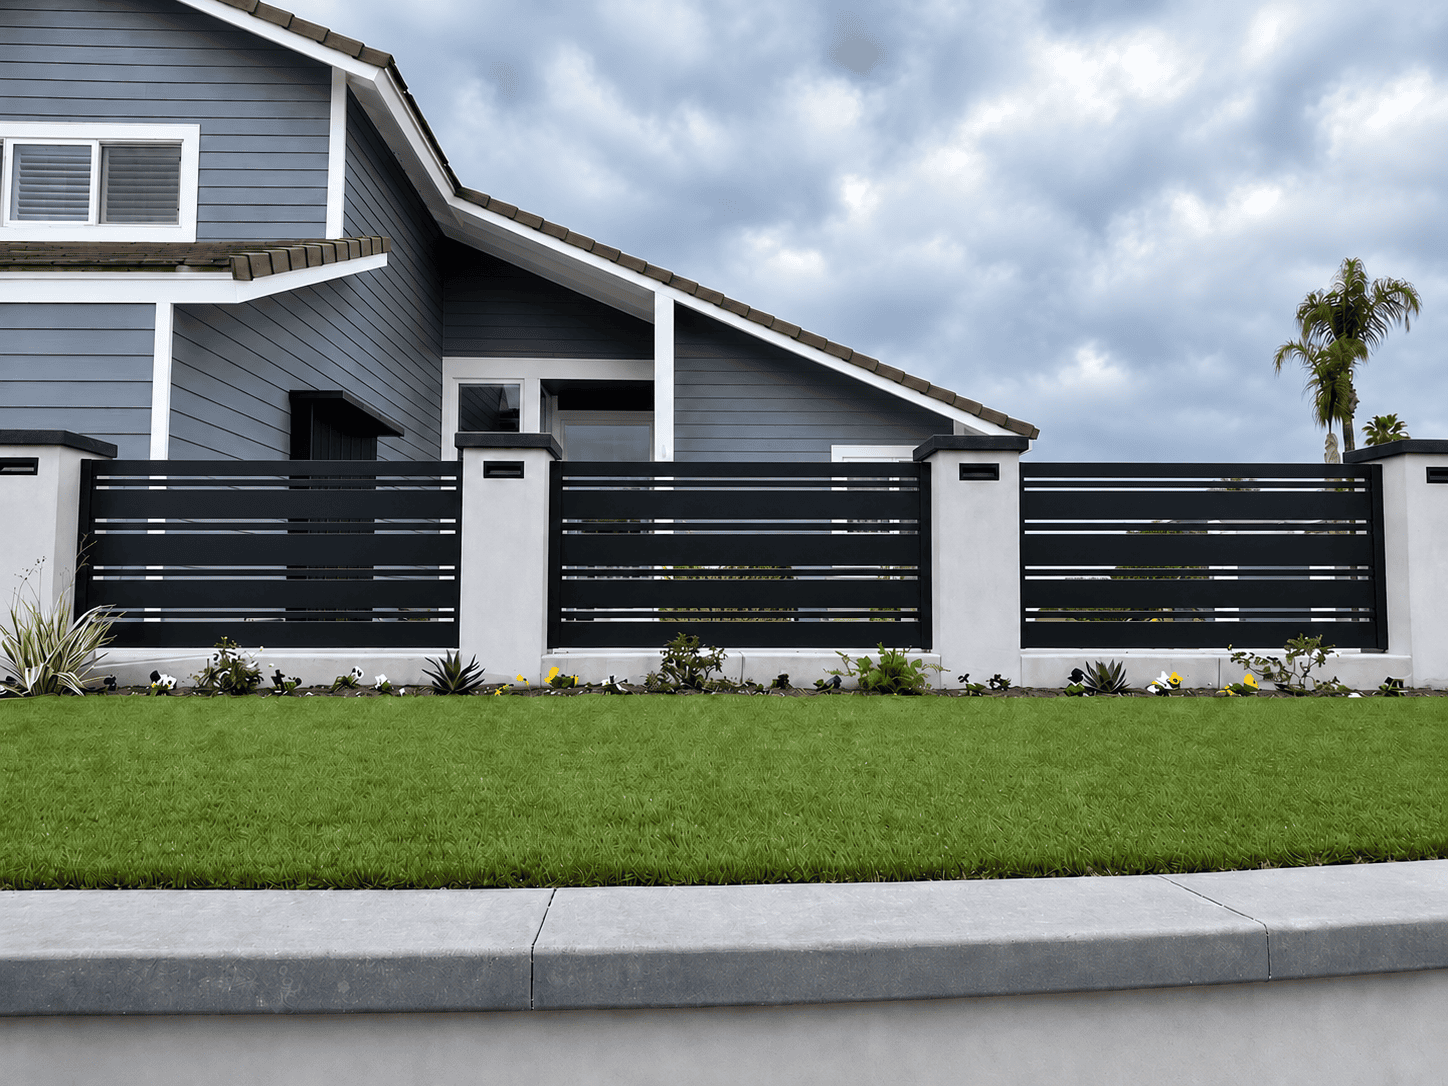
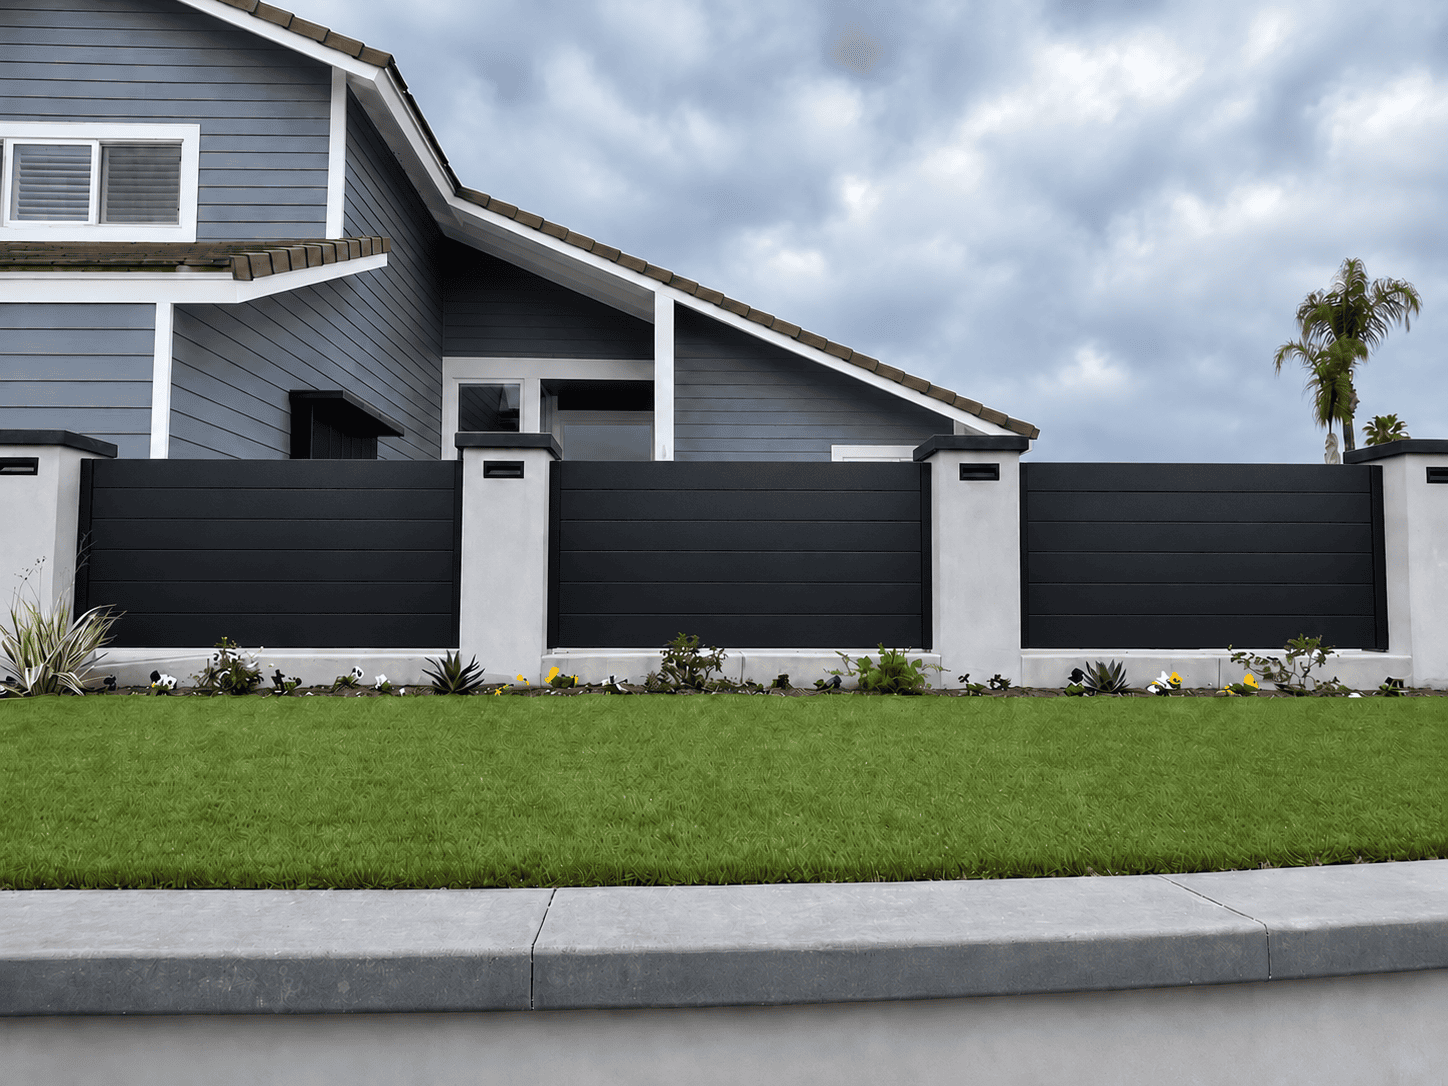
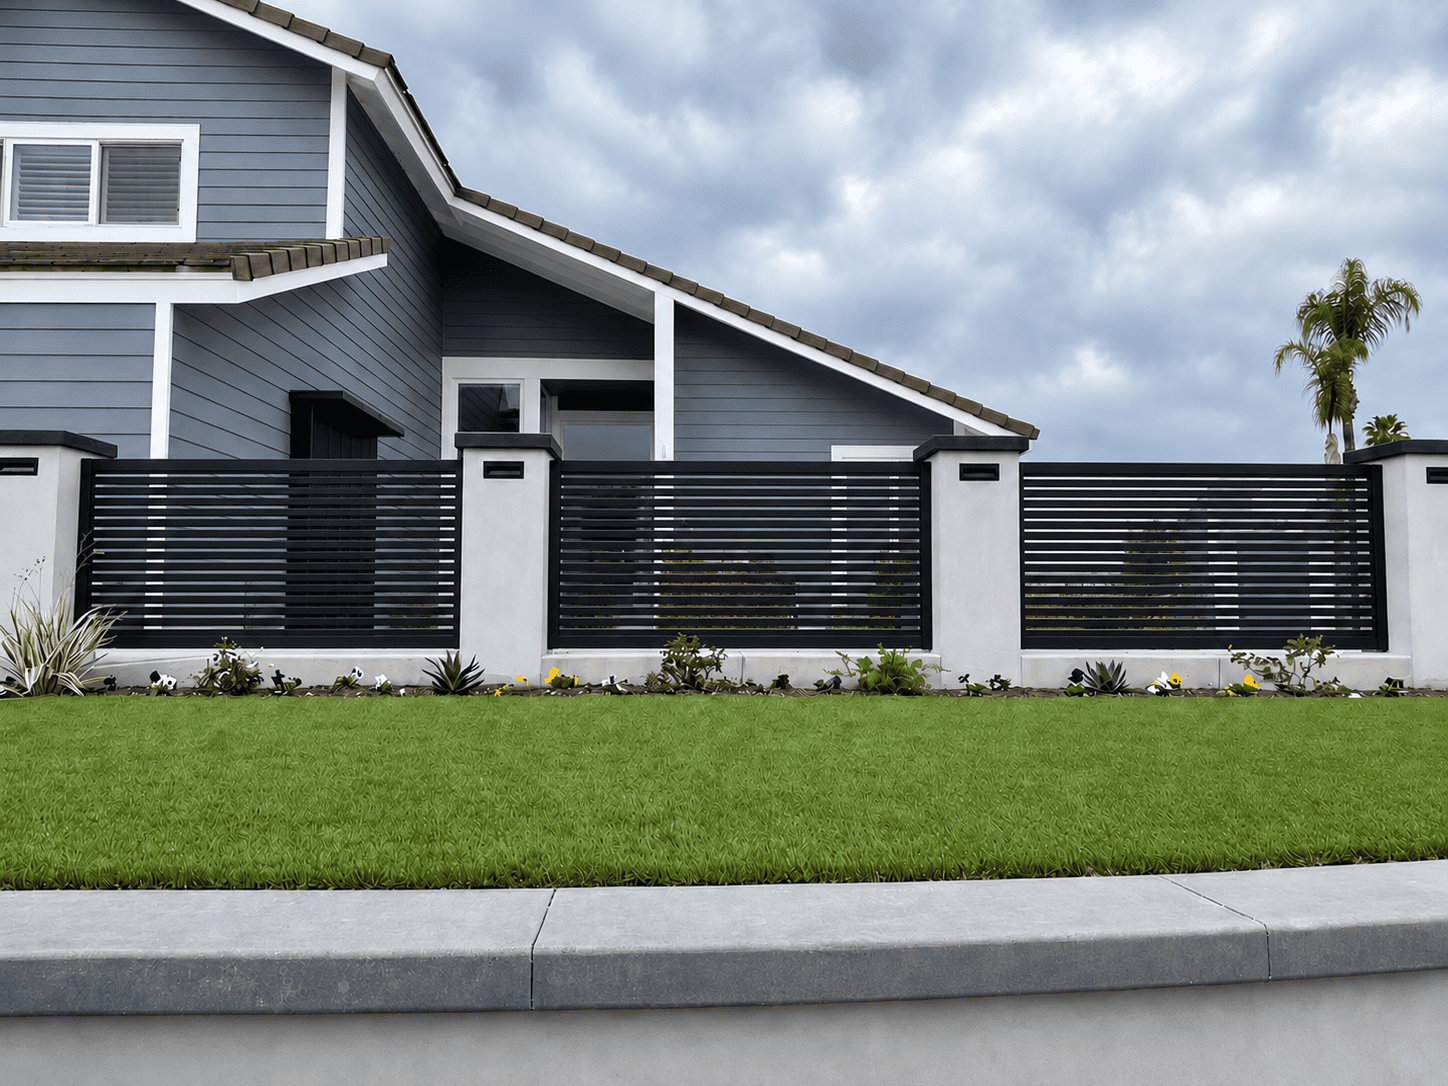
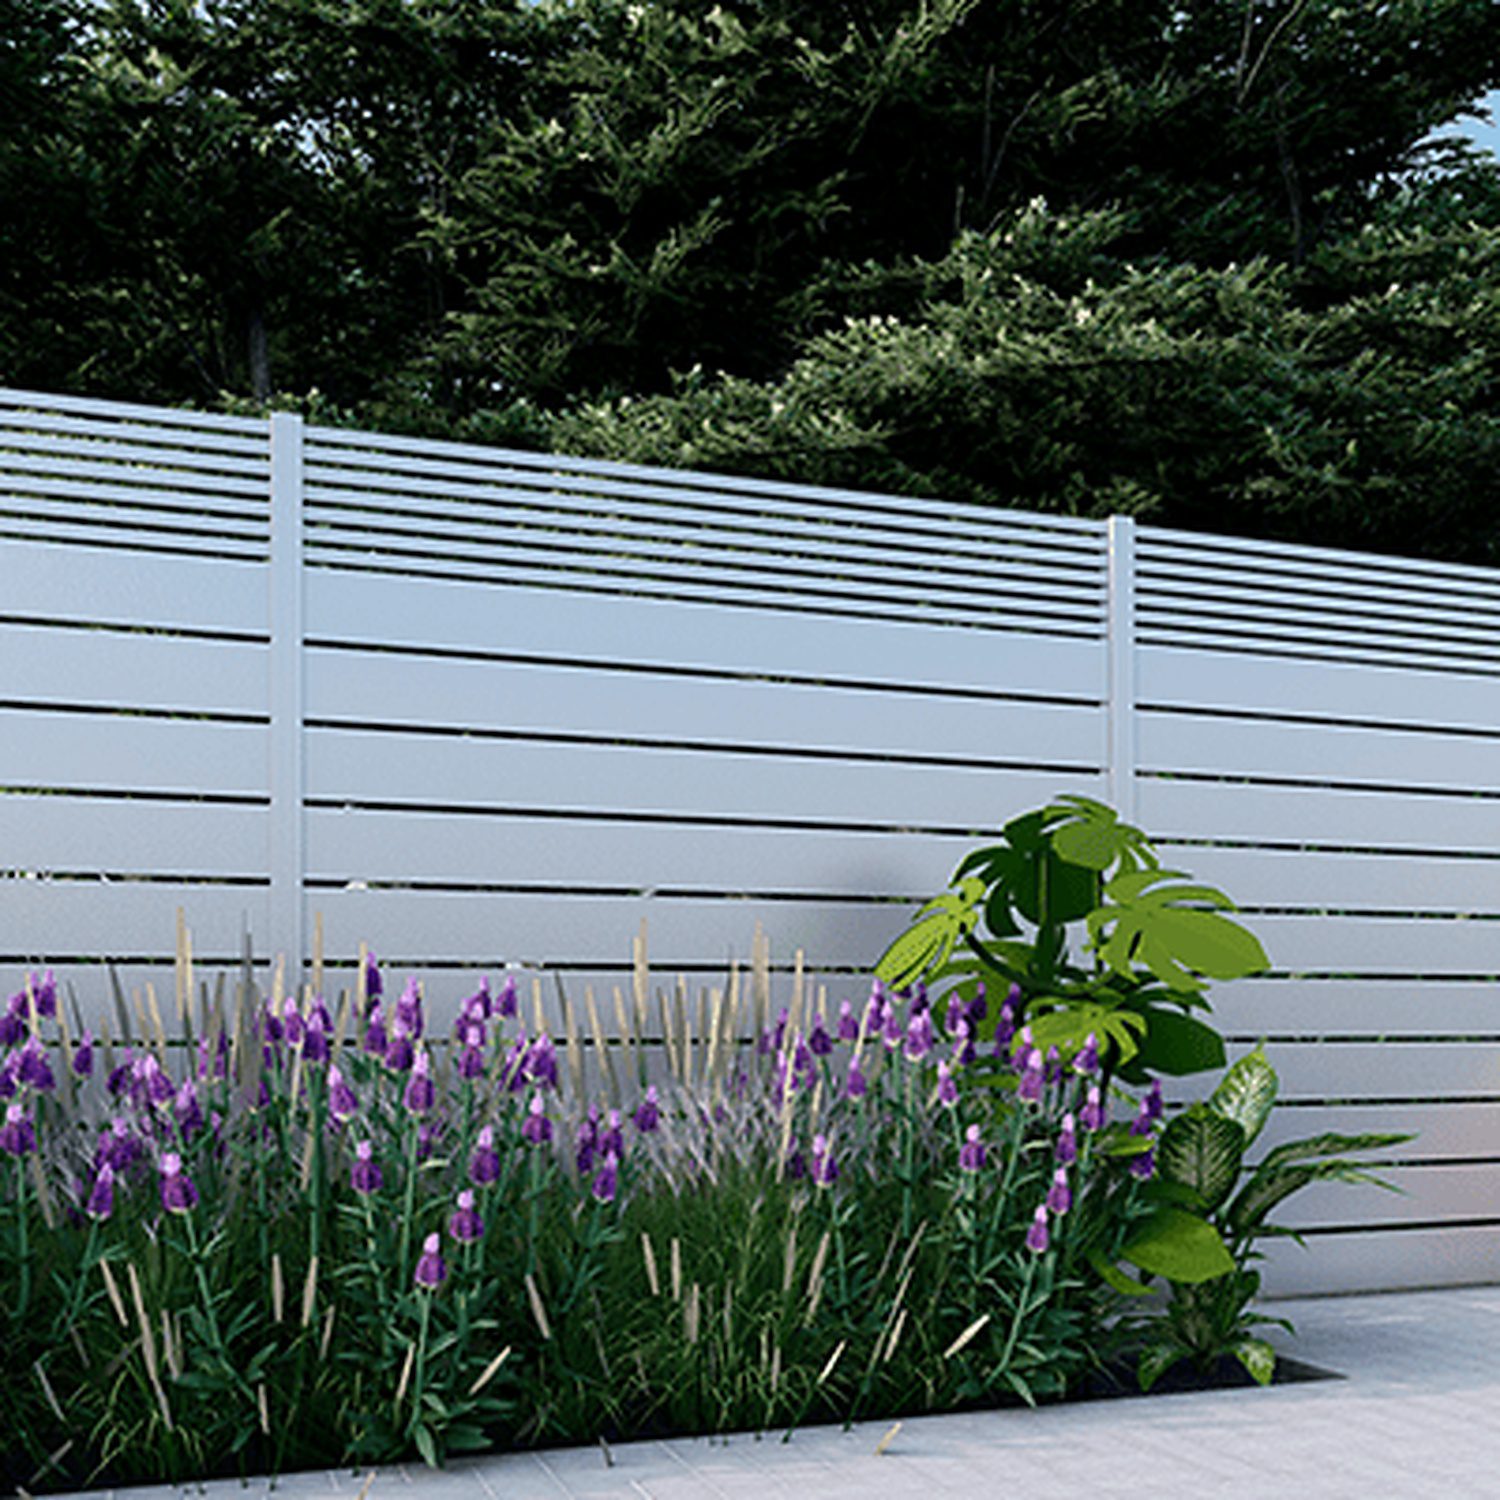
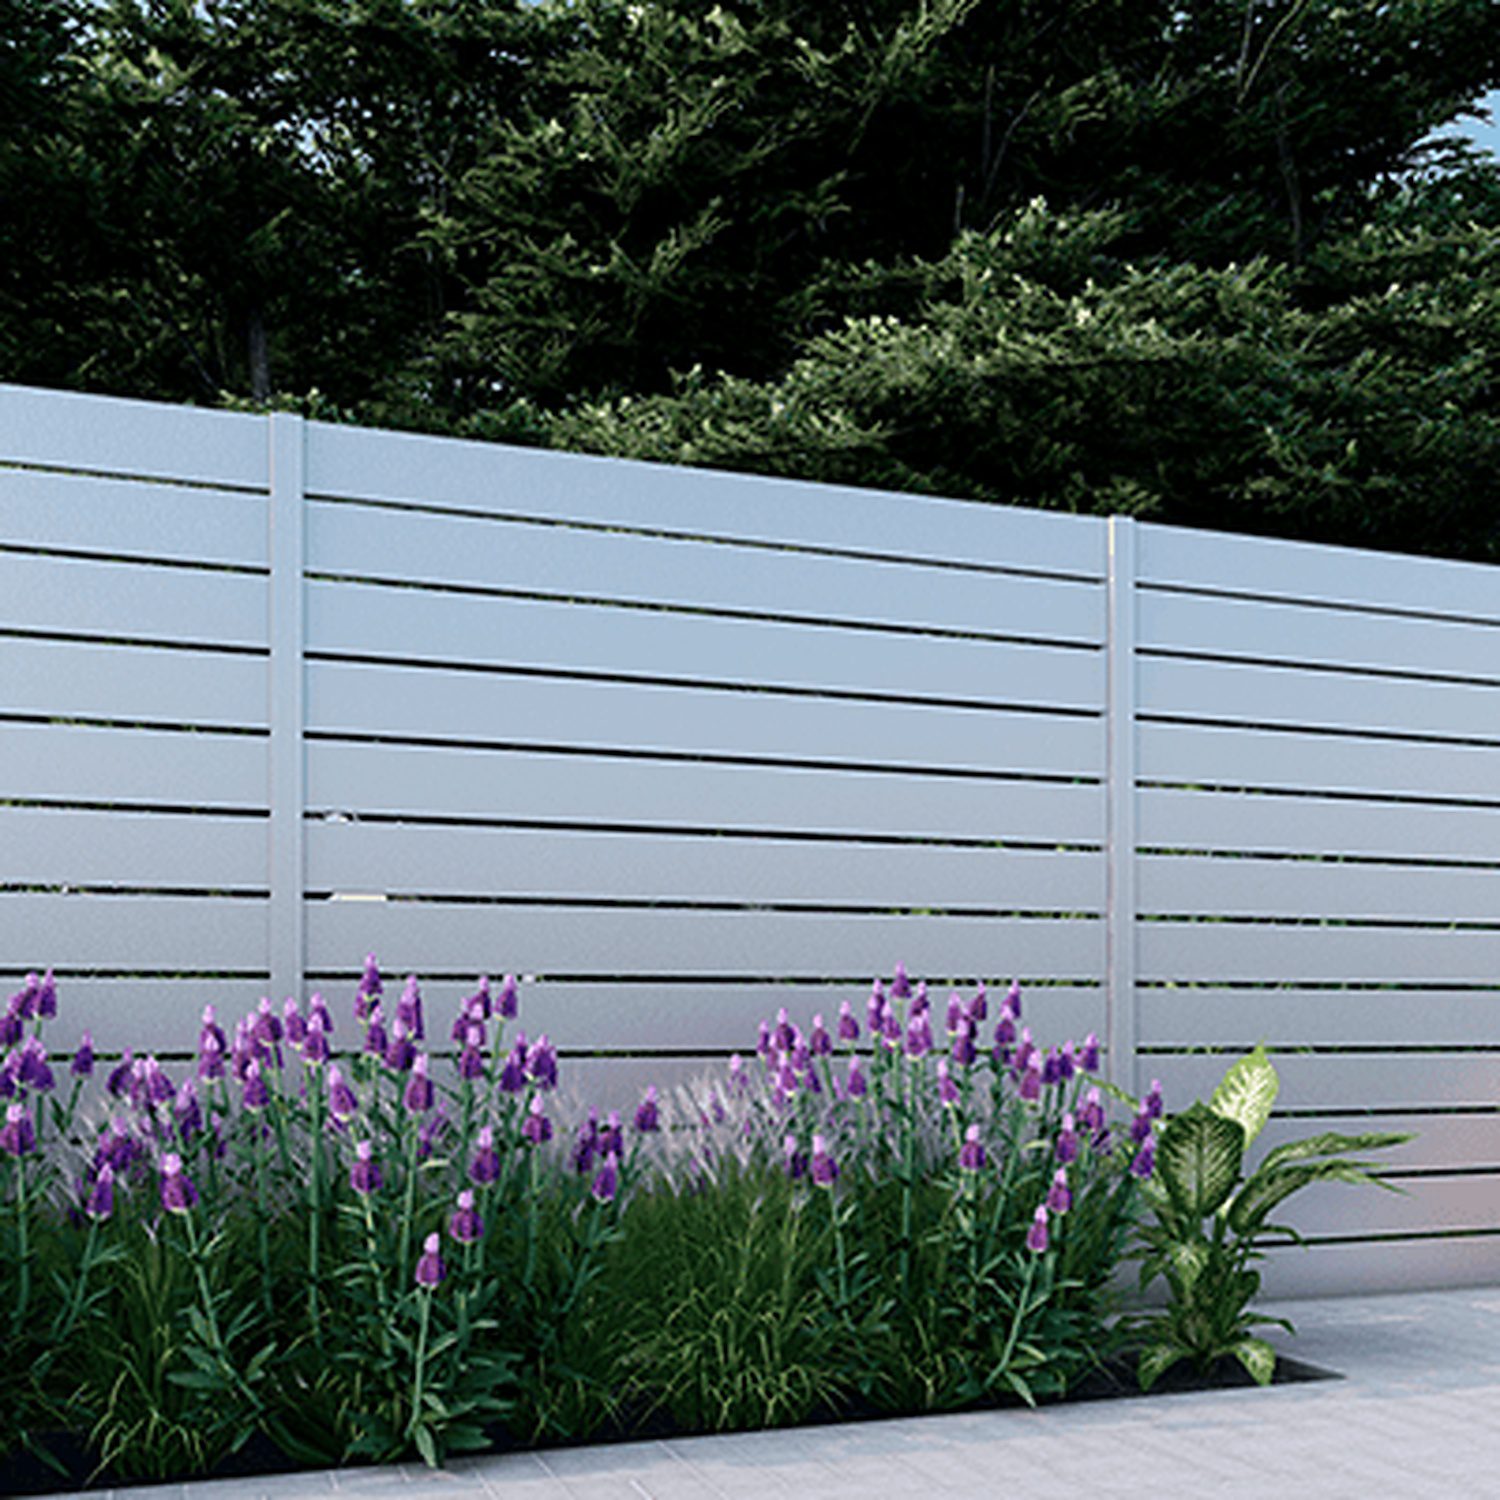
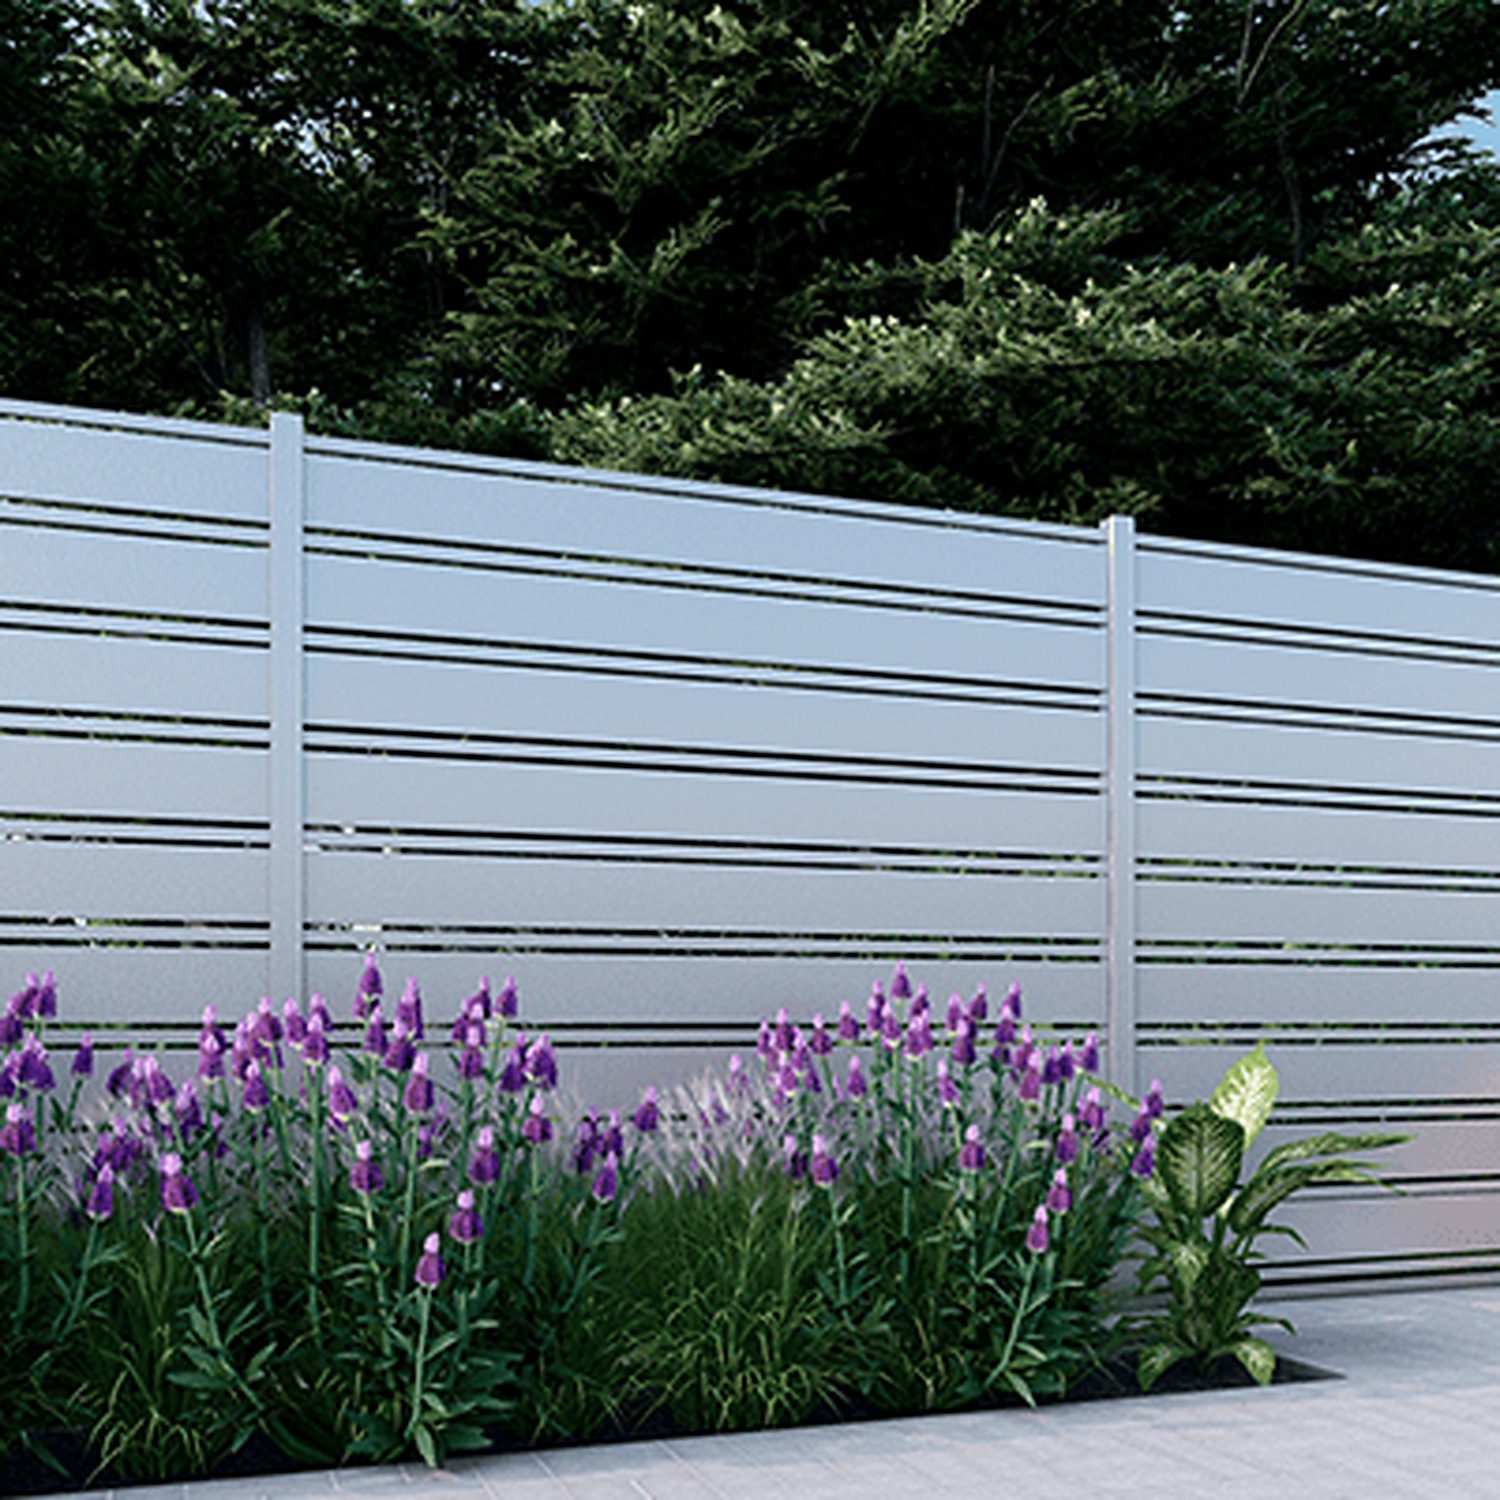
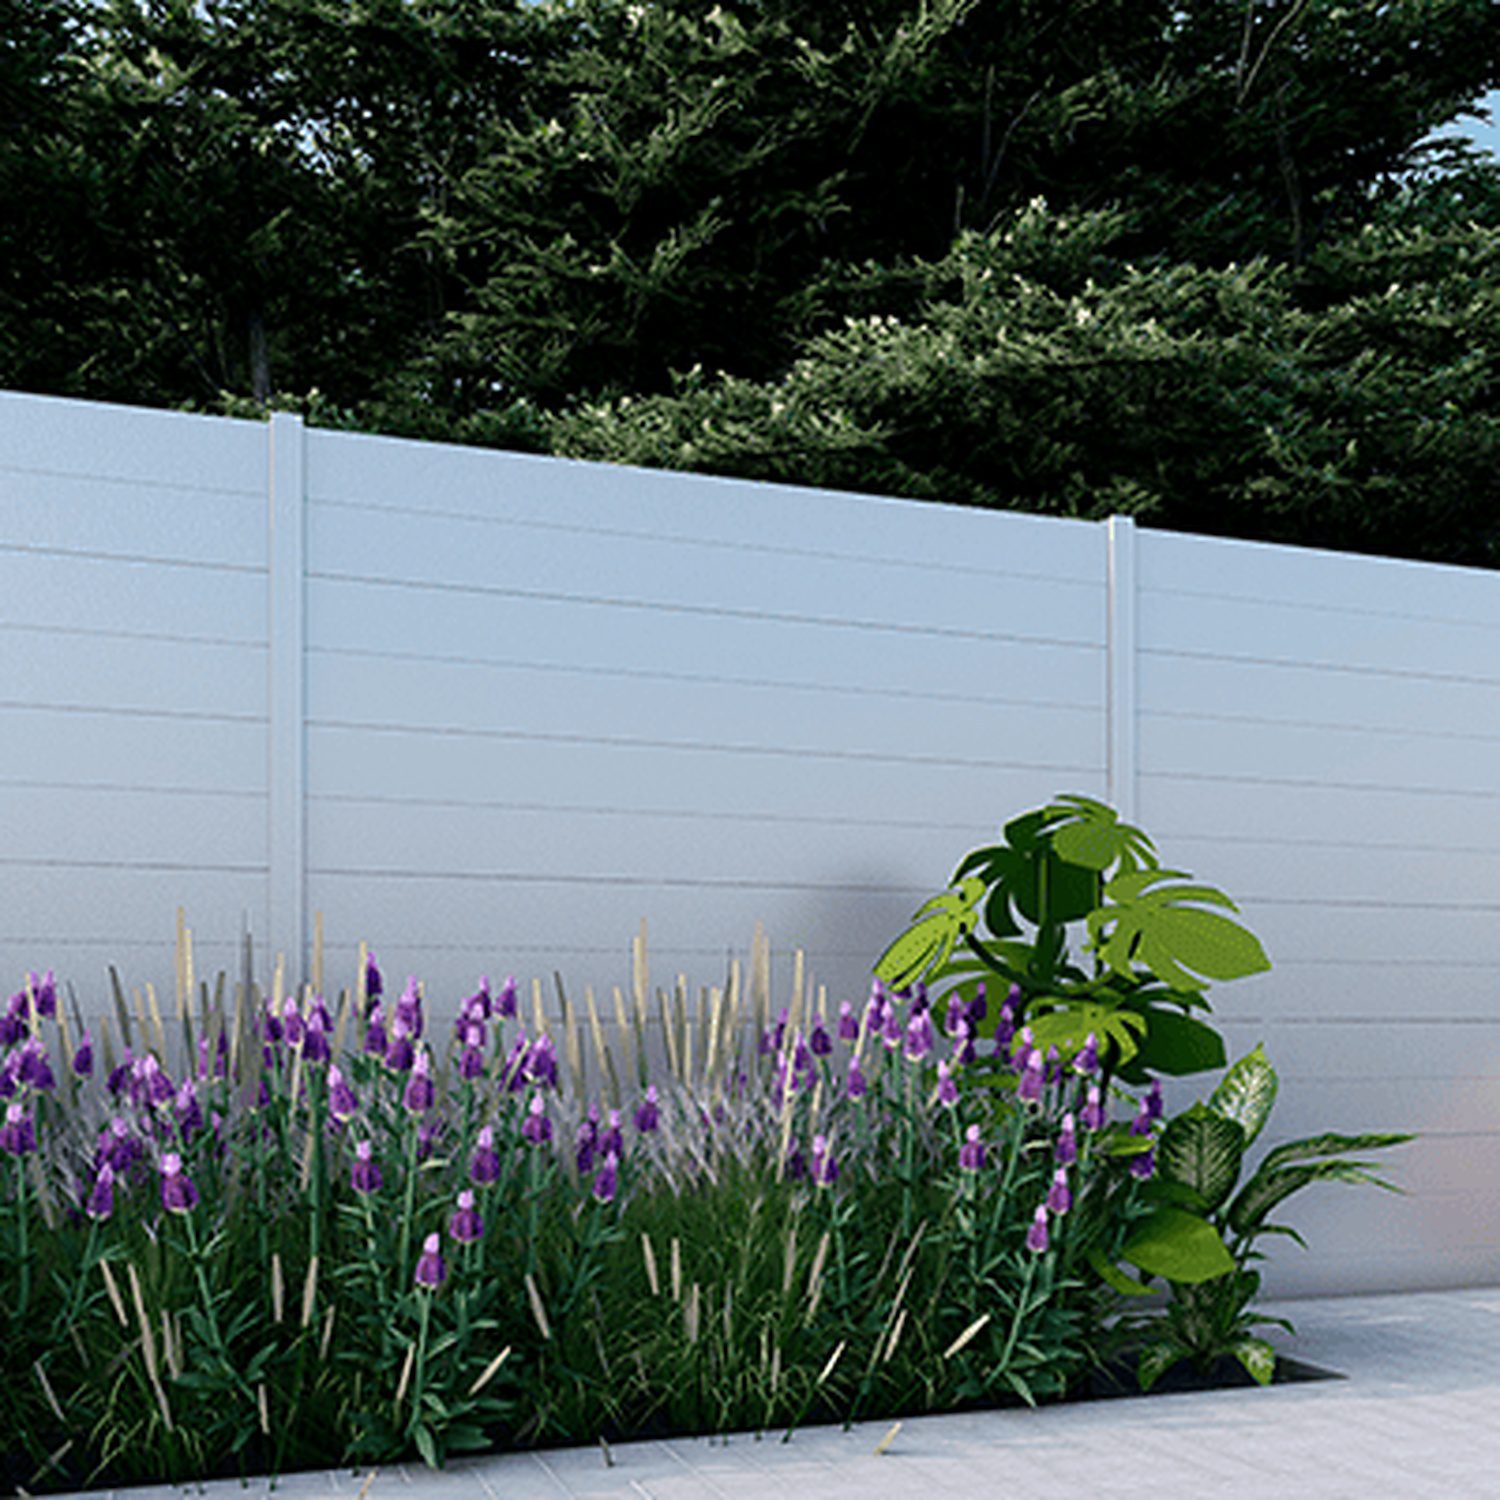
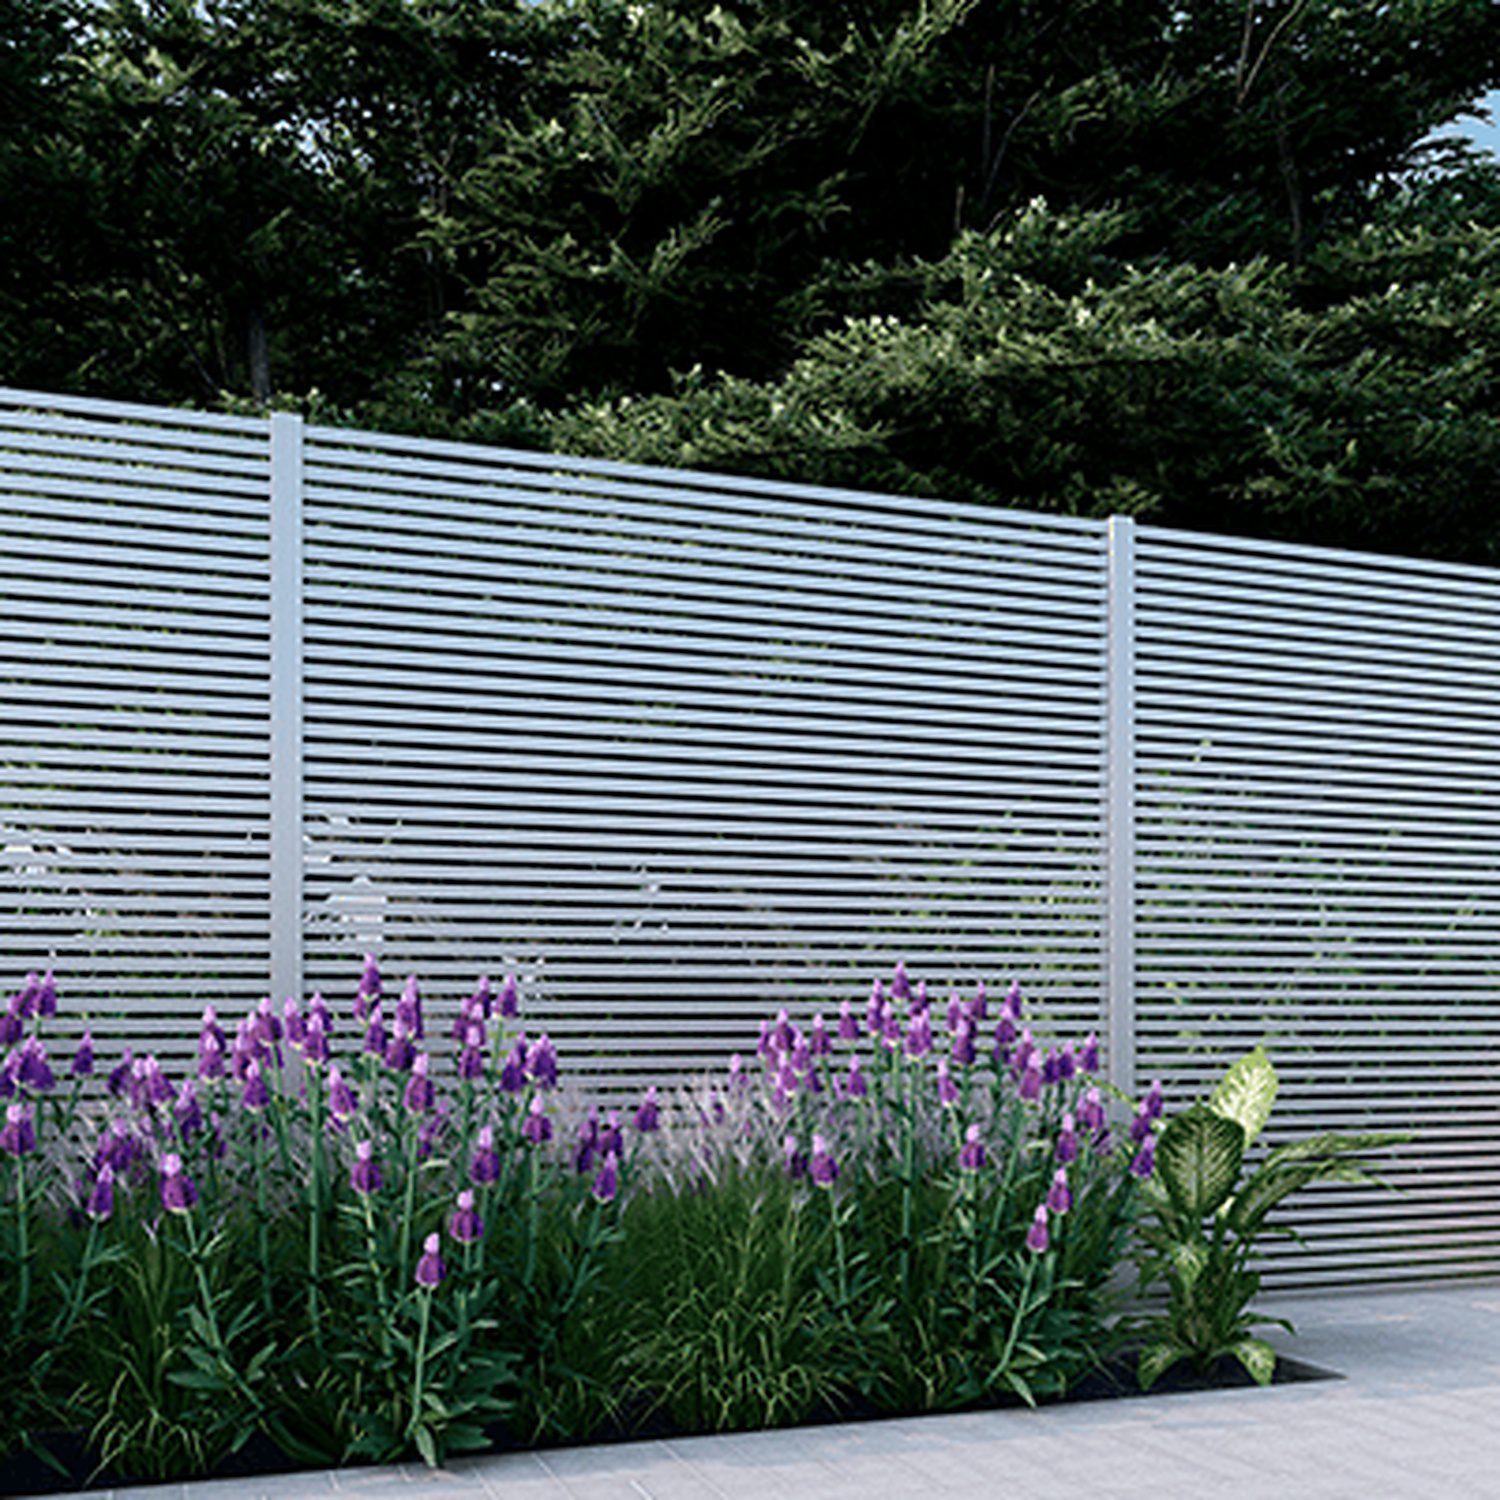
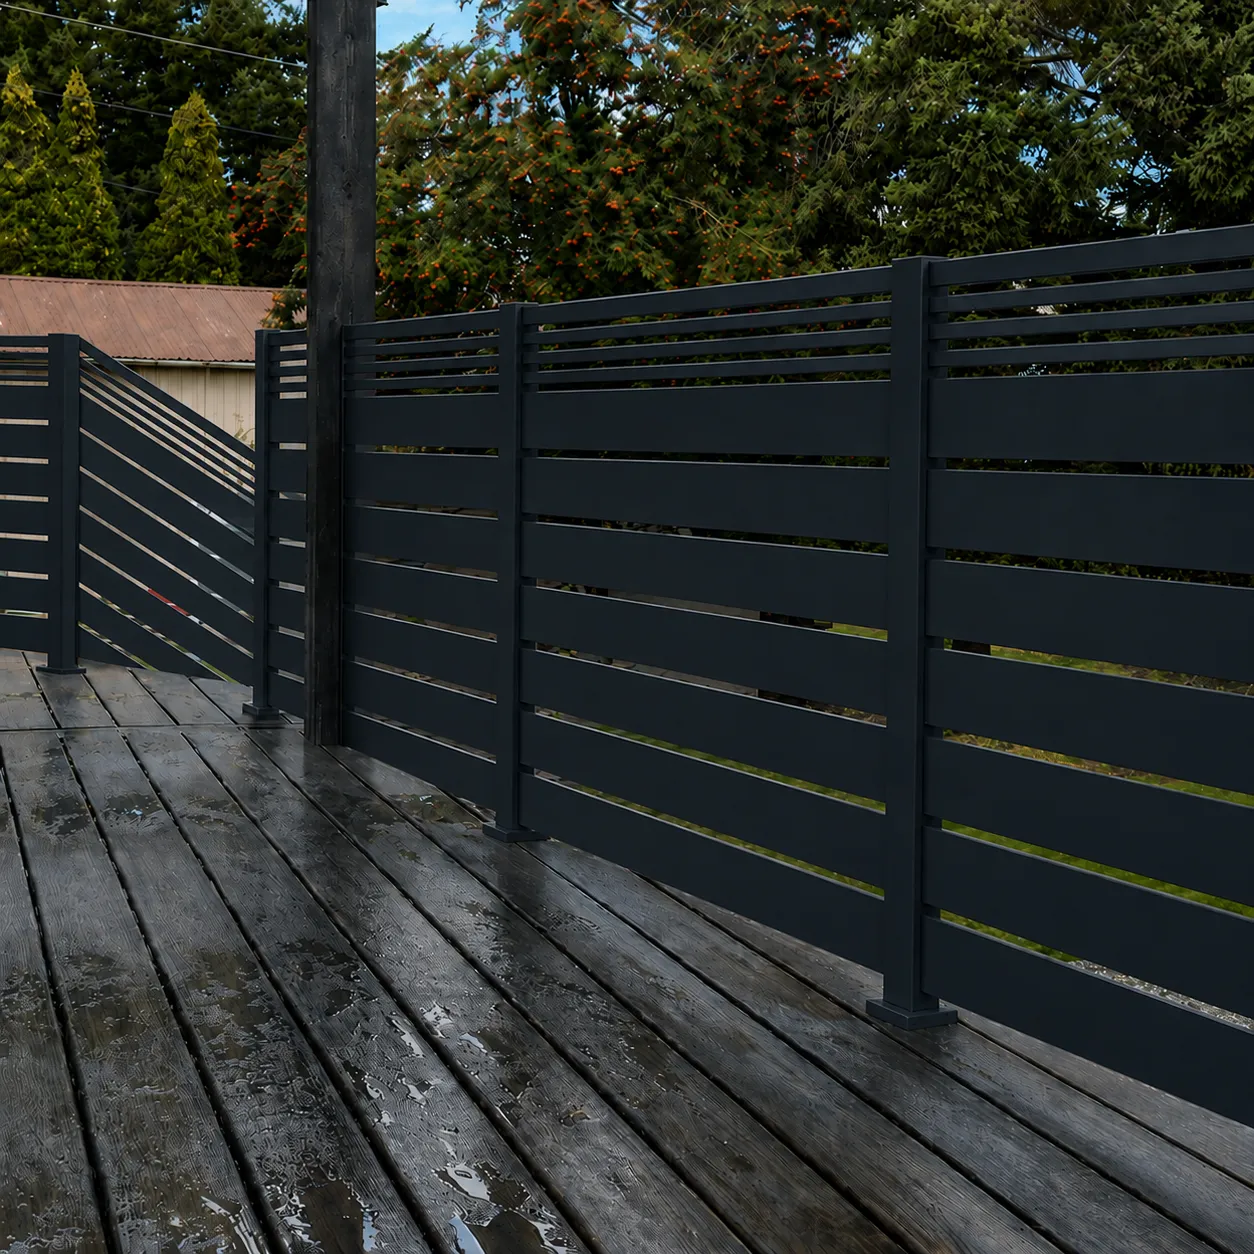
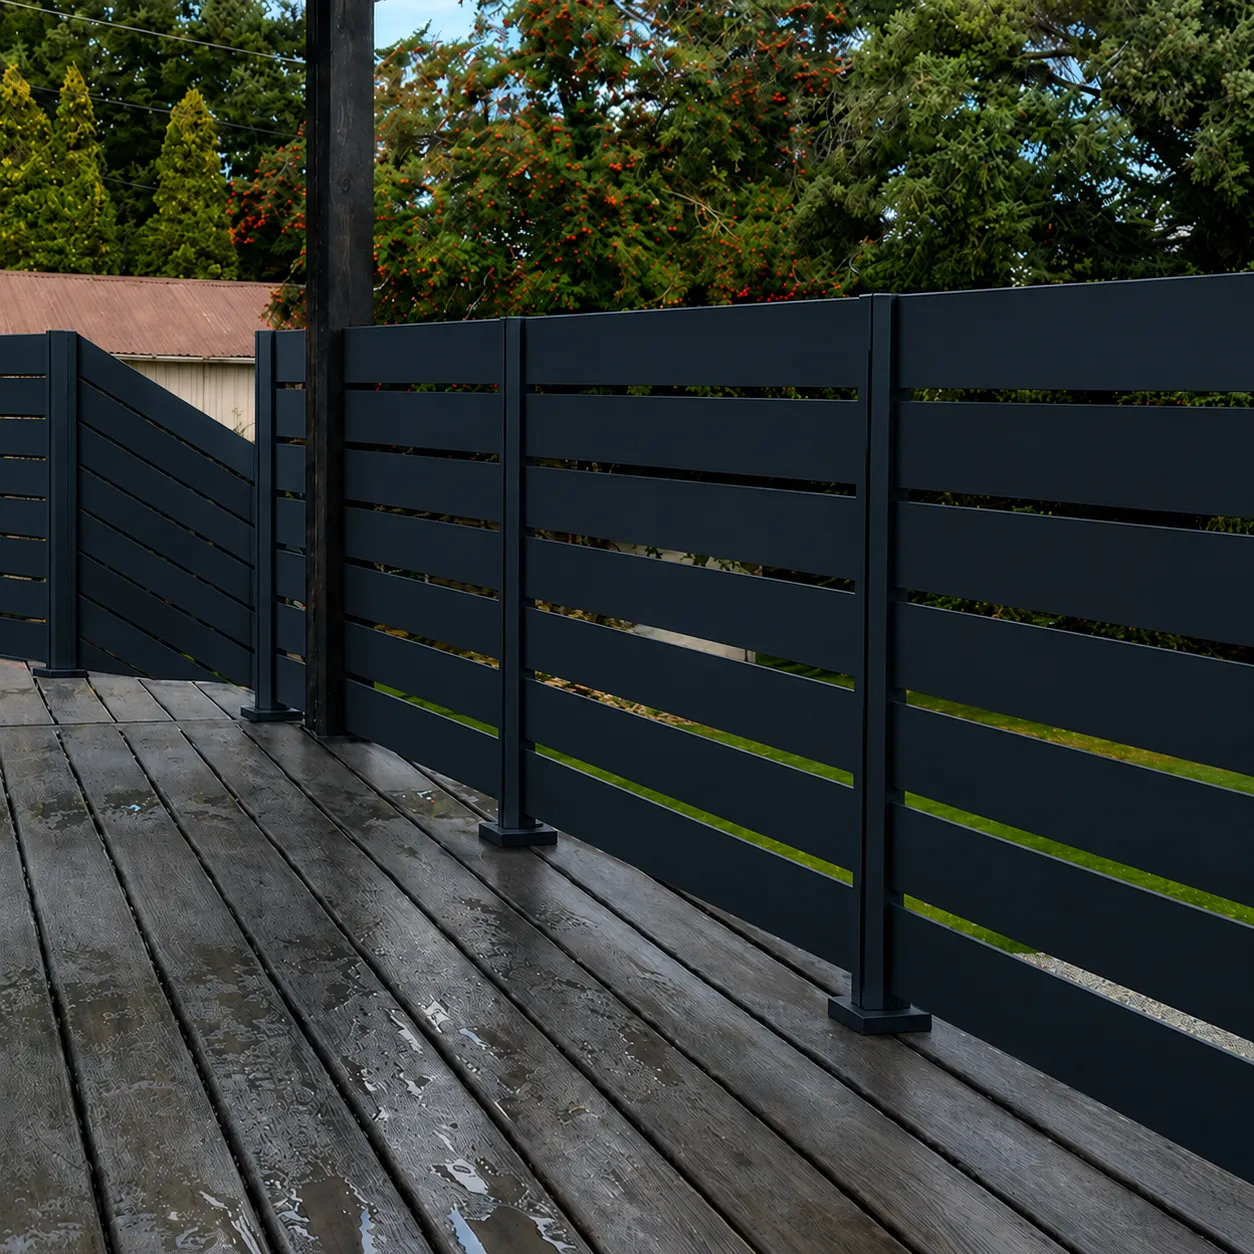
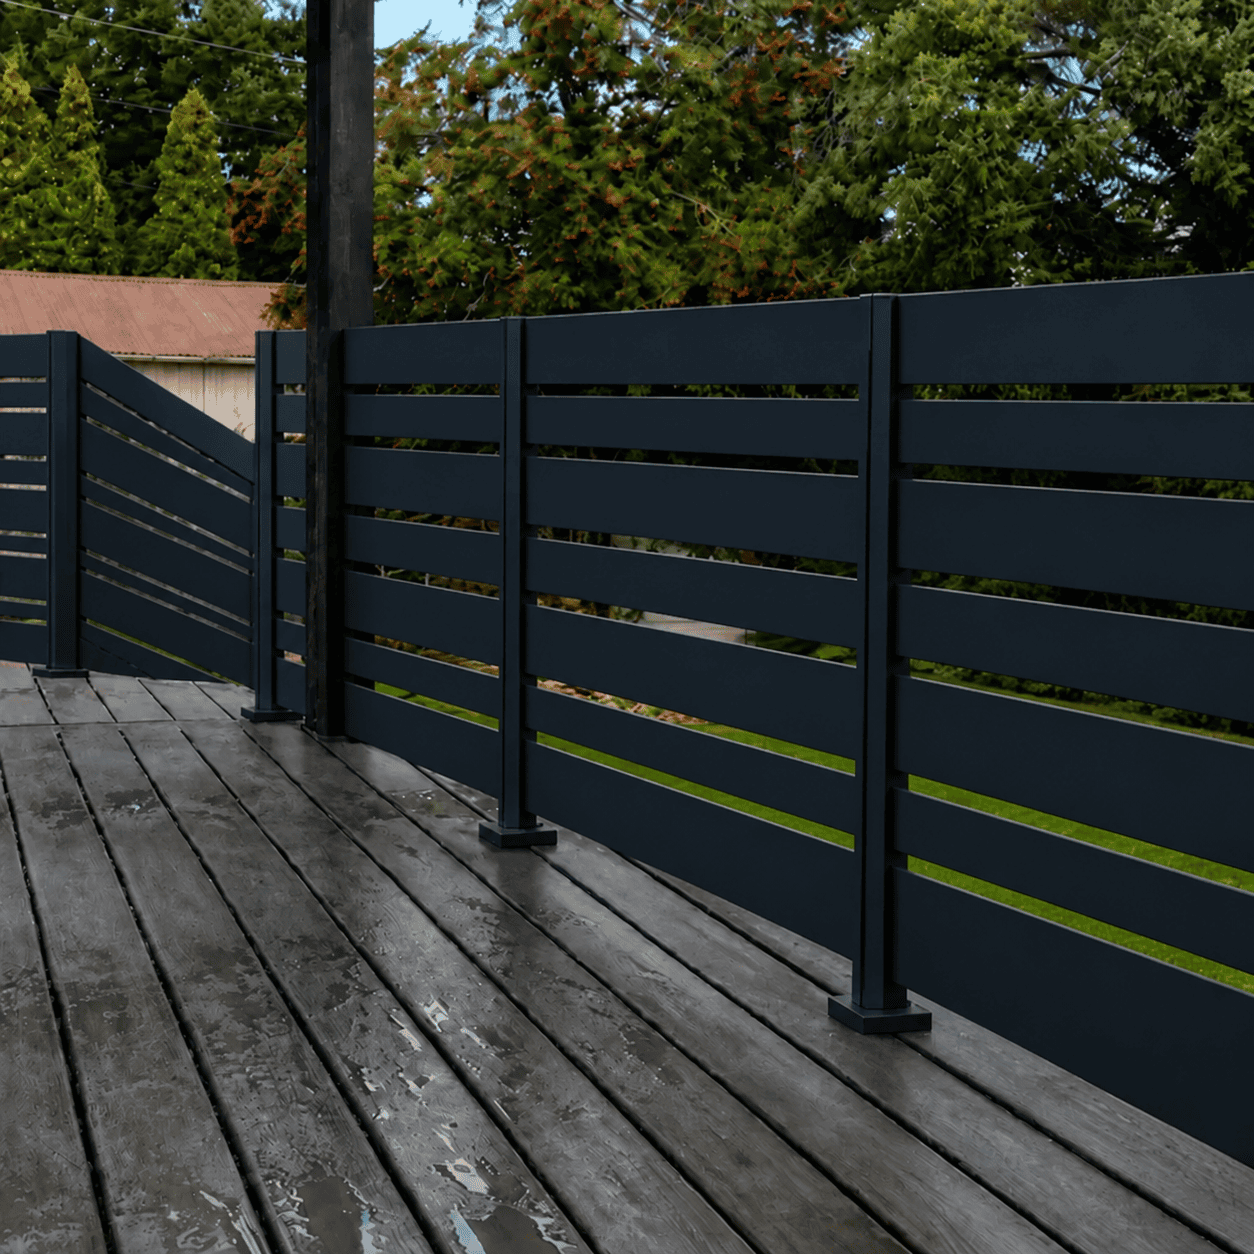
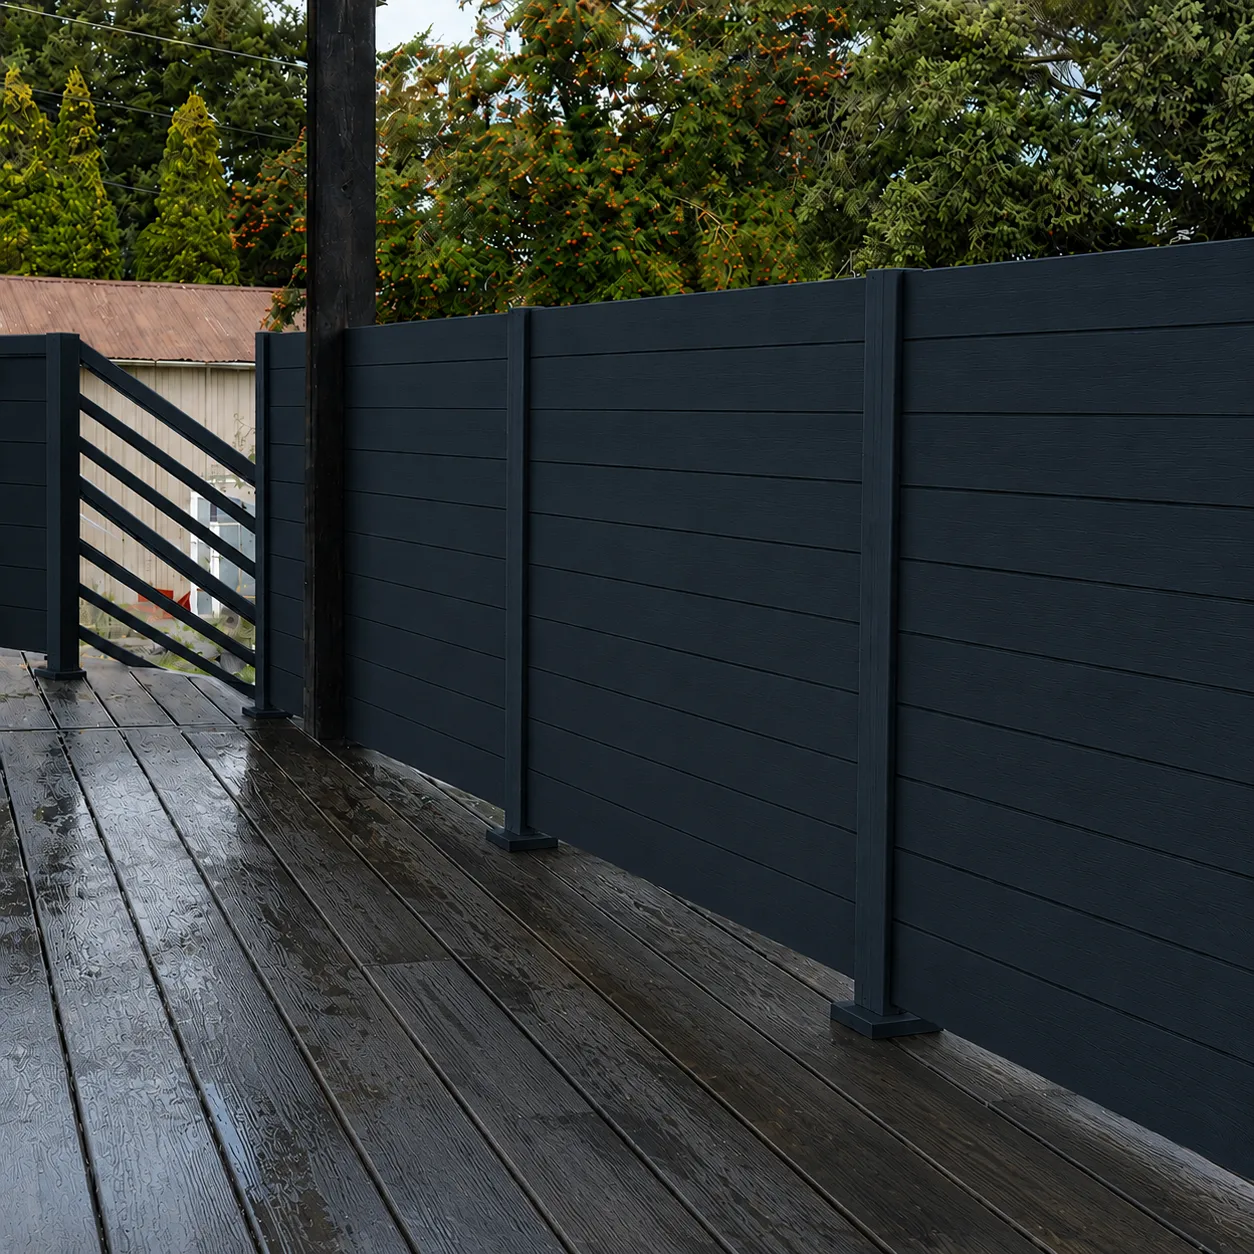
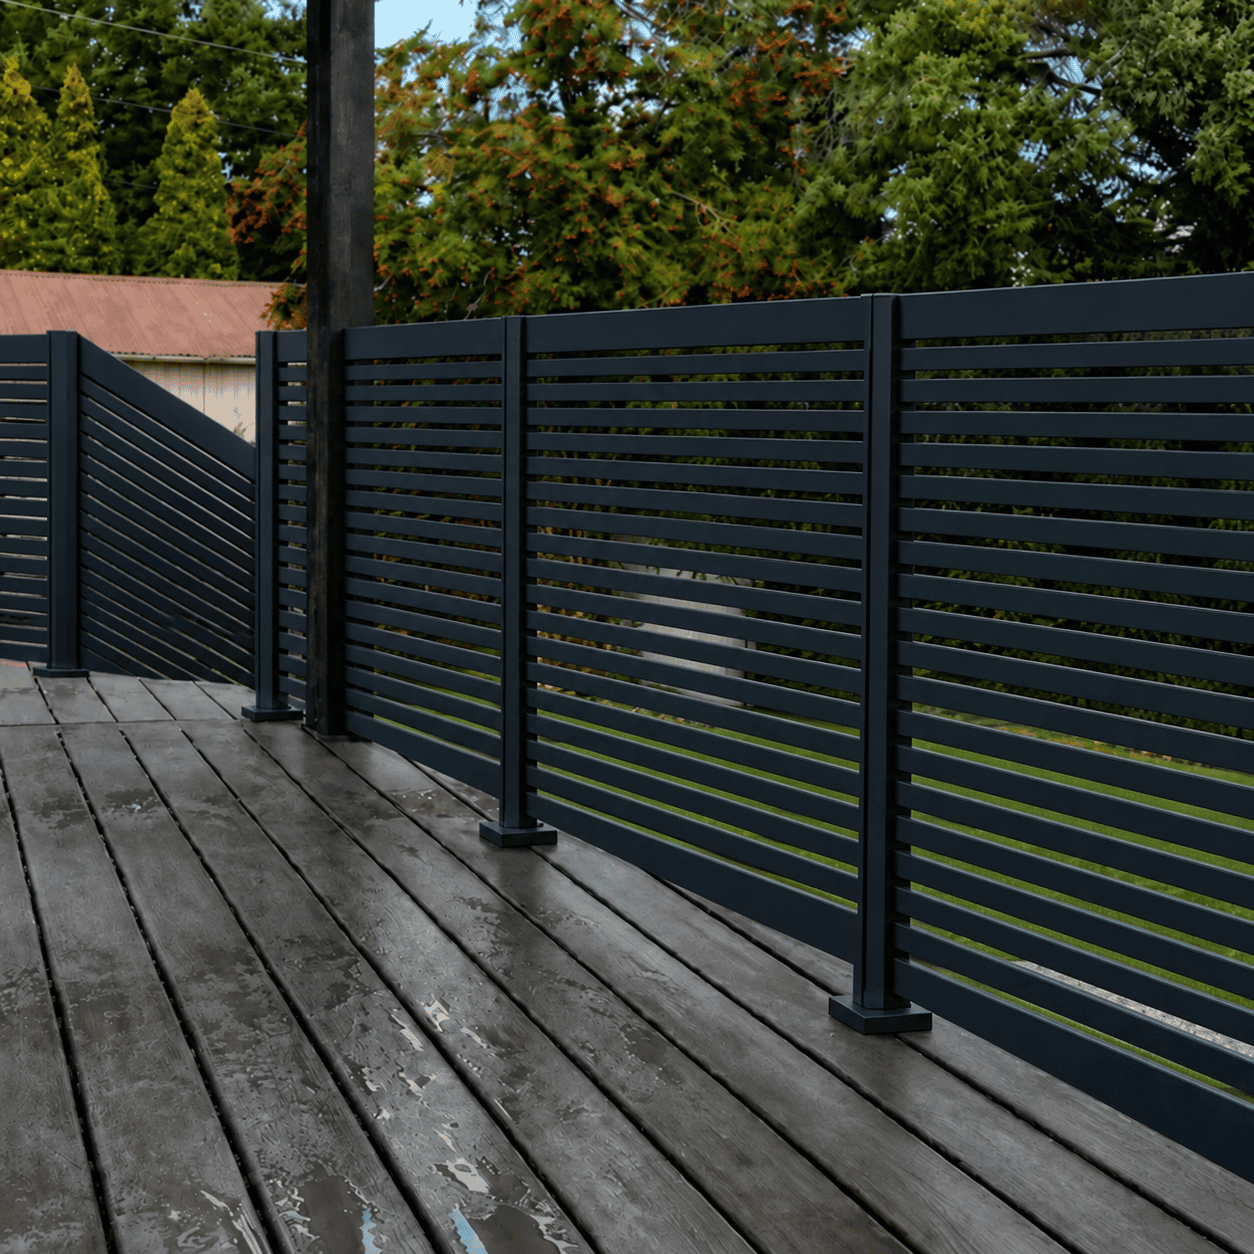
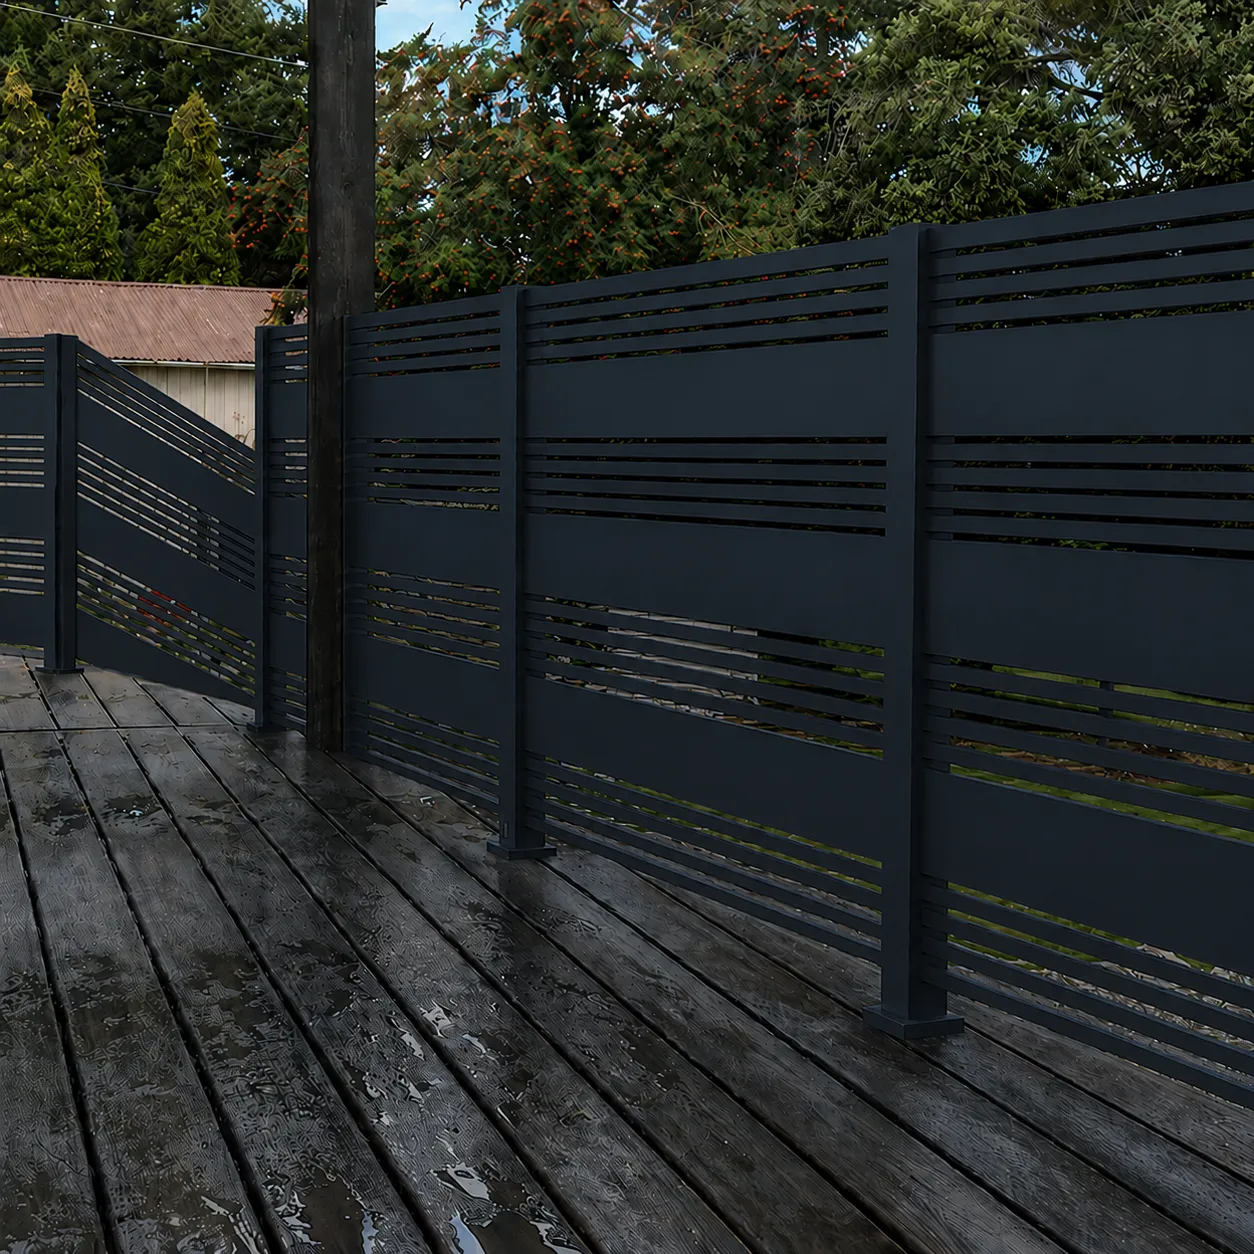
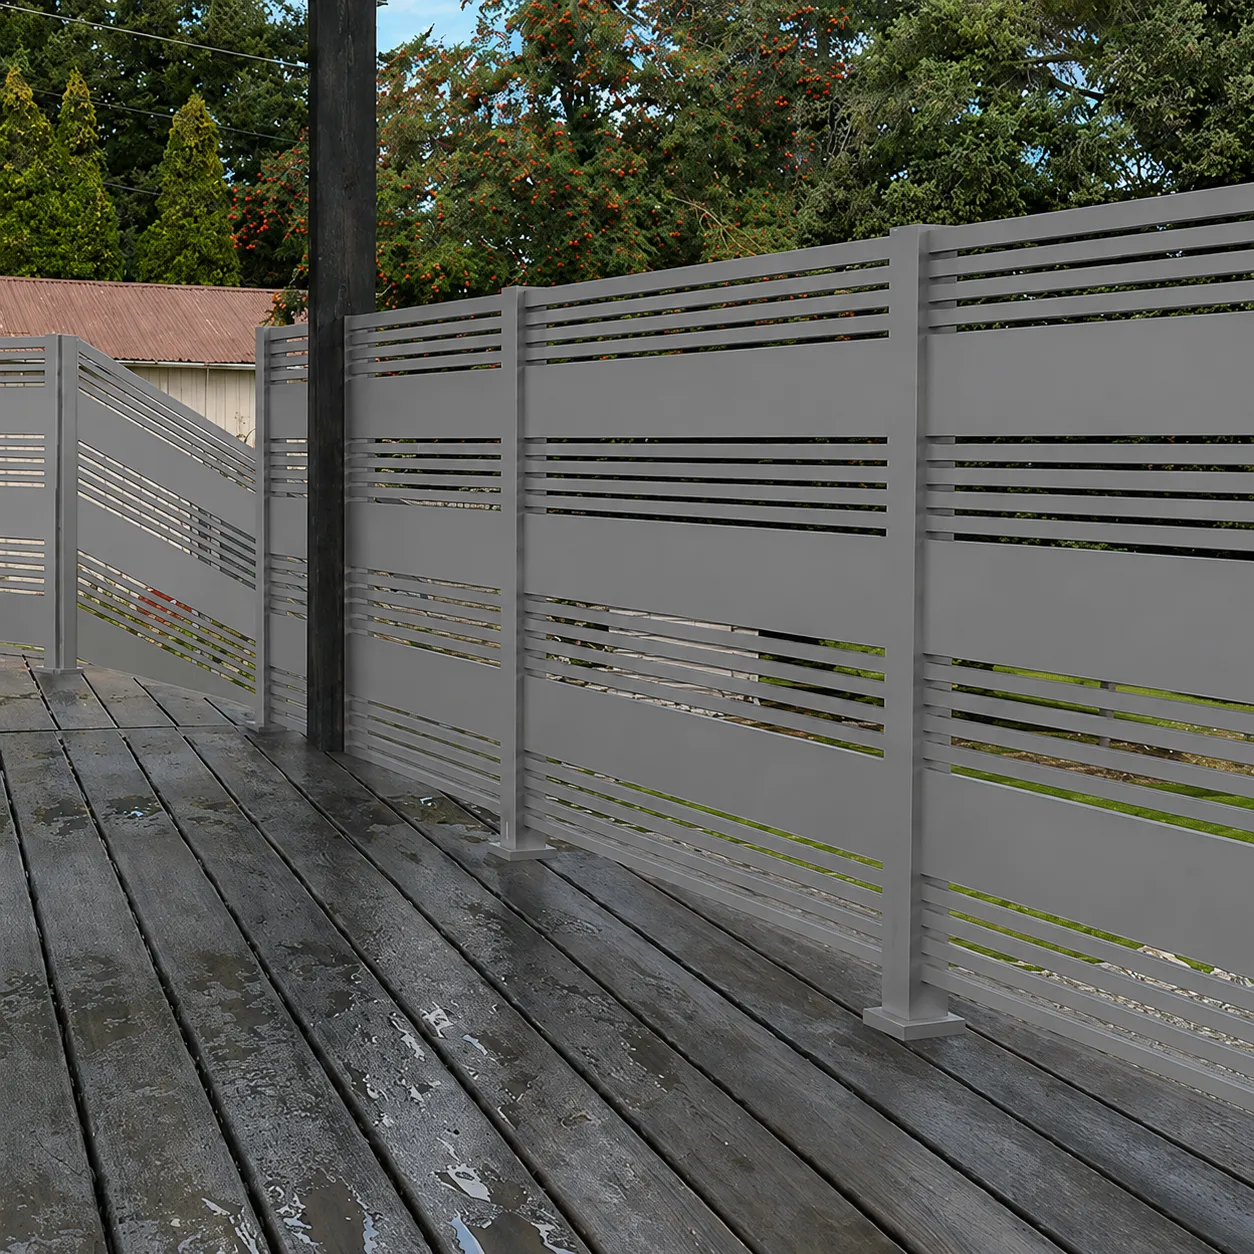
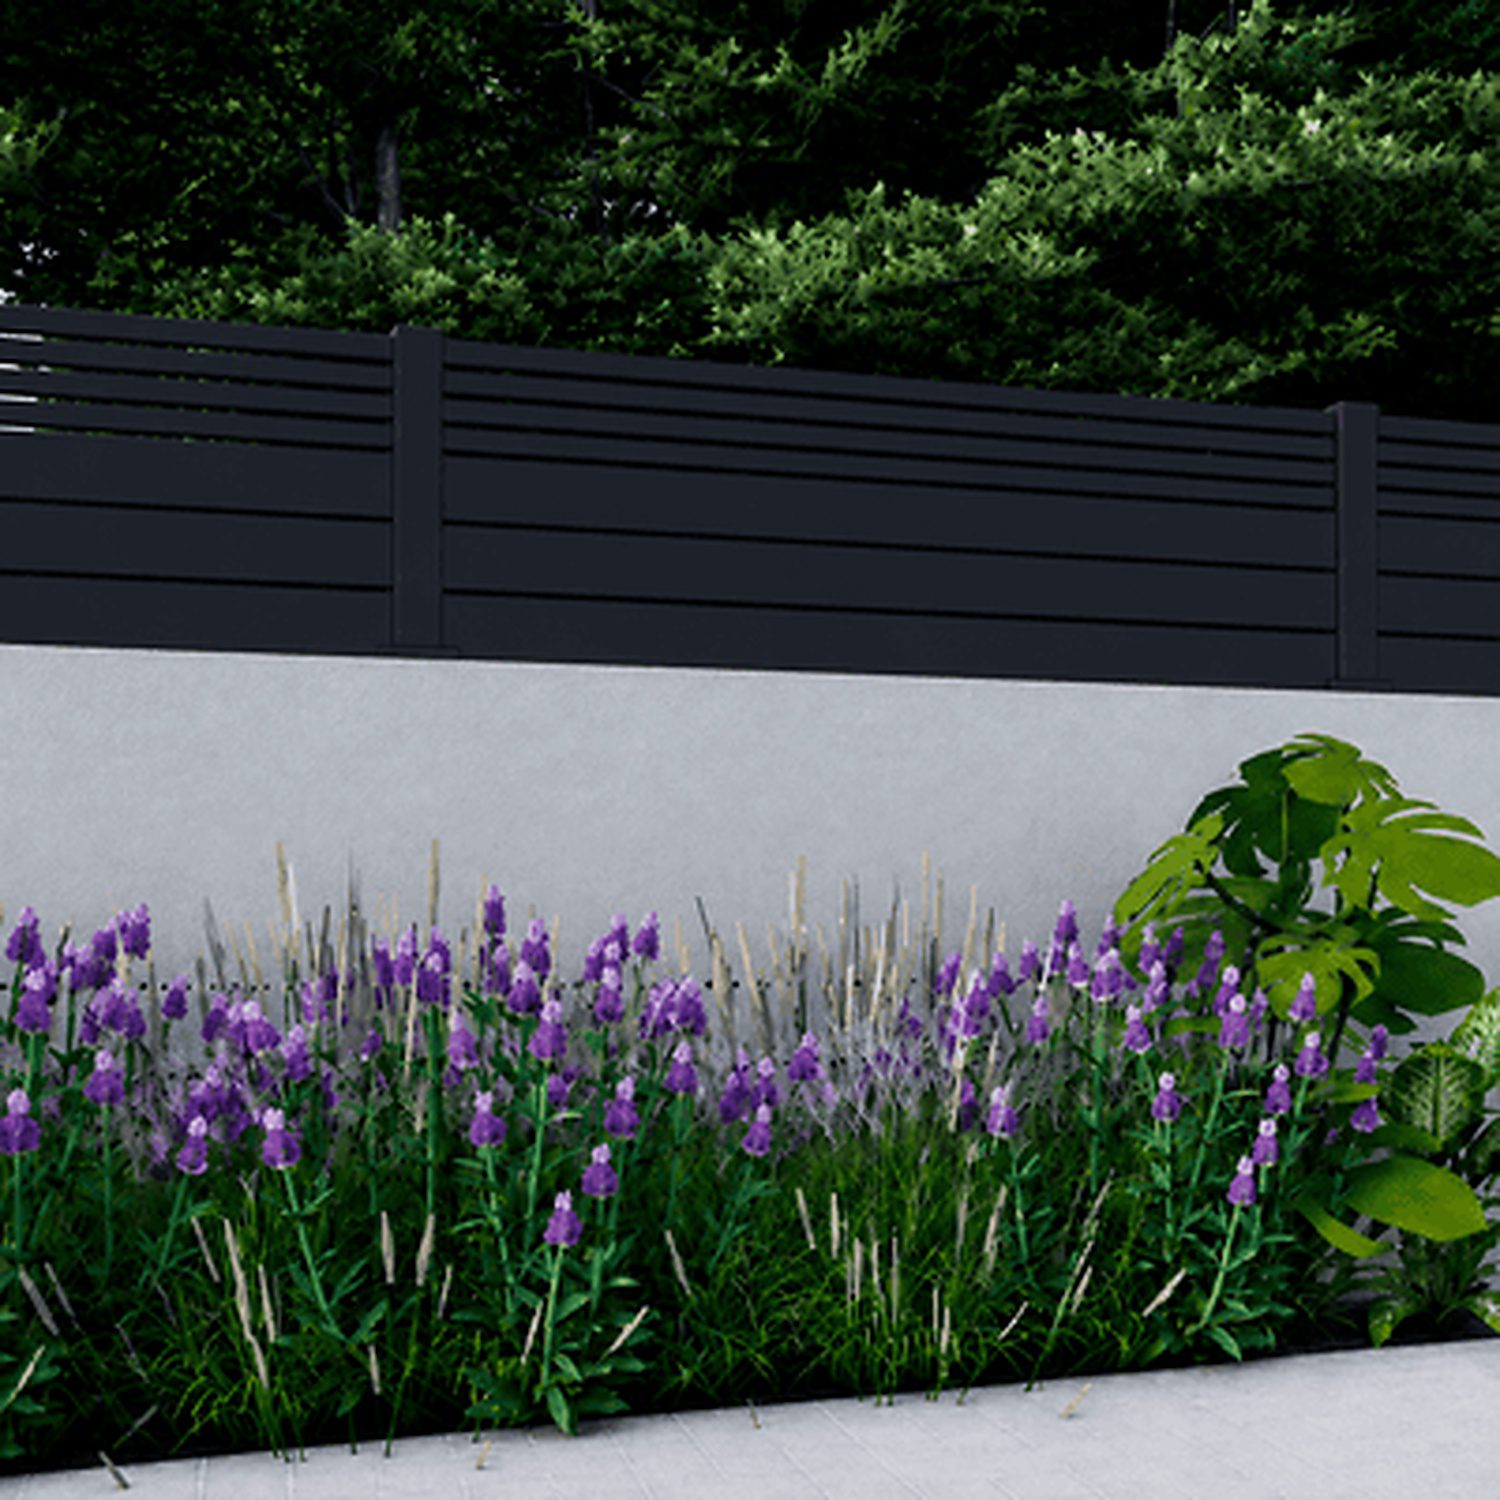
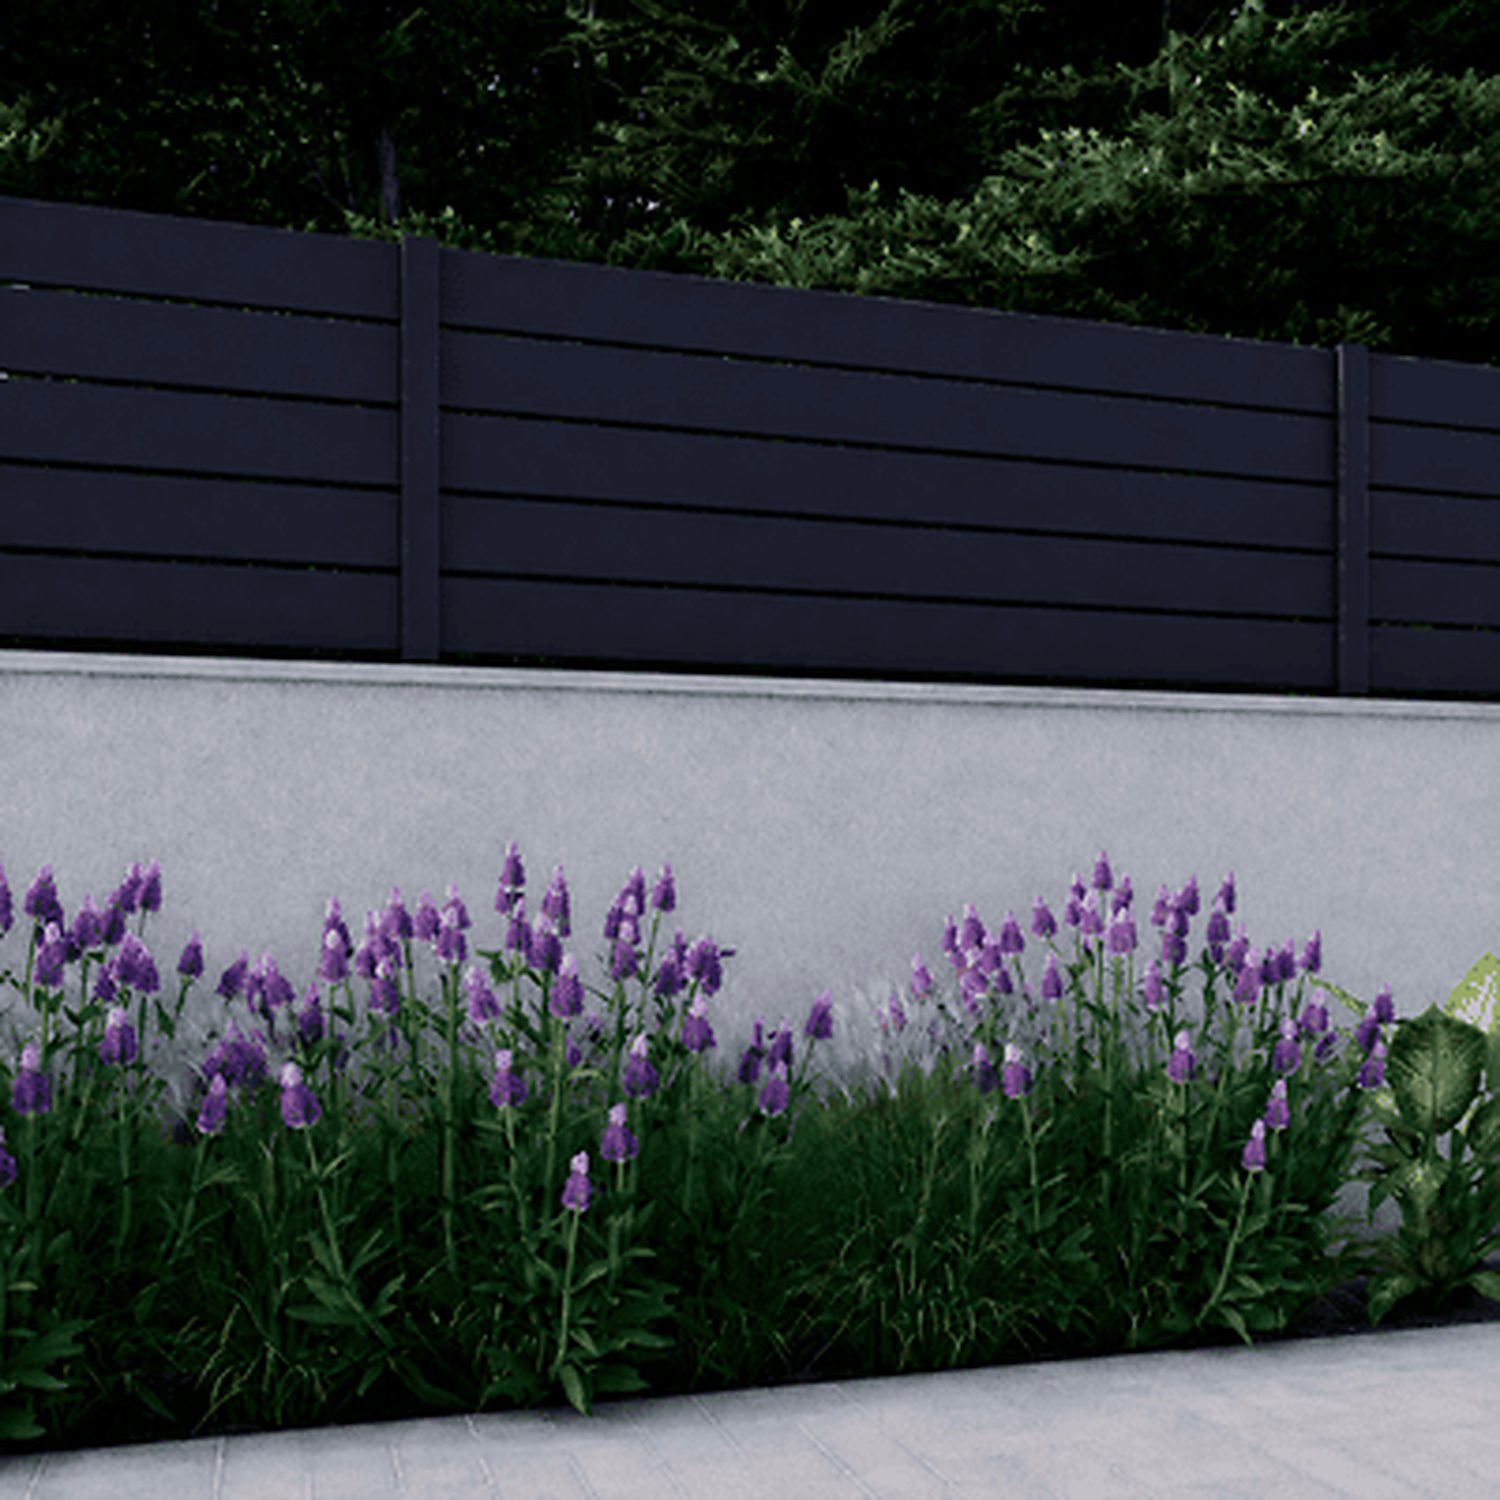
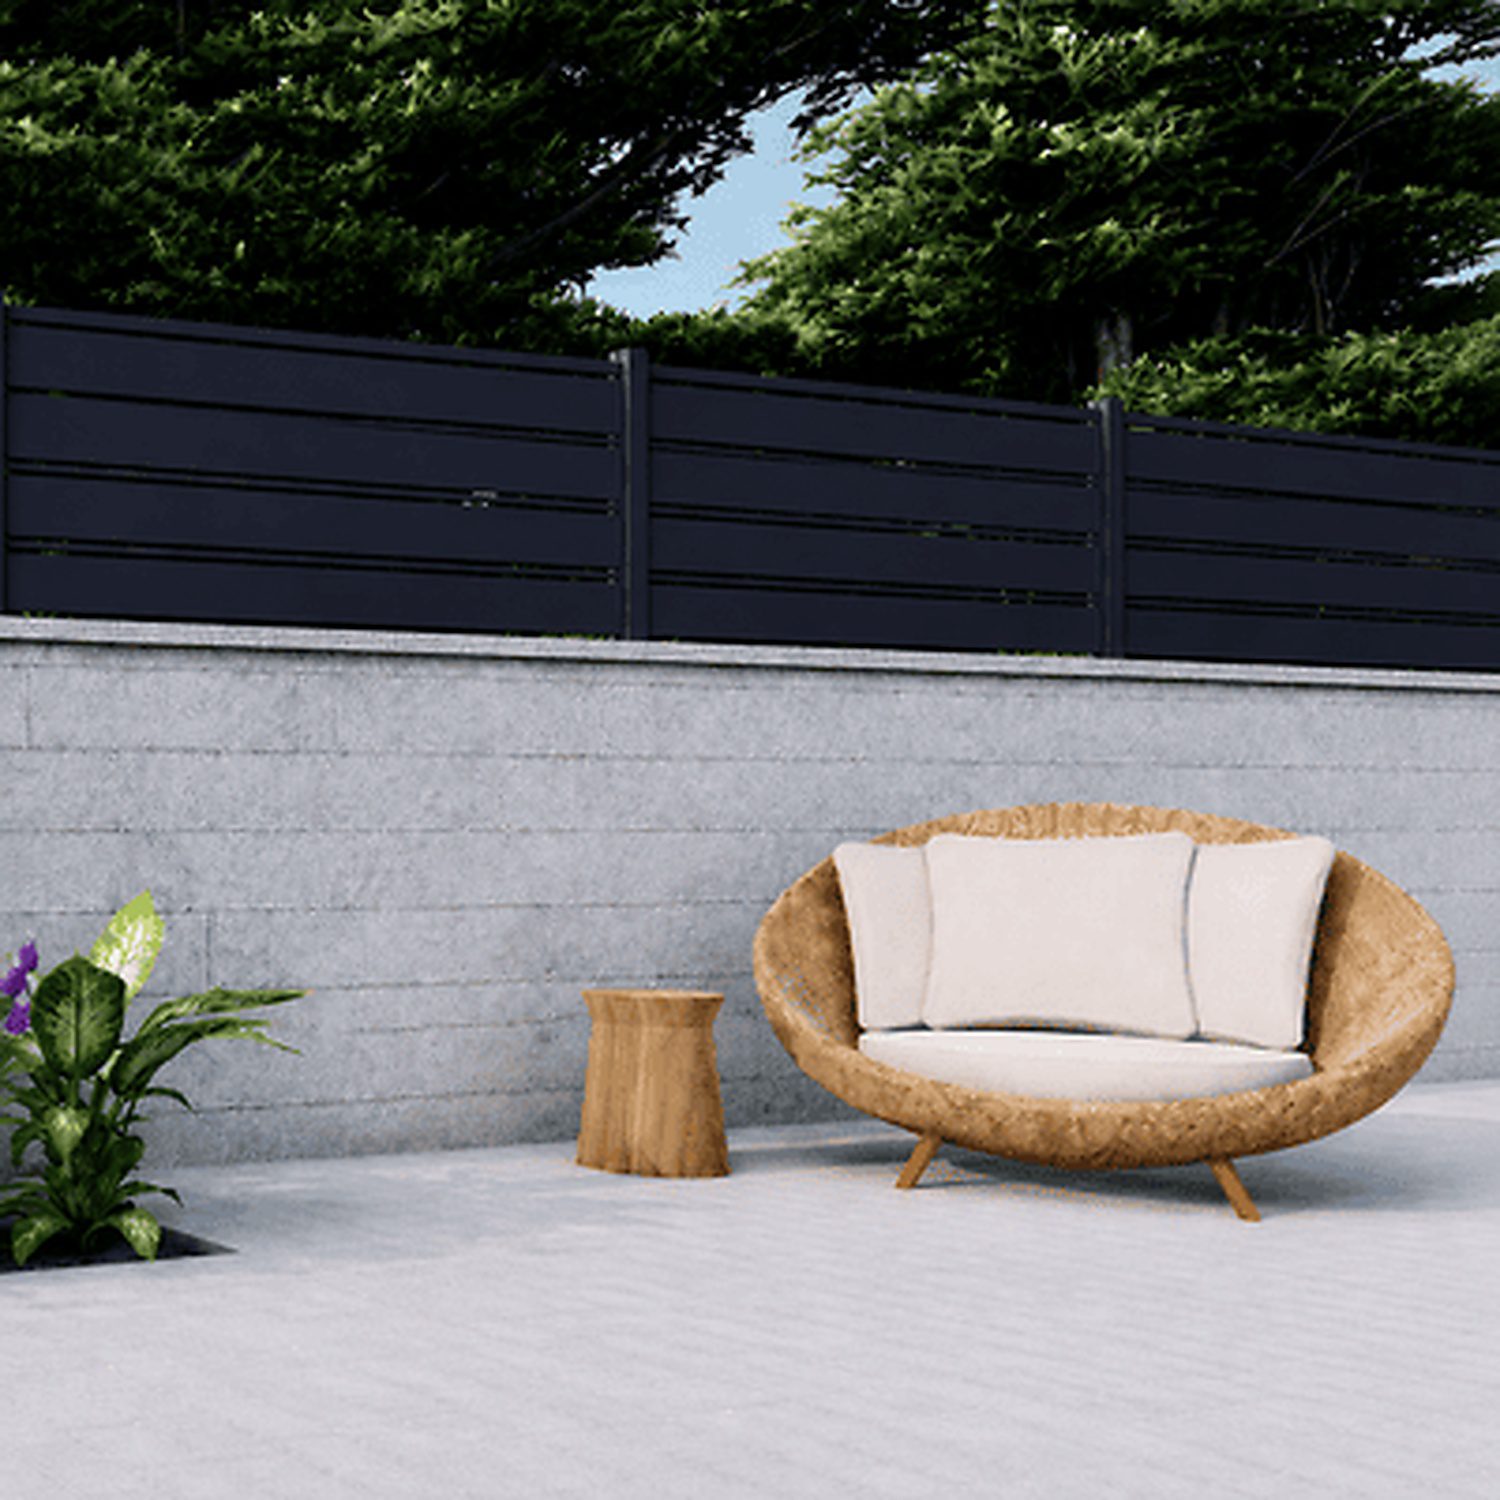
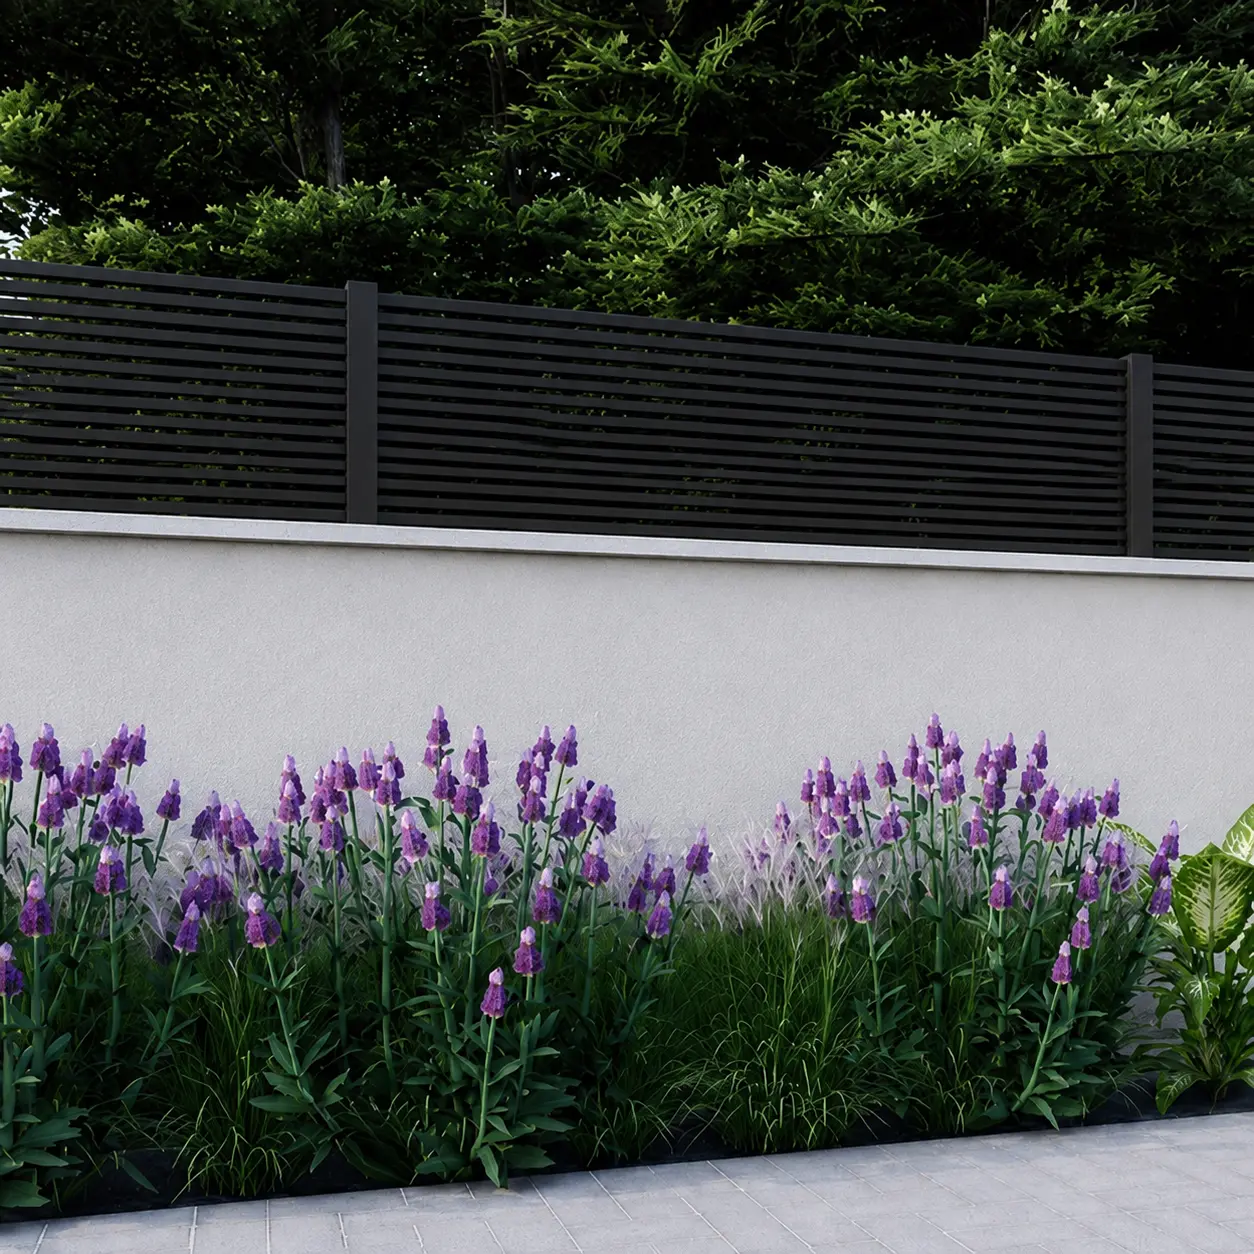
Dallas combines wide 5.5-inch slats with a four-slat 1-inch accent band. Los Angeles uses evenly spaced 5.5-inch slats. Miami centers a four-slat 1-inch accent band between wide slats. New York is a tight-stacked full-privacy design with size-specific finishing slats. San Francisco uses closely spaced 1-inch slats for a linear look. See the exact material schedule and proportional drawings on each style page.
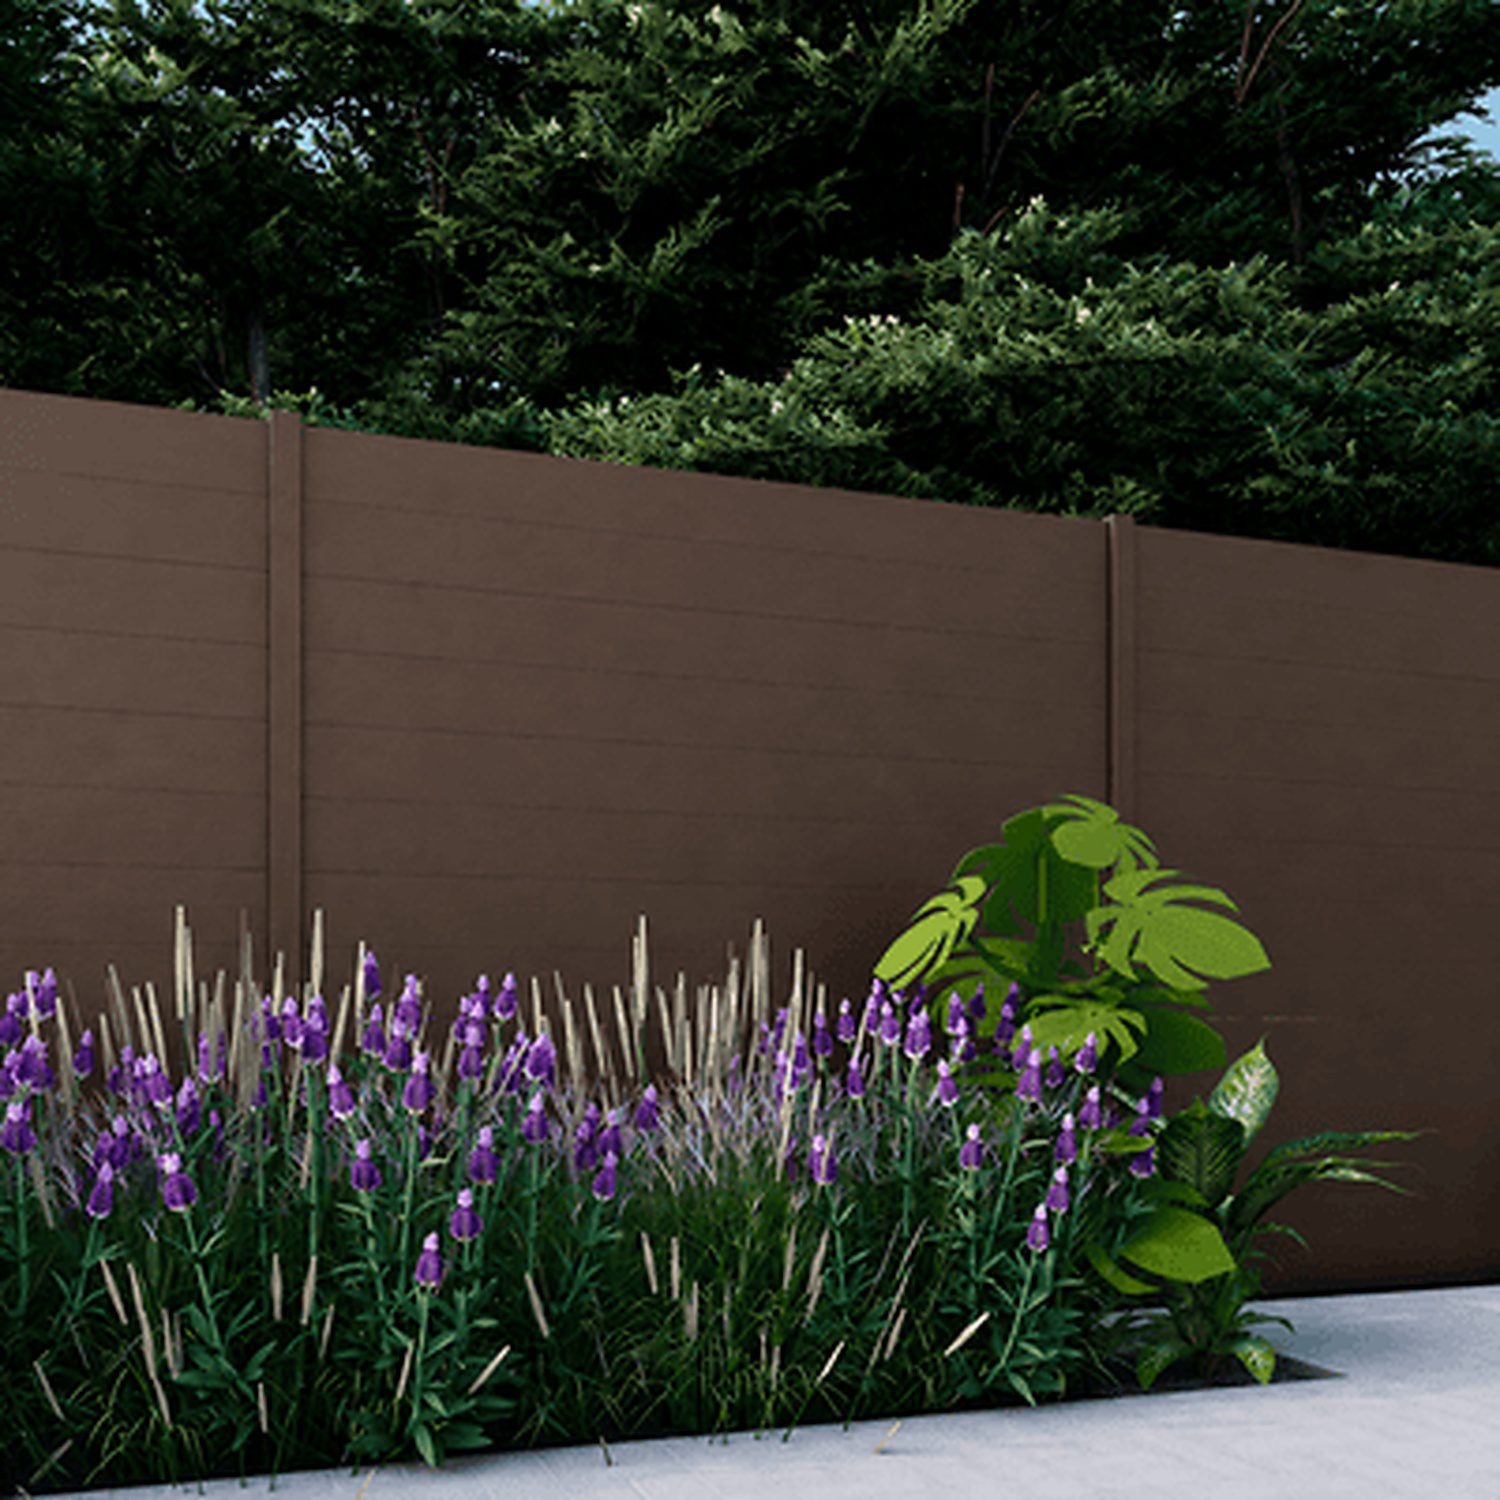
No. The Wood option is a wood-look finish applied to aluminum slats, not natural timber. It provides the warmth of a wood appearance while keeping the low-maintenance, noncombustible aluminum construction of the Wall Topper system.
Privacy depends on the selected style, height, slat sizes, and spacing. New York is the most closed design, while Dallas, Los Angeles, Miami, and San Francisco create different levels of screening and visibility. Compare the style-specific drawings and material schedule before choosing.
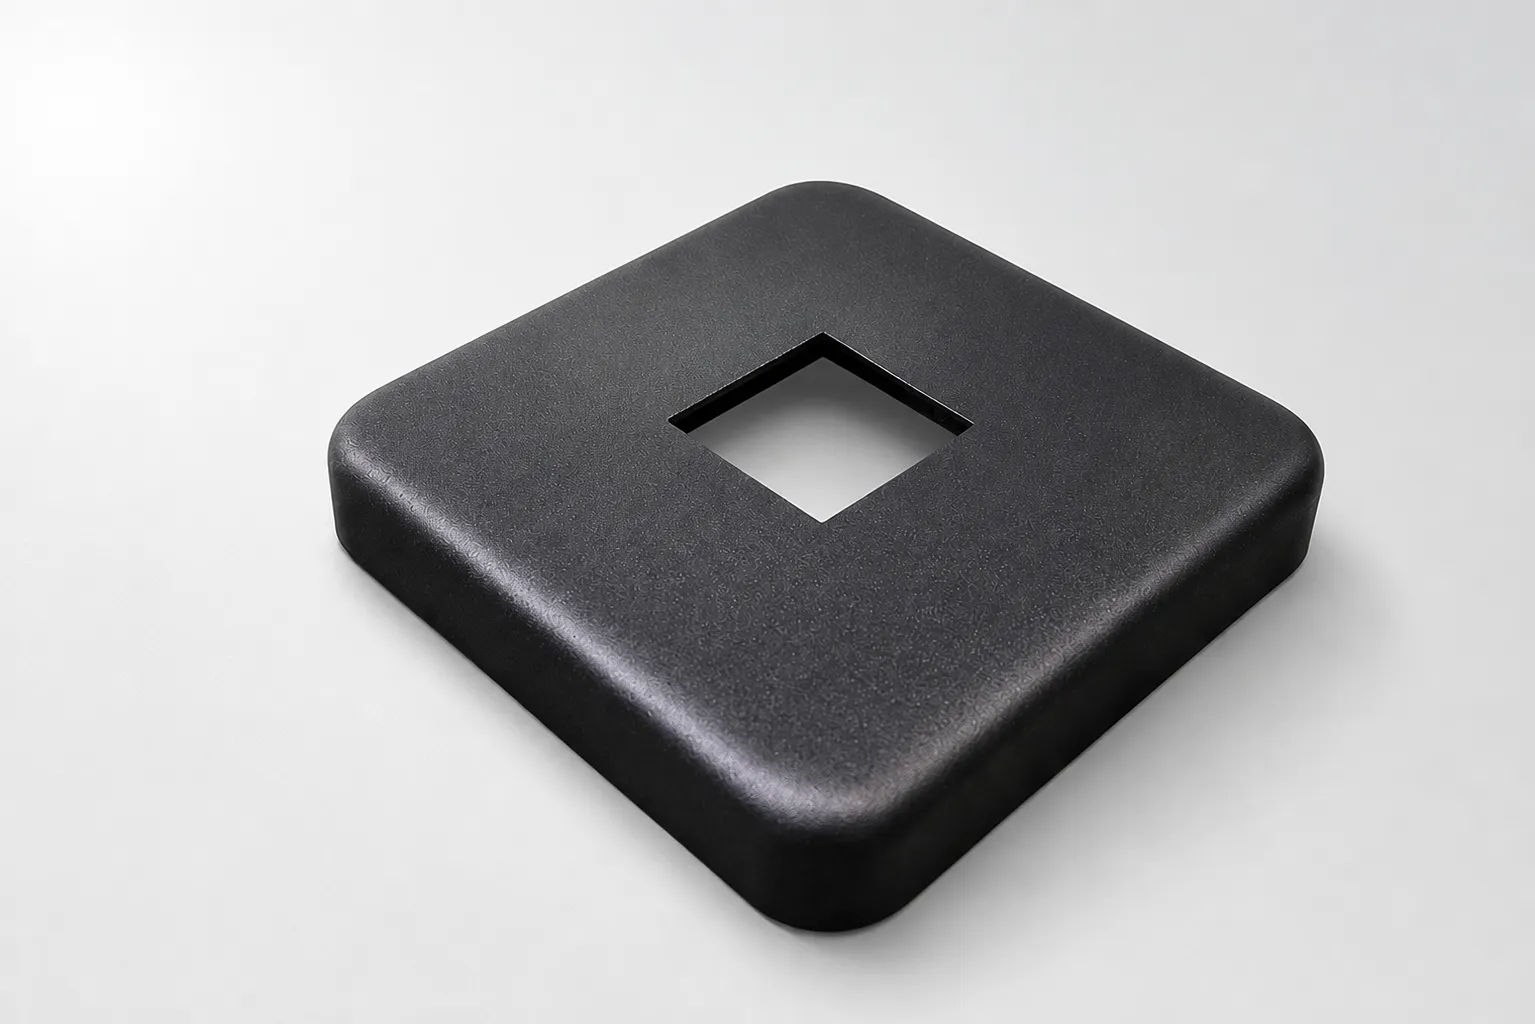
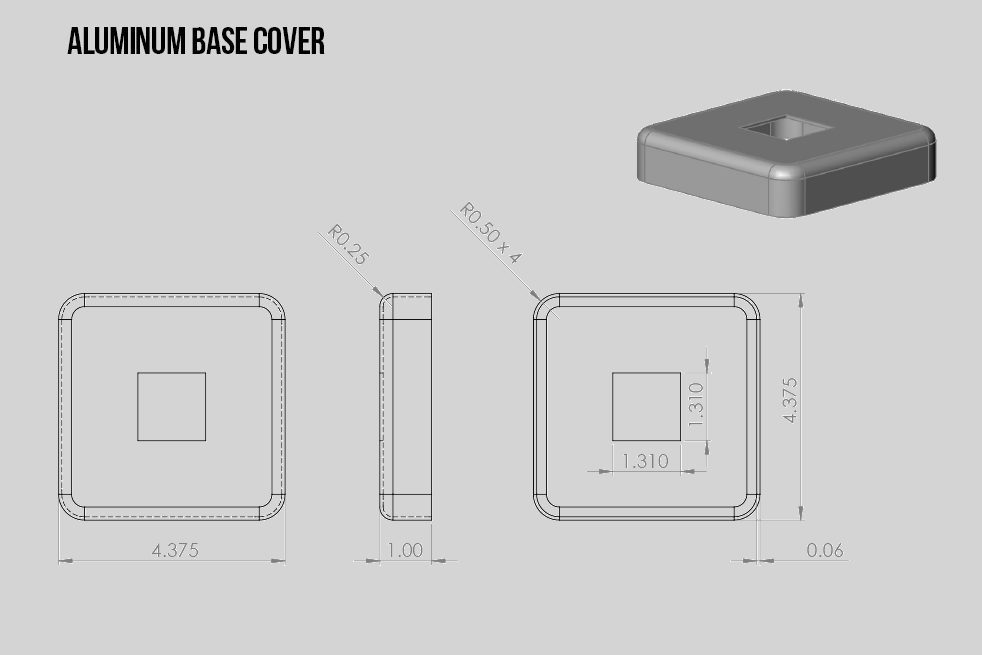
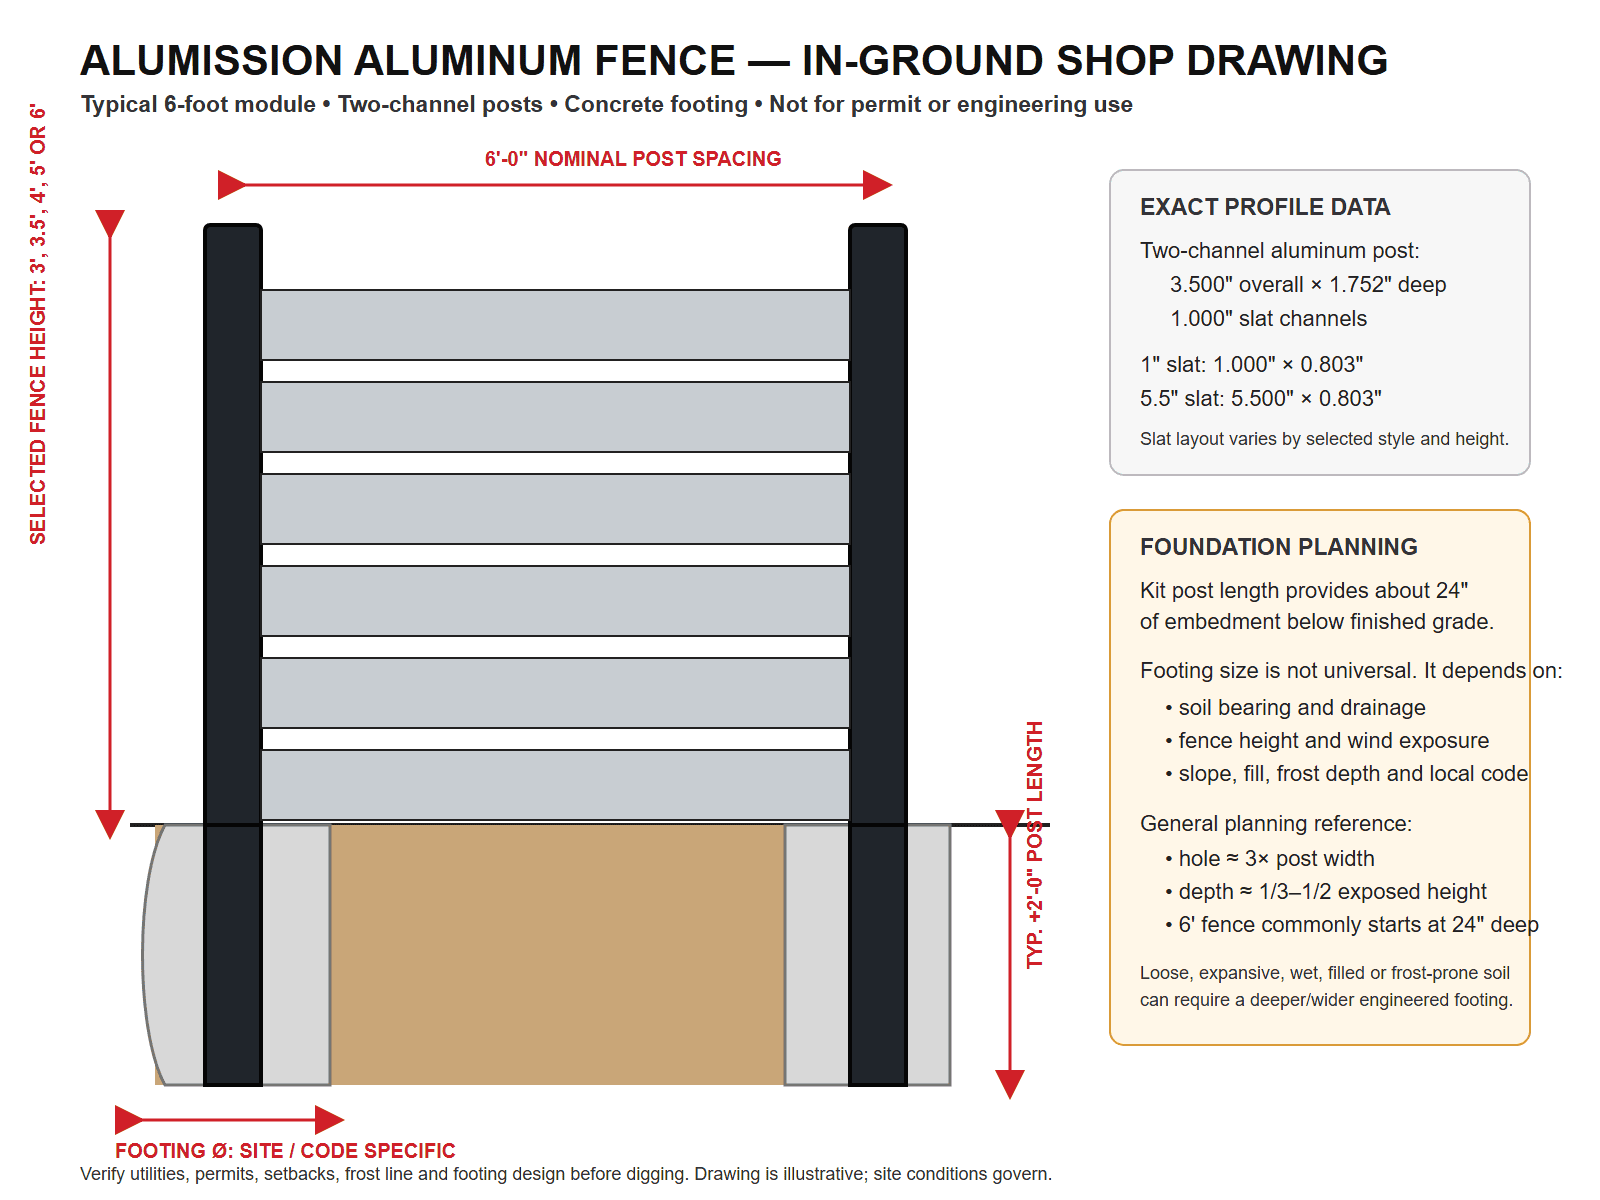
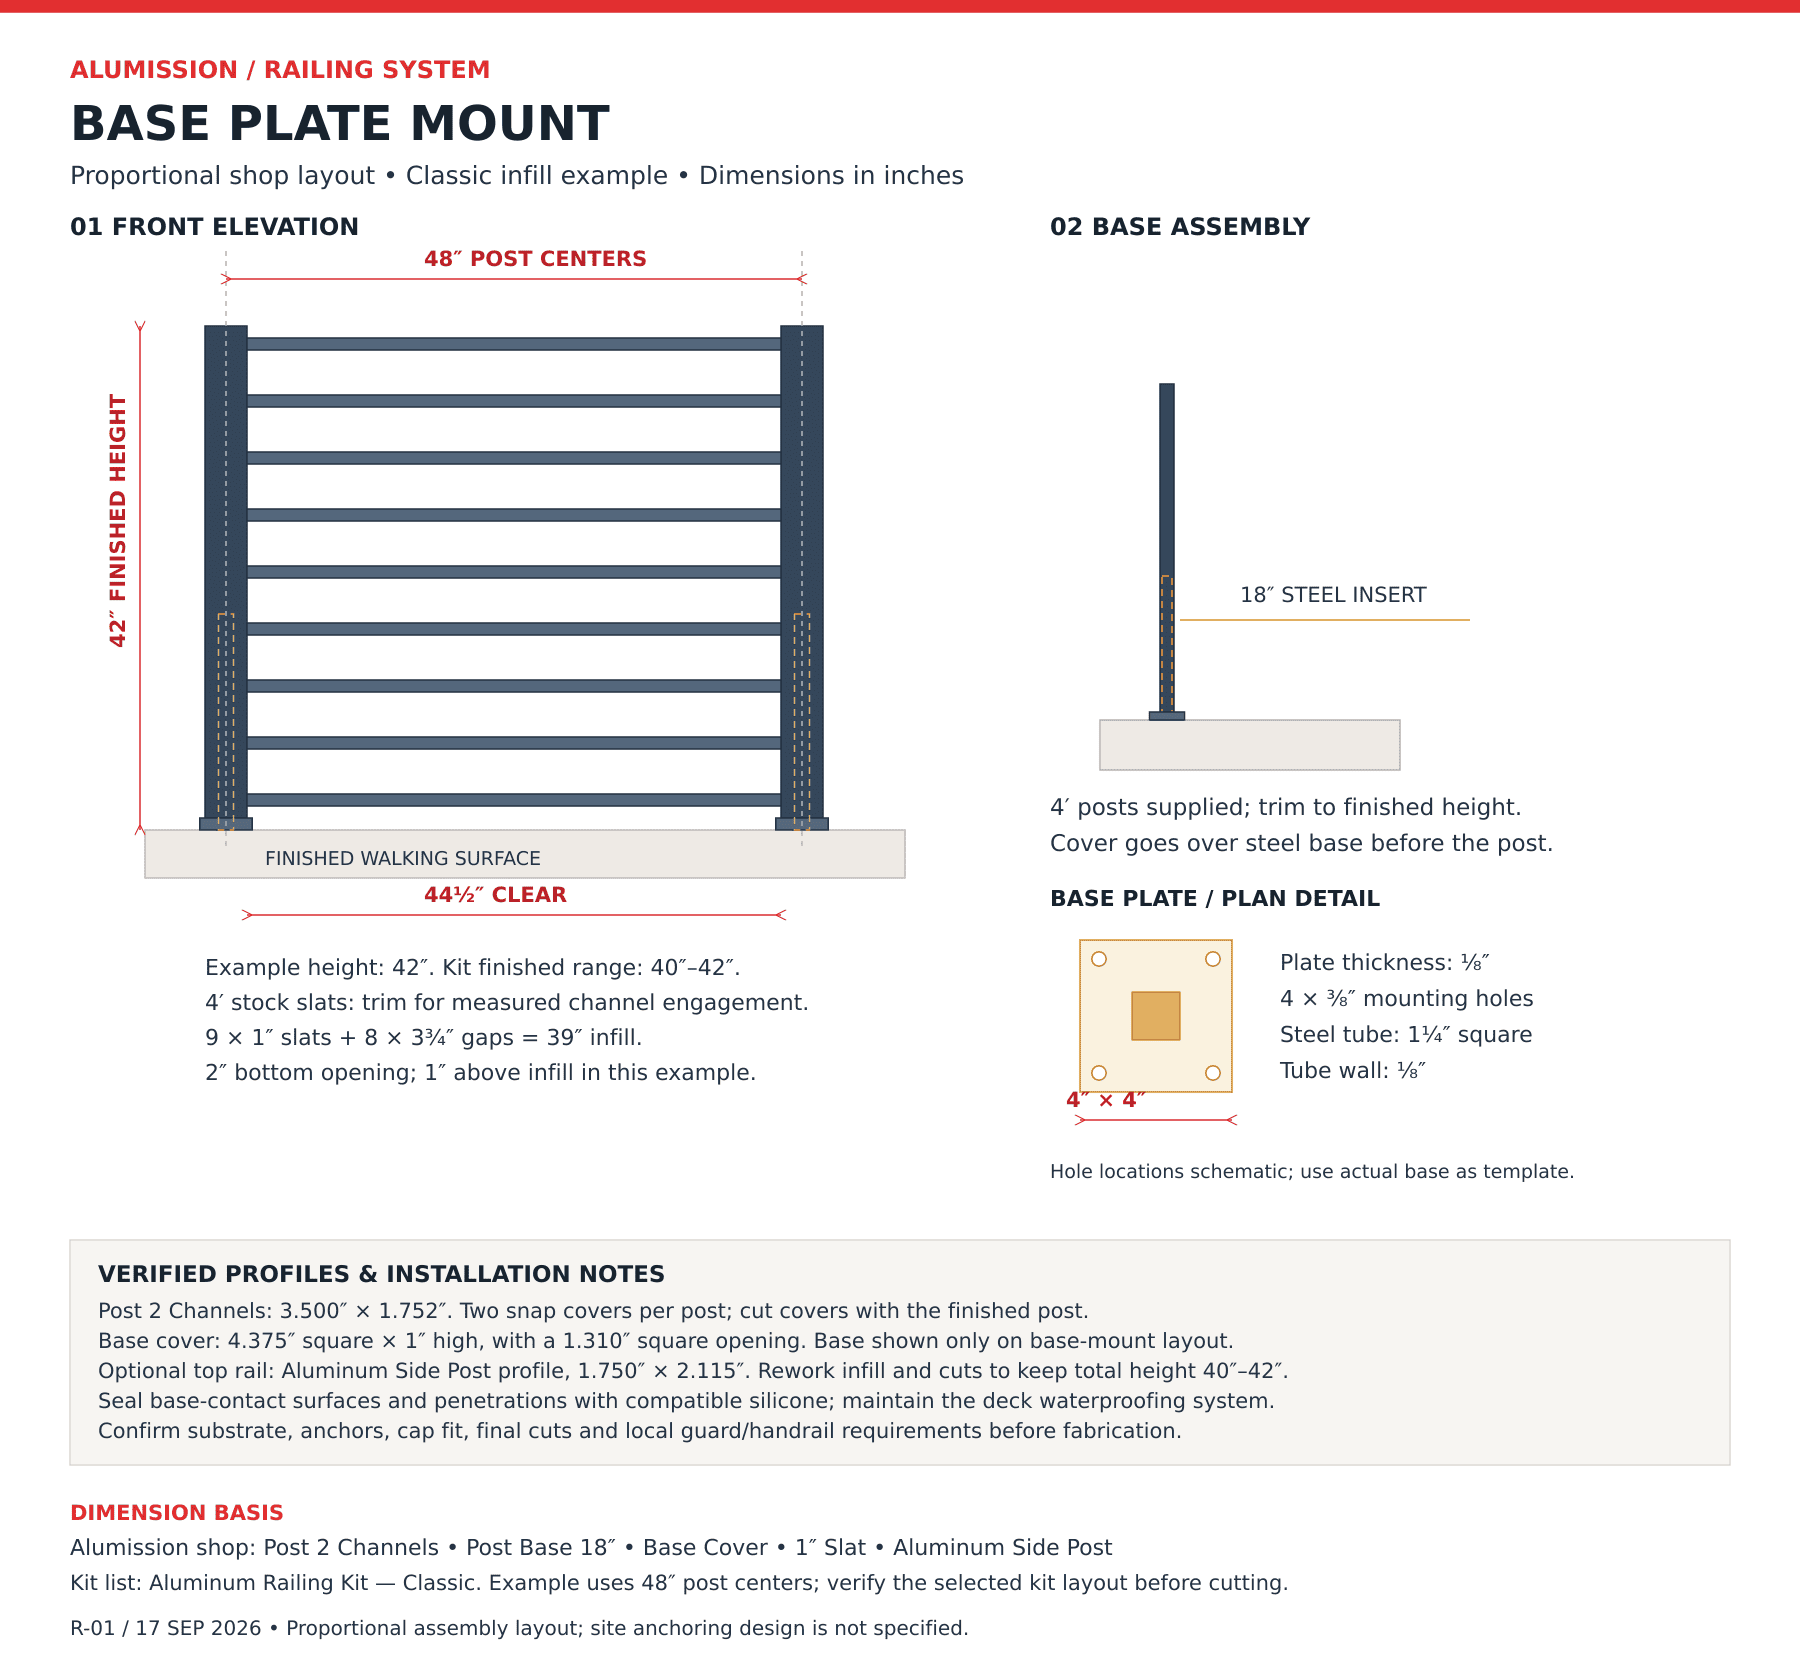
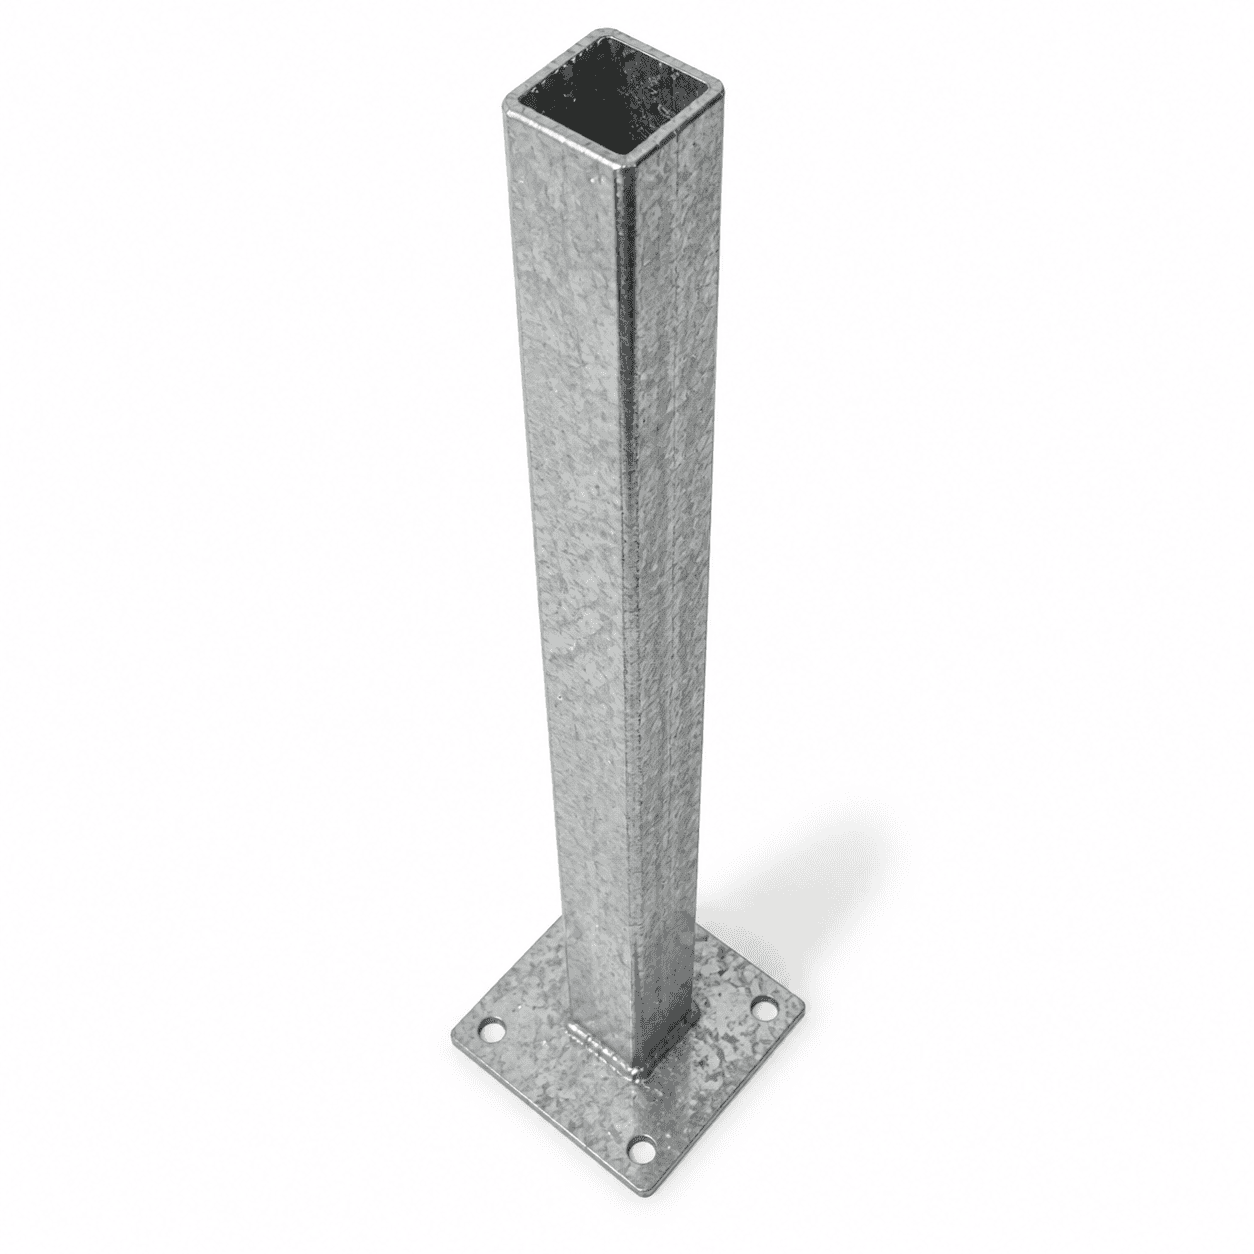
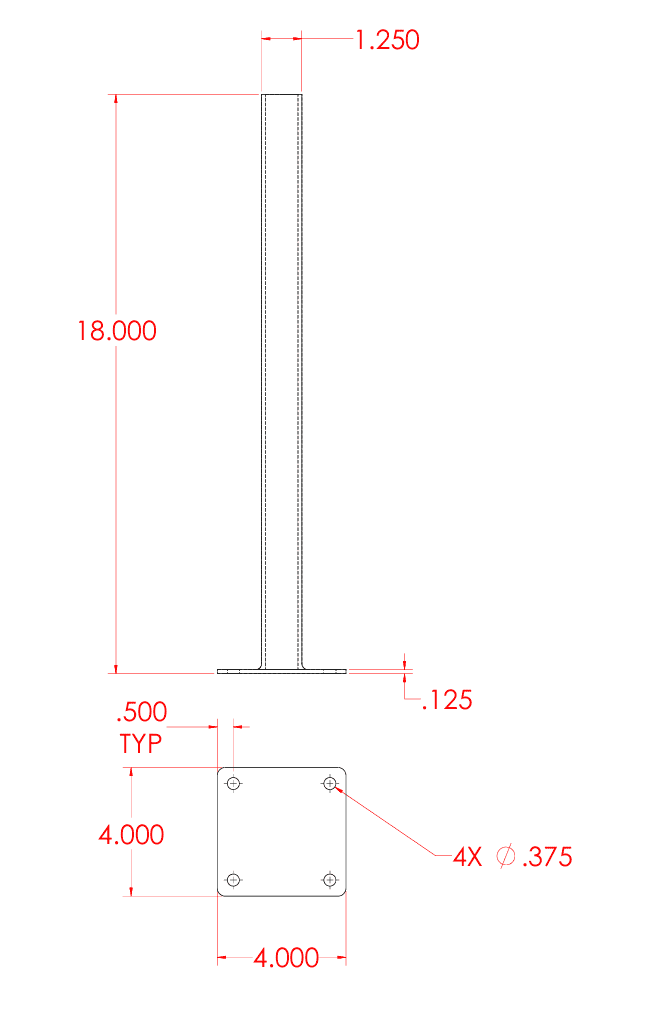
Each post uses a zinc-coated steel base with a 4-inch by 4-inch plate and an 18-inch stem. The plate is anchored to a structurally suitable wall, the aluminum base cover slides over the plate to conceal the mounting screws or anchors, and the aluminum post slides over the steel stem. Plumb and align every post before installing the slats.
Installation may be possible on concrete, masonry, properly reinforced wood, steel, or another structurally suitable wall when the correct substrate-specific anchors are used. Anchors are not included. The installer is responsible for confirming wall condition, edge distances, waterproofing, fastener selection, wind exposure, loads, and code or permit requirements.
No. Wall anchors are not included because the correct fastener and embedment depend on the wall material, wall condition, edge distances, loads, and site exposure. Select an anchor system specifically approved for the actual substrate and project conditions.
The existing wall and its foundation must be structurally suitable for the planned topper, anchors, height, and site loads. Inspect the wall for cracks, loose caps, deterioration, insufficient thickness, or other damage. When suitability is uncertain, have a qualified contractor or design professional evaluate it before installation.
No welding is required for the kit assembly. Installation is a mechanical field-fit process that requires accurate measuring, cutting, drilling, leveling, fastening, and anchoring. Channel covers snap into place after assembly to conceal the slat-fastening screws.
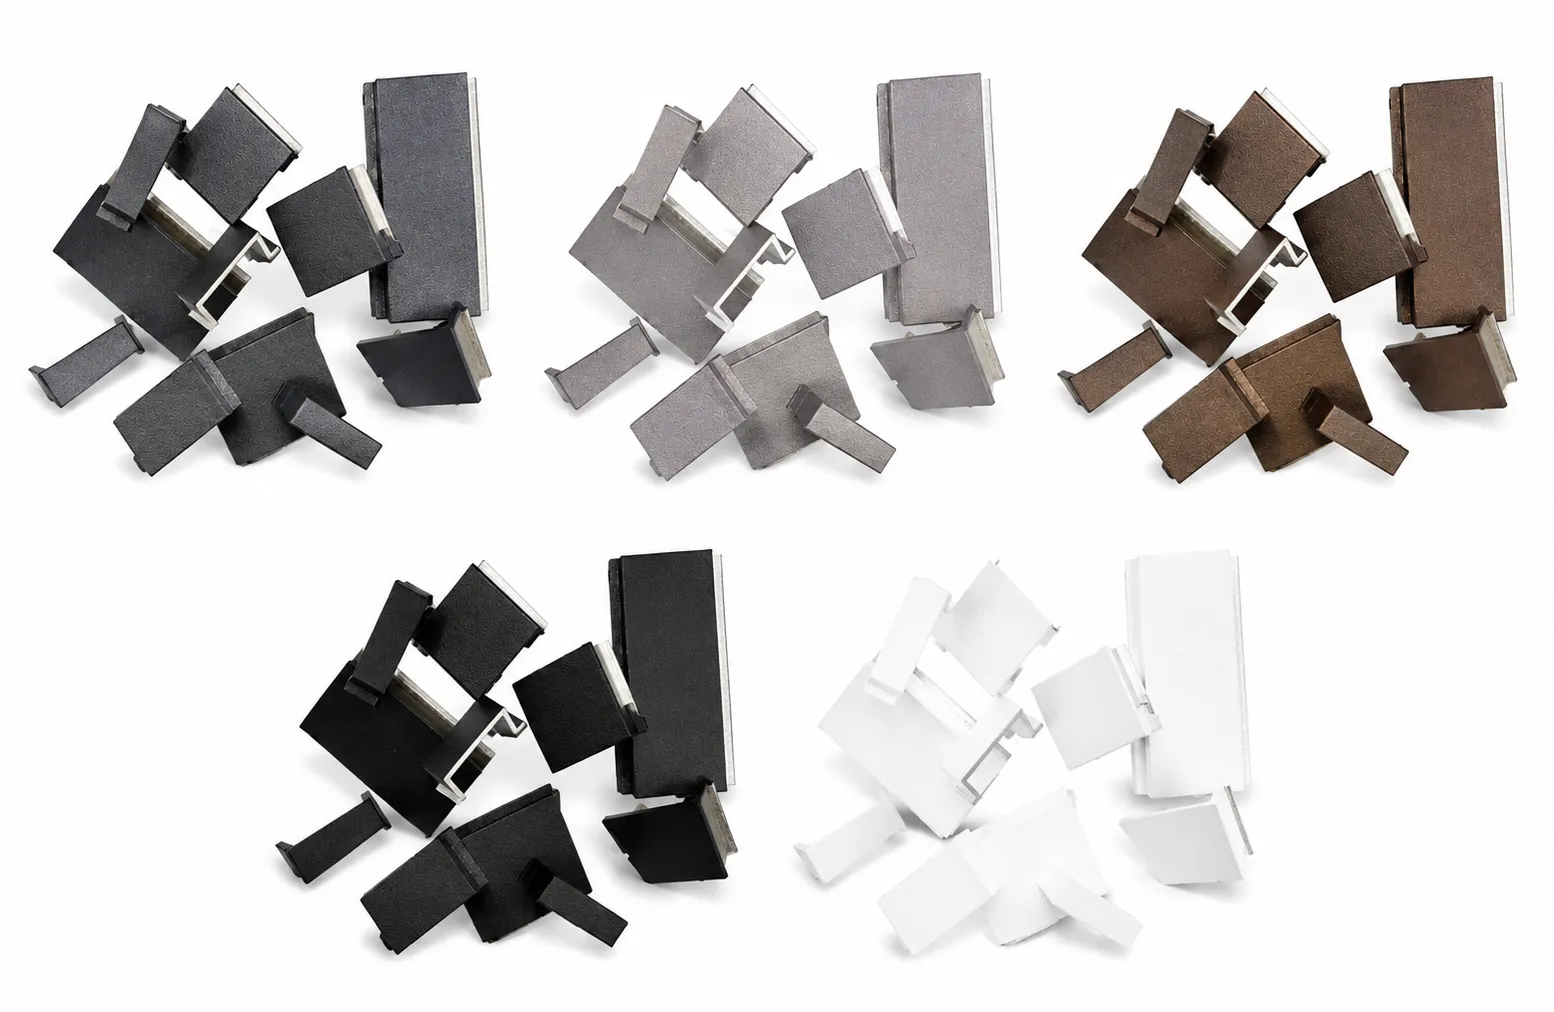
Current finish options may include Black, Bronze, White, Dark Grey, Light Gray, and Wood. Availability can change by configuration. Clean powder-coated aluminum with water, mild soap, and a soft cloth; avoid abrasive pads, harsh chemicals, and tools that can scratch the finish.
Confirm the total run length, selected style and height, number of 6-foot spans, post and terminal locations, corners or steps, wall construction, anchor plan, finish, field-cut requirements, access, wind exposure, and local rules. Product drawings support selection and installation planning but are not stamped structural or permit drawings.
A stepped wall can often be planned as separate level sections with post locations and field cuts coordinated at each change in elevation. A continuously sloped wall requires a custom layout. Measure every section carefully and confirm the proposed arrangement with Alumission before ordering.
Requirements vary by location and property. Check local height limits, setbacks, wind and structural rules, permit requirements, easements, and any HOA or architectural-review standards before ordering or installing. The product drawings are planning references, not stamped permit or structural drawings.
There are no reviews yet.
Fill out the details below and we’ll get back to you shortly!
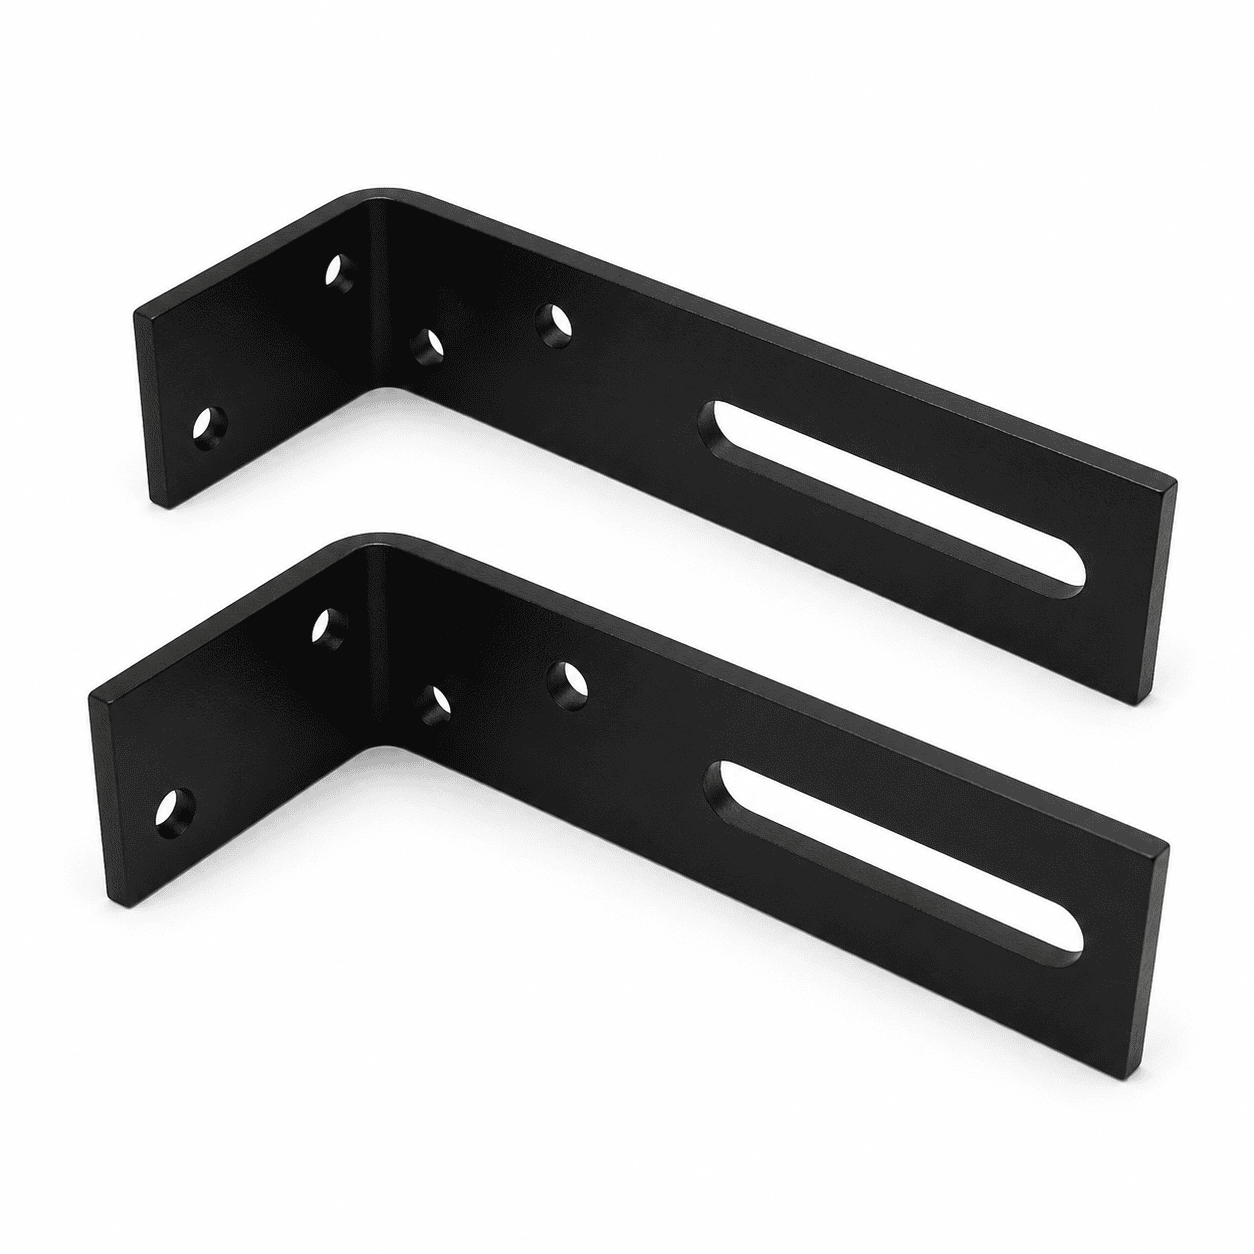
These compact stainless steel L-brackets create a secure 90° connection between Alumission aluminum slats and posts from inside the post channel. The concealed placement keeps the finished fence or gate clean while supporting the slat at the connection point.
They are primarily used with the Aluminum Post – 3 Channel and the Aluminum Side Post when the selected connection does not use a separate screw channel with a snap cover. Each bracket installs with two included stainless steel #8 self-drilling screws—the same screw type Alumission sells separately.
The small 90° bracket sits inside the post channel and connects the slat to the post without a large exterior bracket.
Use the bracket inside the appropriate channel to secure the end of an aluminum slat to the post.
Ideal for side-post connections where there is no separate screw channel and snap cover.
The compact bracket remains inside the channel so the primary connection is less visible after assembly.
Each bracket uses one included #8 screw into the post side and one into the slat side.
Both the brackets and supplied #8 self-drilling screws are stainless steel for compatible outdoor fence and gate projects.
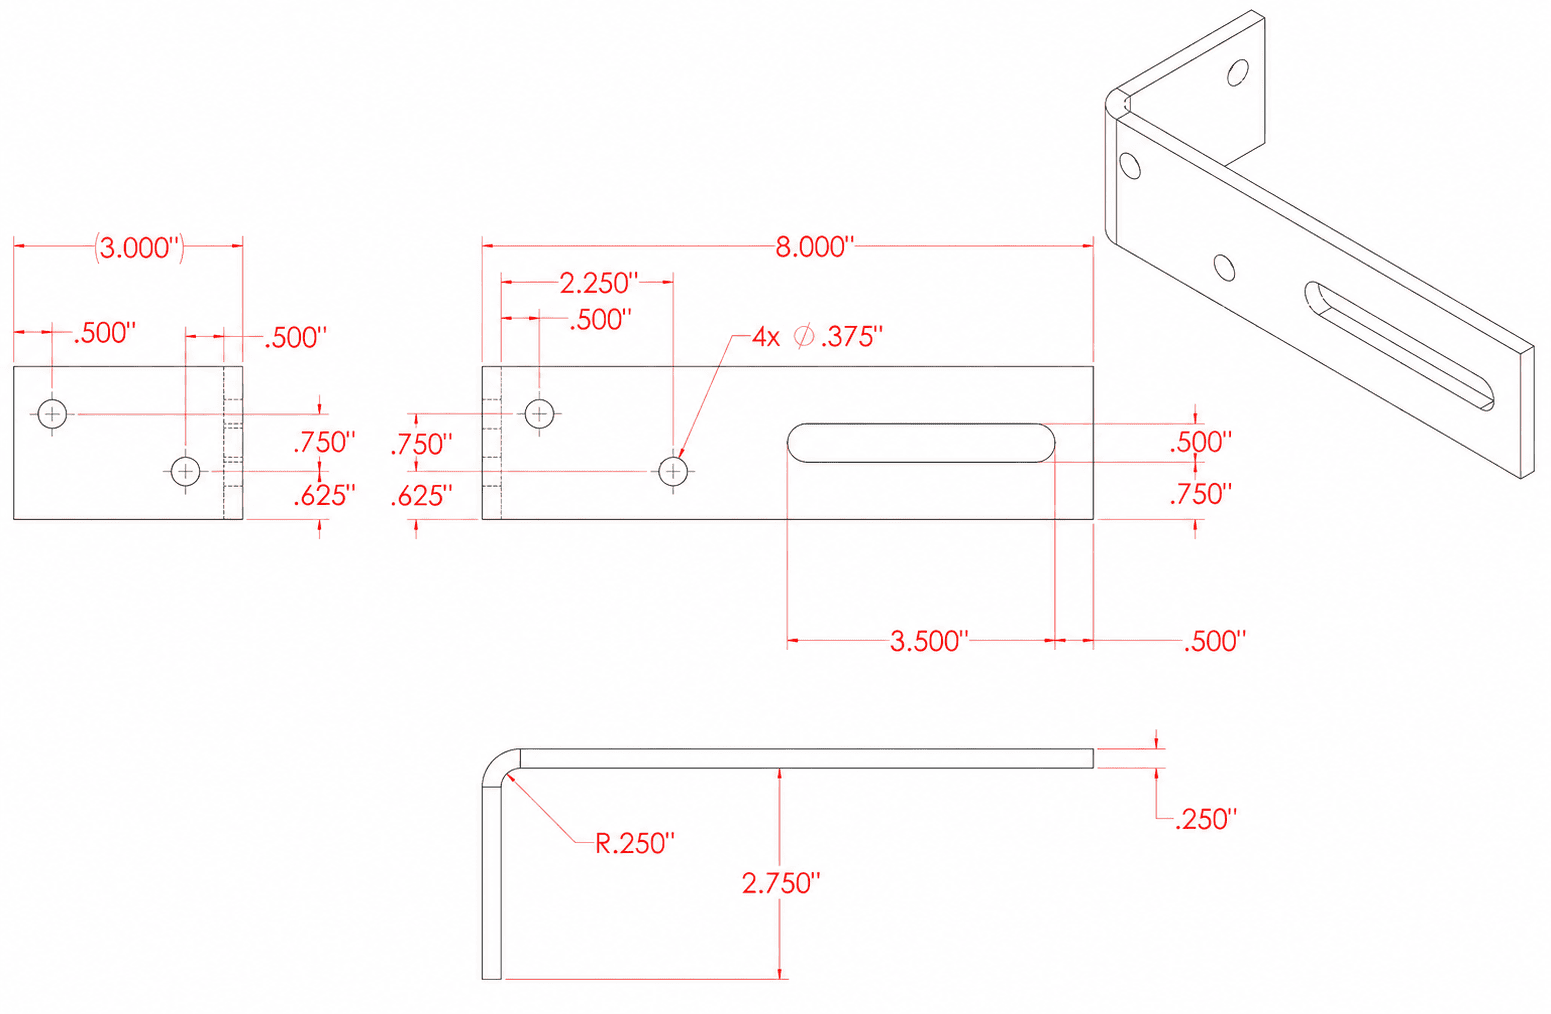
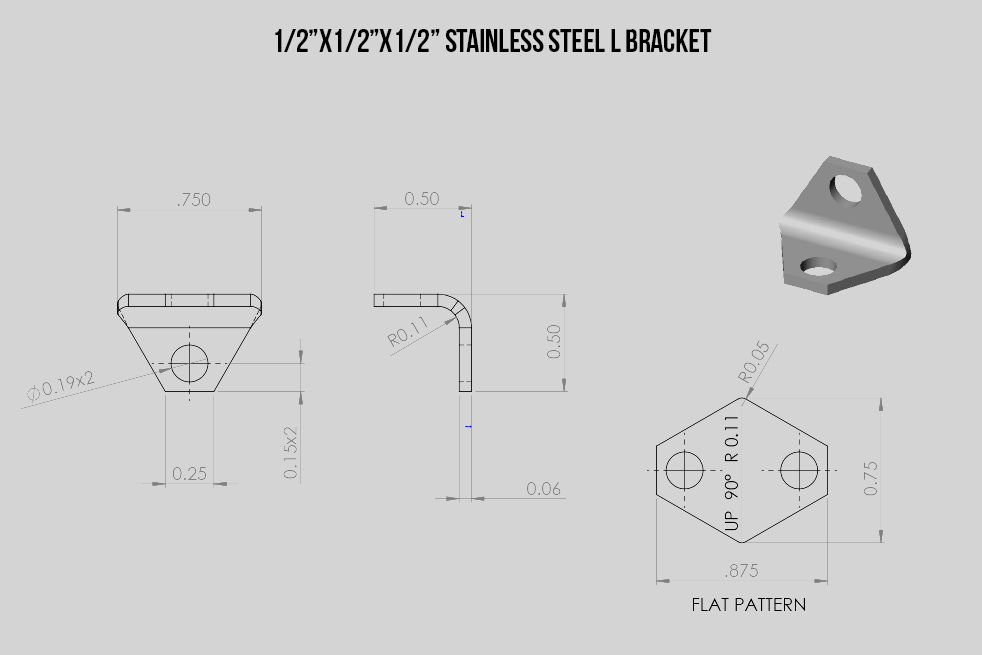
The L-bracket is formed from 0.06″ thick stainless steel with two mounting holes.
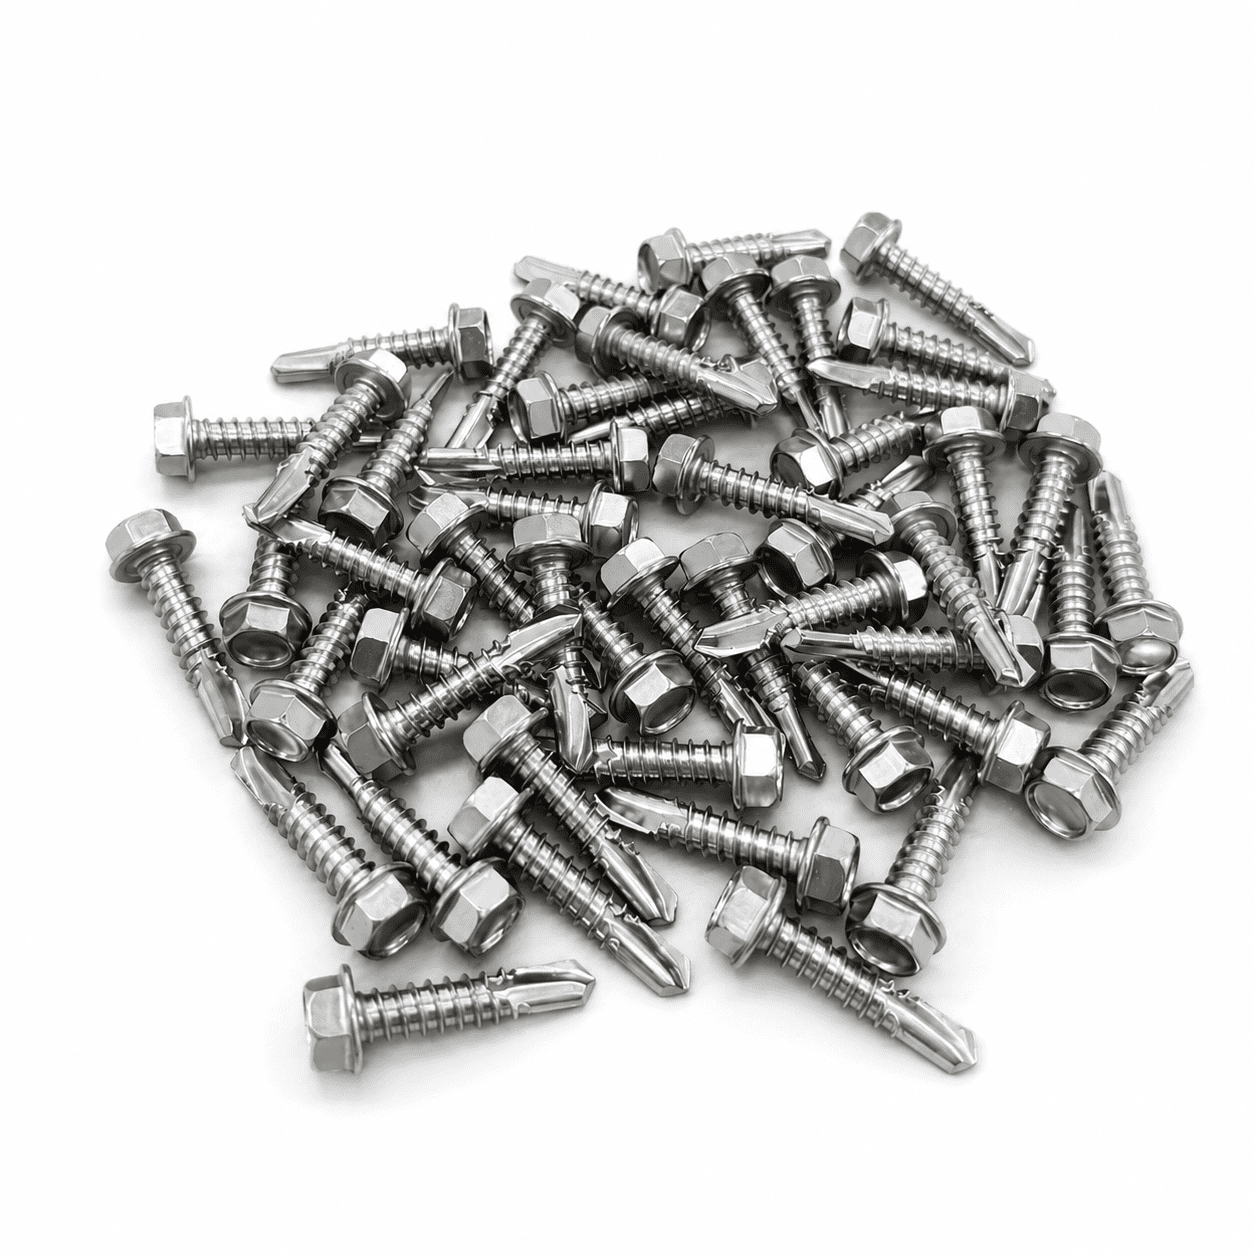
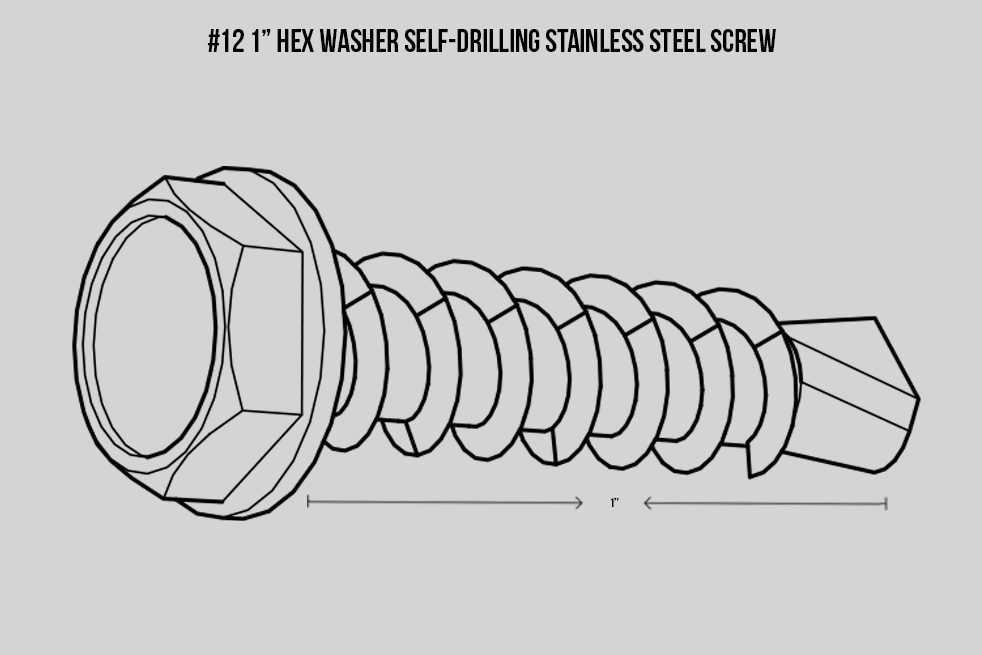
The included stainless steel self-drilling screws are the same type sold separately by Alumission.
Choose 10 brackets with 20 screws or 50 brackets with 100 screws.
Drive the screws until the bracket is secure; do not overtighten or distort the bracket or aluminum profile.
Included: Your selected pack size: either 10 stainless steel L-brackets with 20 stainless steel #8 self-drilling screws, or 50 brackets with 100 screws.
Sold separately: Aluminum posts, slats, post covers, snap covers, drill/driver, bits, and any other project-specific hardware.
Review the bracket dimensions, stainless steel construction, included screw quantities, and compatible post-channel applications.
Confirm slat position and bracket clearance before fastening. Keep the bracket square to both profiles and avoid overtightening the self-drilling screws. Final connection requirements depend on project dimensions, wind exposure, slat orientation, post spacing, and local code.
Answers about pack quantities, compatible posts, included screws, placement, and installation.
They connect Alumission aluminum slats to aluminum posts at 90° from inside the post channel.
They are primarily used with the Alumission 3-channel post and side post, especially when the connection does not have a separate screw channel with a snap cover.
Yes, when the selected post channel and slat orientation provide proper access and support for the internal bracket.
They install inside the post channel, which keeps the connection discreet. Visibility depends on the final profile and cover configuration.
Yes. They can be used for compatible aluminum fence and gate assemblies that require an internal slat-to-post connection.
Choose 10 L-brackets with 20 screws or 50 L-brackets with 100 screws.
Two stainless steel #8 self-drilling screws are included for every bracket.
Yes. The included stainless steel #8 self-drilling screws are the same type offered separately by Alumission.
Each bracket has 0.50″ legs, a 0.75″ width, 0.06″ thickness, and two 0.19″ mounting holes.
Position it inside the post channel with one leg against the post and the other against the slat, confirm alignment, then secure both legs using the supplied #8 screws.
No. Tighten only until the bracket is secure. Excessive torque may distort the bracket, strip the aluminum, or damage the finish.
Discussions
There are no questions yet.