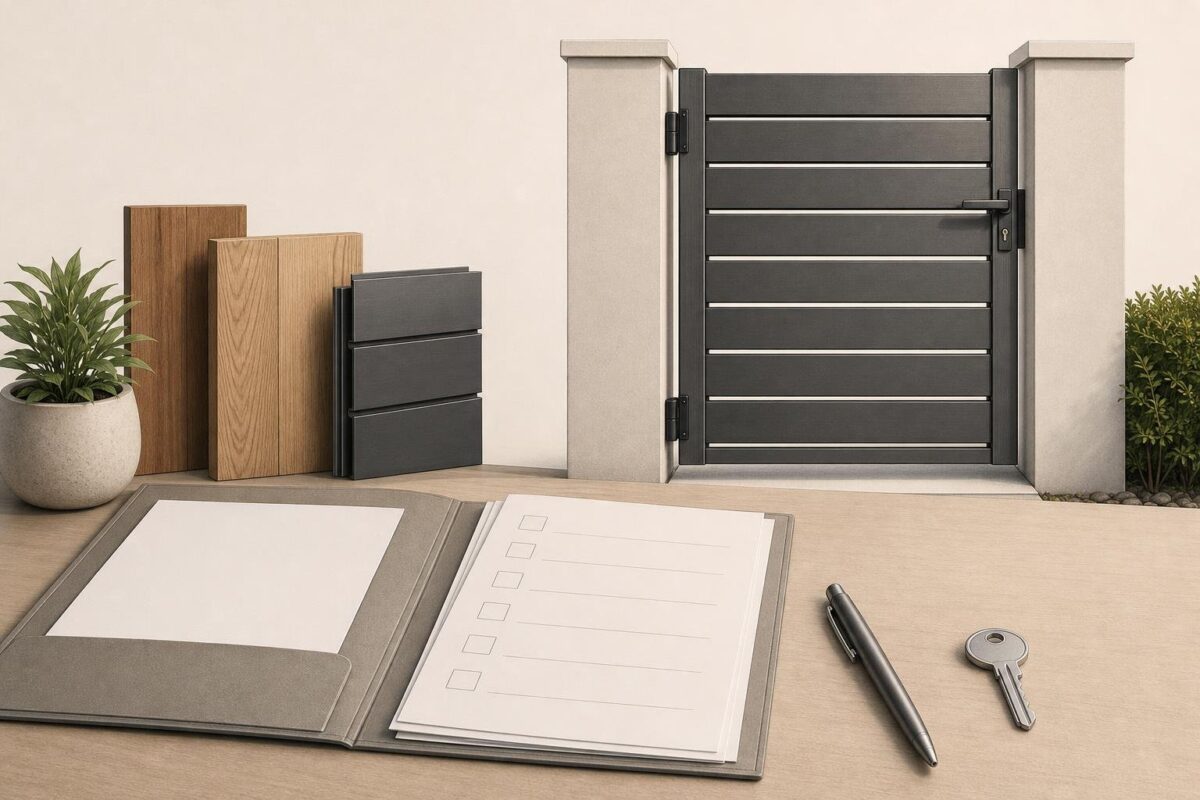
A useful aluminum gate handover gives the client a record of what was installed, what was observed during the walkthrough and whom to contact with questions. It also separates completed work from items that still need attention. Start gathering the records during the project rather than trying to reconstruct them on the final day.
Identify the installation
Put the project address, handover date, contractor contact and gate location at the top of the record. If the property has more than one gate, give each a clear identifier that matches the drawings and photos. Record the style and configuration, such as a single swing, double swing or sliding gate.
For each gate, include:
- The selected kit size, finish and available order or product information.
- The hinges, latch, lock and other hardware actually installed, including manufacturer and model where known.
- Changes made after ordering or differences from the original scope.
- The location of the applicable product and hardware instructions.
Compare the order with the installed components rather than assuming a generic kit list describes the completed project. The shop and single swing gate category can help locate product pages, but retain the details of the particular order too.
For example, Miami Style kit sizes describe fitting limits, not the size of a preassembled gate leaf. Record the selected kit size separately from the measurements taken on site. If a detail is unknown, mark it for confirmation rather than entering a likely specification.
Record measurements and the installed layout
Include an annotated sketch or labeled photos showing the gate, posts, opening and direction of travel. Date the measurements and identify the points between which each was taken. Keep the actual values in the project file; the handover is not a substitute for the selected product instructions.
For the Miami Style single swing kit, the product instructions refer to the actual opening between the installed side posts. If that measurement was recorded during installation, include it with its date and note any subsequent changes. Do not substitute the nominal kit width for an actual site measurement.
For a fully framed swing configuration, Alumission’s fully framed gate guide discusses hinge-side and latch-side clearances, swing direction, grade and any double-leaf meeting gap. Record the relevant details for that installation, along with nearby features noted during the walkthrough. Confirm requirements against the instructions for the selected kit; an observed clearance is not itself a tolerance or compliance determination.
For a sliding configuration, label the travel path and installed hardware in a separate sketch. The sliding-gate guide directs readers to the selected hardware instructions and site plan for wheels, foundations, track, guides, catcher and mechanical retention. Record only what is present on the project, and do not transfer sliding-hardware details to a swing gate.
Document the walkthrough and access
Walk through the gate with the client or their representative and record the date, attendees and observations. Be specific: note whether the gate opened and closed during the walkthrough, whether the latch engaged, and any binding, rubbing or other issue observed. If something could not be checked, write that down instead of marking it complete.
Show the client the ordinary means of entry and exit. List the keys or access items handed over, but keep codes and credentials out of a broadly shared project document. Agree on a separate, secure method for transferring sensitive information.
If an operator is part of the project, identify its model and the party responsible for its documentation and service. Provide the instructions and any records actually supplied by the responsible technician. Do not claim that a device or emergency procedure was checked without a record of that check. For operator questions, direct the client to the current model instructions and a qualified gate-systems technician.
Leave care and service information
Give the client instructions for the installed finish and hardware rather than a generic care sheet. For the San Francisco Style gate, Alumission recommends mild soap, water and a soft cloth, periodic checks of hinges, fasteners, the latch and mounting points, and avoiding abrasive cleaners. Confirm the guidance for the product actually installed before passing it on.
Record where a future service person can find hardware information and any project photos showing concealed work. If the project uses the Aluminum Slide Side Cover for Gate Frame, its product page advises planning cover lengths and joints so the screw channel can be accessed for adjustment or repair. Identify the relevant cover locations in the handover without instructing the client to dismantle them.
Include copies of applicable documents received, such as product instructions, hardware manuals and order records. If warranty documentation was provided, identify the document and its source; do not summarize terms you have not verified. List the contractor’s service contact and any separate hardware or operator contact known for the project.
Close out open items clearly
Finish with a short action list: describe each outstanding item, who is responsible, the next step and any agreed follow-up date. Separate an item awaiting a part or another trade from work already completed. Ask the client to acknowledge receipt of the package and note questions raised during the walkthrough; receipt need not be described as acceptance of unresolved work.
If a product detail or instruction needs confirmation before you close the file, ask Alumission for project help. Provide the gate style, available order information and relevant photos so the question is tied to the actual installation.