

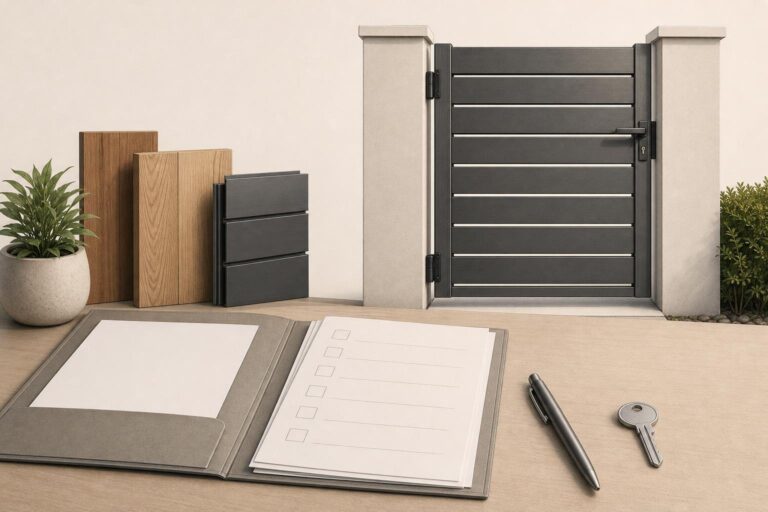
What to Document When Handing Over an Aluminum Gate Installation
A practical handover checklist for contractors, covering installed components, measurements, client instructions and unresolved work.
THE ALUMISSION JOURNAL
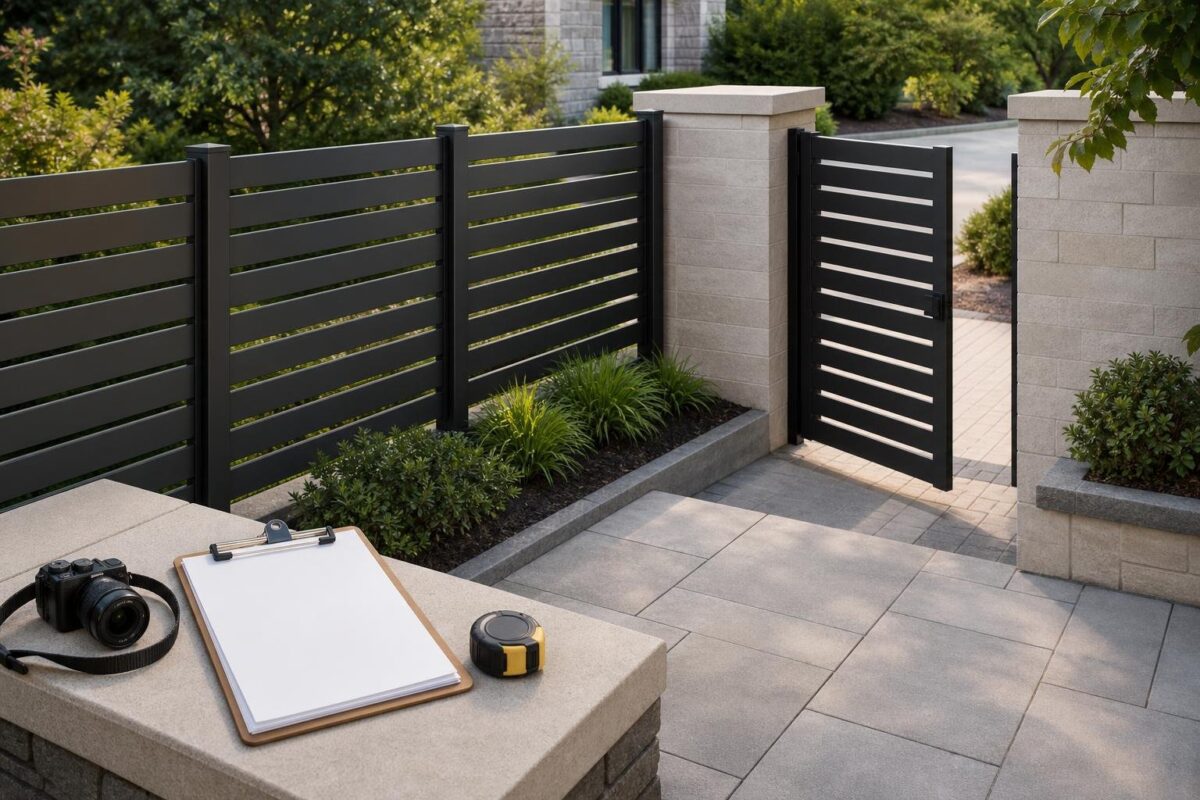
A useful site survey gives the ordering team more than a total fence length. It records the proposed layout, conditions at each opening and decisions that still need confirmation. Use this checklist during the walk-through, then attach measurements and photos to the project file.
Start with a sketch that the owner and installation crew can both understand. Label each run and gate opening, note the intended finished height and mark changes in direction. Use the same labels on your measurements and photos so questions about different locations do not get confused.
Penn State’s horse-fence planning guidance recommends a scaled layout showing proposed gates and fence lines. Adapt that drawing practice to your project; the horse-fence guidance is not a specification for an Alumission installation.
Keep the individual run lengths as well as the overall total. A total alone does not tell the ordering team where the line turns, ends or meets a gate. If the plan changes after the walk-through, update the sketch and identify which measurements need to be checked again.
Record each gate as its own location, including its intended use, mounting surfaces and direction of movement. Ask the owner to identify the largest items that need to pass through. If finished mounting surfaces are not yet in place, label the measurement as proposed and arrange to verify it when those surfaces are complete.
For a side-yard opening, Alumission’s planning guidance calls for measuring between the finished mounting surfaces at the top, middle and bottom, with desired height recorded separately. Its diagram is for planning, not cutting. Record all three widths rather than averaging them, and ask about differences before selecting or cutting a kit.
Compare the layout with the selected product’s instructions. Alumission’s gate collection advises customers planning a sliding gate to share measurements and photos, including the runback area and details of any existing motor they intend to reuse.
Walk the whole line, not just the gate opening. Photograph changes in grade and note low areas, drainage, existing pavement and places where the proposed fence meets a wall or column. Mark each condition on the sketch and identify which photos show it. Ask about planned landscaping or surface work that could change the finished site before installation.
At each proposed support location, record what is present and what remains unknown. Is the mounting surface existing or planned? Can the crew inspect it, or is more information needed from the owner or another project professional? Avoid choosing a support method from a photograph alone; identify who will resolve questions about the supporting surface and mounting method.
Where a fixed panel is planned beside a gate, review the Alumission side-panel kit options. The side-panel page notes that a gate leaf, hinges and lock are not included and calls for coordinating any shared gate-bearing post with the gate’s support requirements. Keep the panel and gate details together, especially if separate trades are preparing the supports.
Bring the survey notes back to the exact products under consideration. The Miami Style single swing gate page states that its kit sizes describe maximum fitting limits, not the dimensions of a preassembled gate leaf, and directs customers to check the illustrated installation guide before cutting. Do not transfer that sizing explanation to another product without checking its page and instructions.
For each selected fence or gate, review the current parts list, mounting information and installation instructions. List the tools, anchors, site preparation and labor needed, and confirm who will supply or arrange each item. If the layout calls for a variation from the instructions, record it as an open question rather than assuming the parts will work together.
For example, Alumission’s side-yard gate guidance lists measuring, cutting, drilling and leveling tools, anchors suited to the mounting surface, site preparation and installation labor as customer-provided items for its single swing kit. Double swing kits have a separate component list and fitting plan, so check the exact selection rather than using that list for every gate.
Review the sketch with the owner for the intended fence line, appearance, access and any required community review. Alumission’s HOA planning guide notes that a homeowner sketch is not a substitute if a review requires a survey or professional plan. Record pending decisions and the person responsible for each; hold the order where a missing answer affects product selection.
Assemble a project packet with labeled run lengths, finished opening measurements, desired heights, mounting-surface details, gate directions, photos and the proposed style and finish. Include unresolved questions about supports, clearances or unusual layouts. Ask Alumission for project help with that packet so the selected products and instructions can be reviewed against the site.
Explore products, installation resources, and advice from our team.
More ideas and practical guidance for your outdoor project.
A practical handover checklist for contractors, covering installed components, measurements, client instructions and unresolved work.
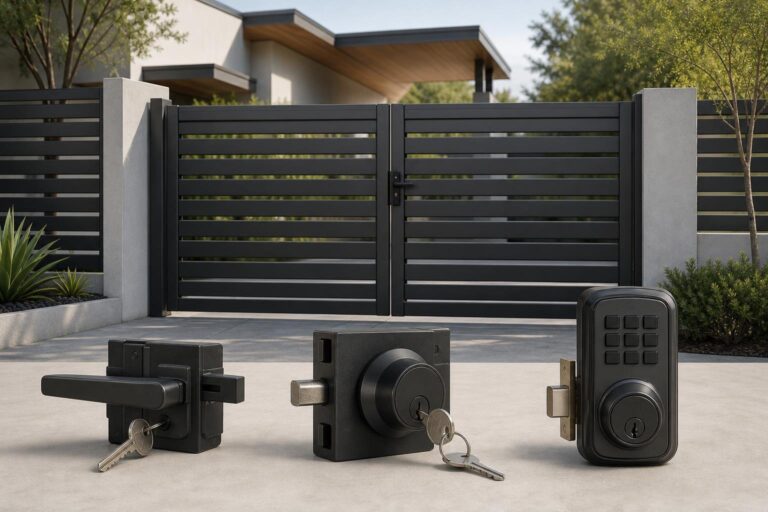
Choose gate access hardware around everyday use, then confirm fit, exposure, and installation requirements for your specific project.
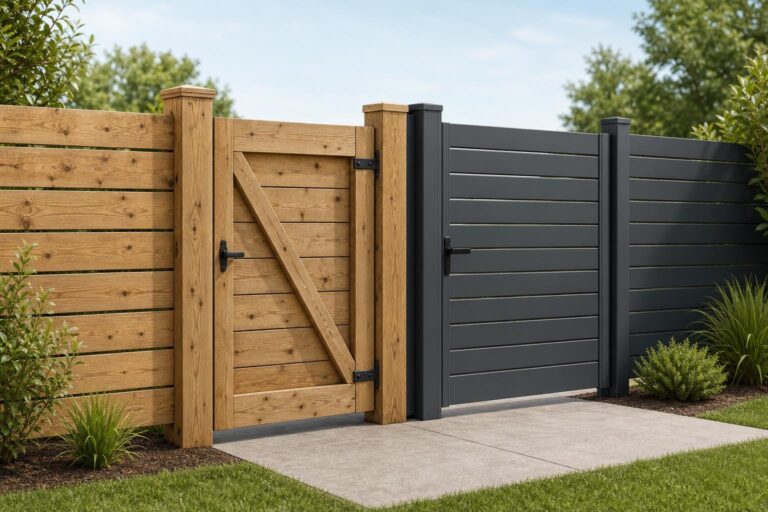
Use this practical checklist to compare fence finishes, upkeep, sightlines and installation scope before choosing wood or aluminum.
Fill out the details below and we’ll get back to you shortly!
