
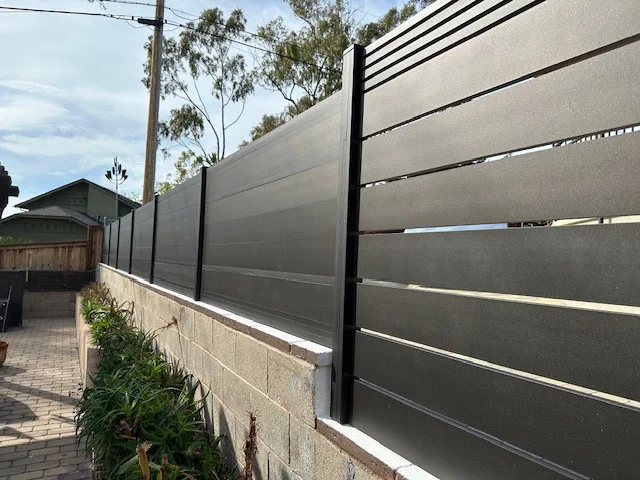
Aluminum Wall Toppers
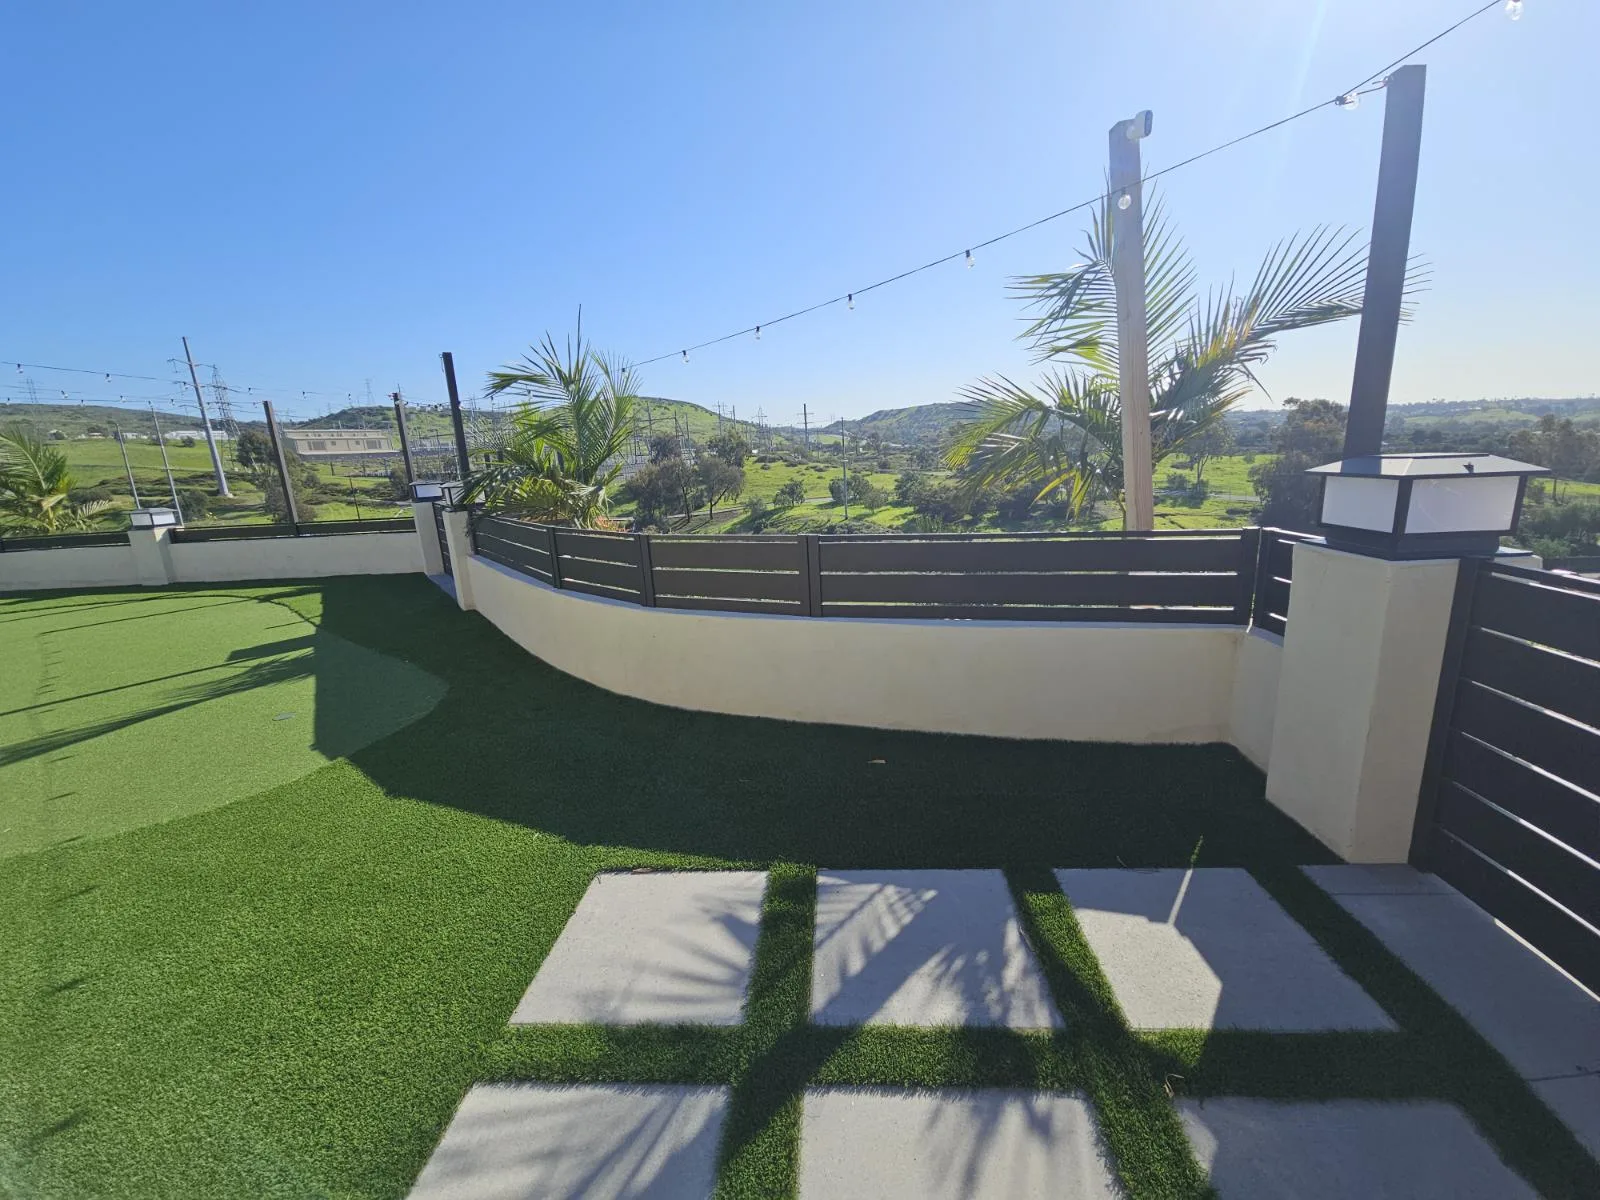
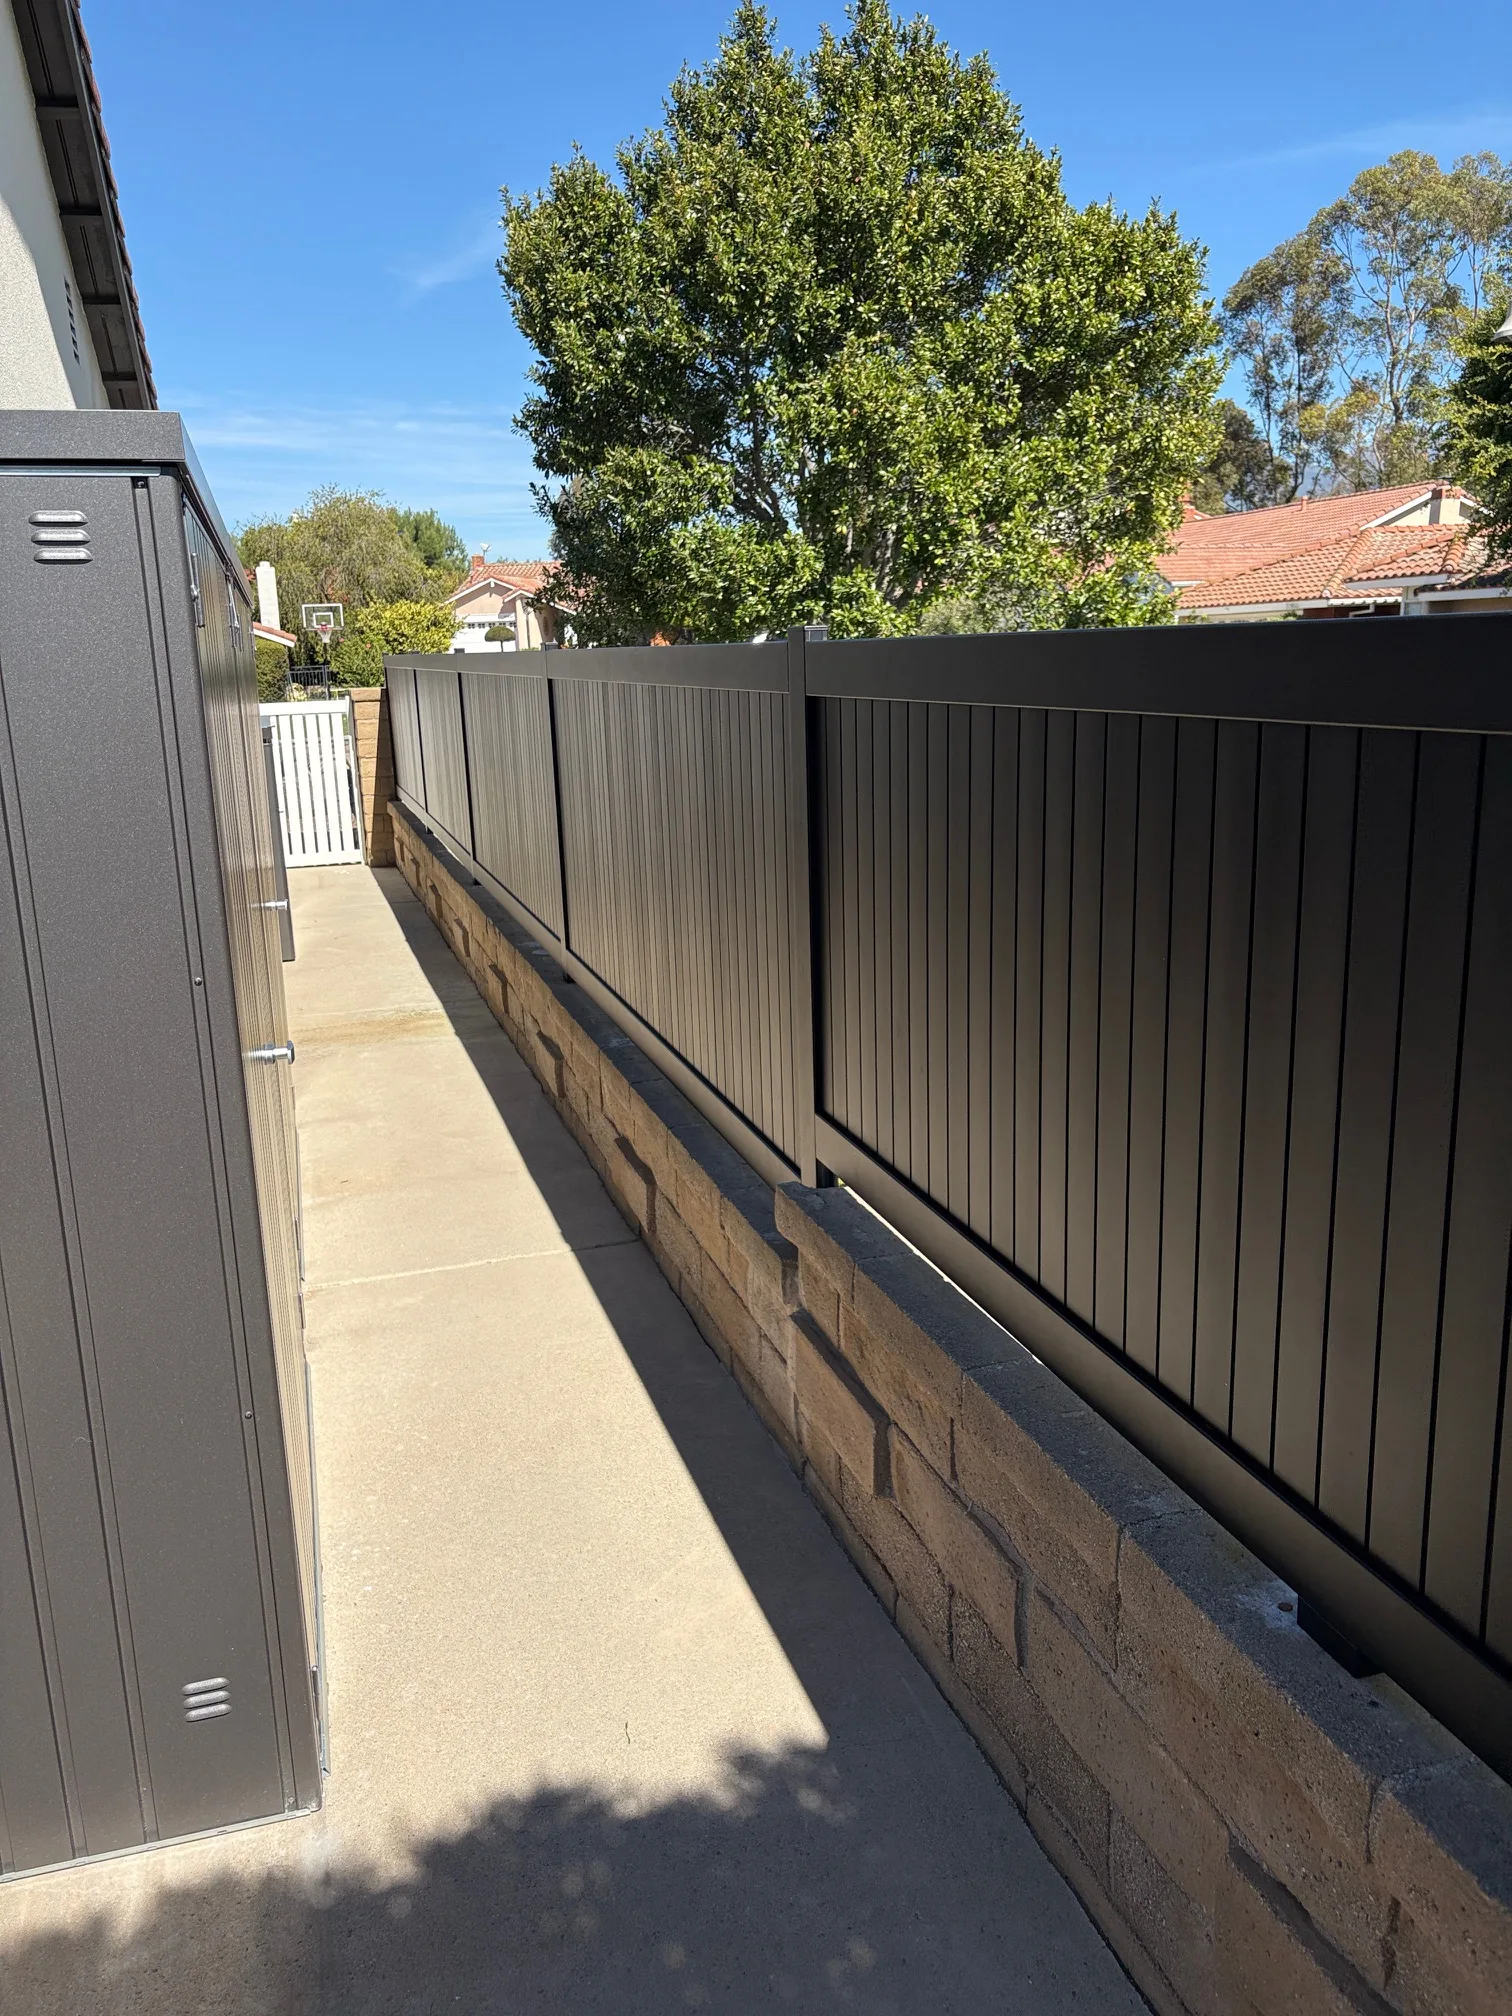
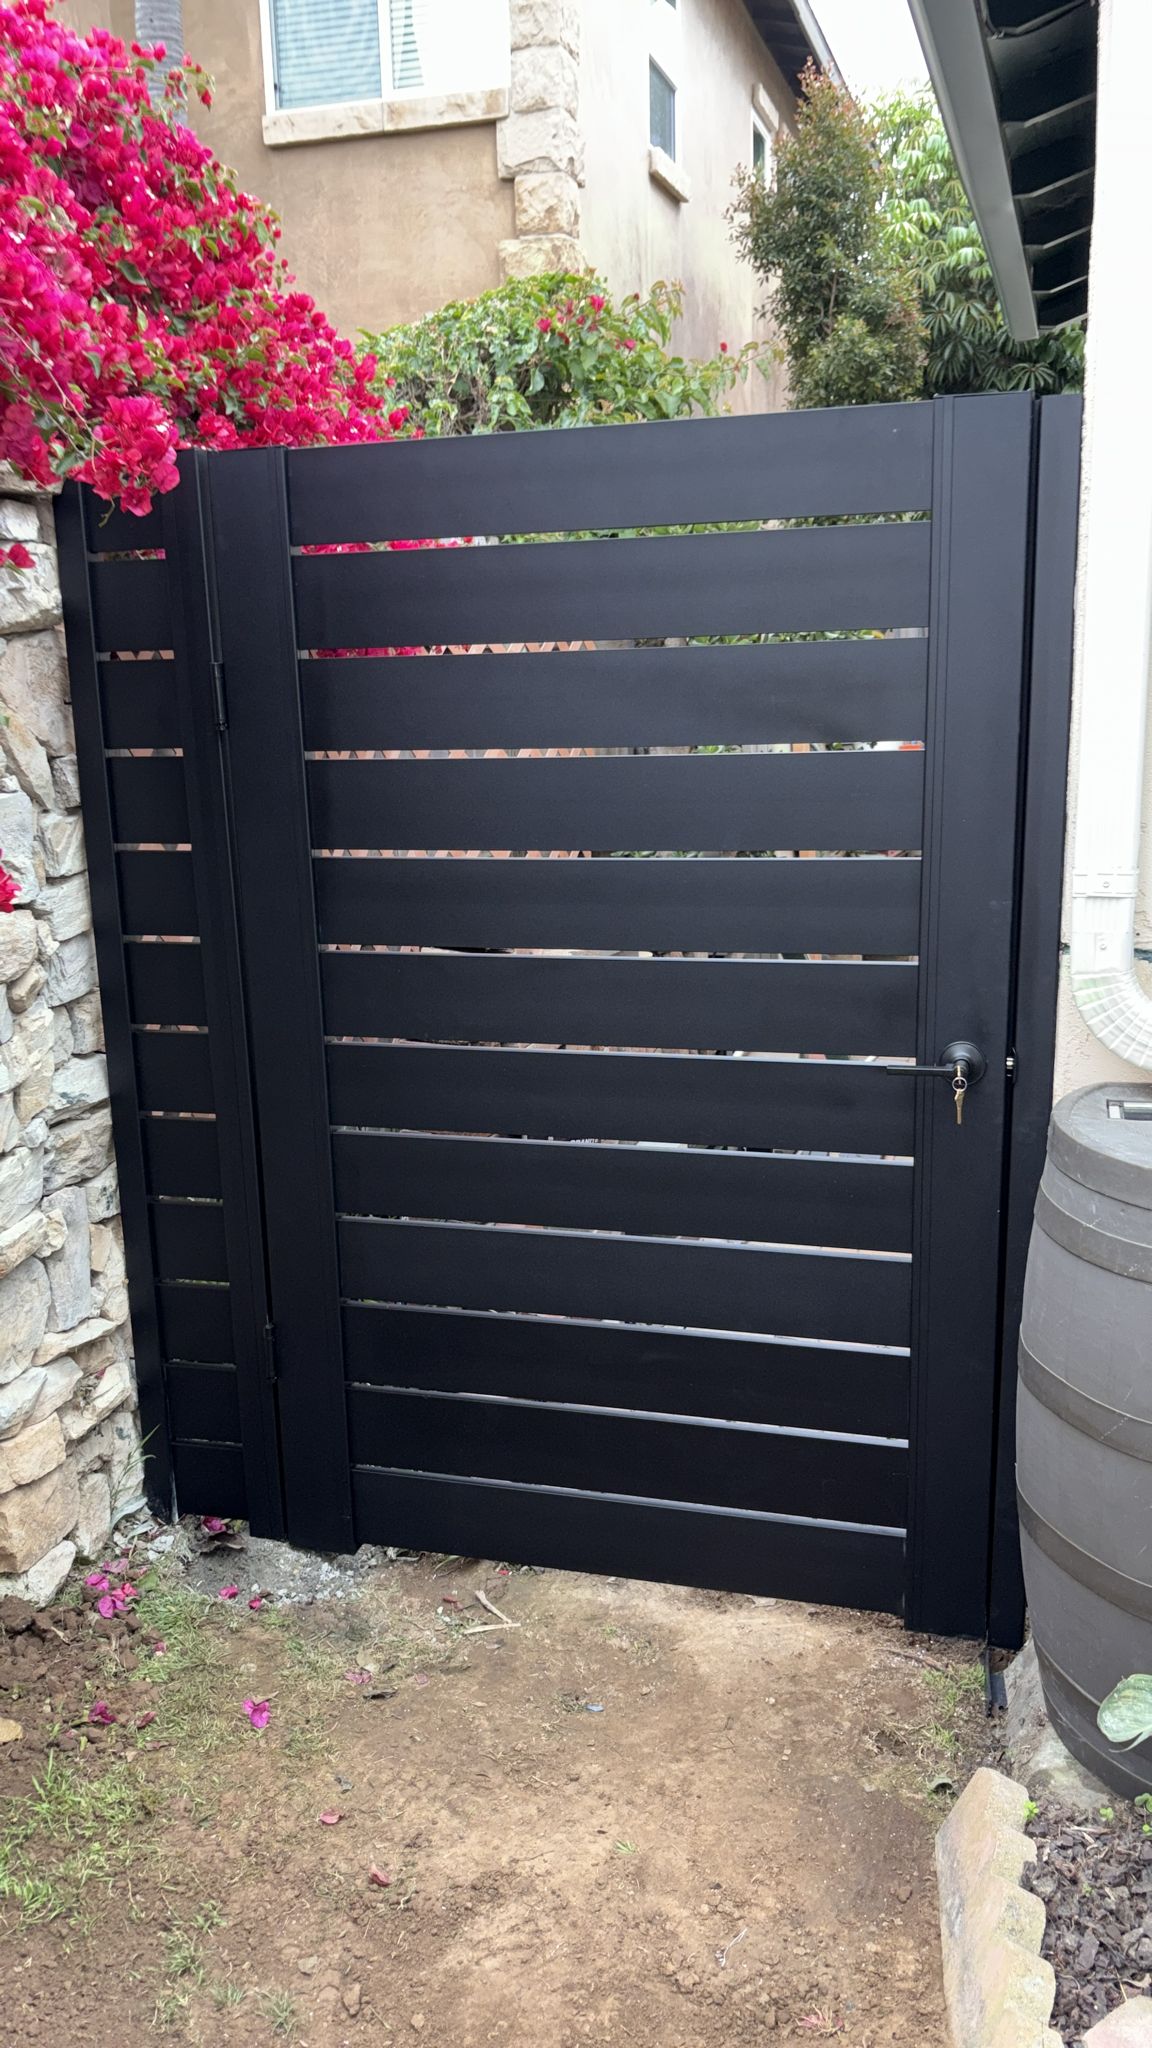
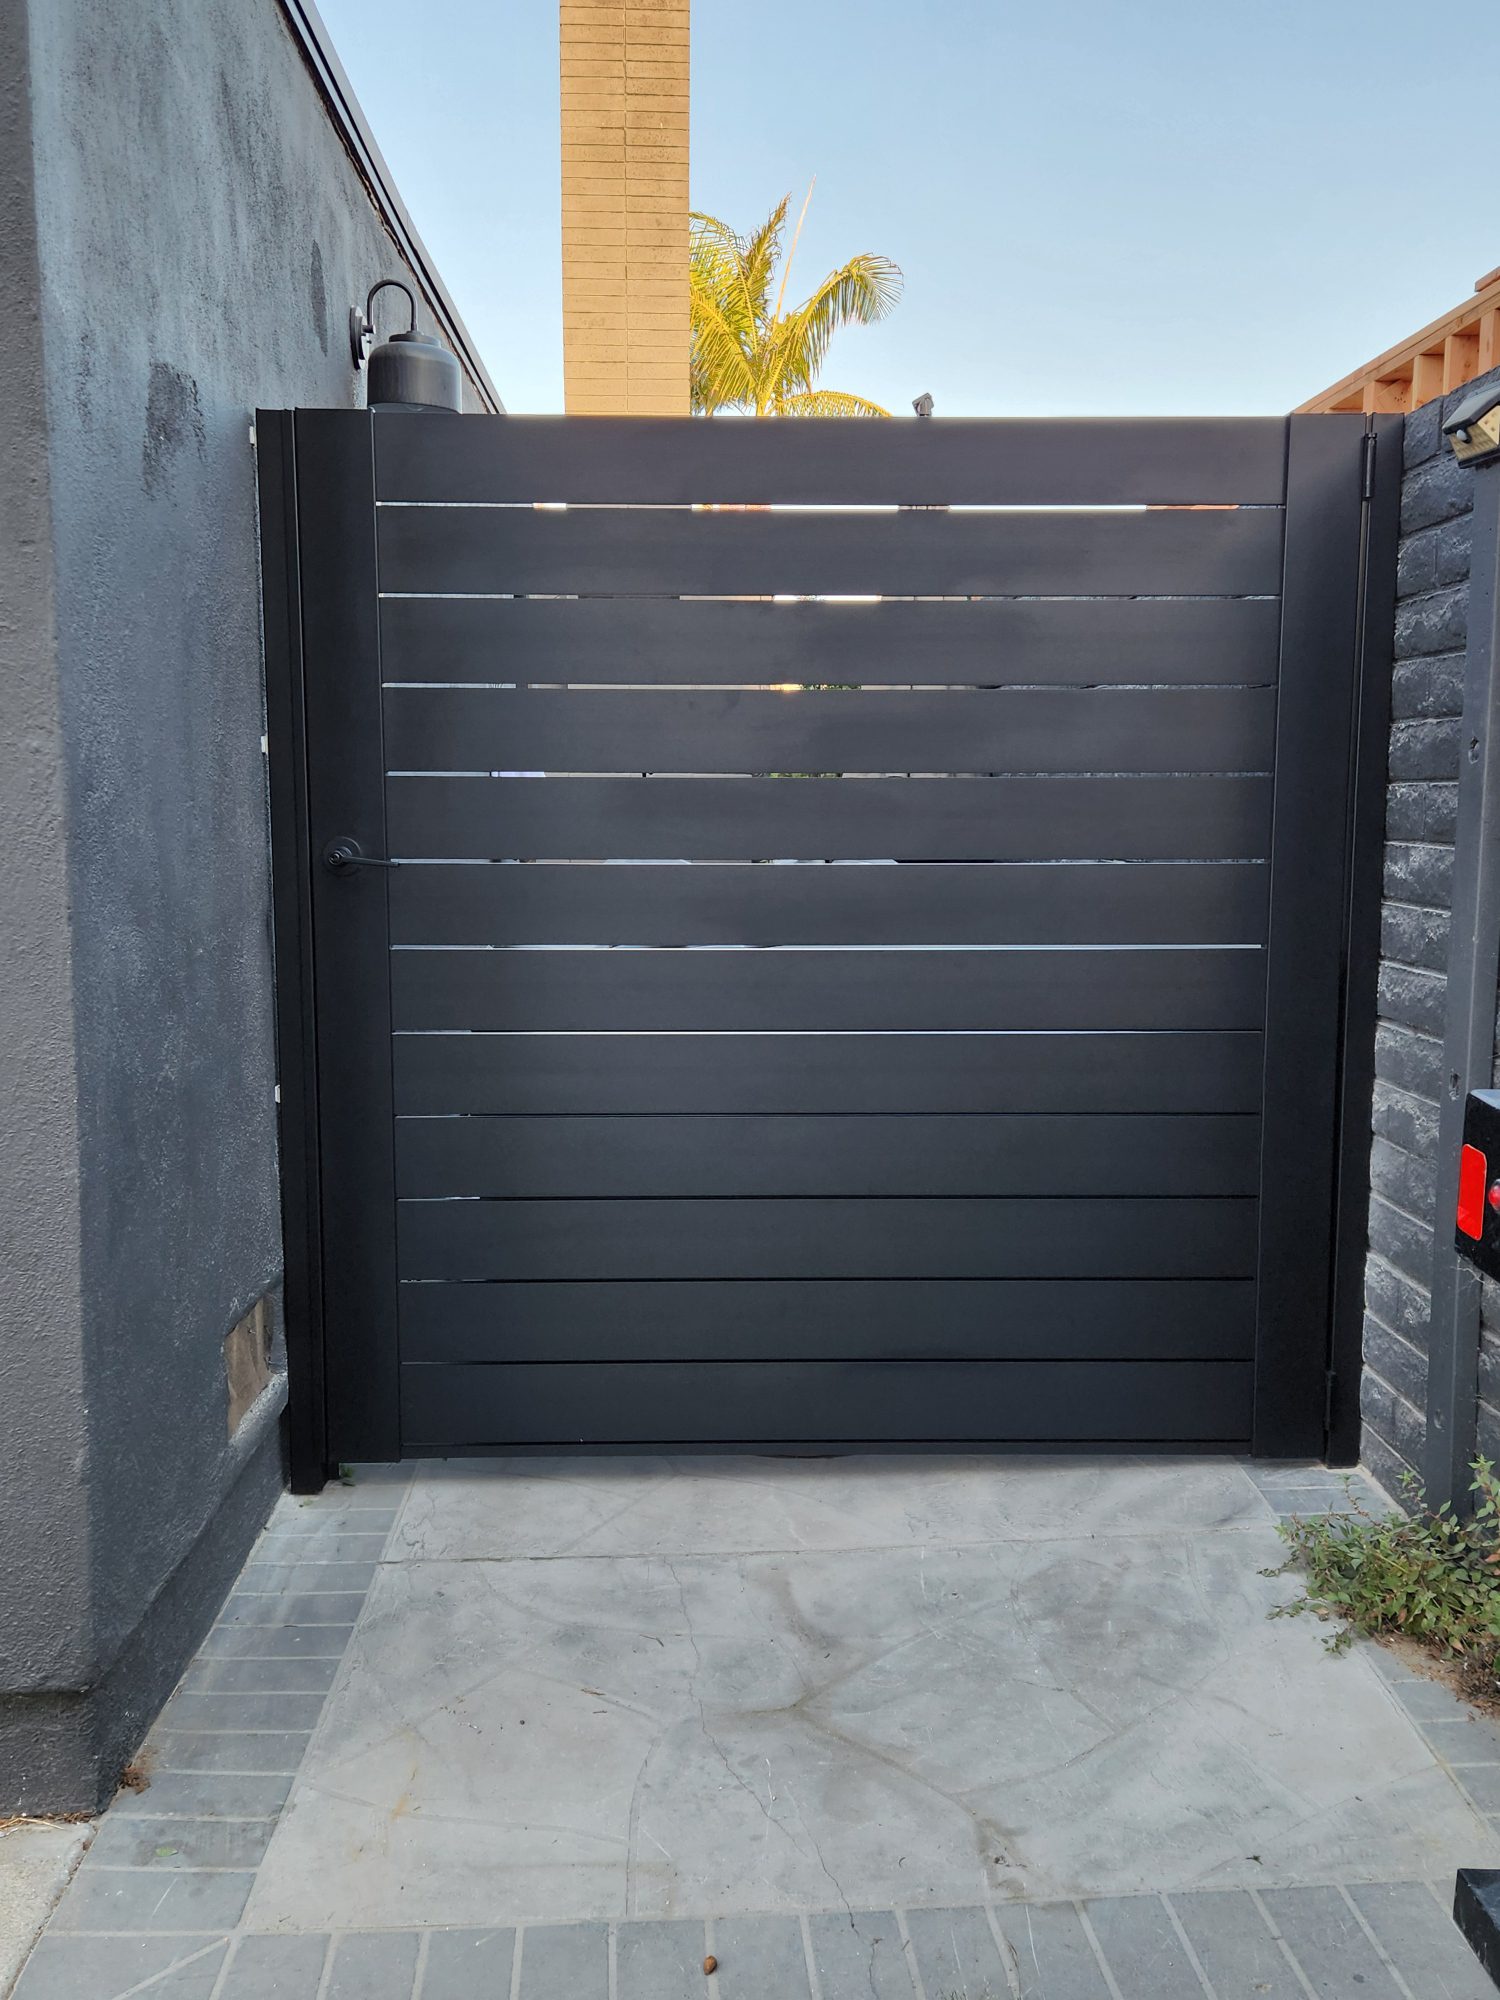
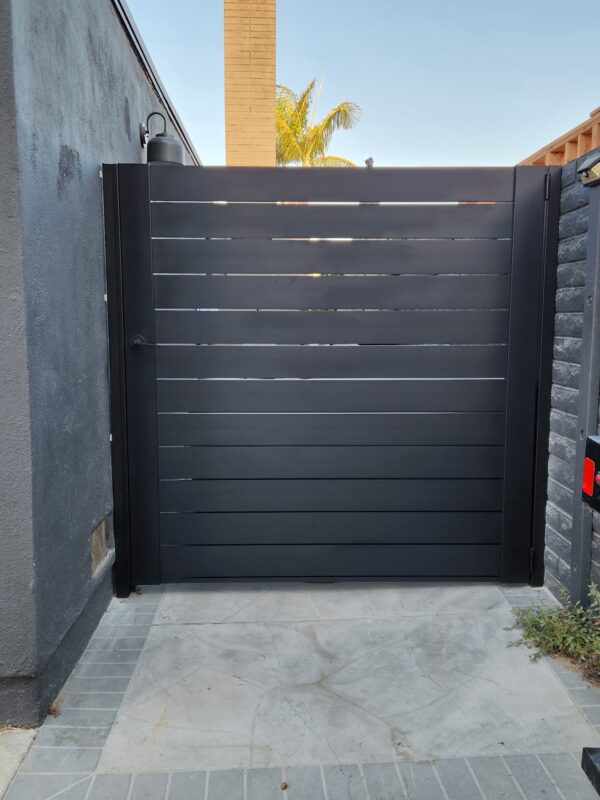
Explore Alumission aluminum wall toppers in completed projects, then use the short guide below to compare types, understand the mounting method and plan your own wall topper. Browse the photos for inspiration or compare our aluminum wall topper kits for current styles and sizes.
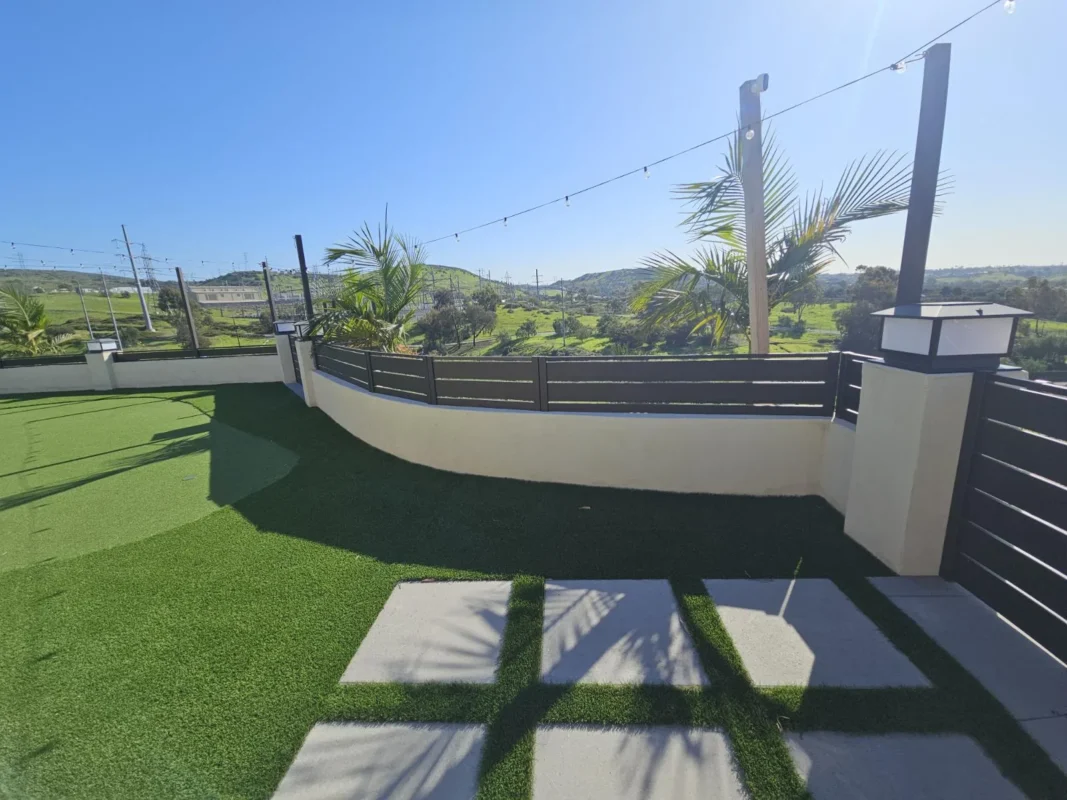
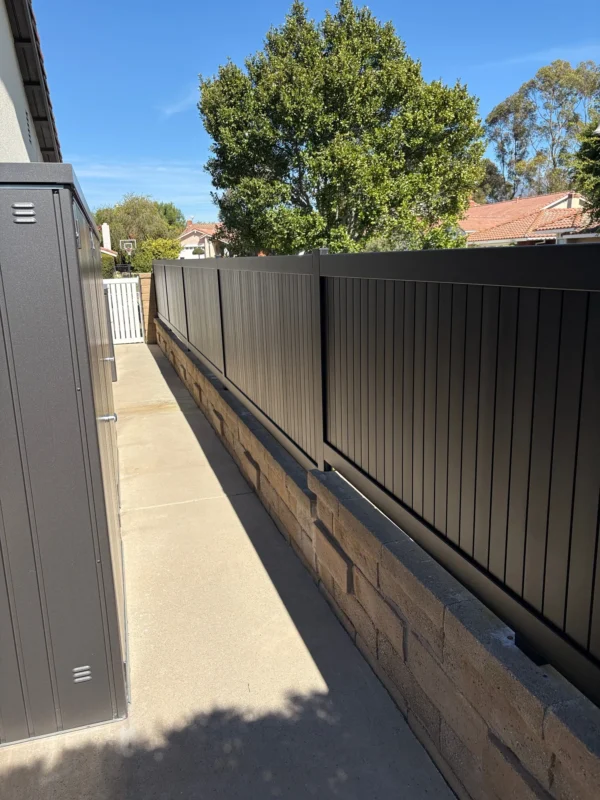
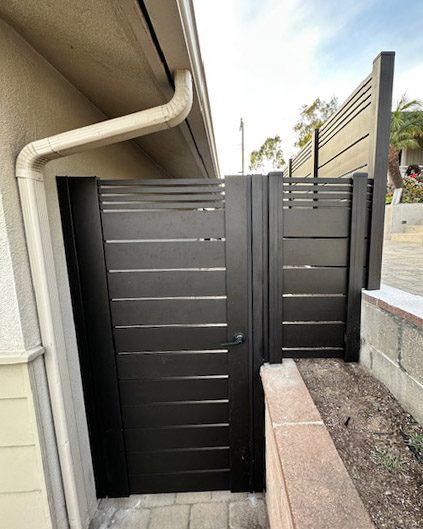

Compare wall topper types
Choose the slat pattern for the amount of screening you want. The standard kits below use horizontal slats; vertical designs in the project gallery may be custom installations.
Los Angeles
Broad horizontal slats with regular gaps. A simple choice for a clean, evenly spaced look.
New York
Closely stacked slats without an intentional view-through gap. Choose this pattern when visual screening is the priority.
San Francisco
Narrow horizontal slats with regular spacing. A finer pattern with a more open appearance.
Dallas
Broad slats with a narrow accent band toward the top. Adds detail while keeping a horizontal layout.
Miami
Broad slats framing a centered narrow accent band. A mixed-width pattern for a more distinctive boundary.
How wall toppers are installed
The basic sequence is base, cover, post, slats and finishing pieces. Use the instructions and material schedule for your selected kit; wall anchors and mounting details depend on the actual structure.
Check and measure
Confirm that the wall can support the added topper and loads. Establish the post layout and anchor requirements before drilling. A loose wall cap or hollow block face alone should not be assumed to provide suitable support.
Anchor the bases
Fix the steel post bases into suitable structural material with the specified anchor system. Seal contact areas and penetrations as appropriate for the wall. Anchor size, embedment and edge distance must suit the project.
Fit covers and posts
Place the base covers over the steel bases, then sleeve the aluminum posts onto the inserts. Check the fit, spacing and plumb, and secure the connections as required.
Add slats and finish
Fit the selected slats and spacers into the post channels. Check the pattern as you build, then fit post covers and caps. Inspect the finished connections and coating.
Read the assembly drawing
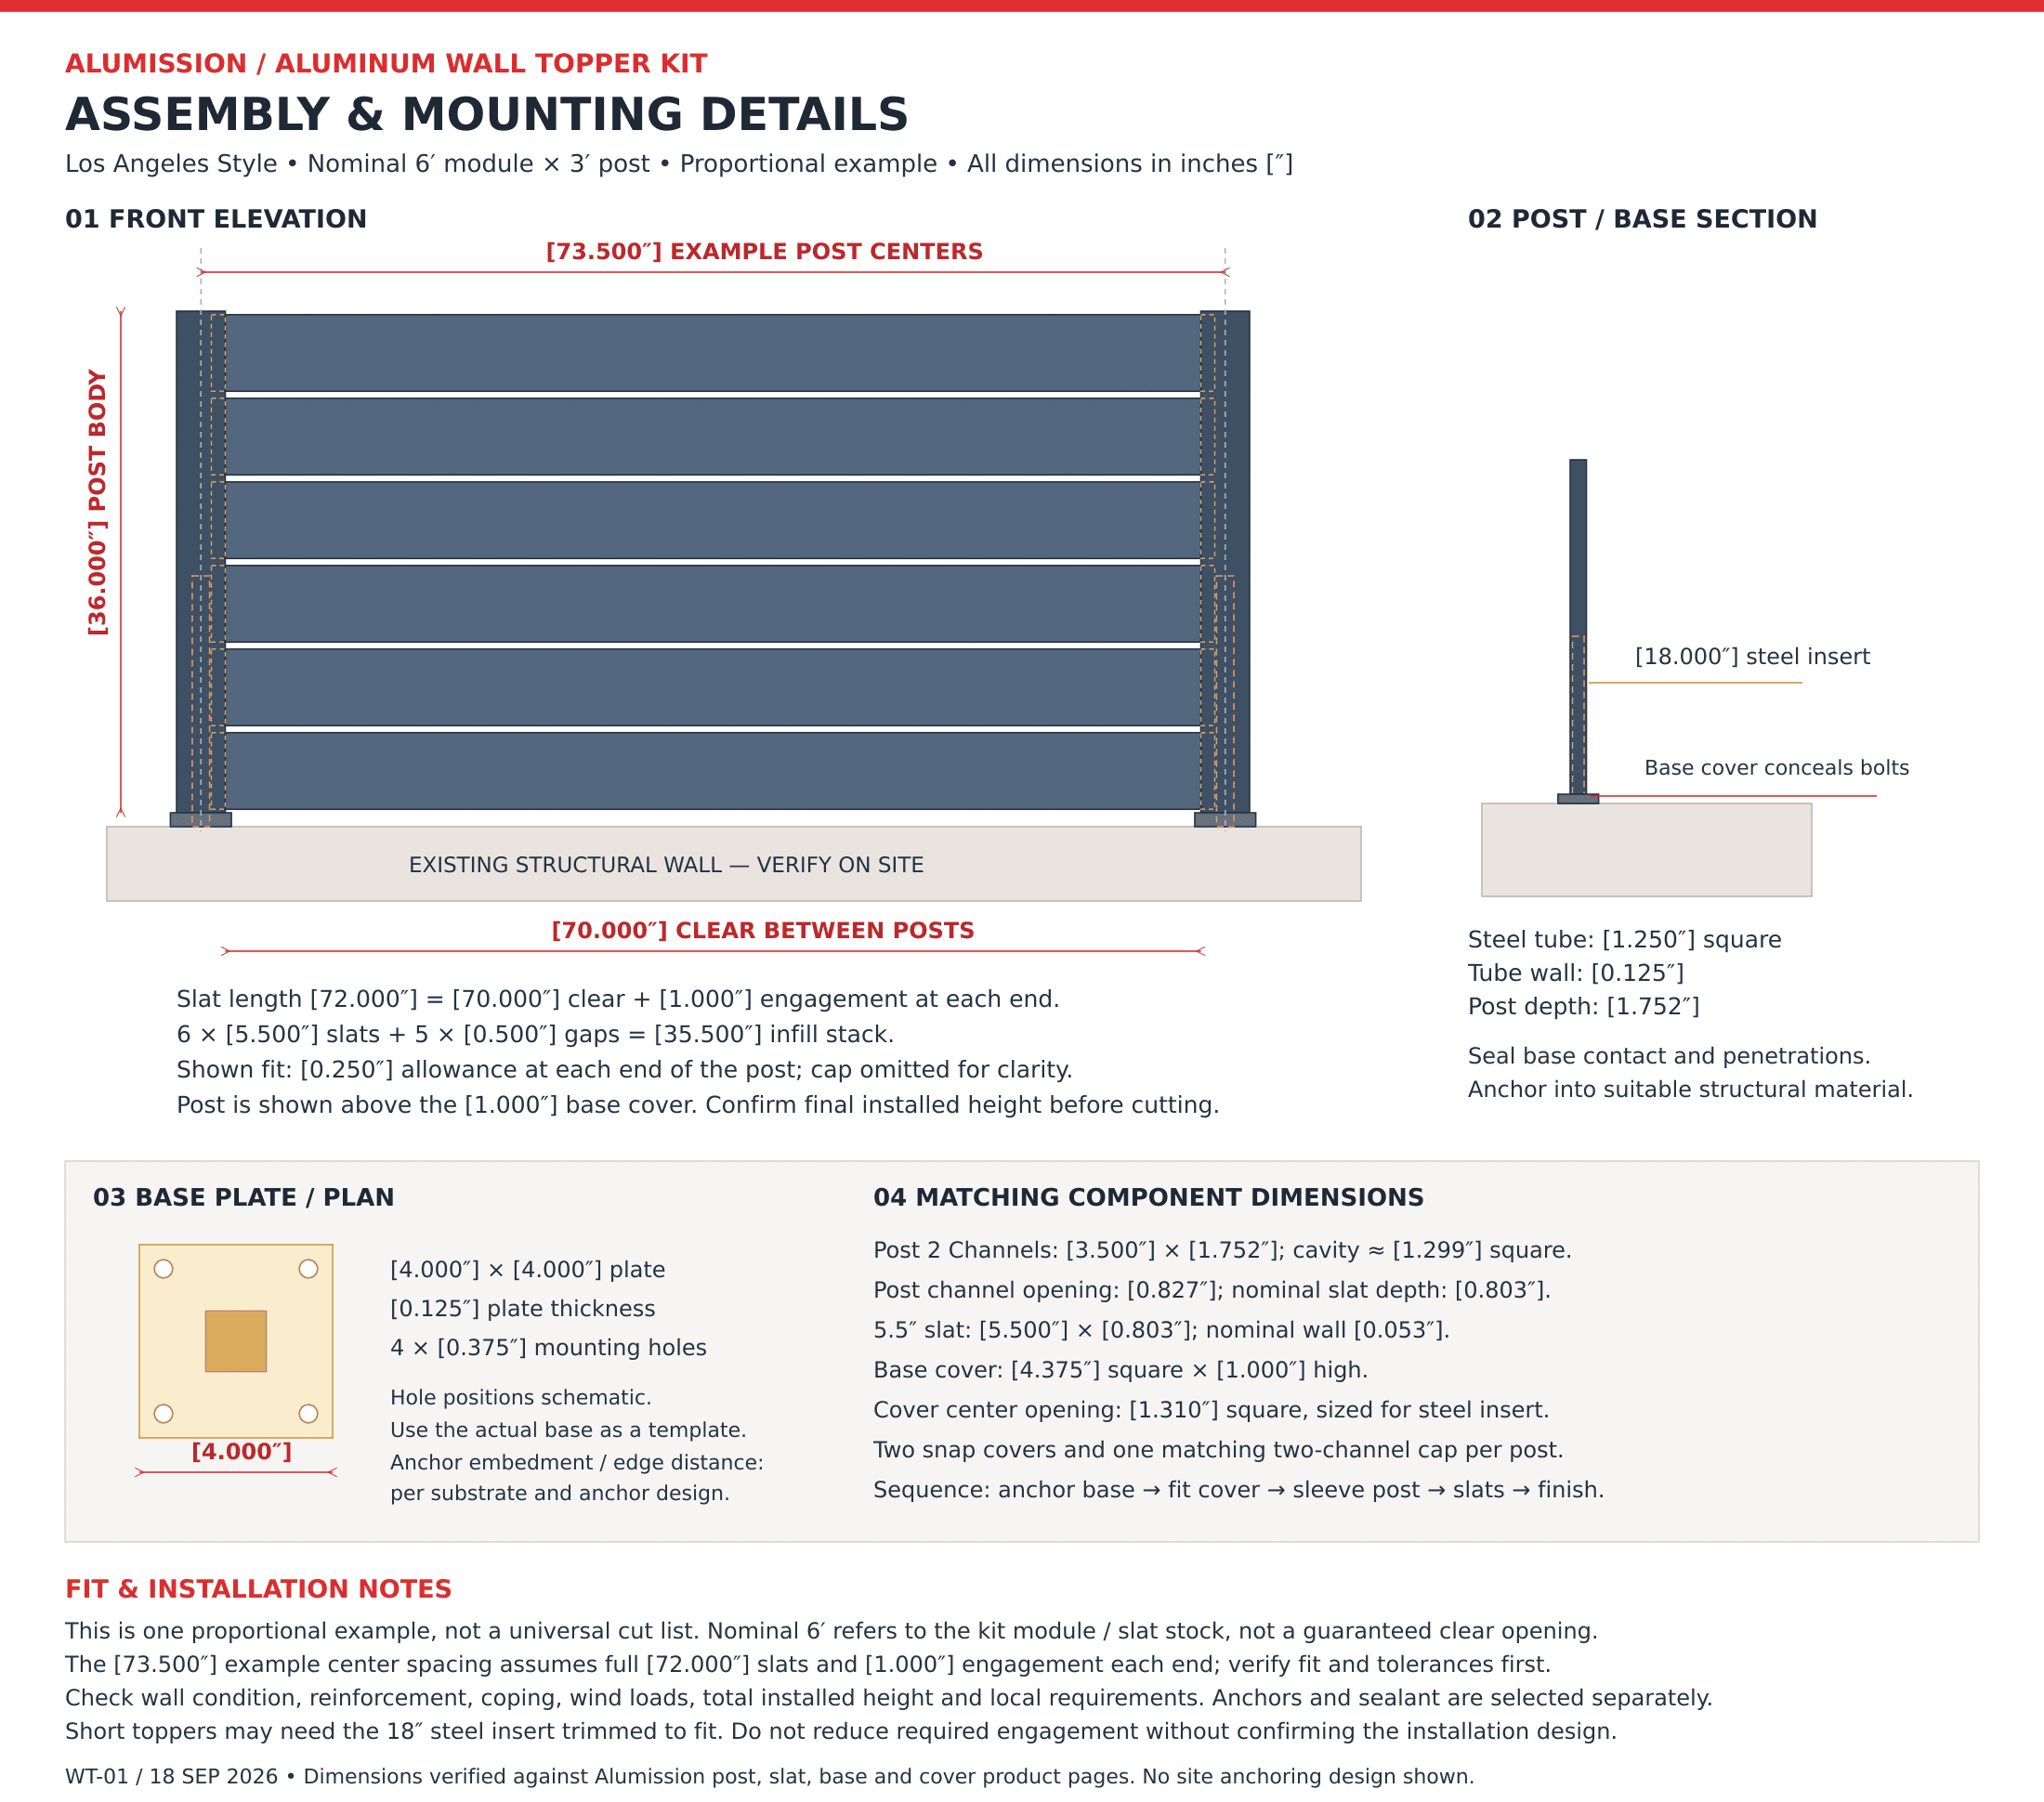
This Los Angeles Style example shows a nominal 6′ module with a 3′ post, including the front elevation, steel insert and base-plate plan. It separates slat length, clear opening and post centers so you can see why those measurements differ.
The drawing is an example, not a universal cut list or anchoring design. Other heights and styles need their own slat schedule. Check the final installed height, including the base cover and cap, against your project requirements.
Watch · 2:42
Watch the system overview
Watch this 2:42 Alumission video for a quick look at the system and assembly. Use it alongside the wall topper drawing and the installation guide for the system you select.
Watch on YouTube ↗Quick wall topper questions
Can I install a wall topper myself?
Experienced DIY installers can review the tools and assembly steps. If wall condition or anchoring is uncertain, have a qualified installer assess the mounting design first.
What should I send for planning help?
Send photos of the wall and coping, its construction and dimensions, your desired added height, preferred style and project location. These details help identify the right kit and mounting questions.
Ready to plan your wall toppers?
Compare aluminum wall topper kits or ask Alumission for help with your measurements and photos.