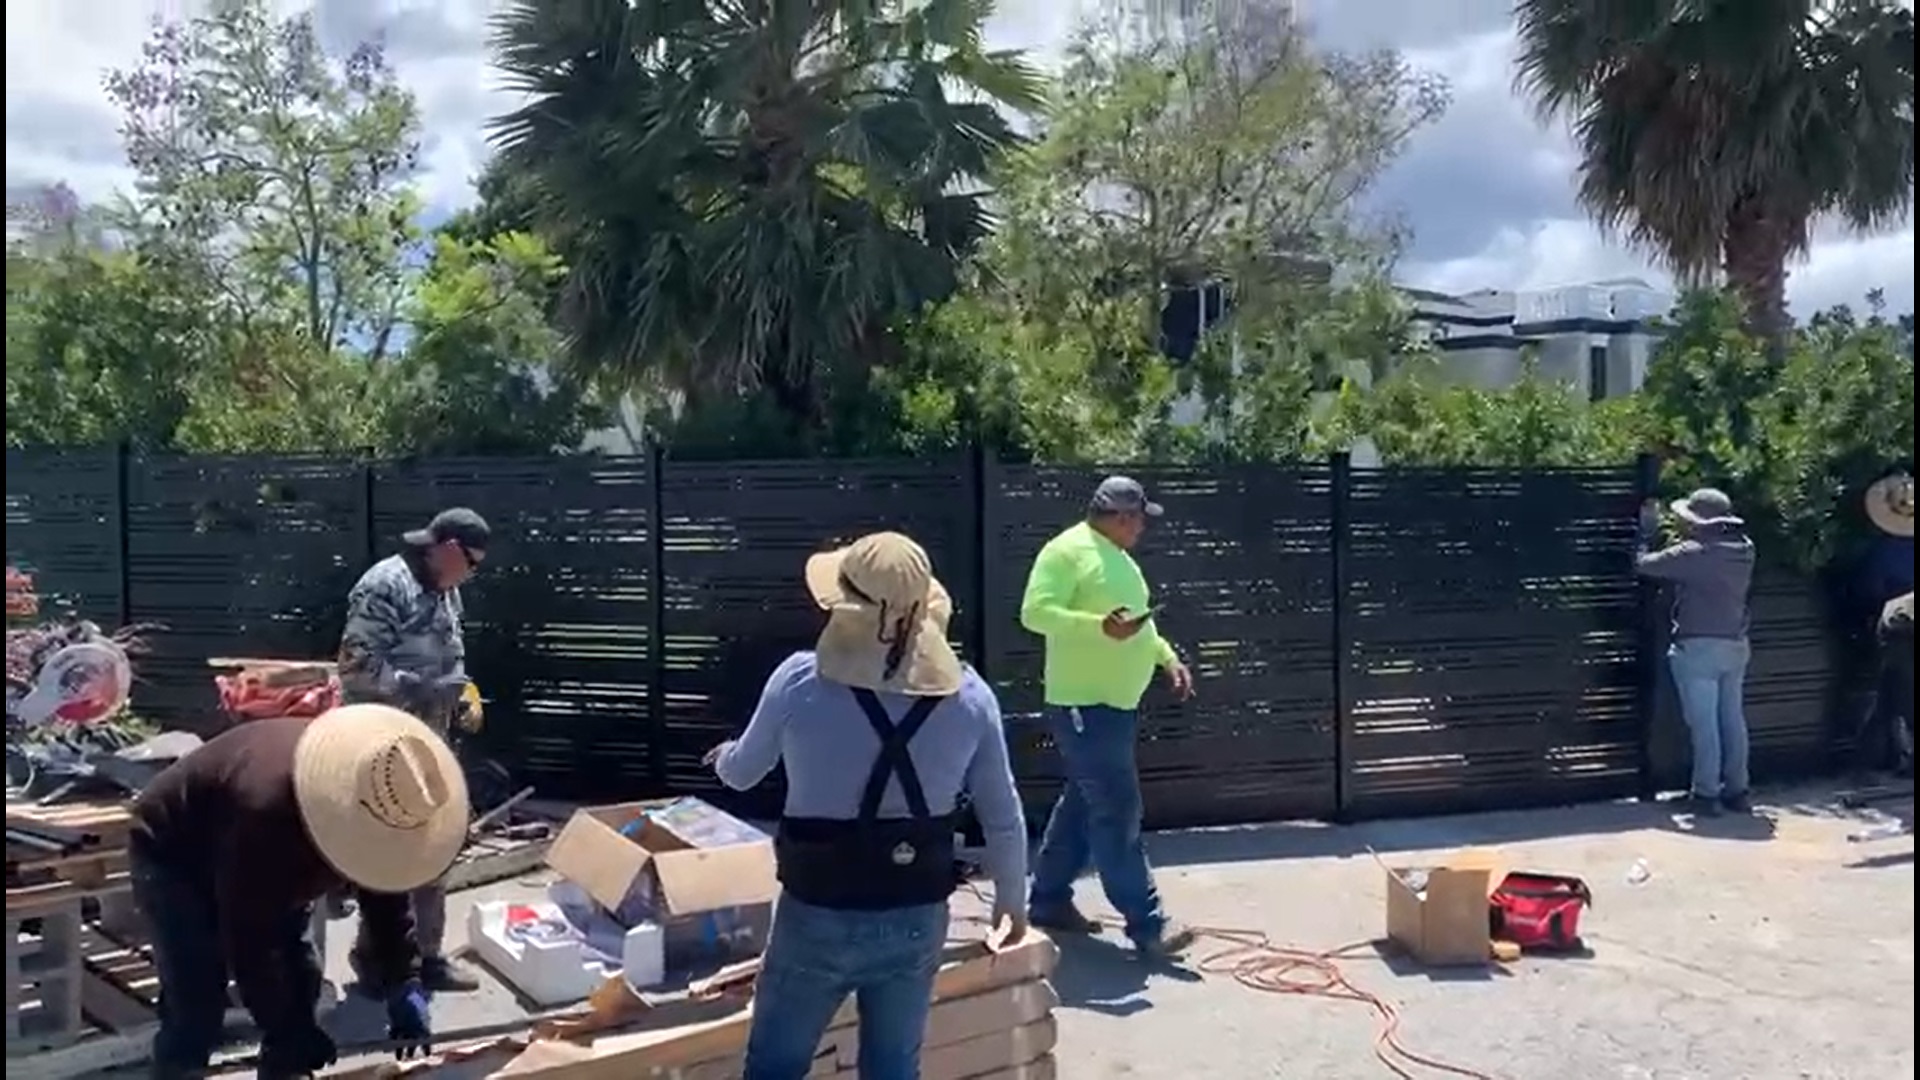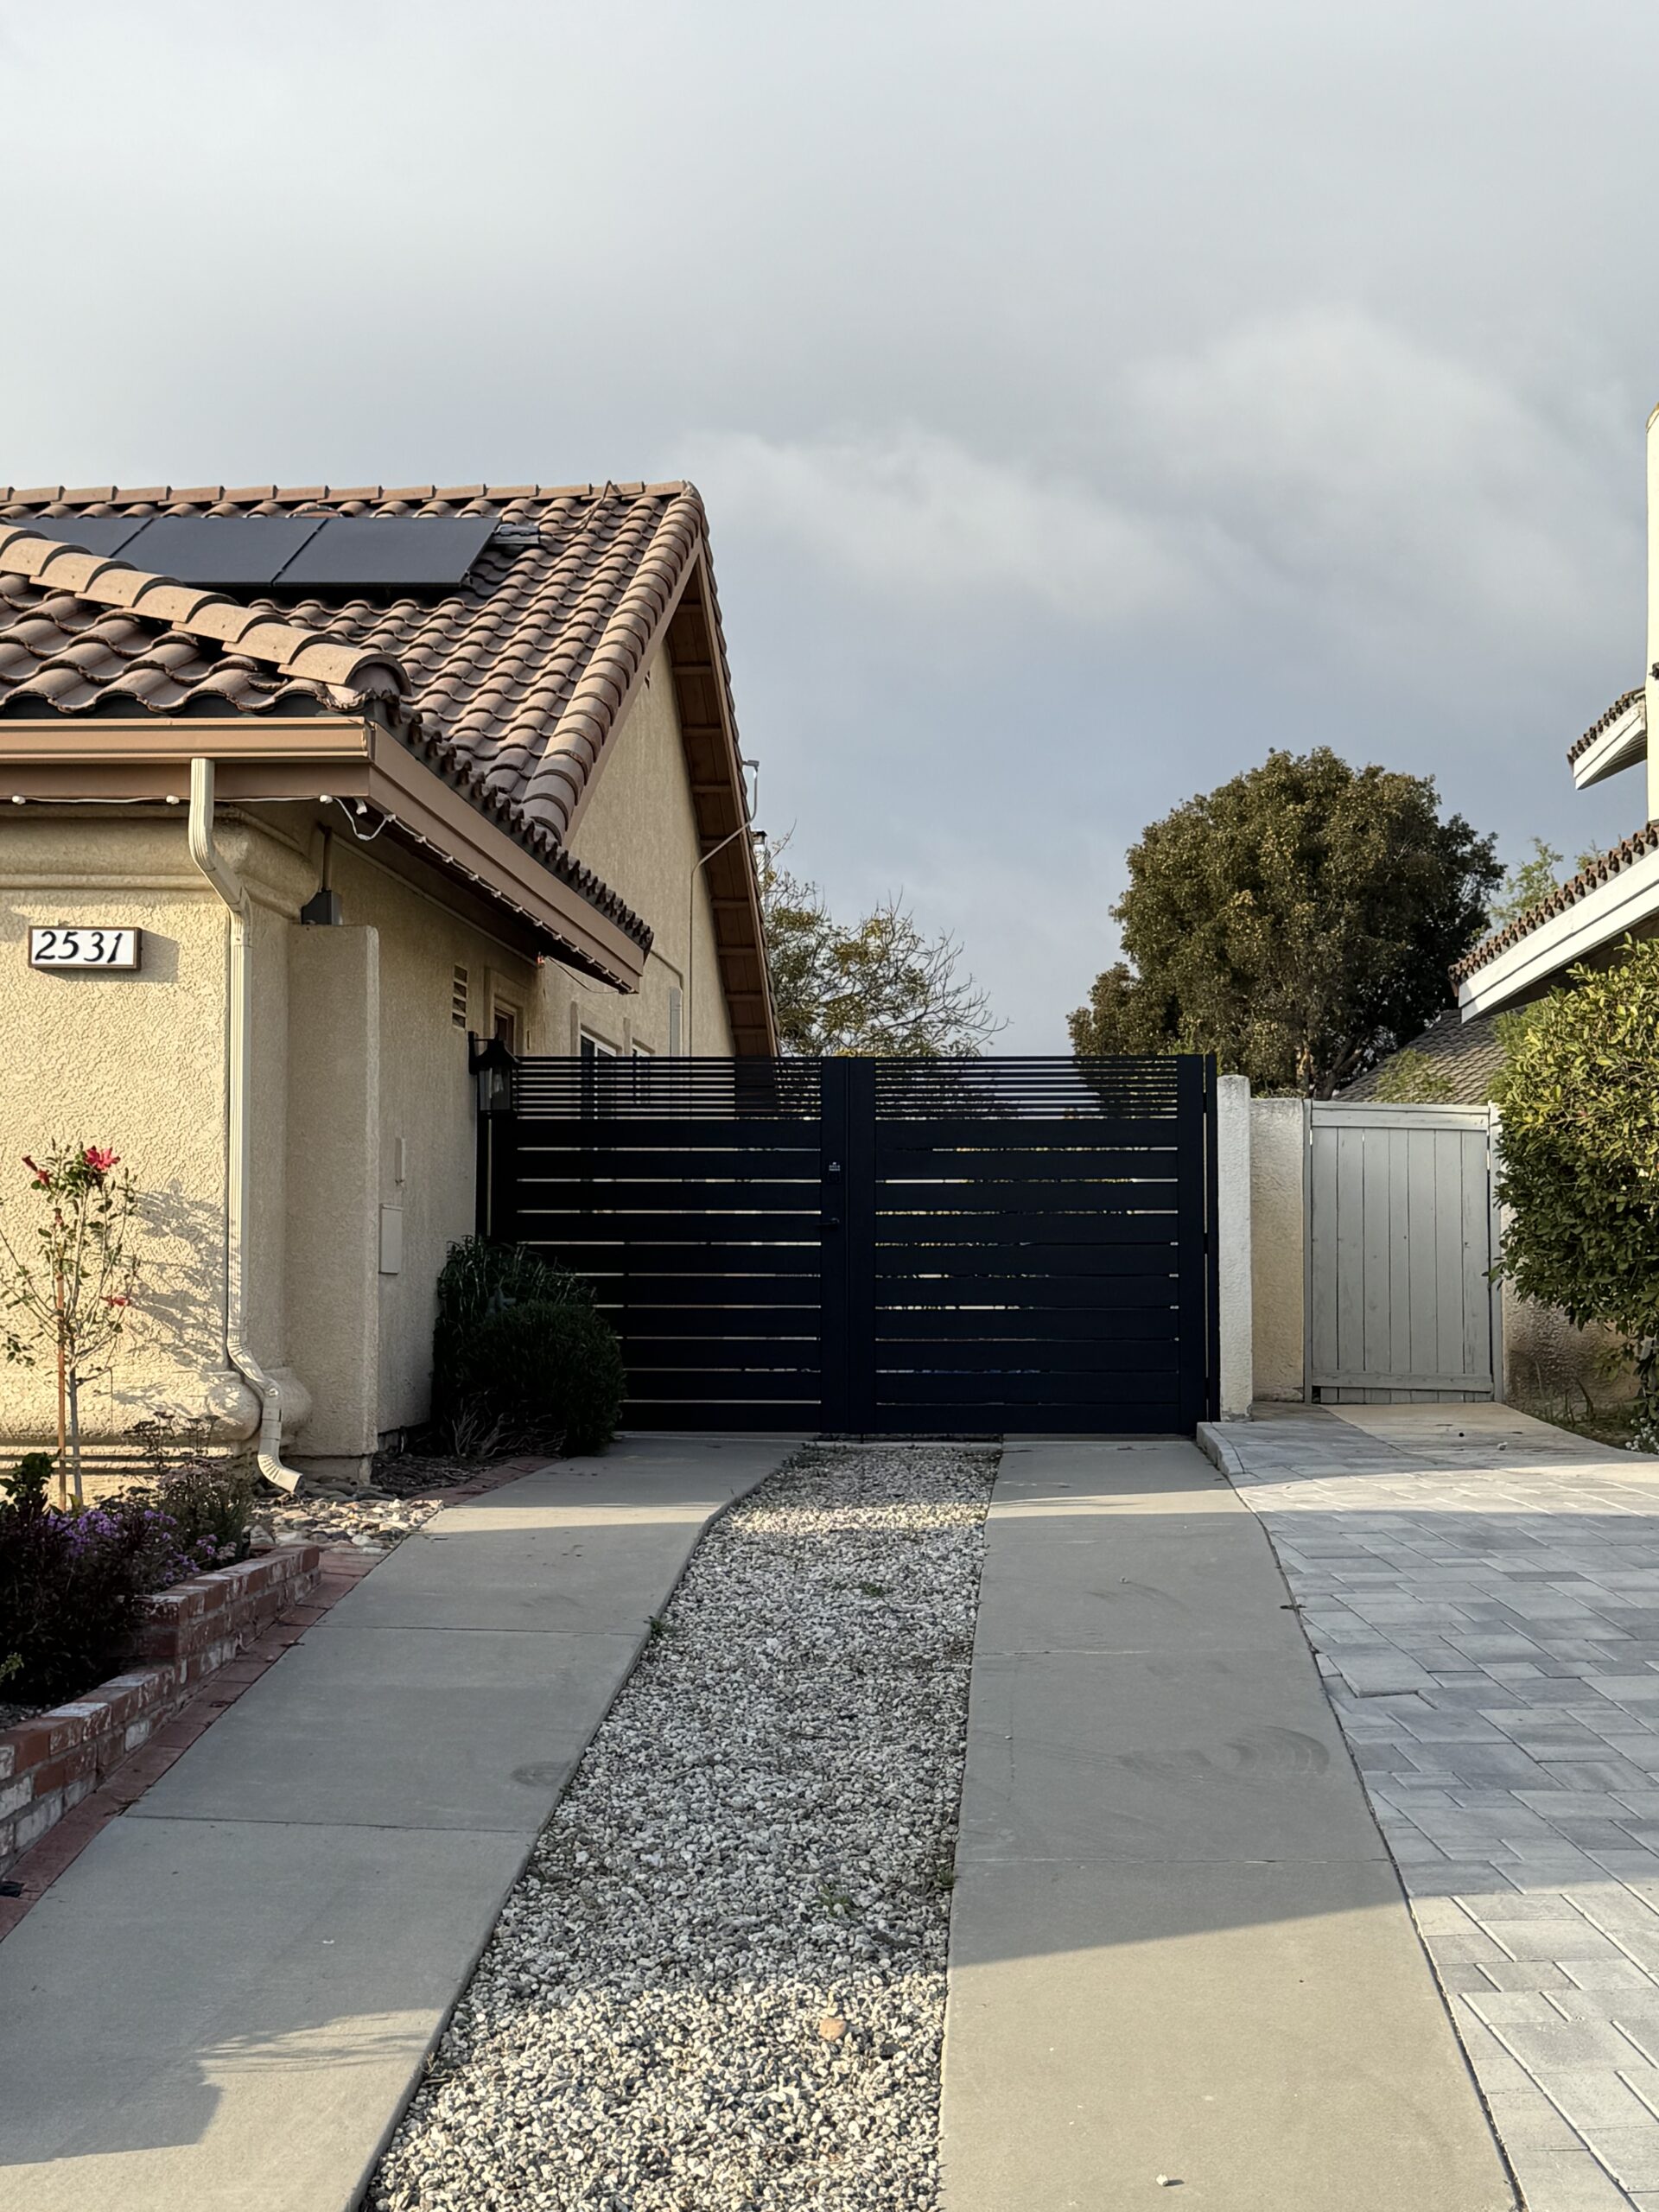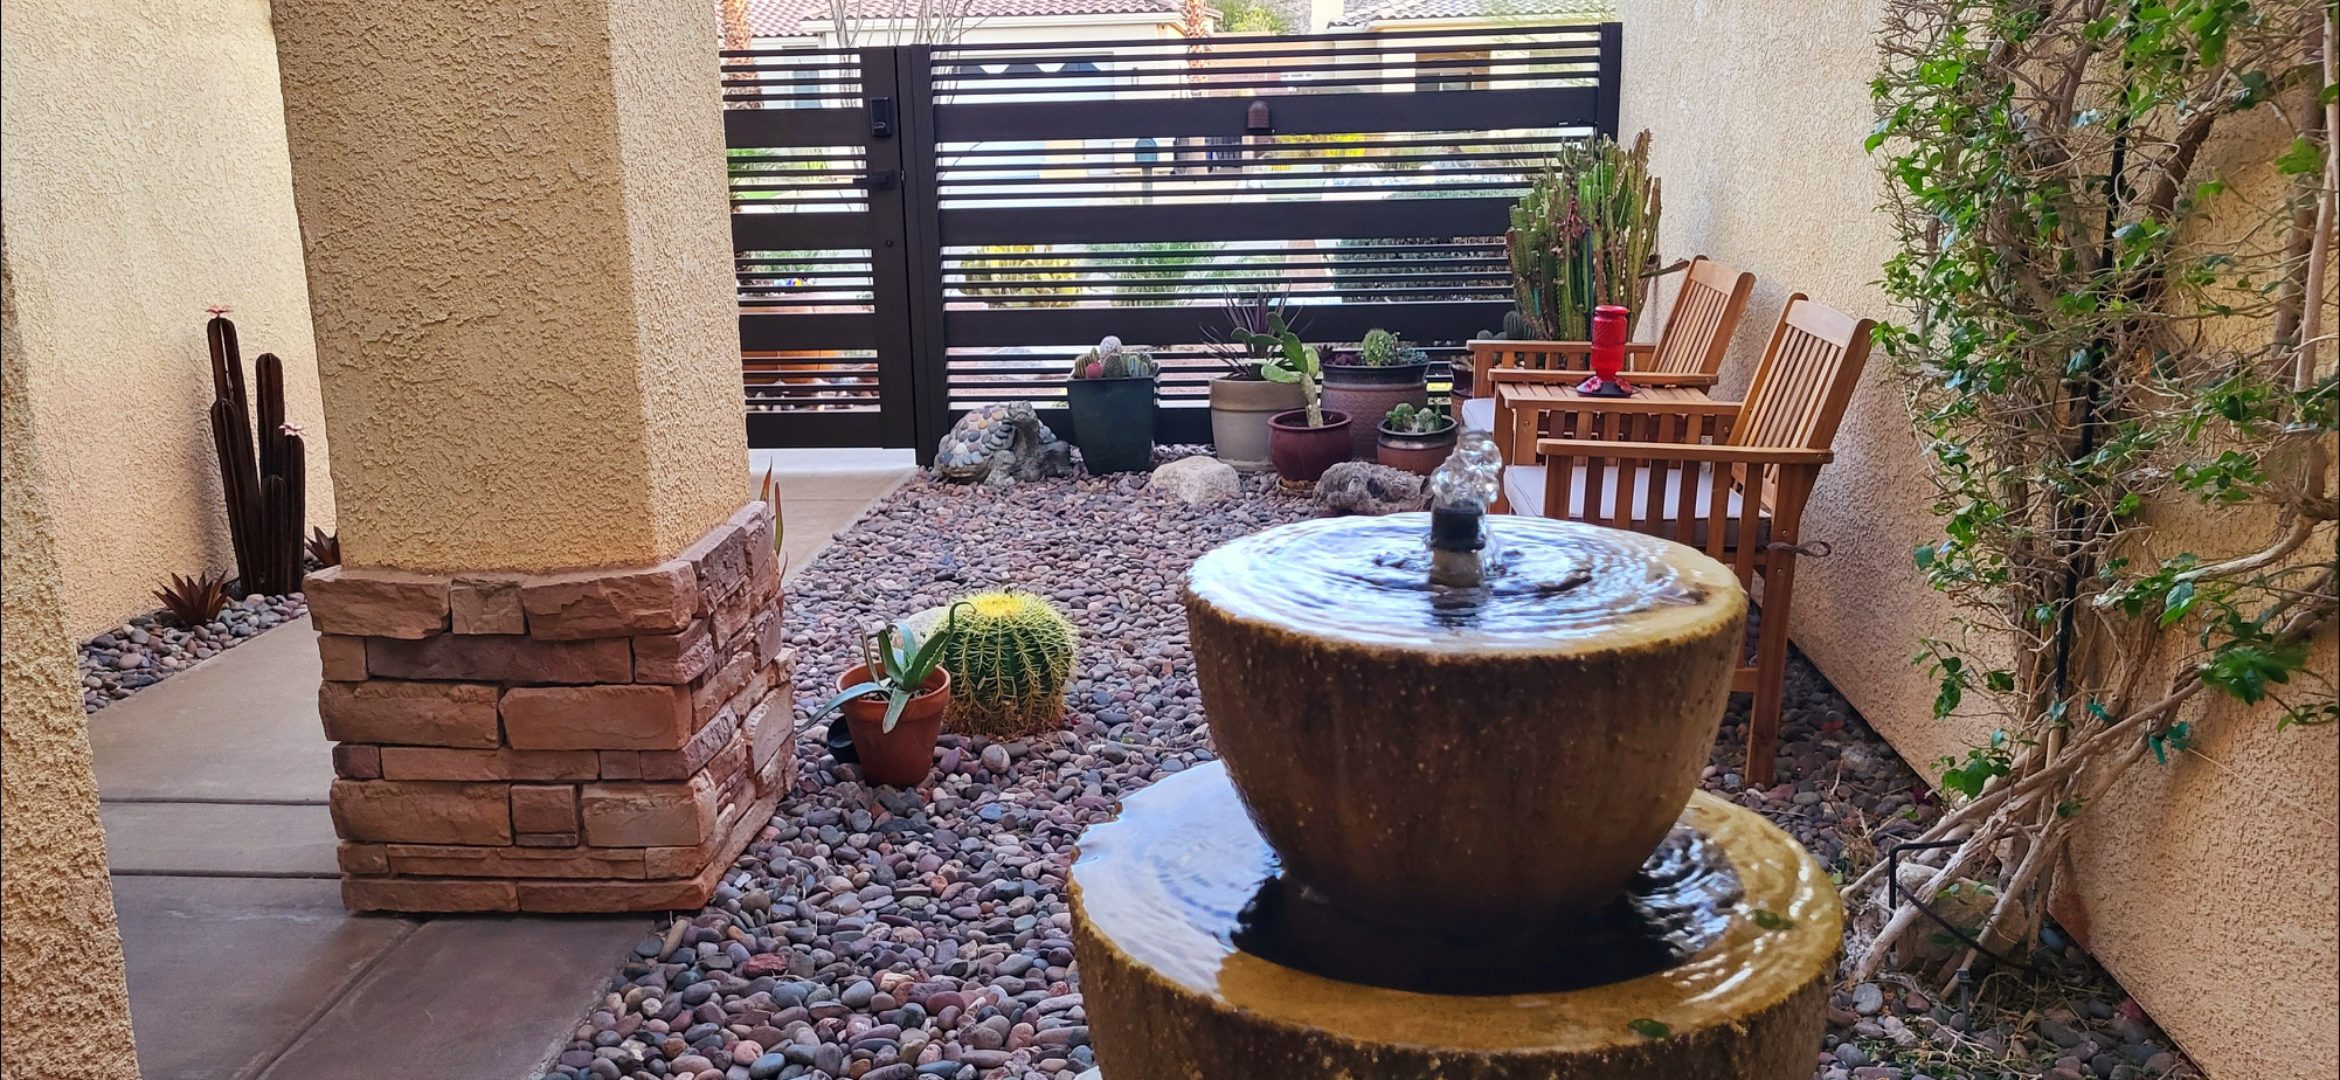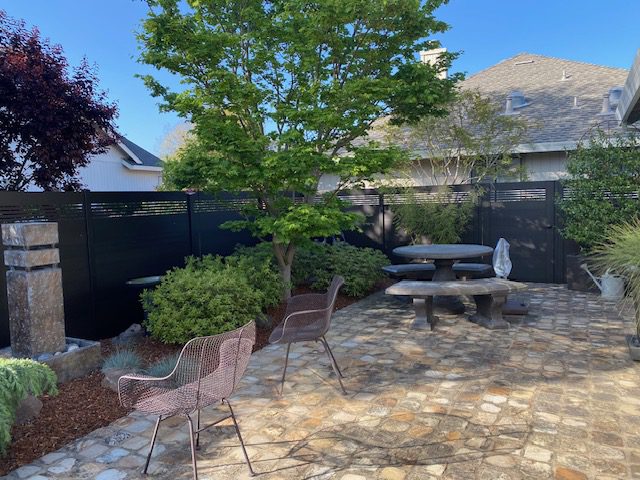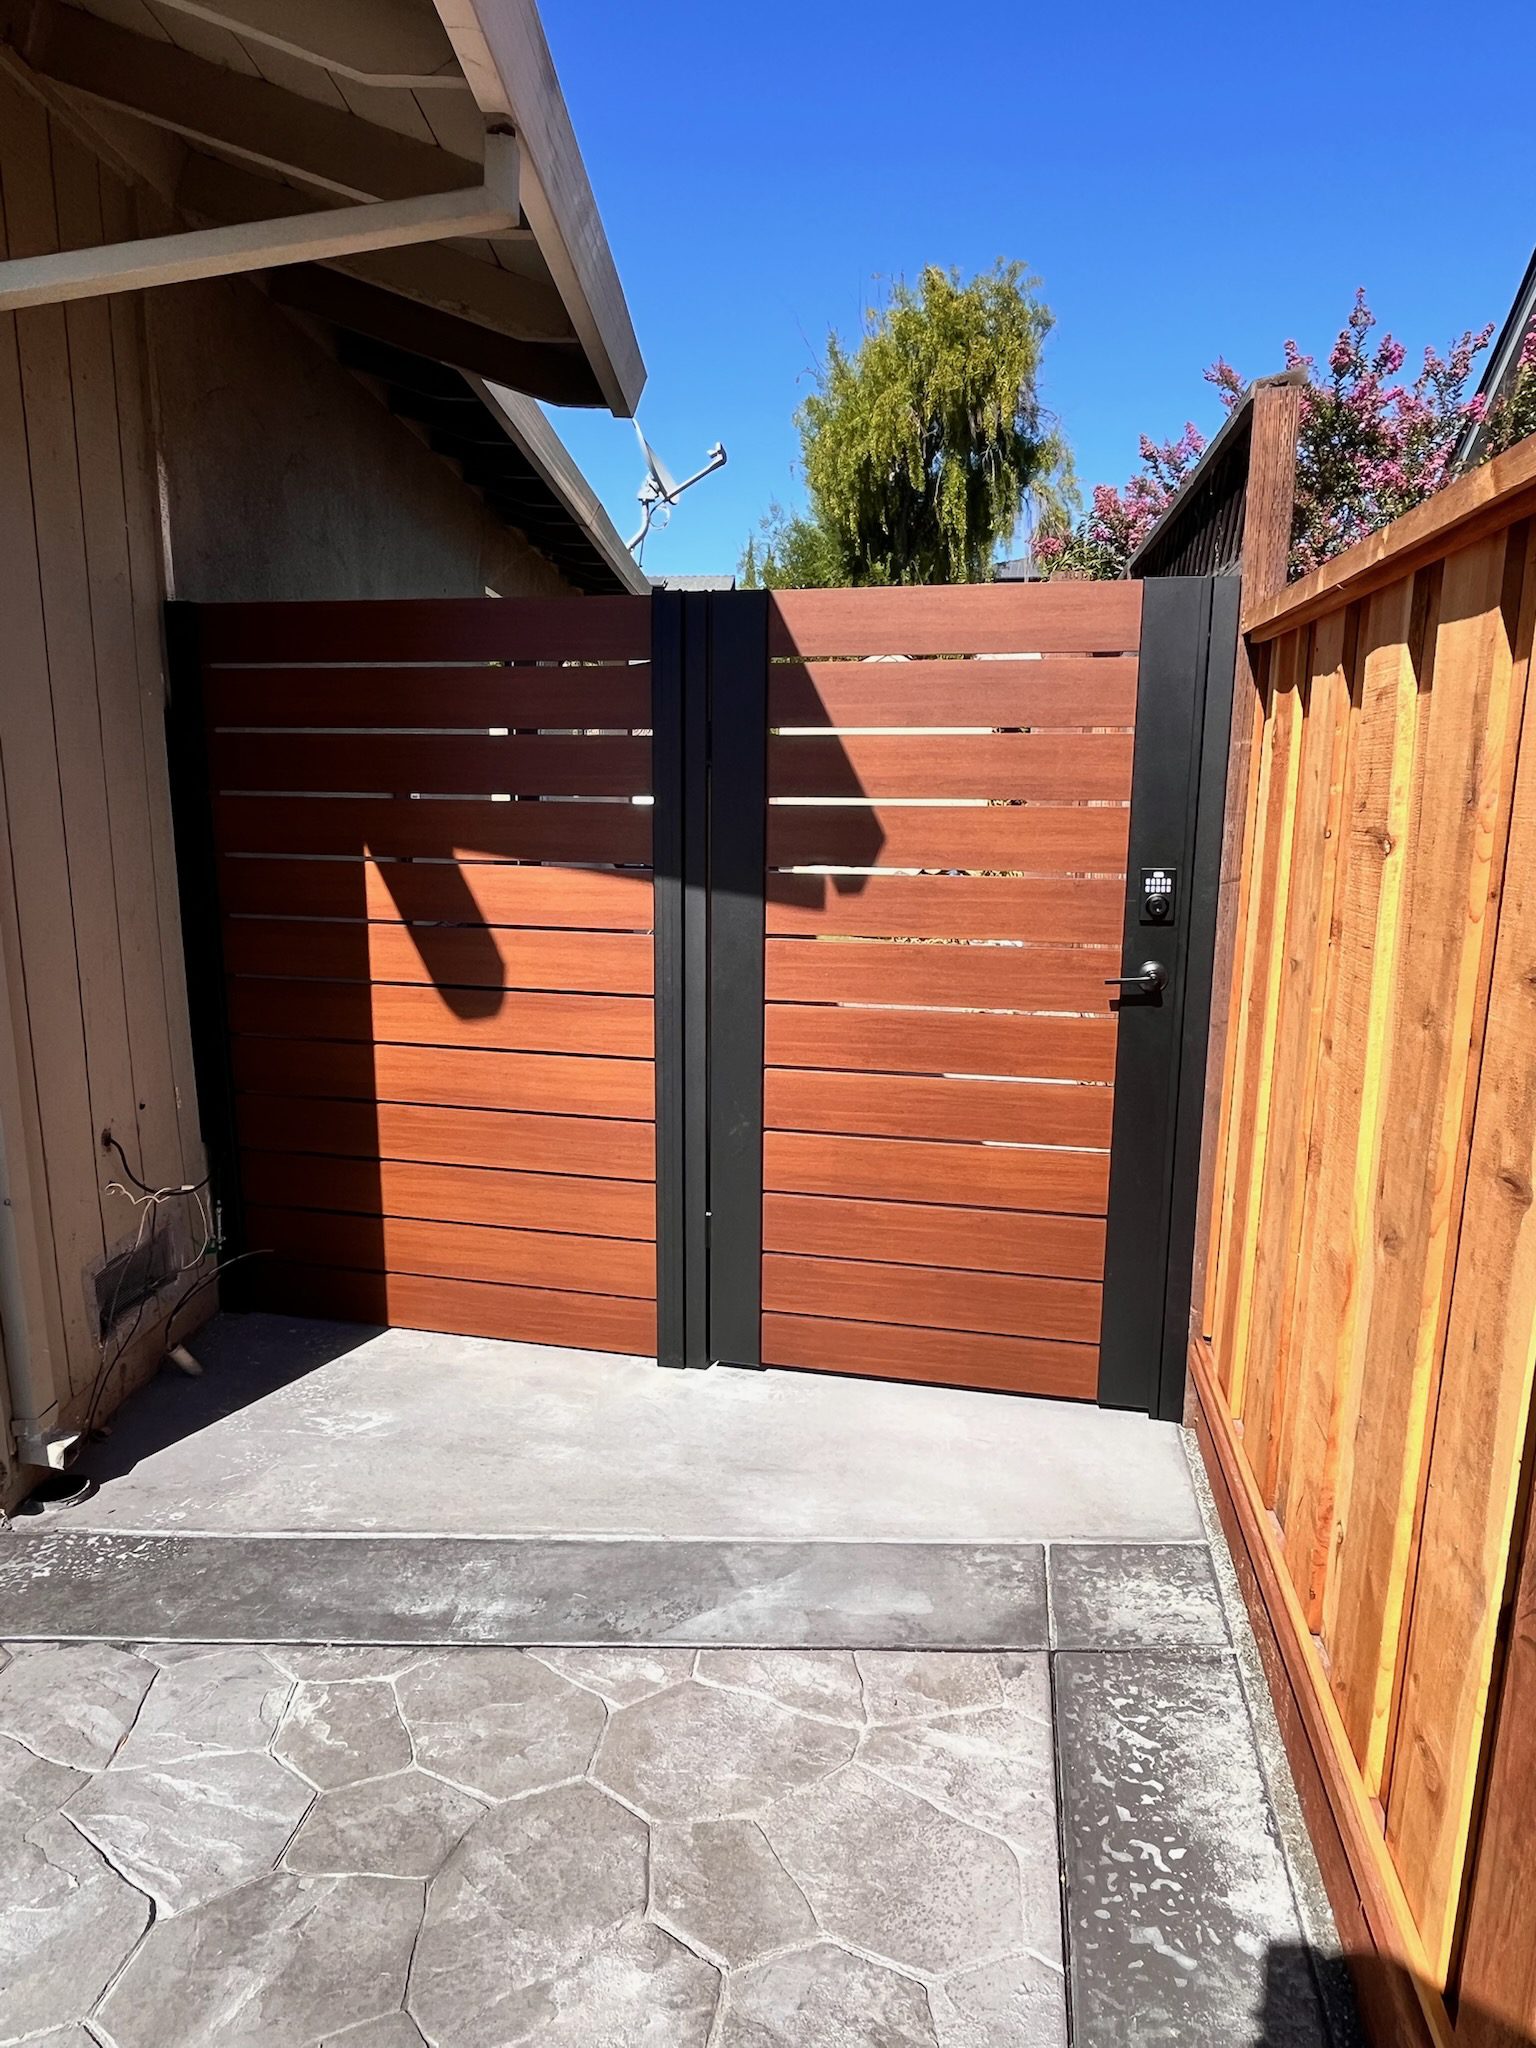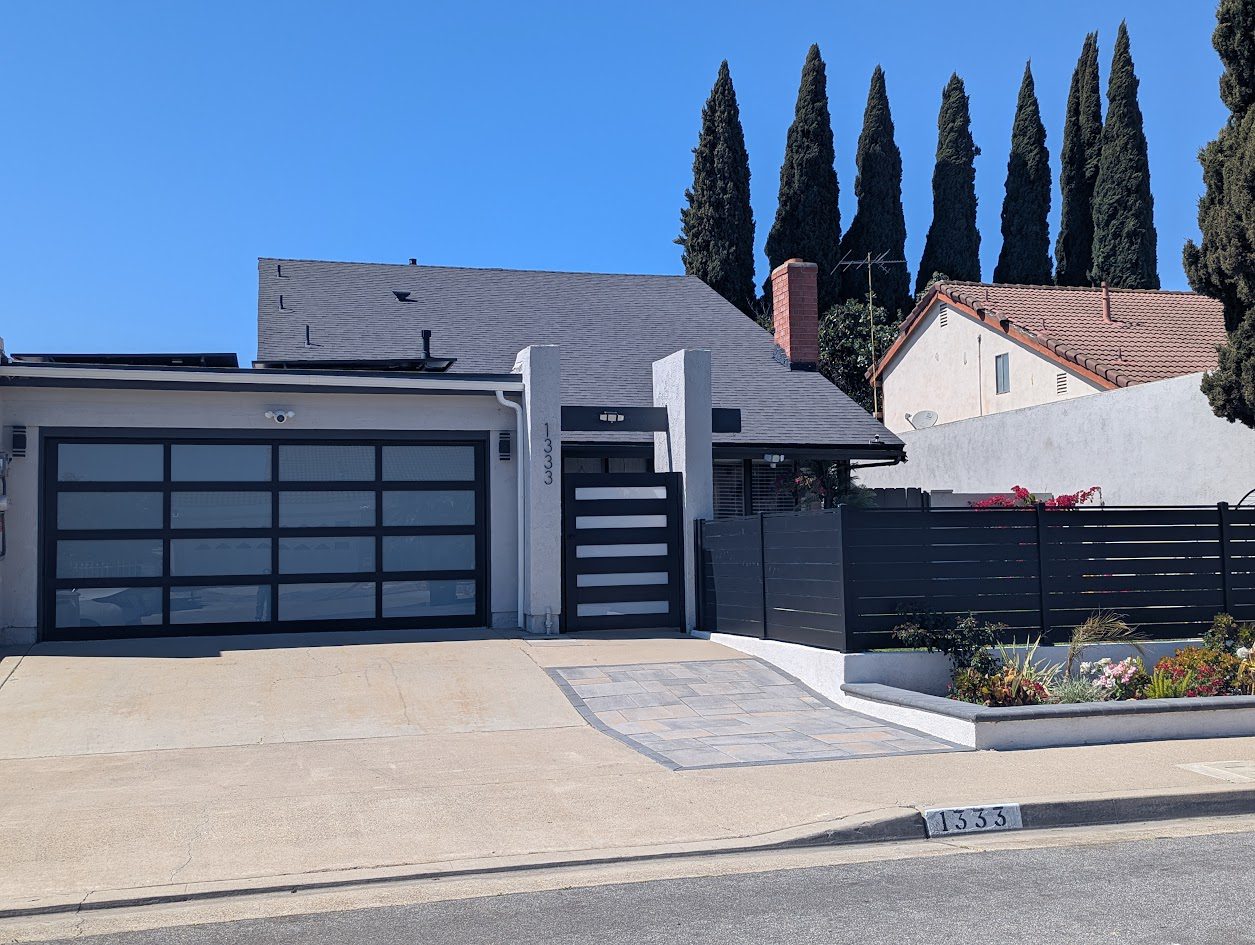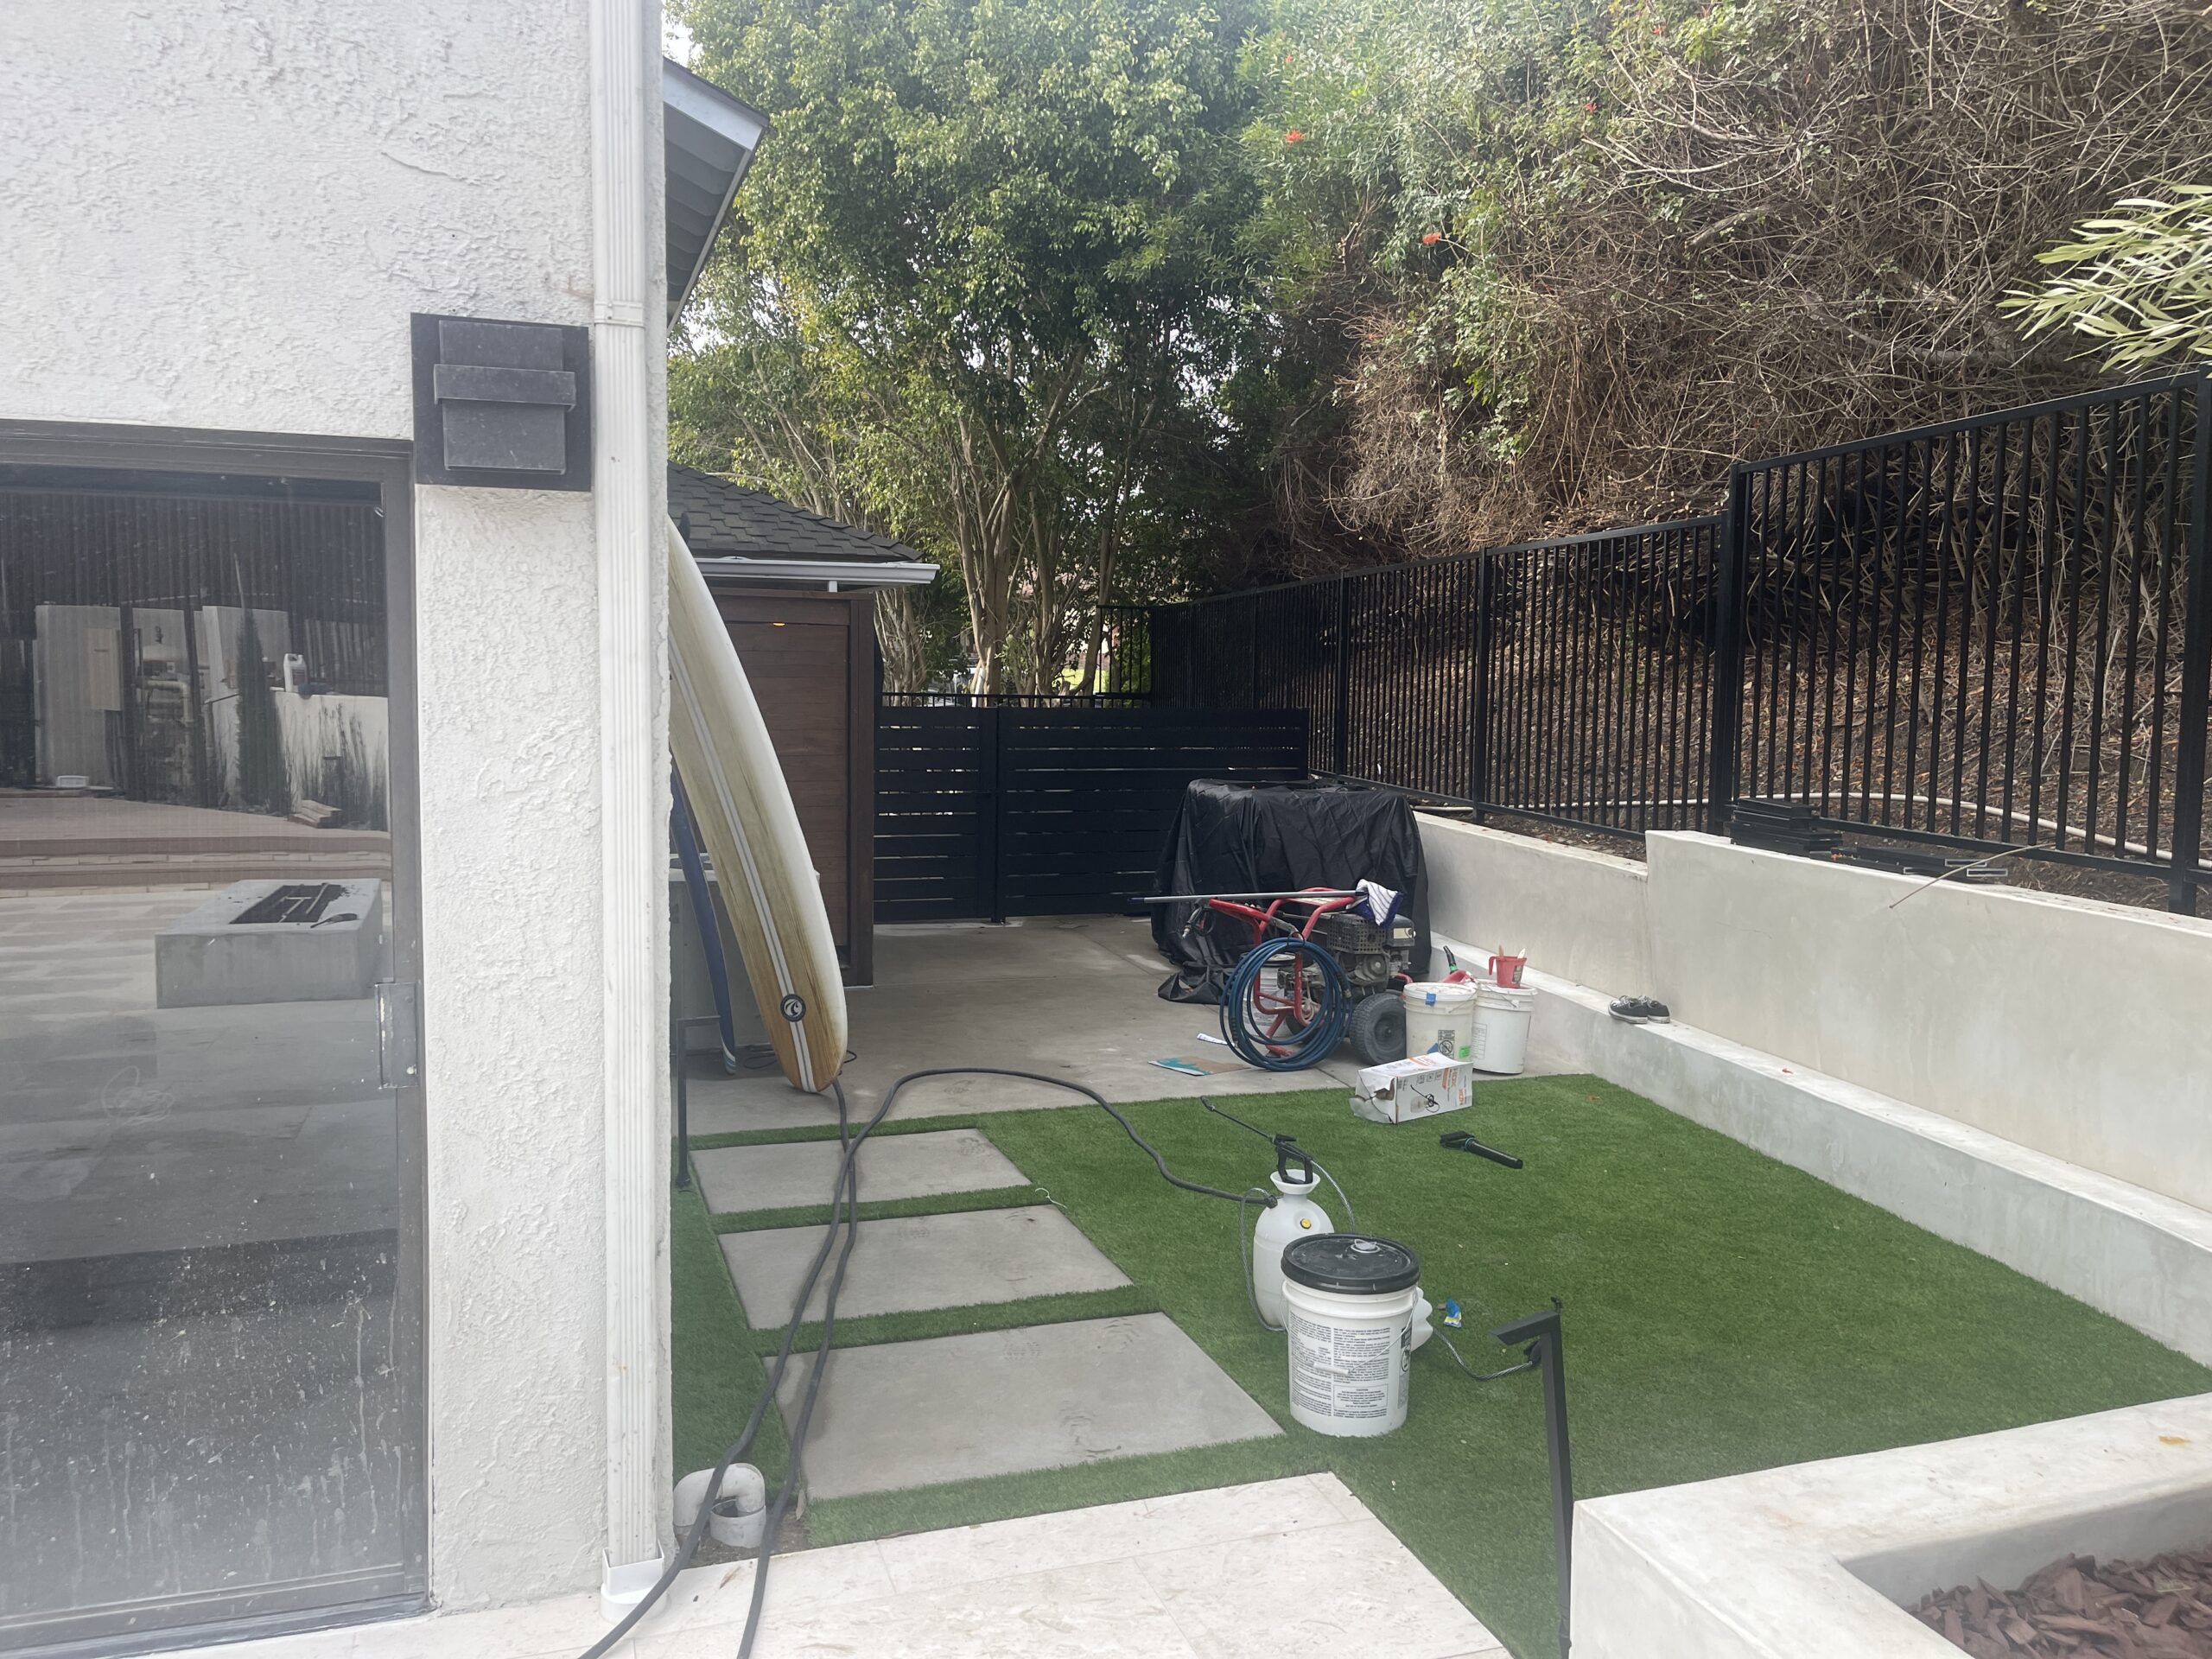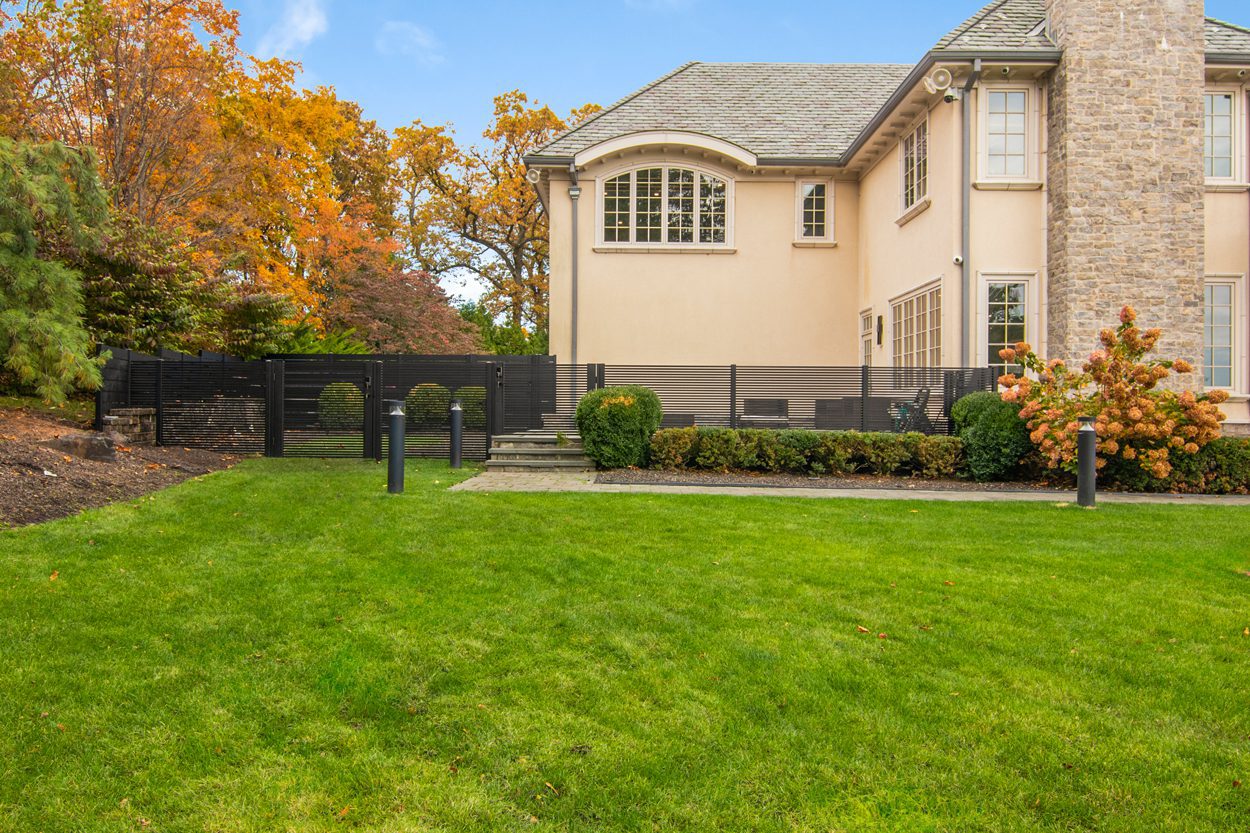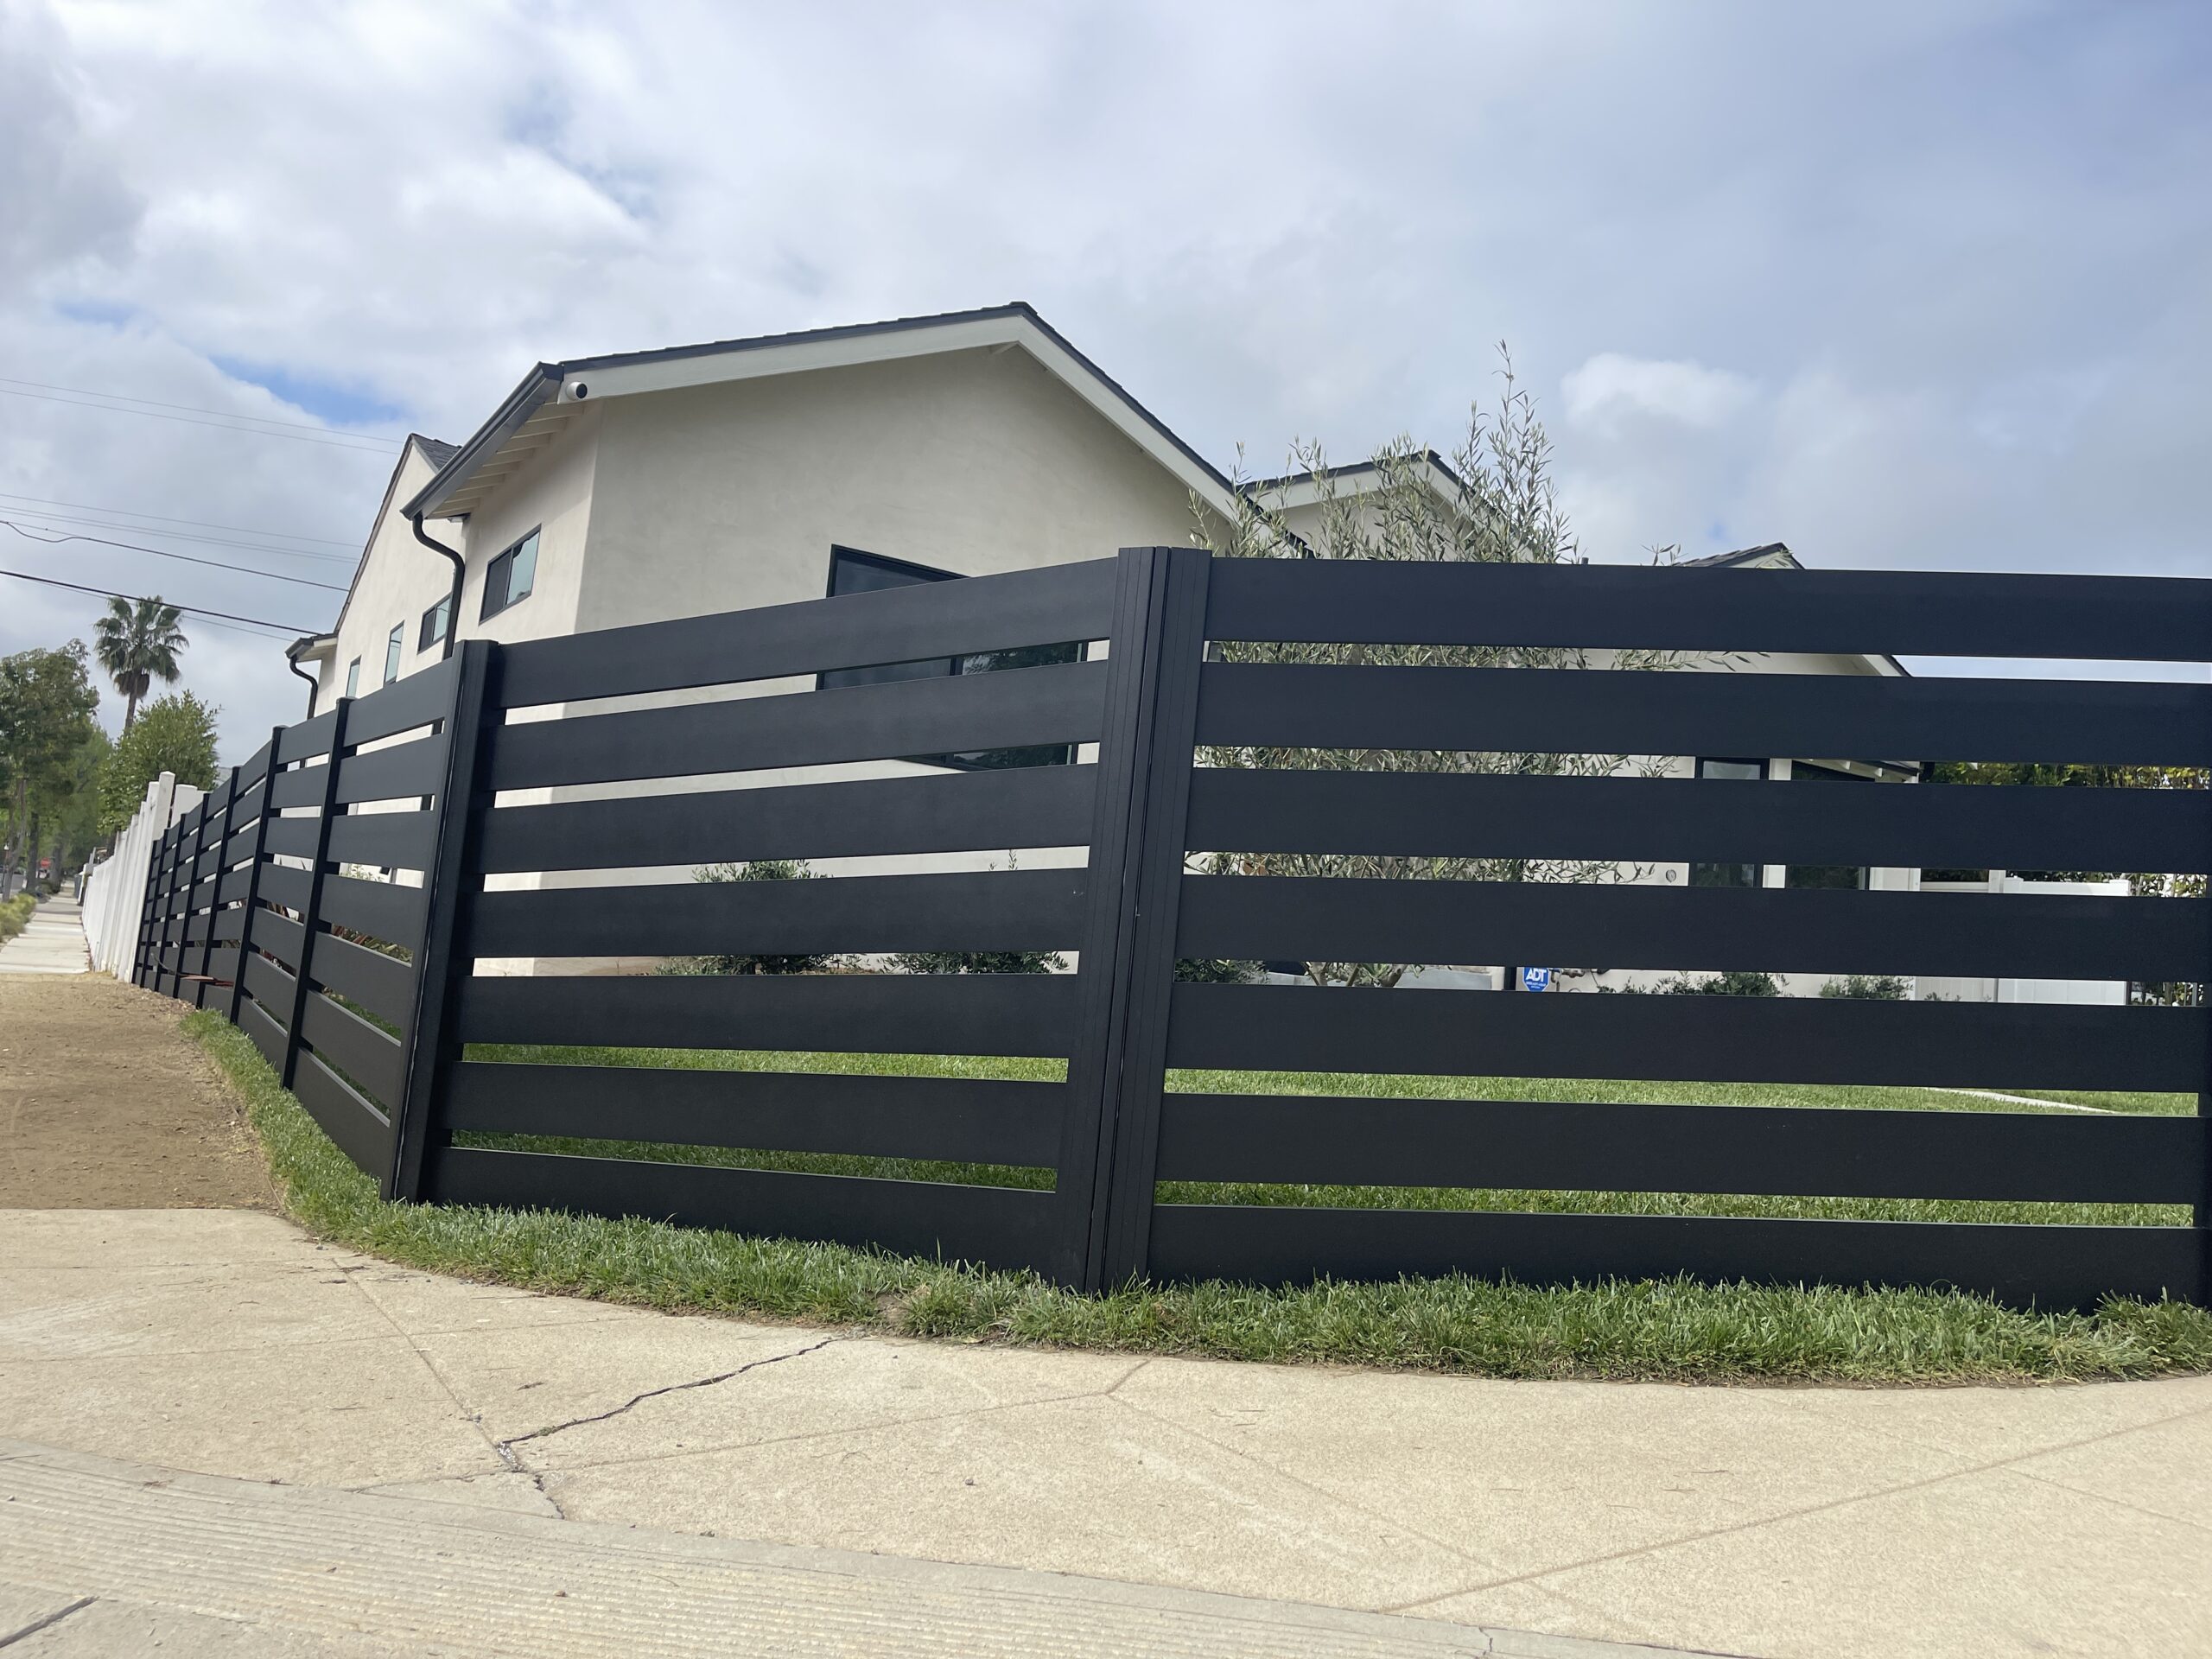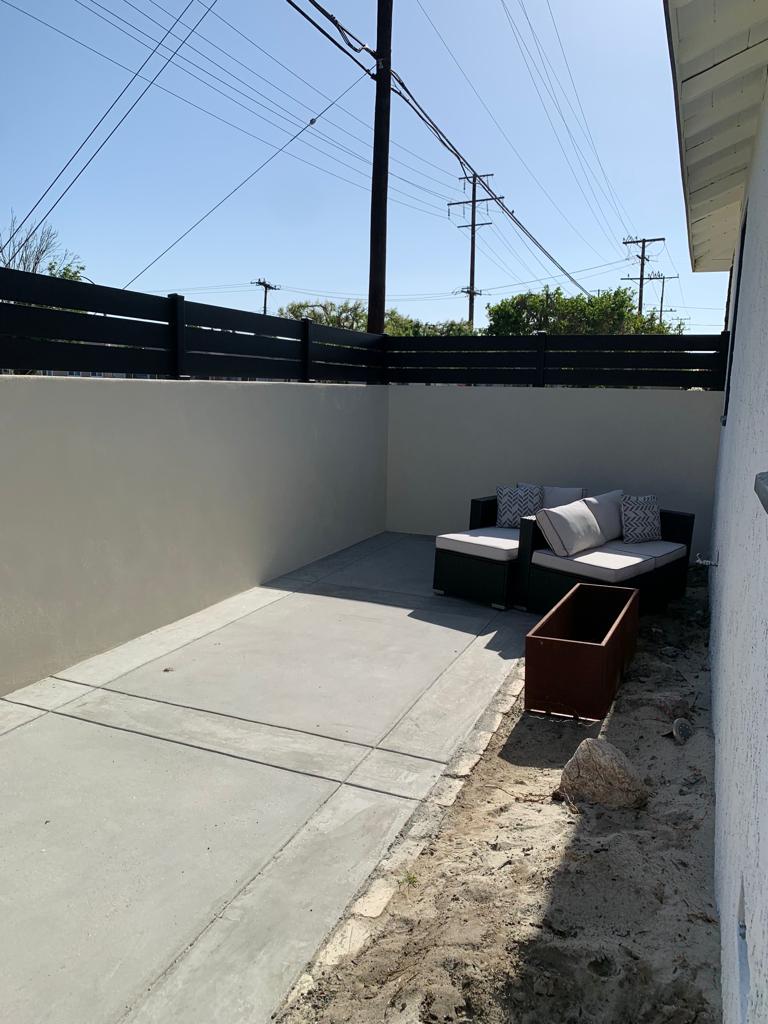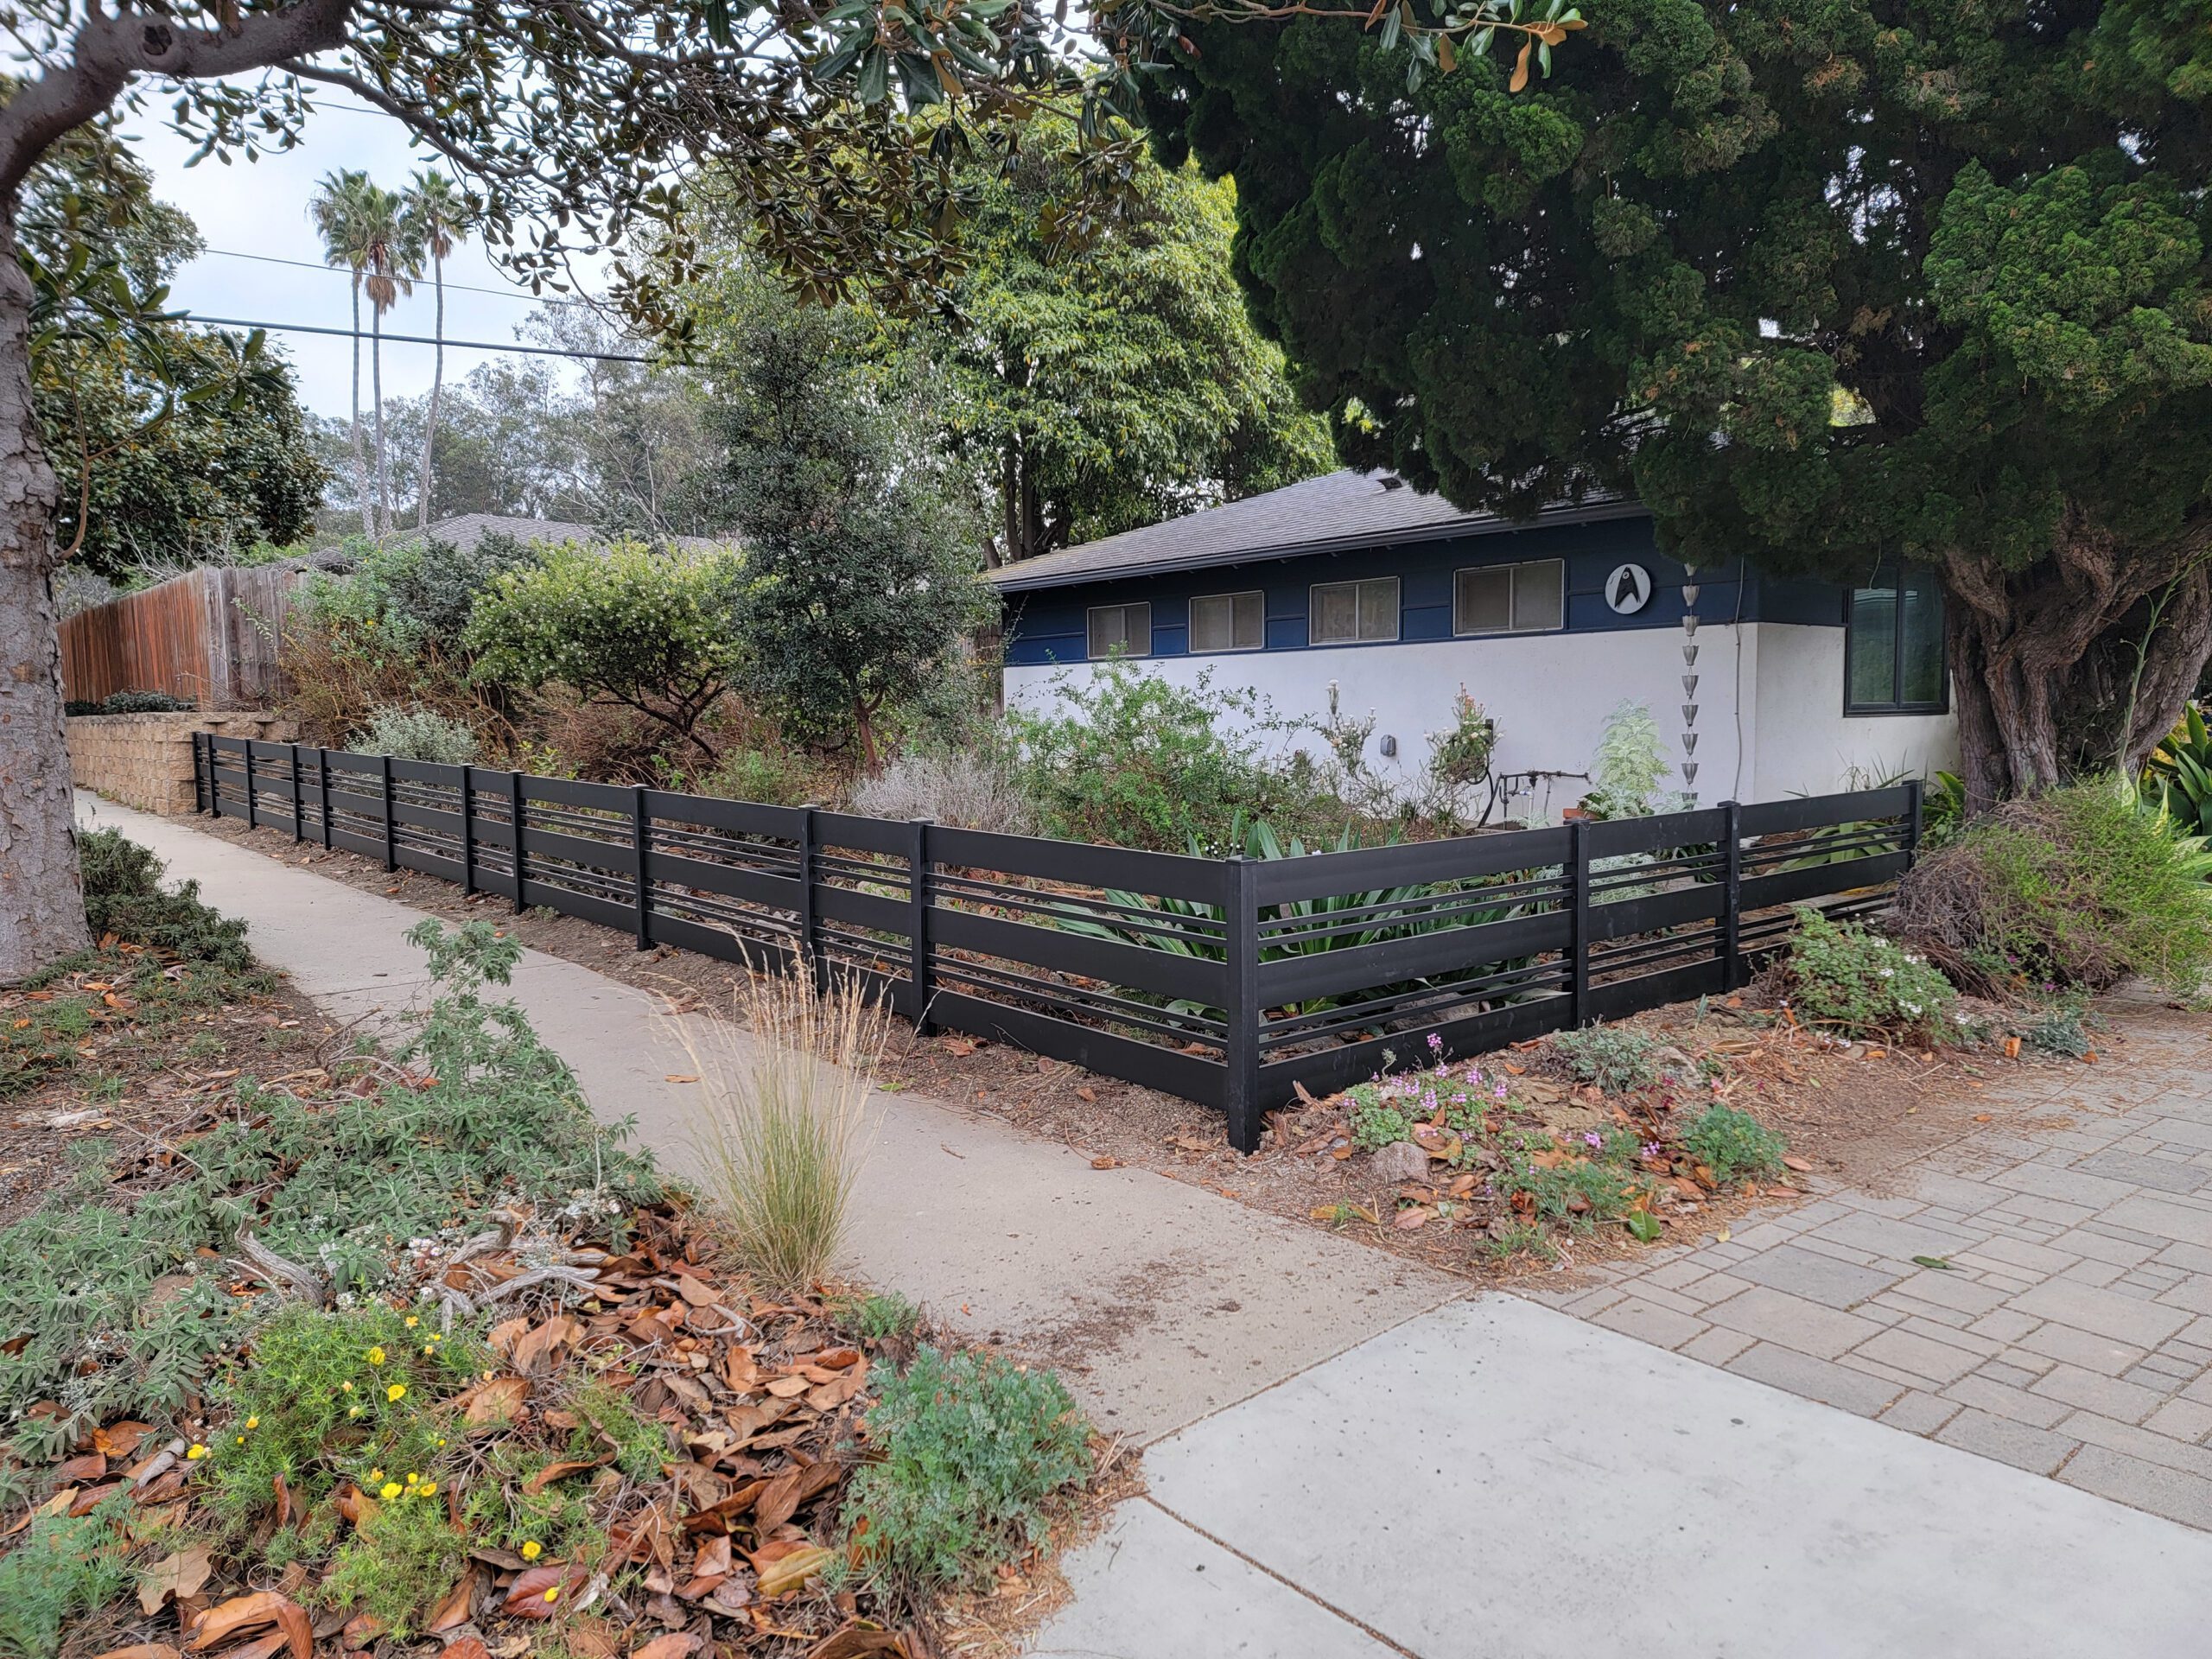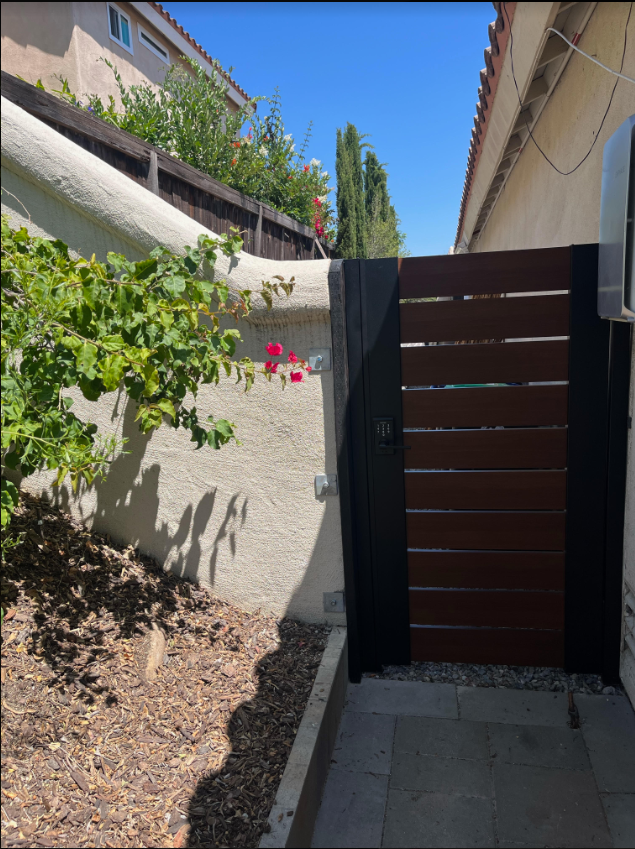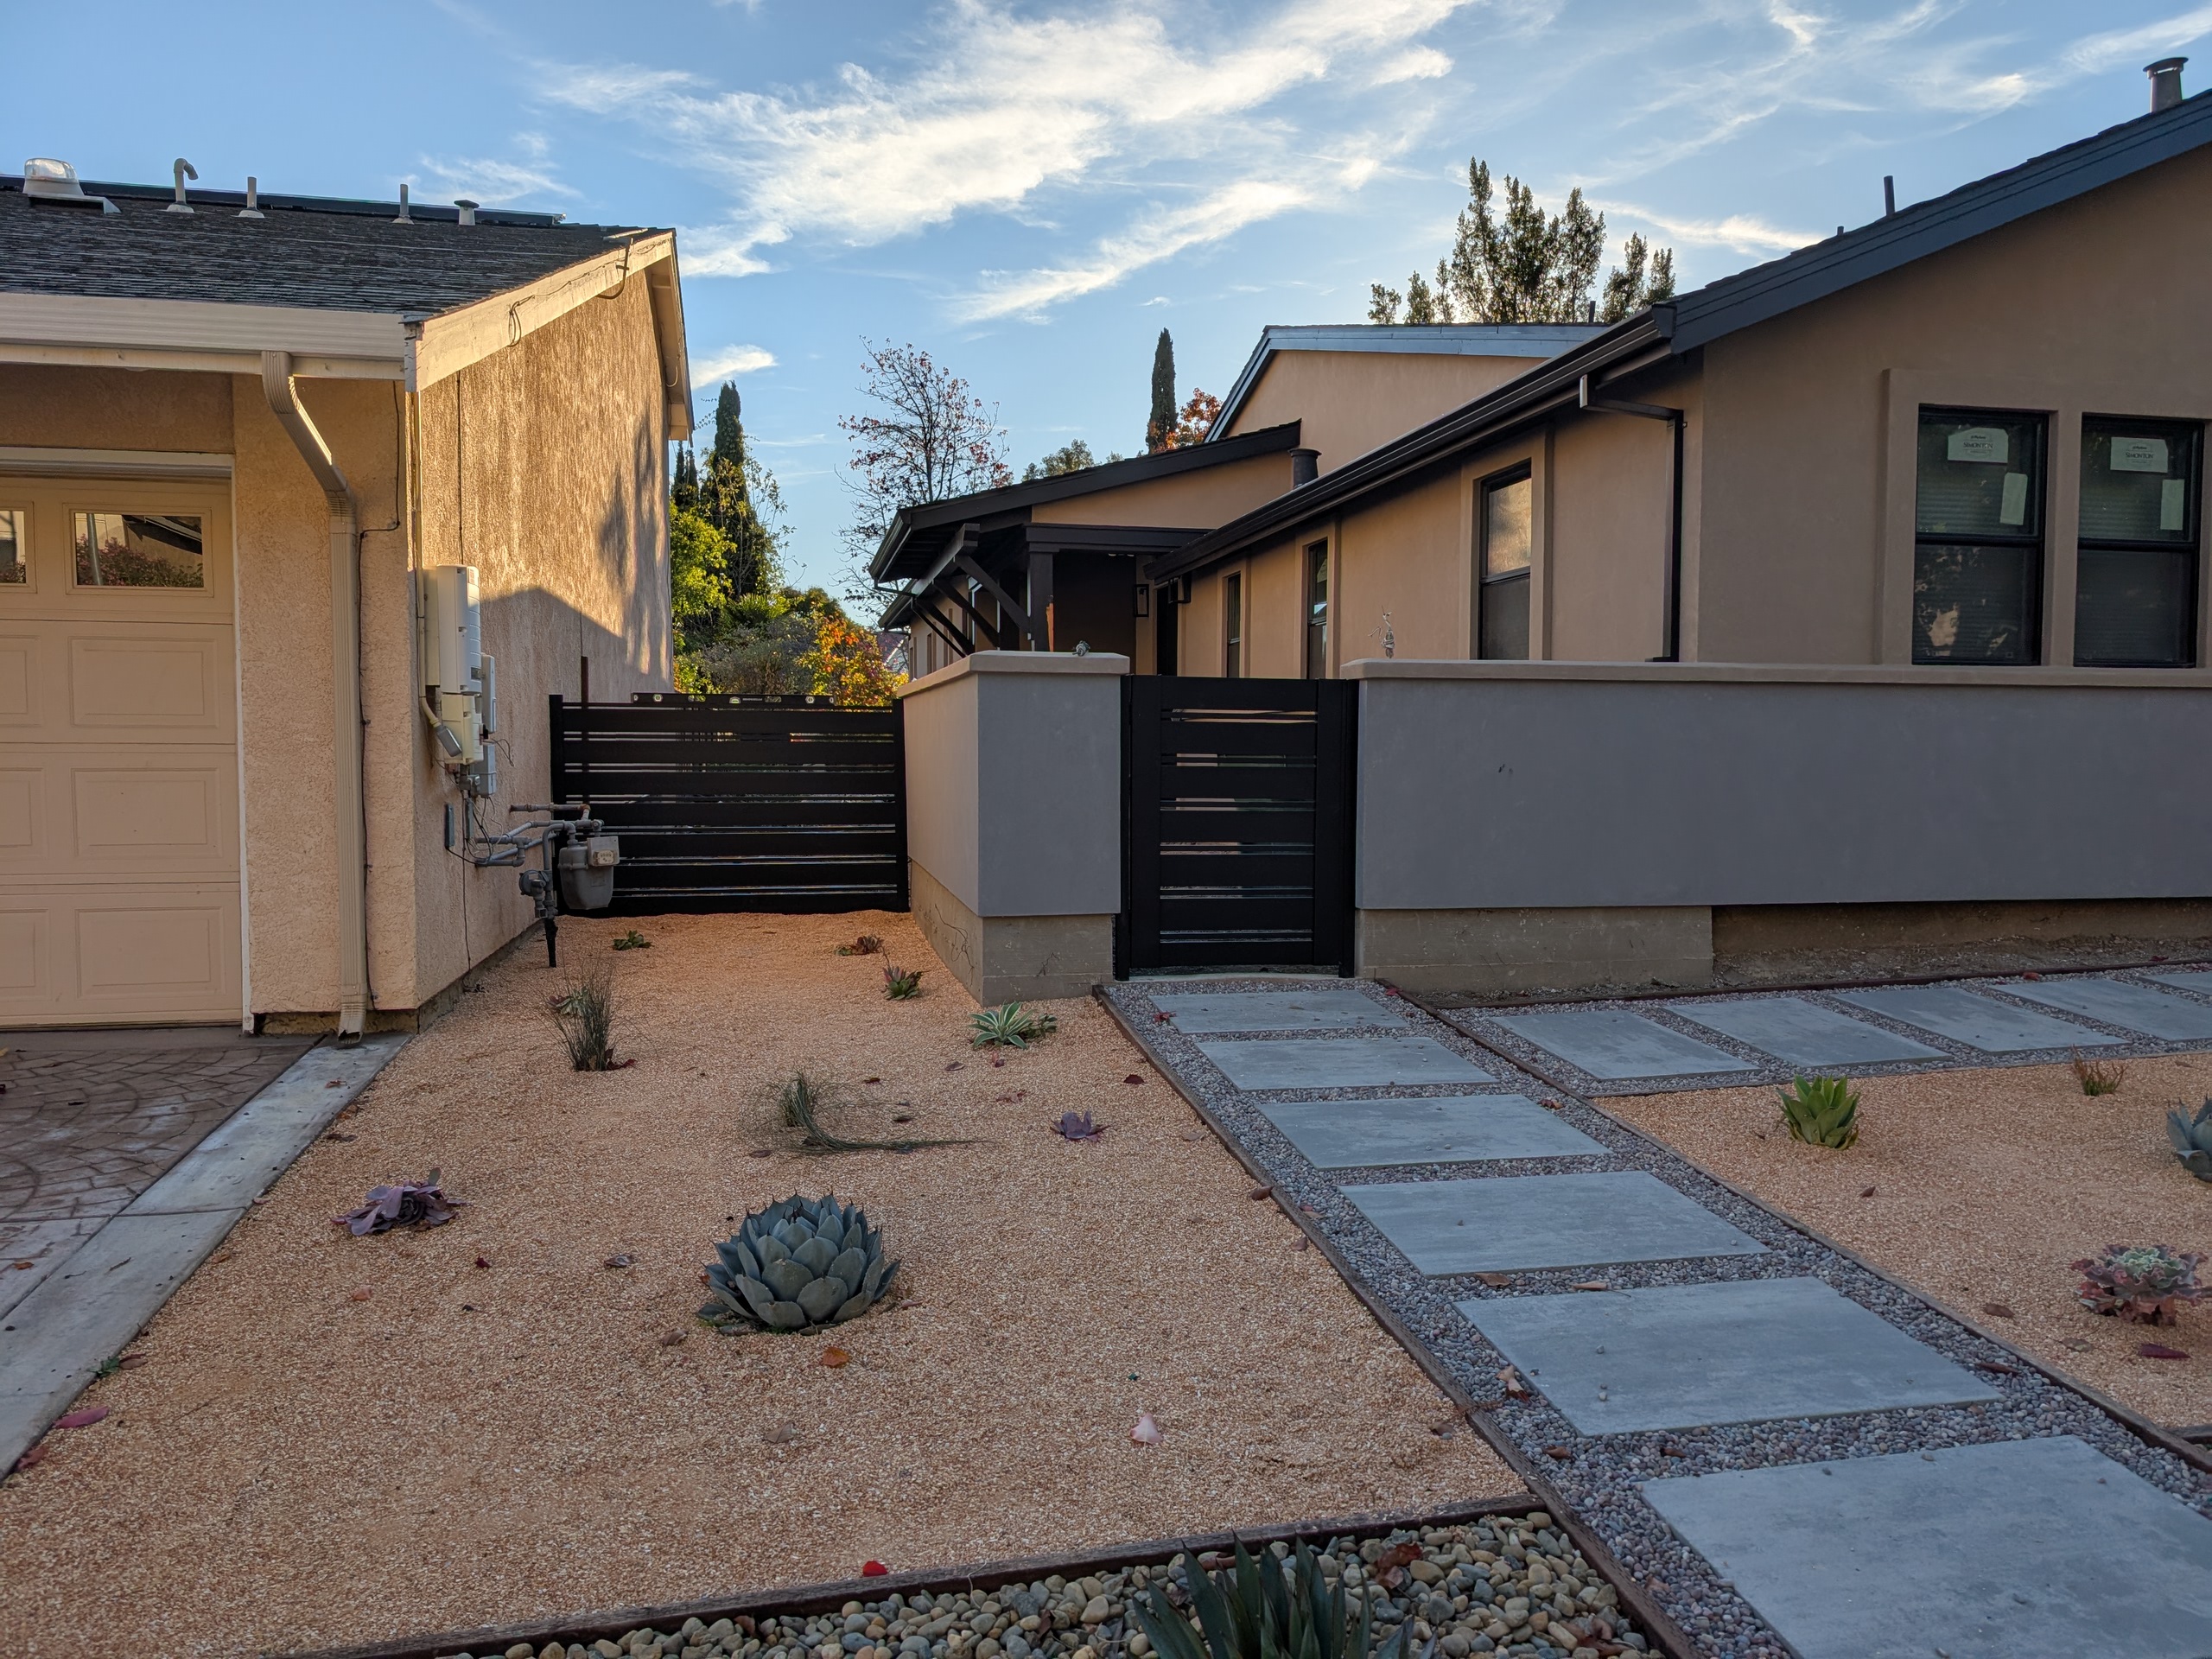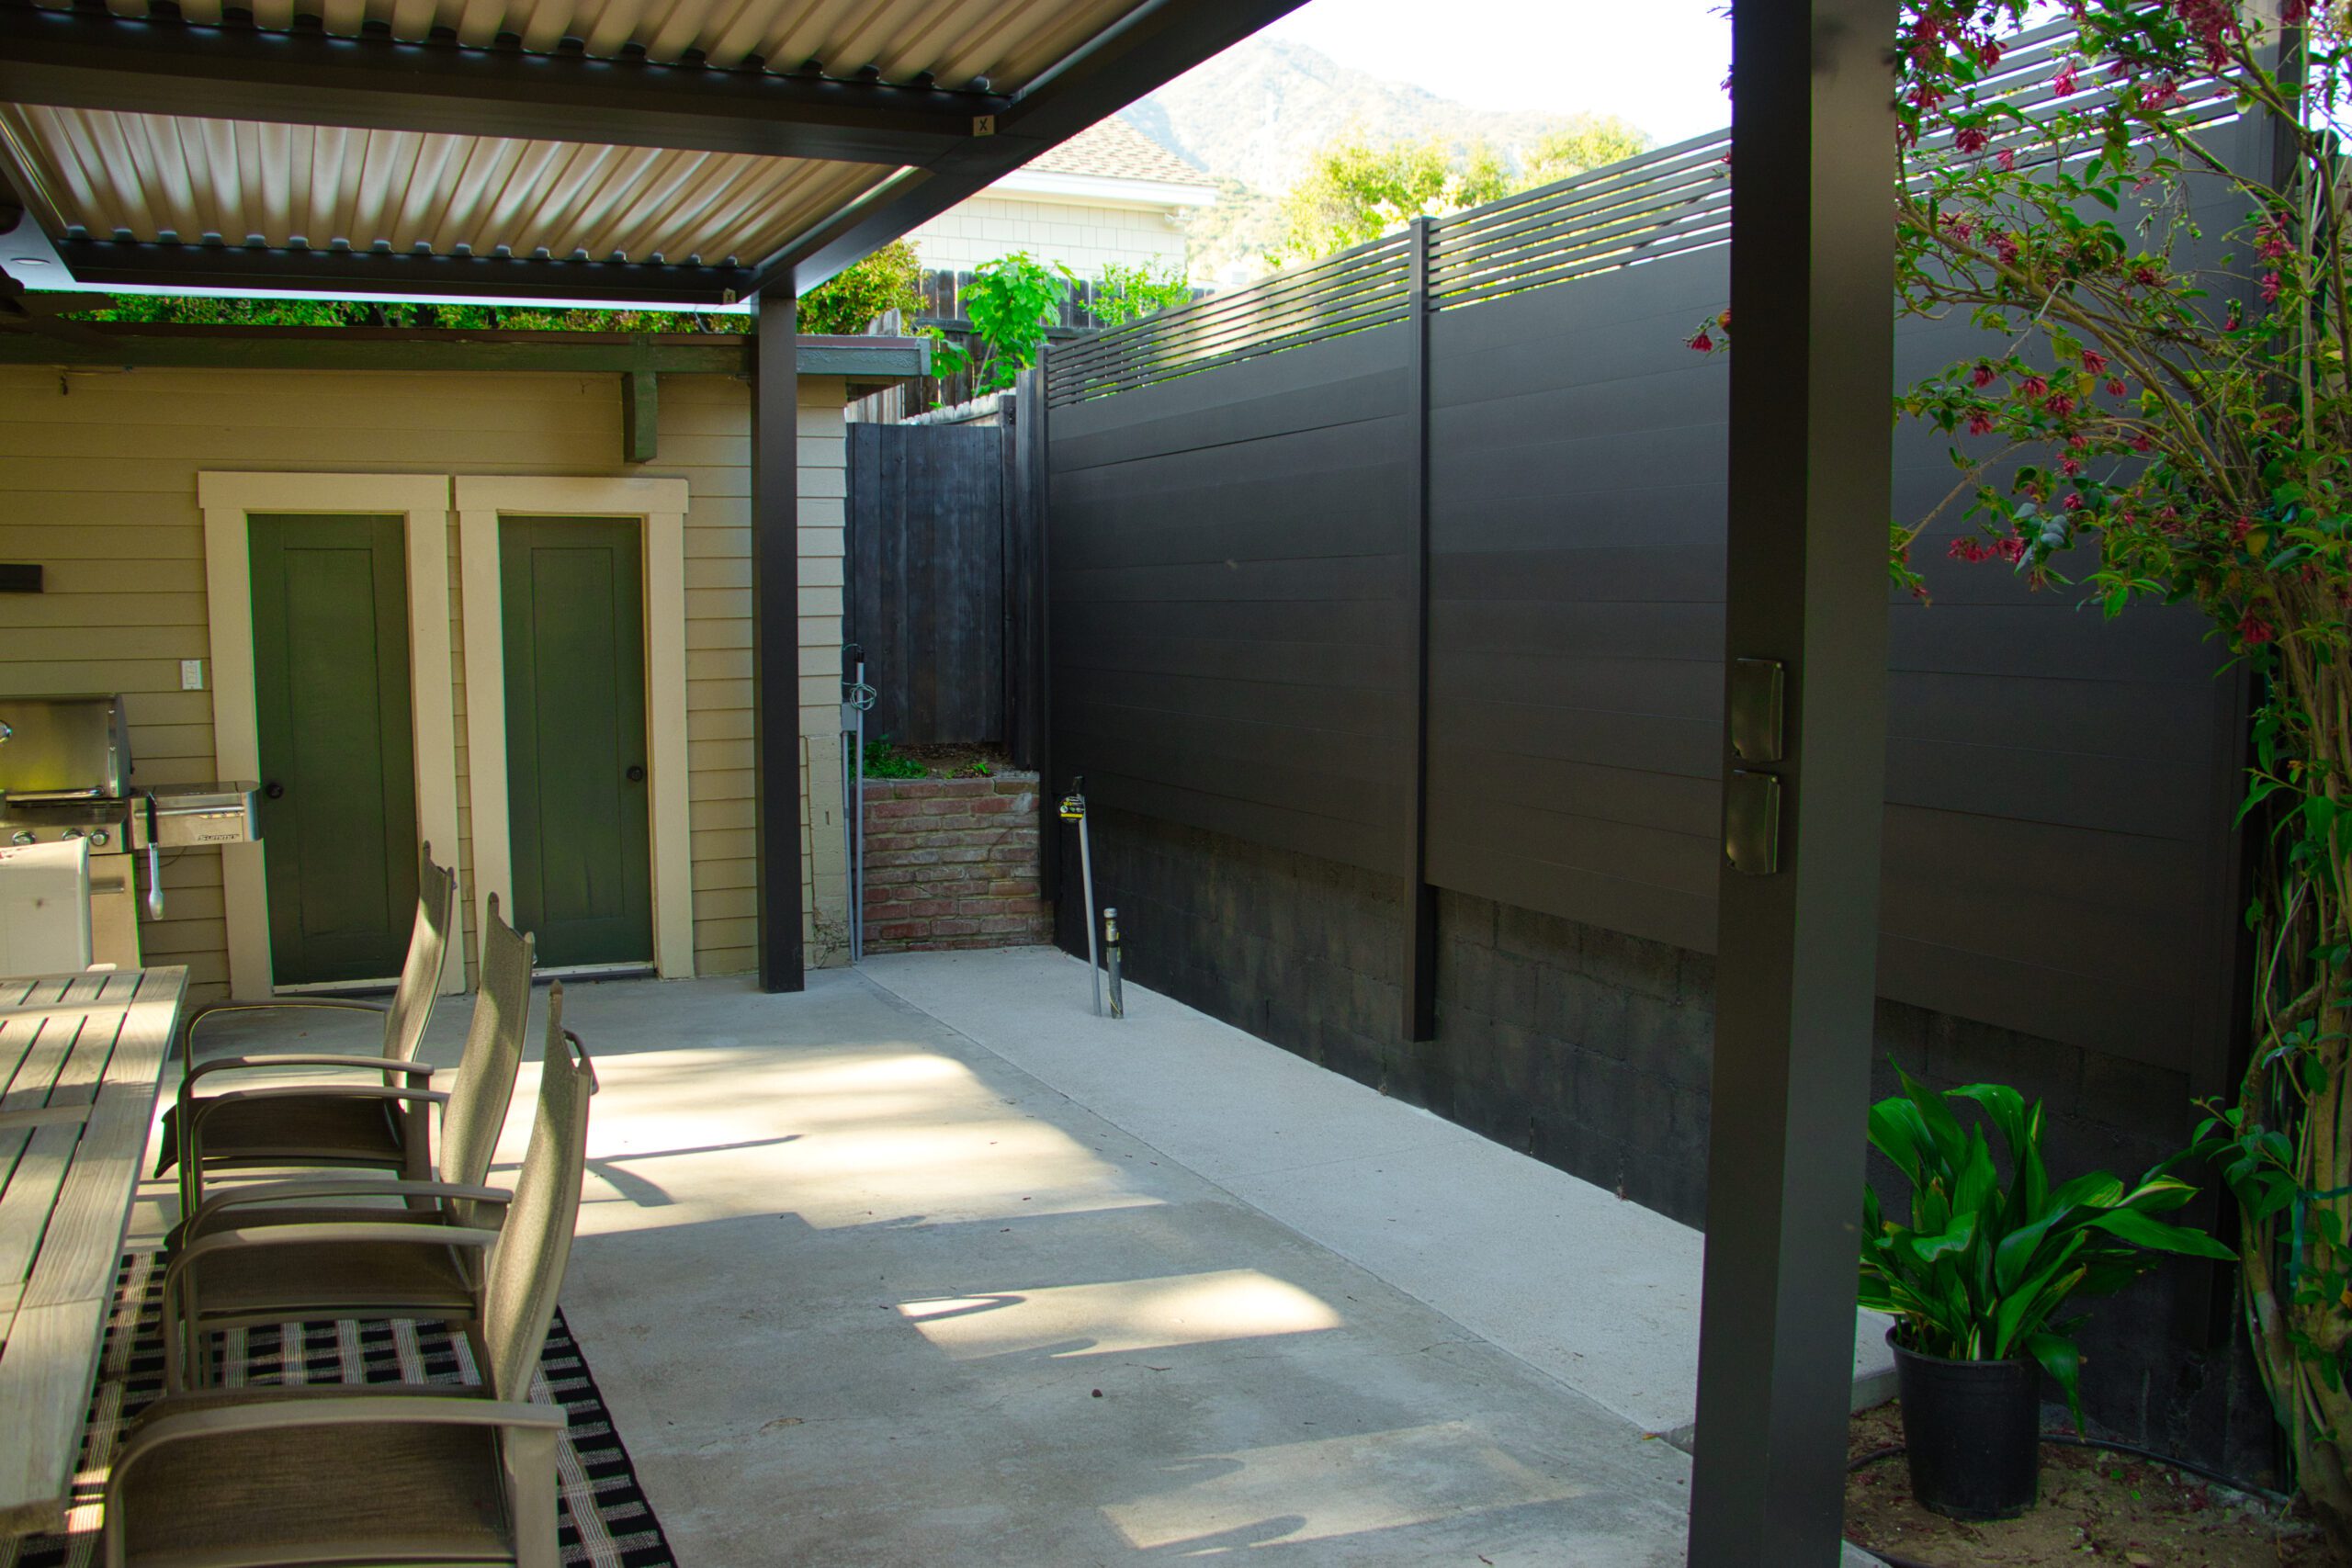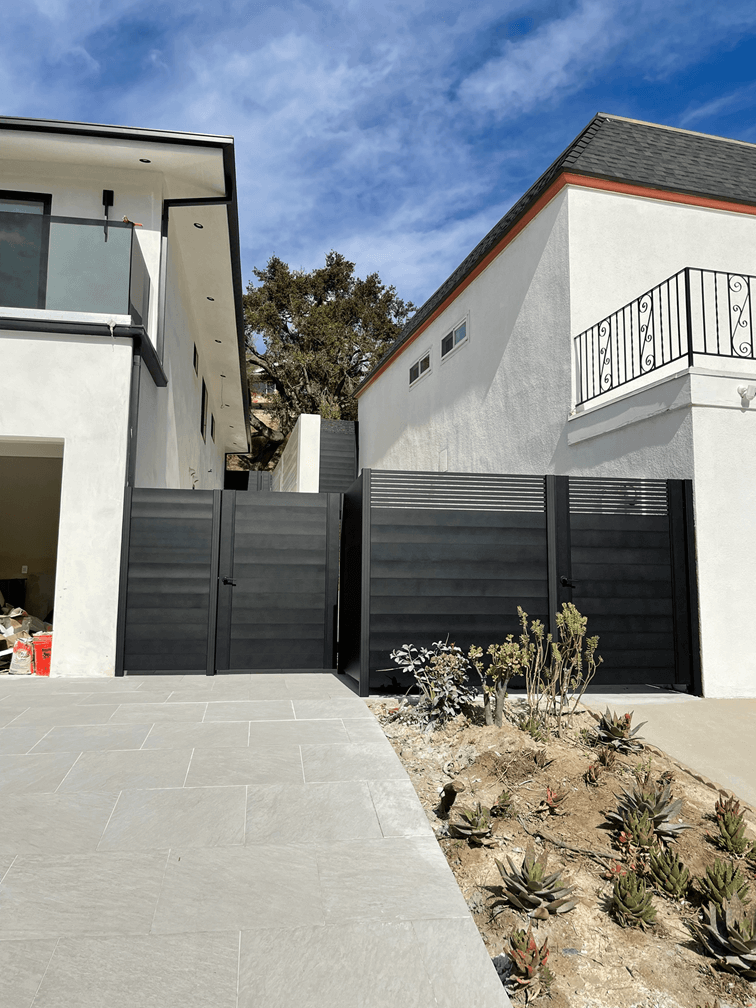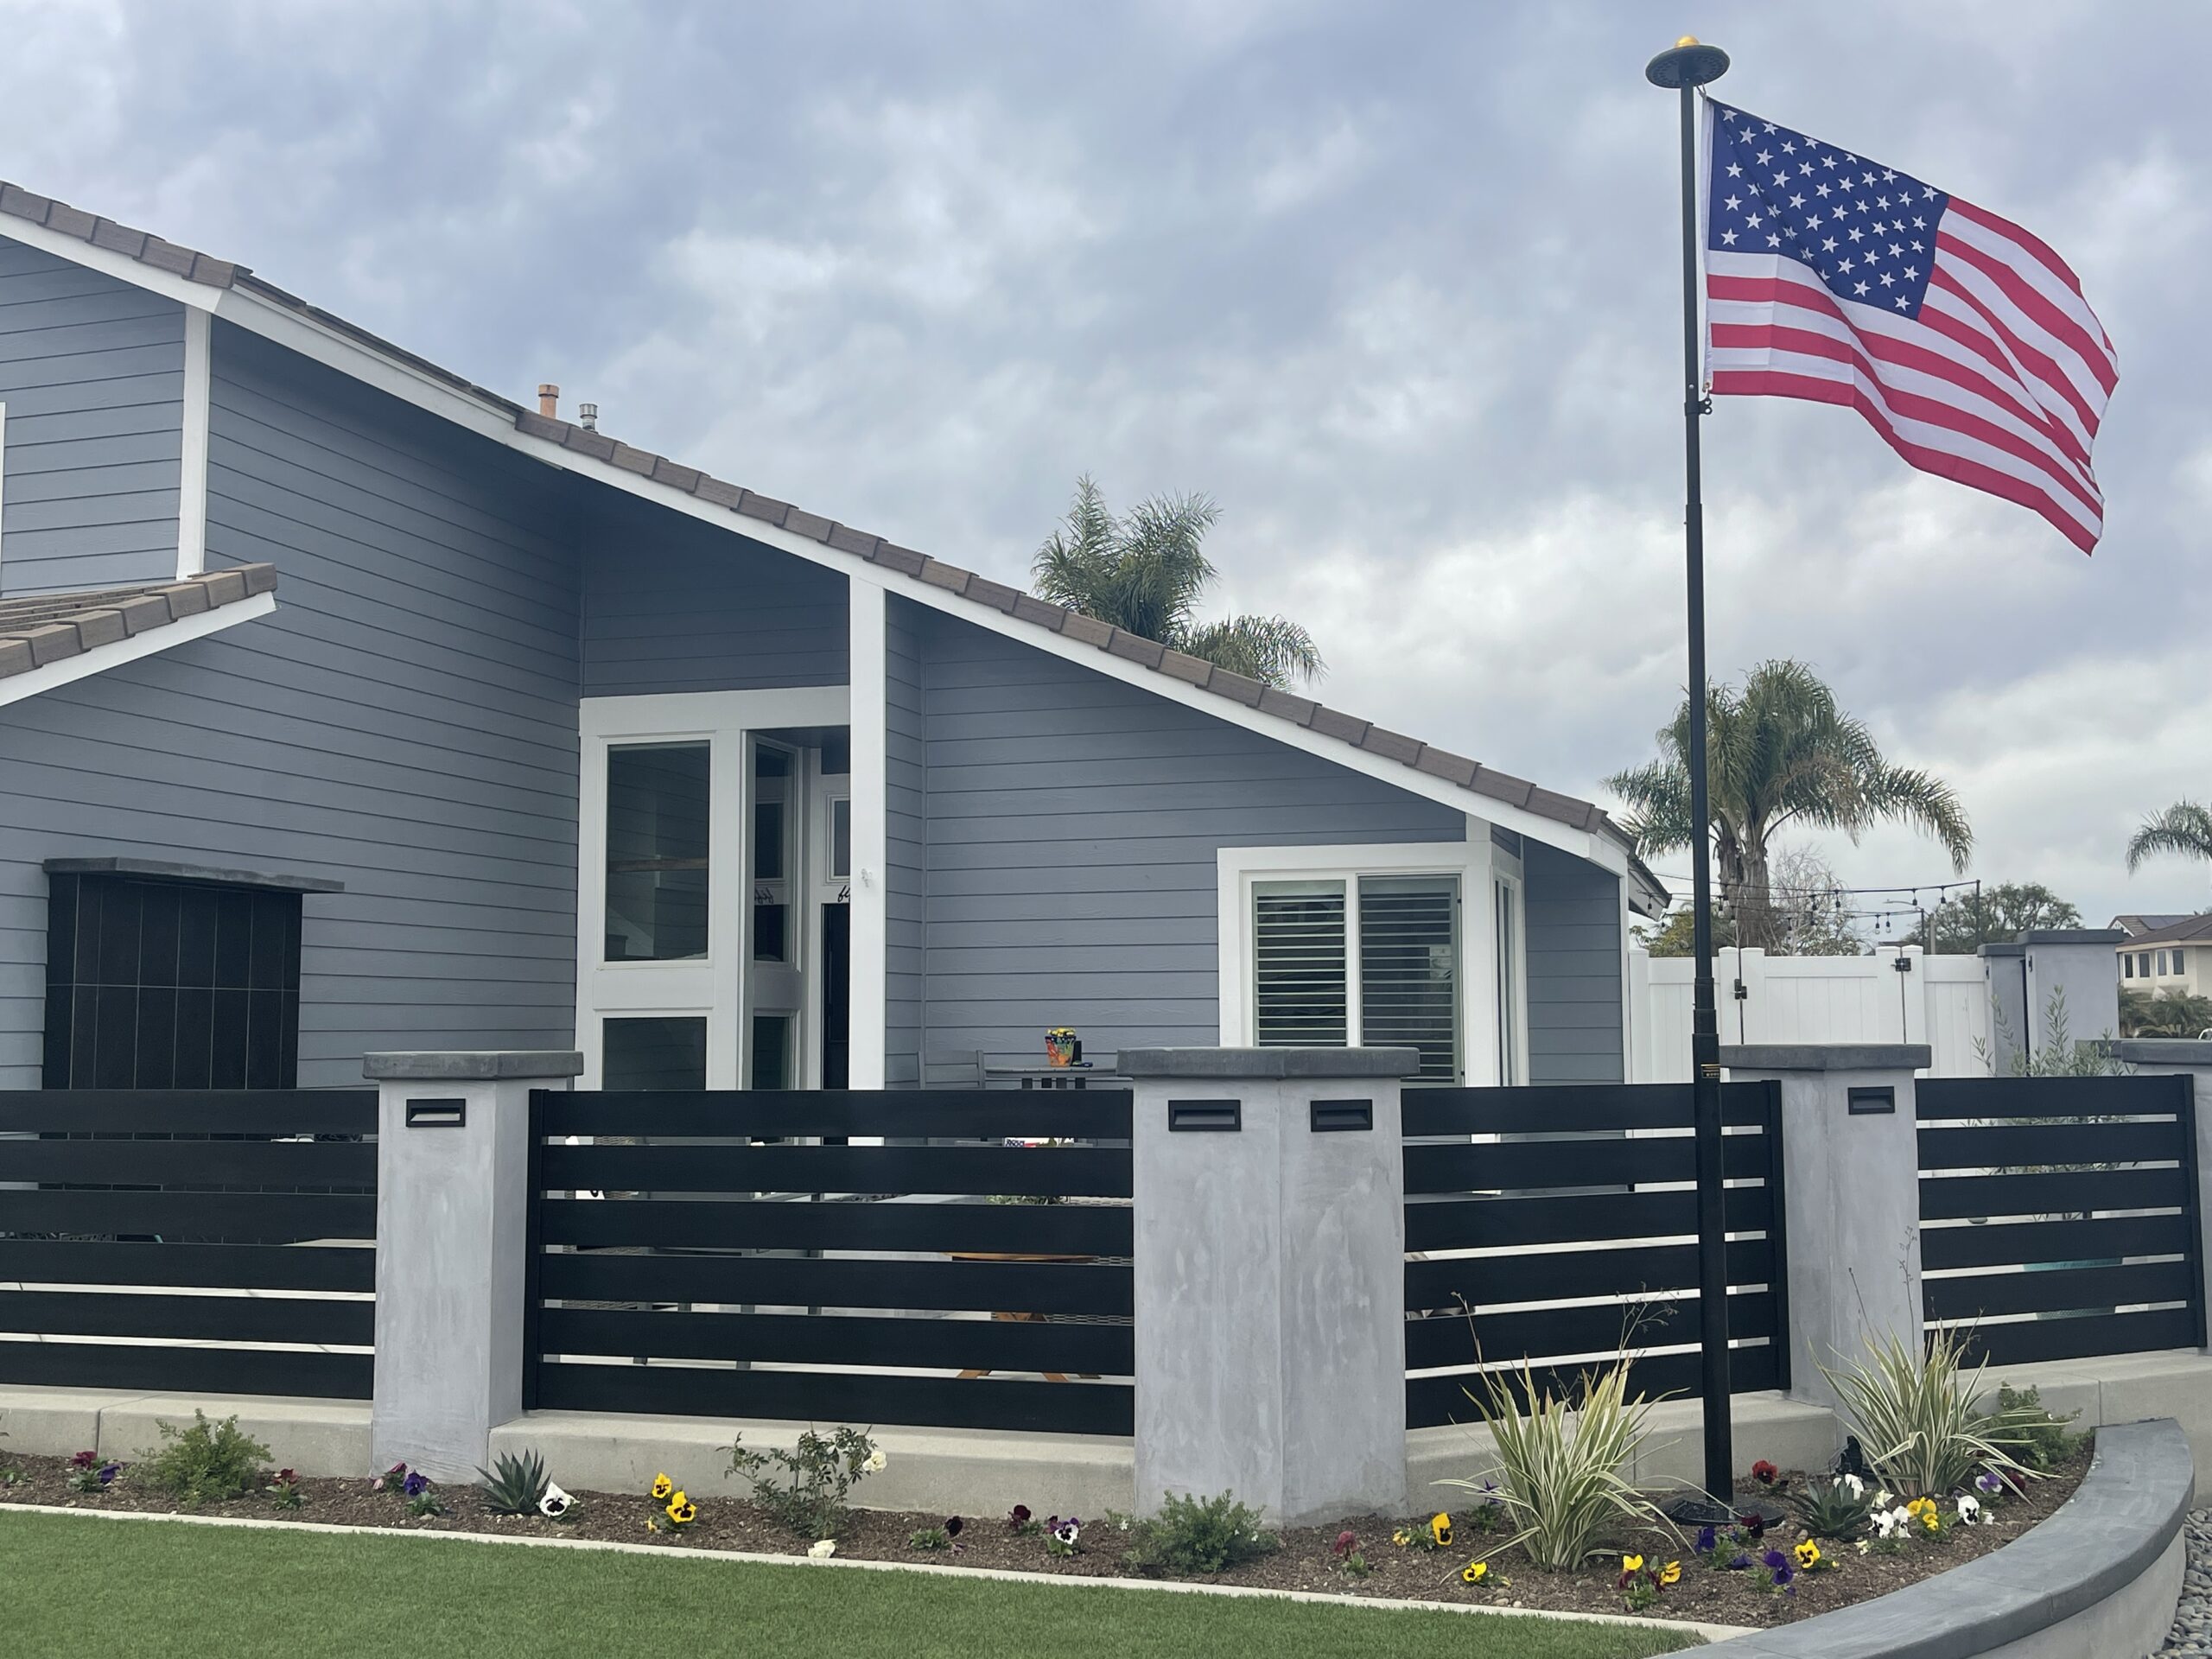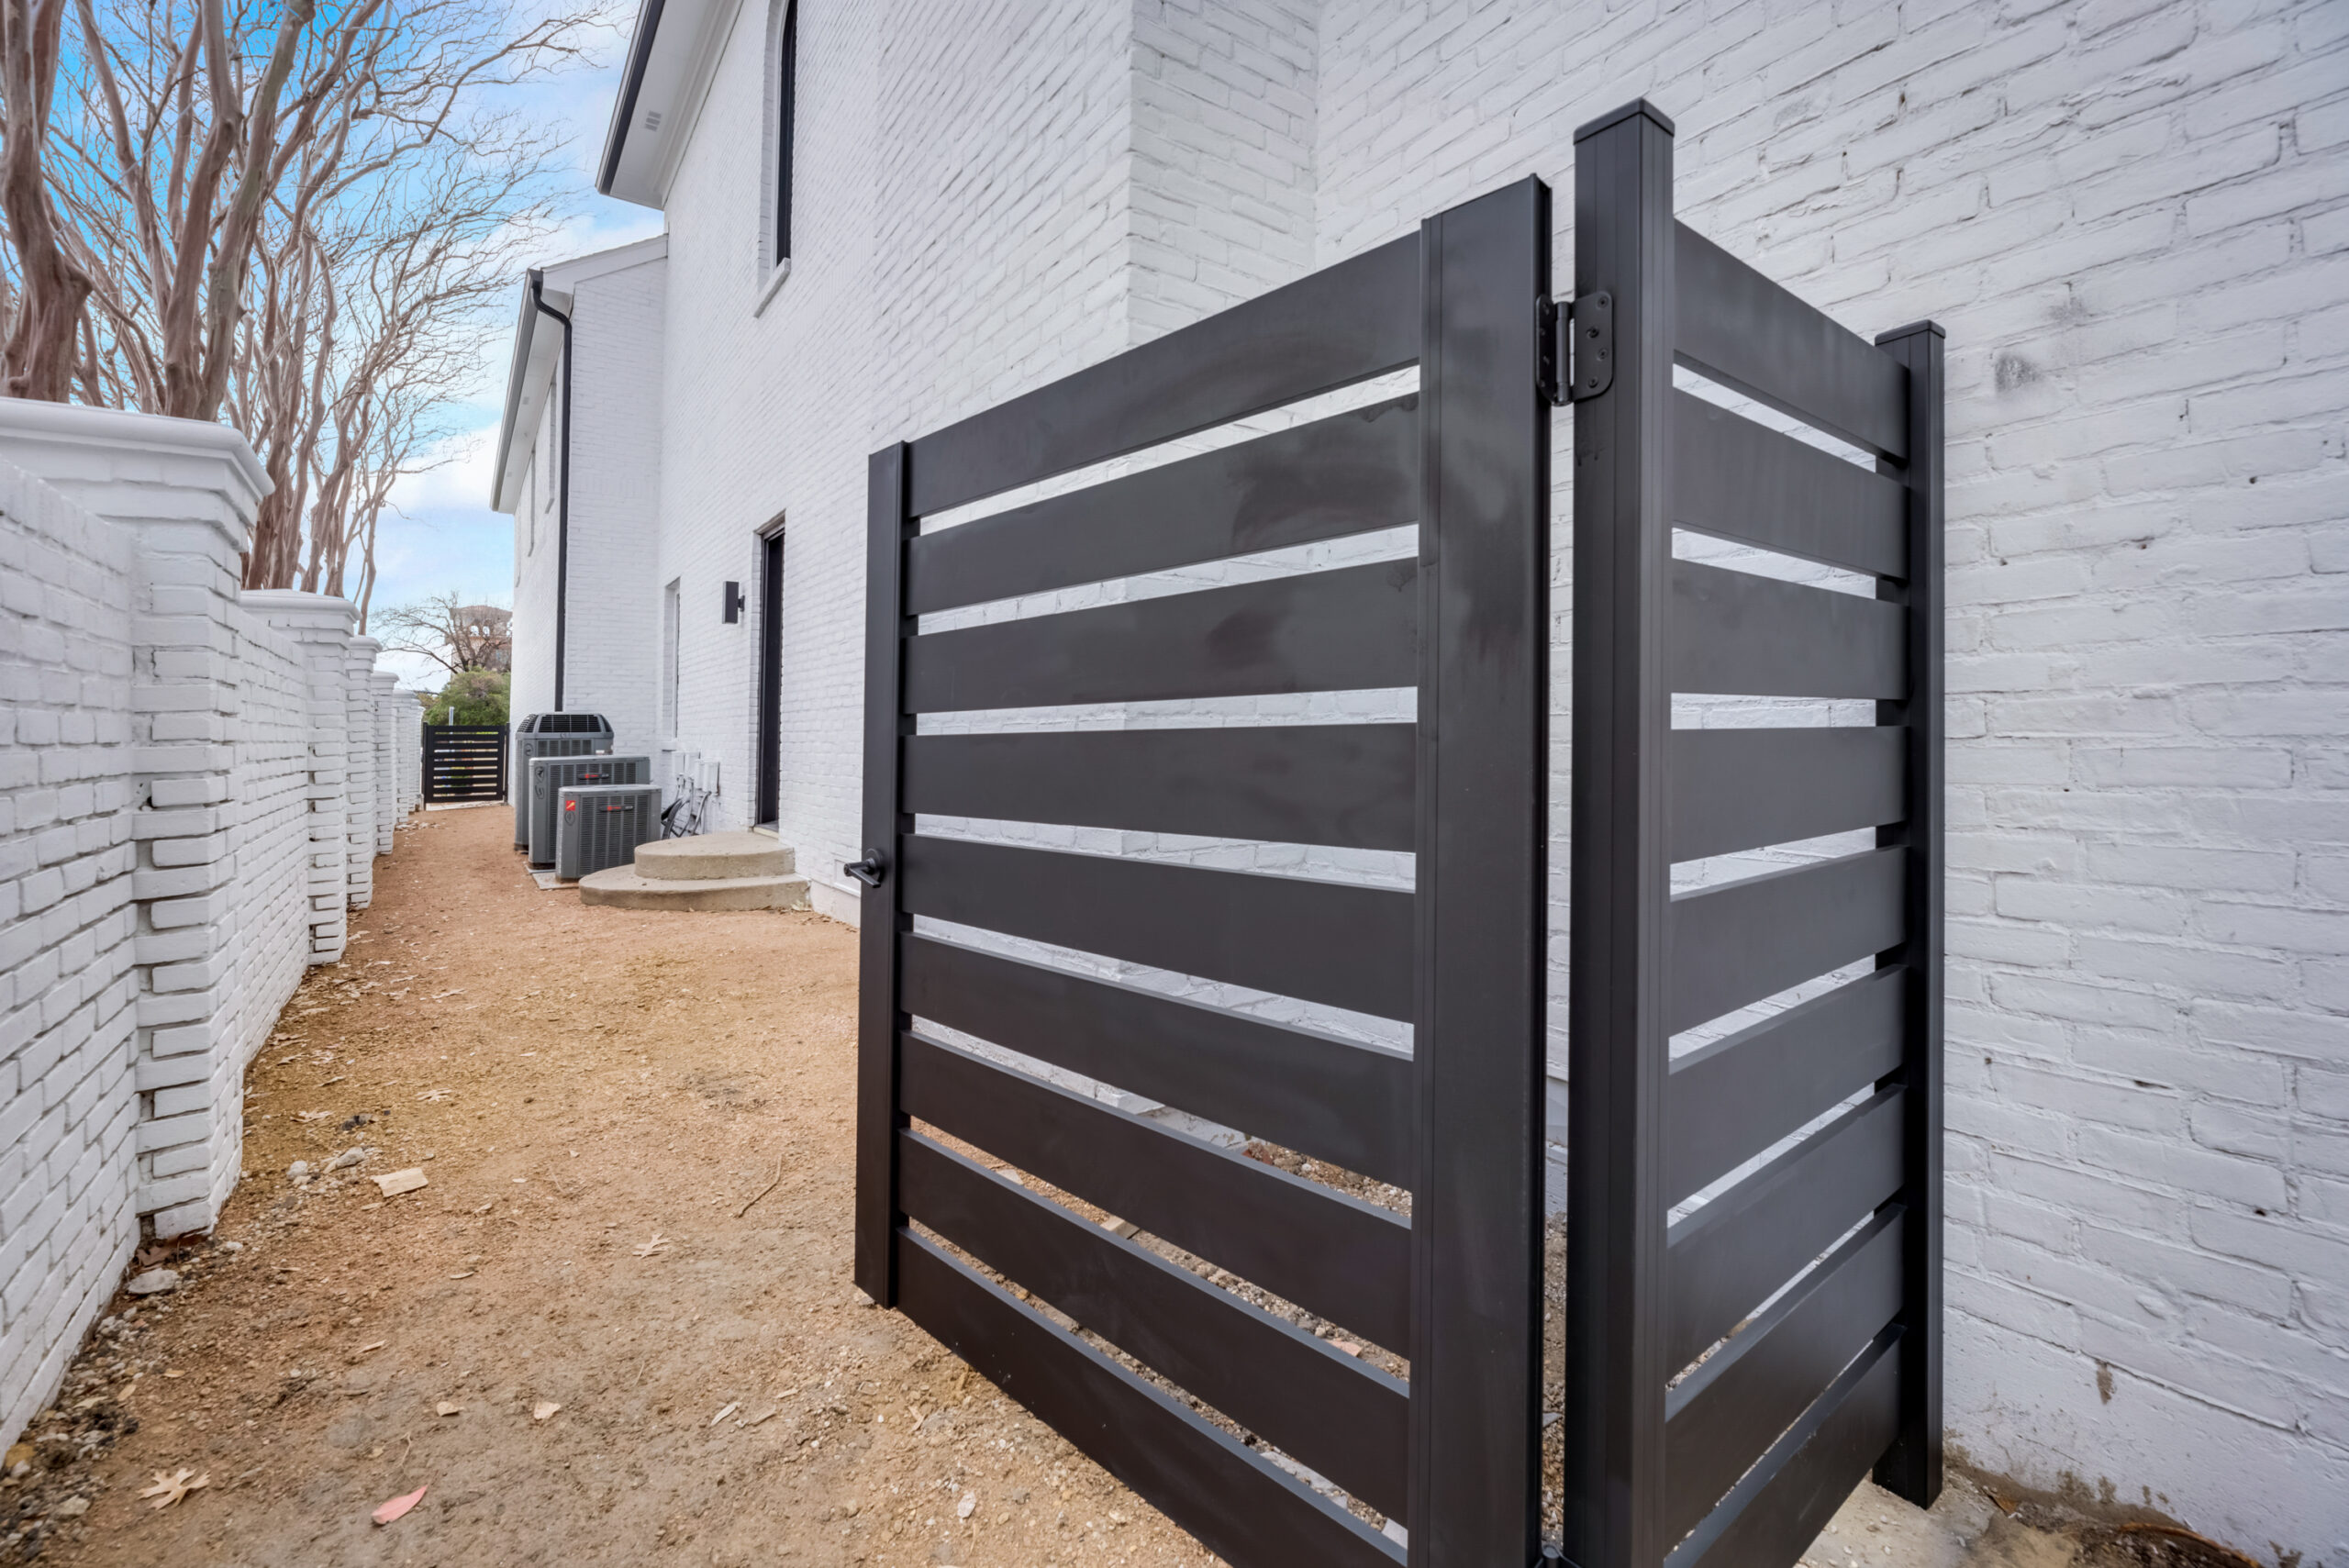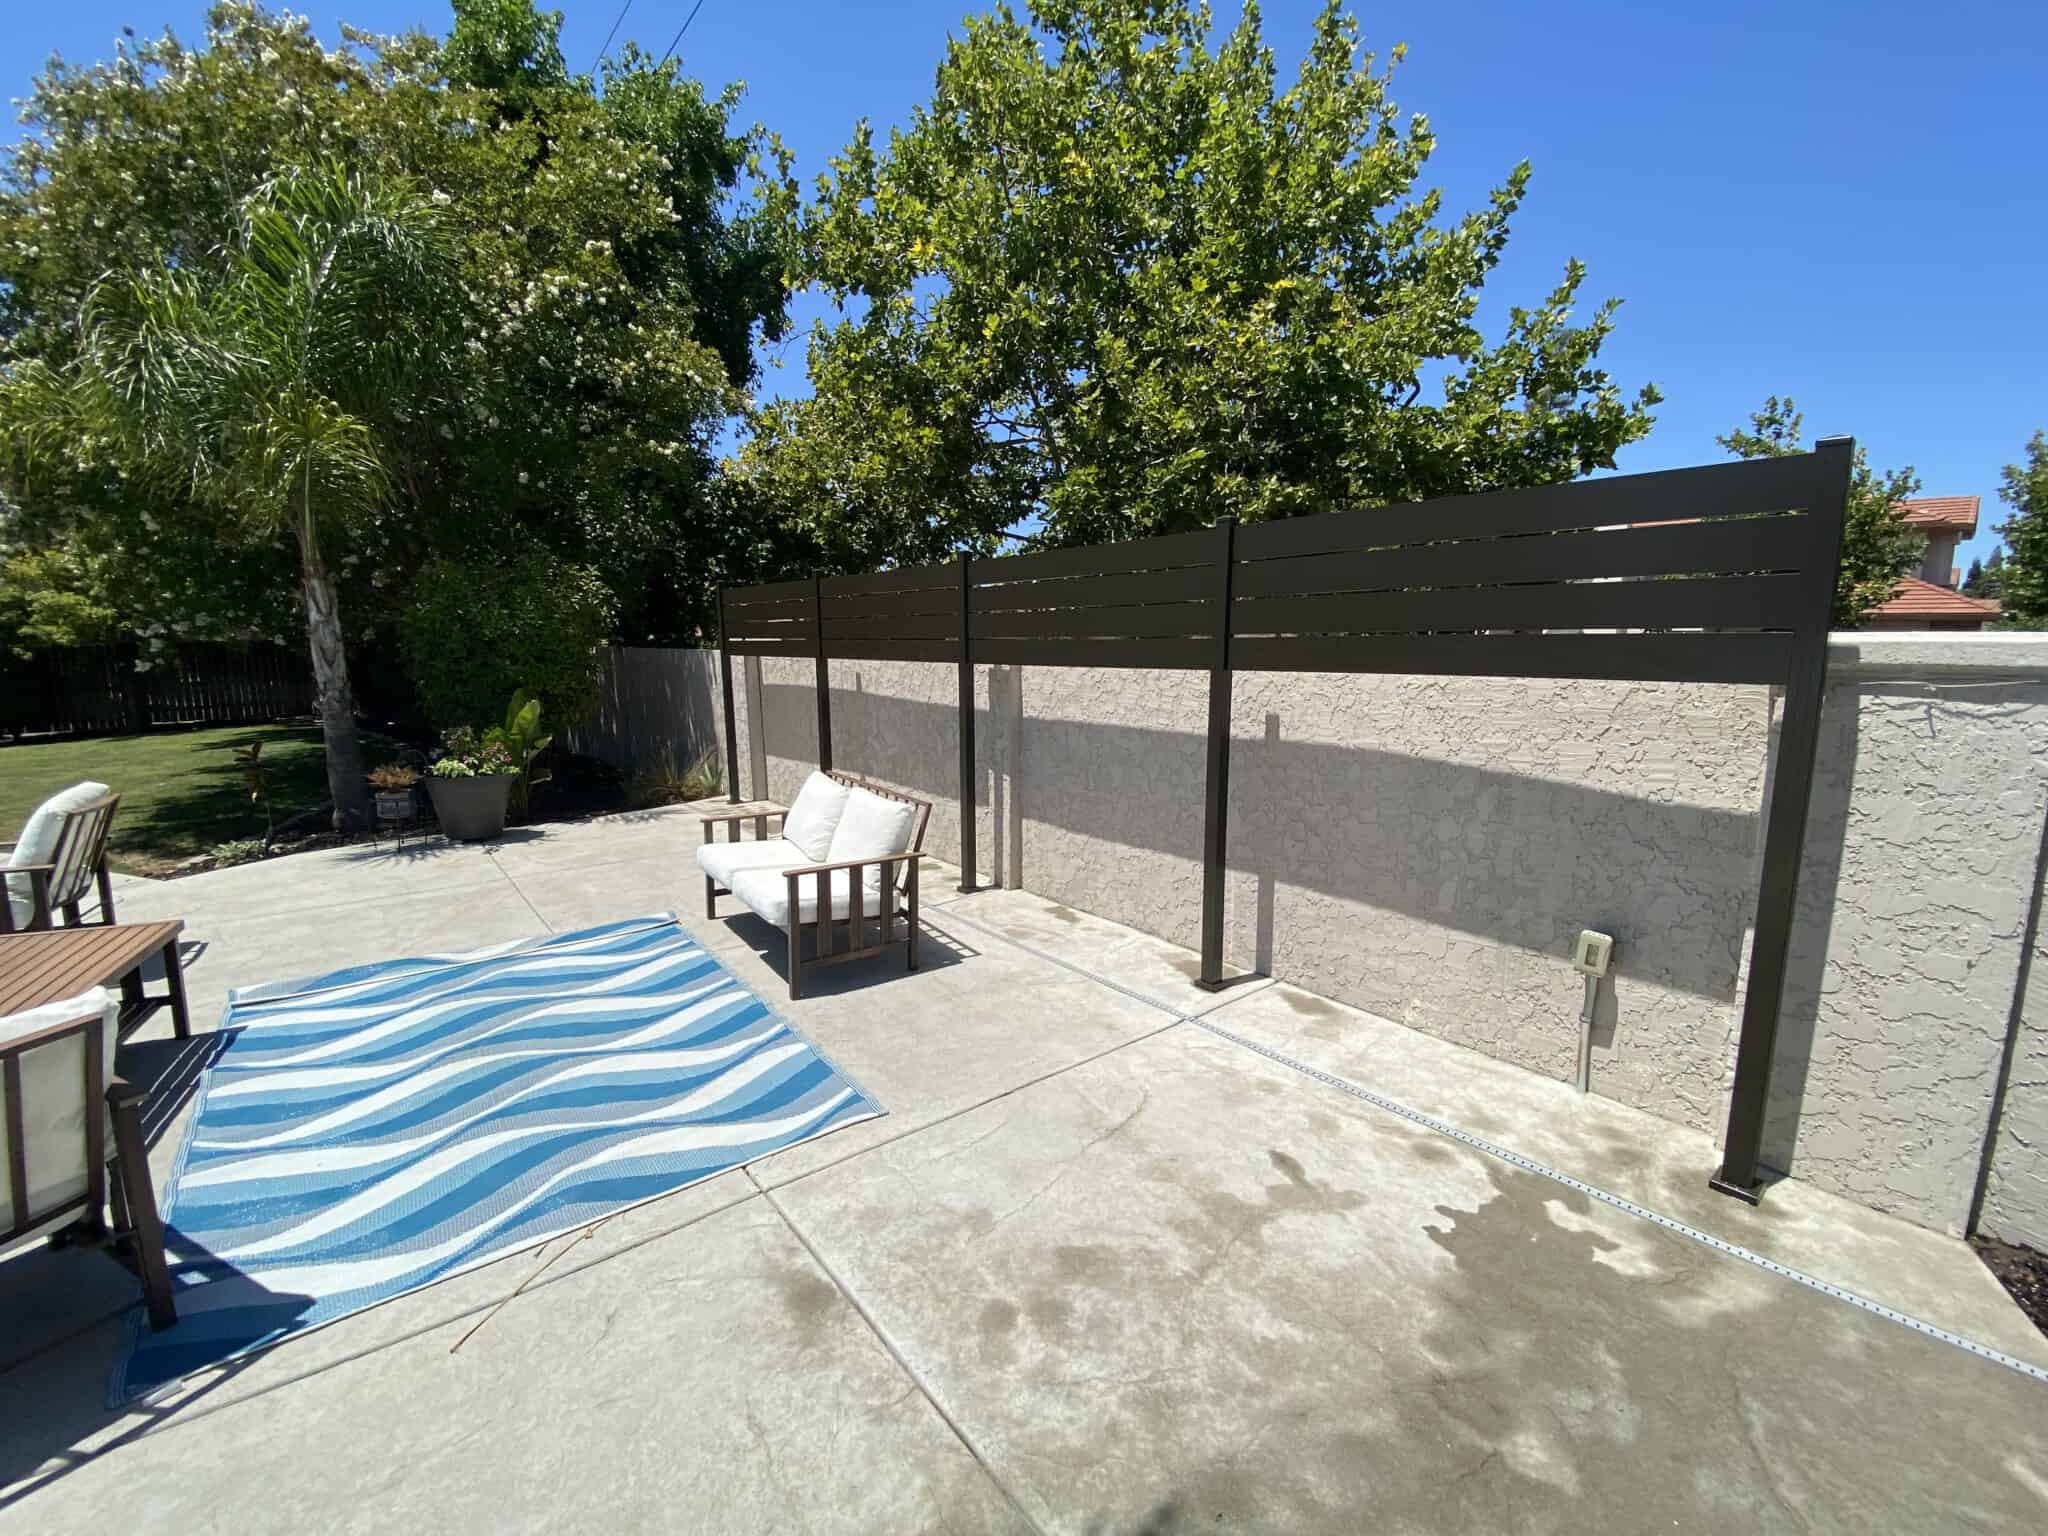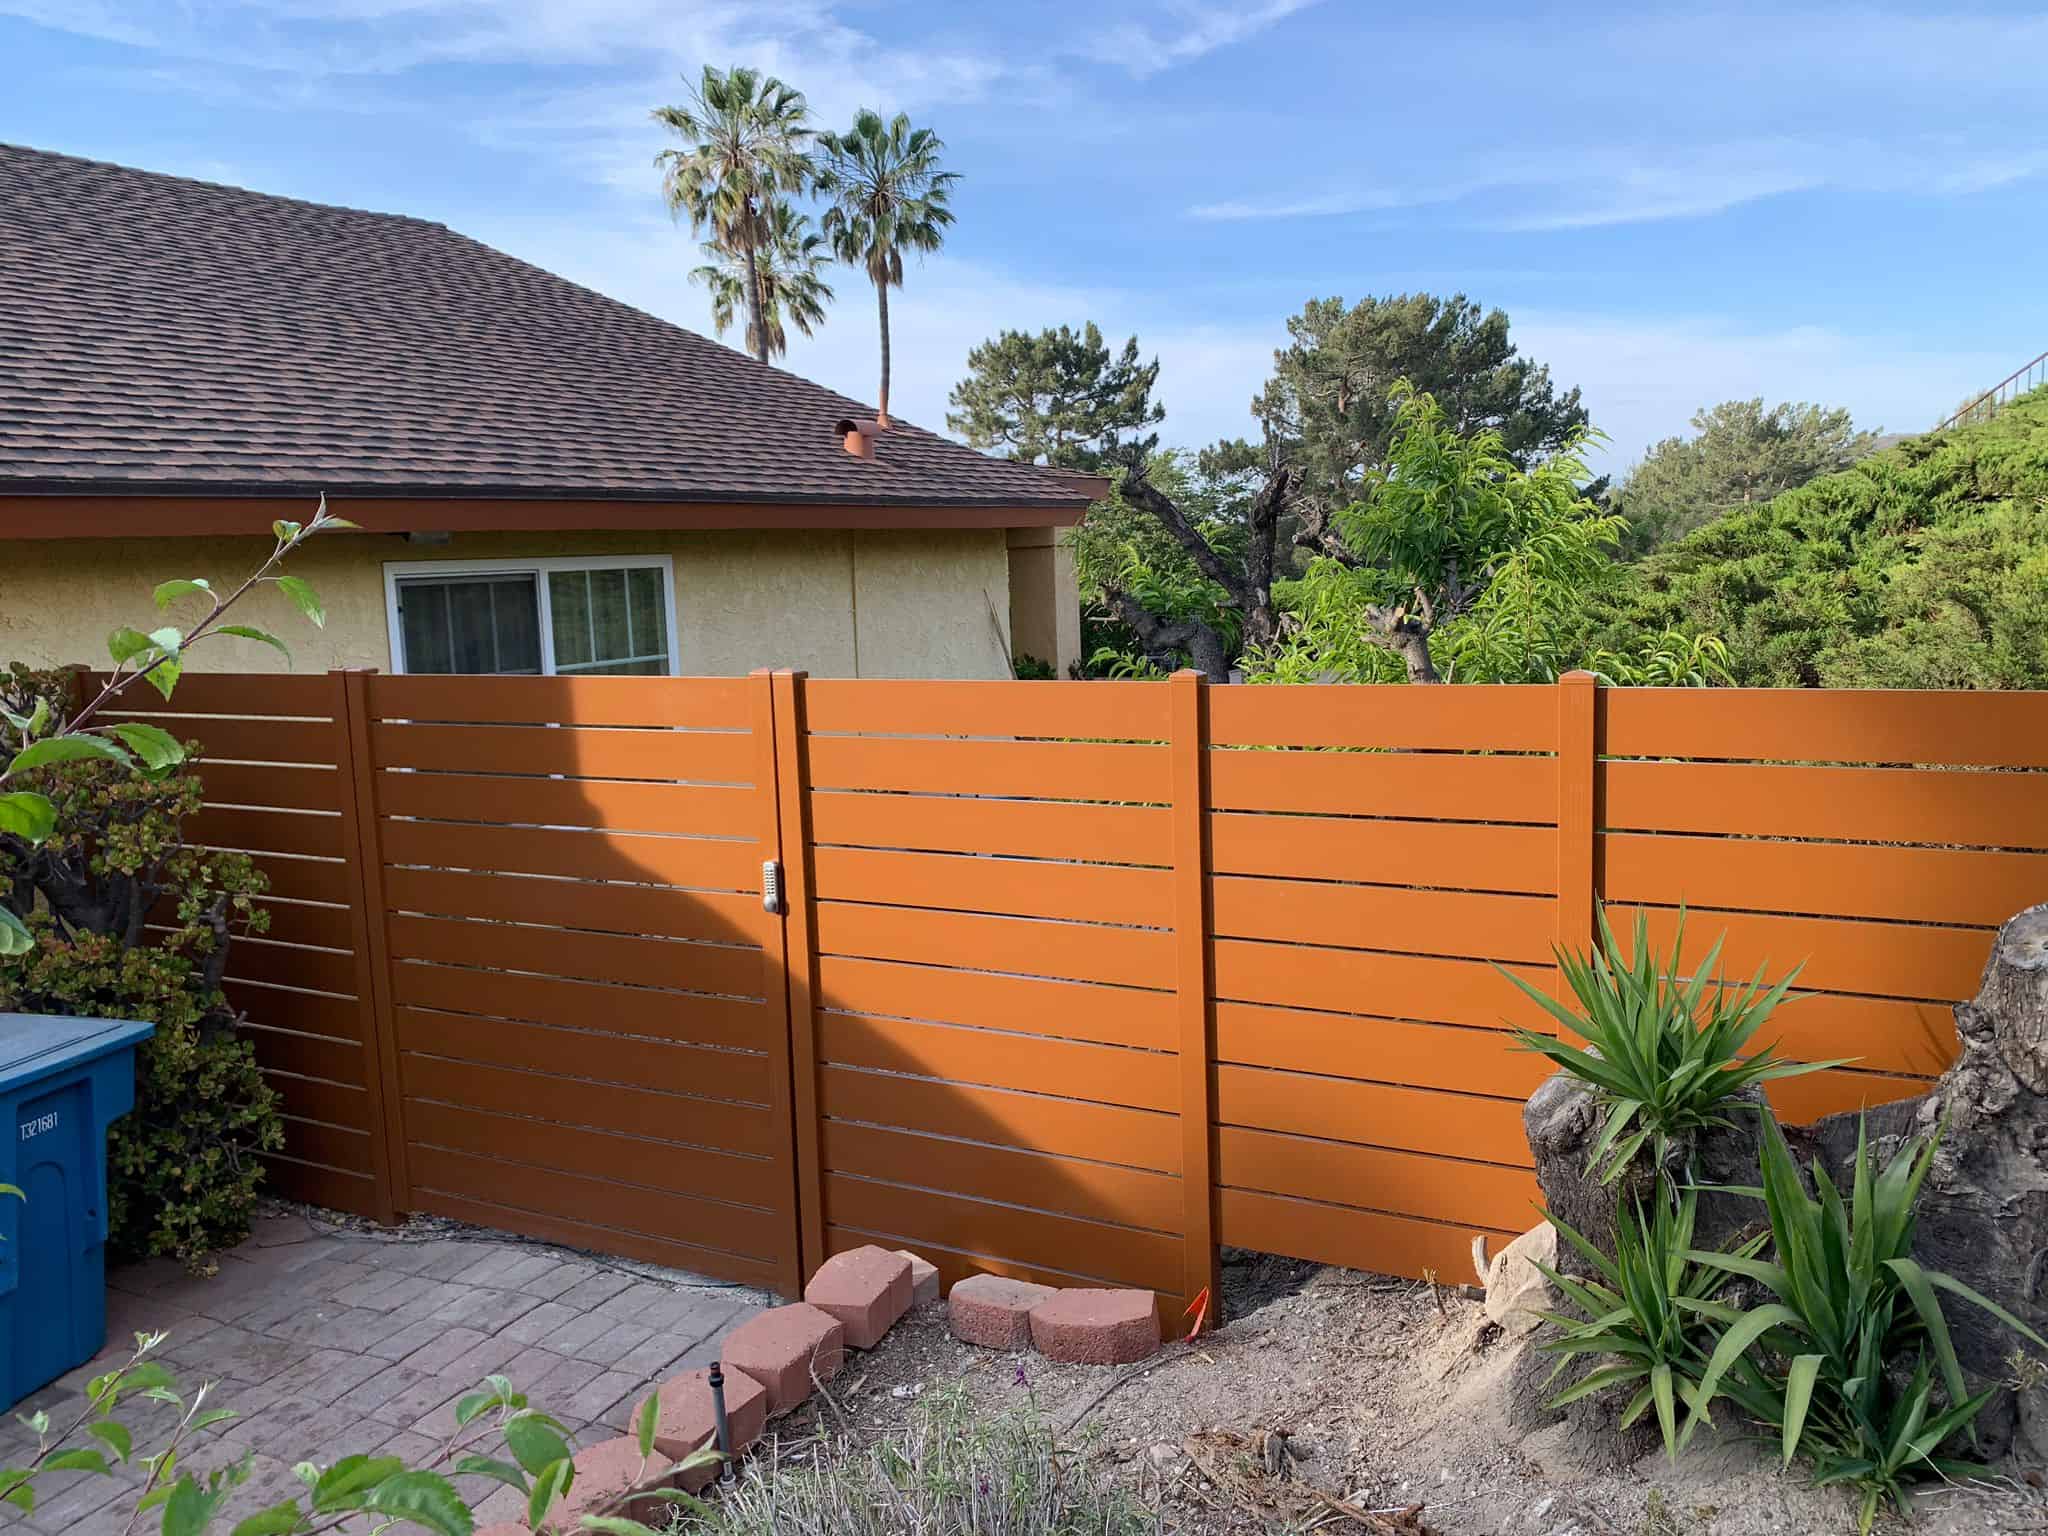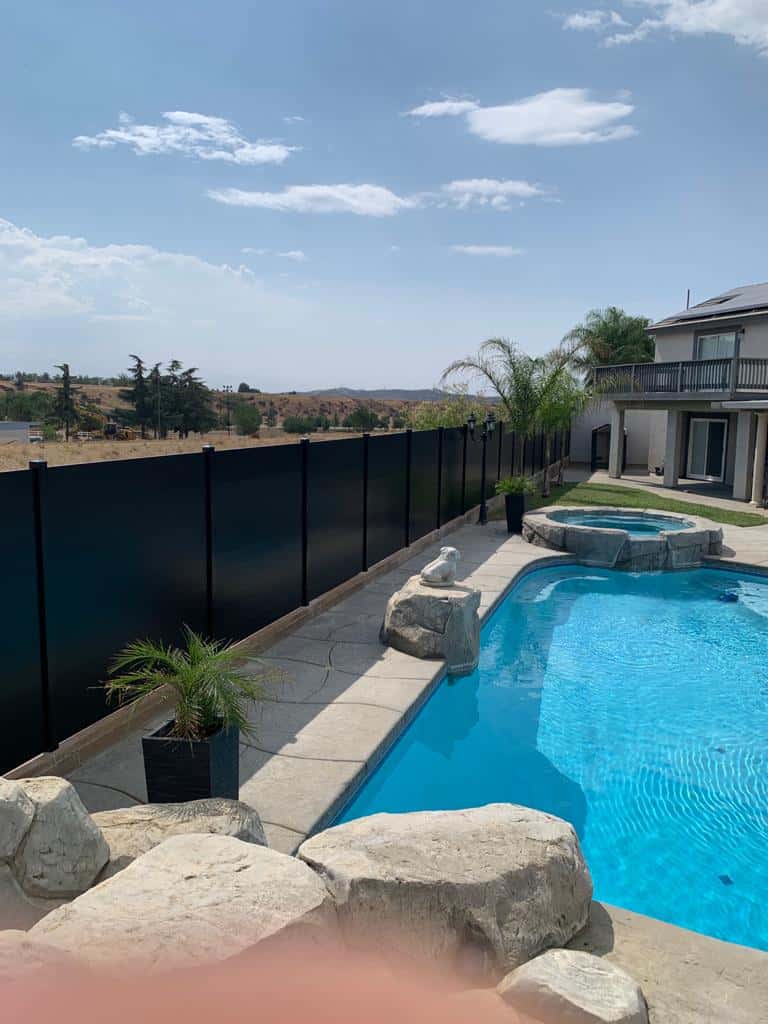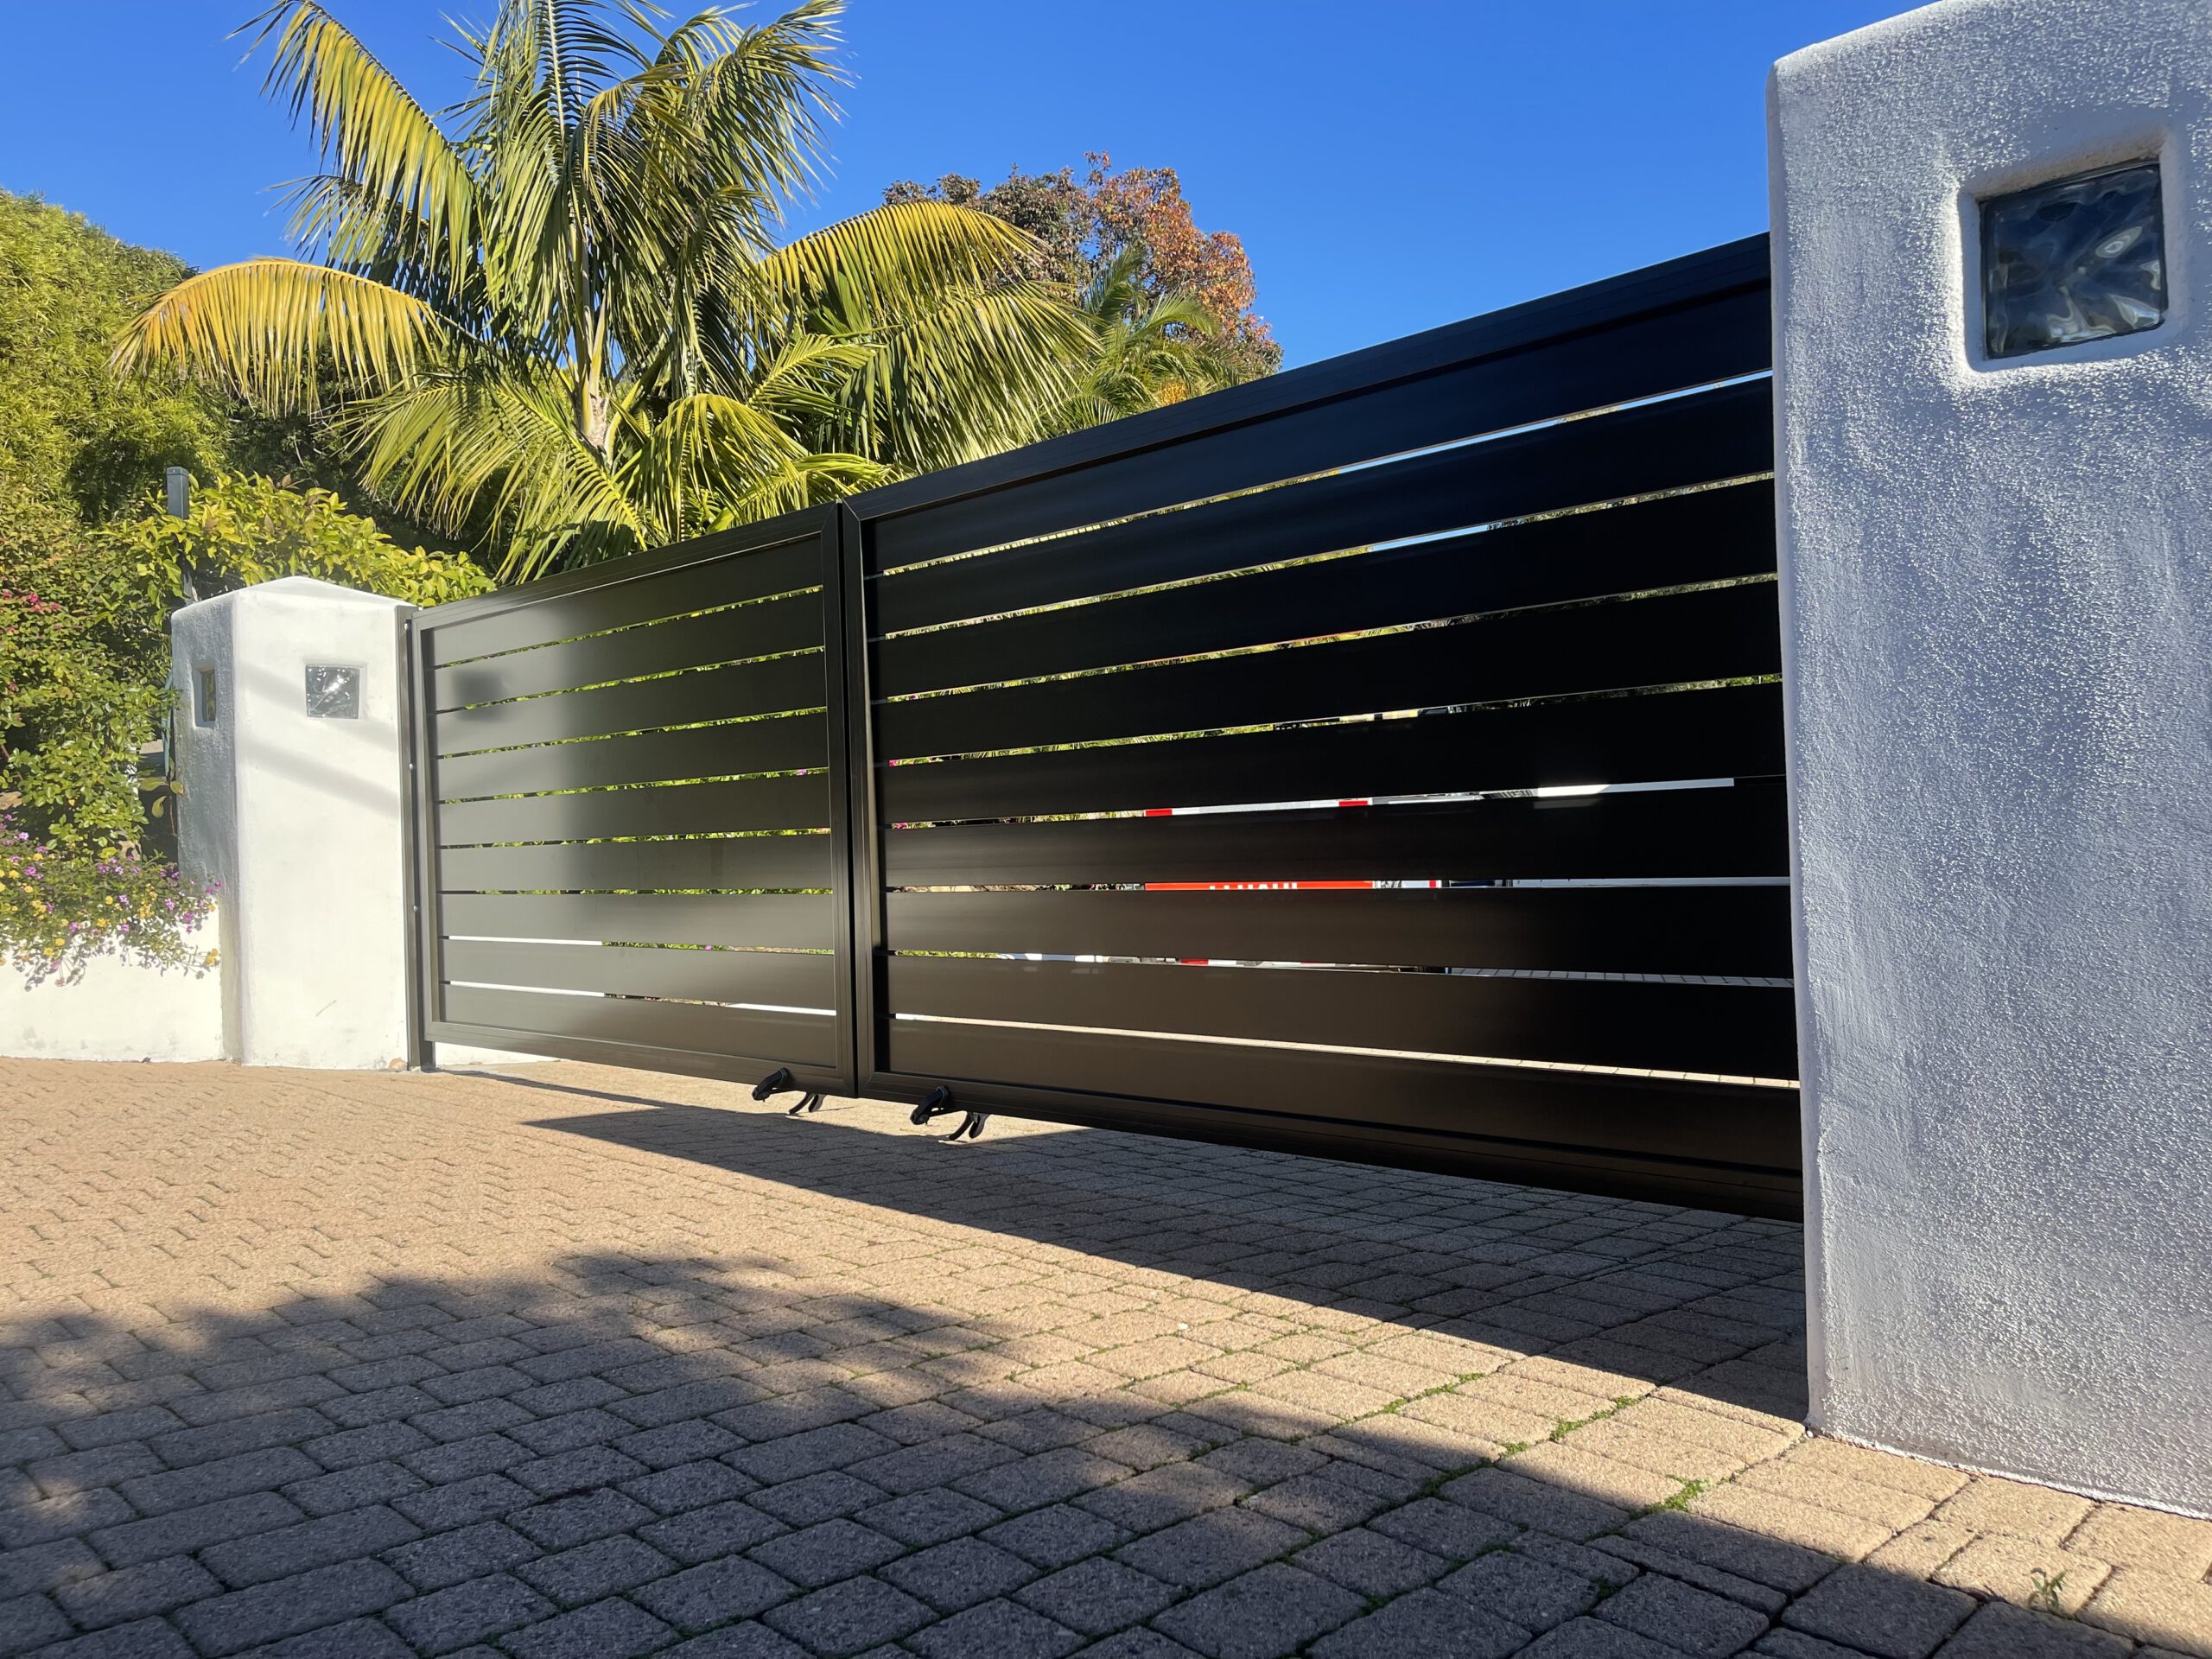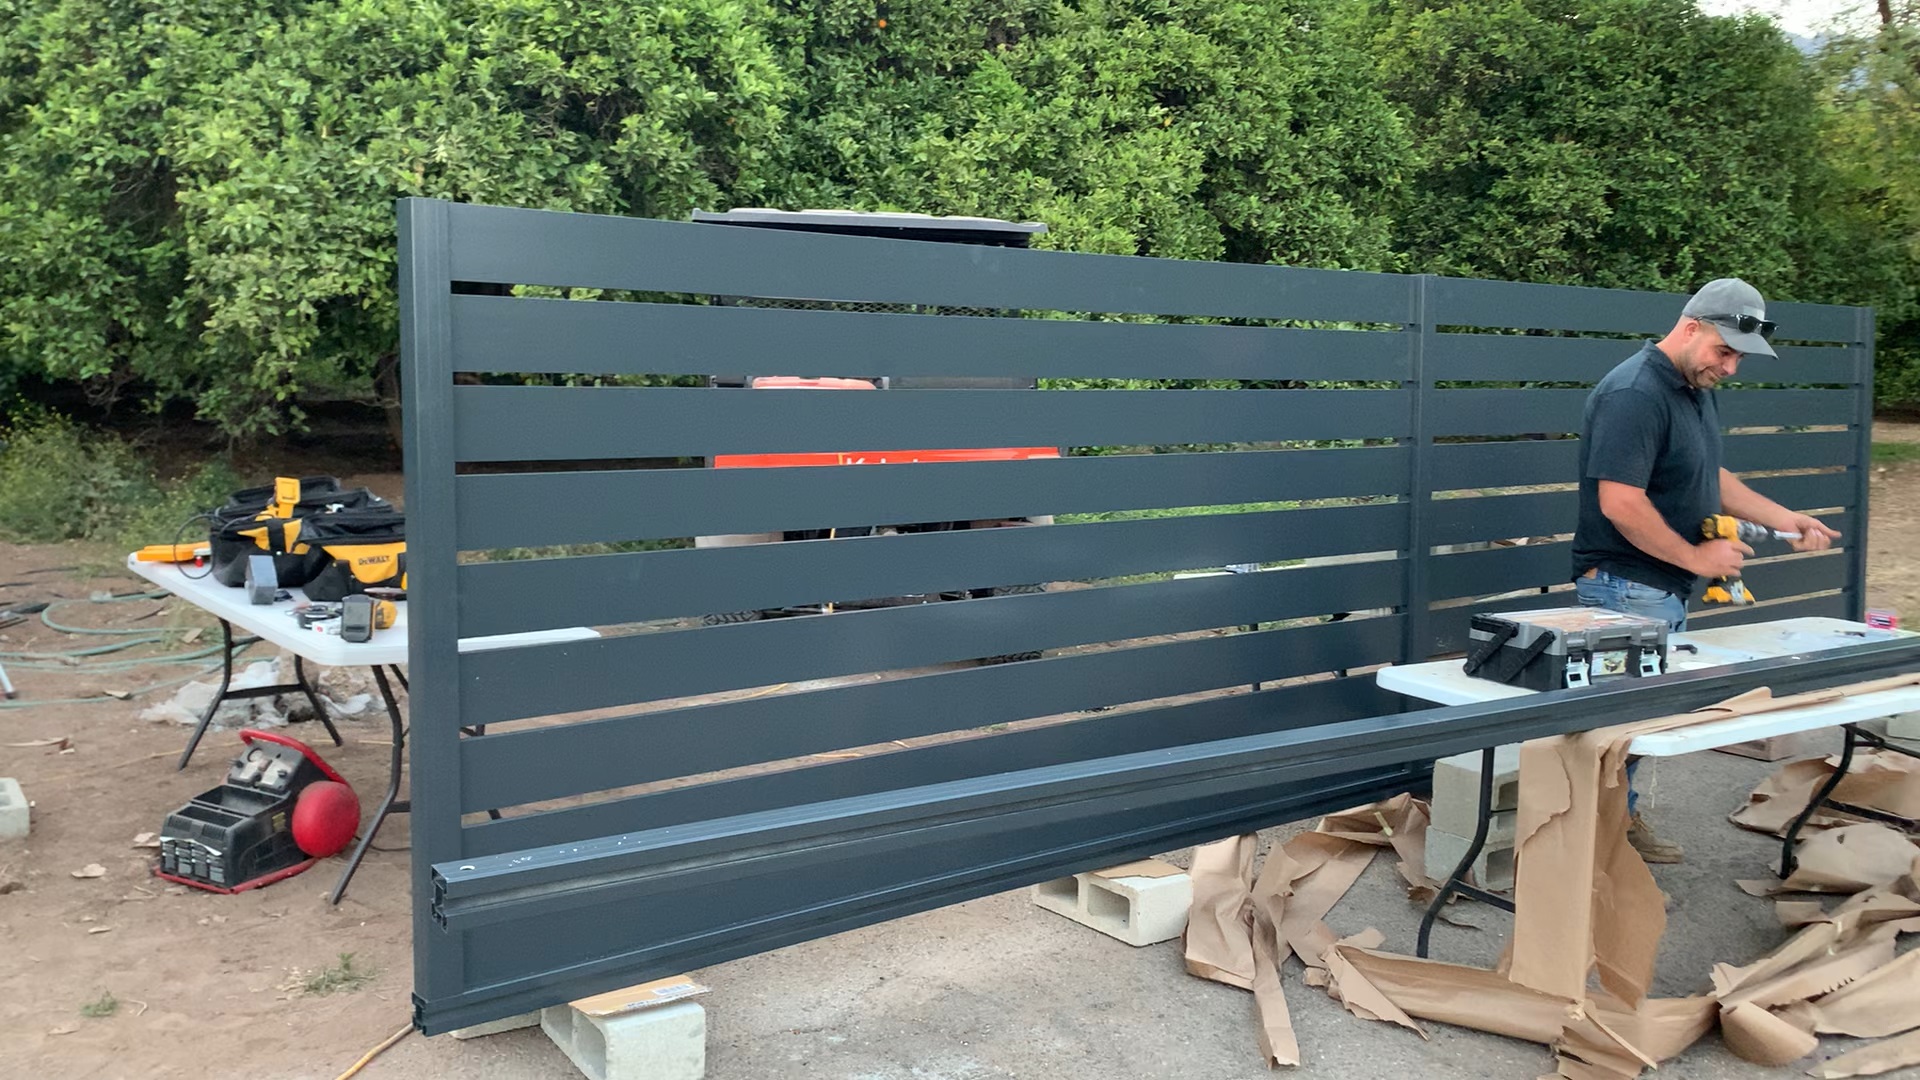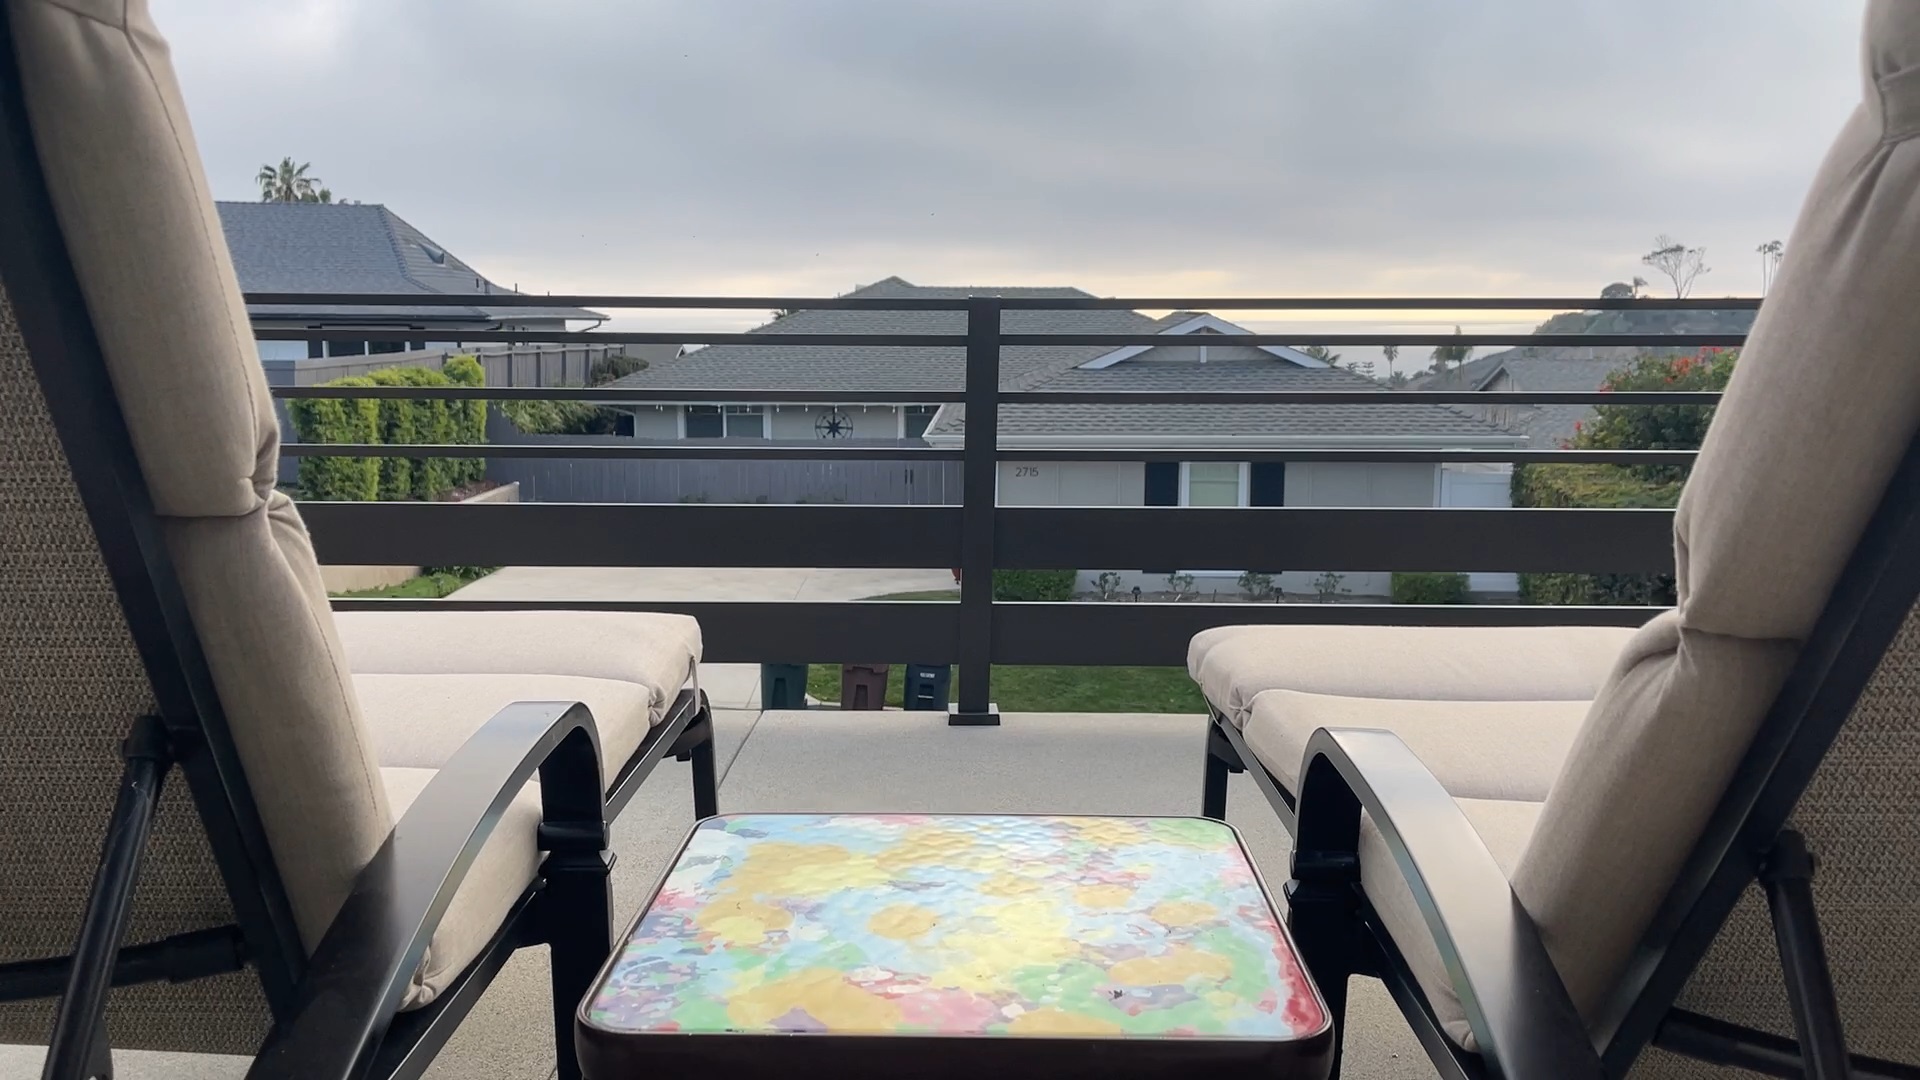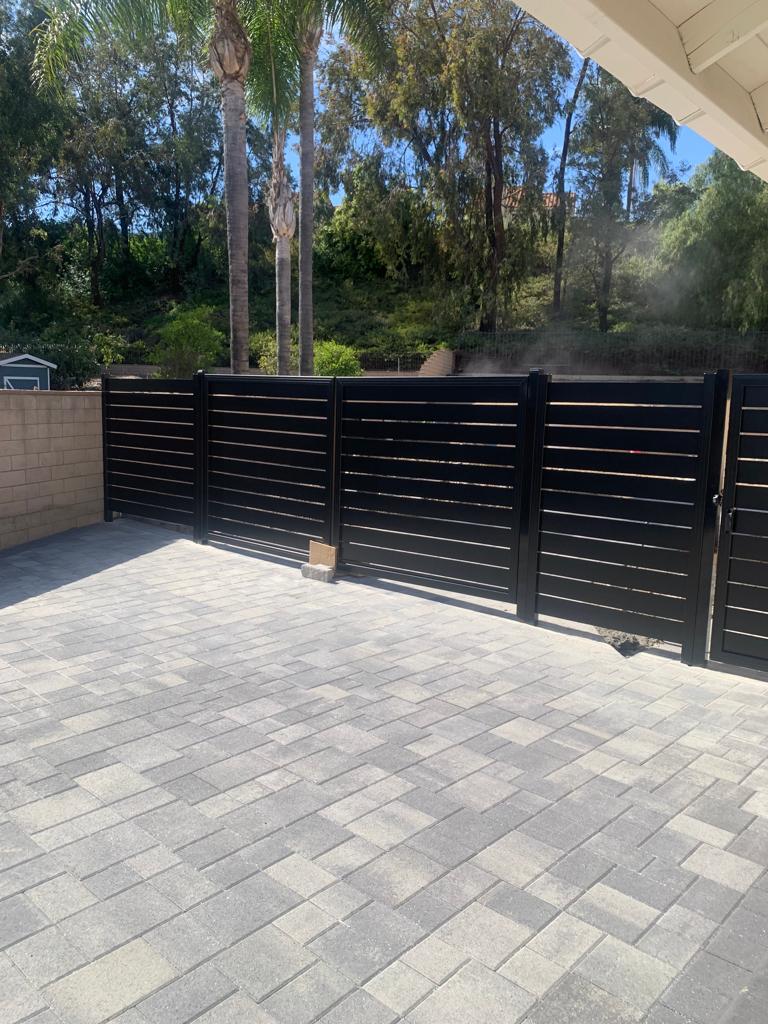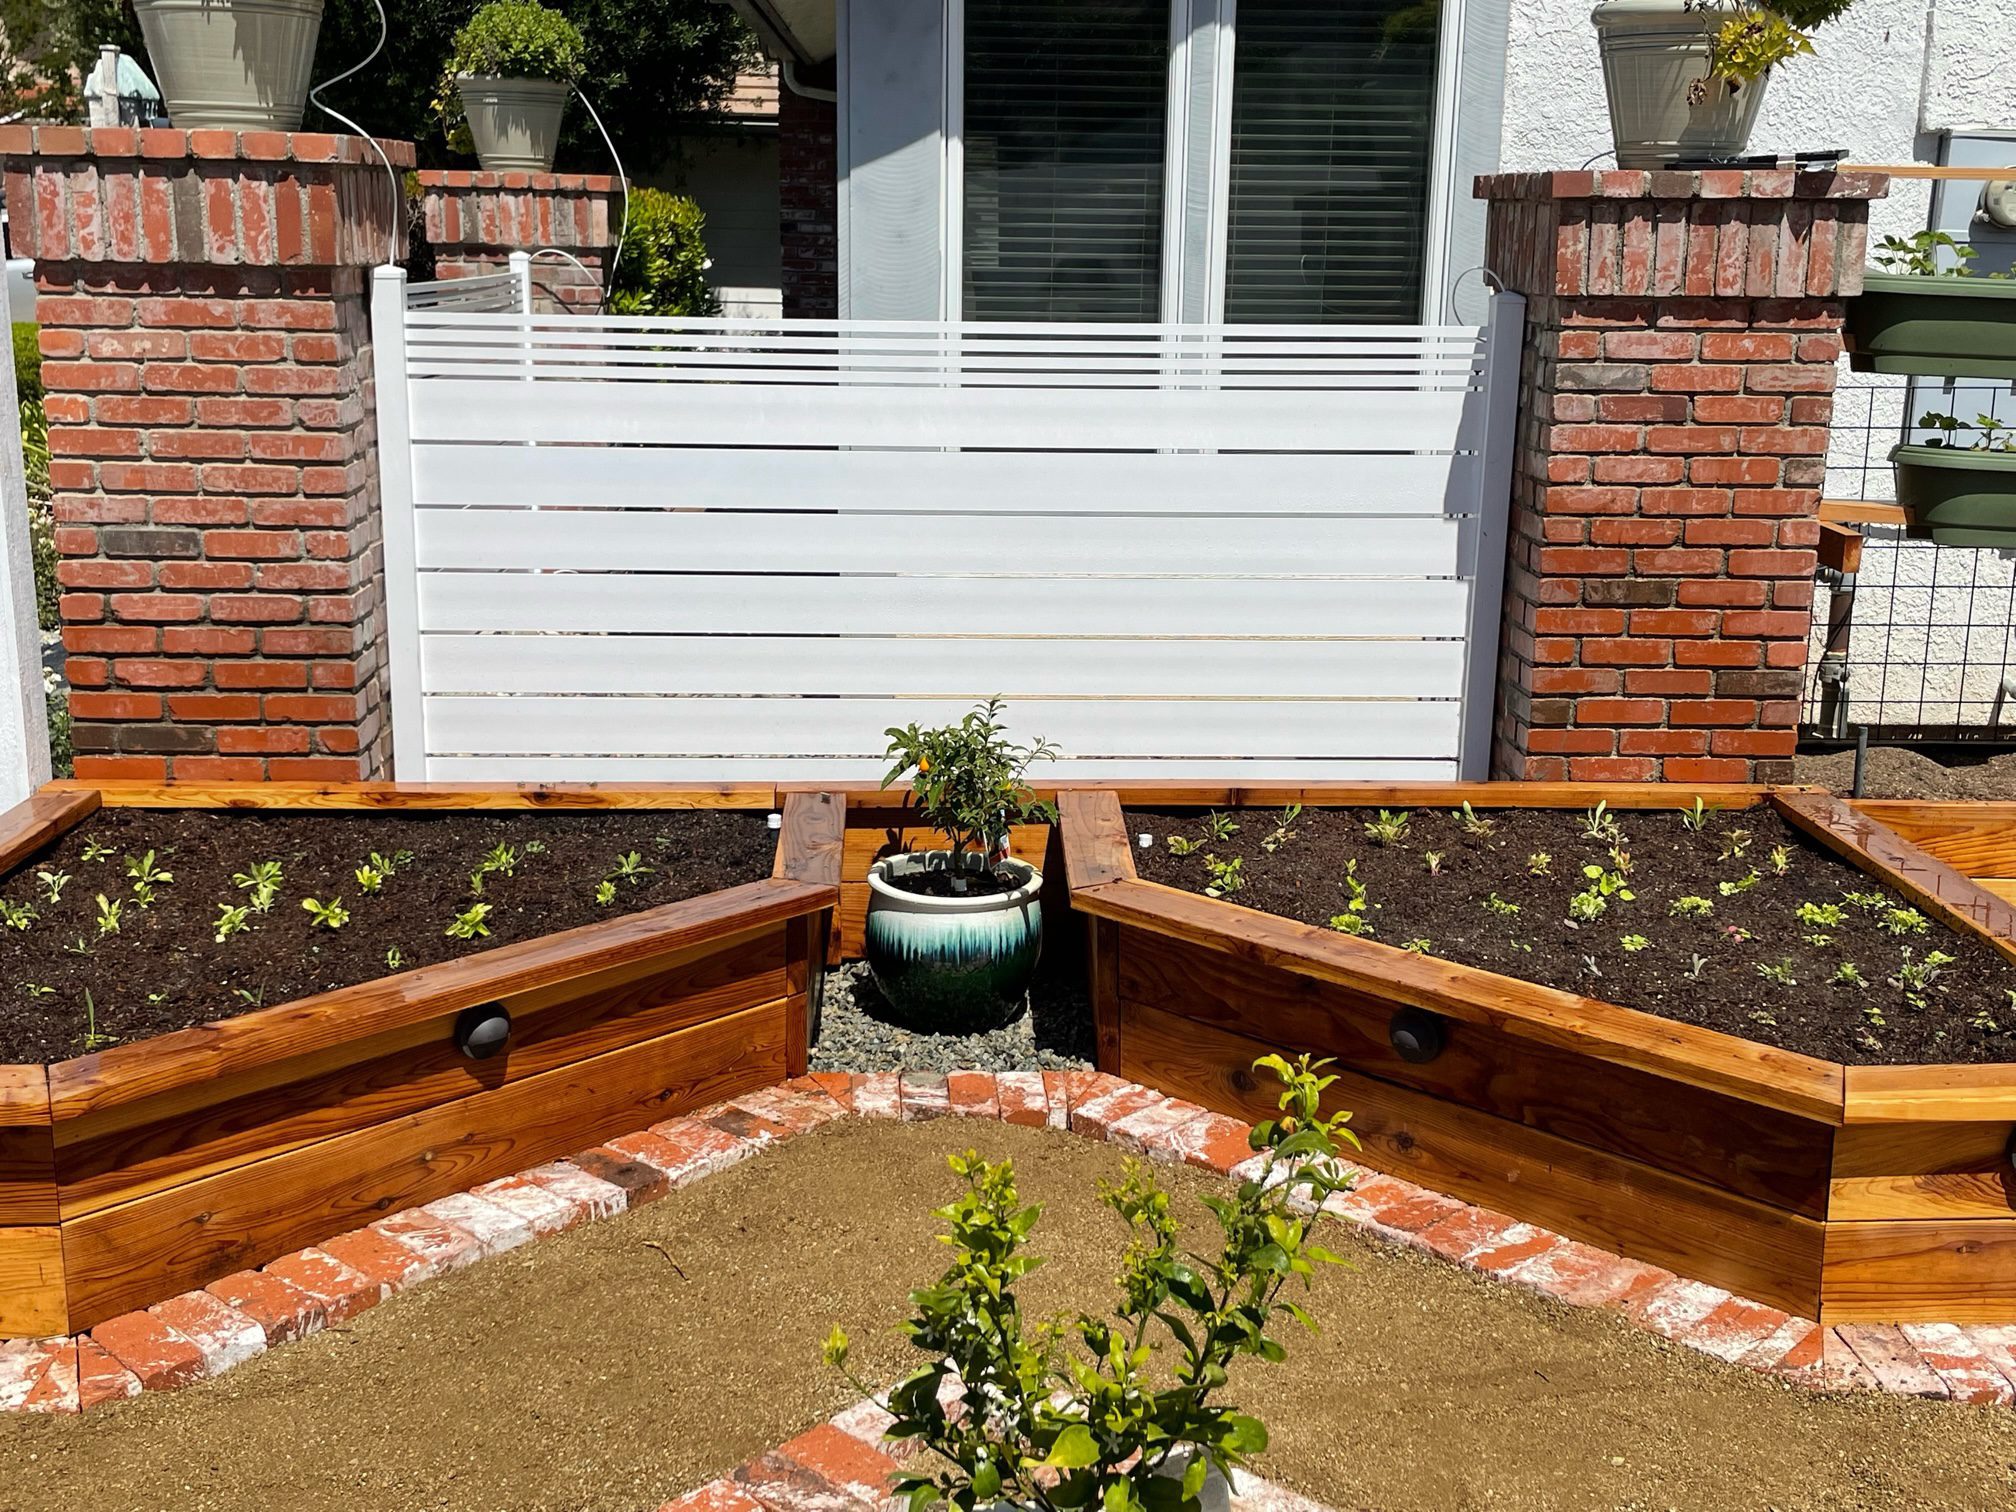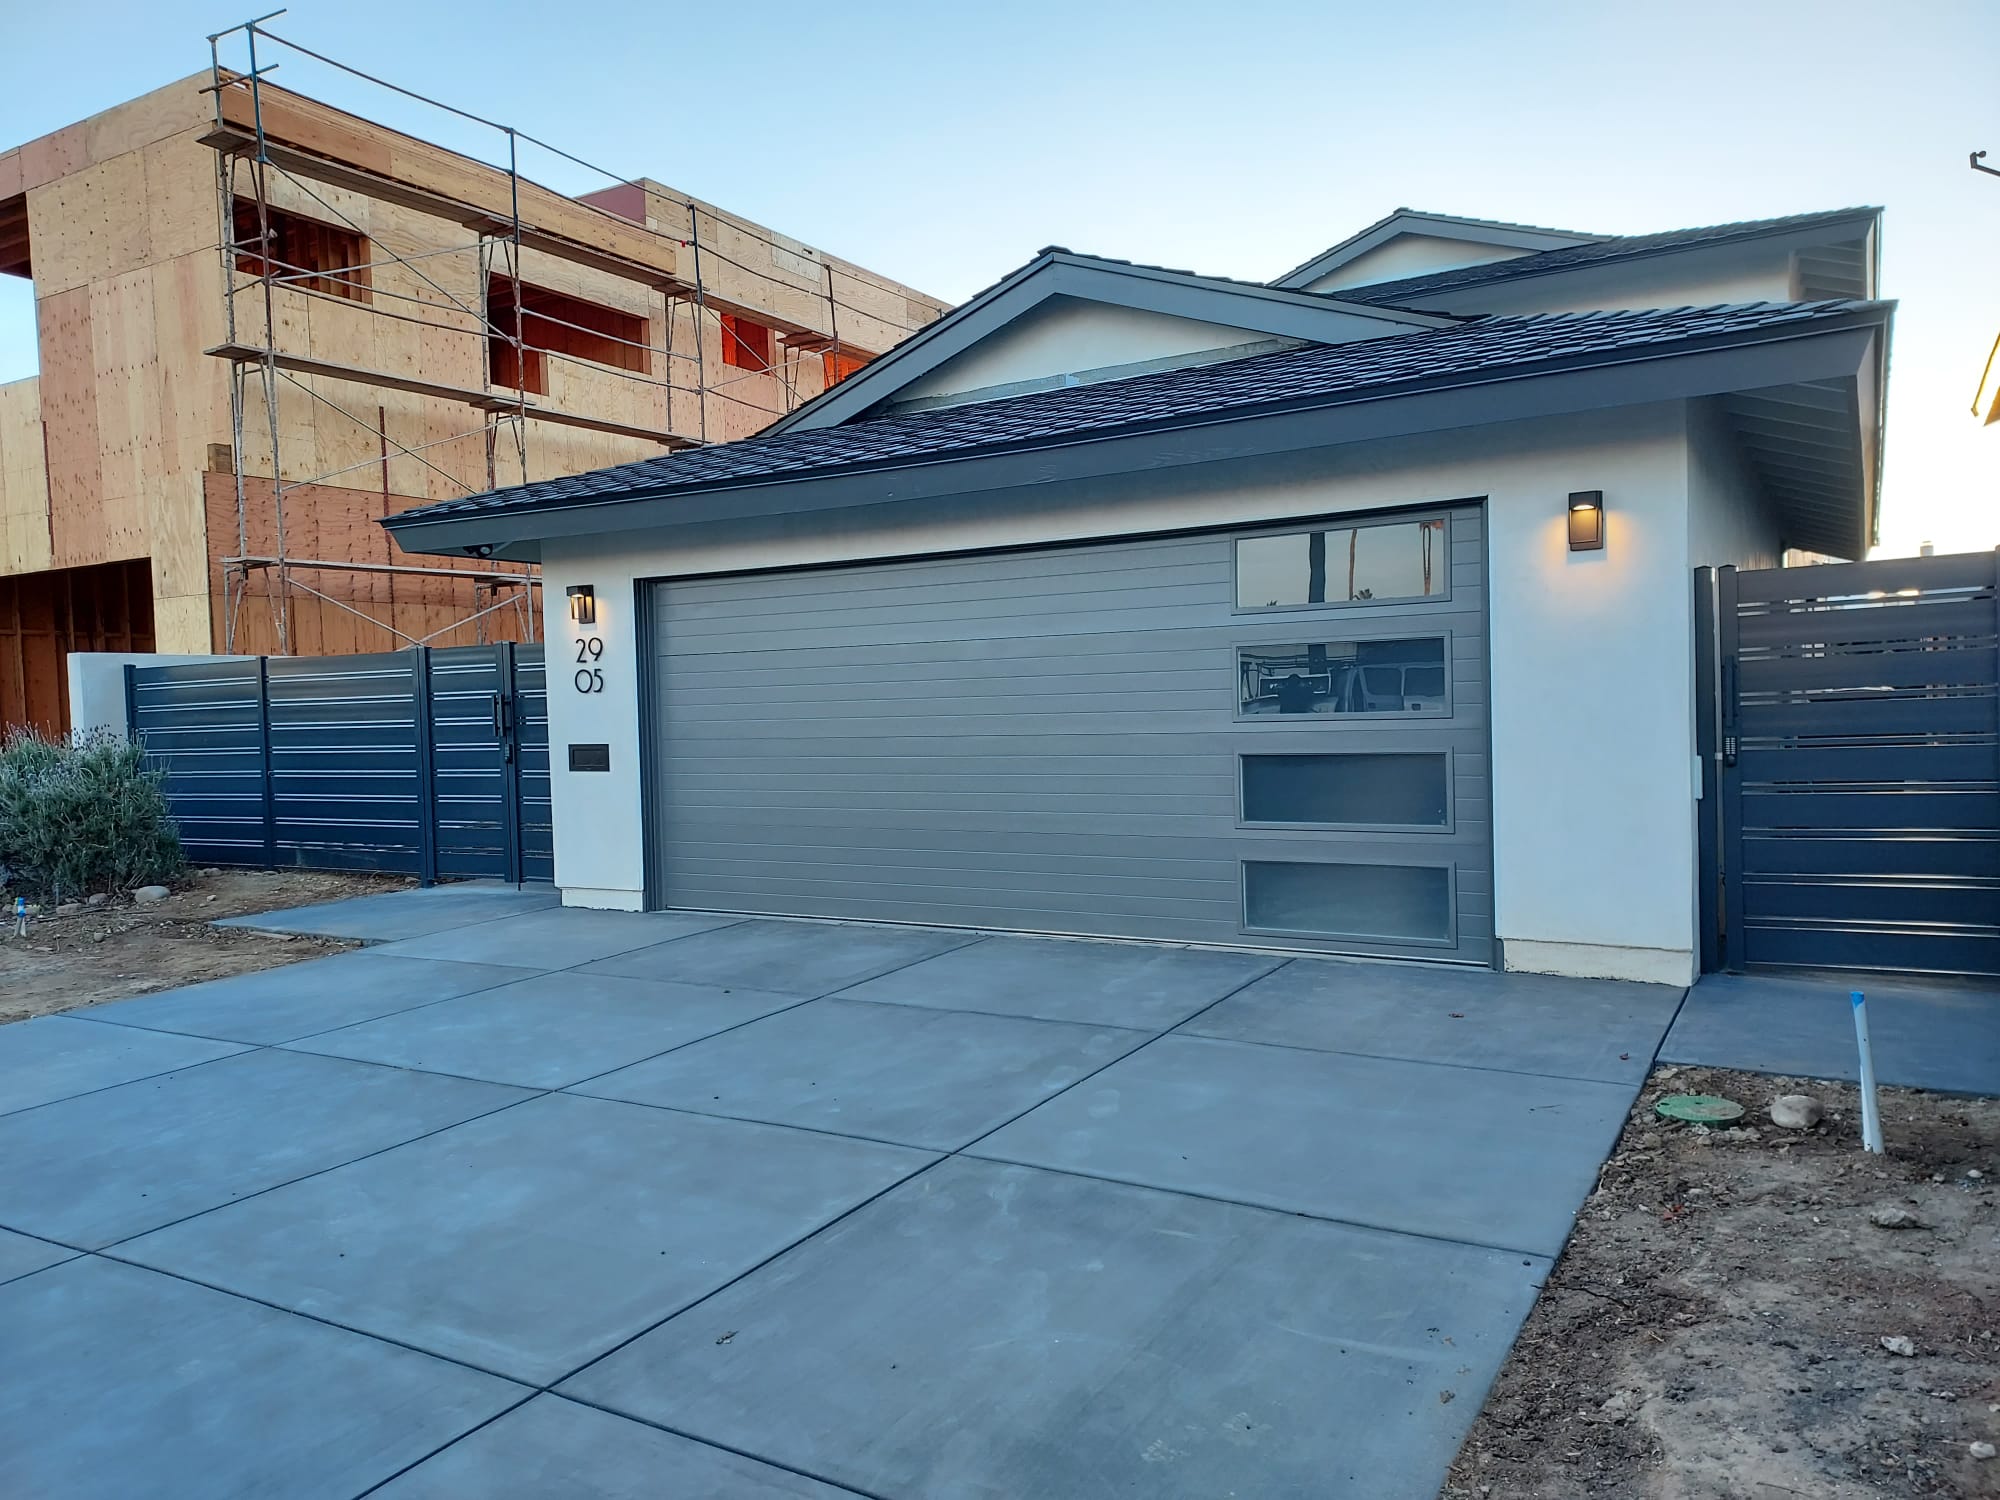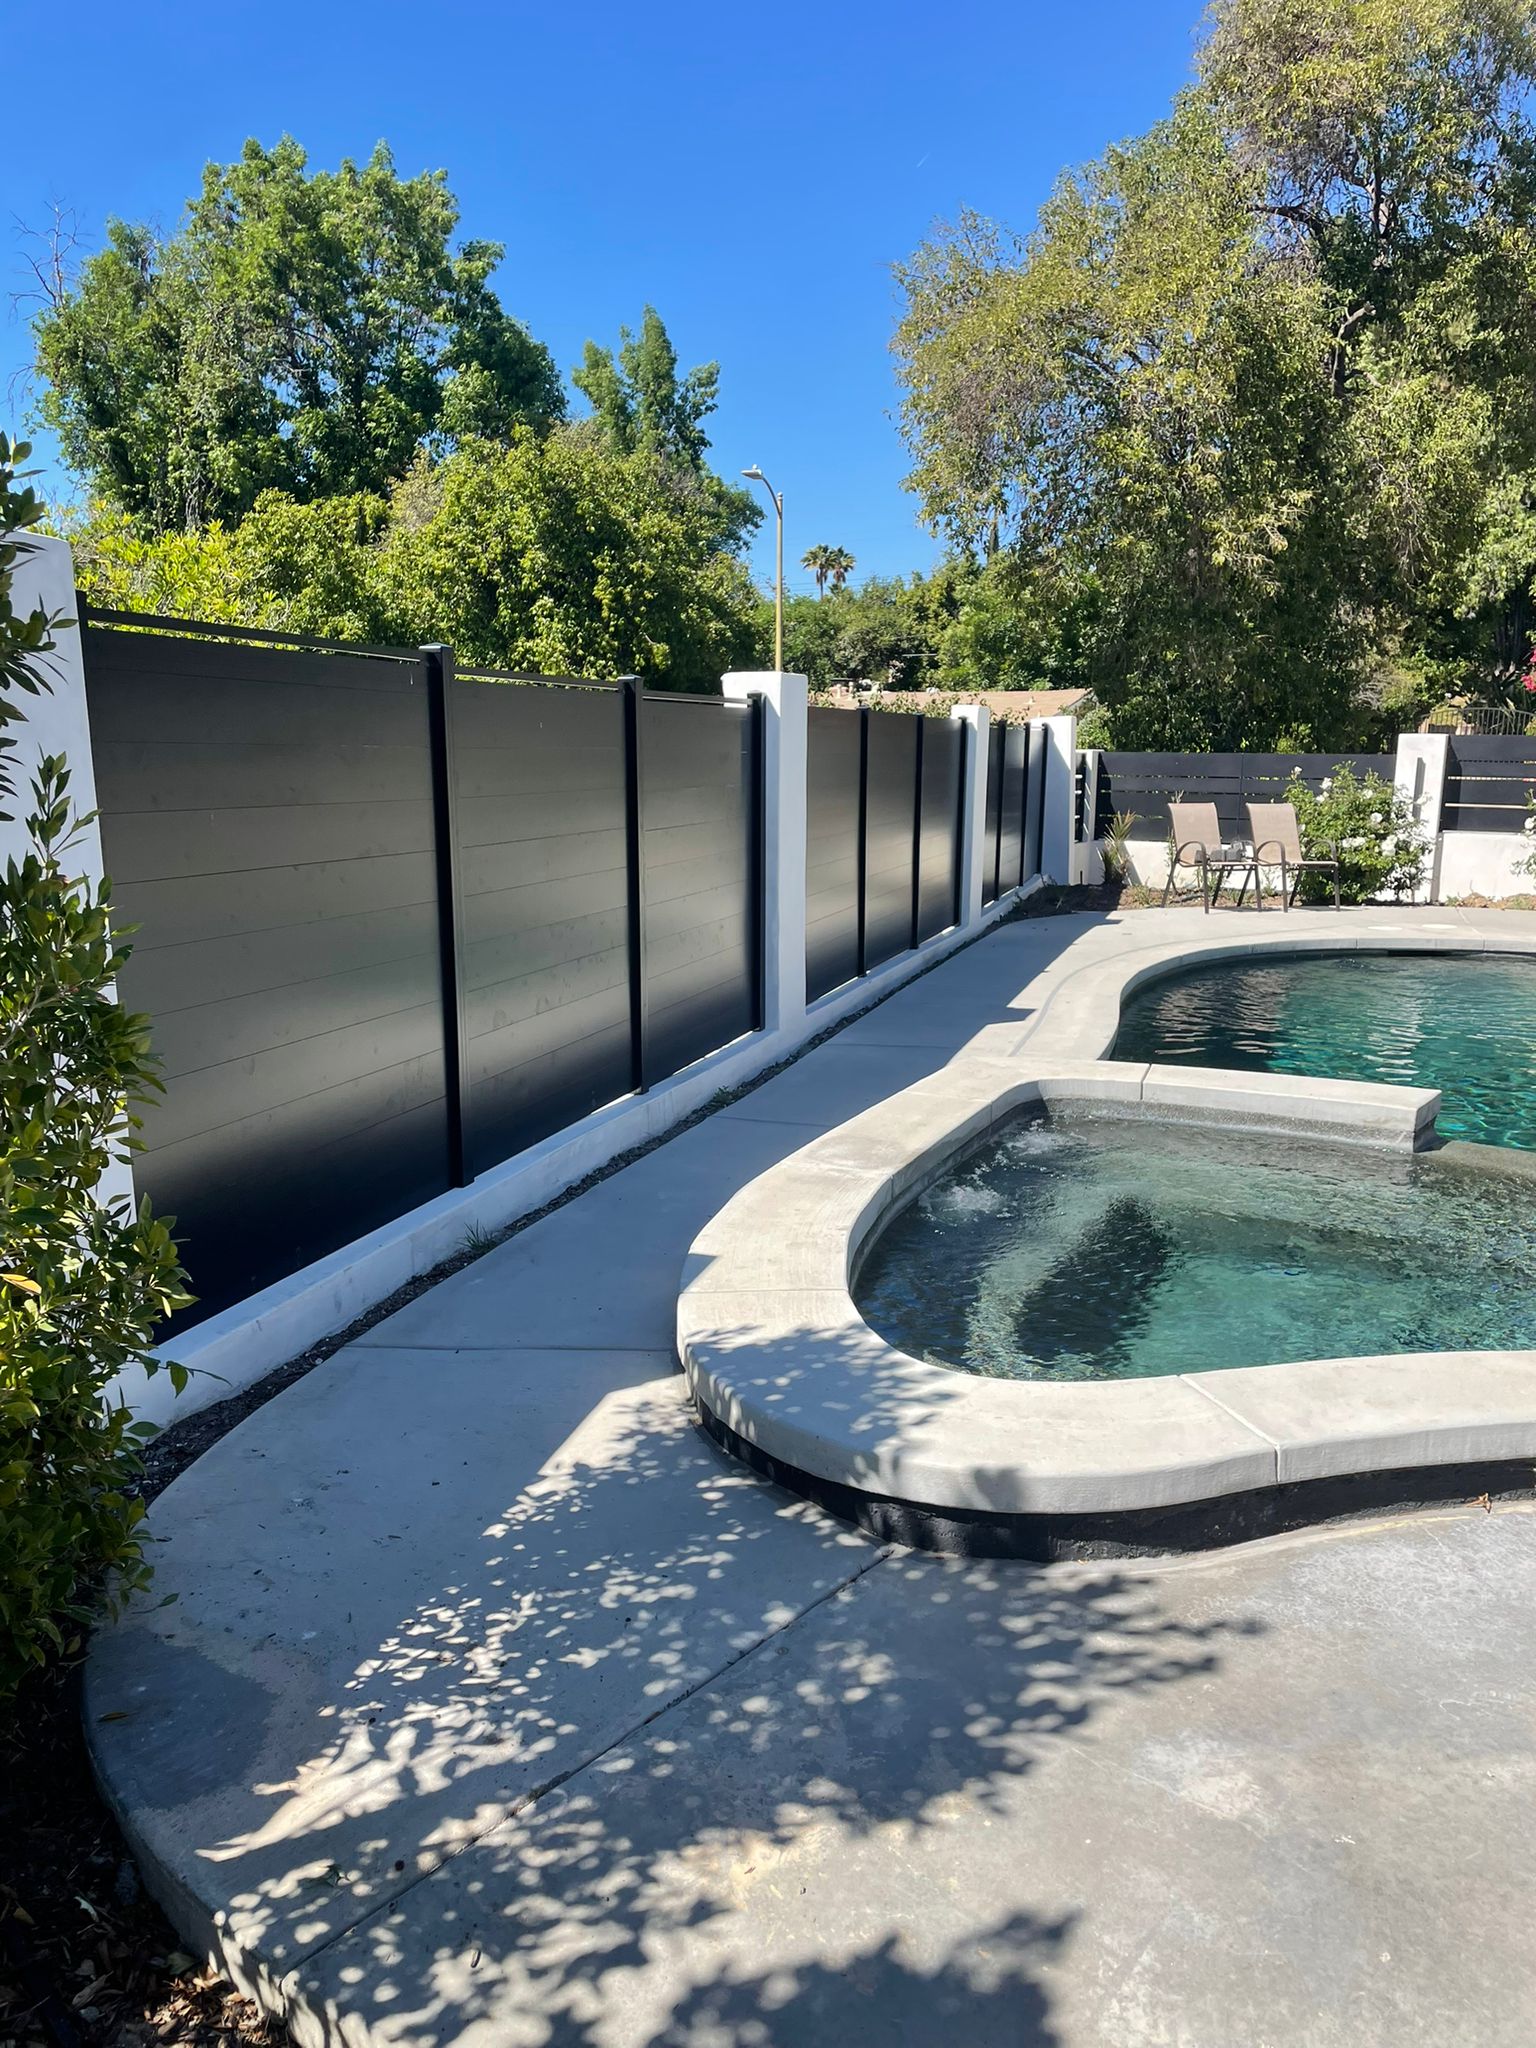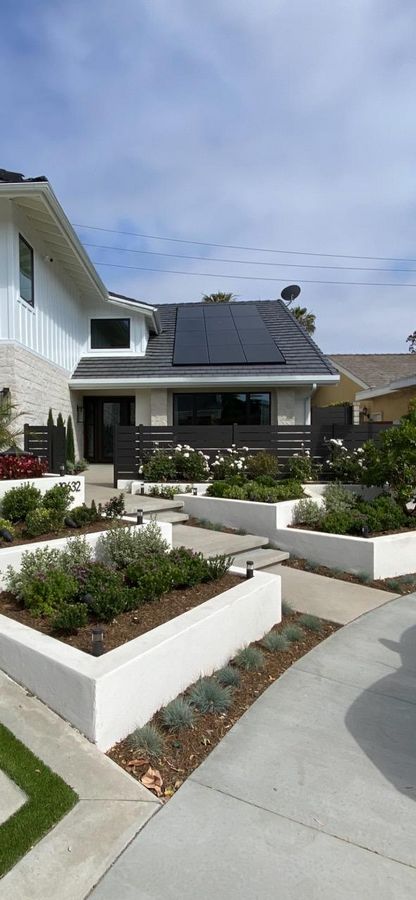
There is something truly wonderful about having an outdoor space in your home. It really opens it up. When the weather cooperates, it’s an extension of your living space…That is why a horizontal slat fence can serve as a great update for every residence. The installation of a slat fence can be a great DIY project or something that contractors can do for property owners.
Visit our installation instructions >>
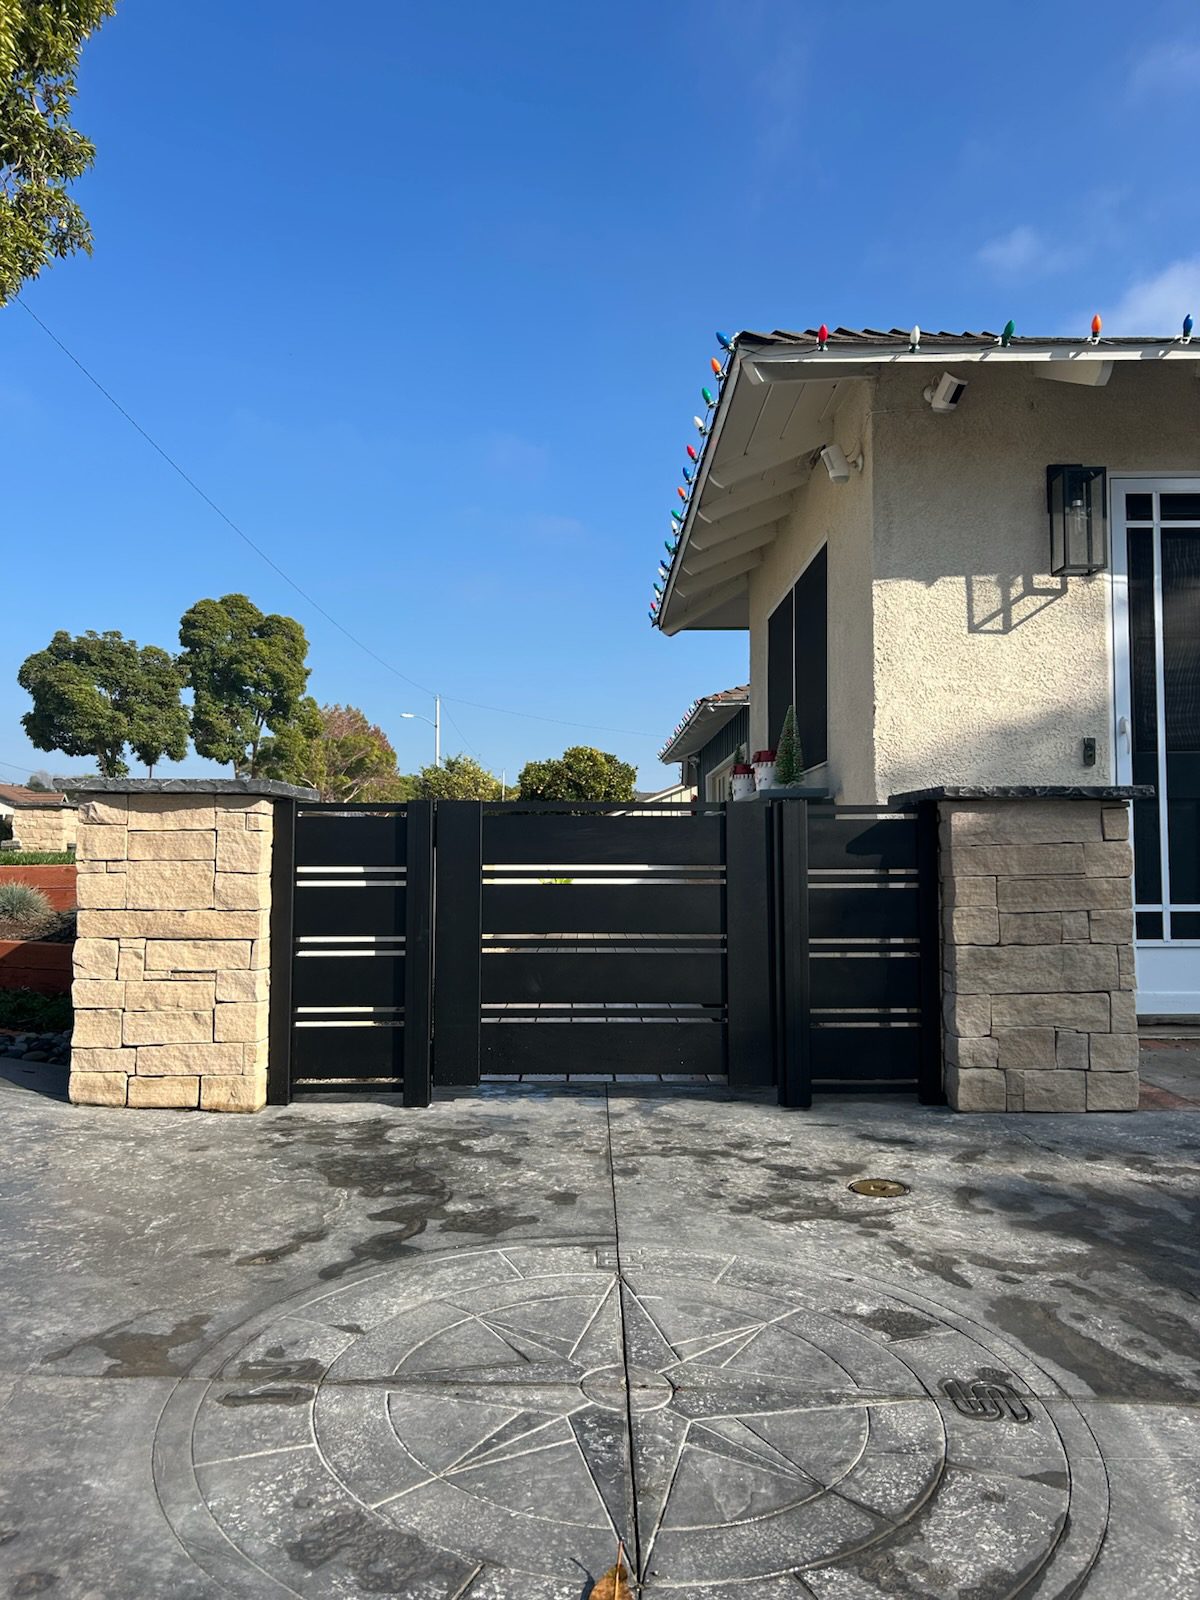
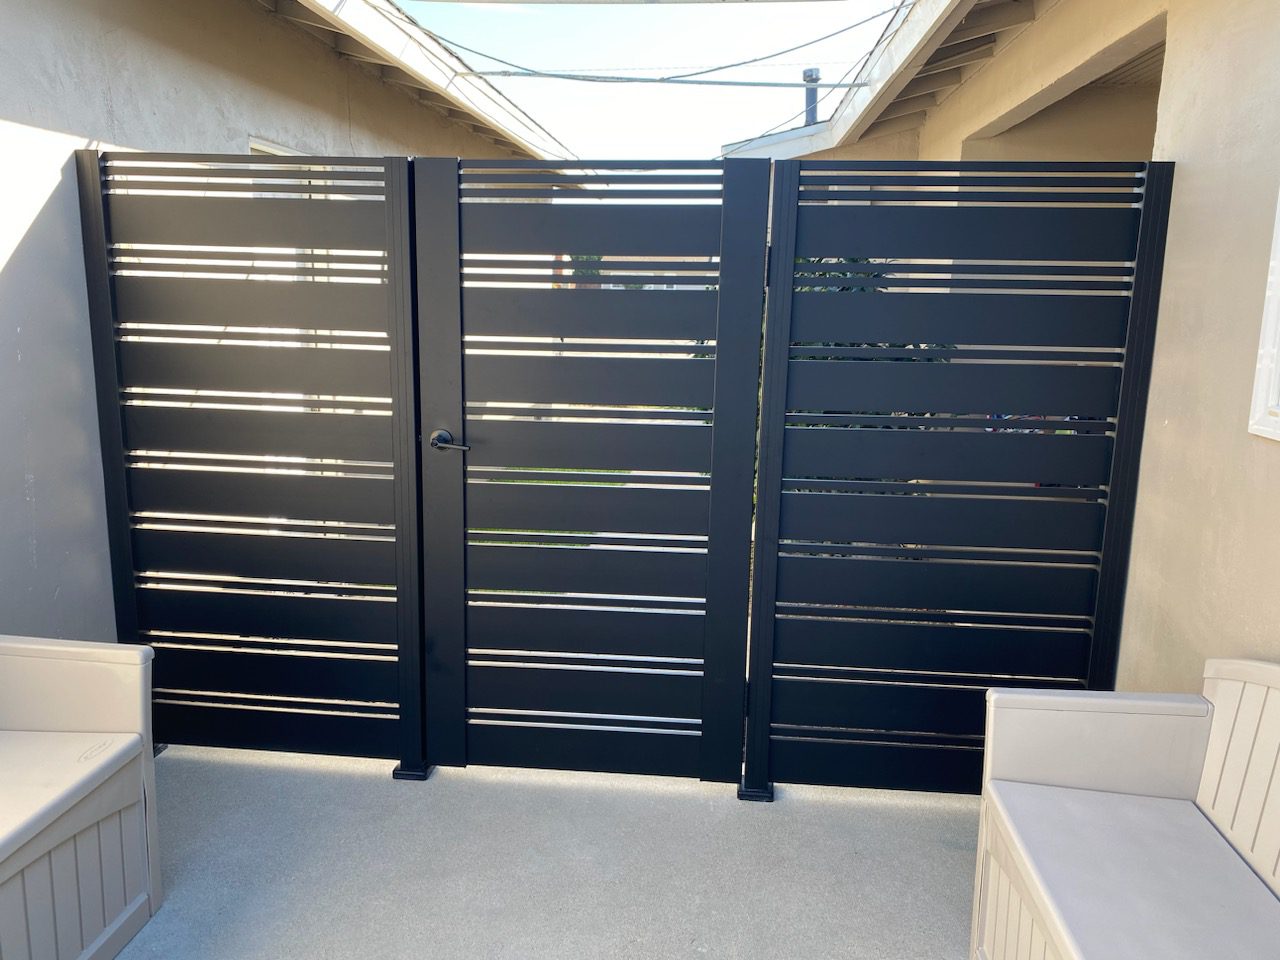
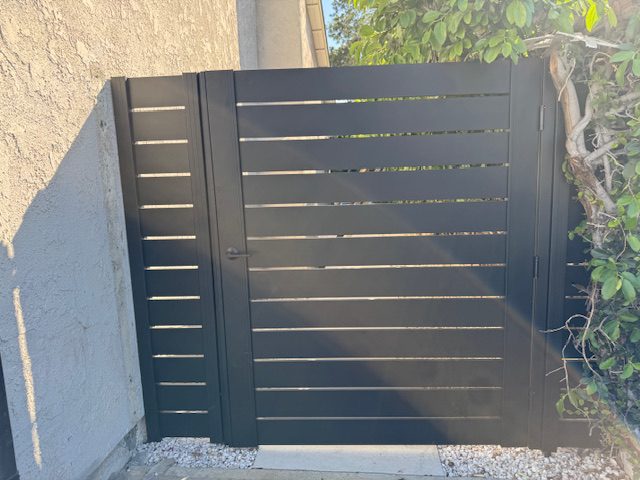
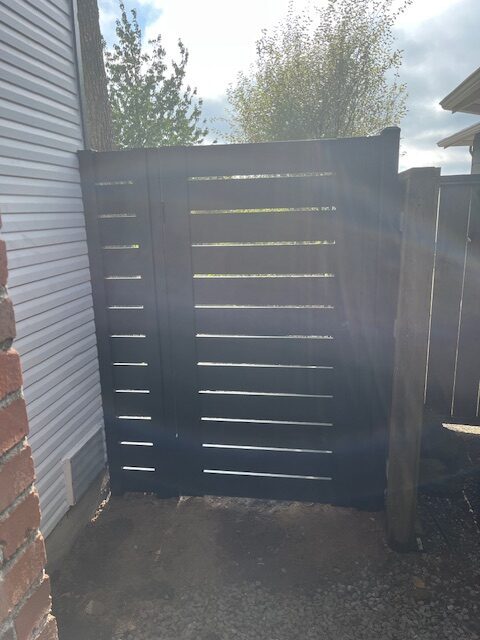
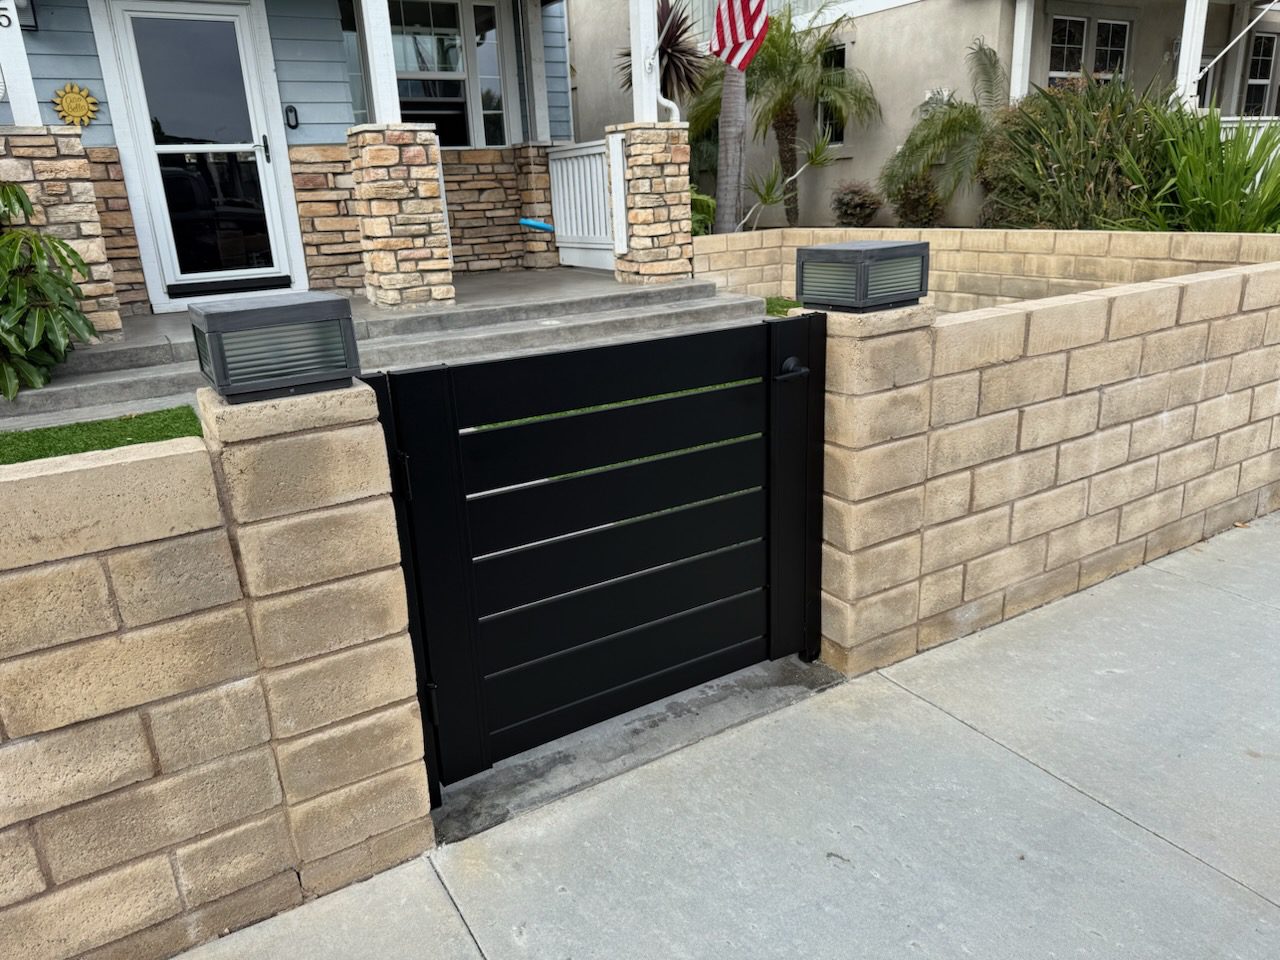
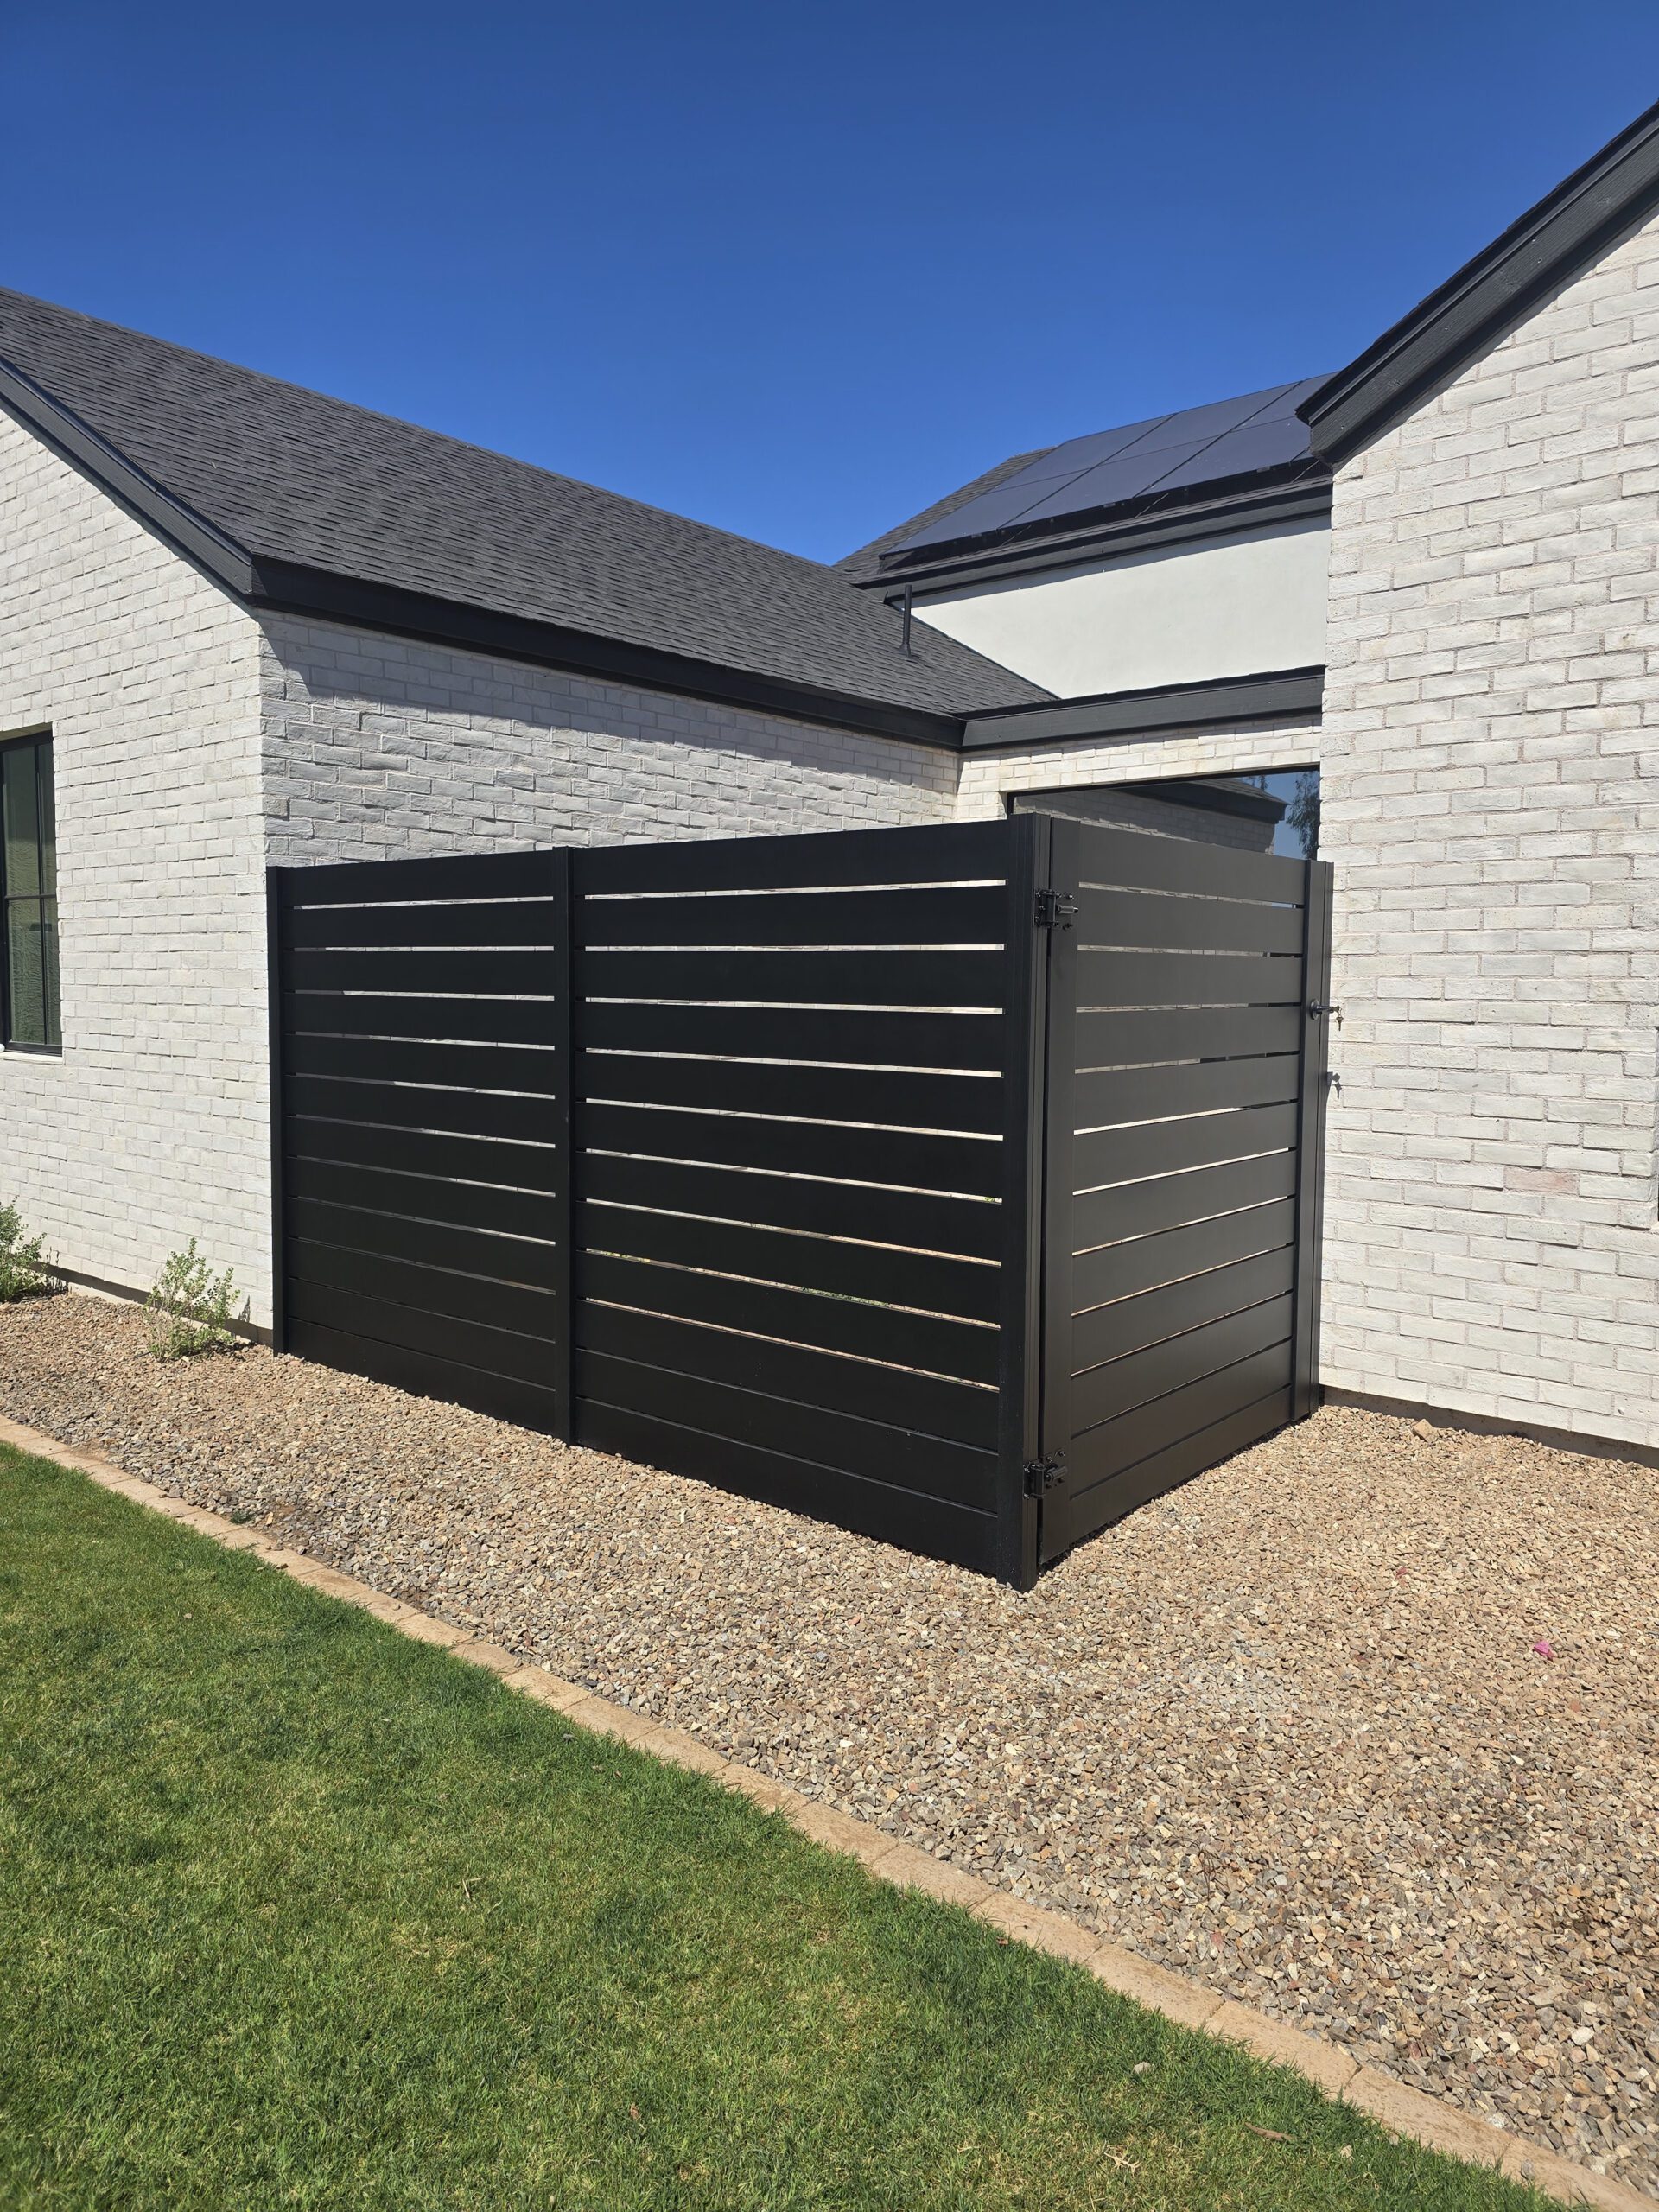
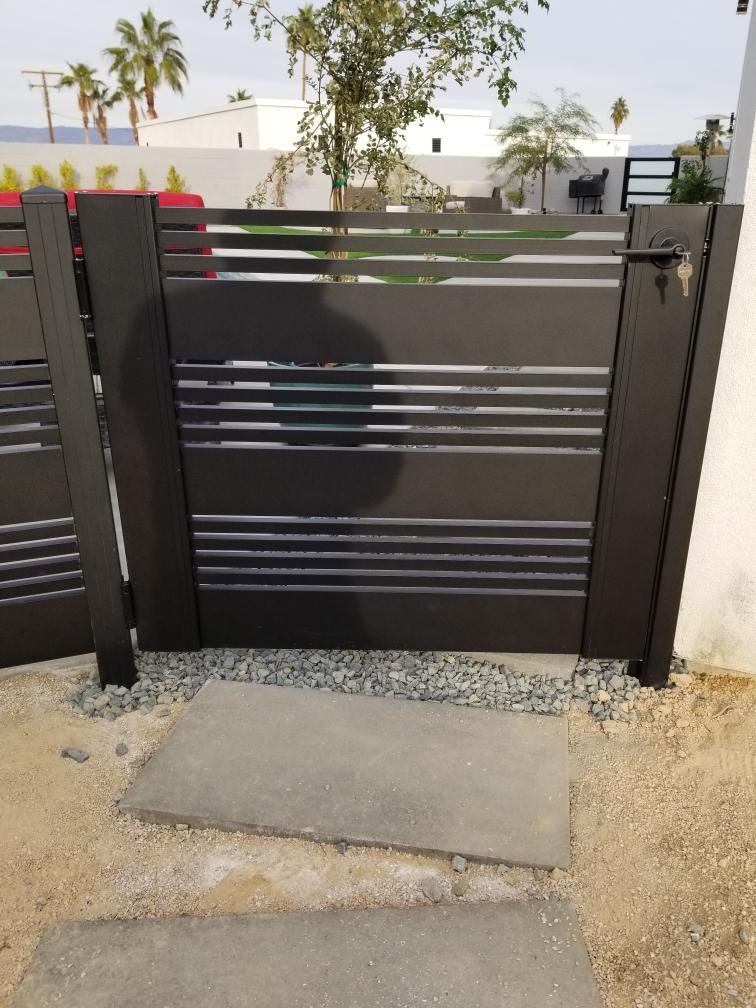
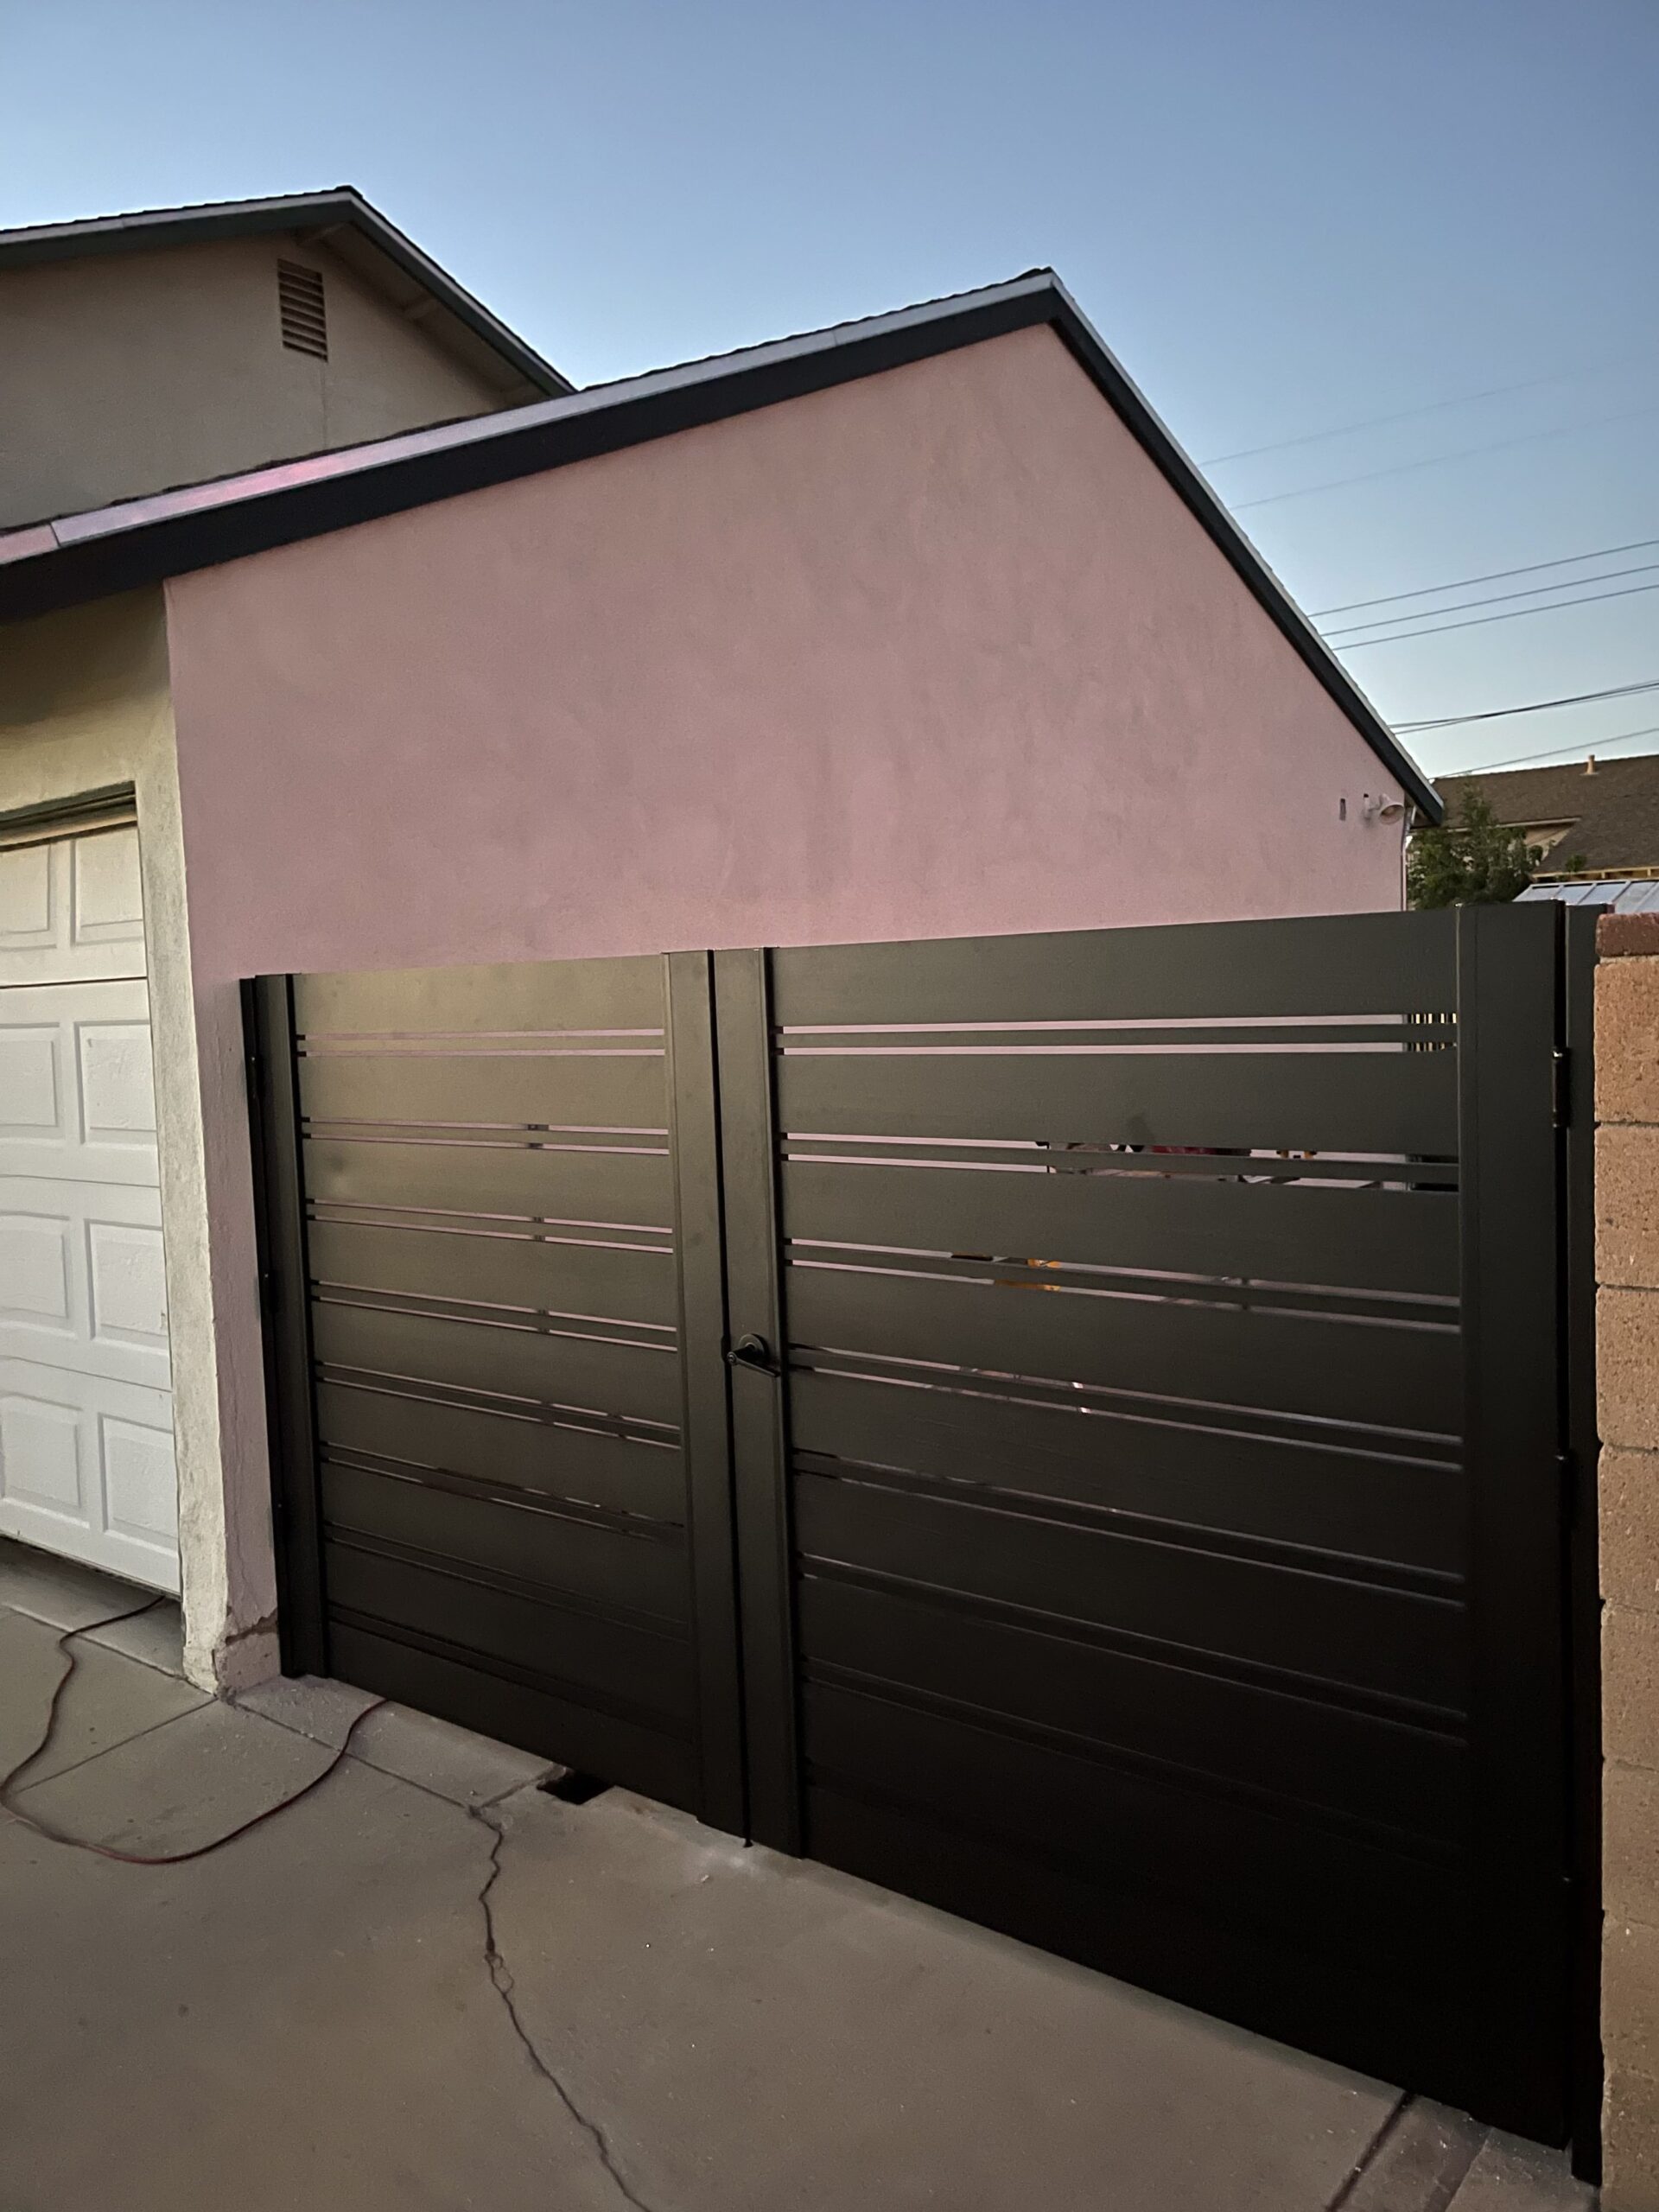
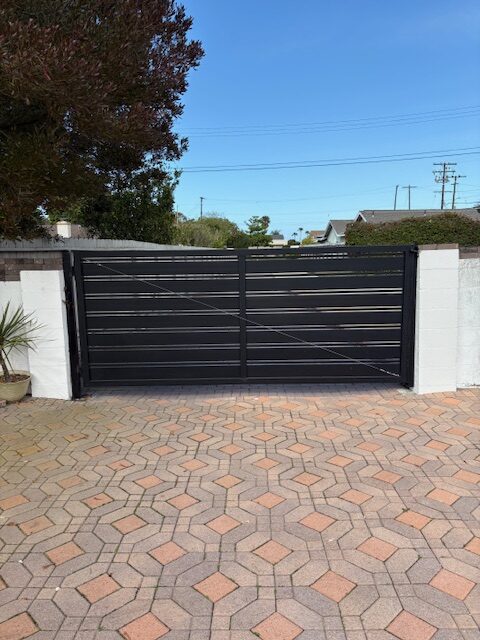
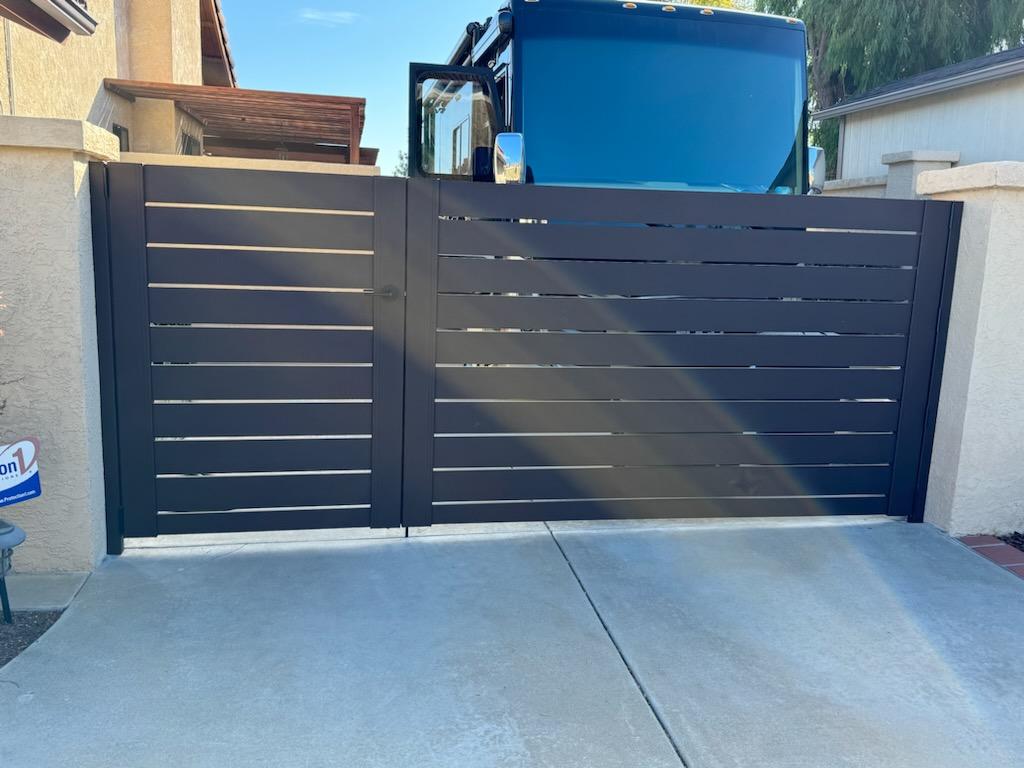
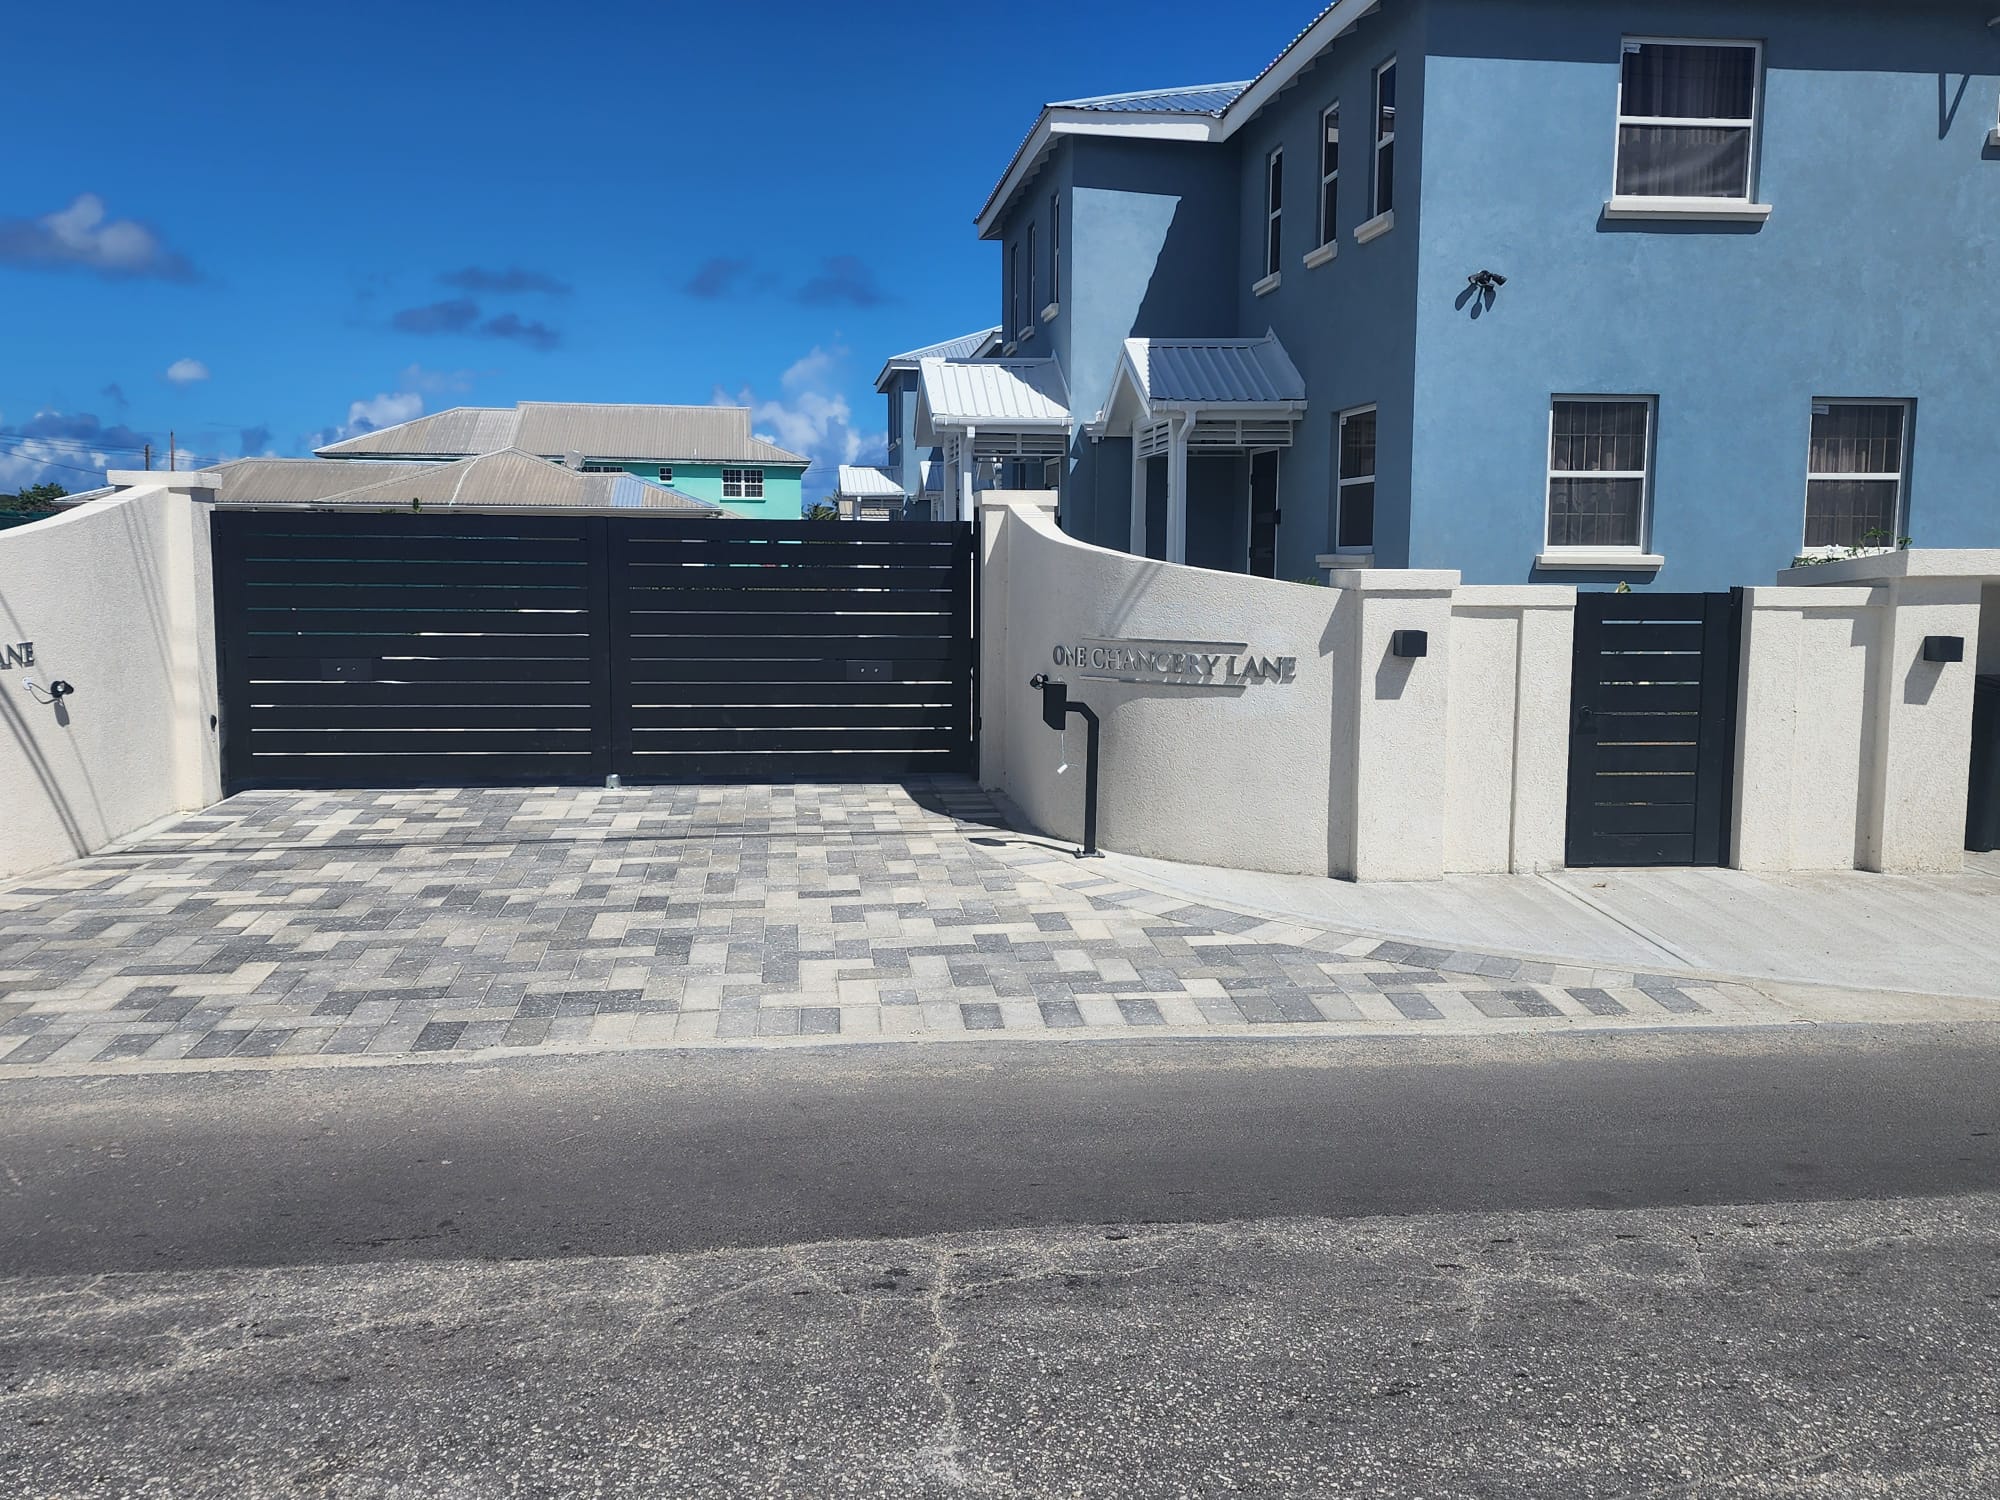
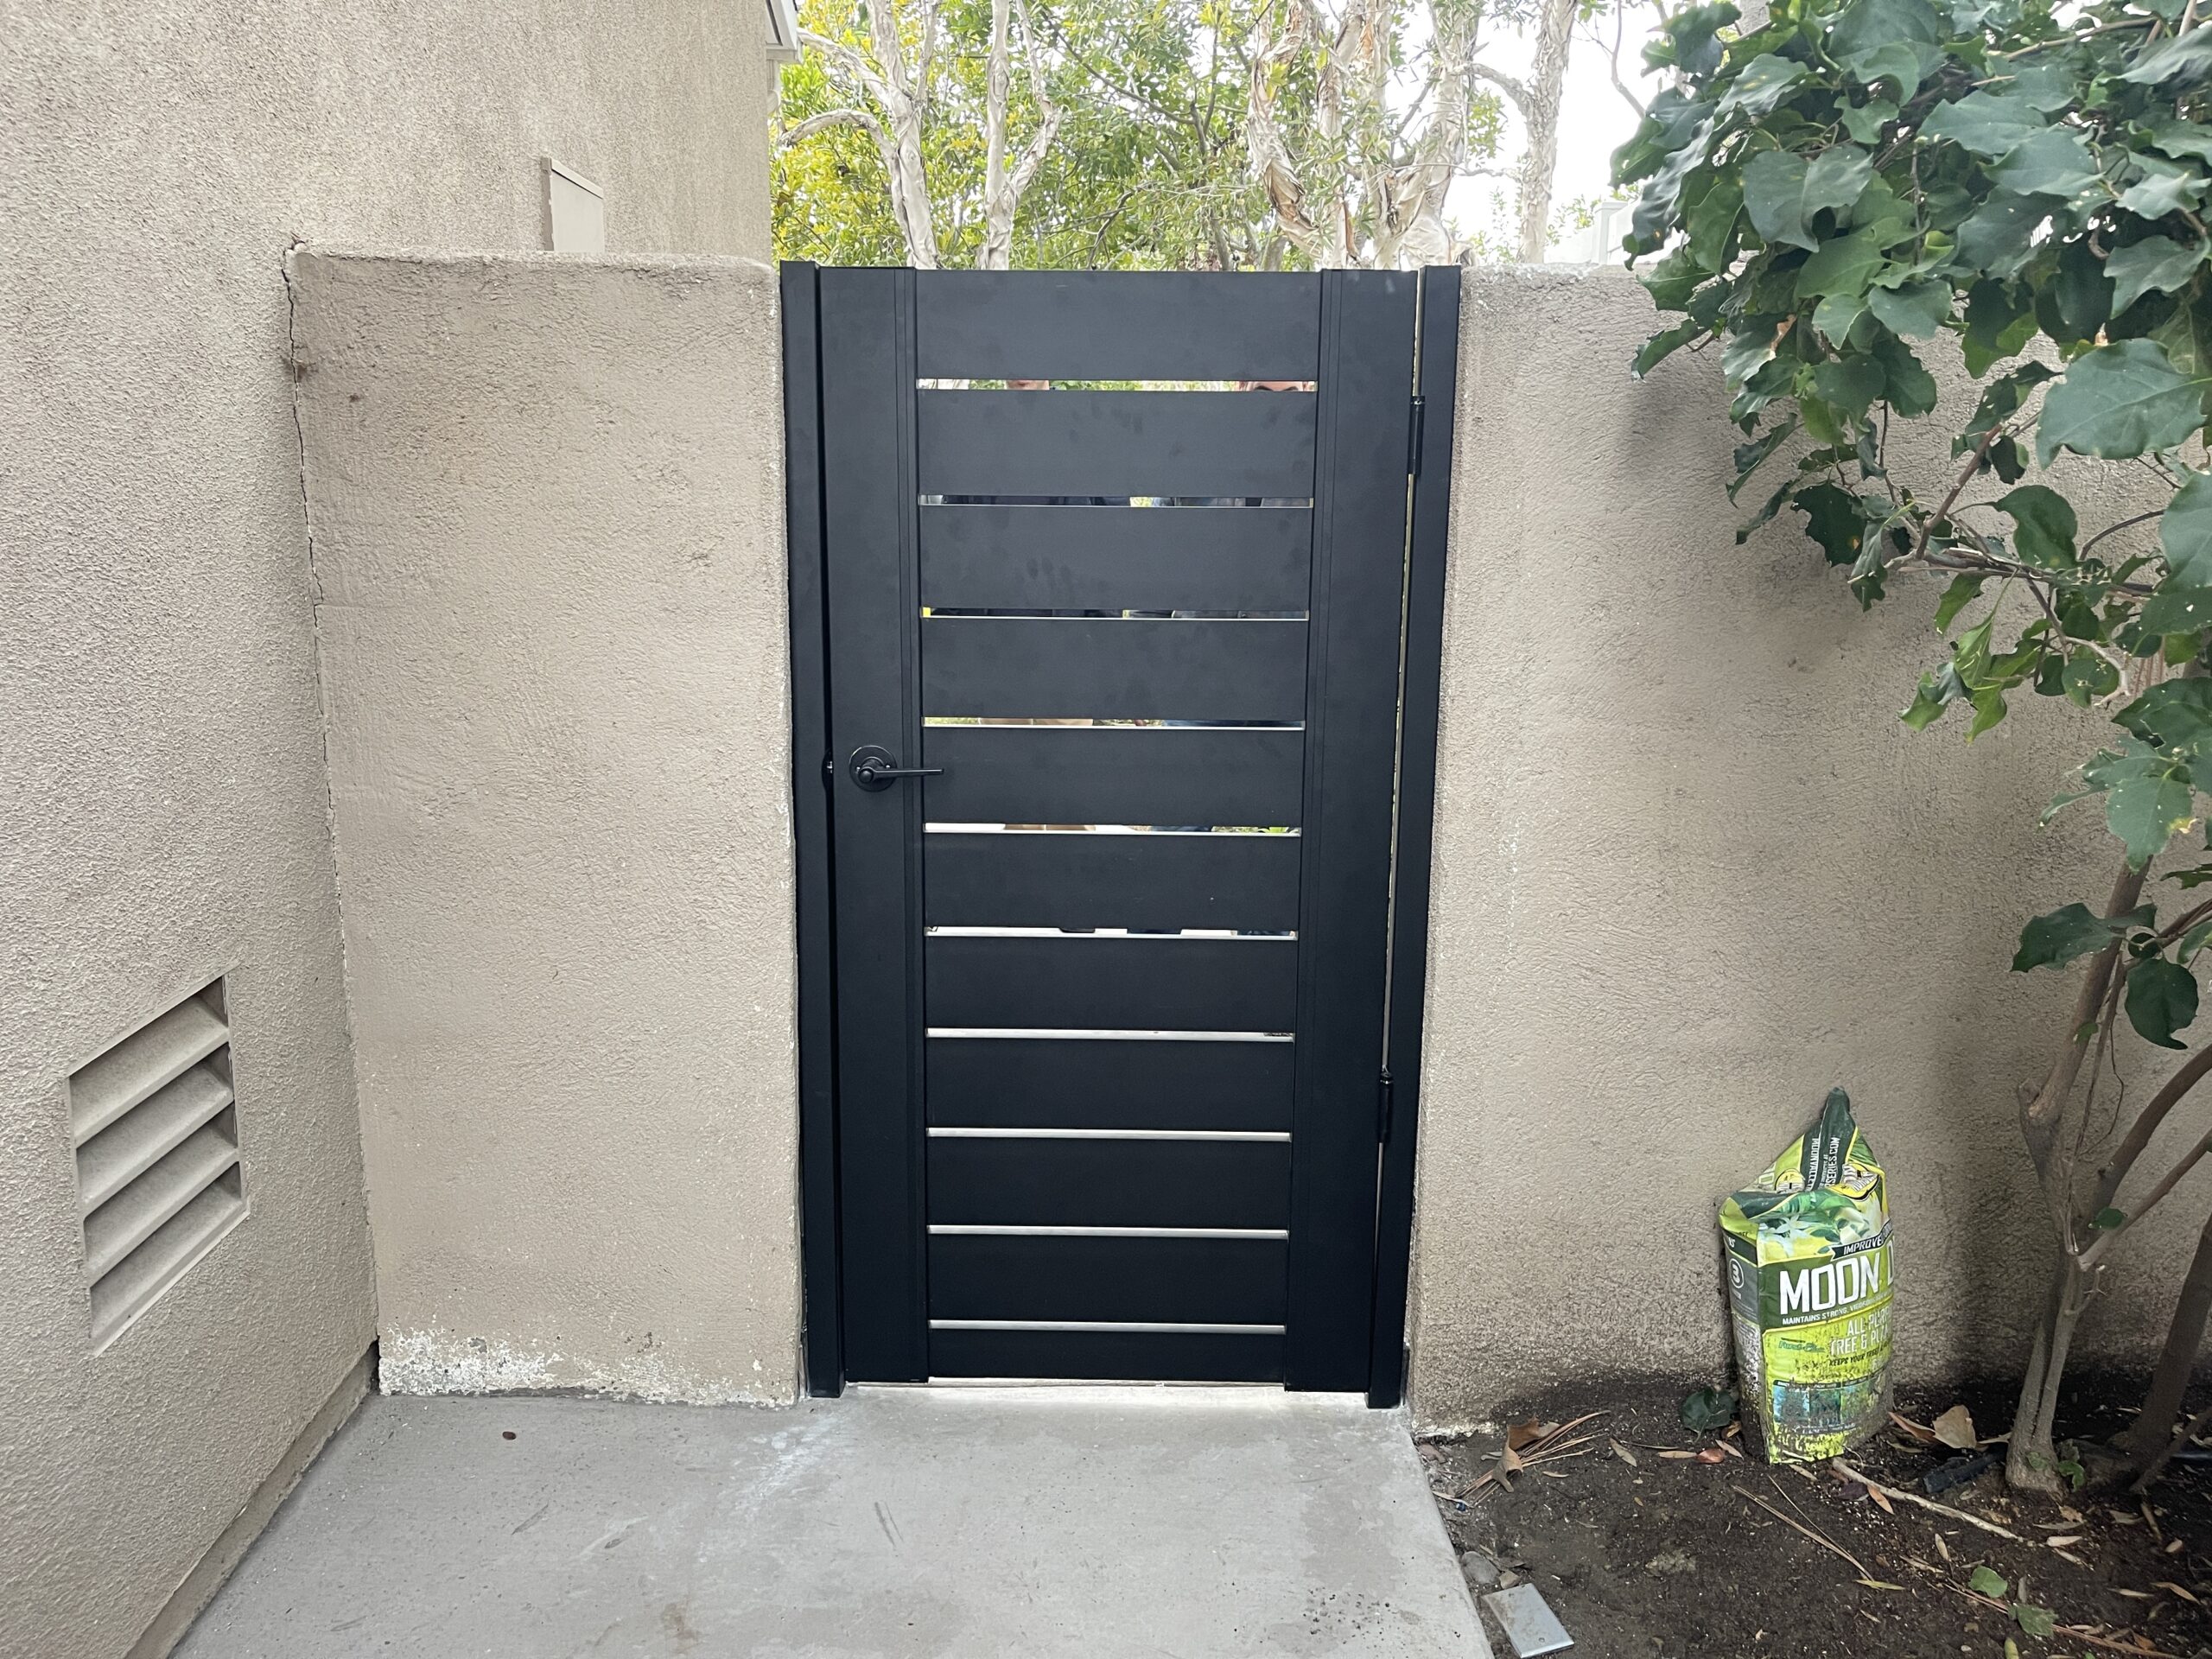
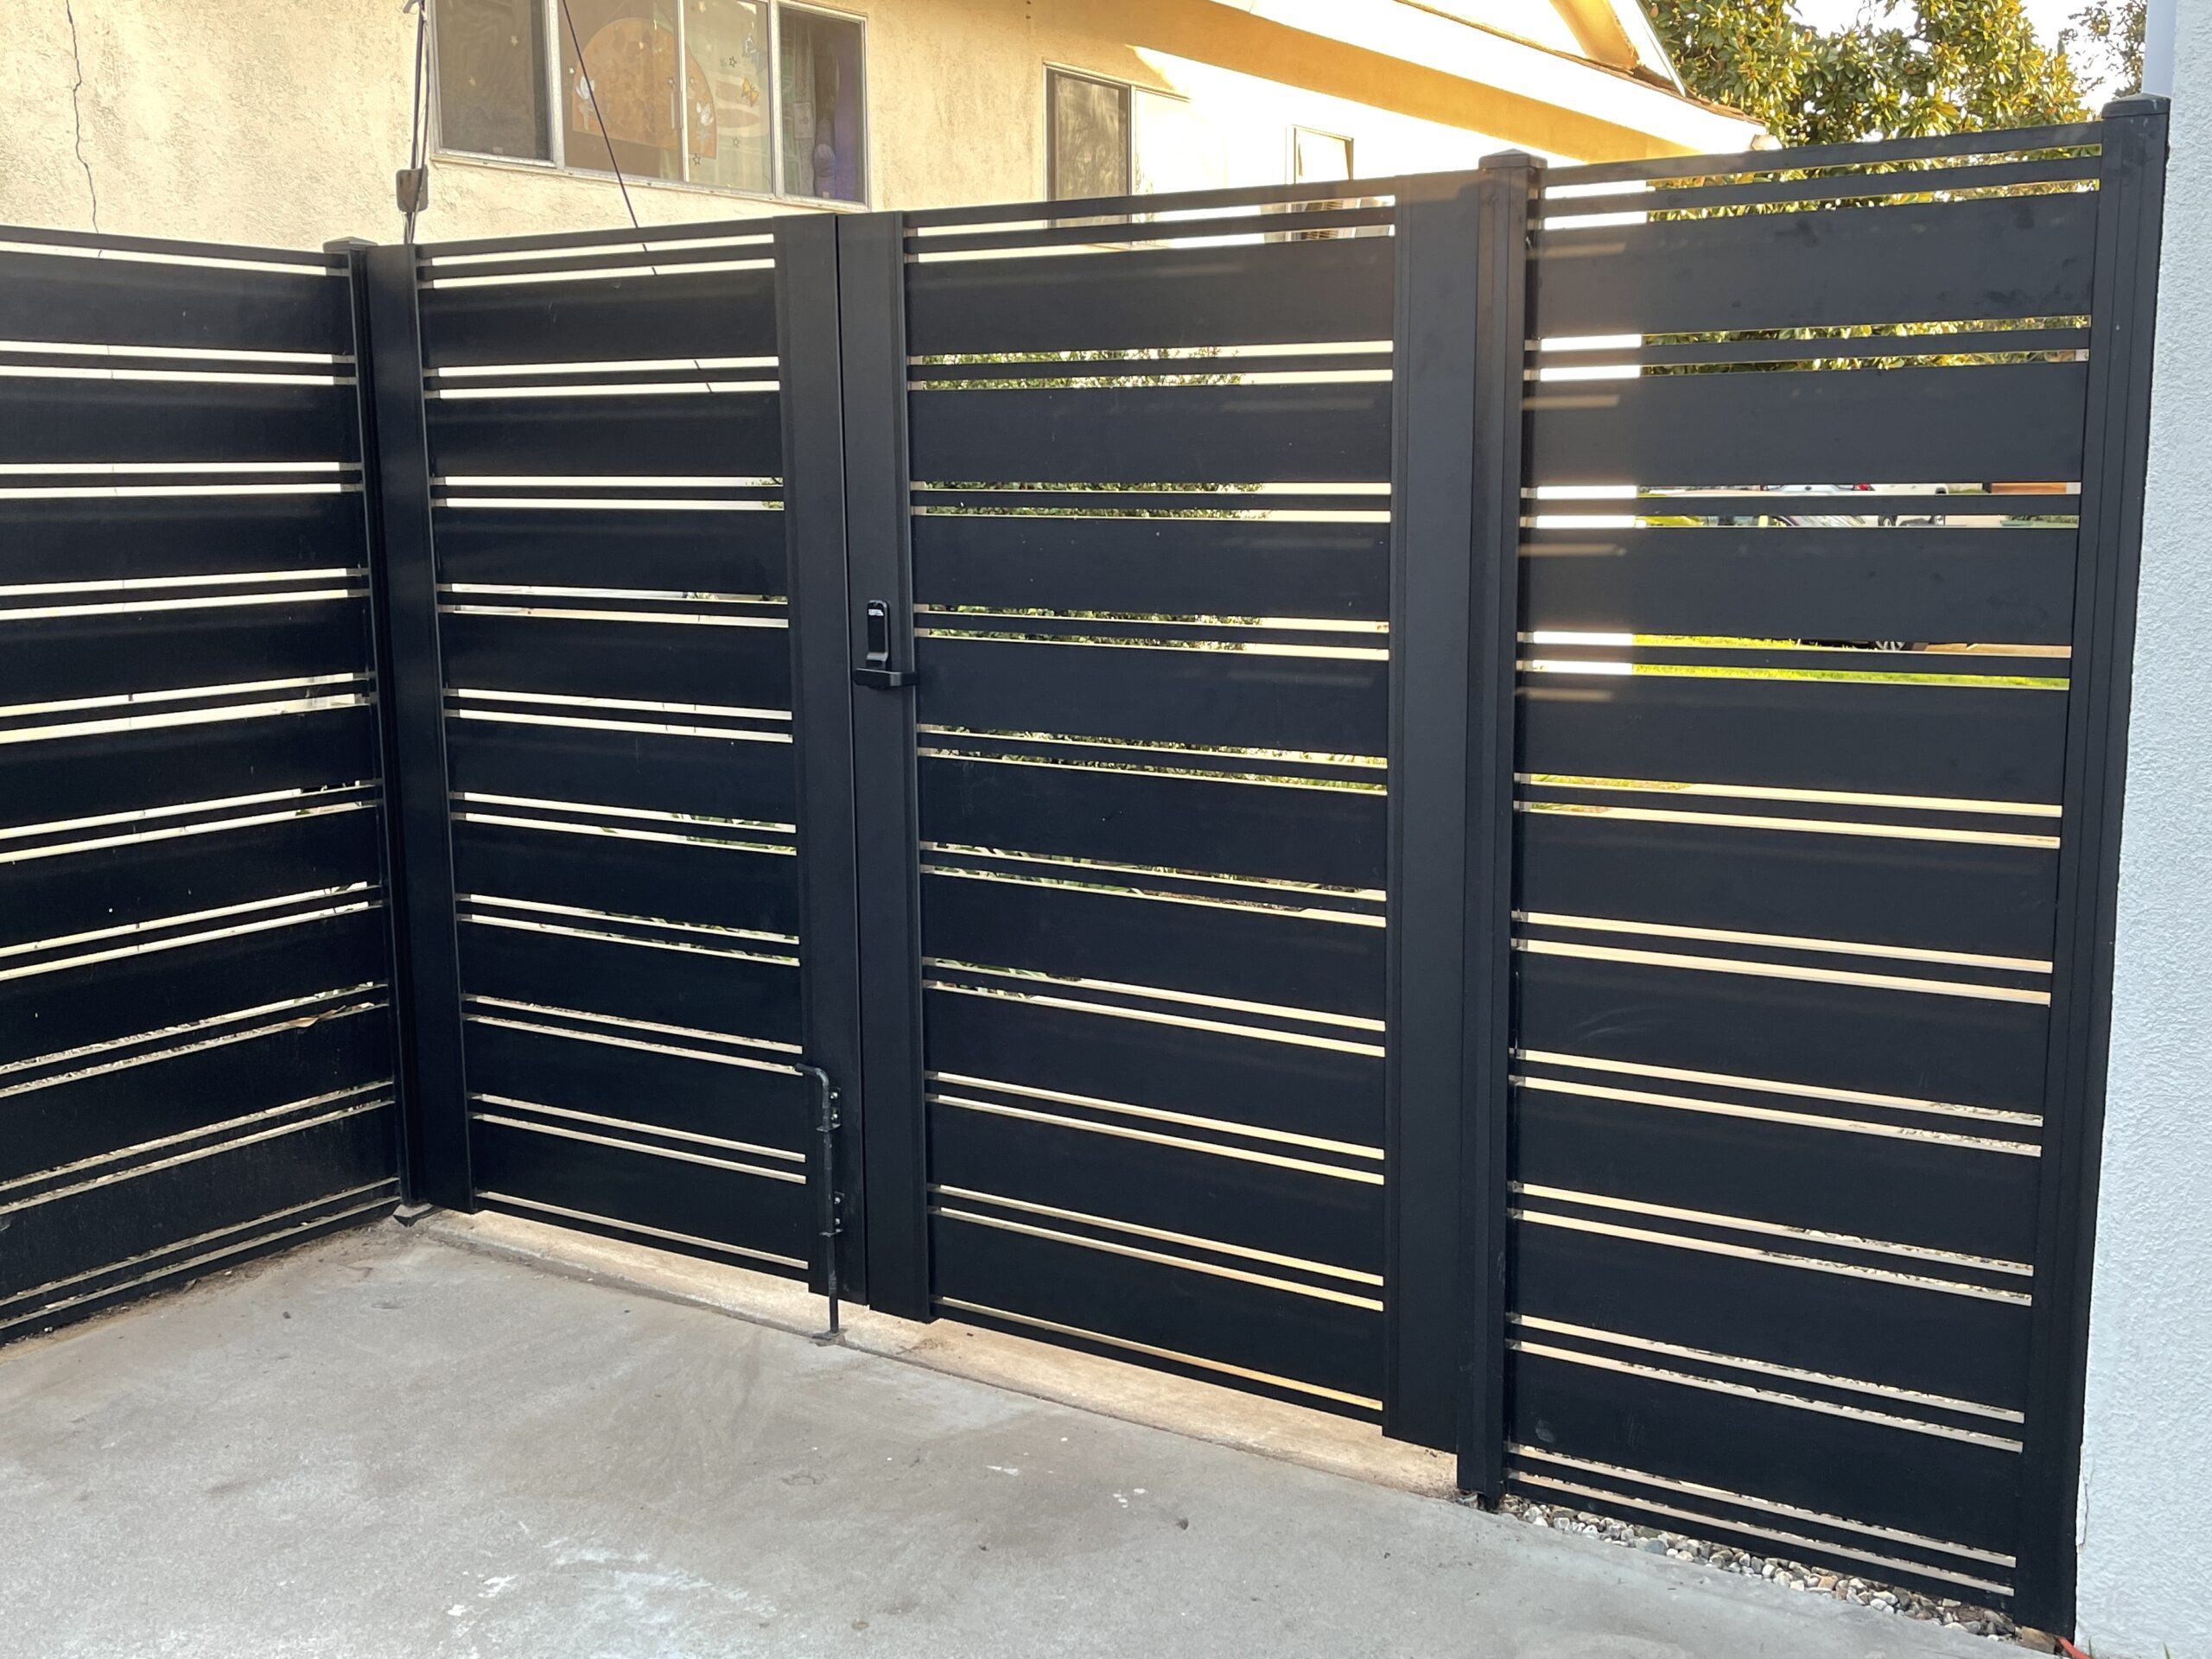
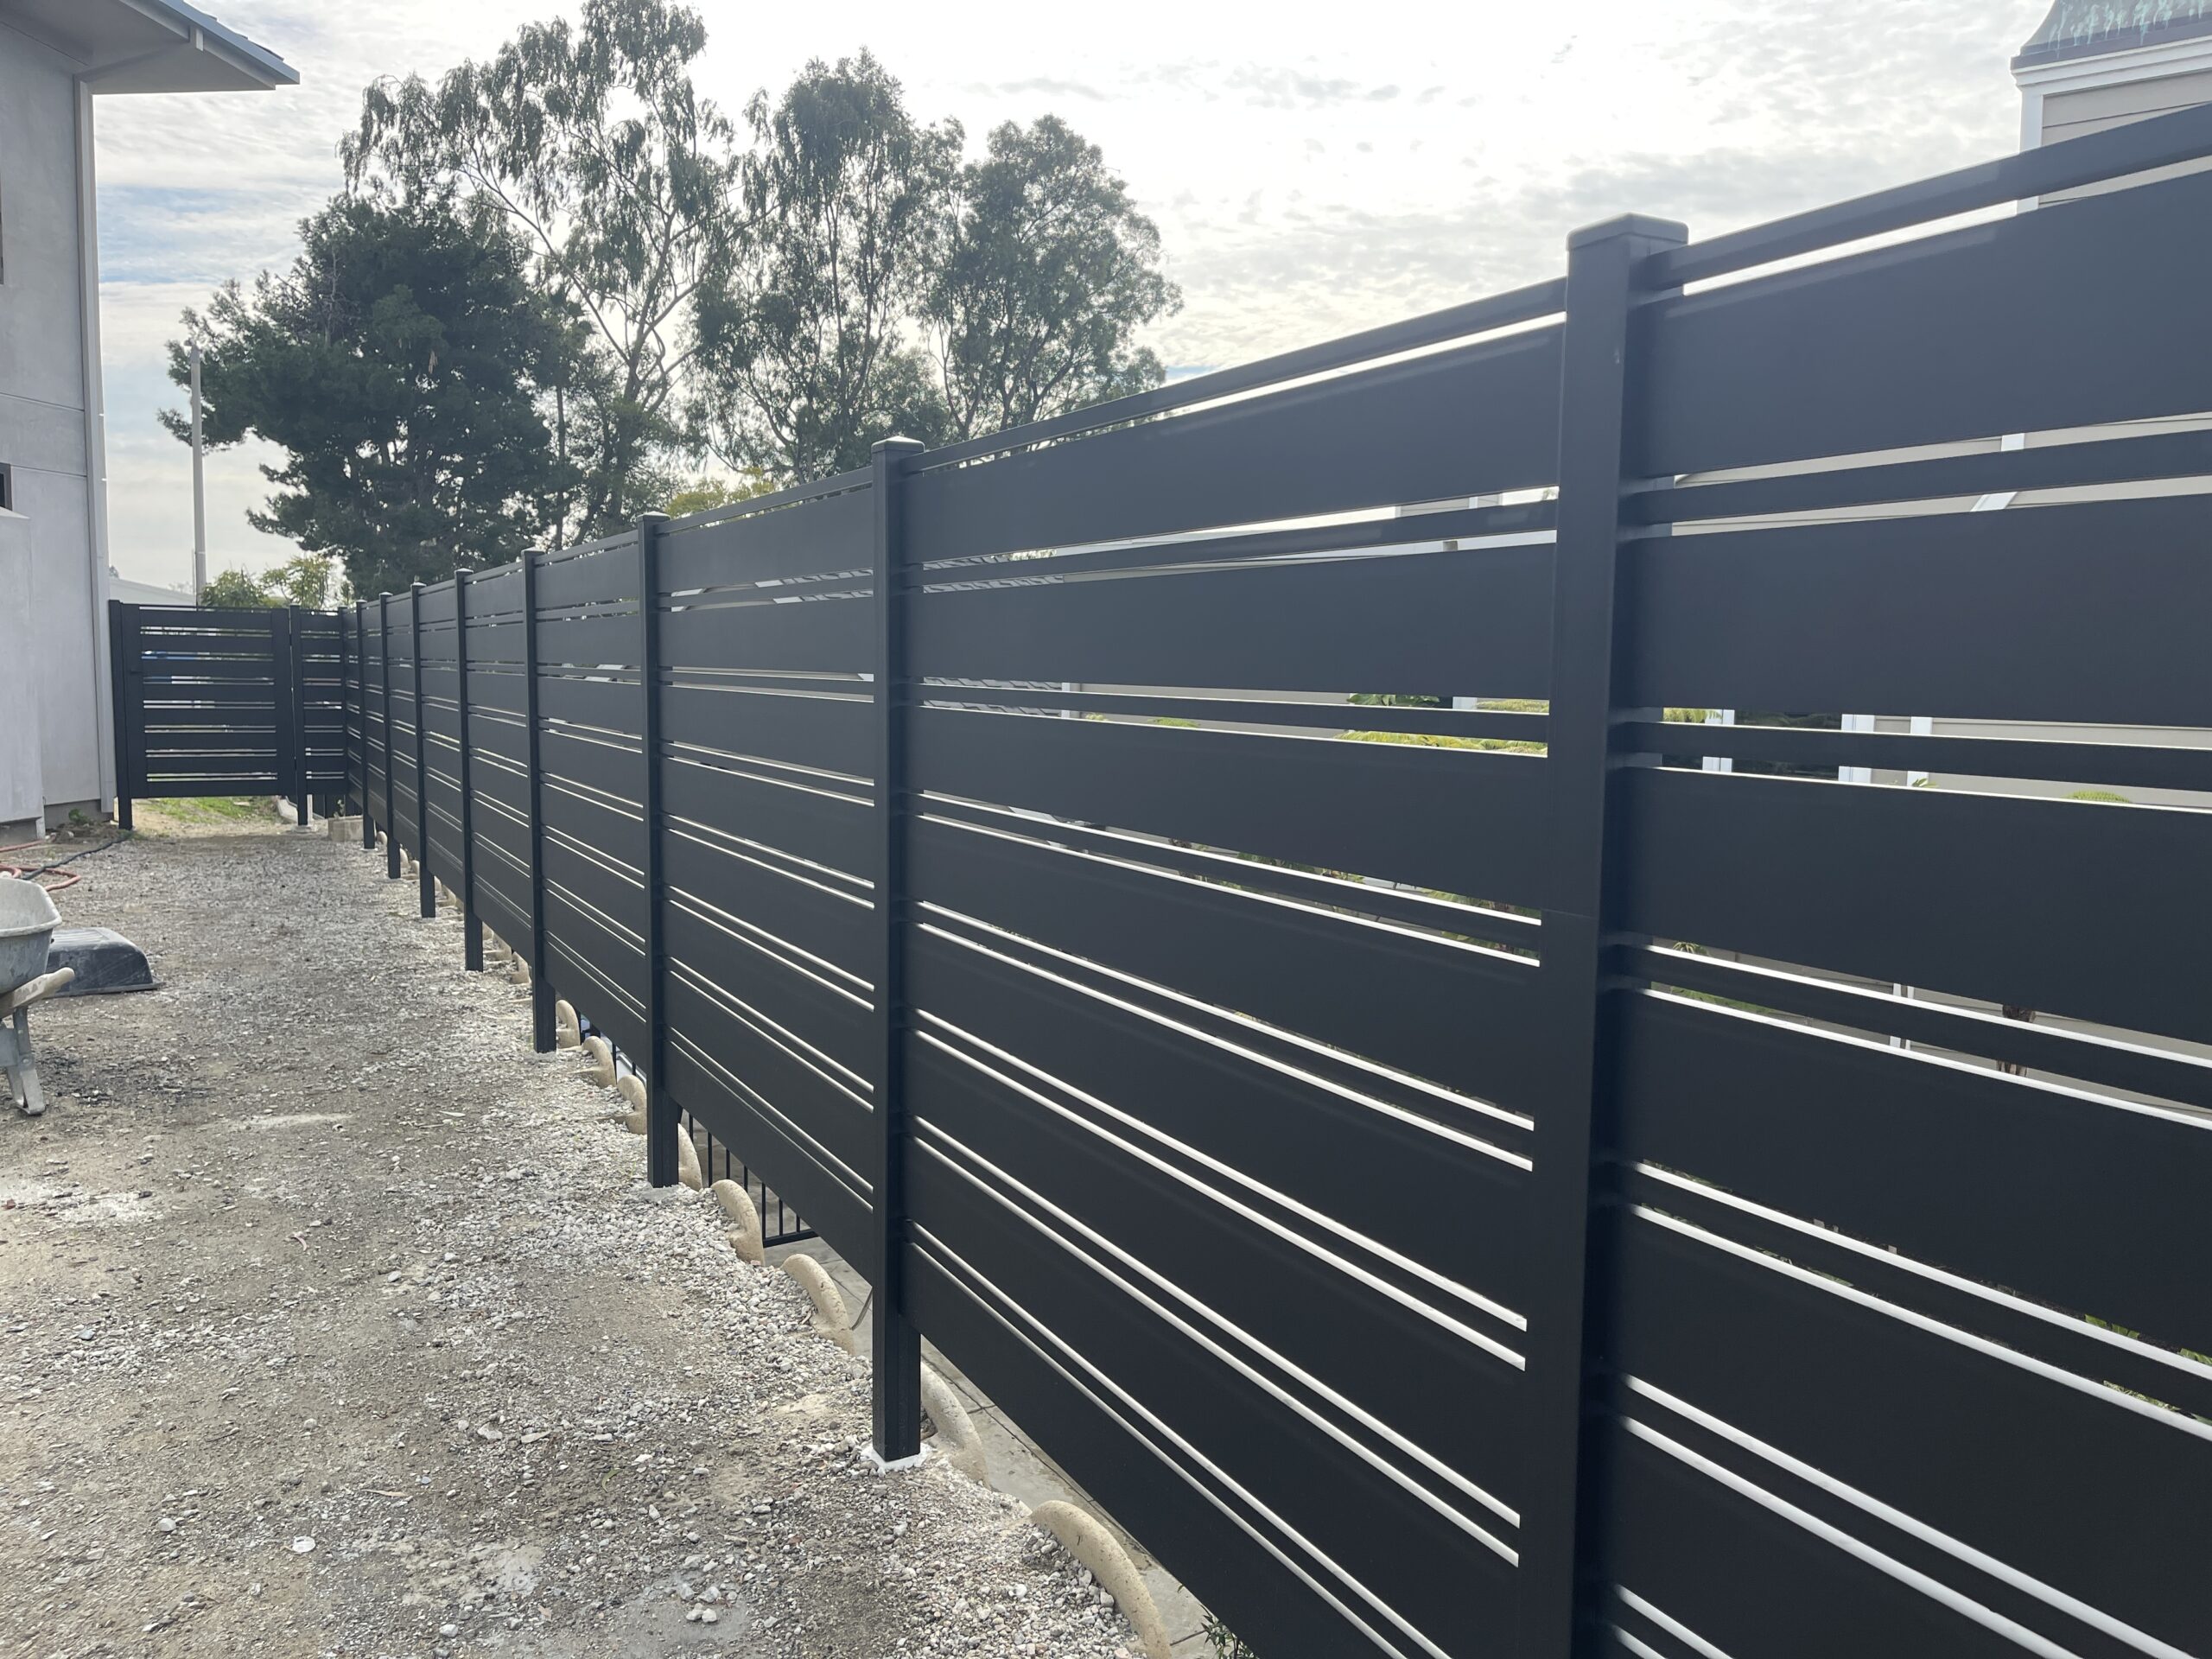
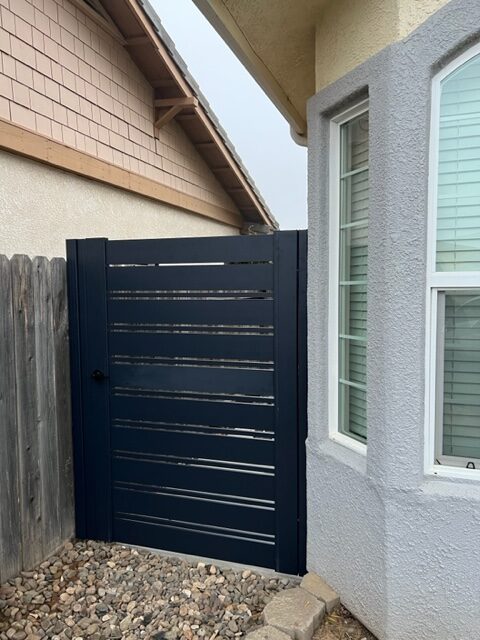
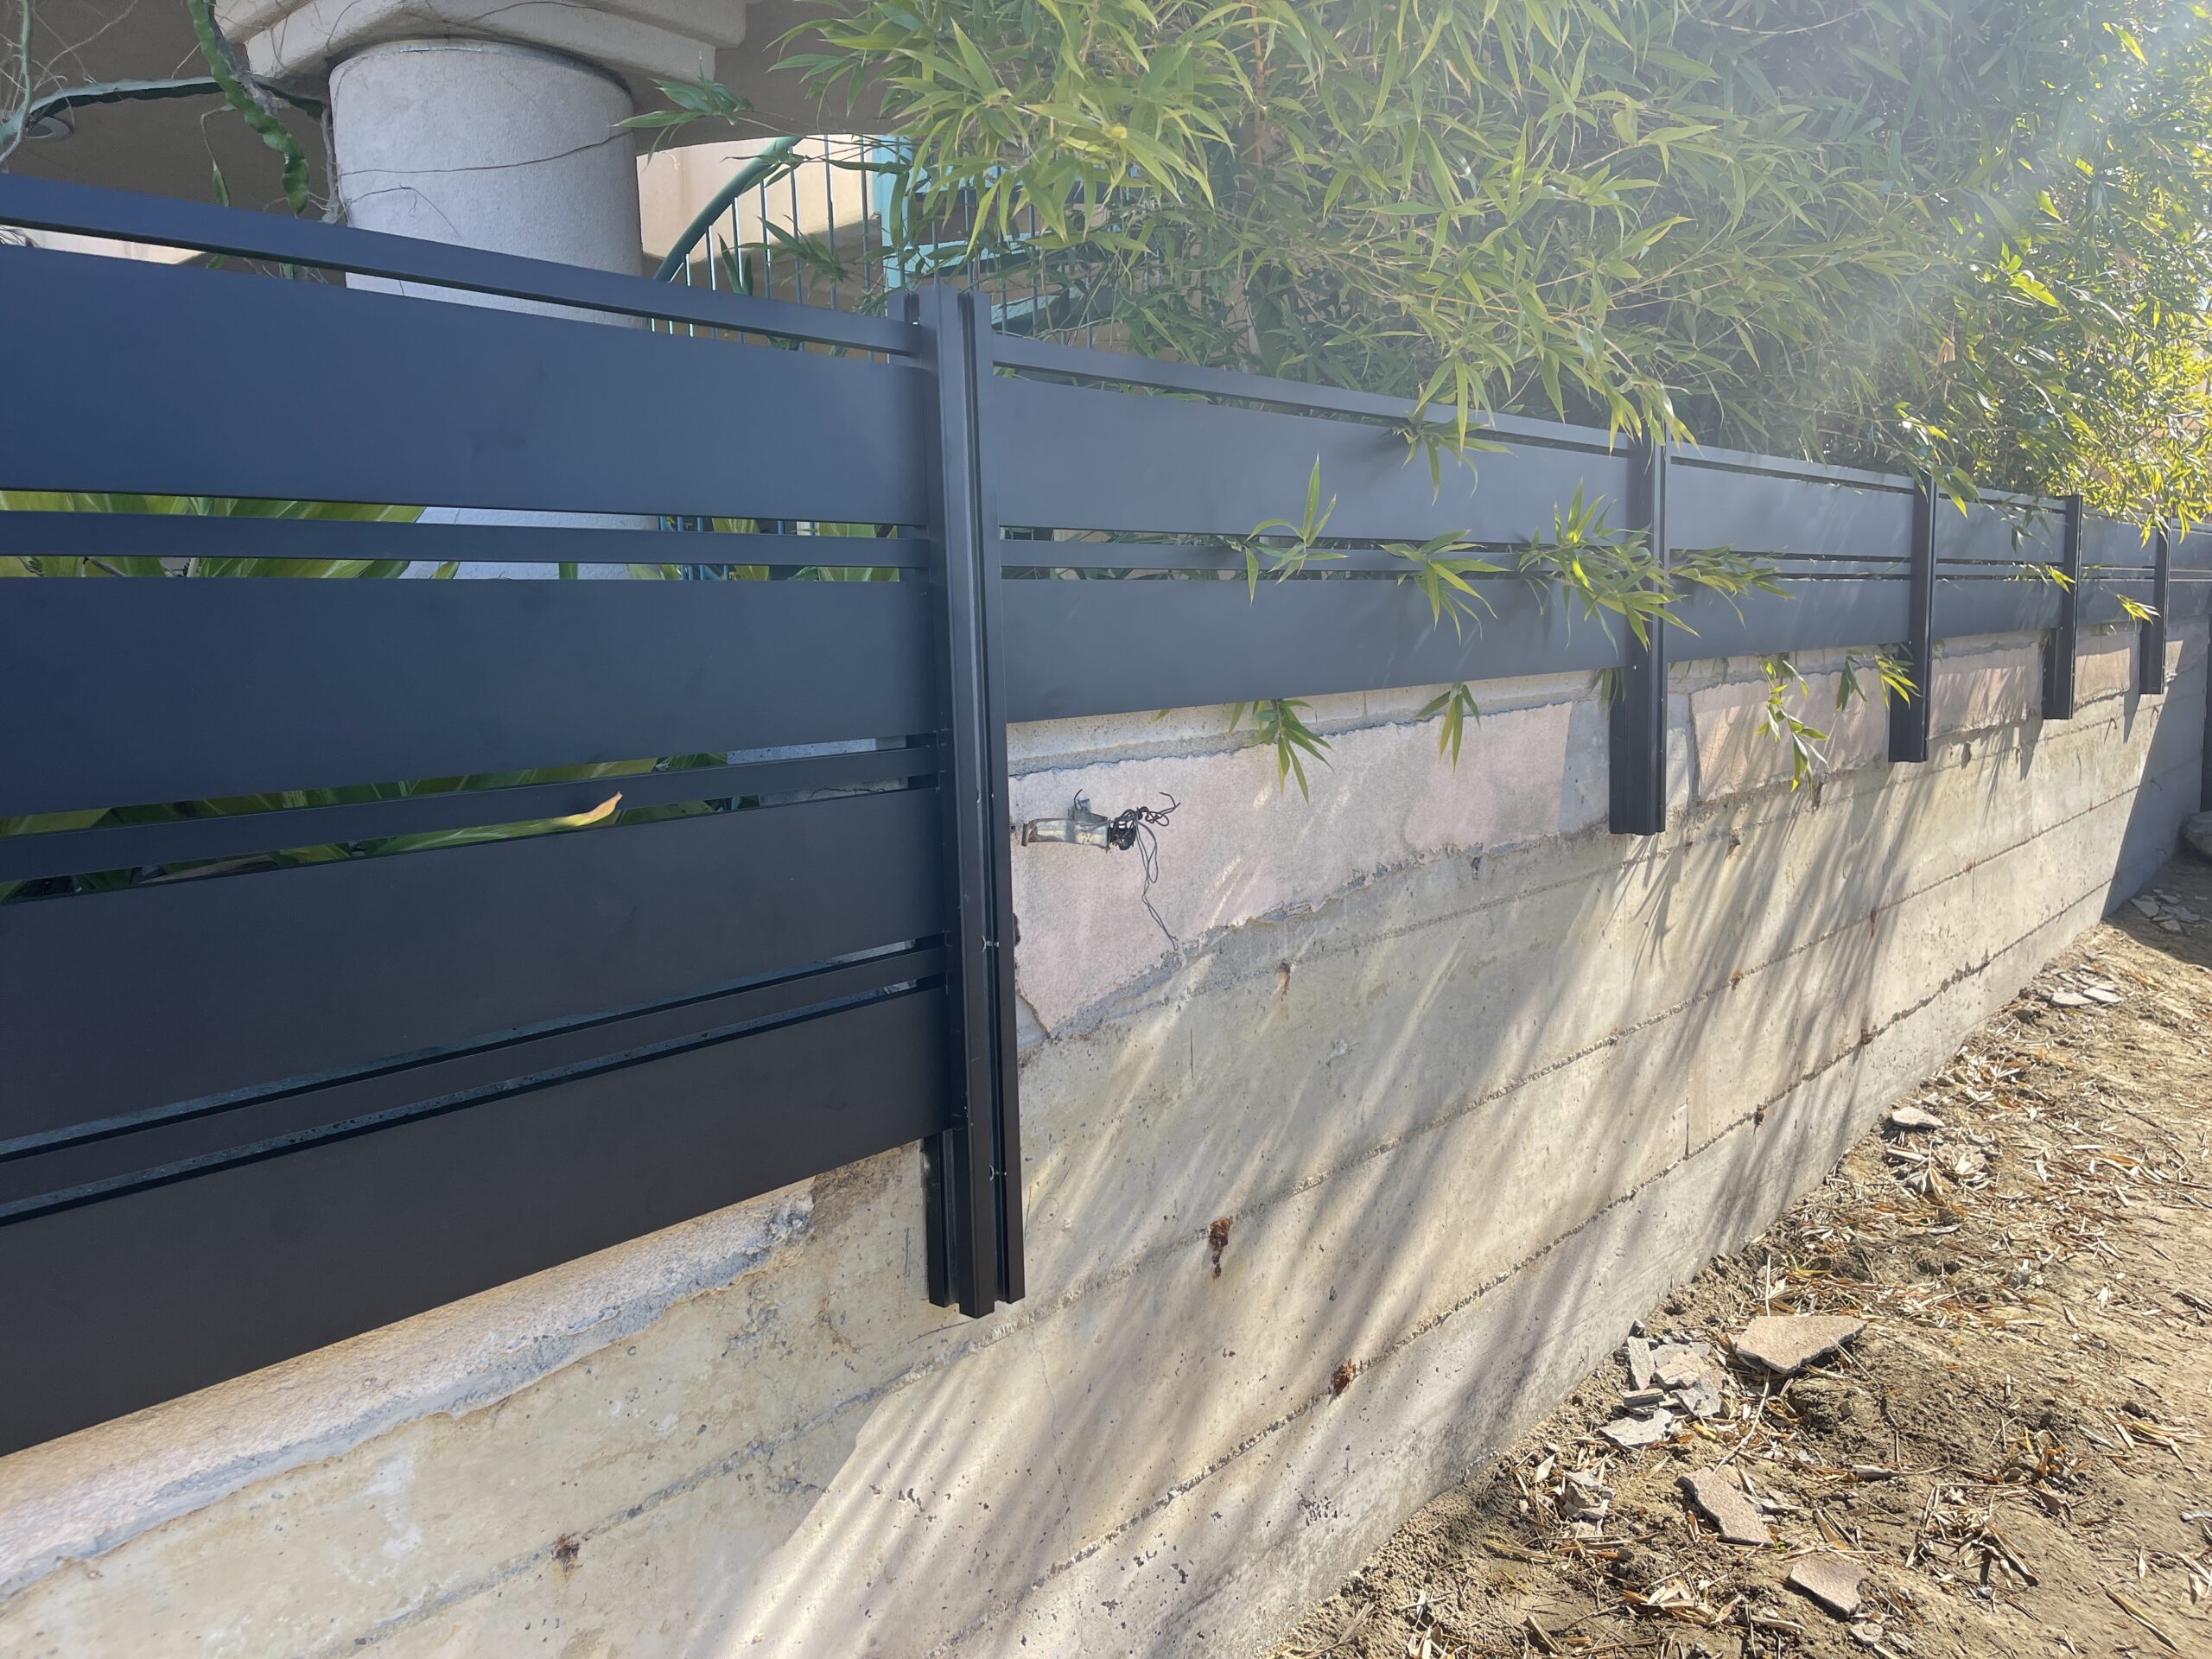
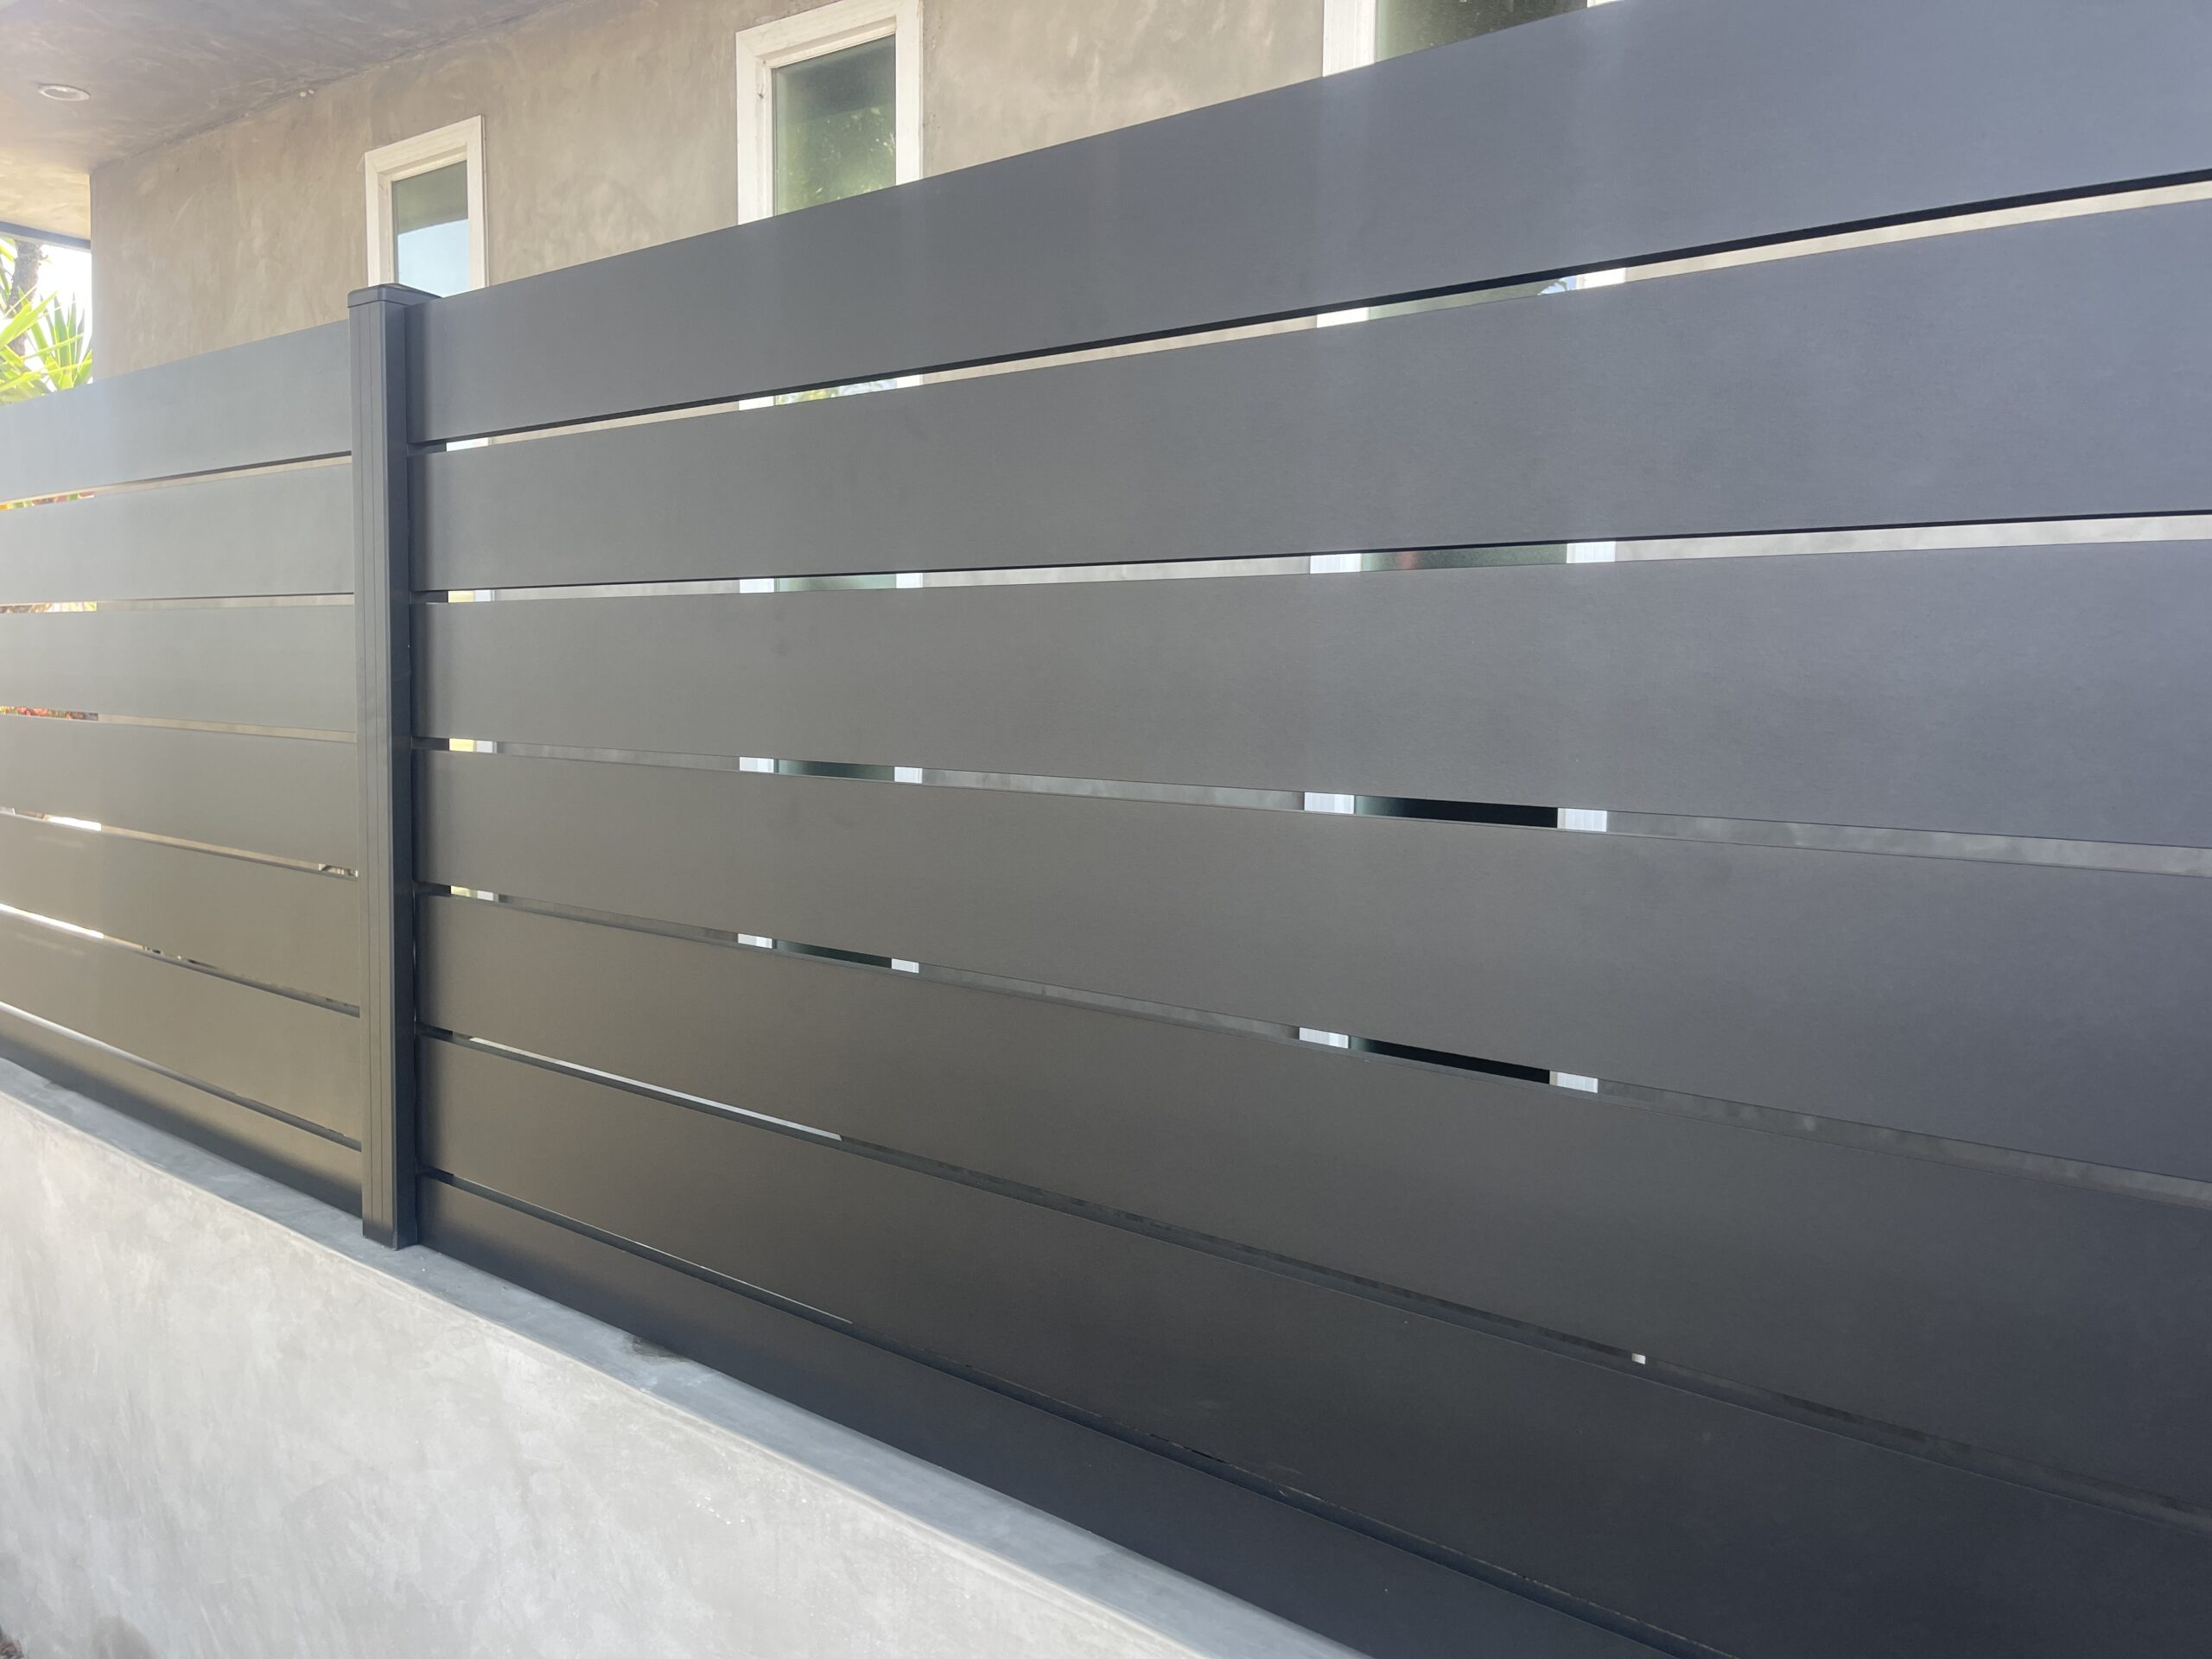
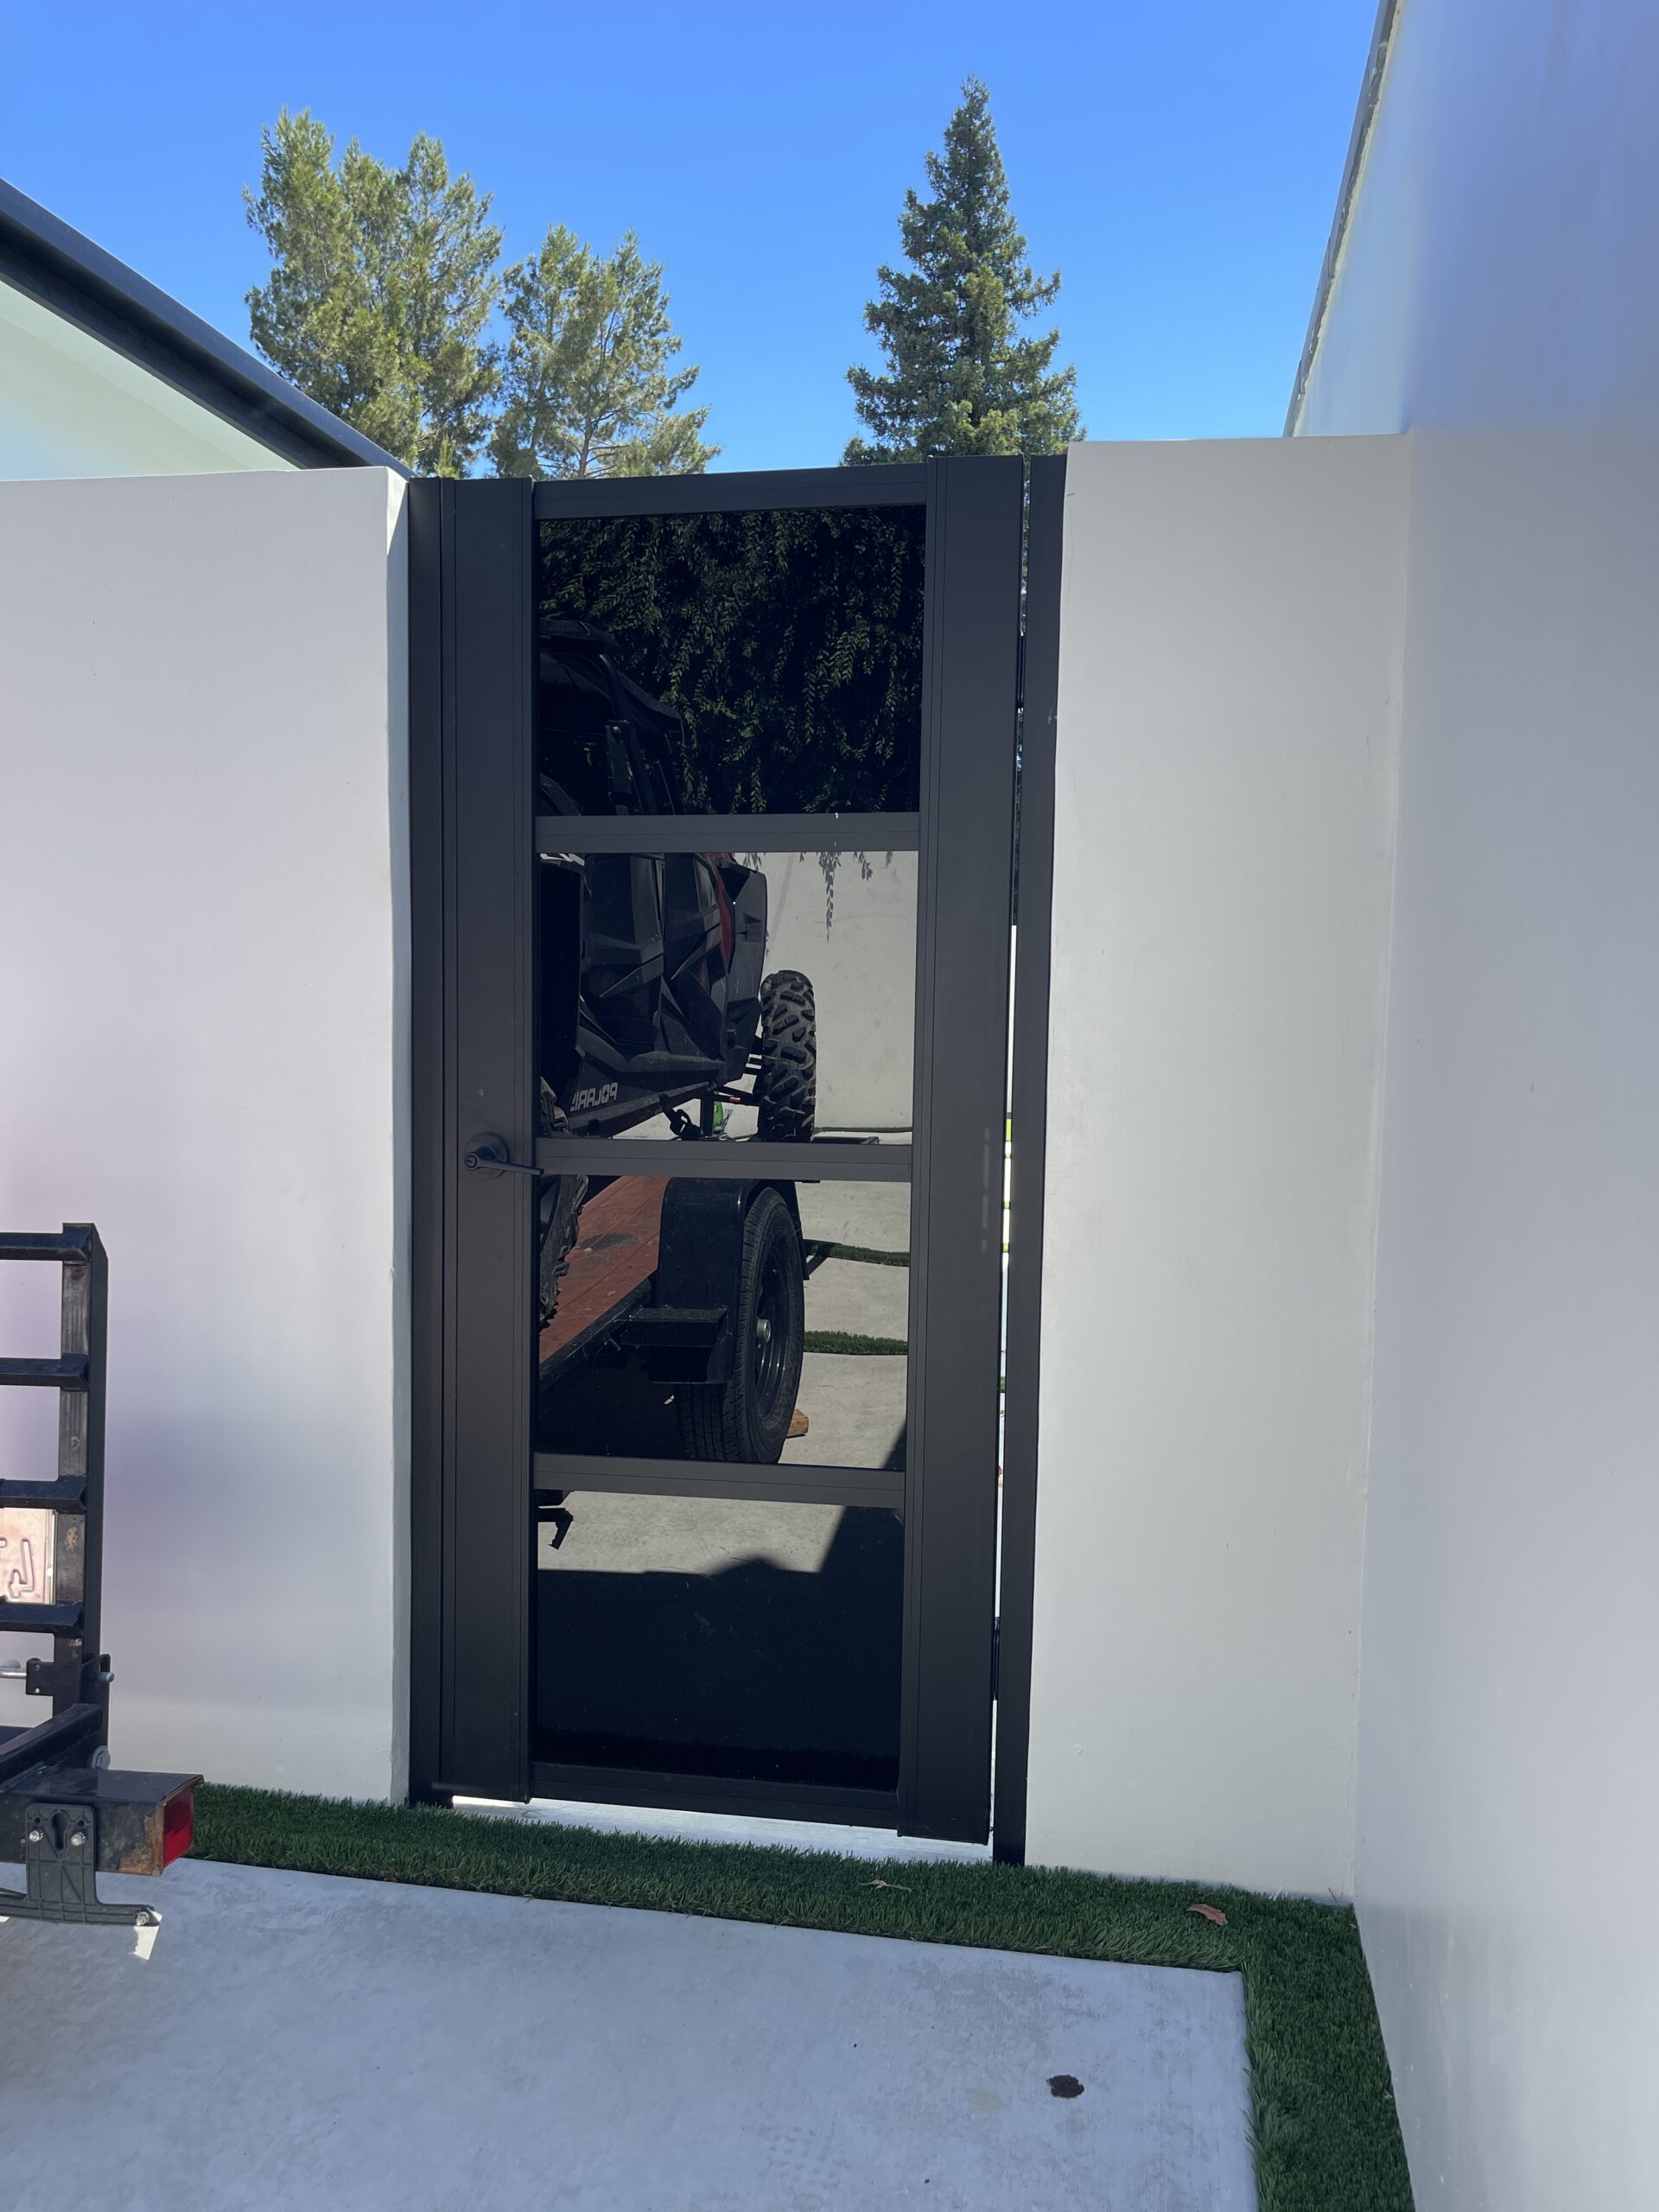
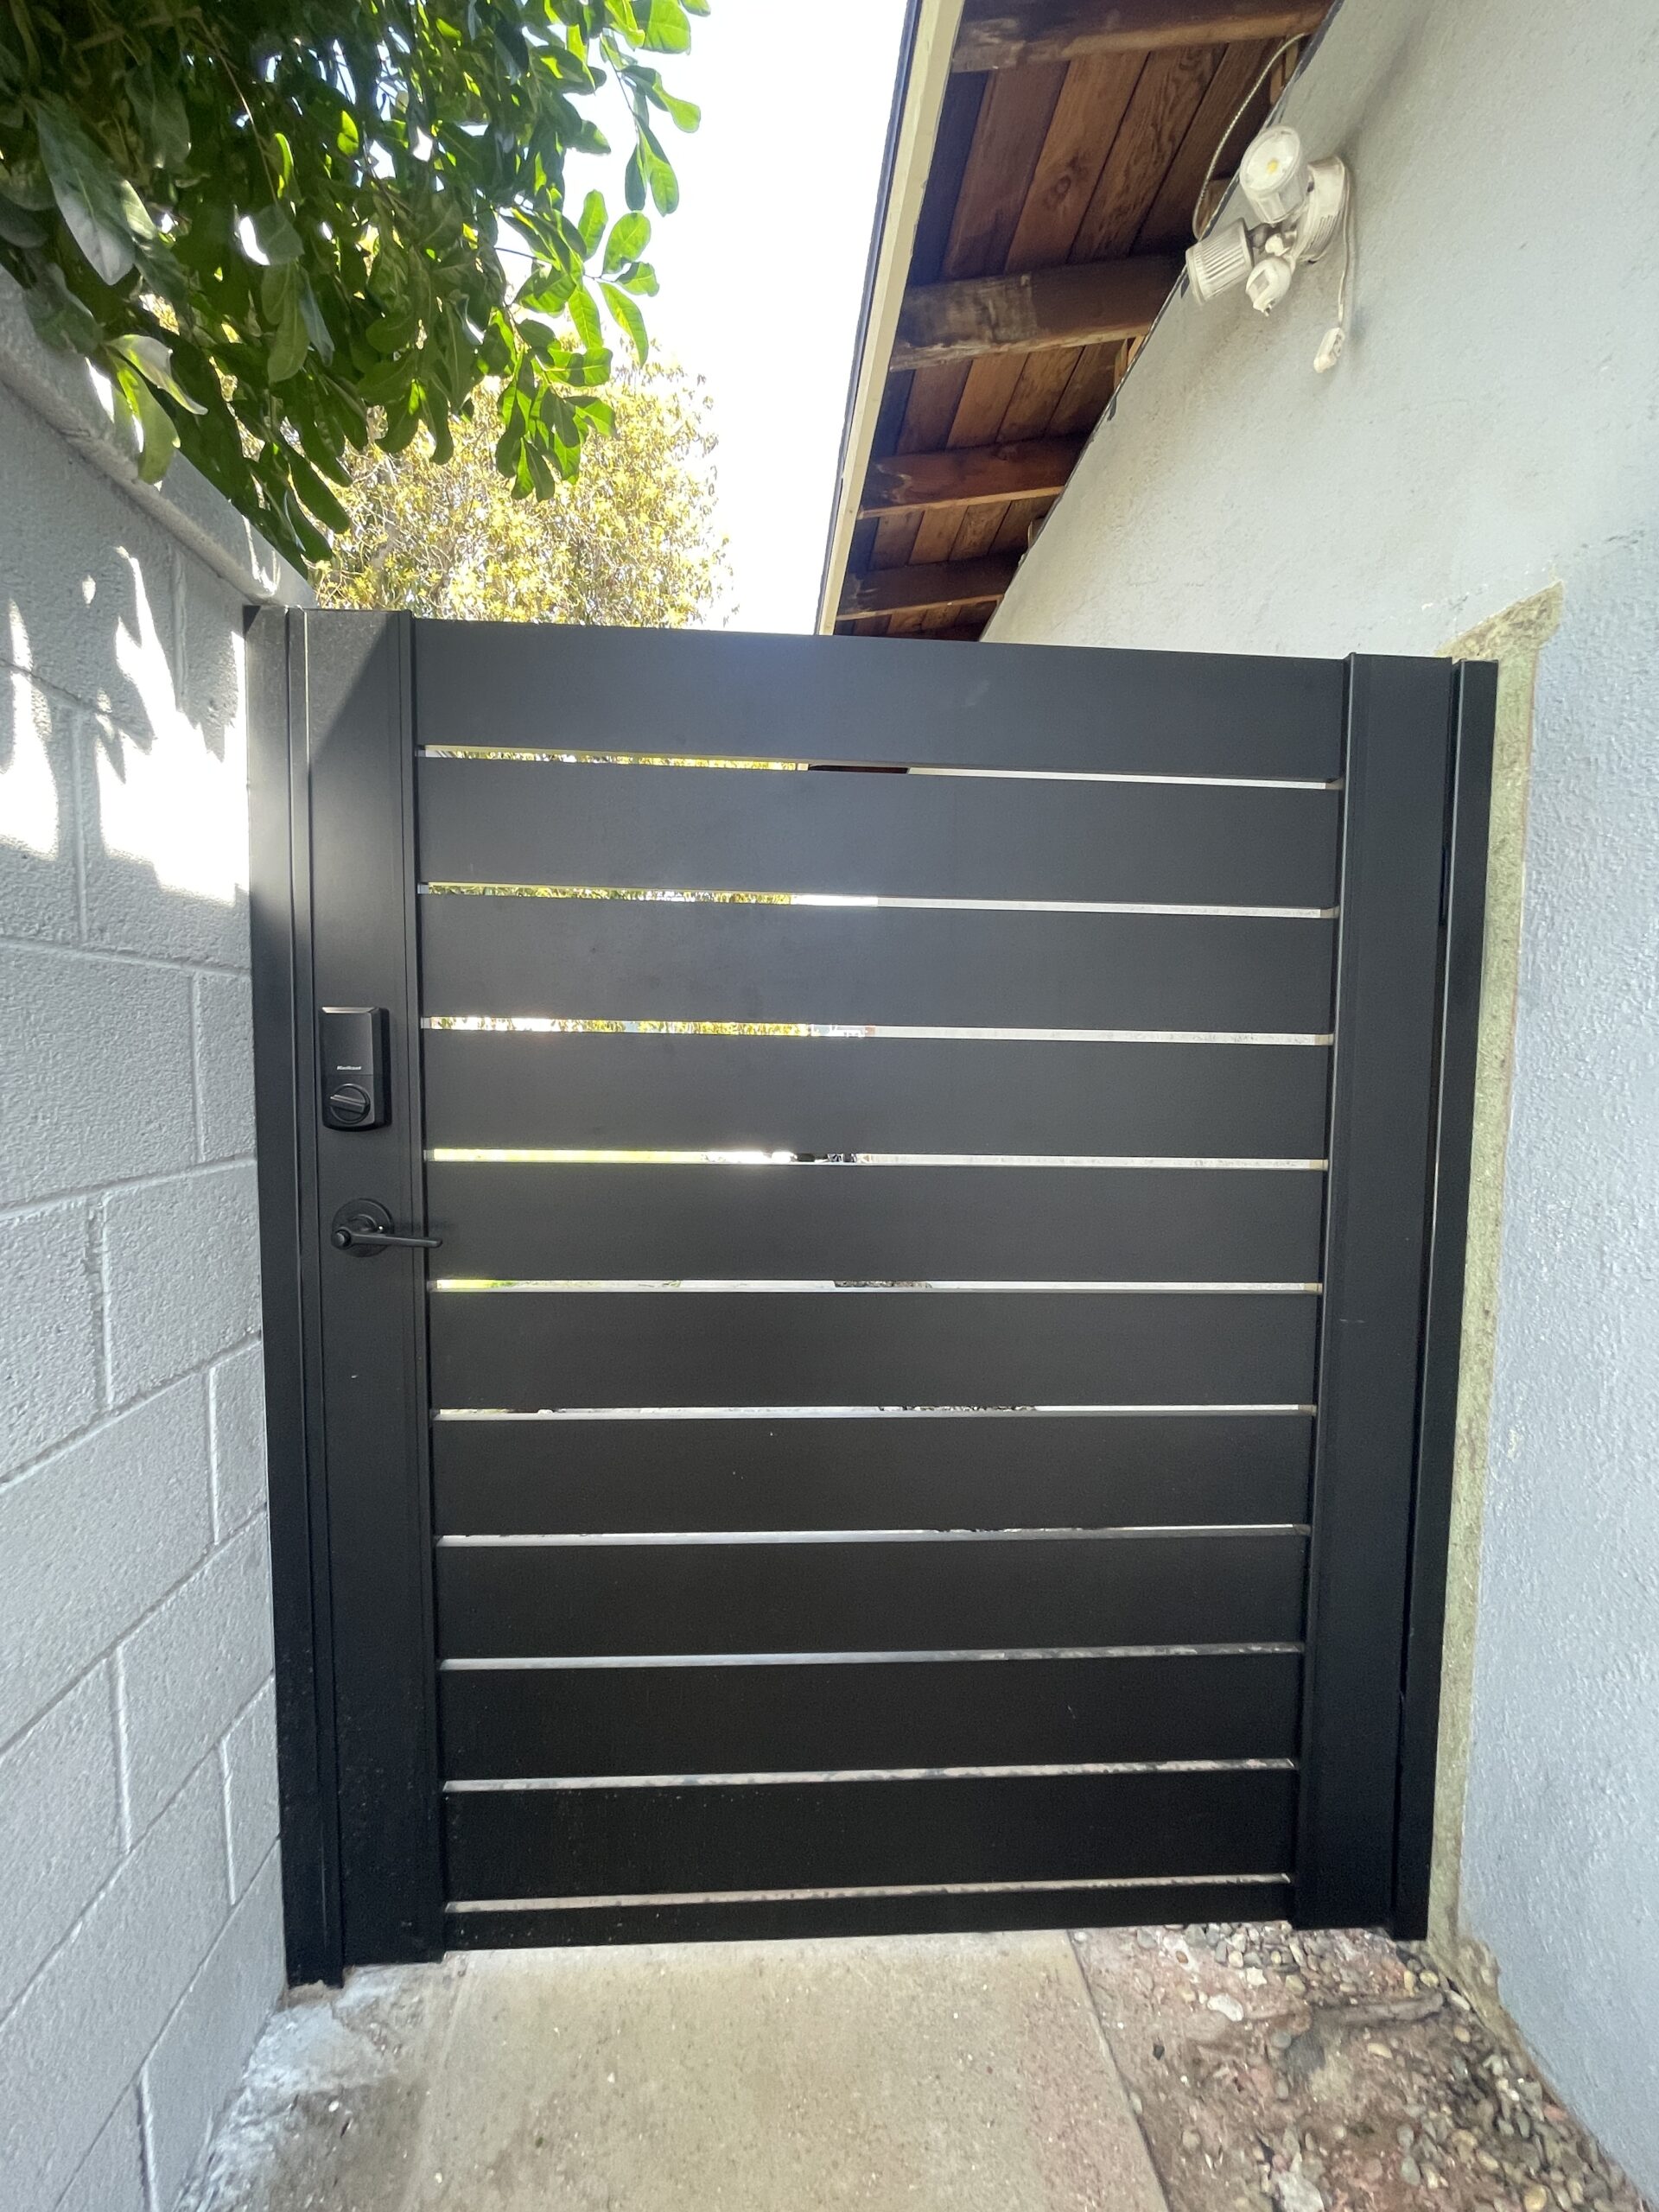
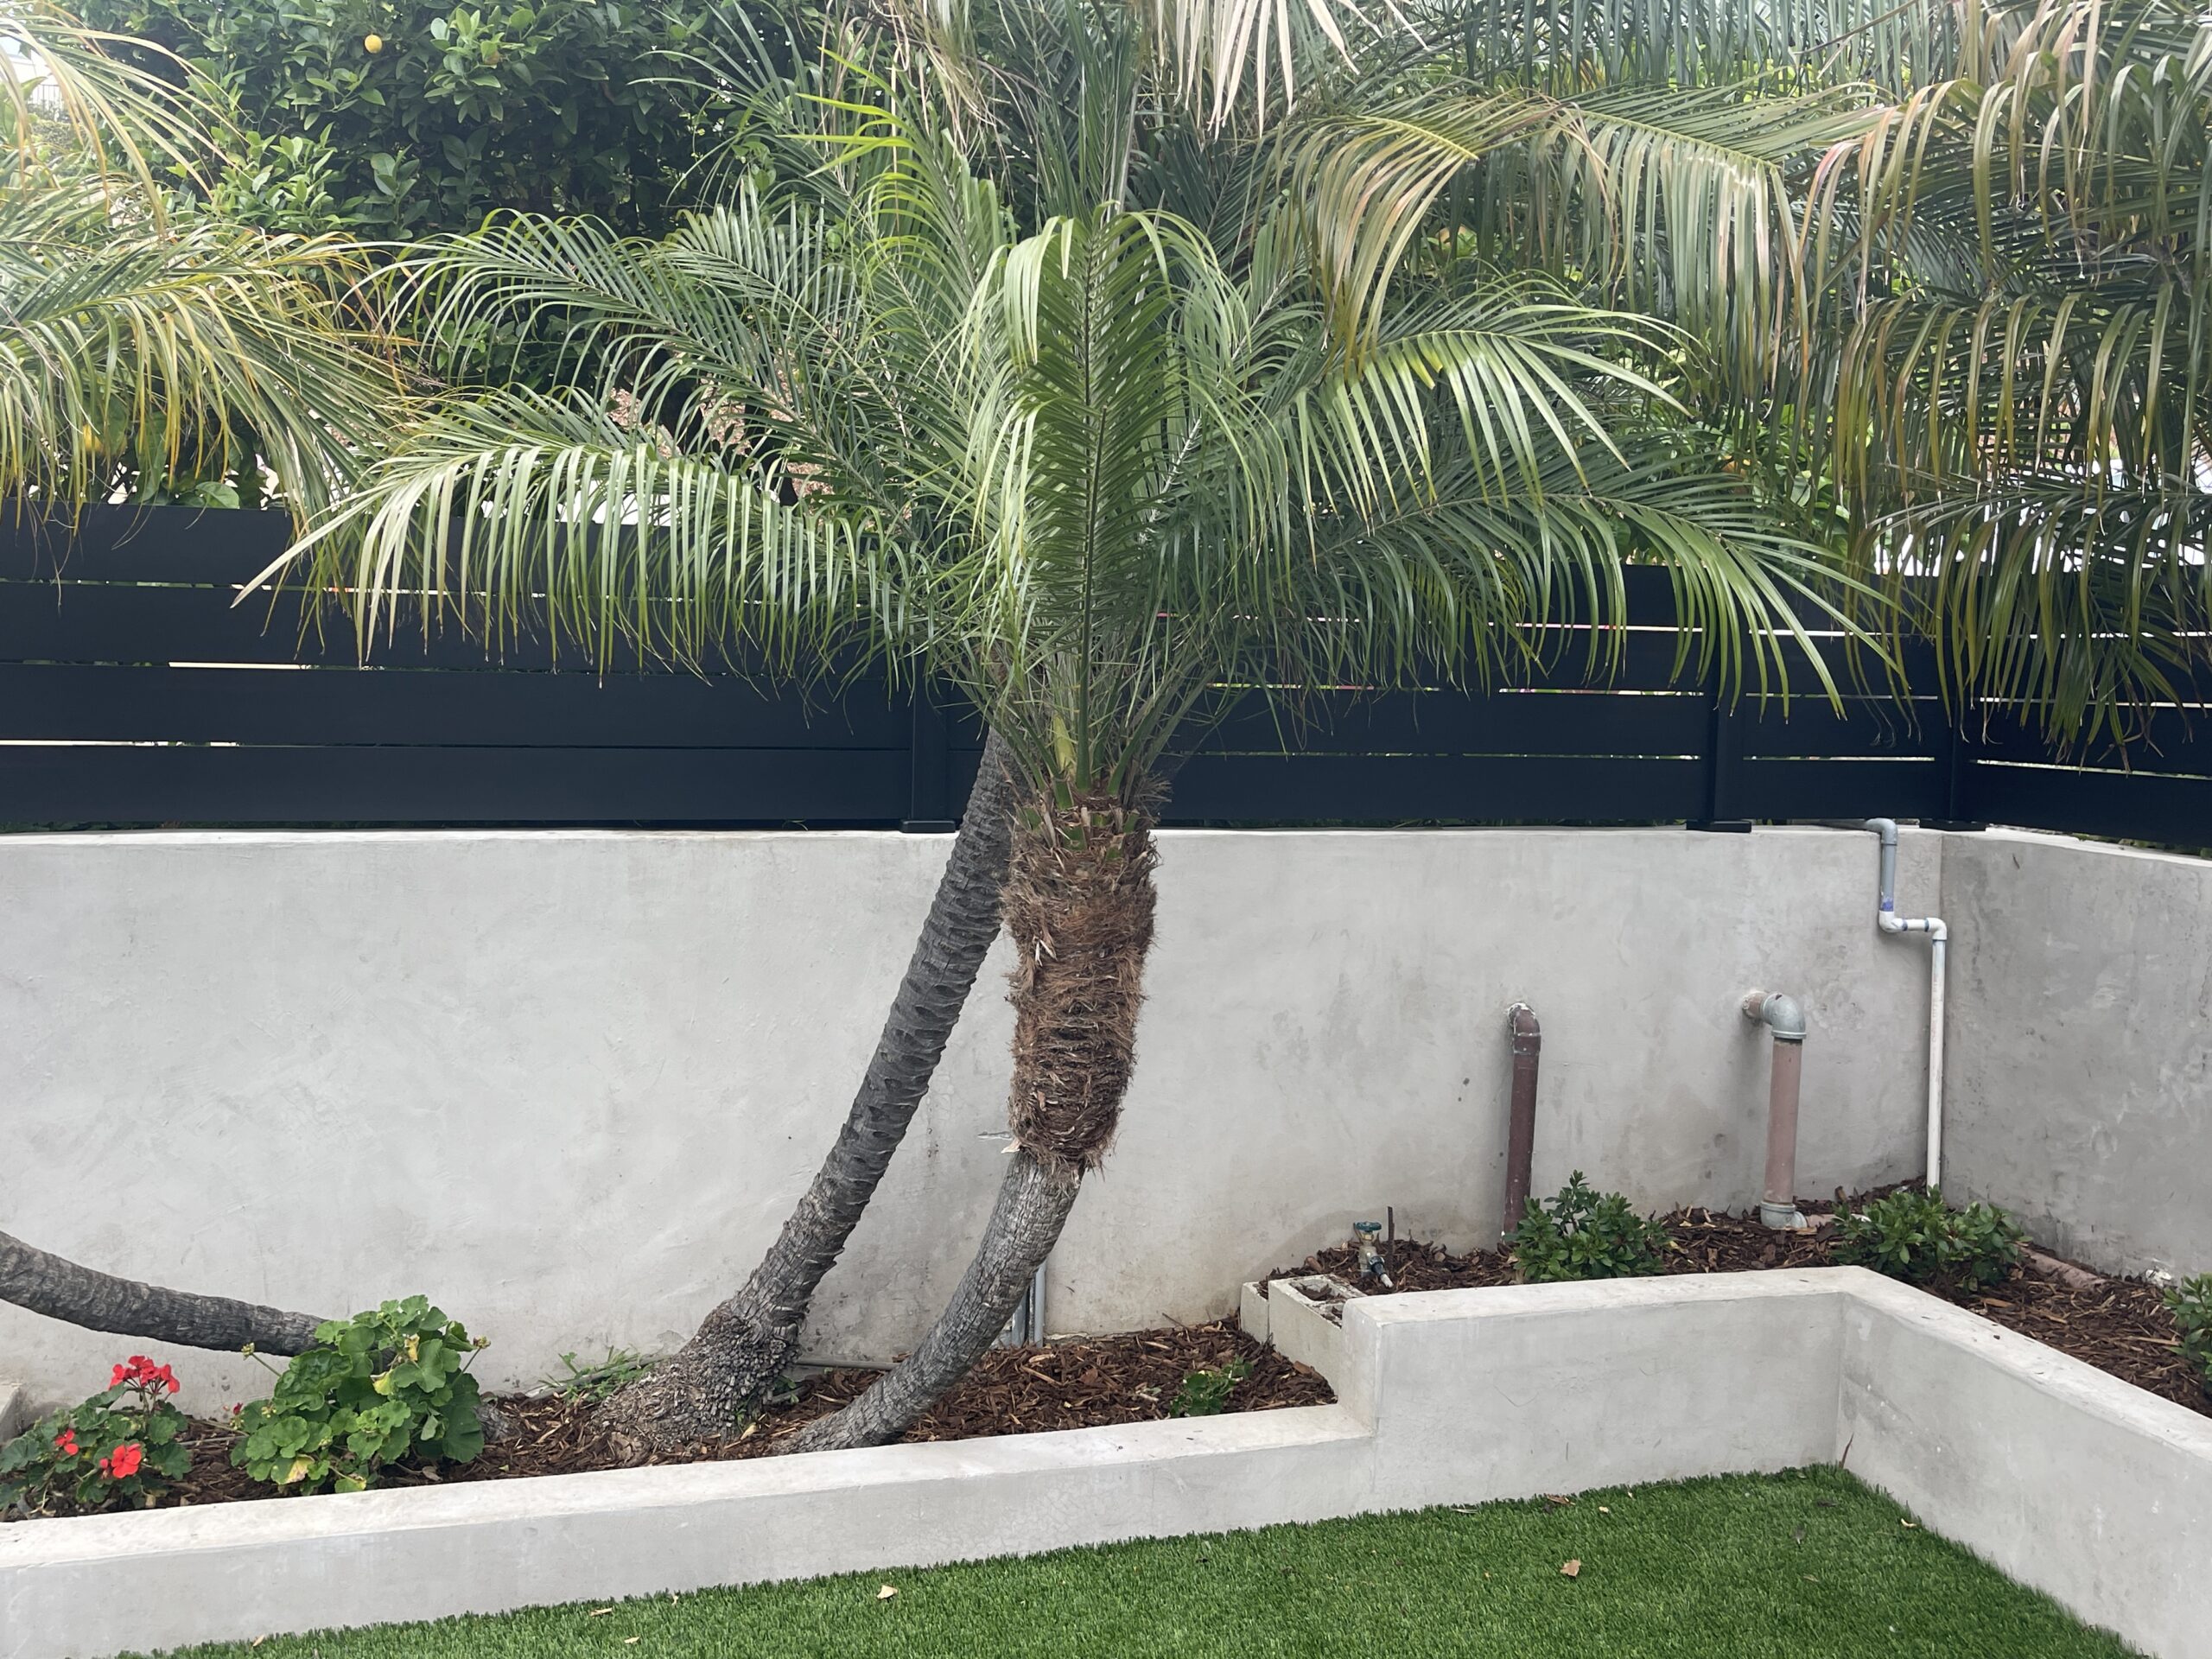
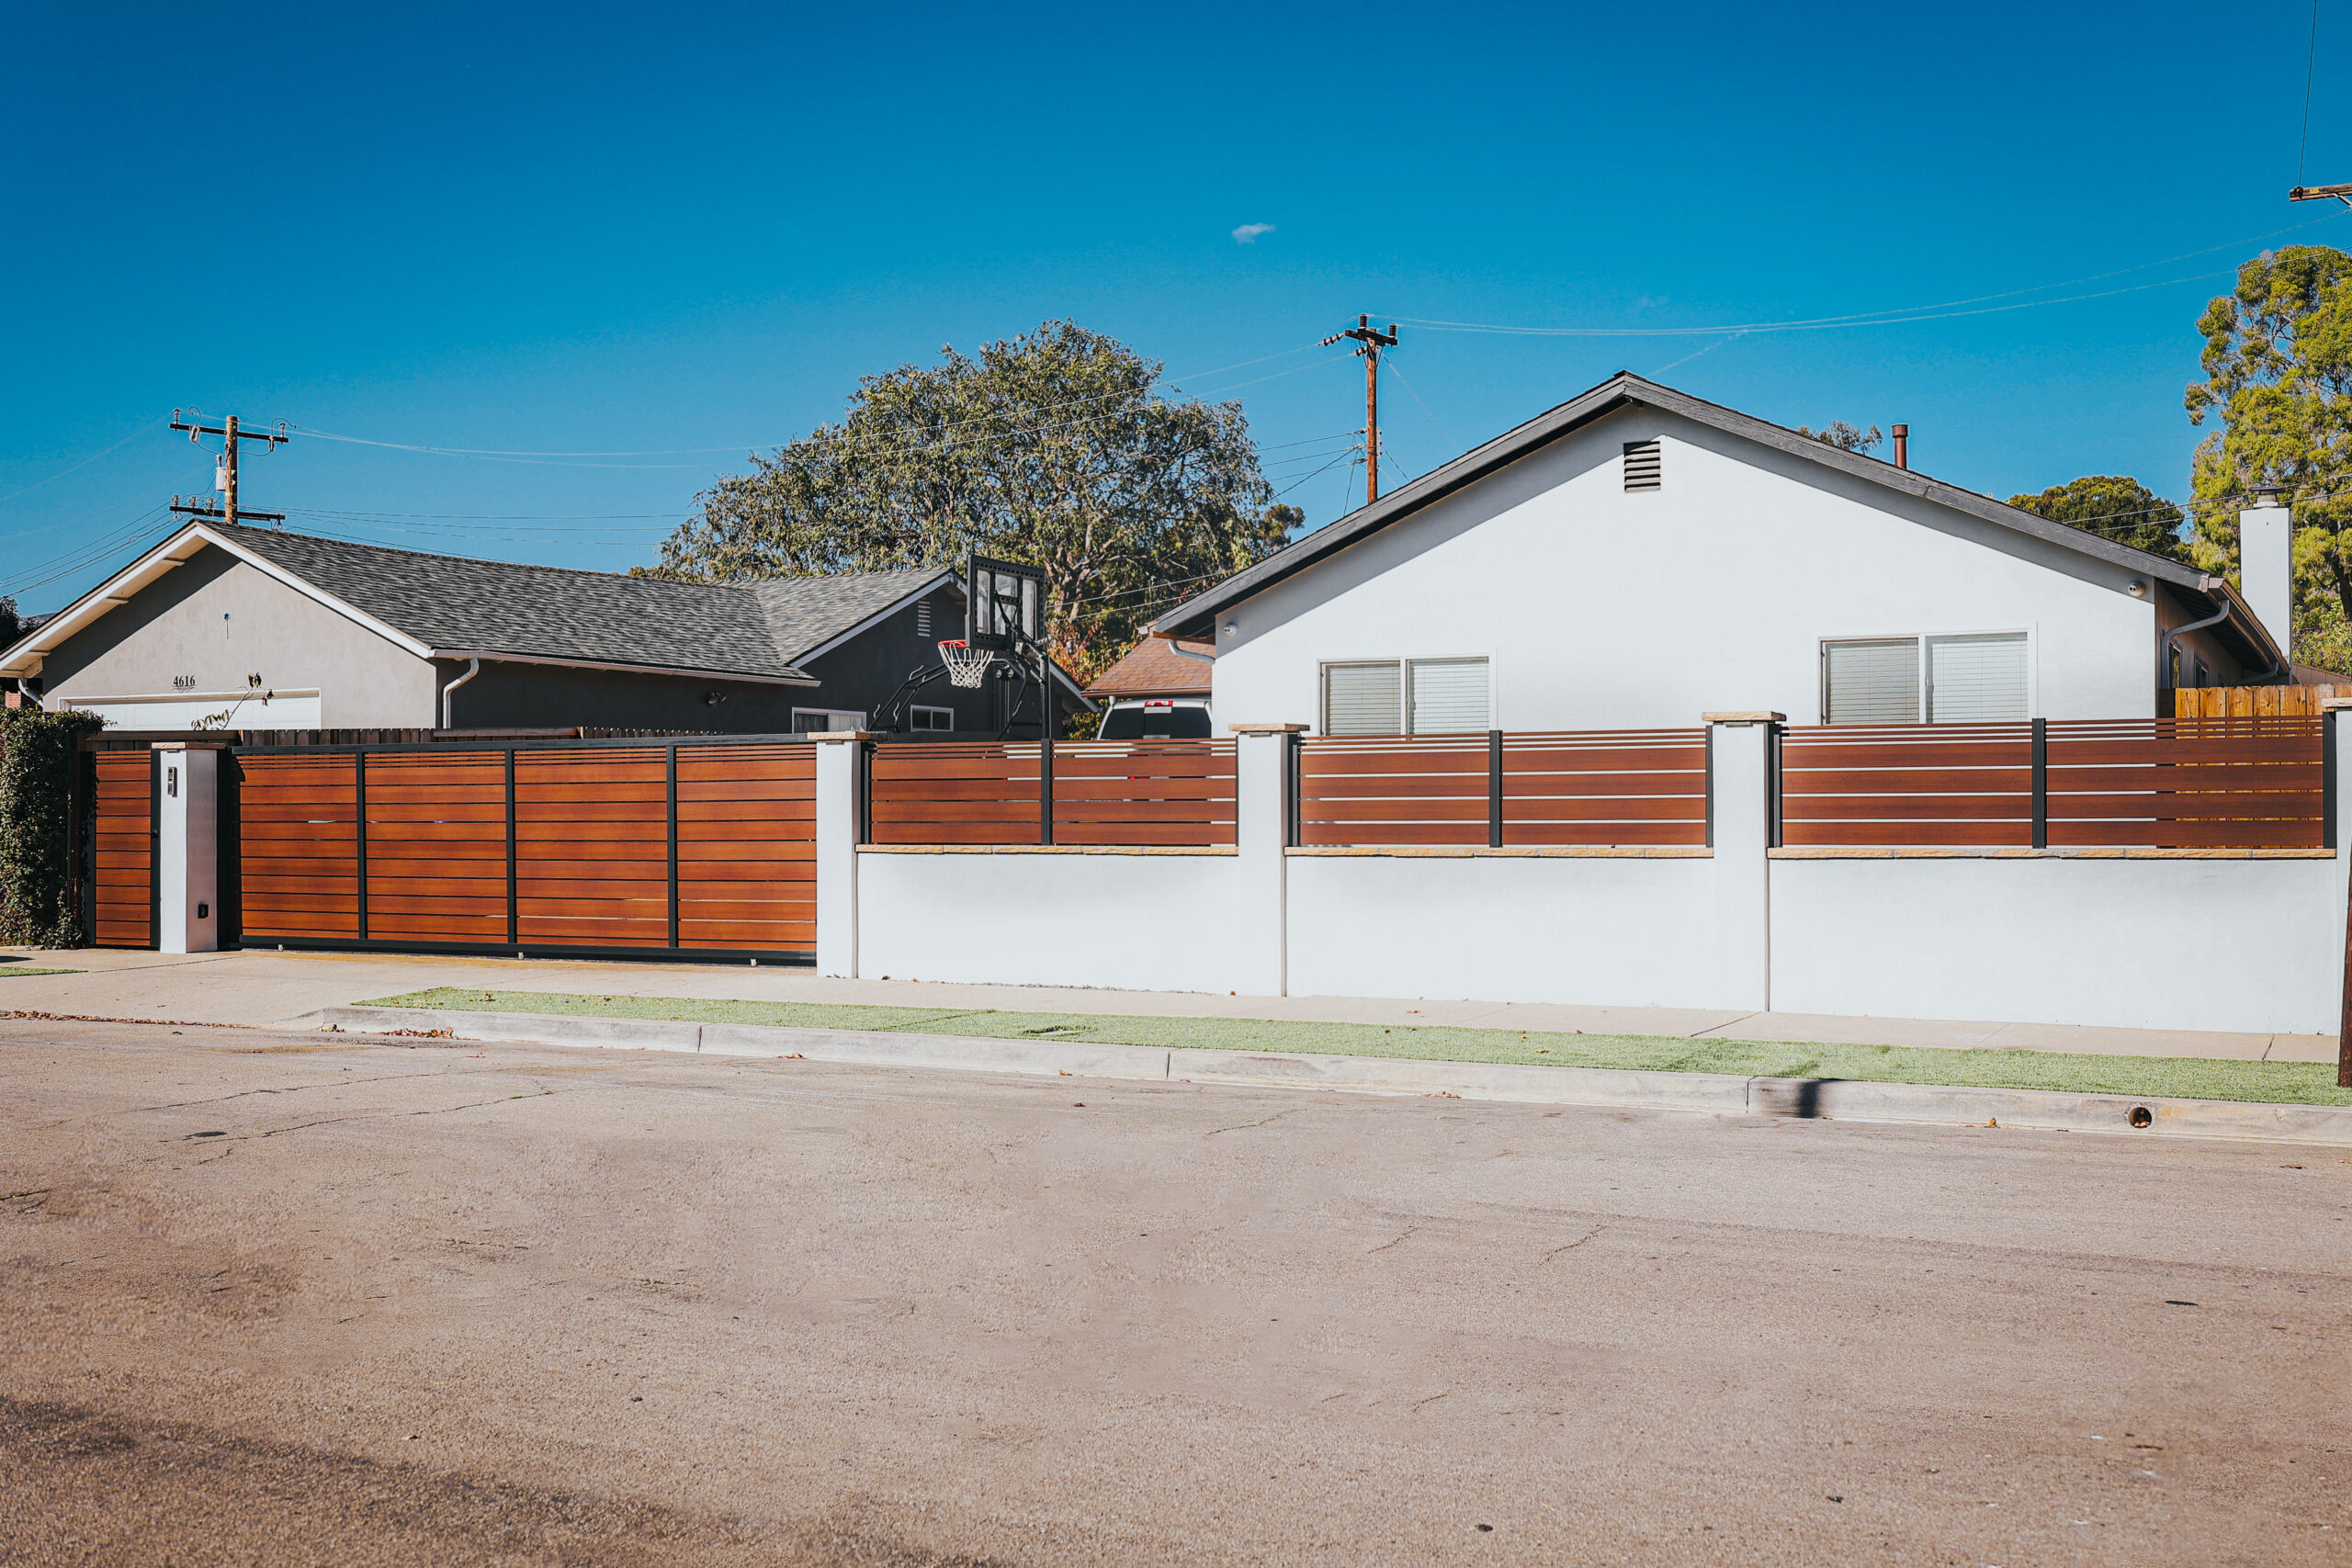
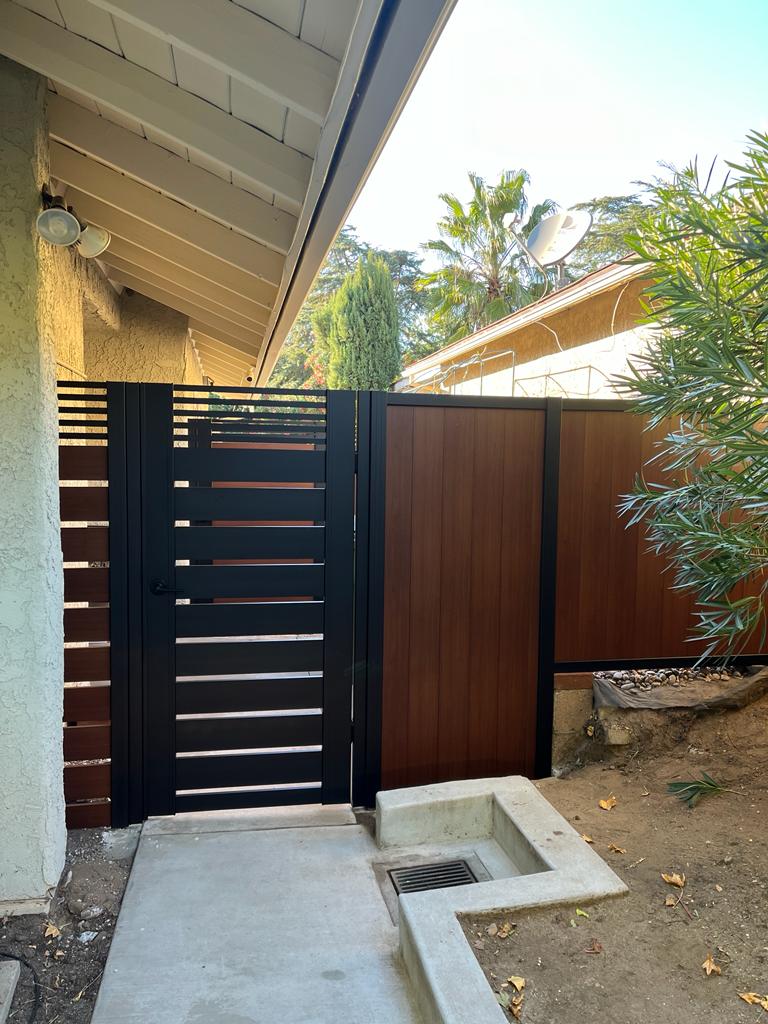
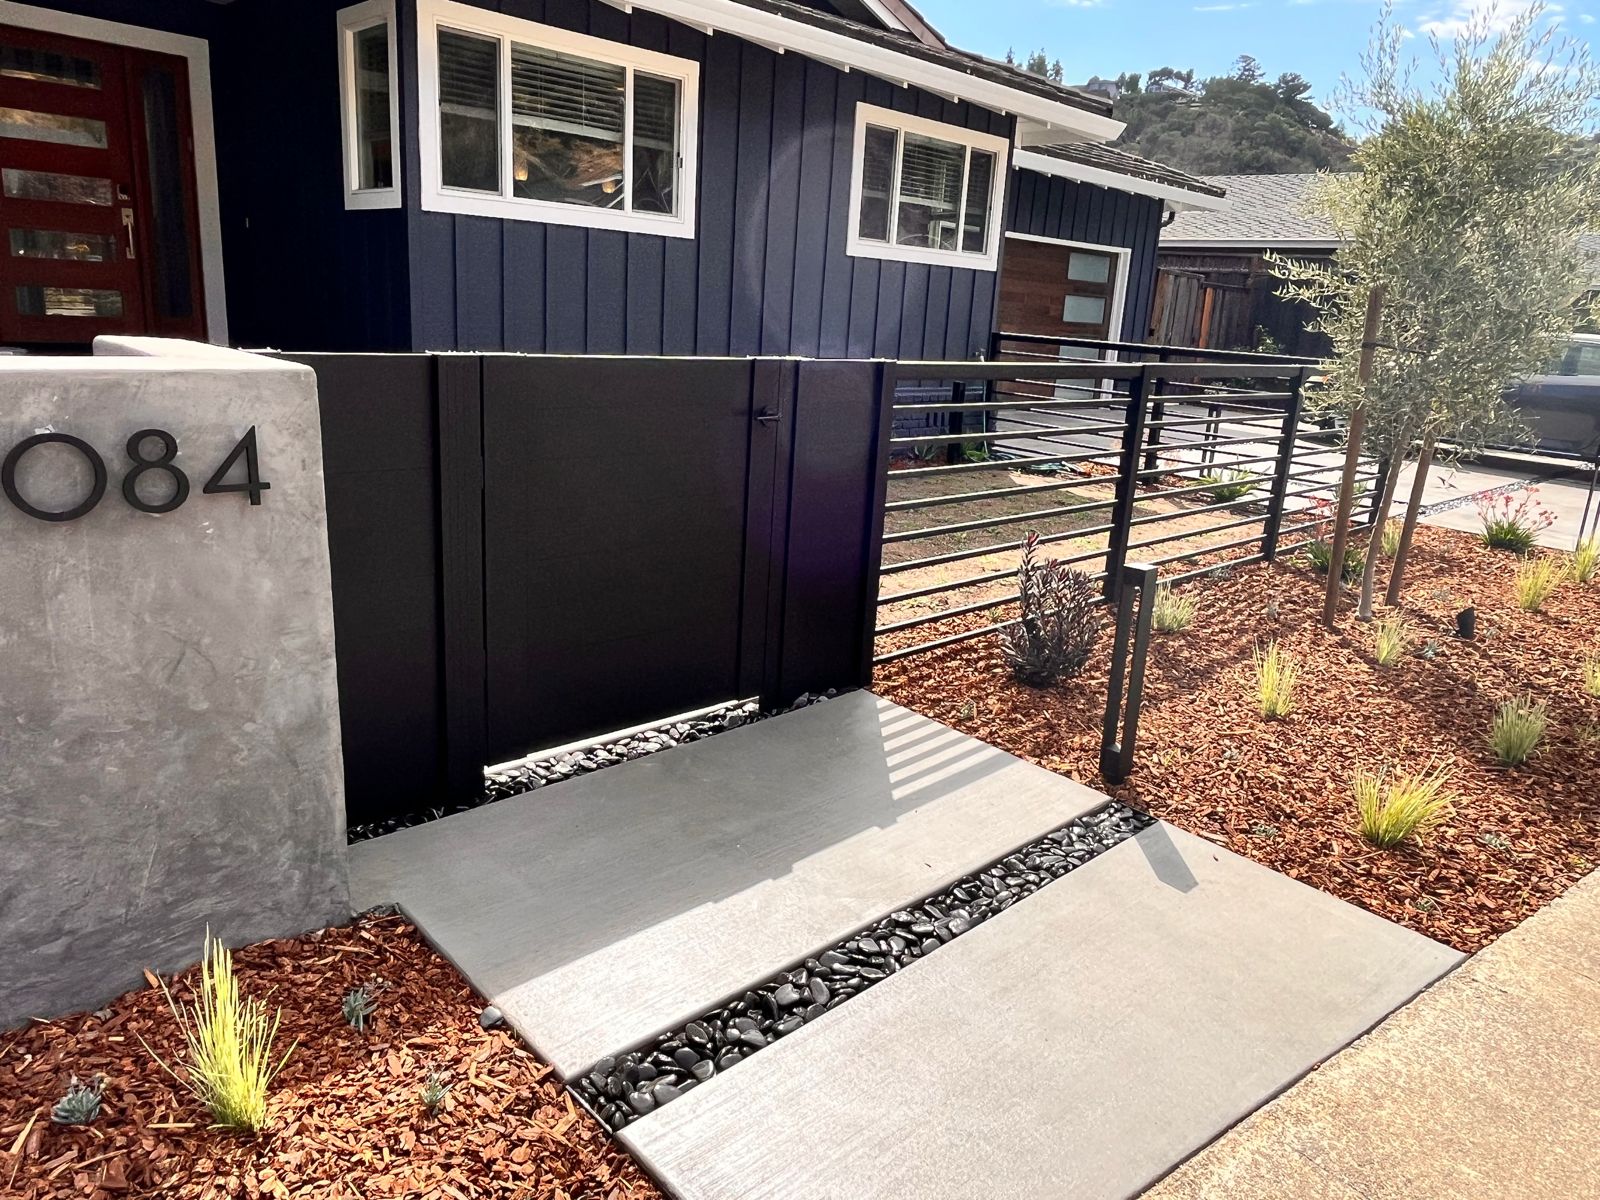
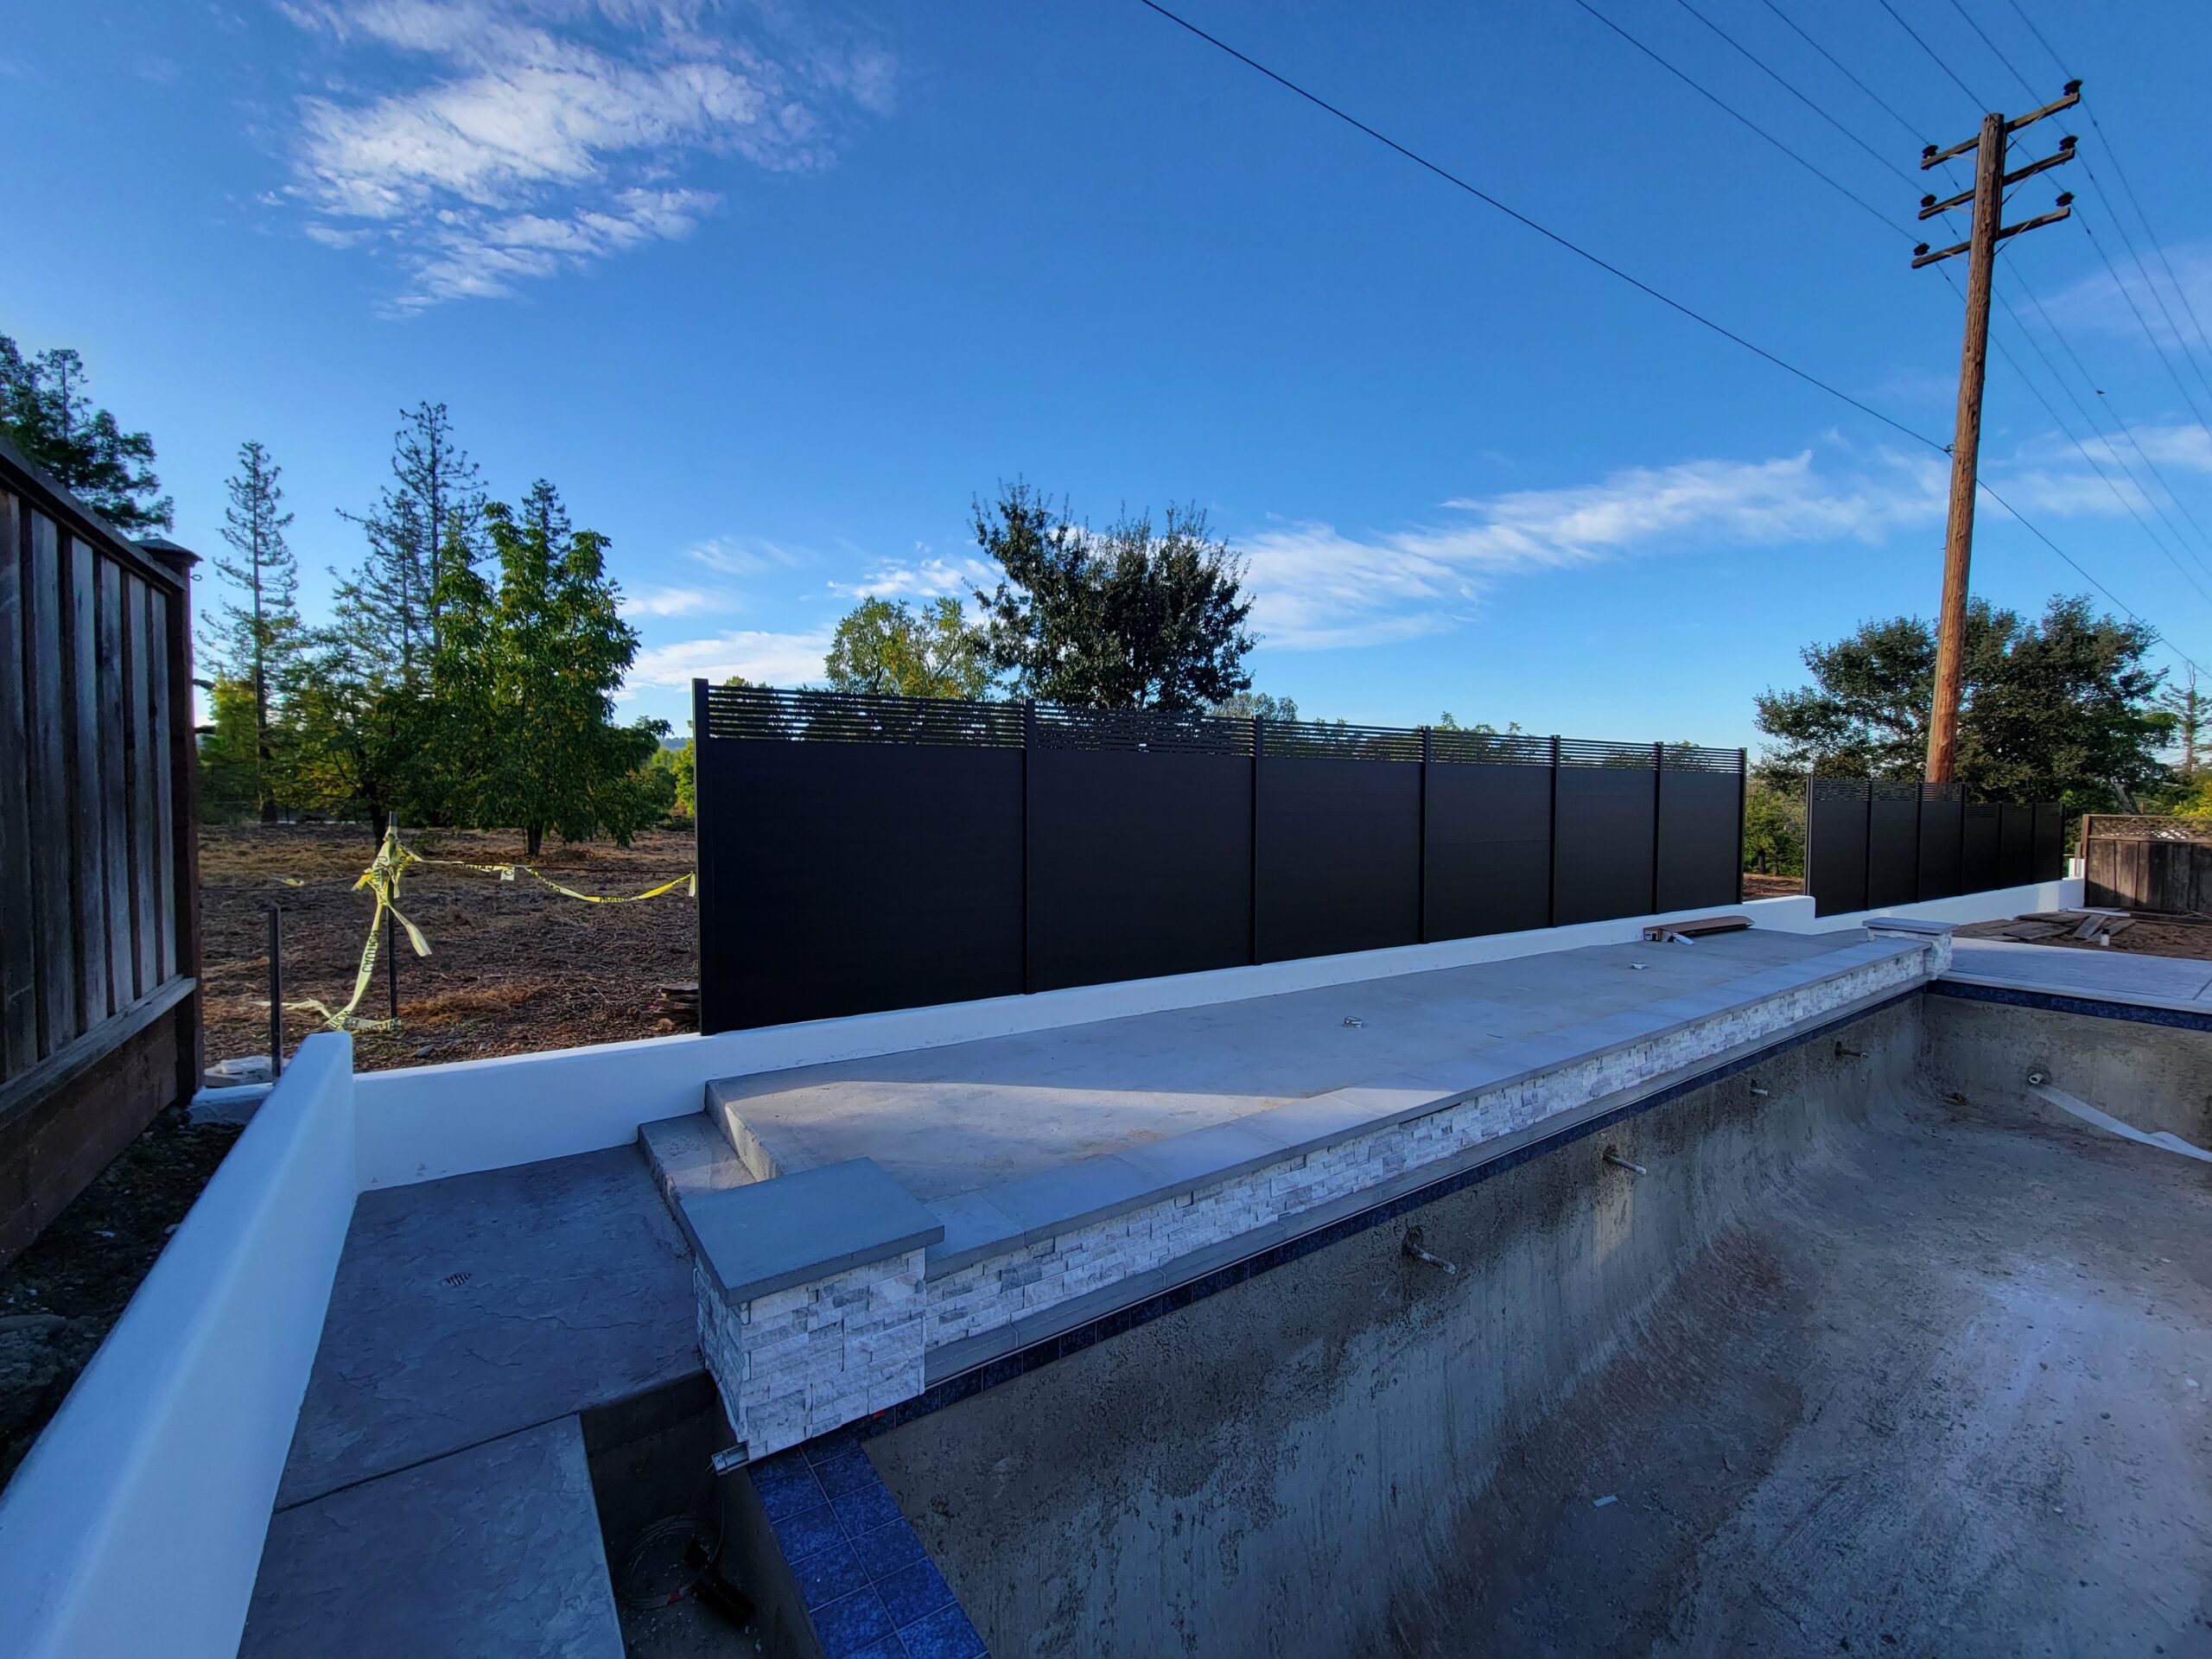
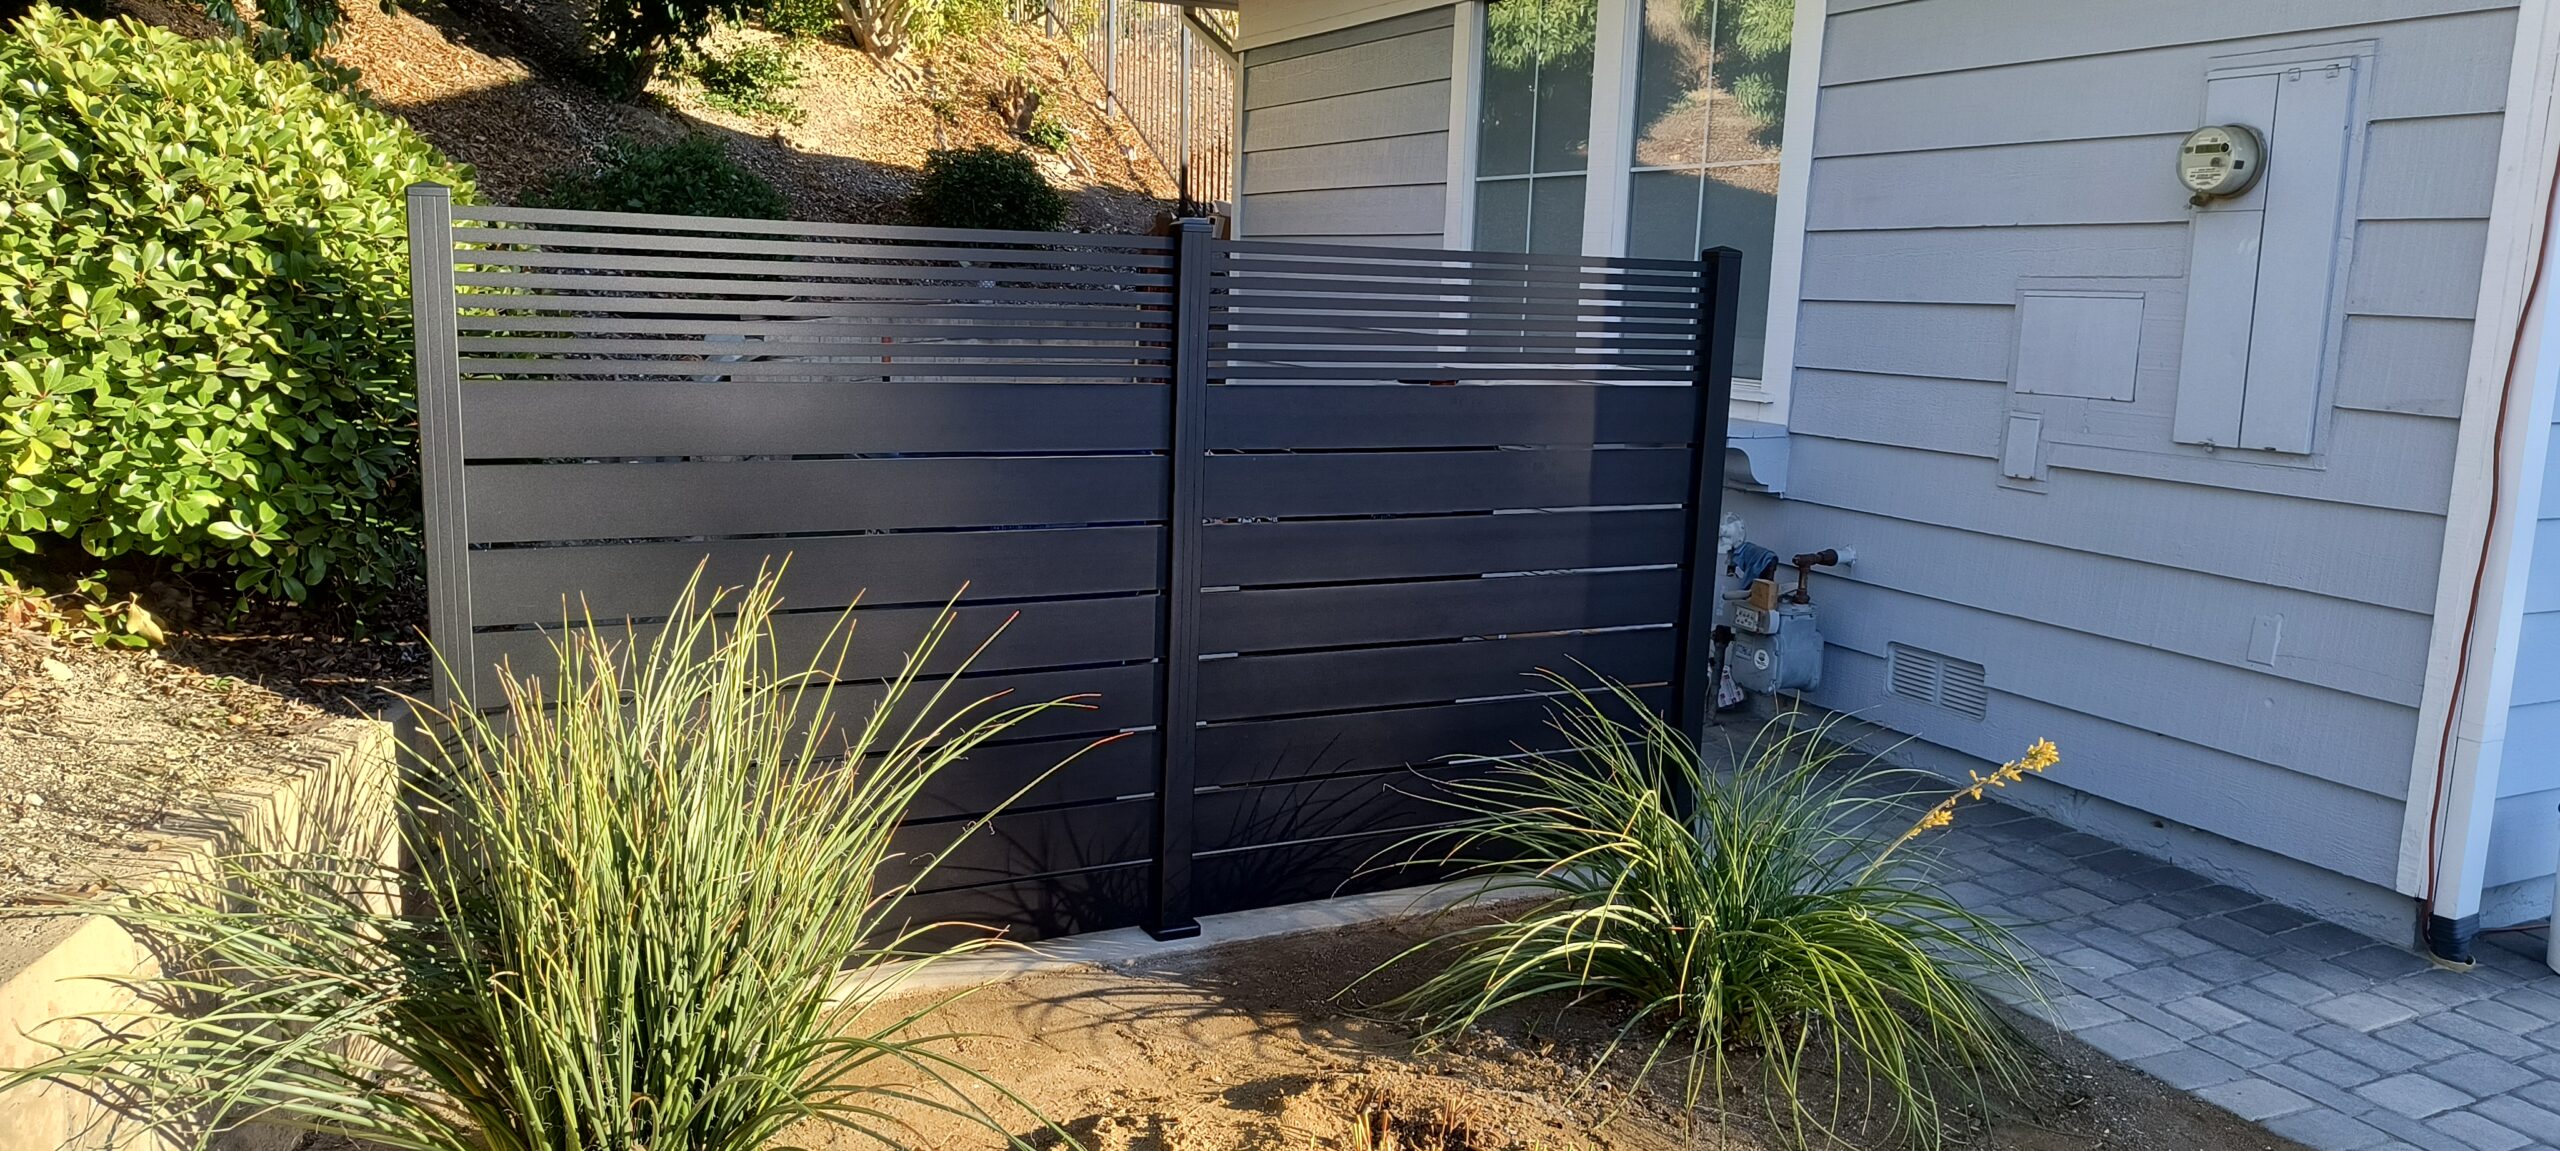
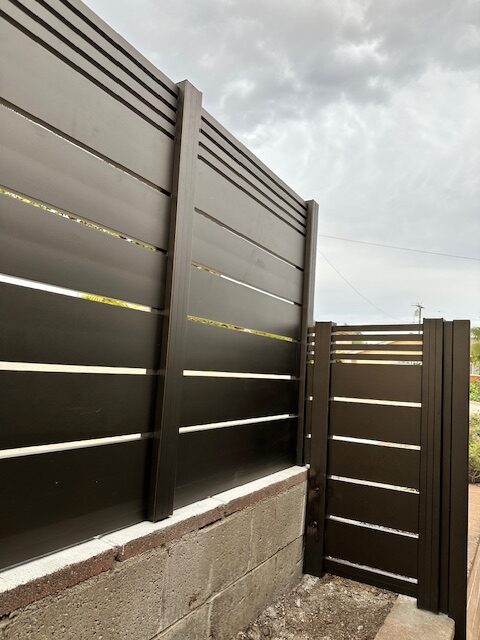
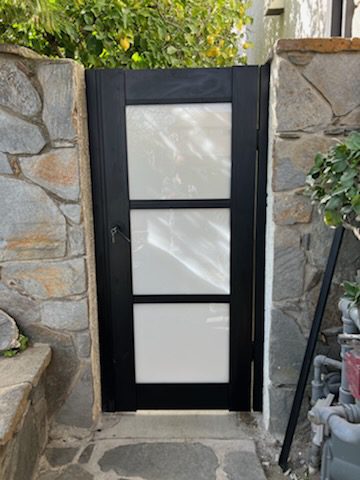
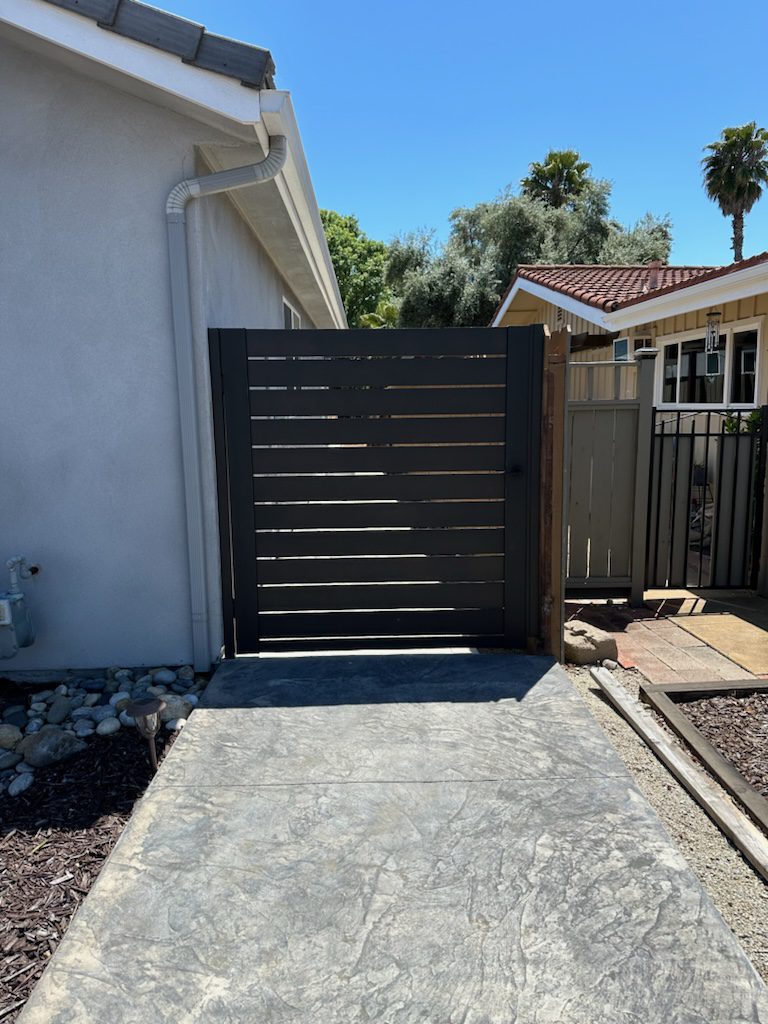
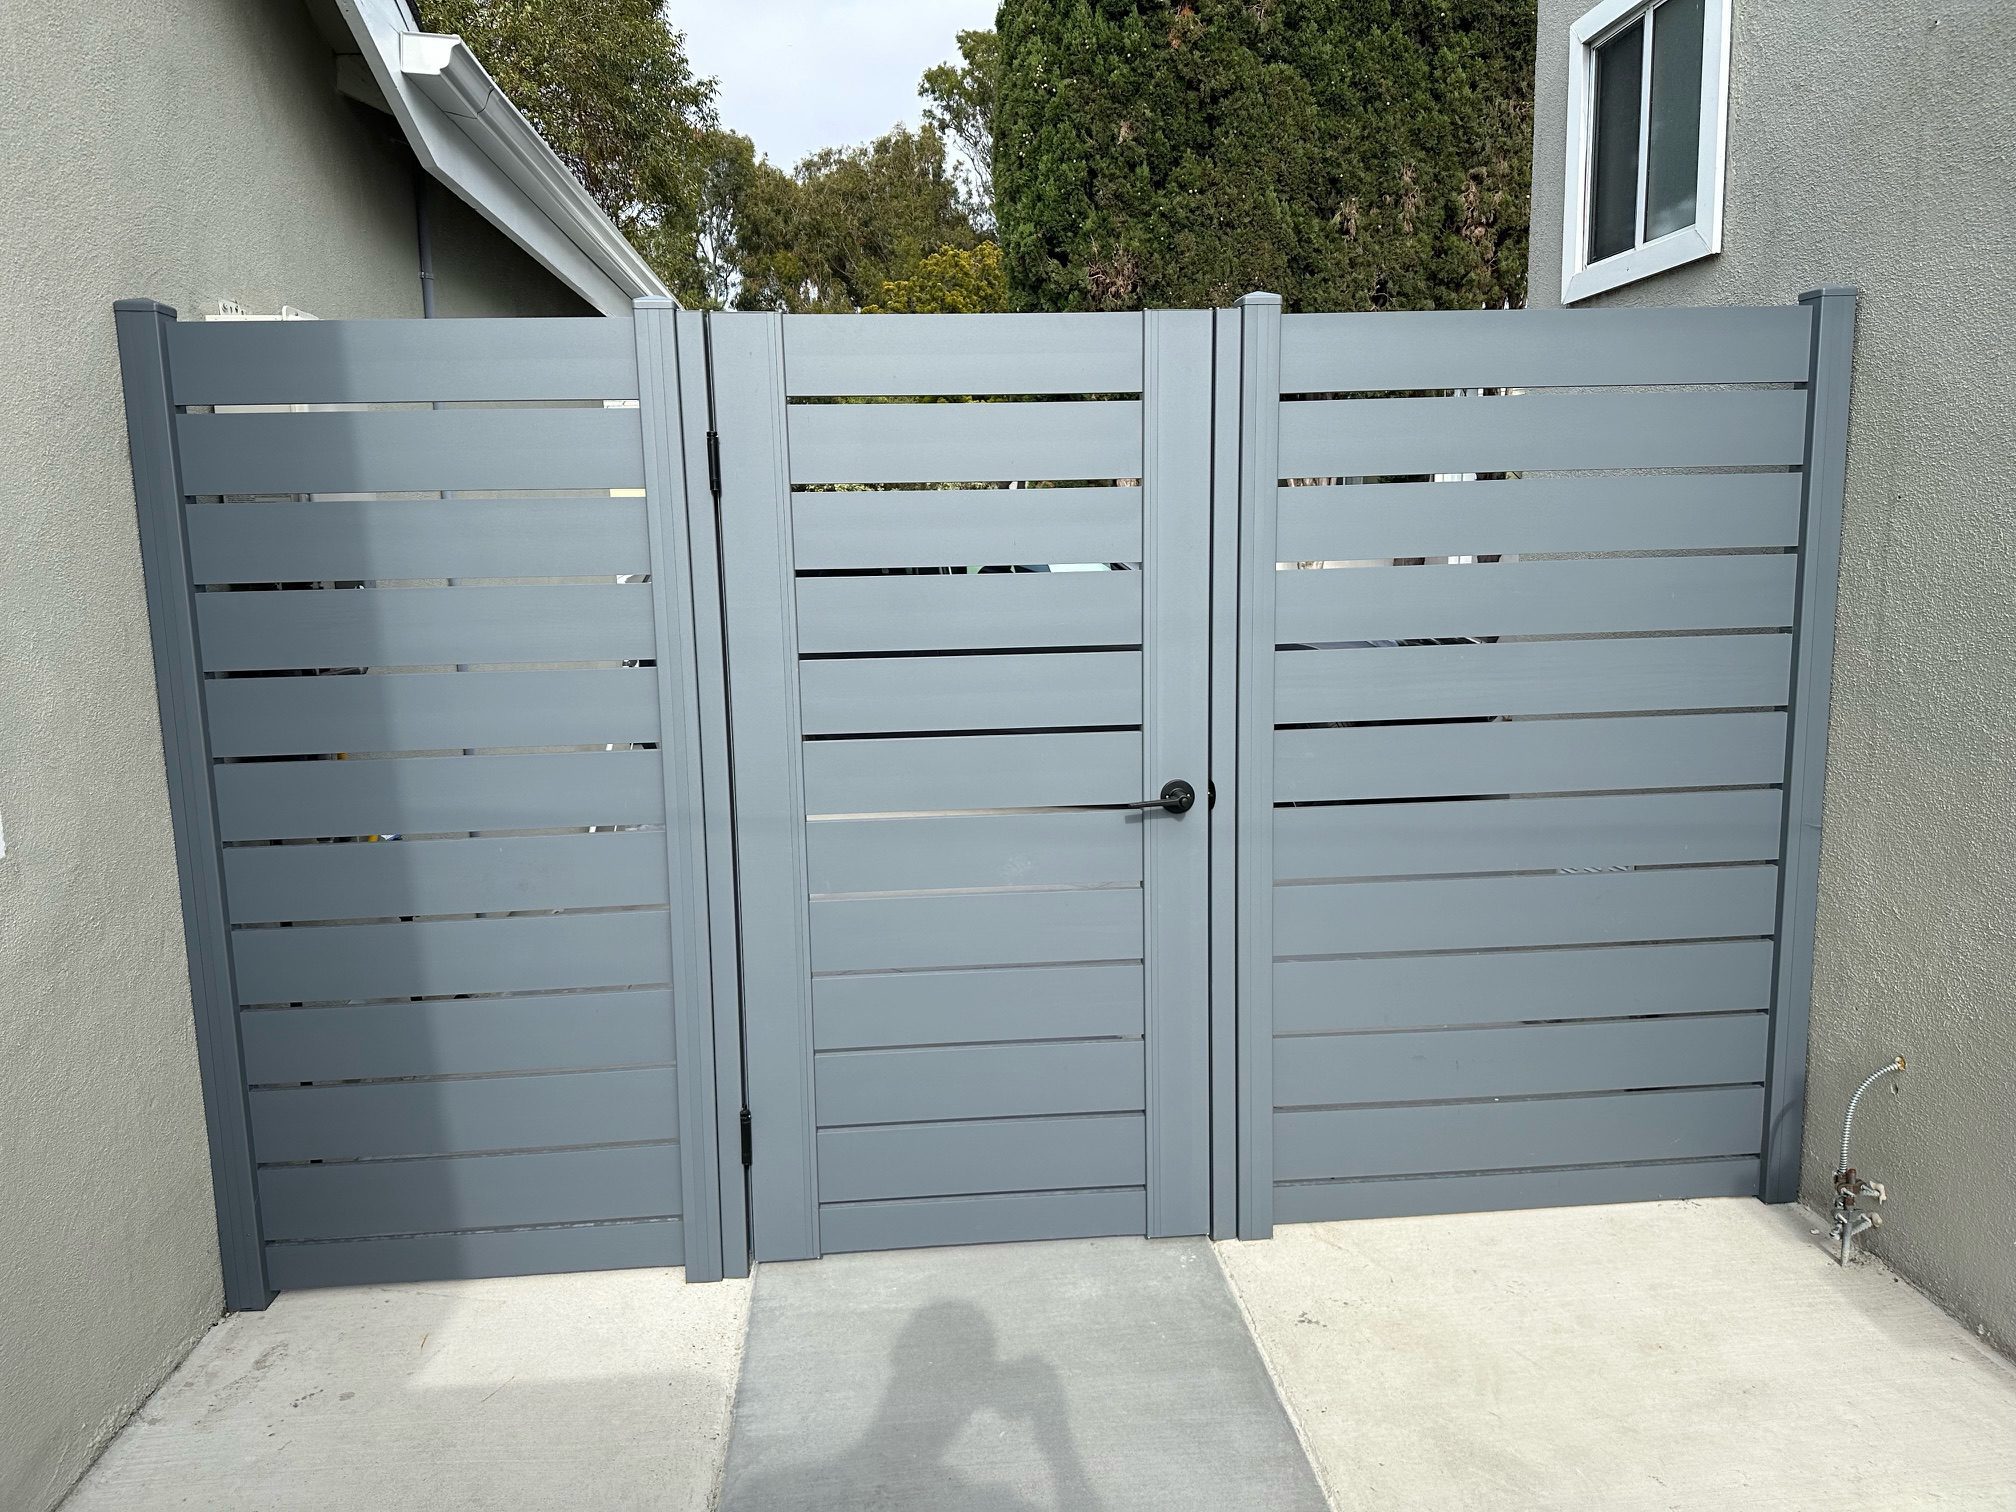
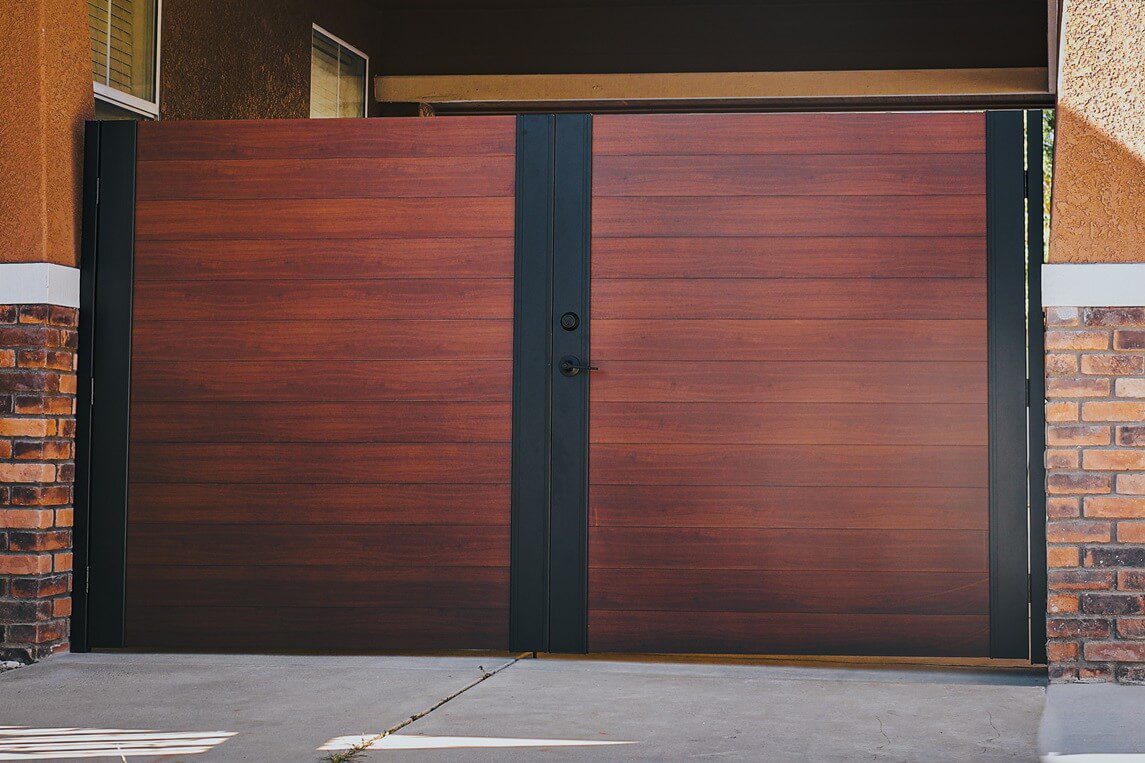
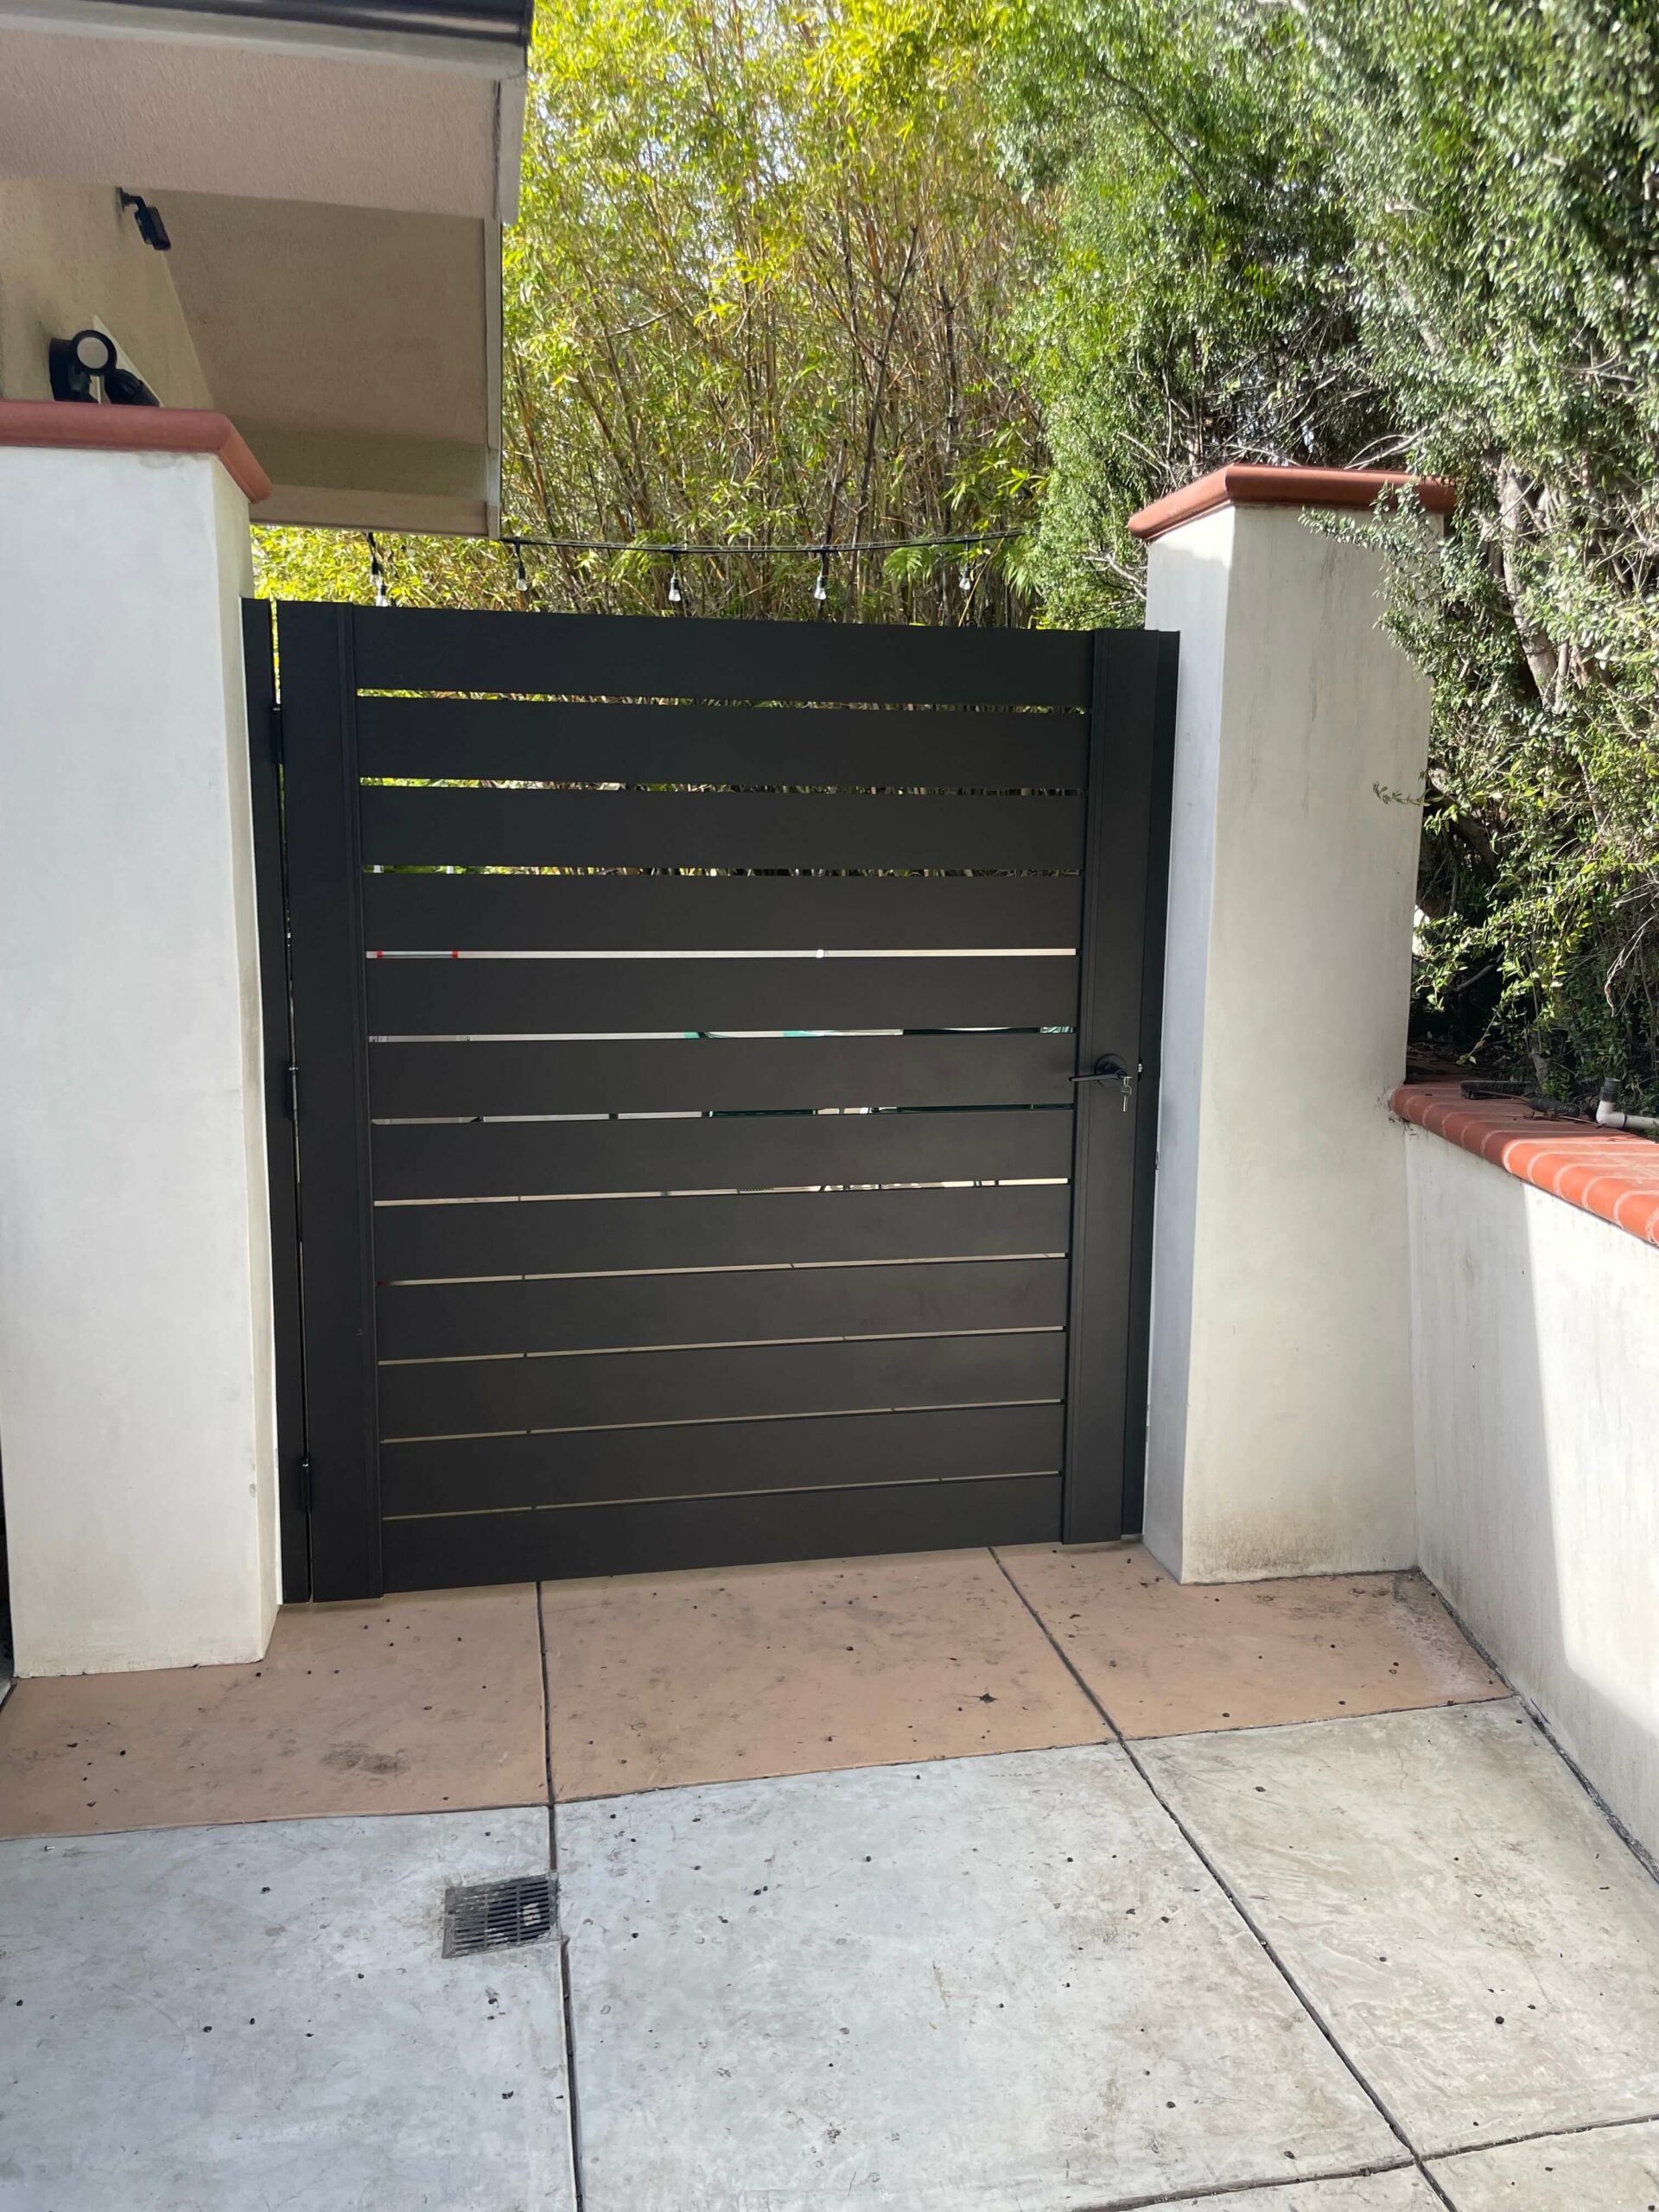
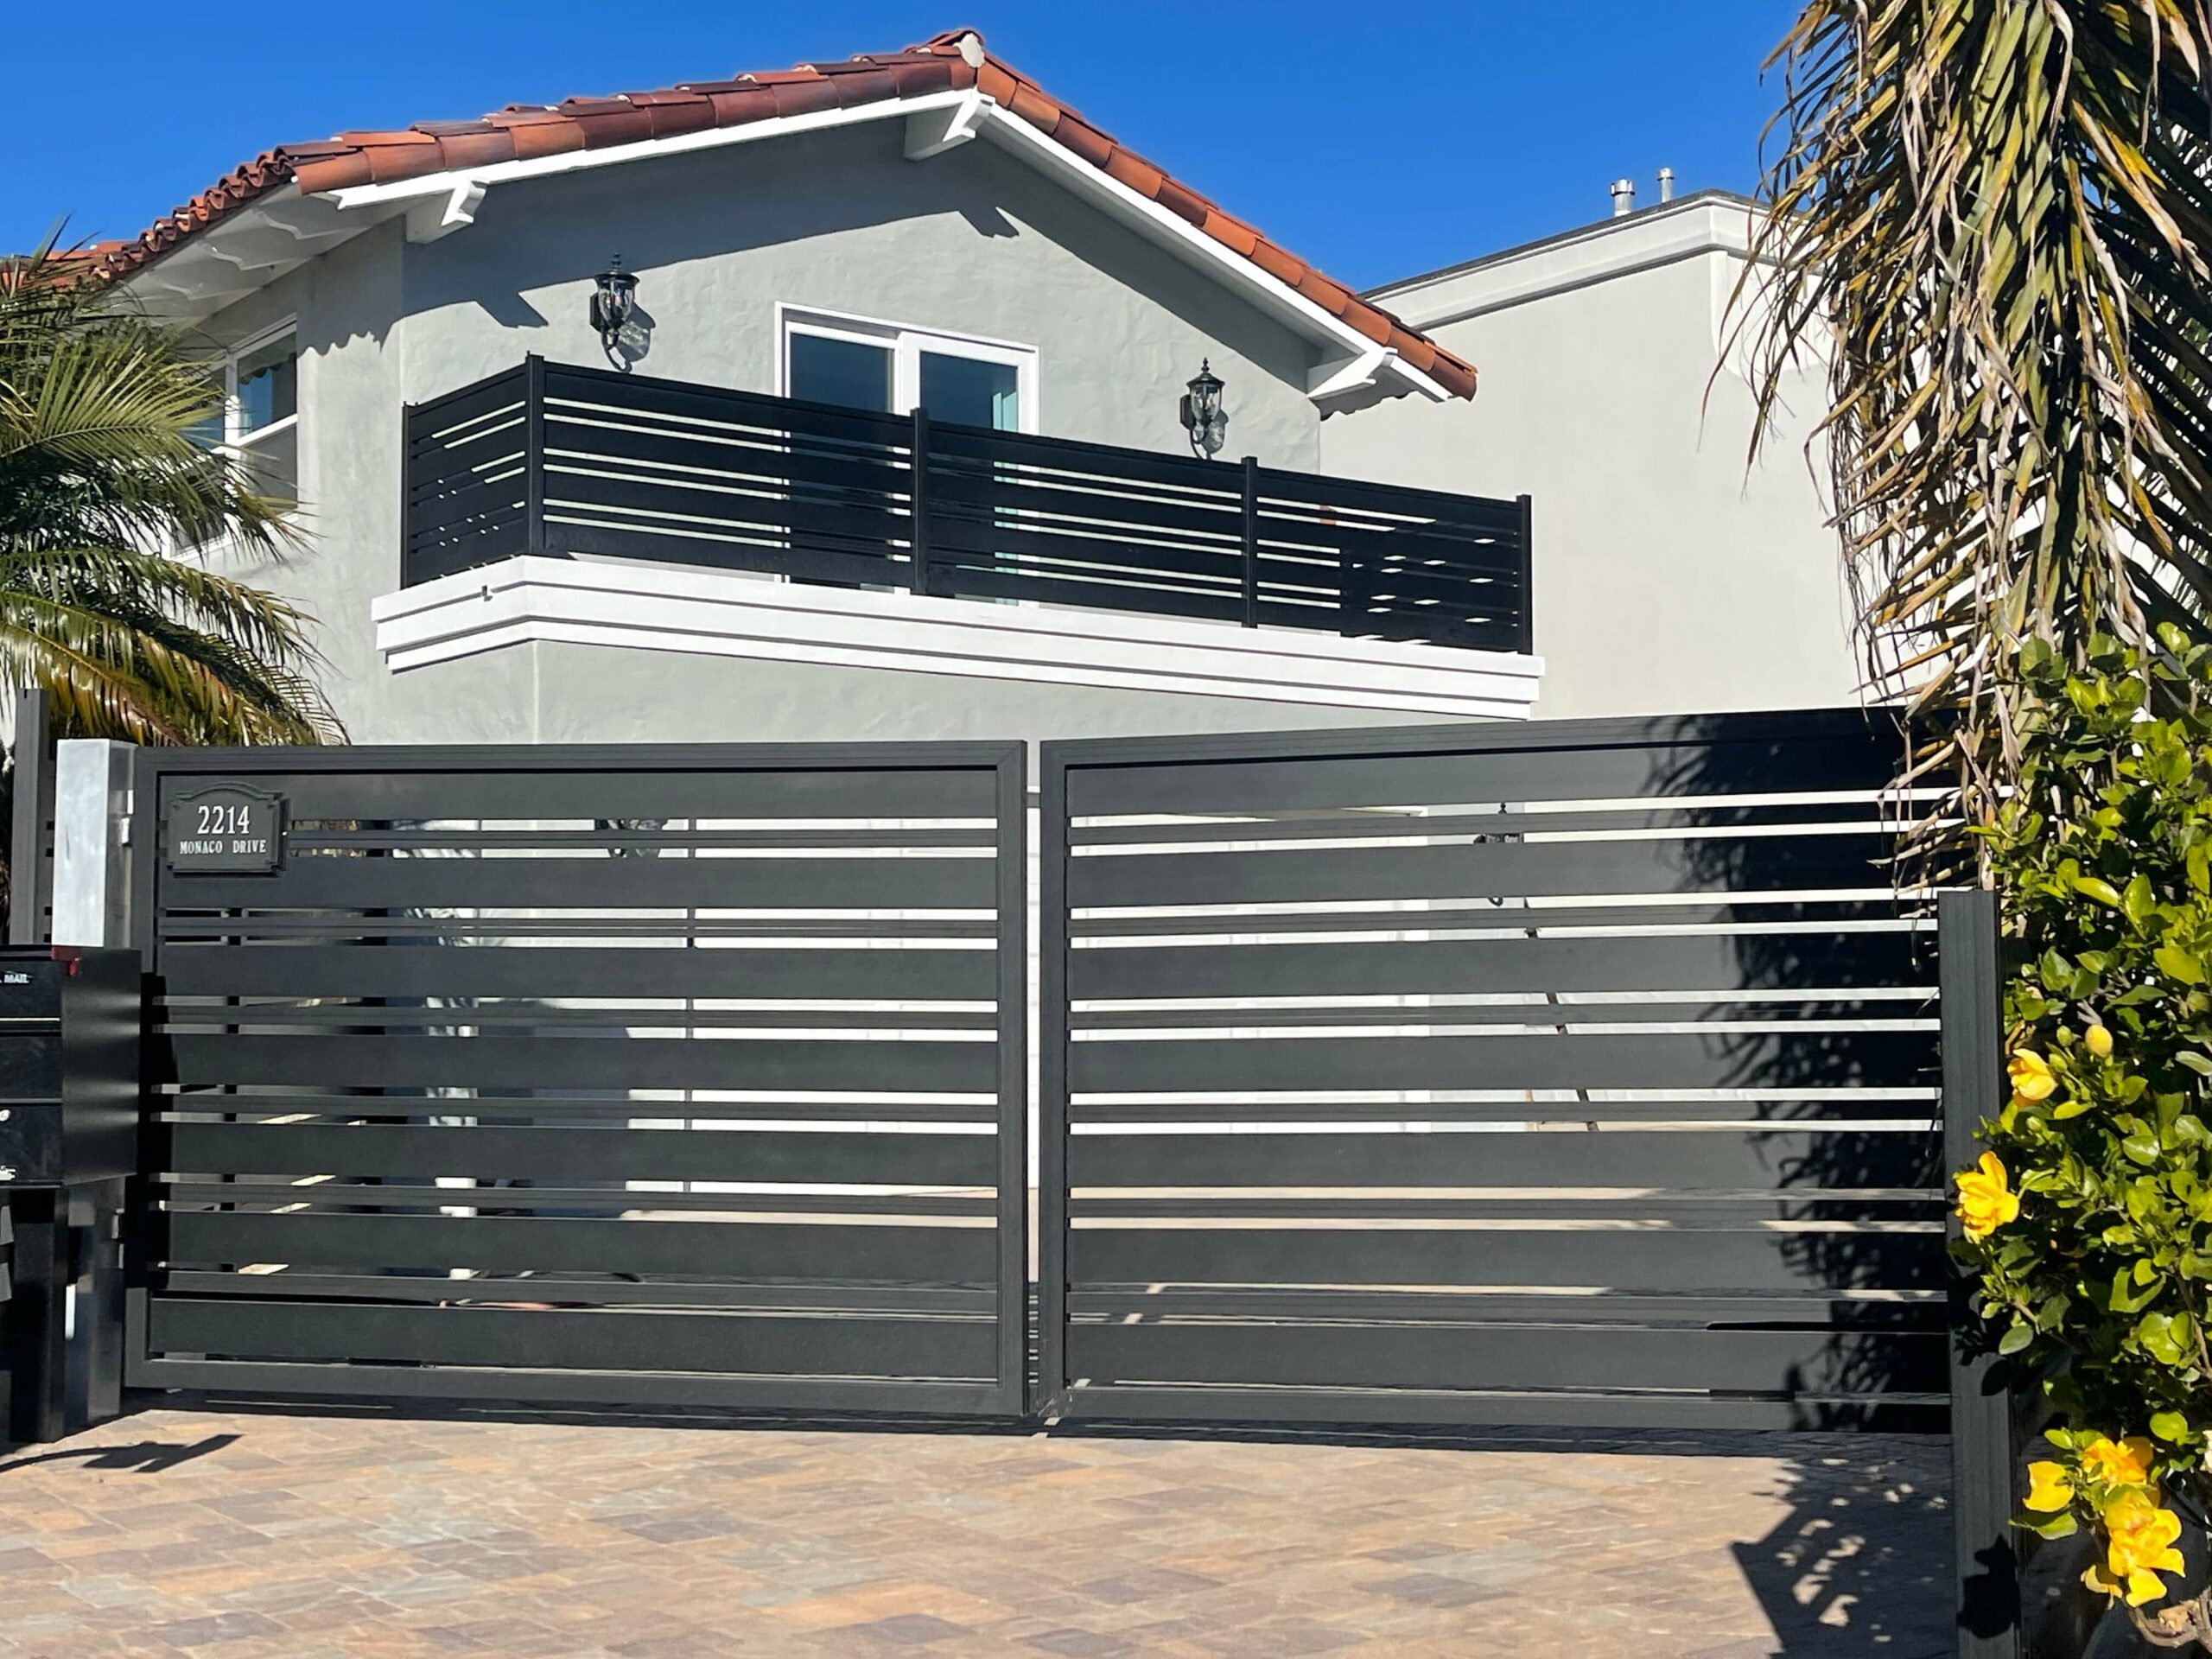
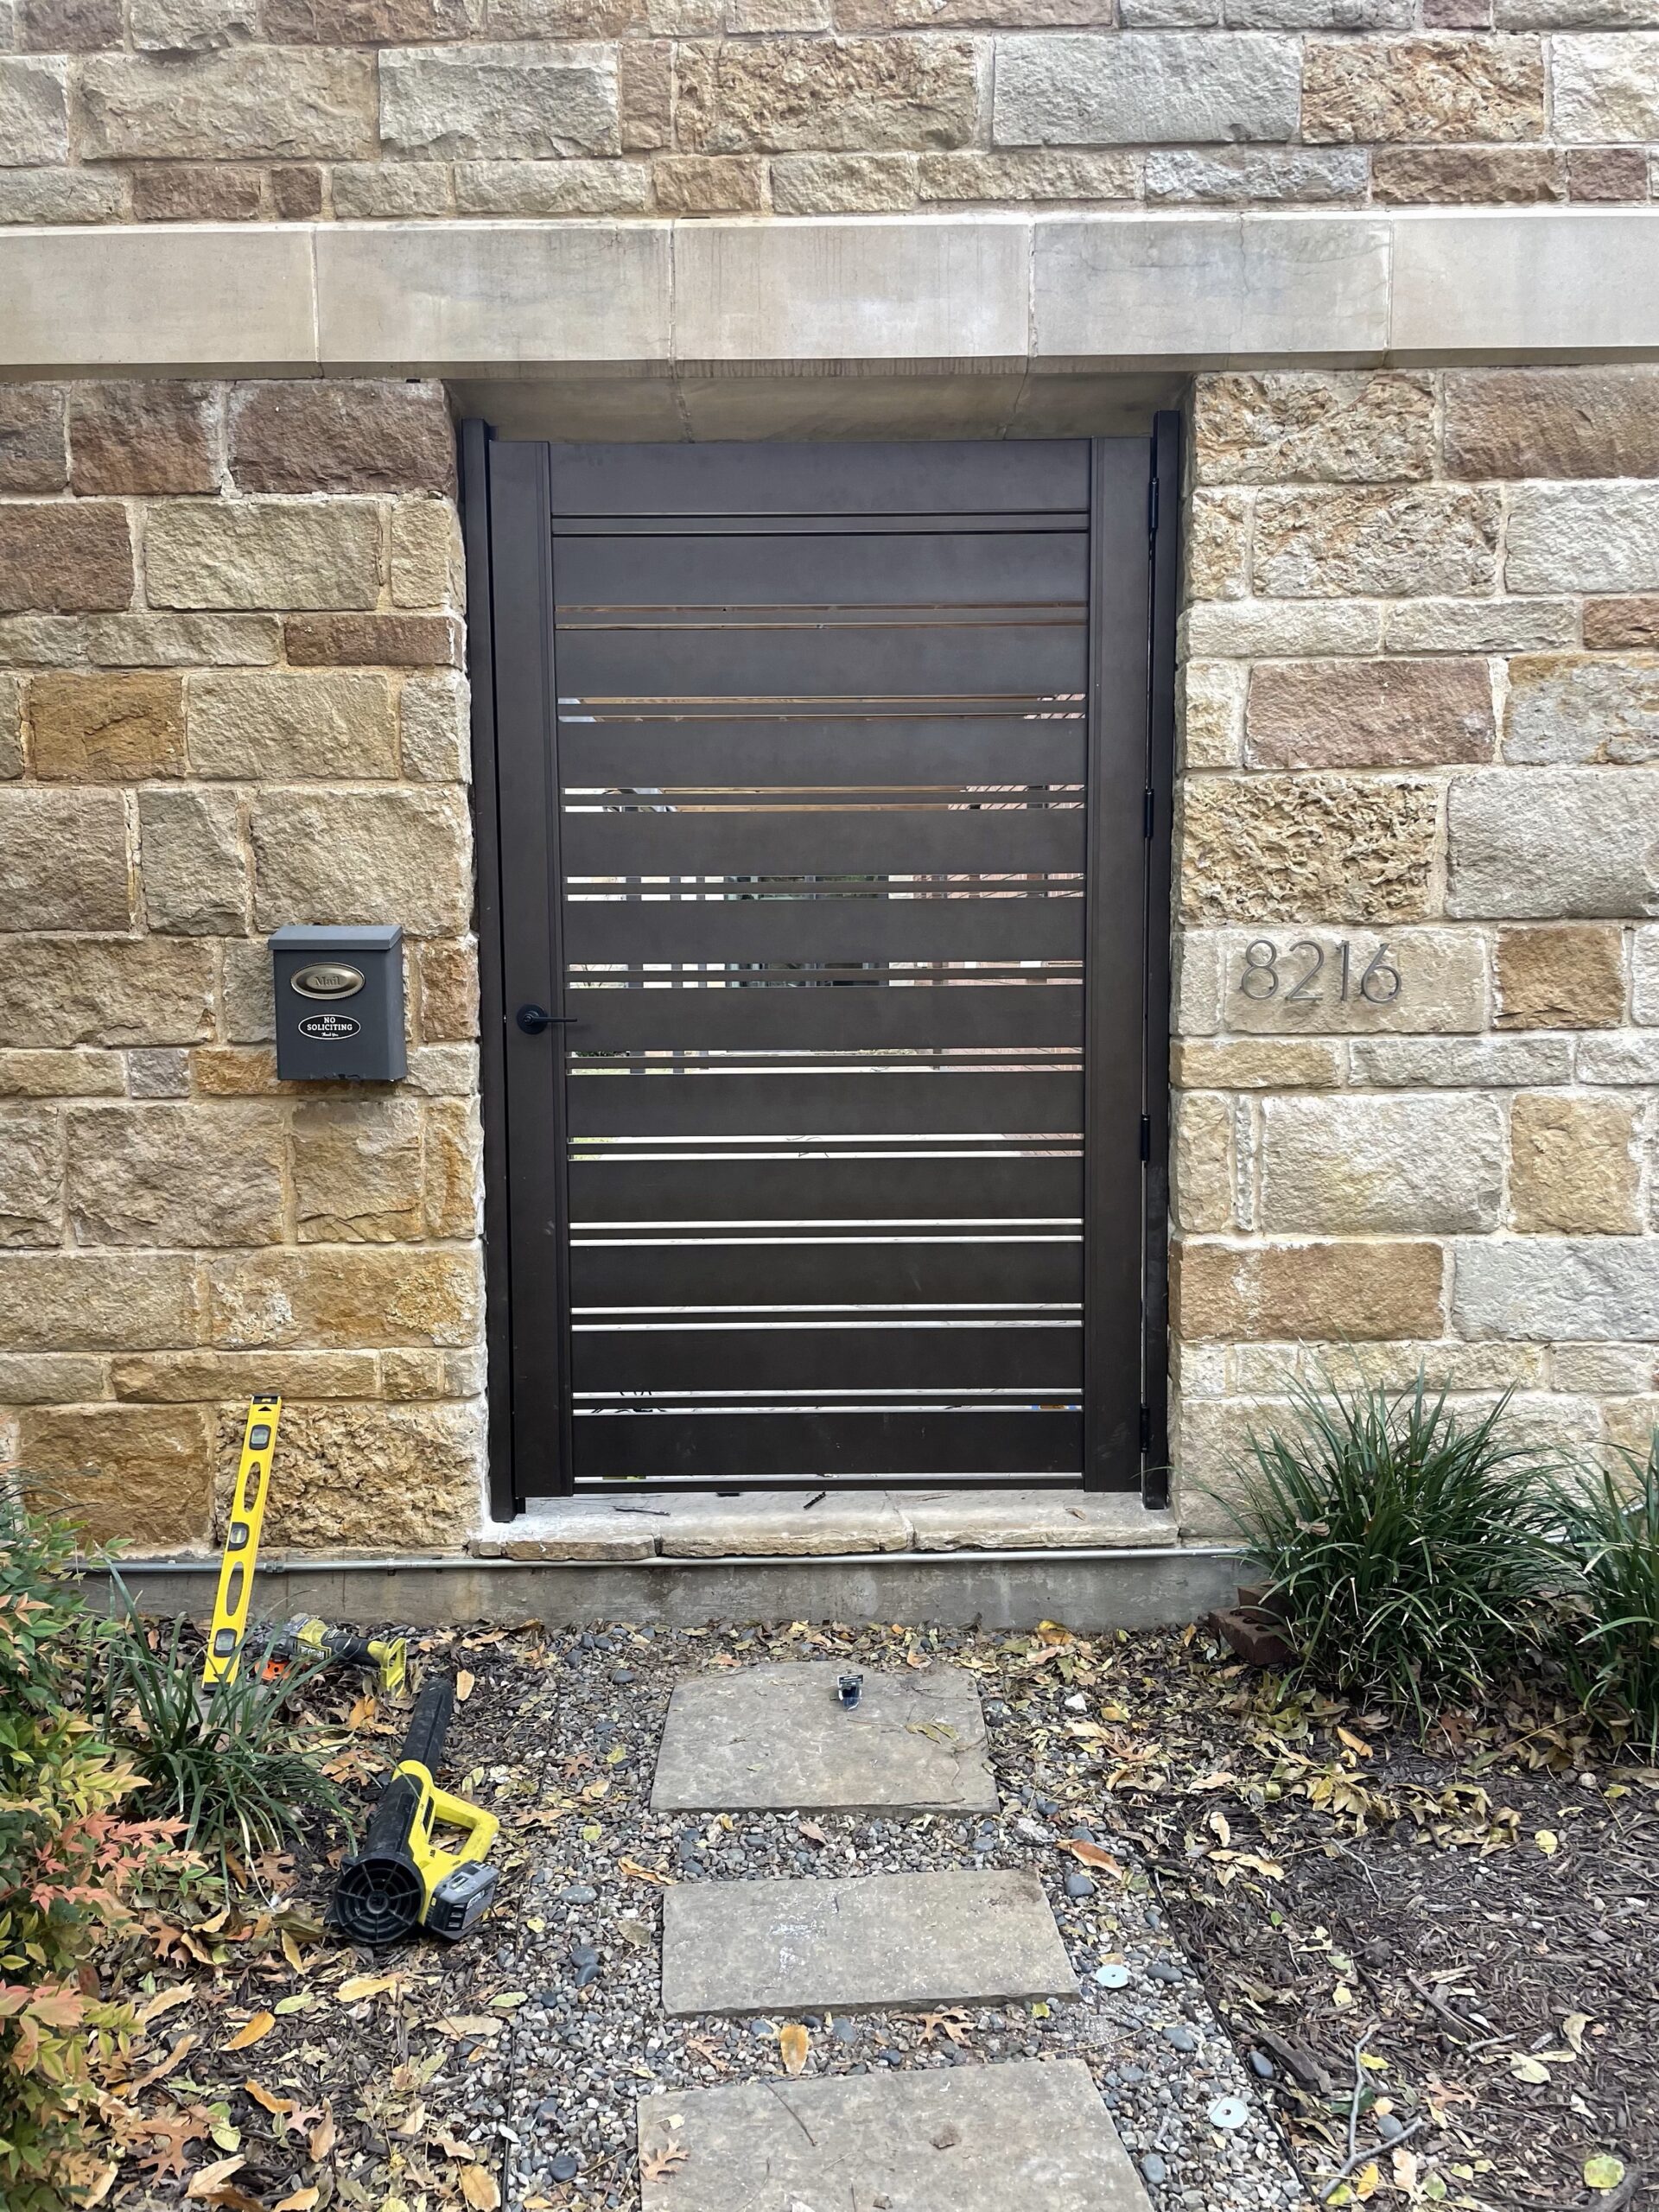
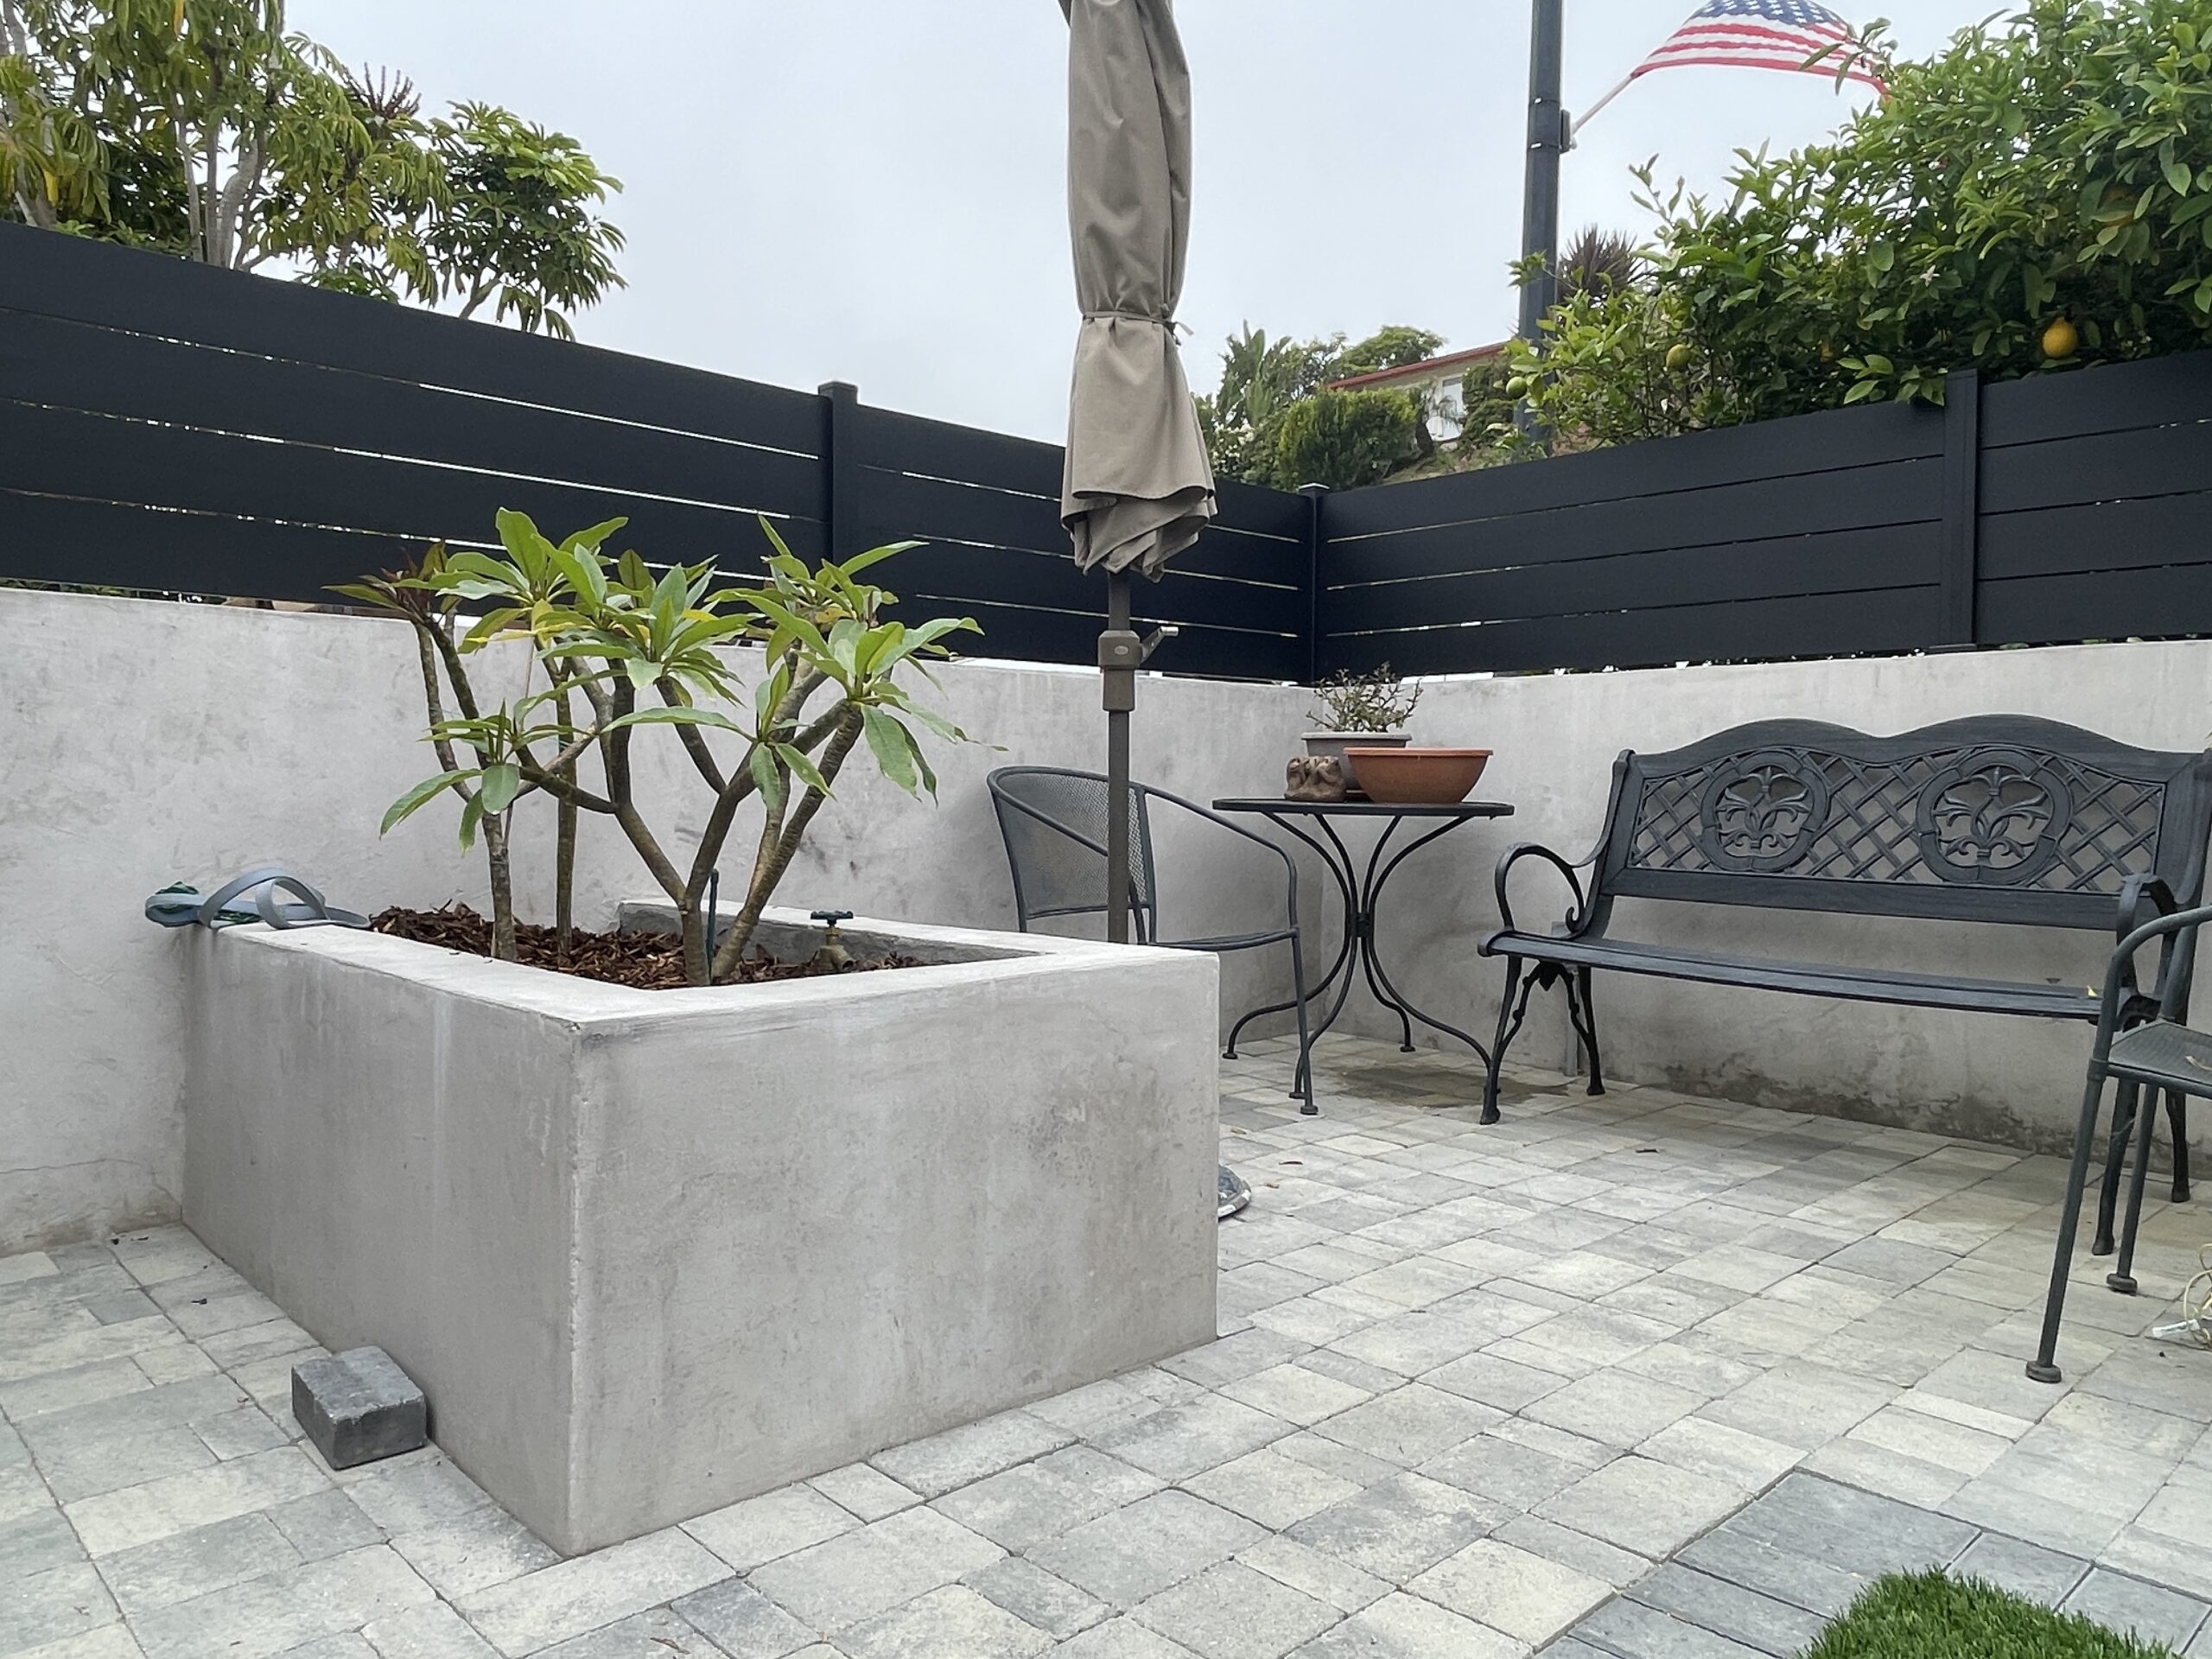
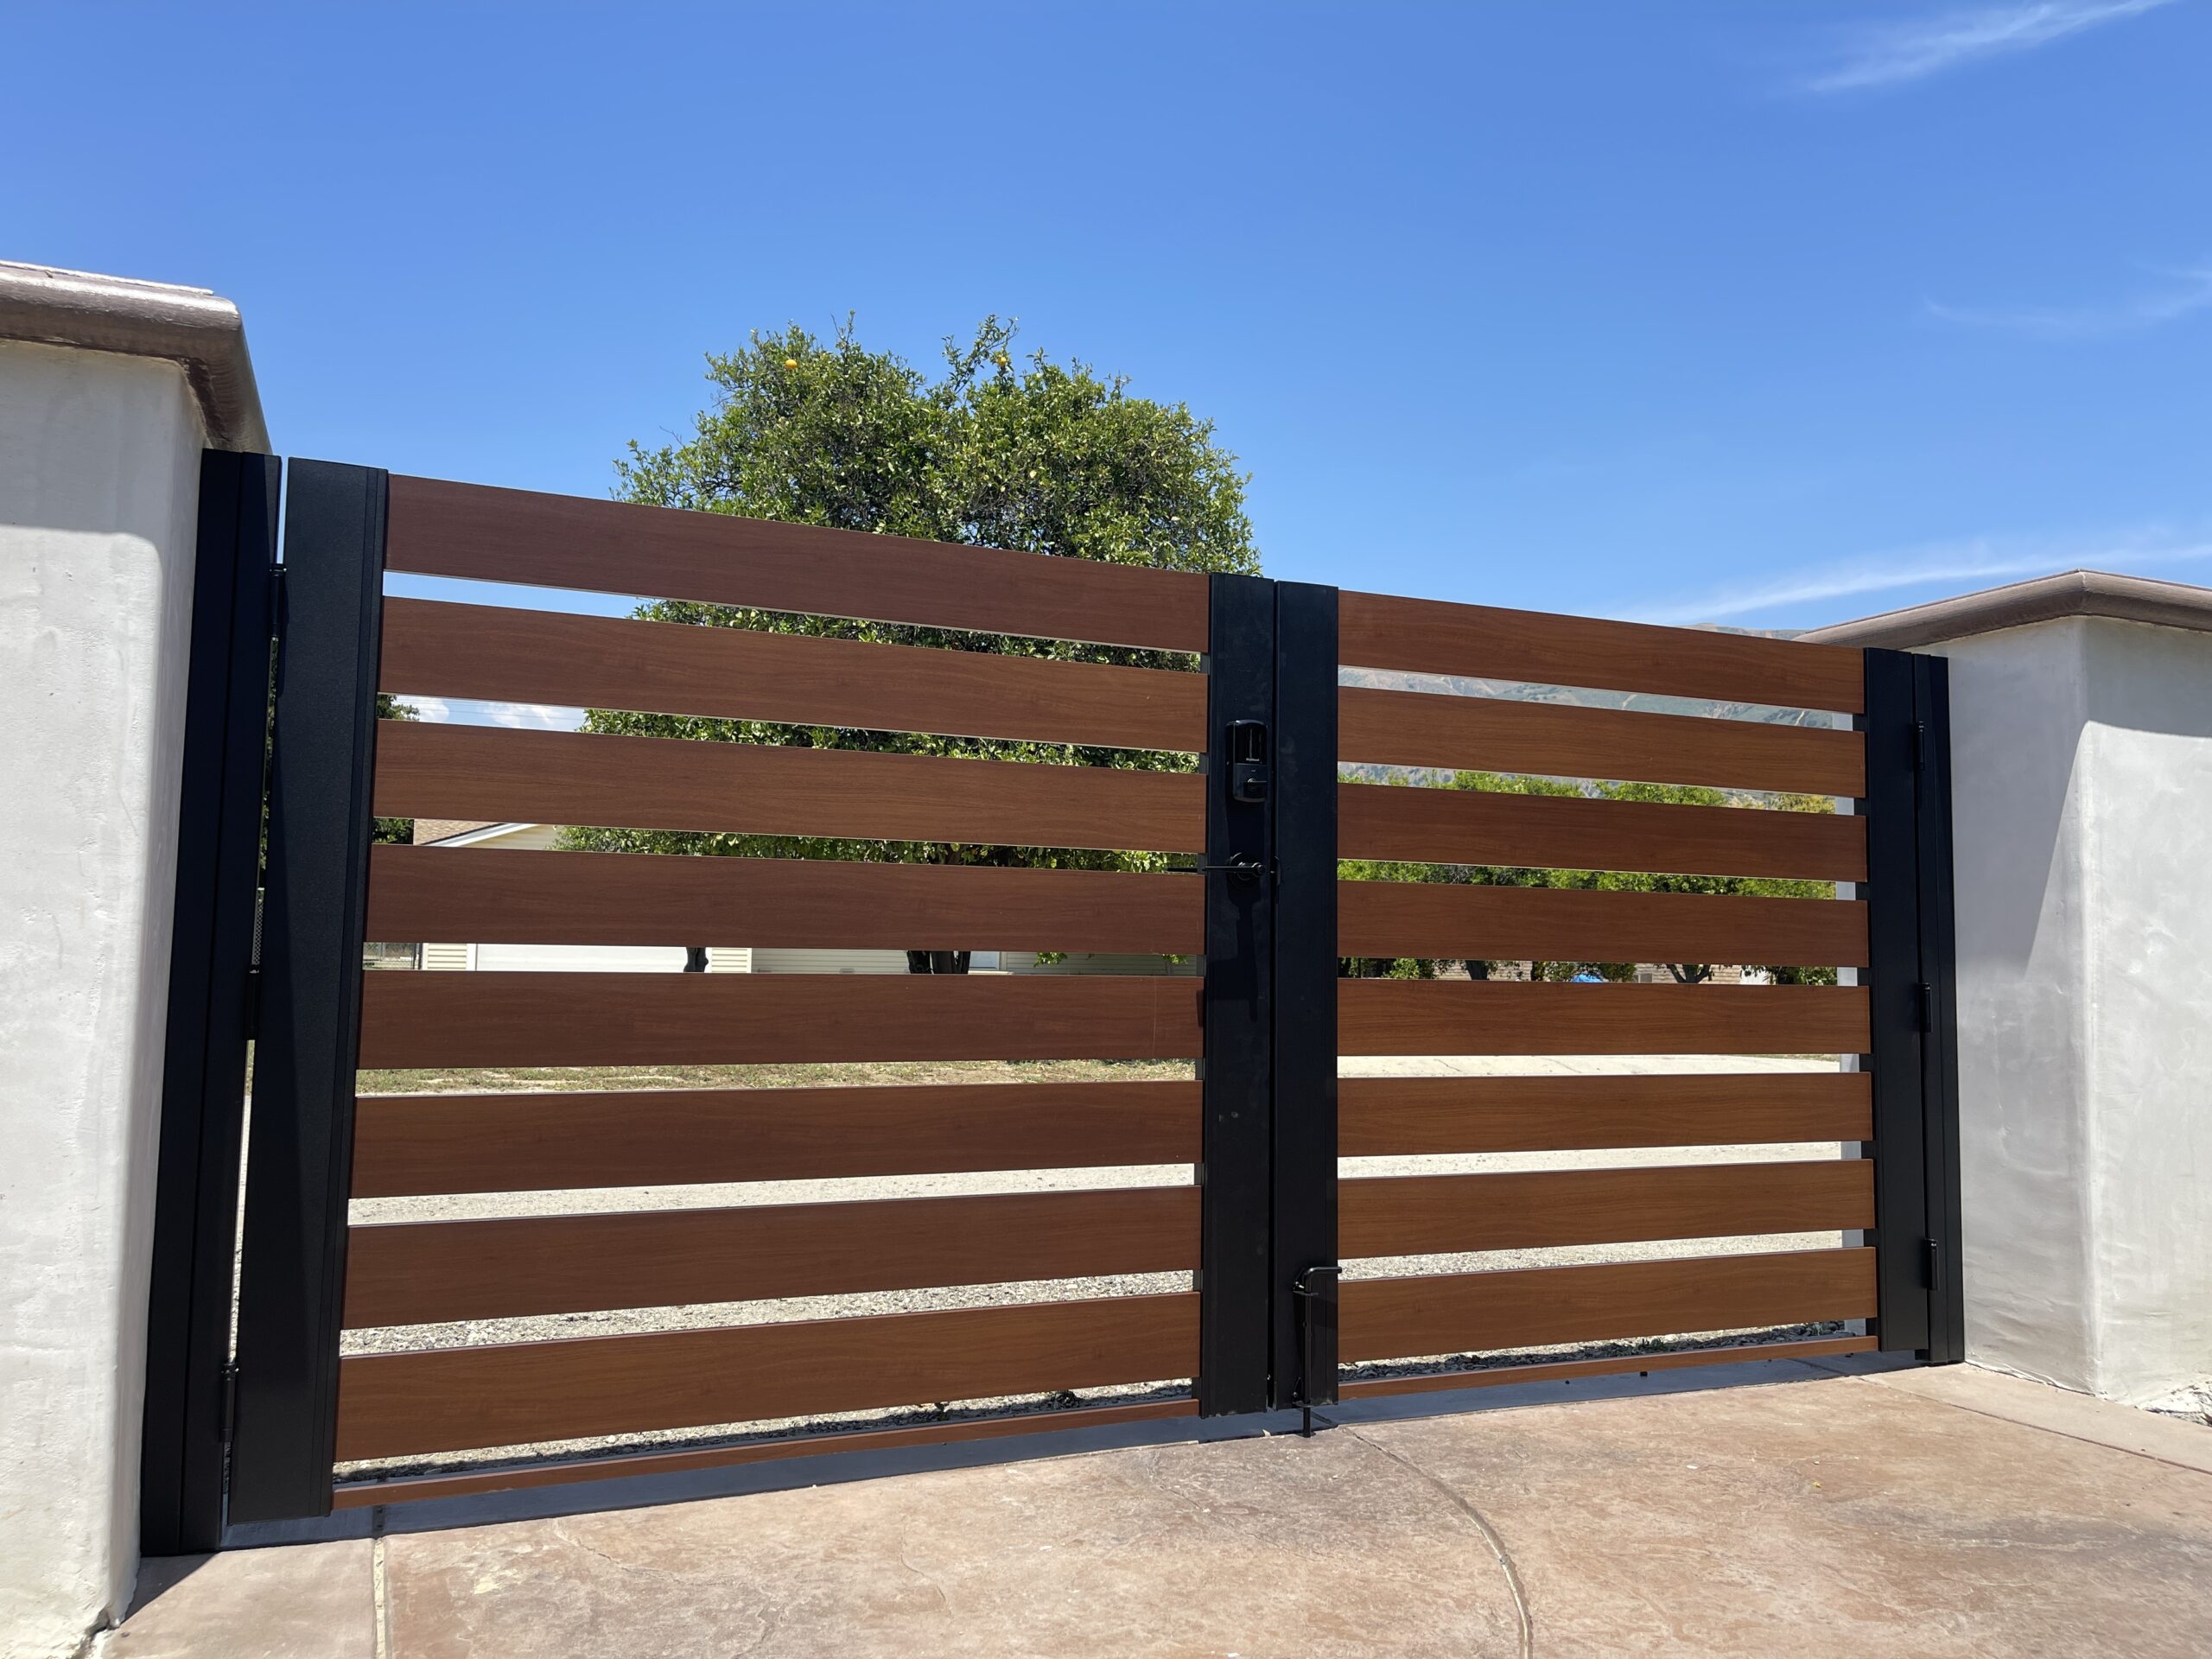
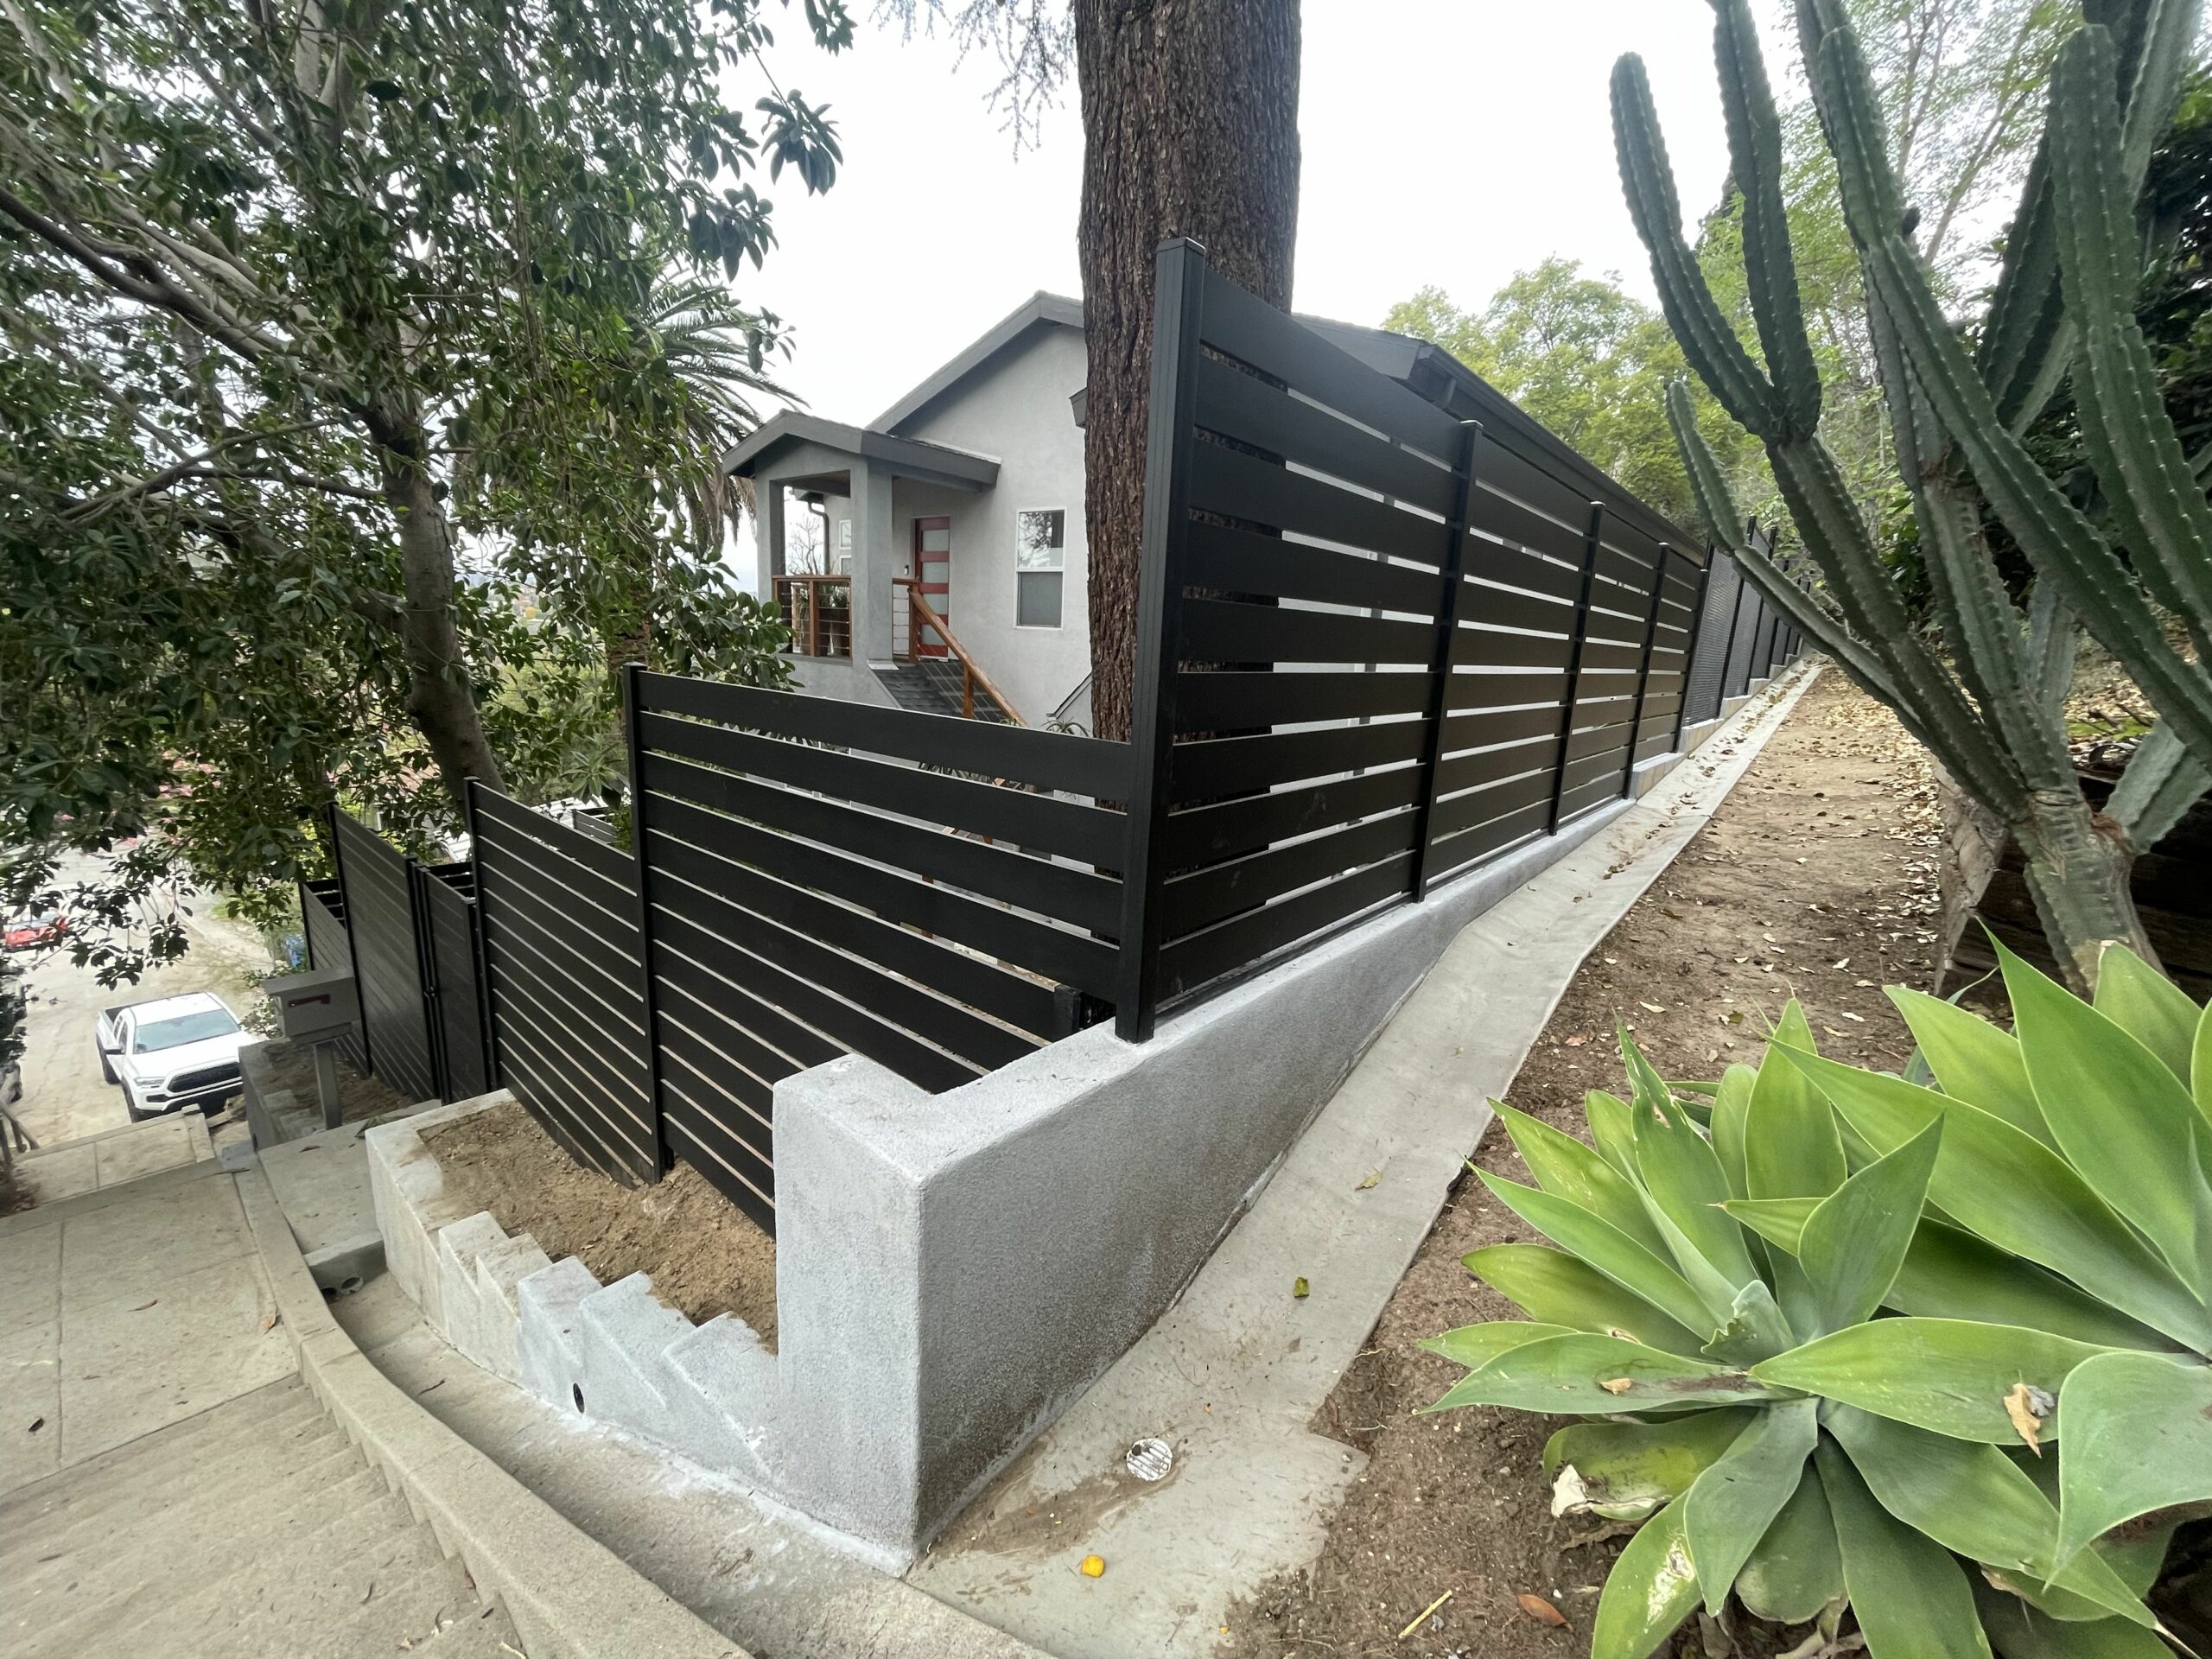
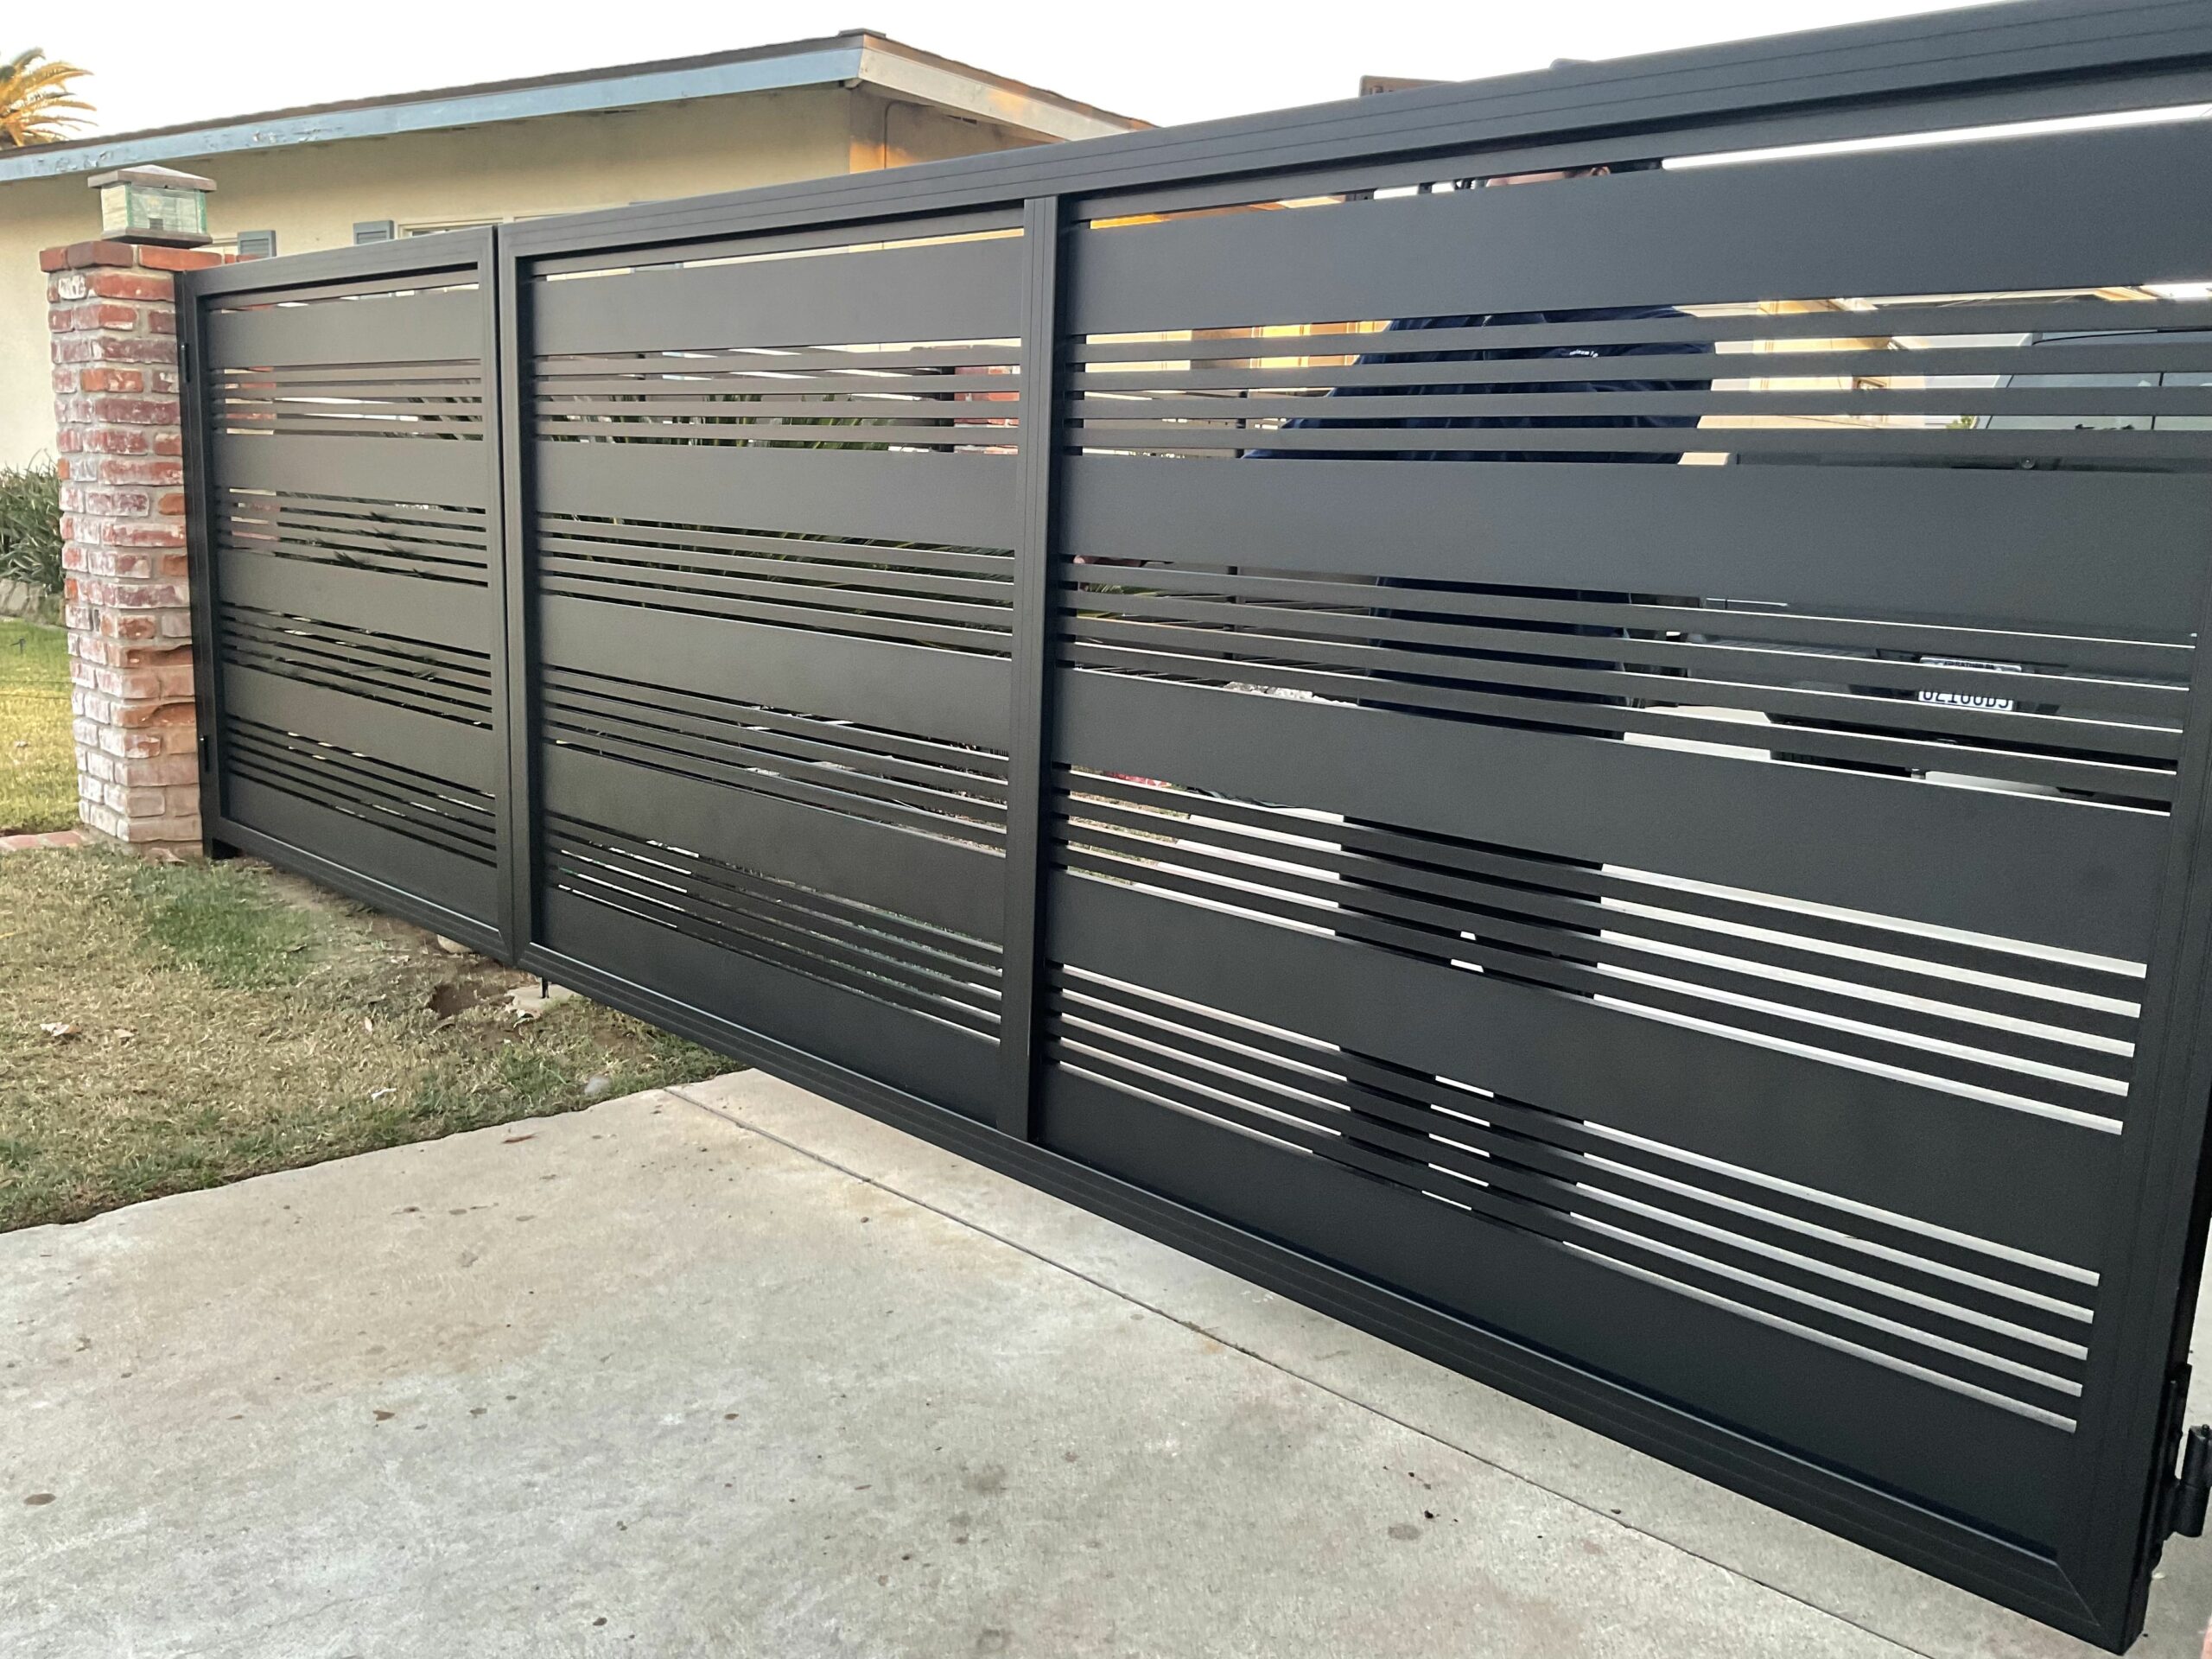
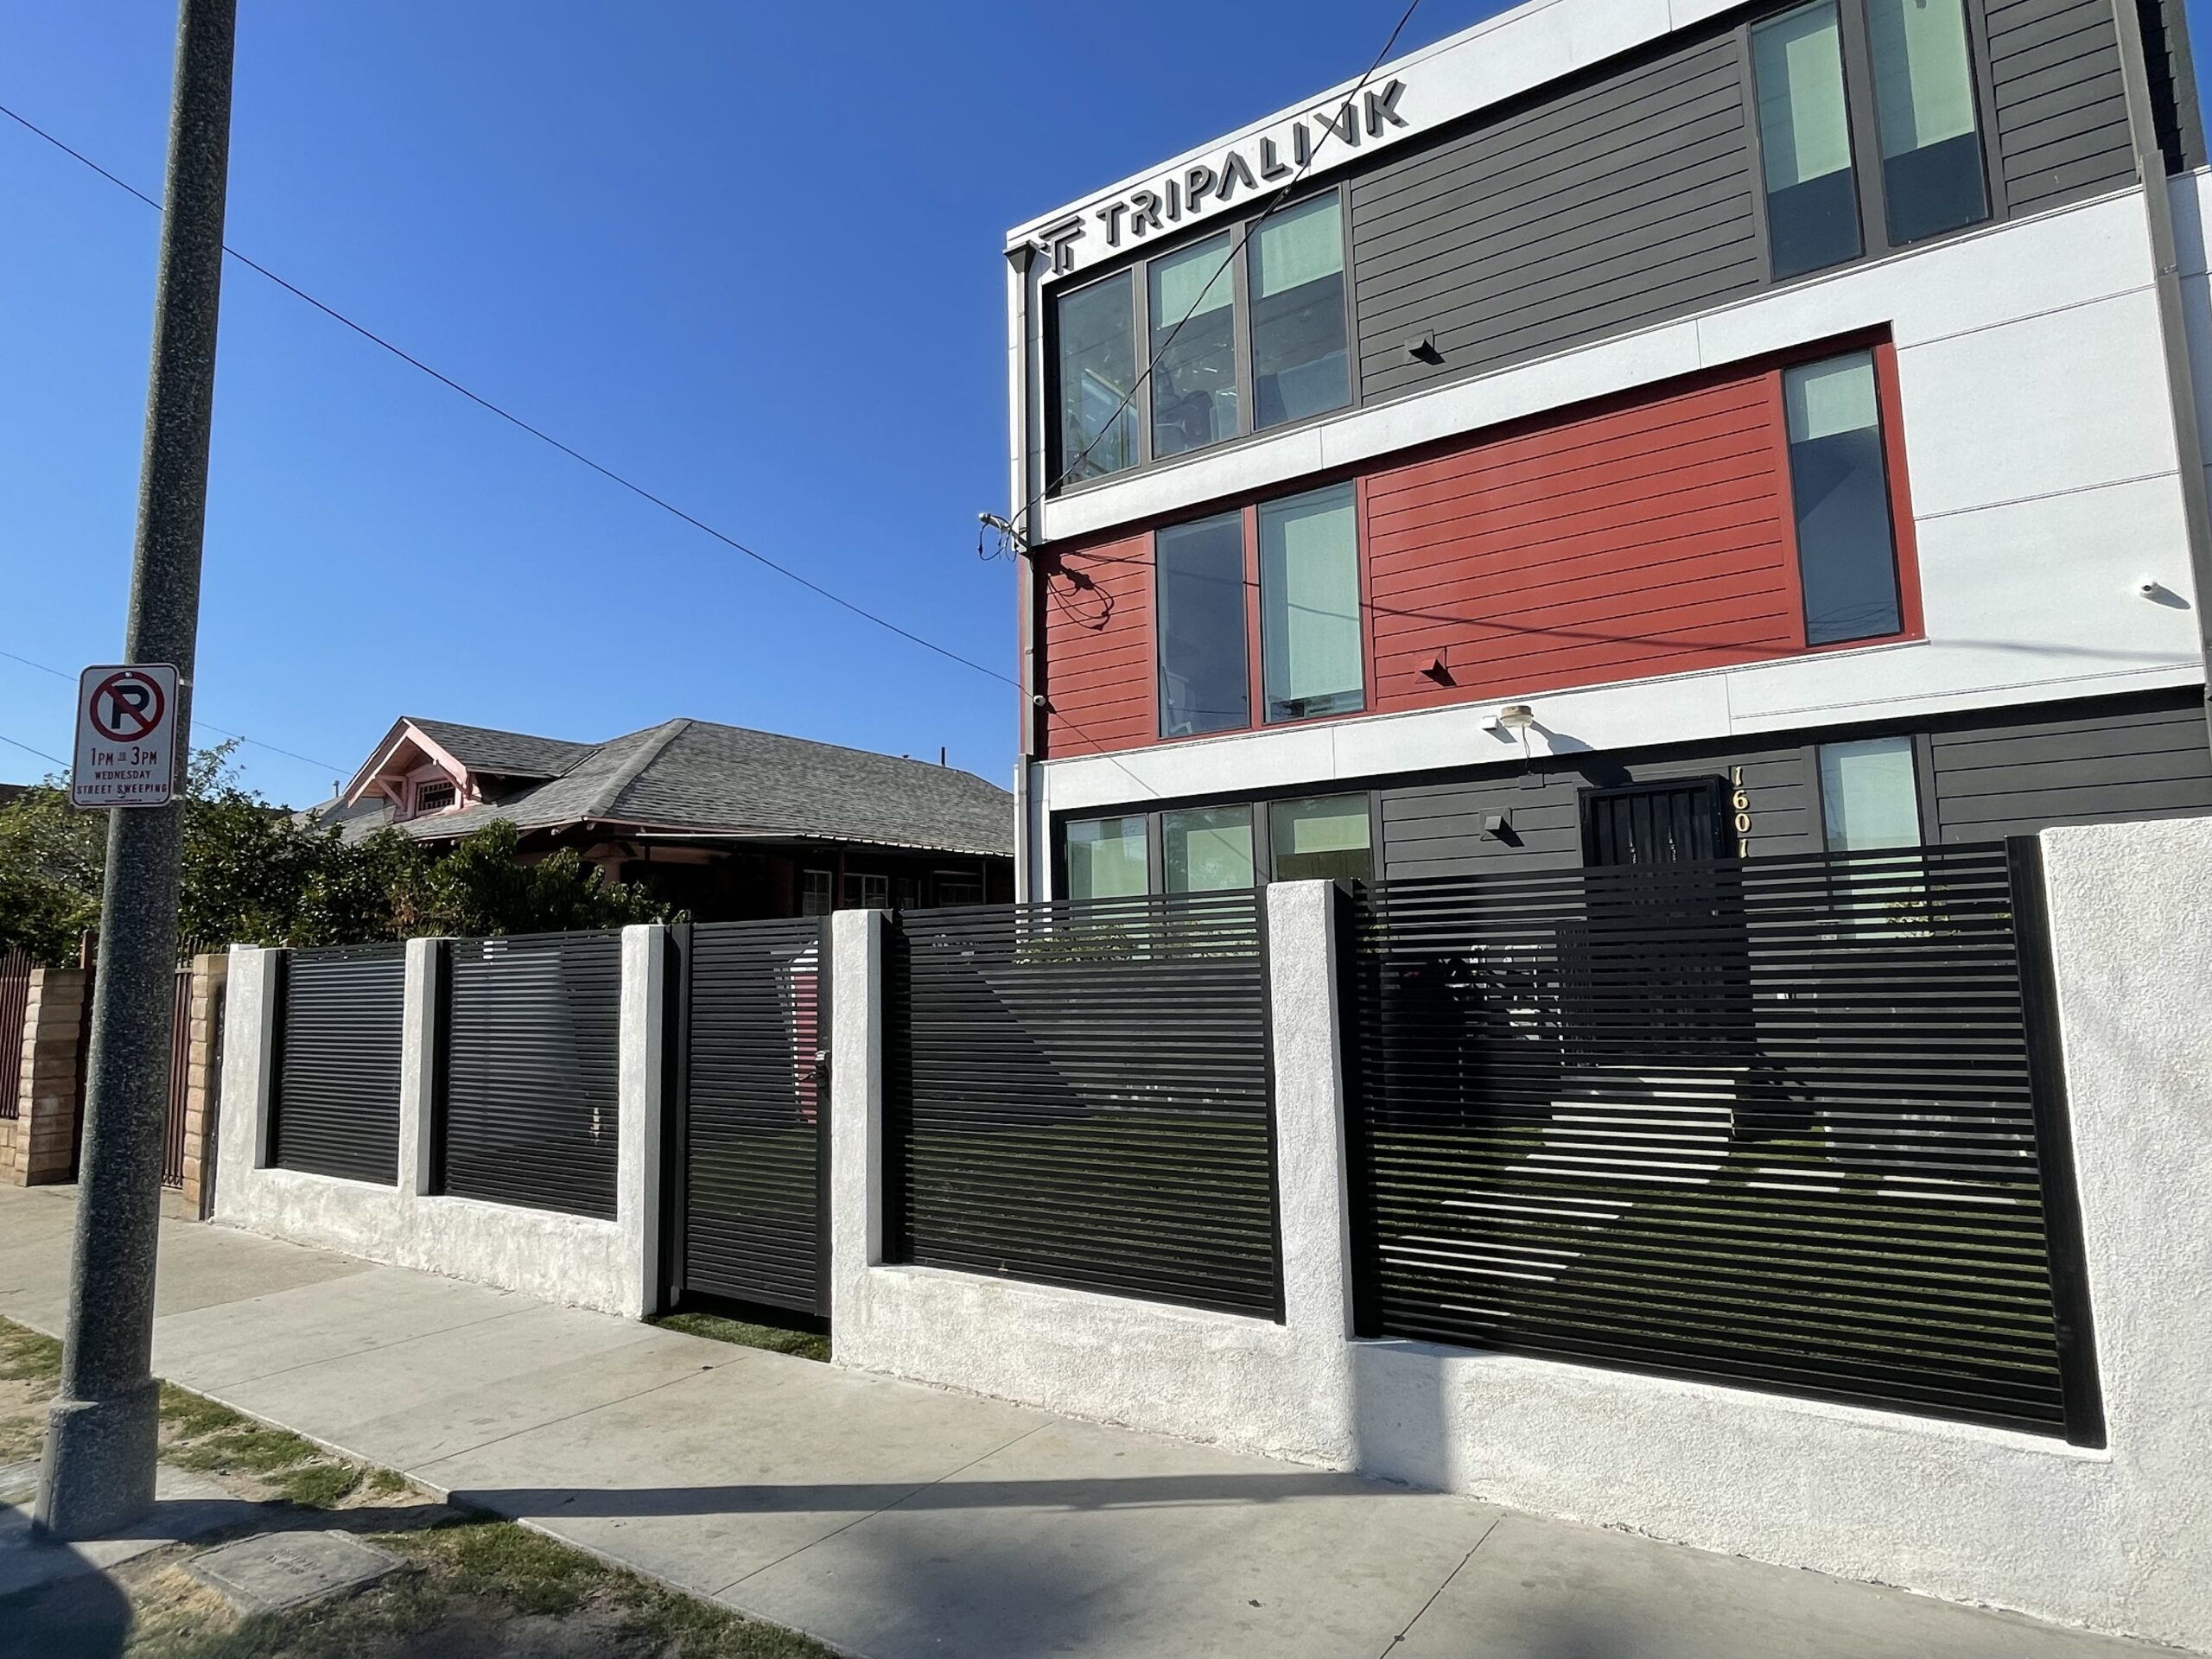
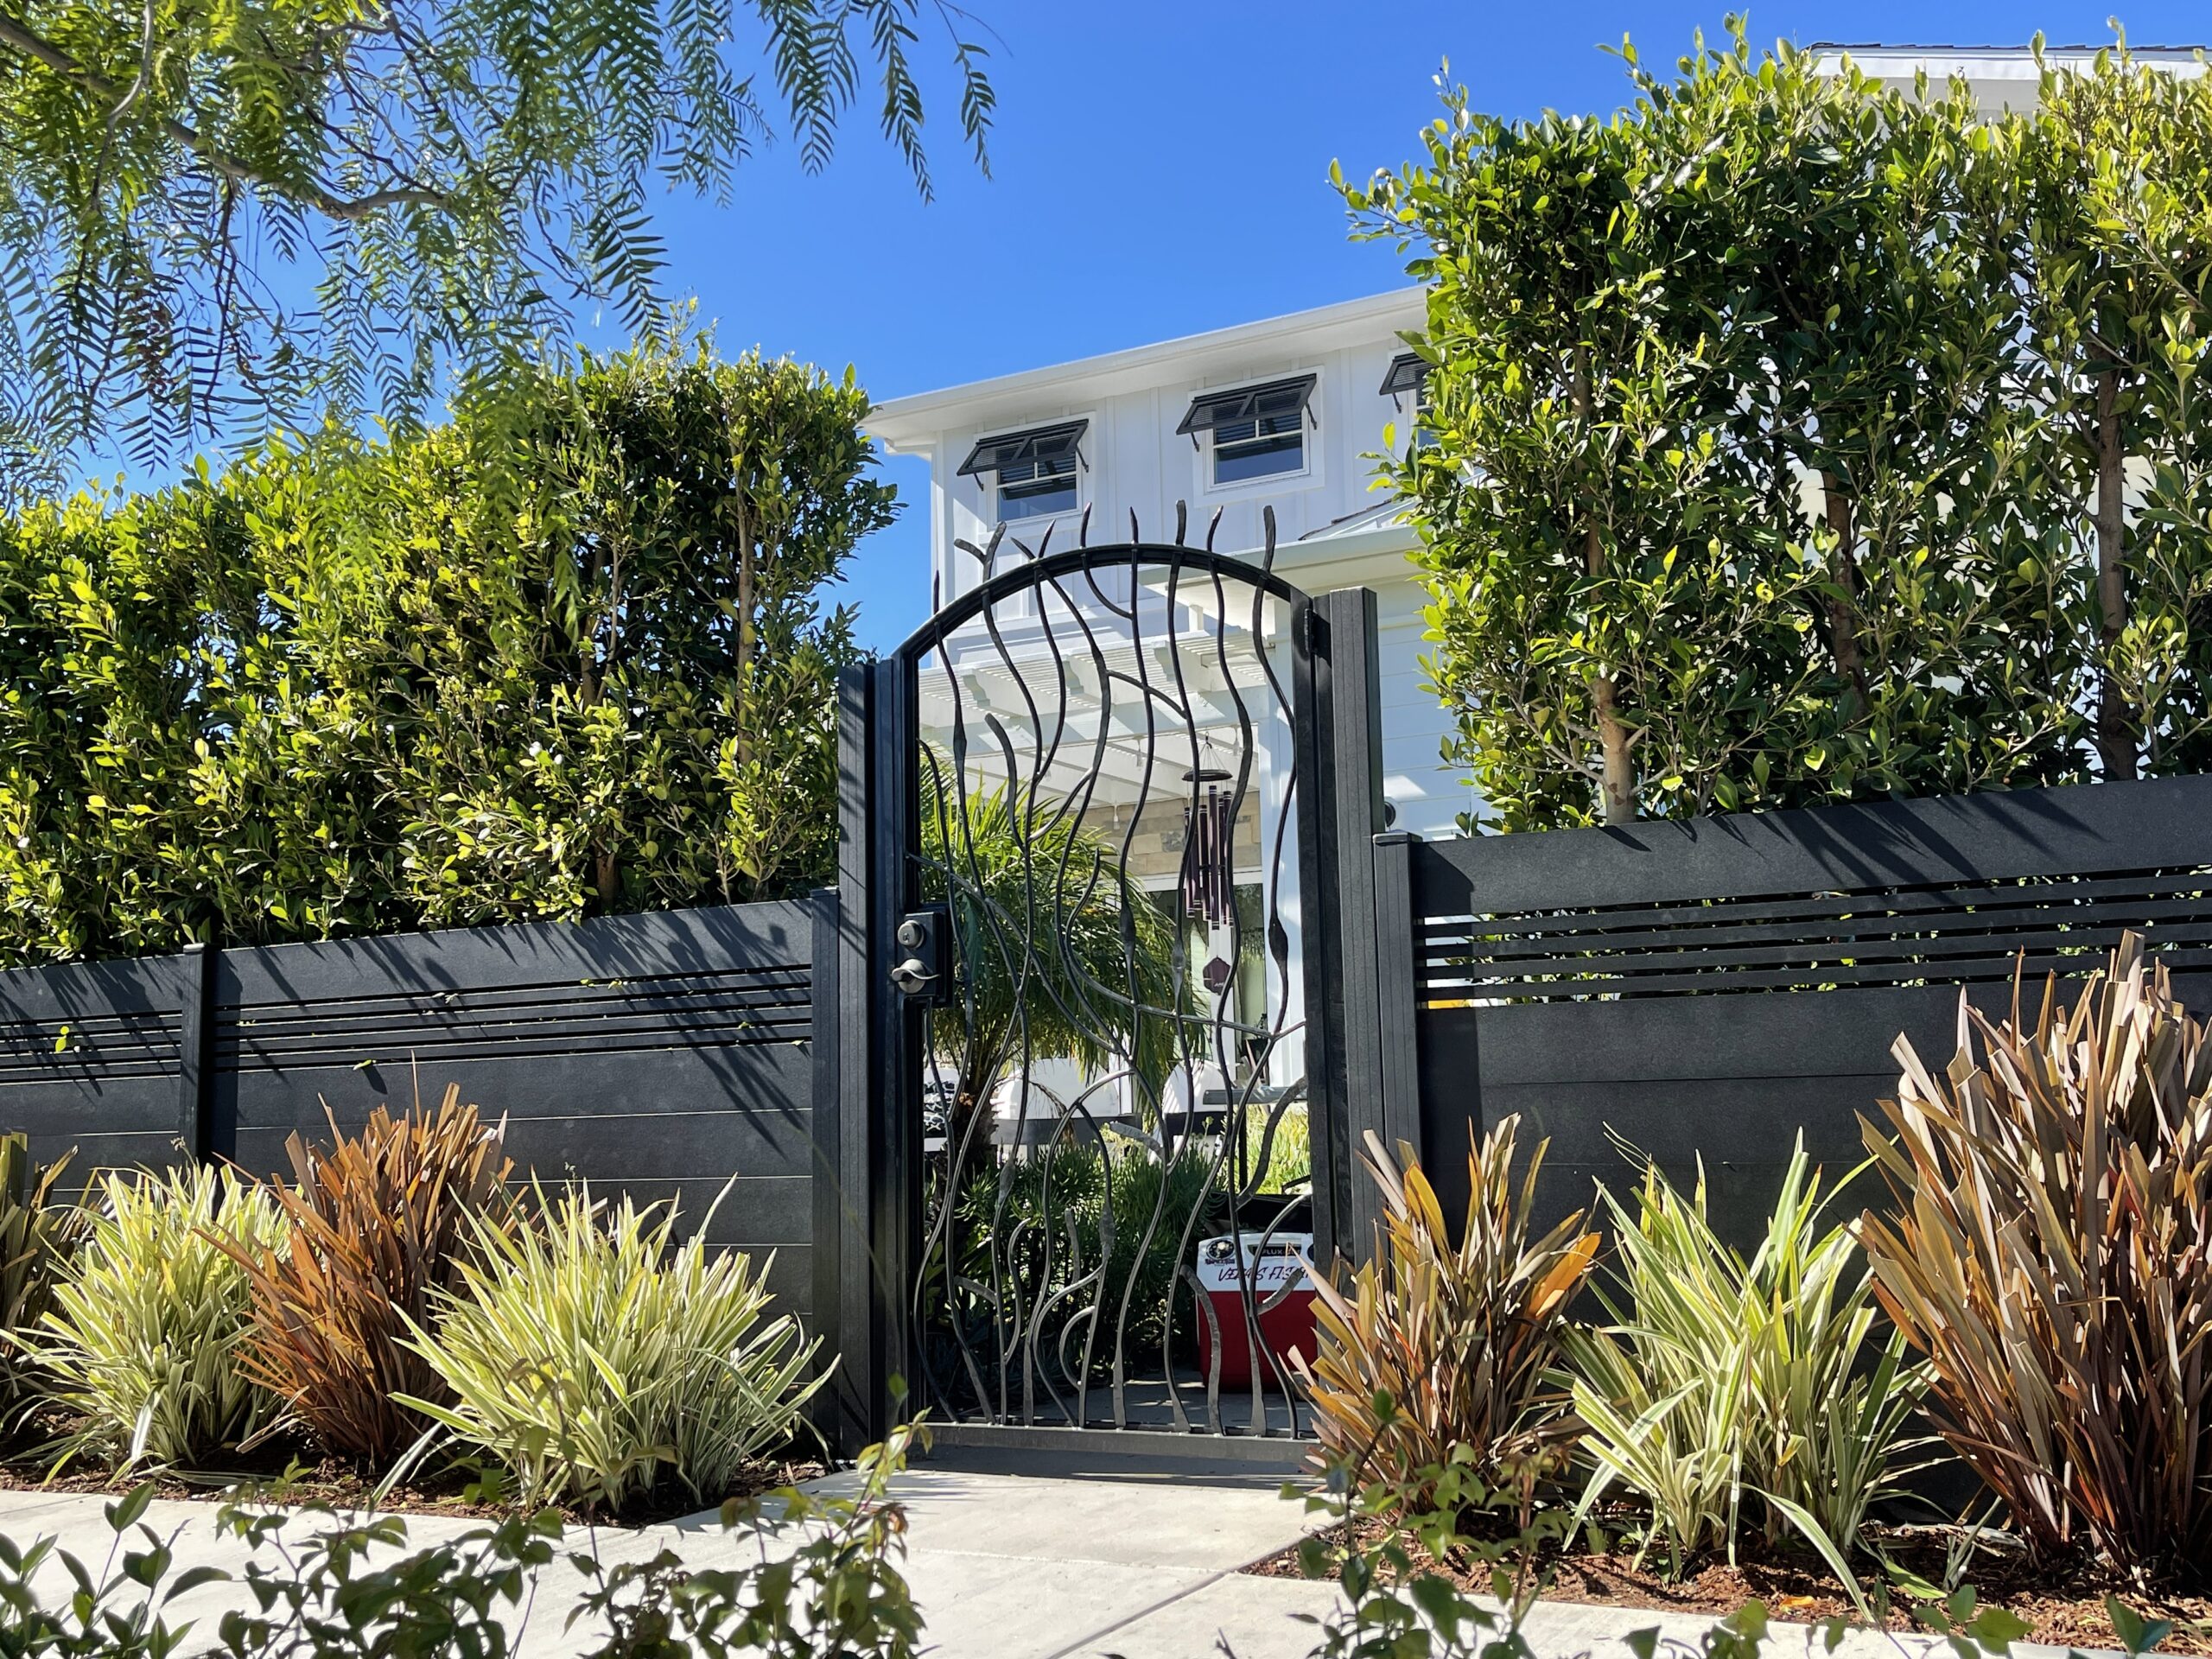
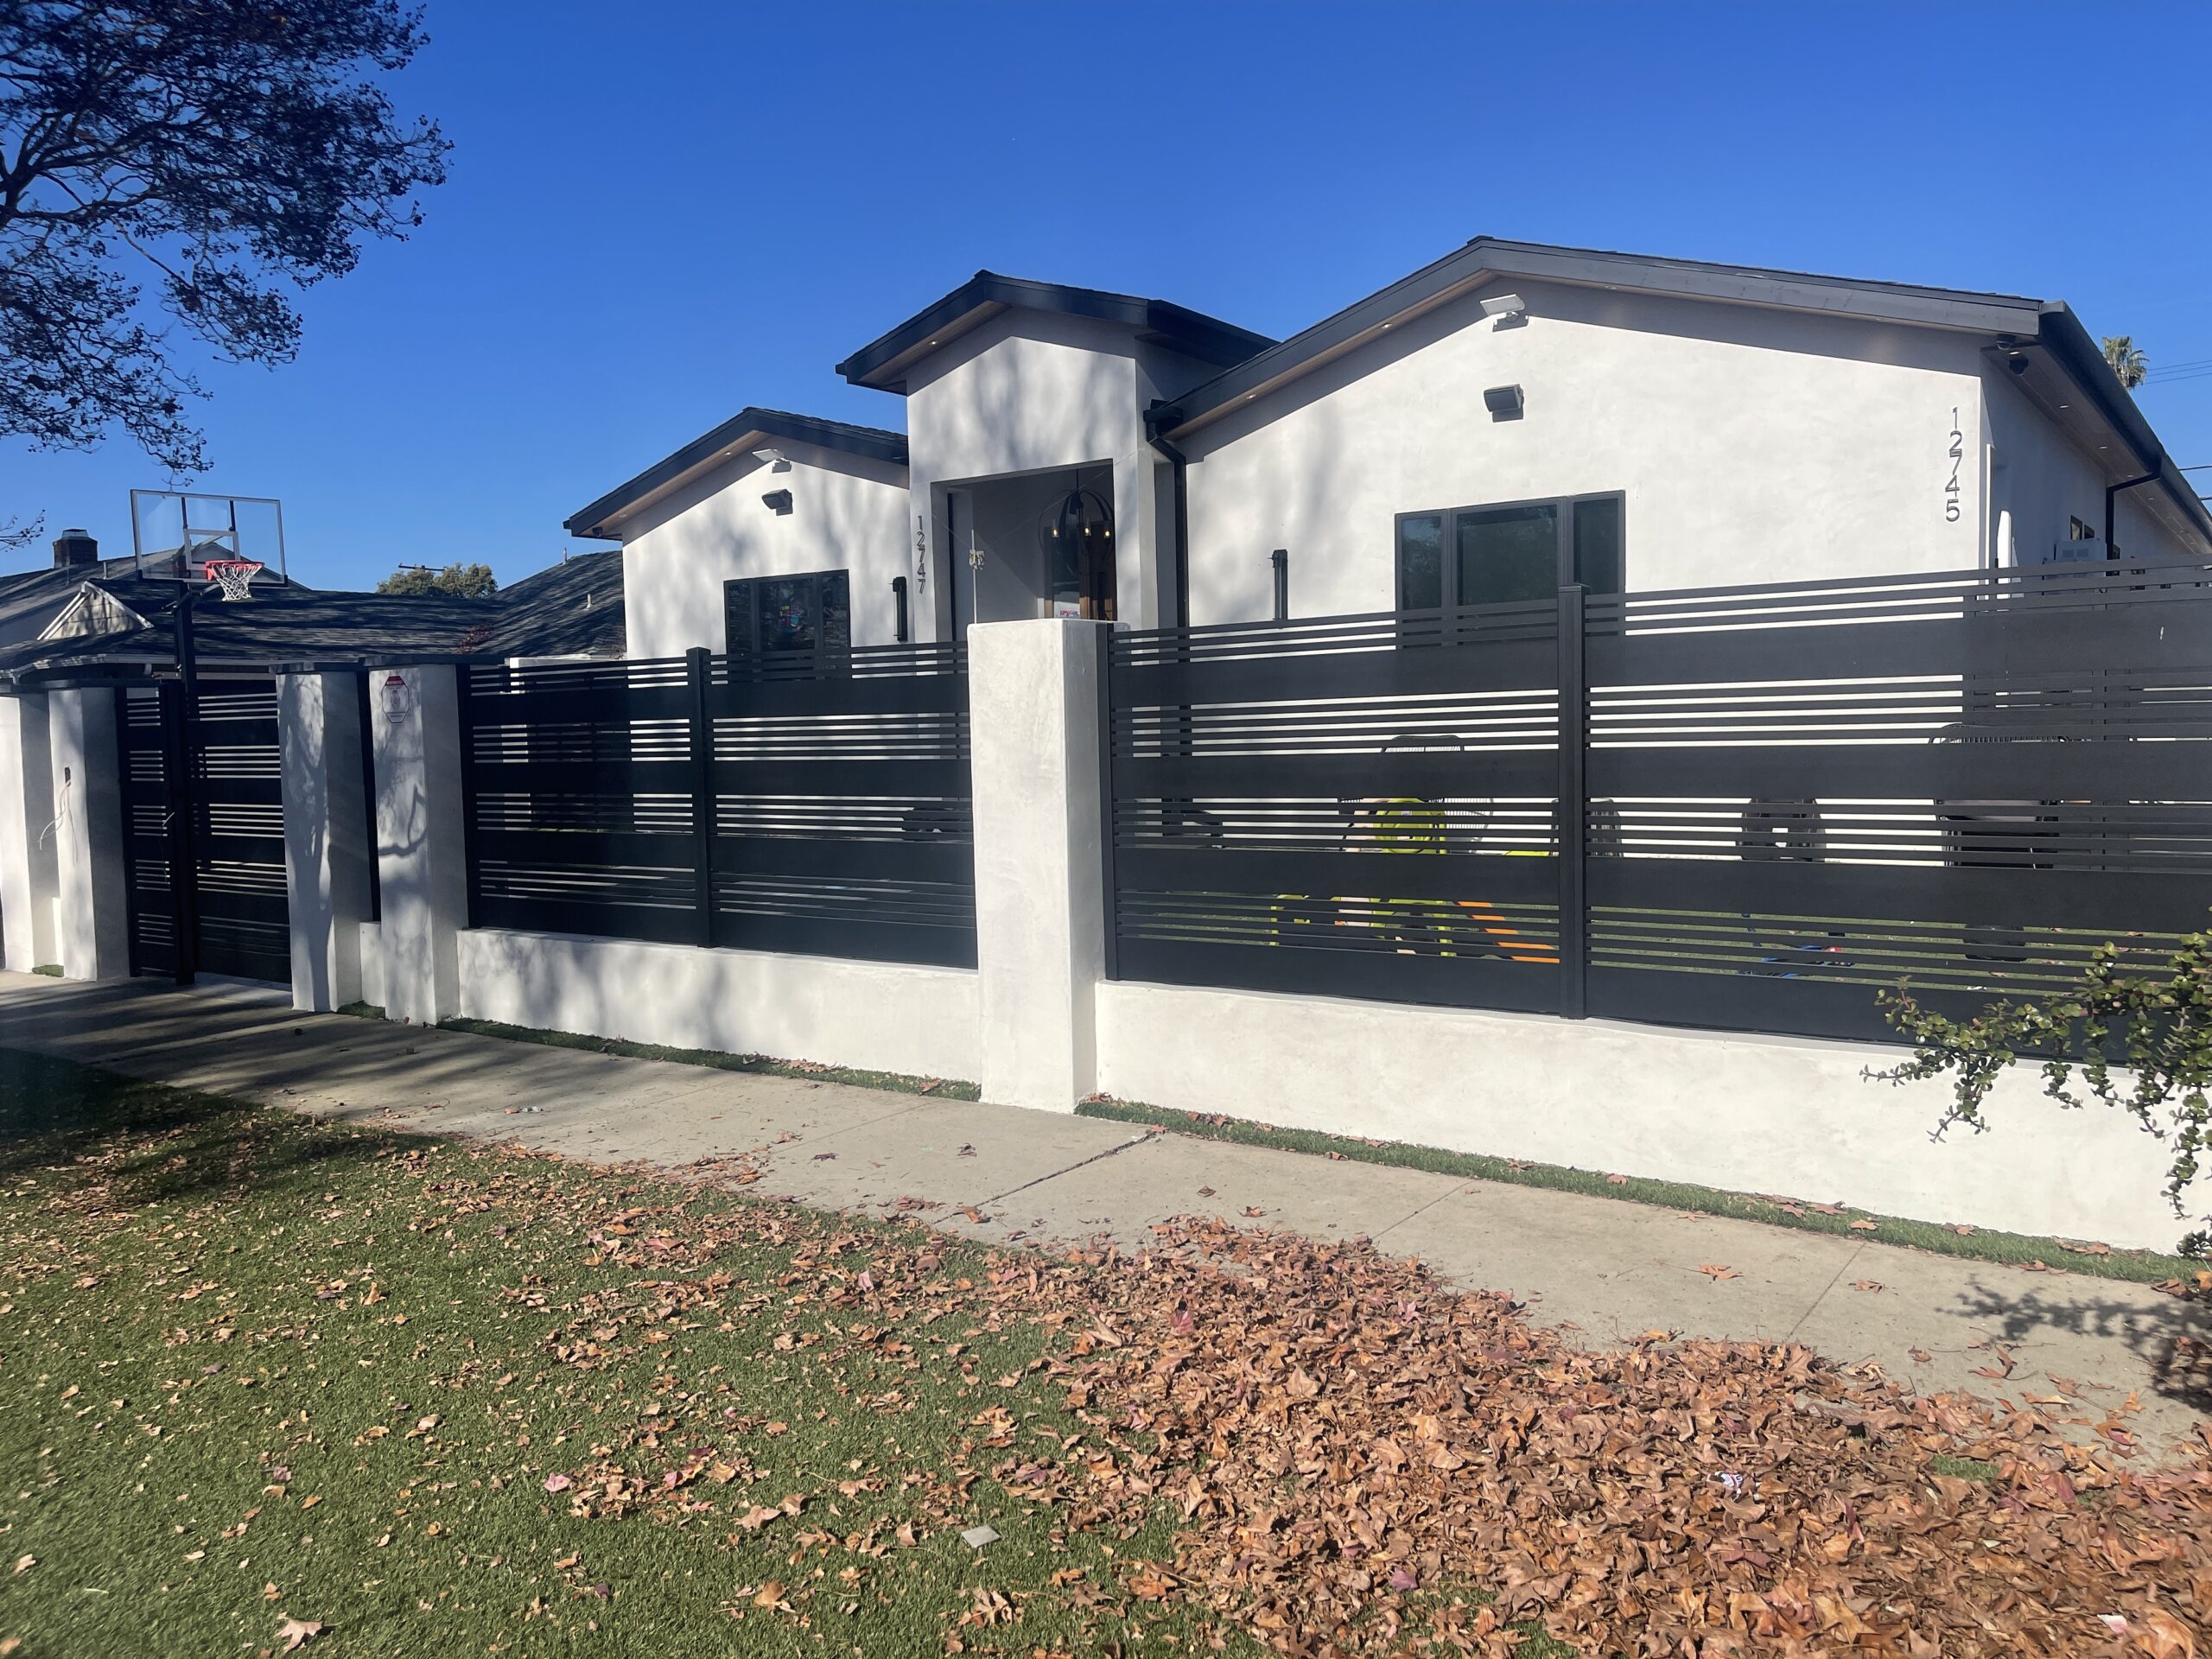
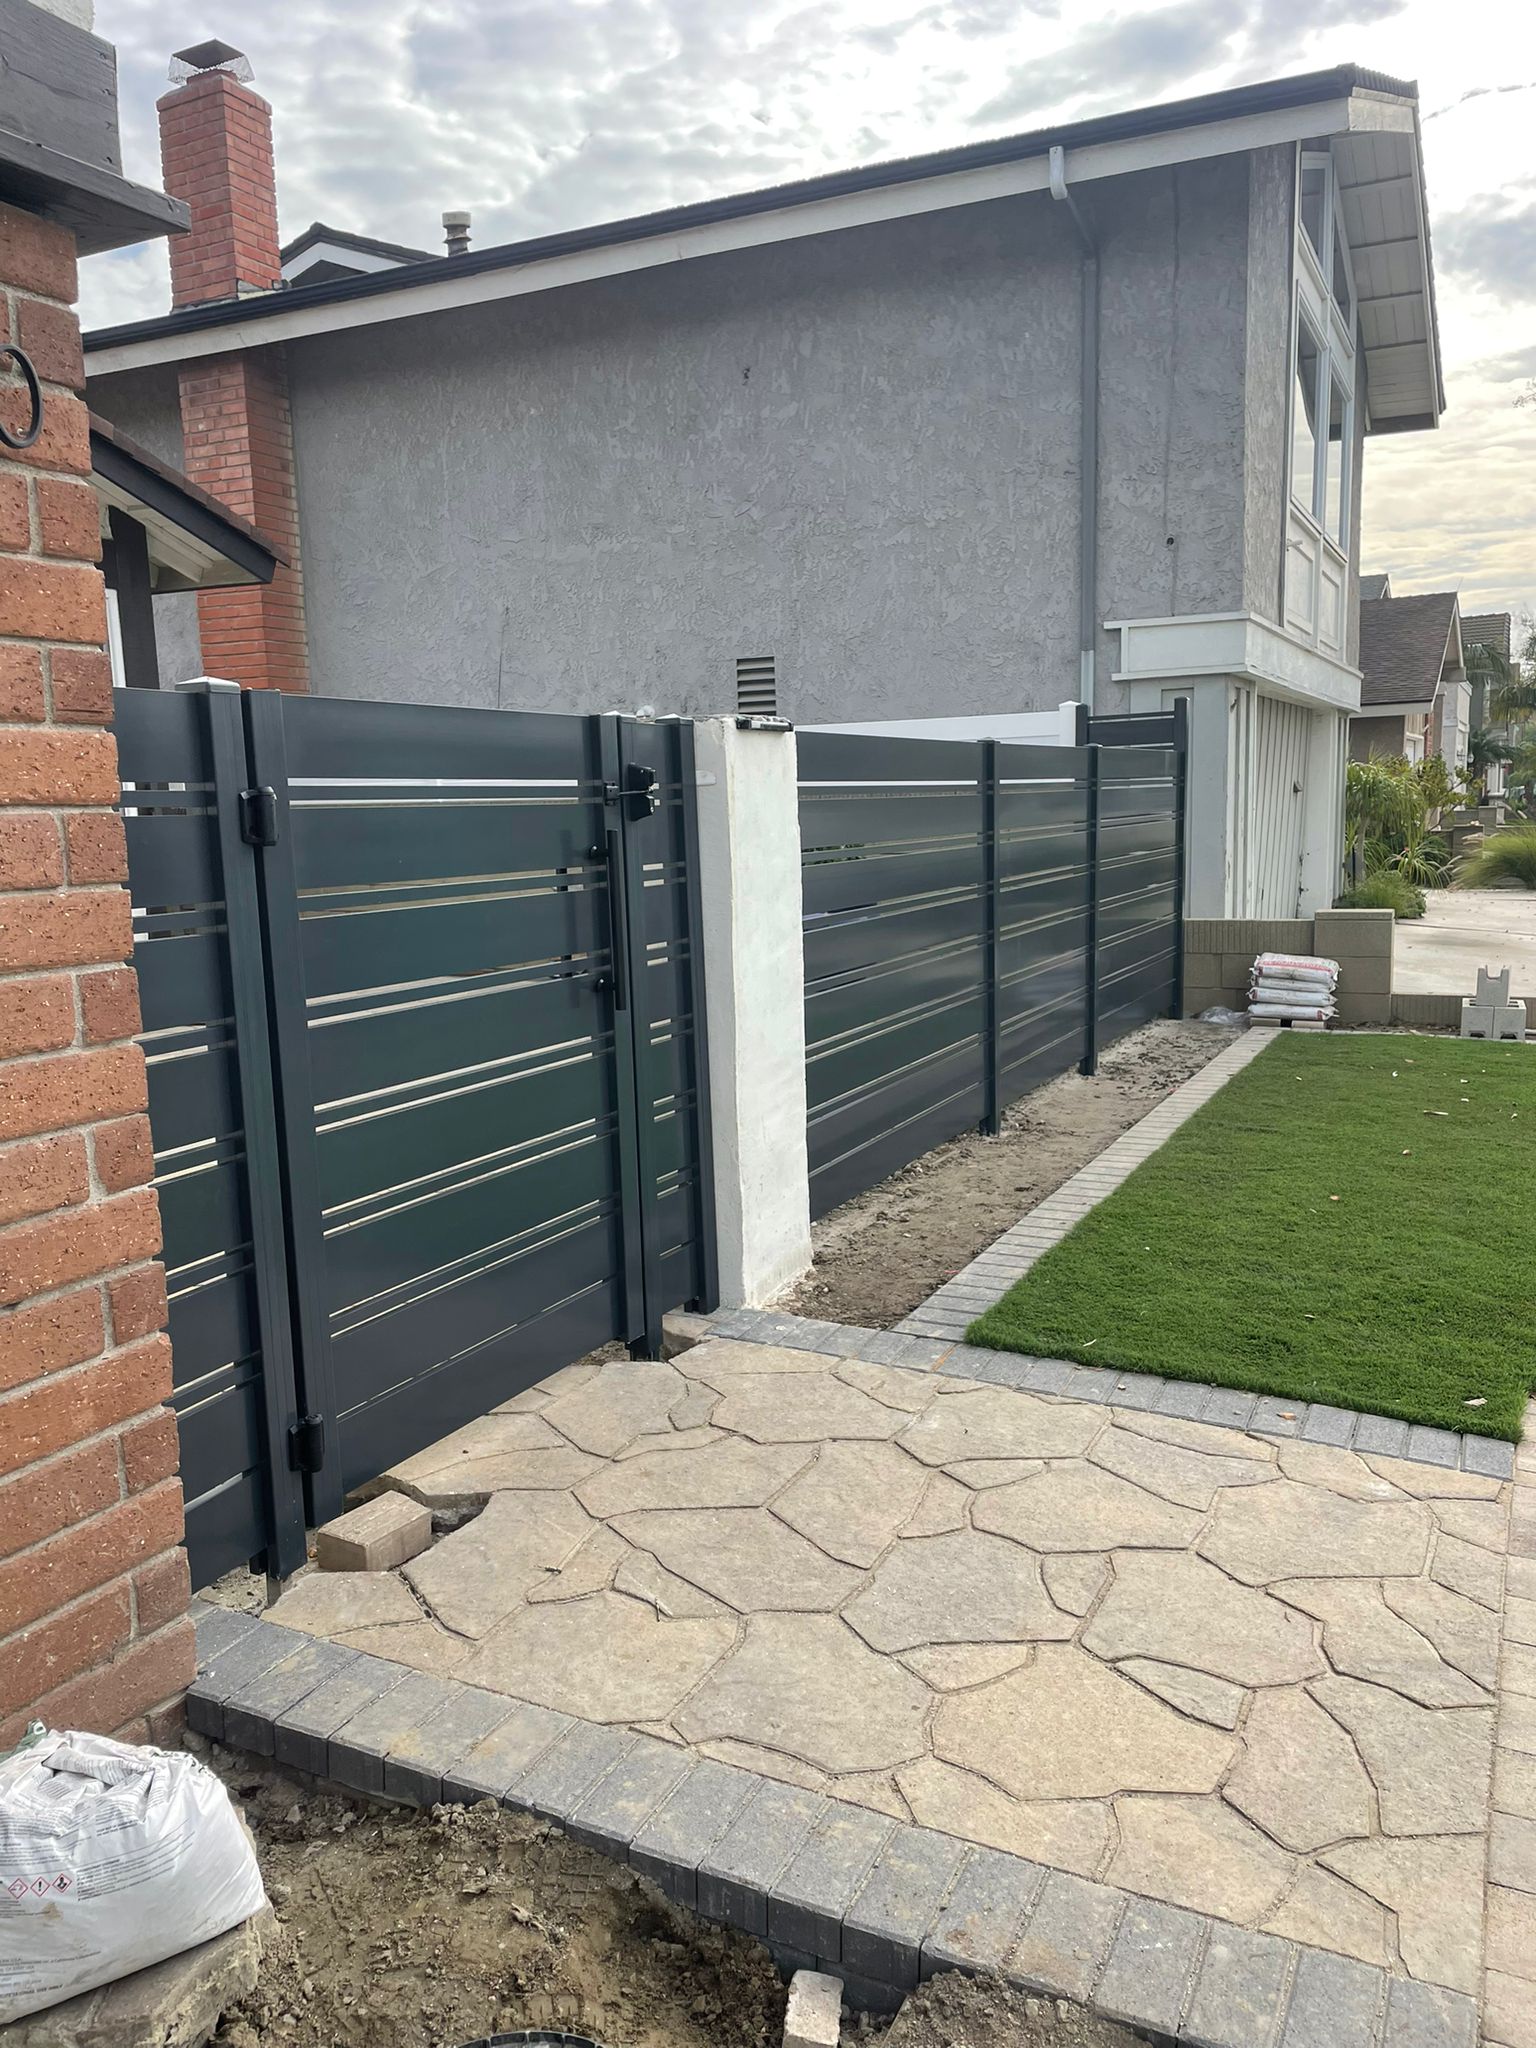
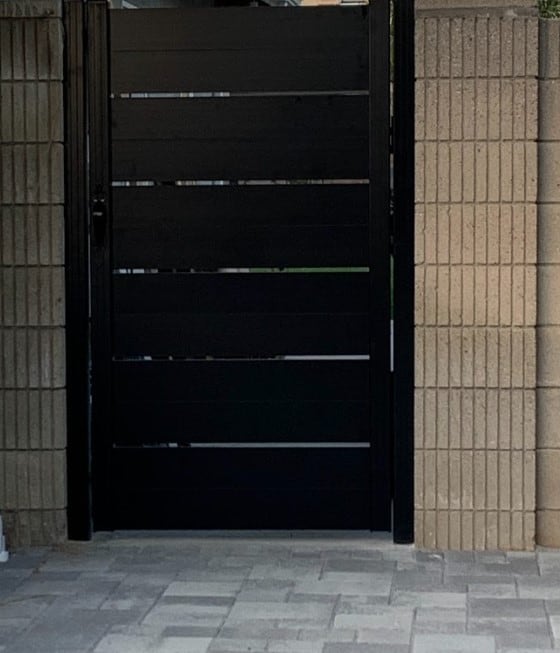
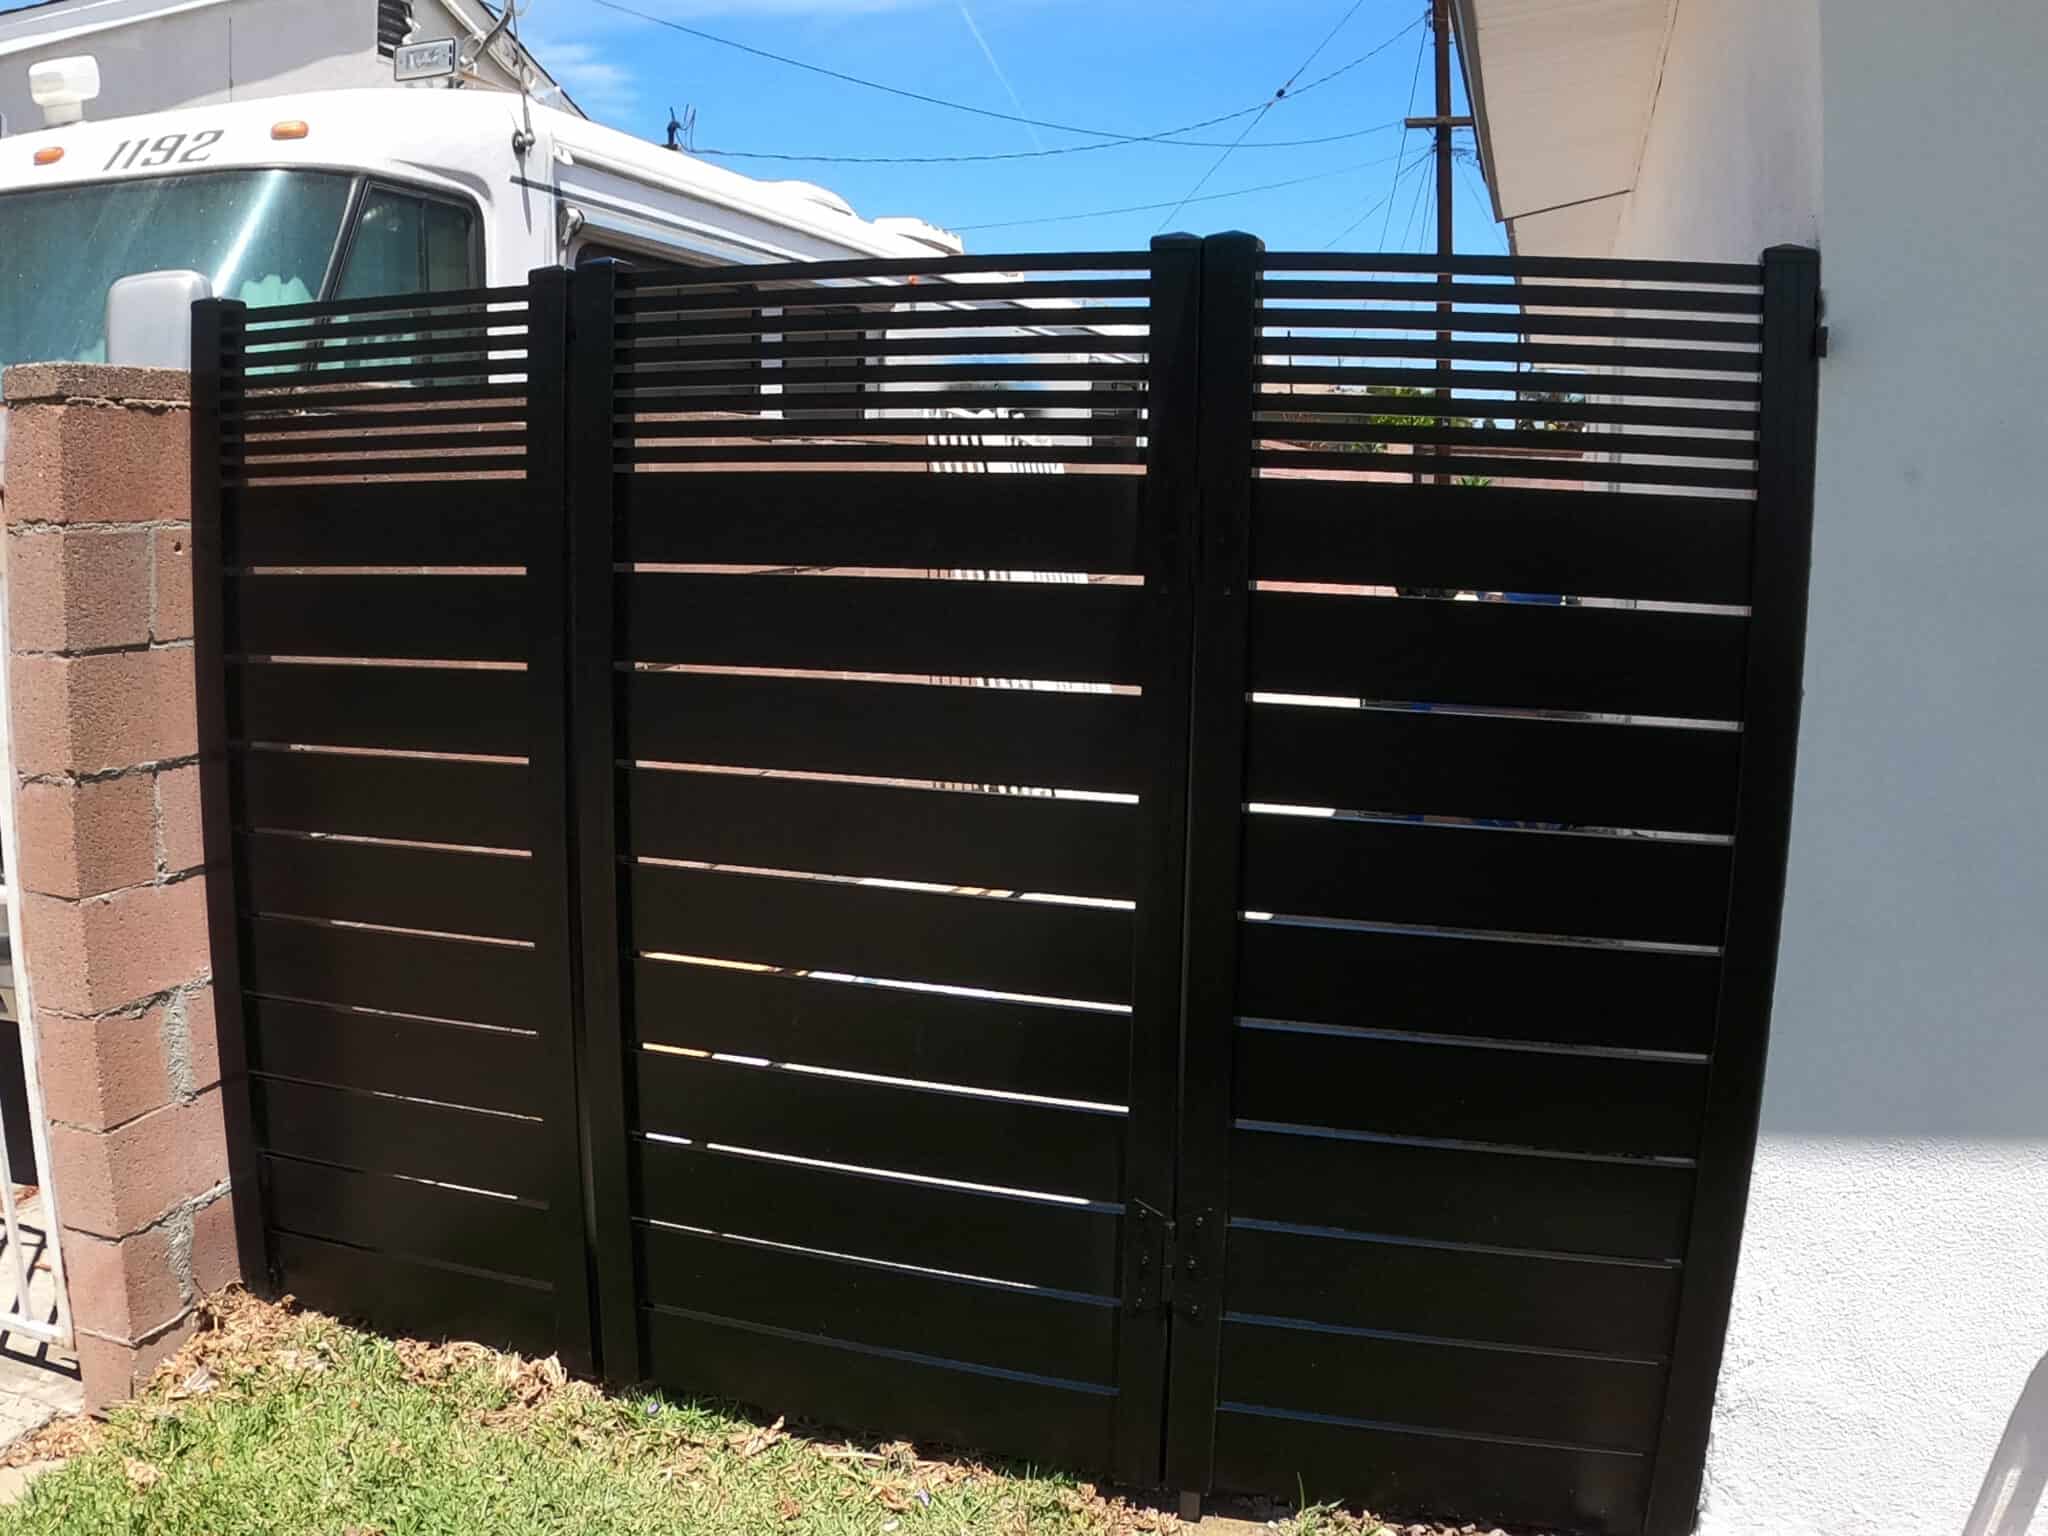
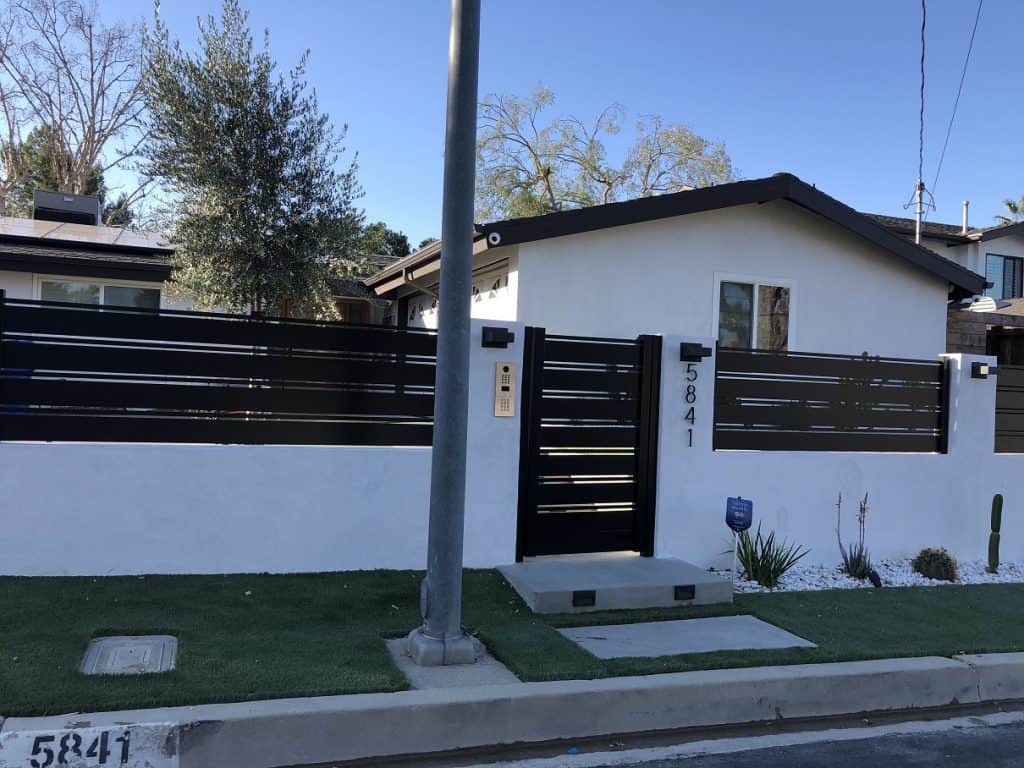
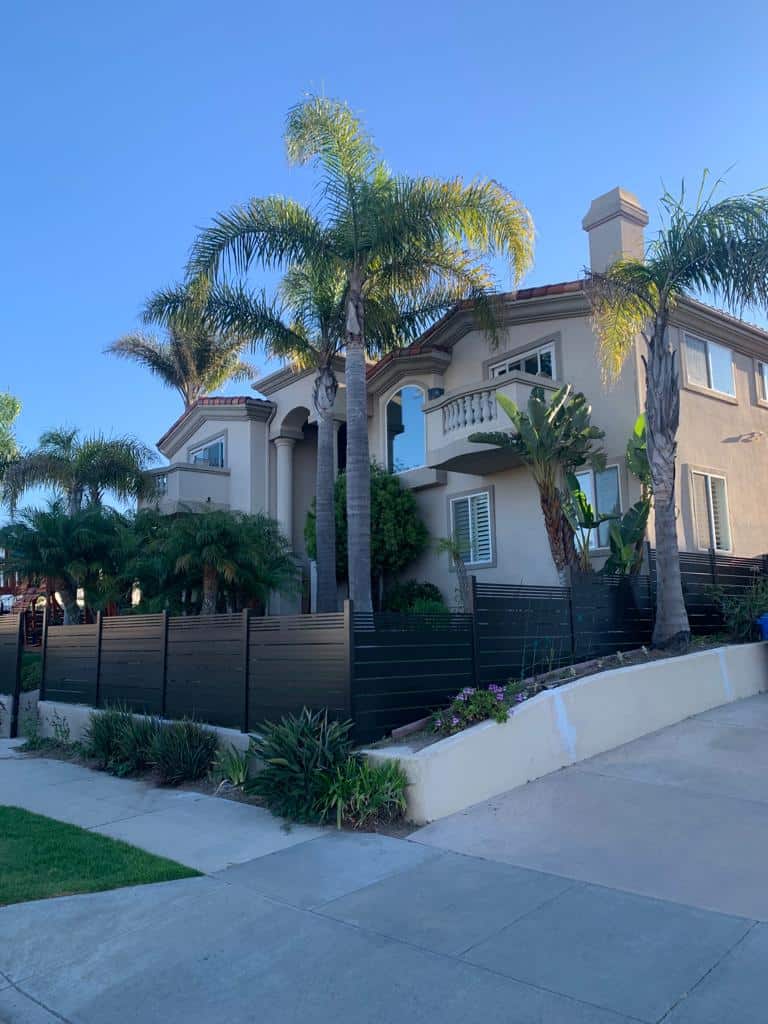
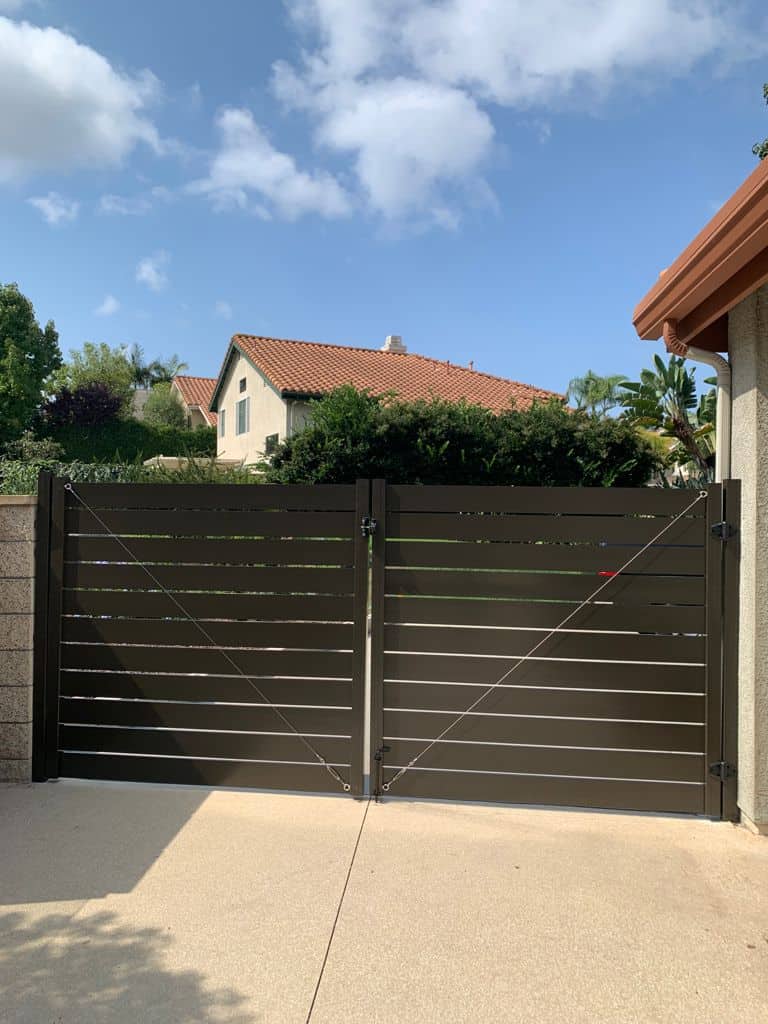
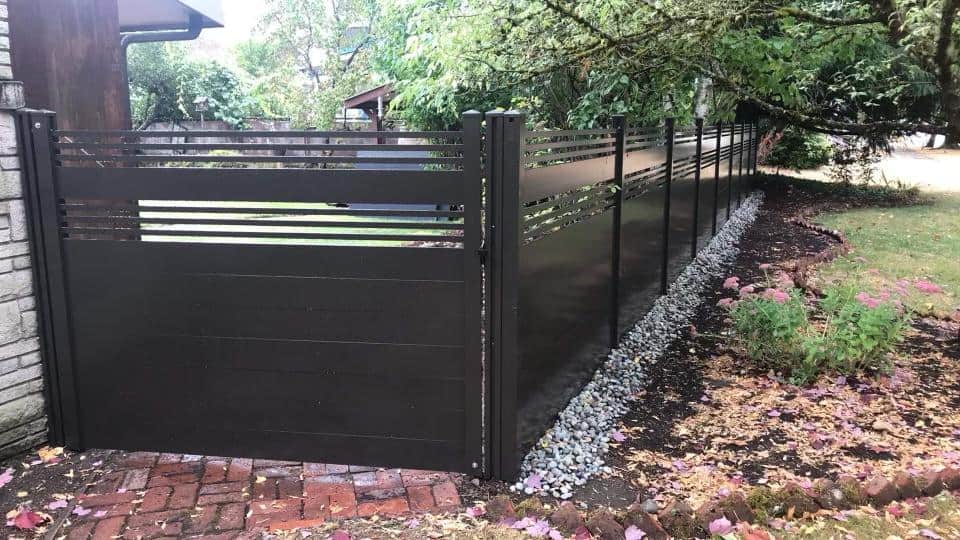
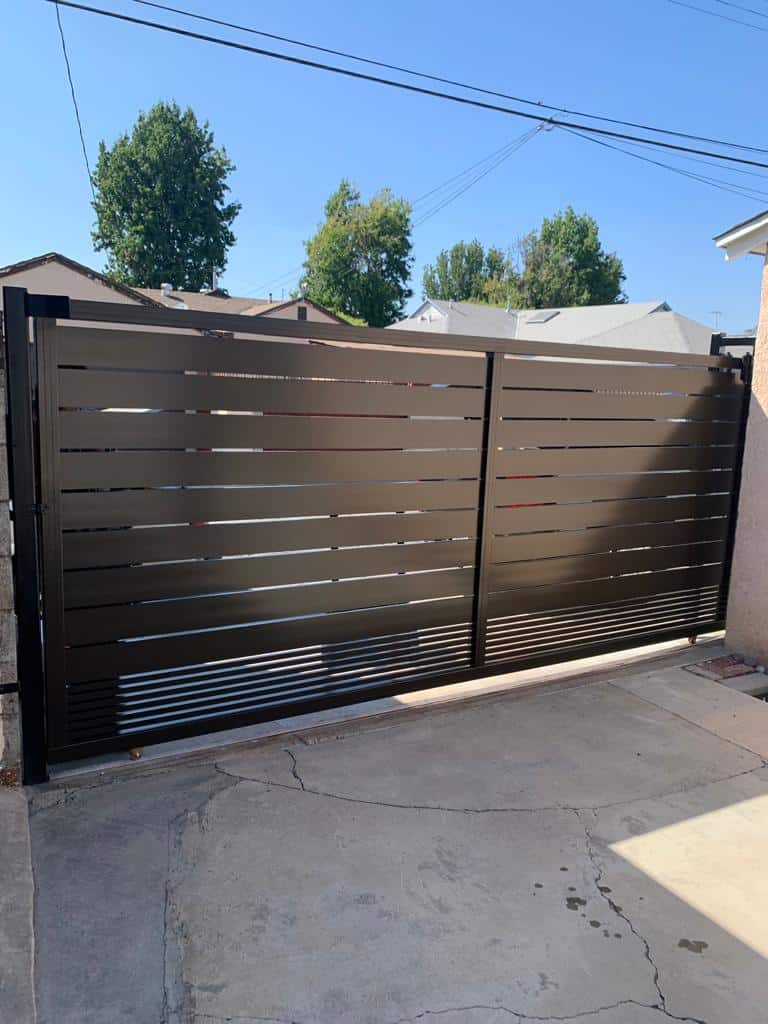
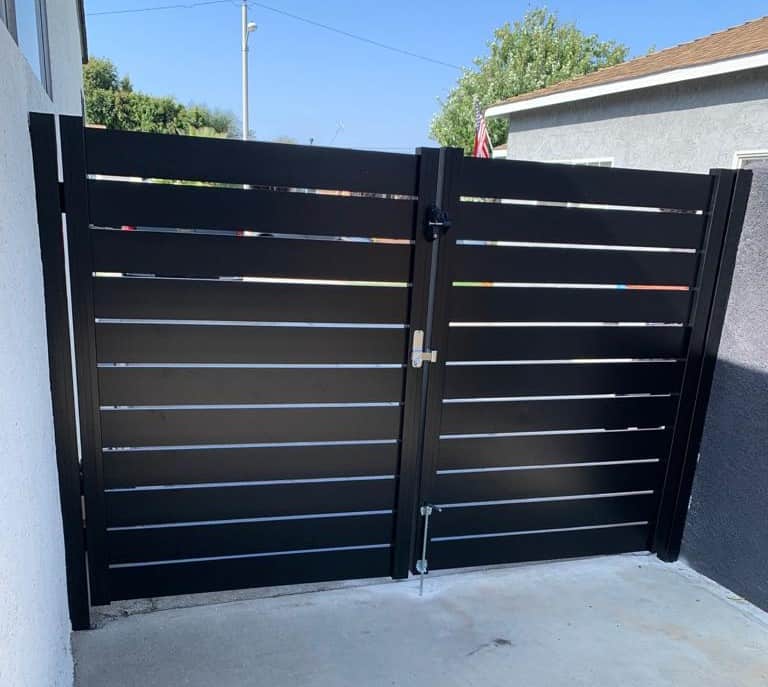
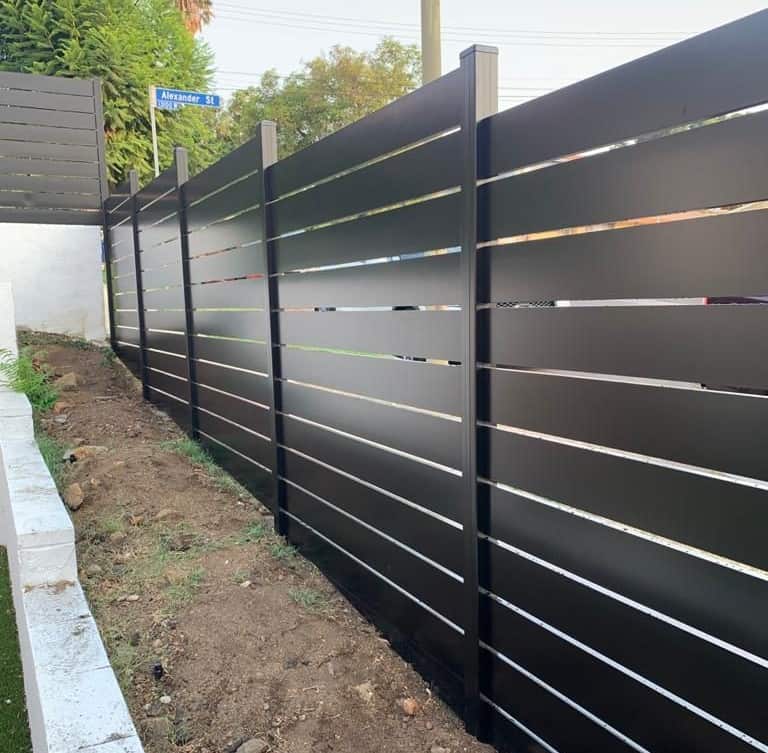
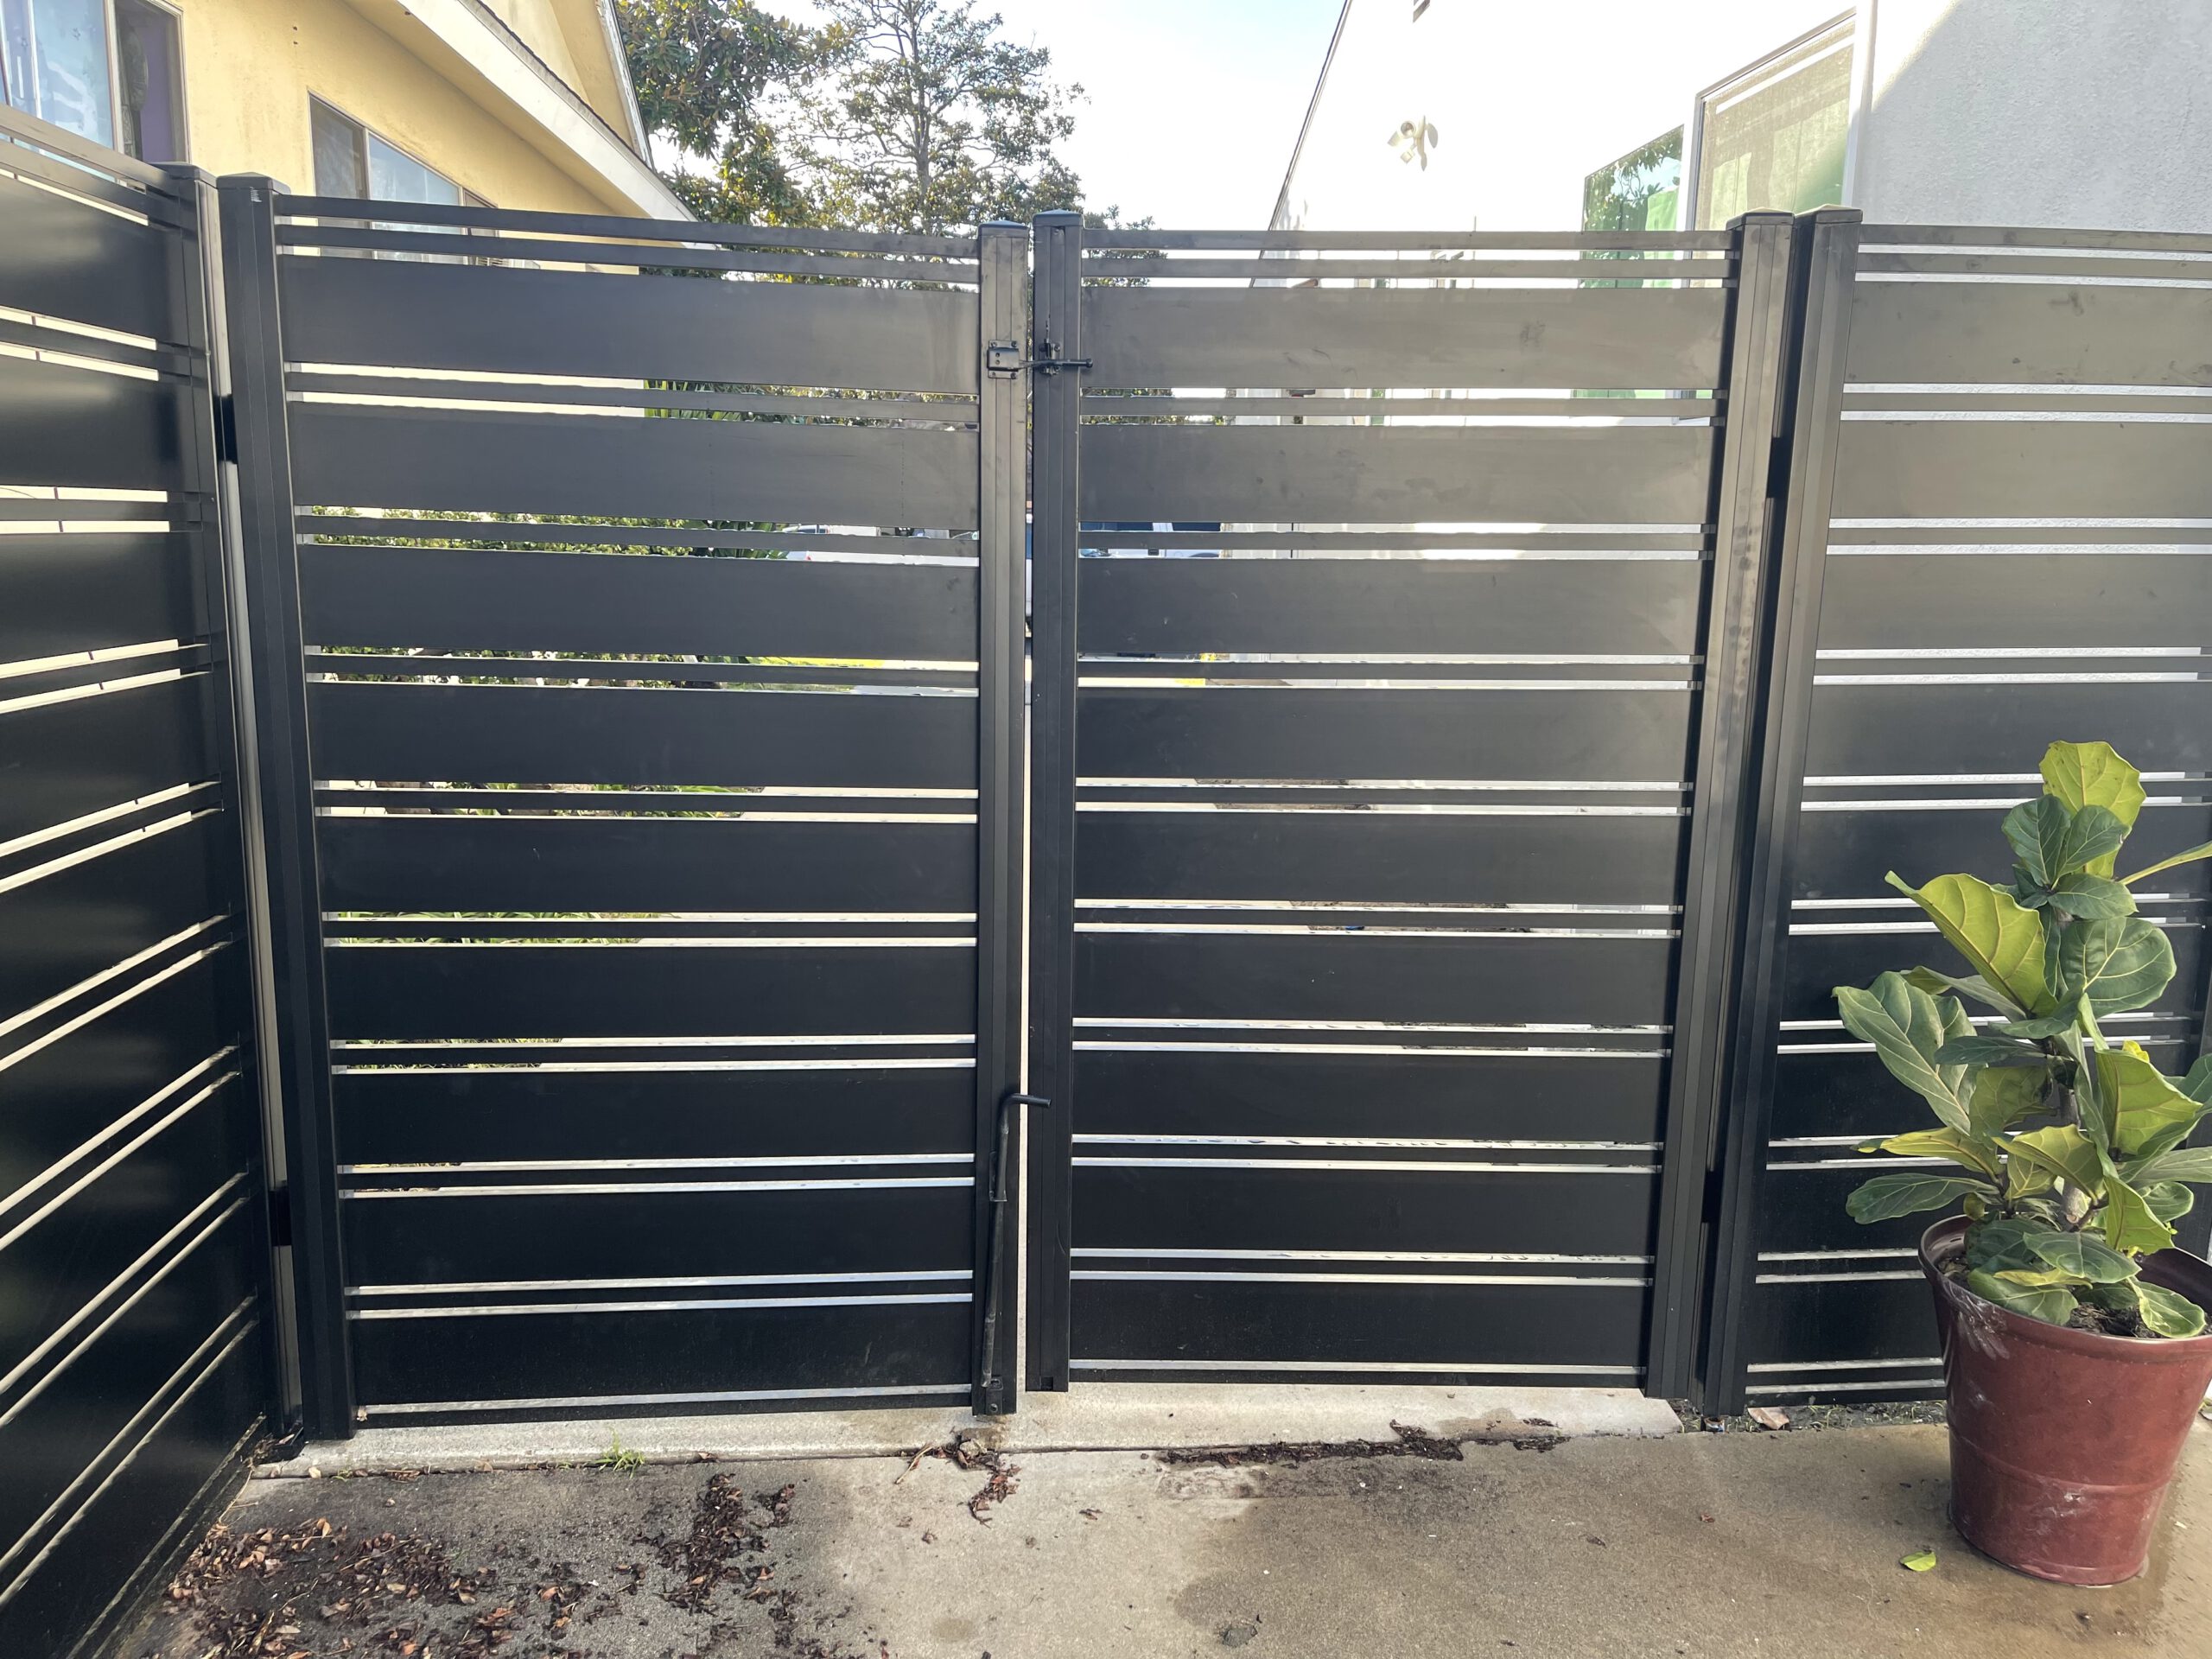
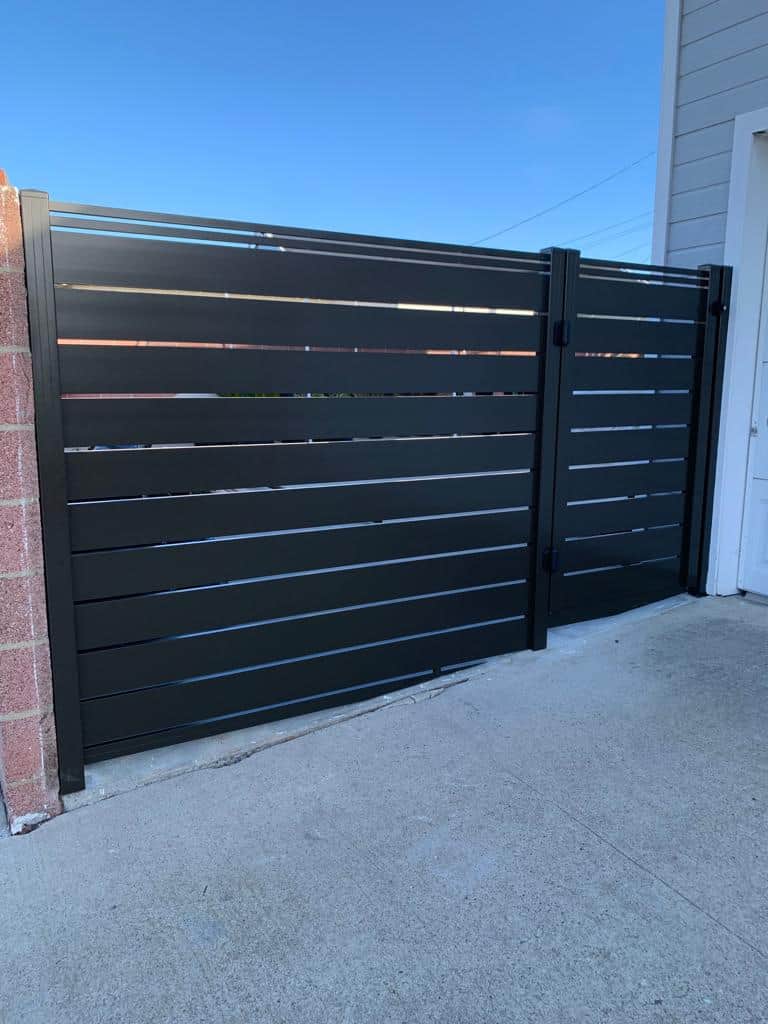
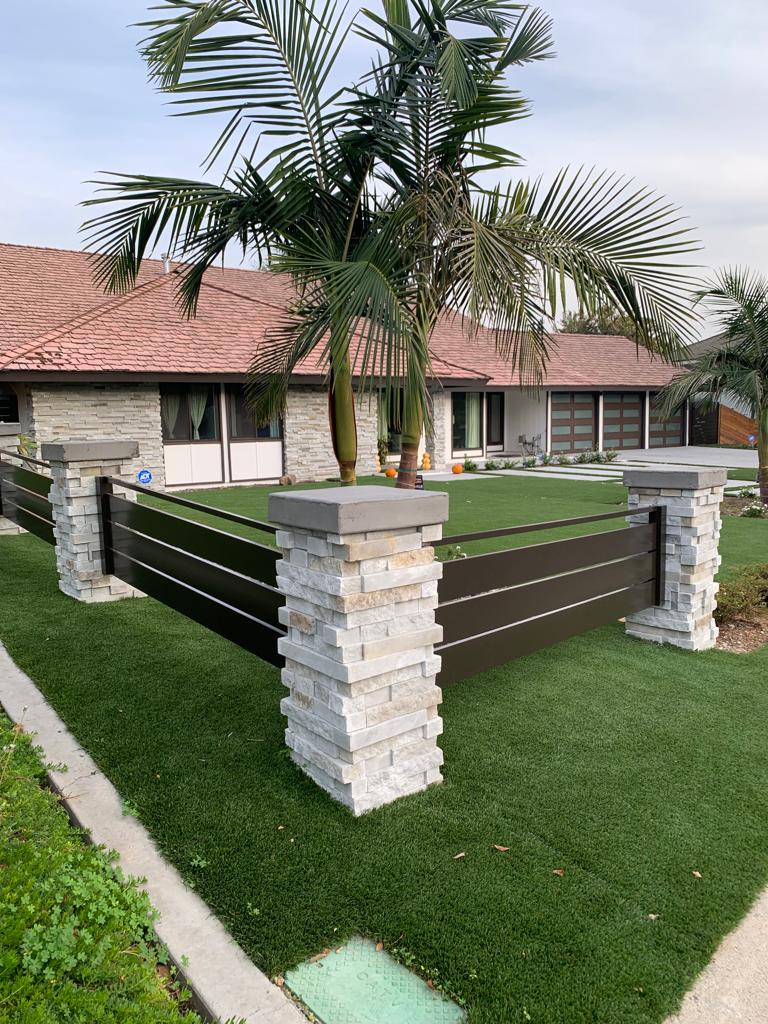
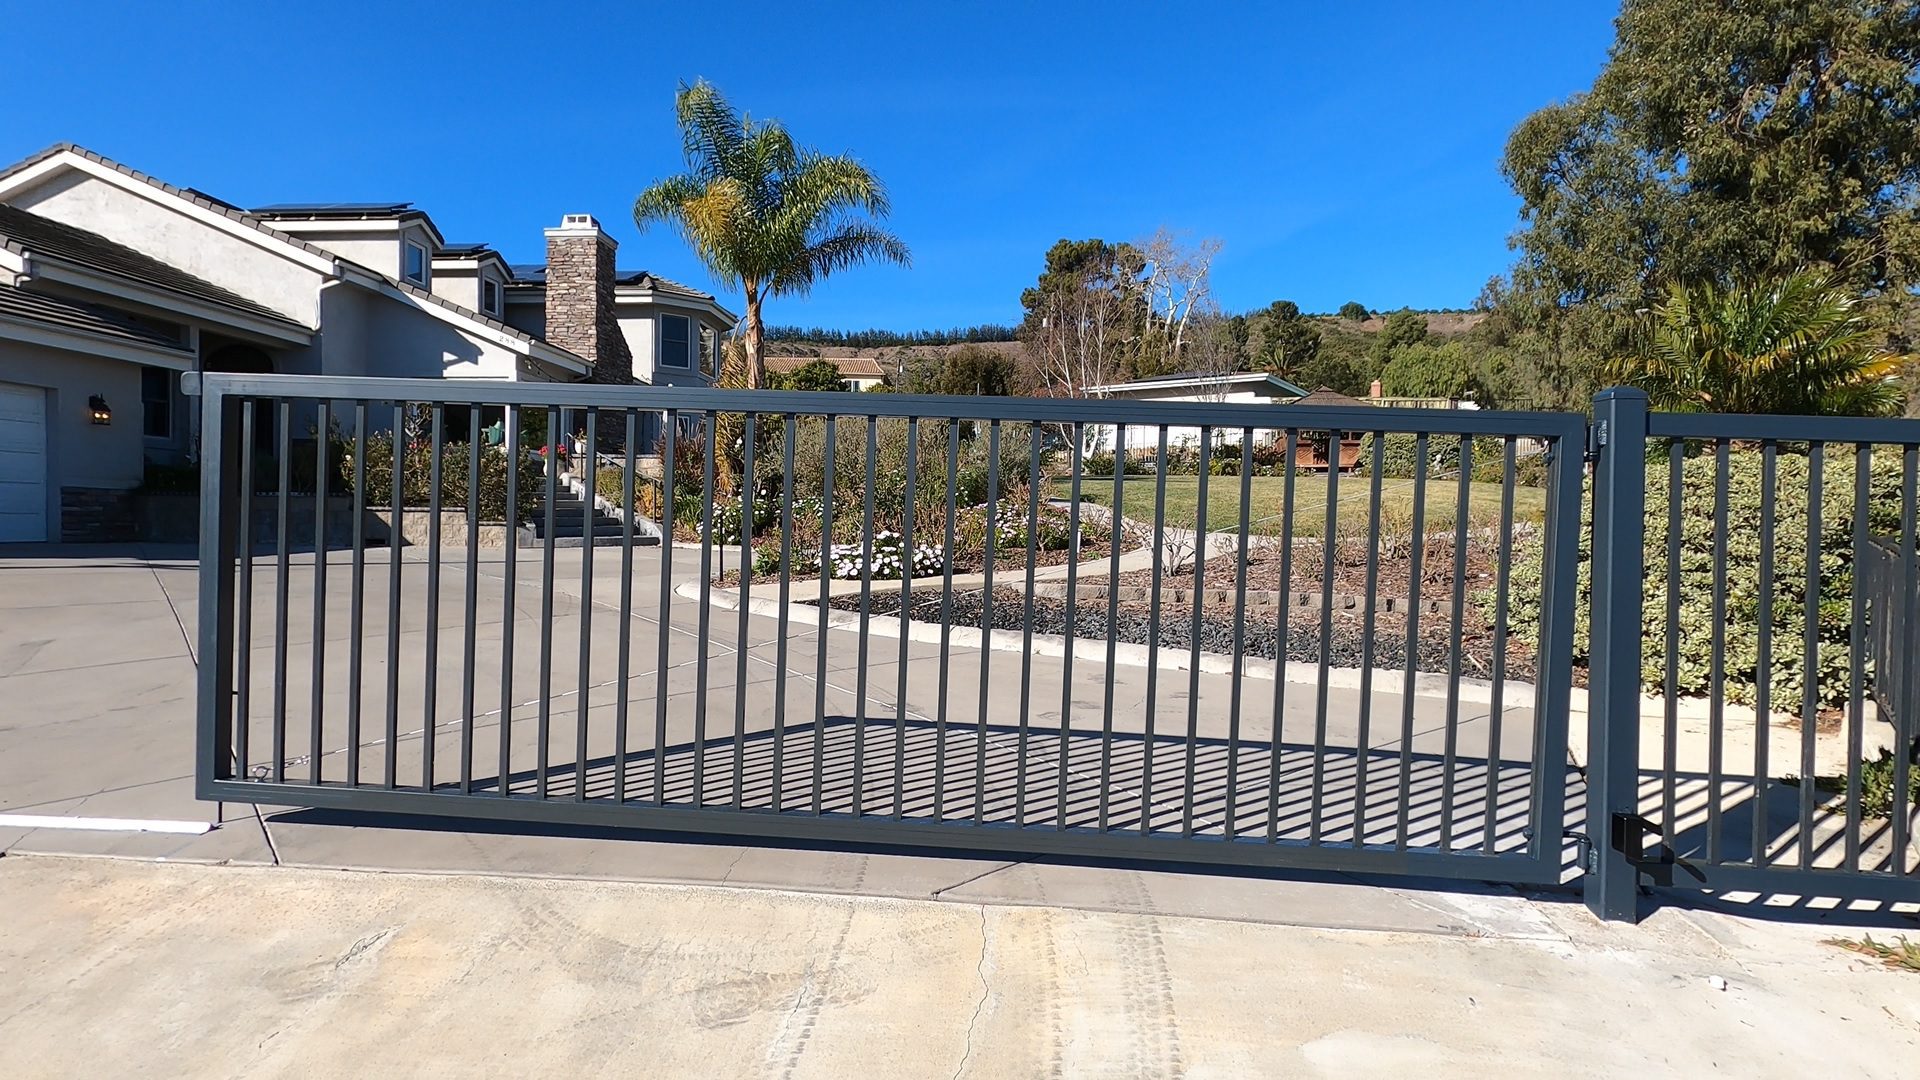
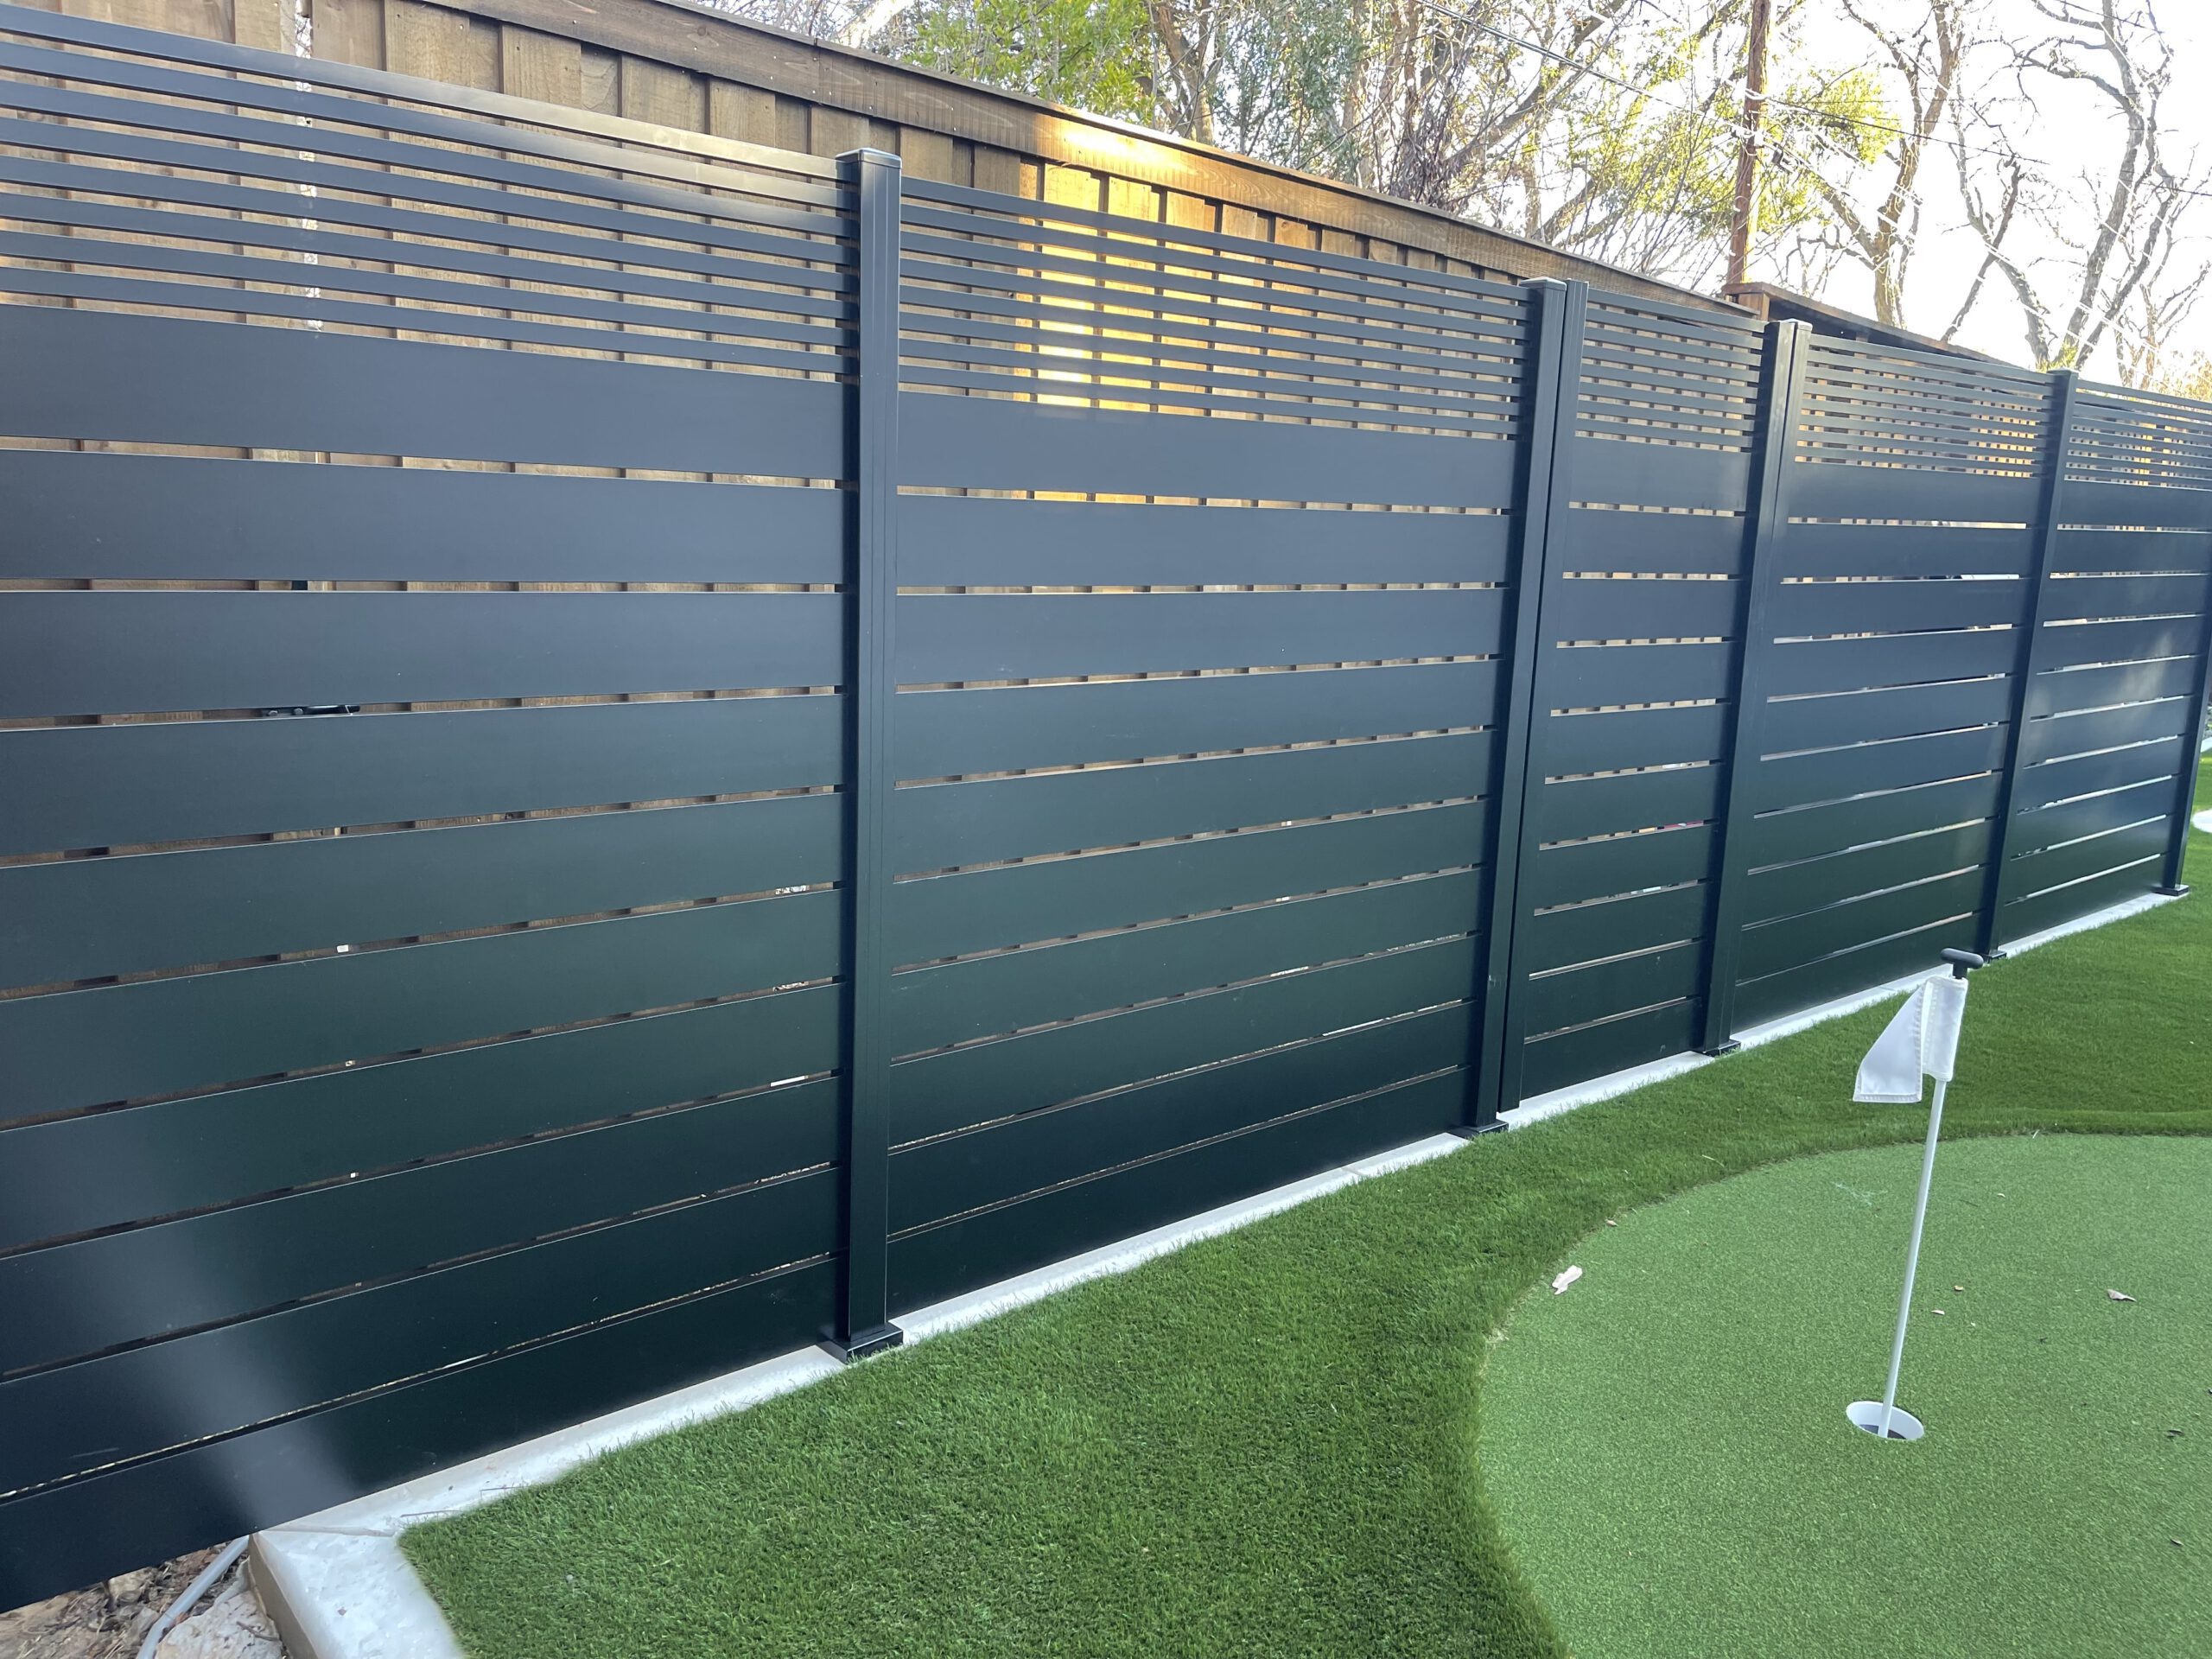
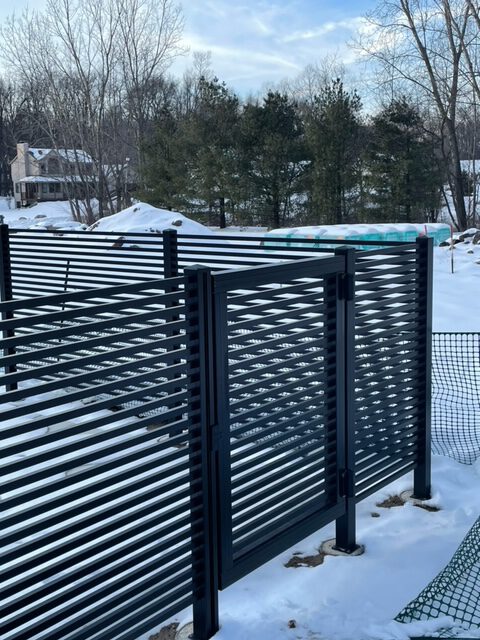
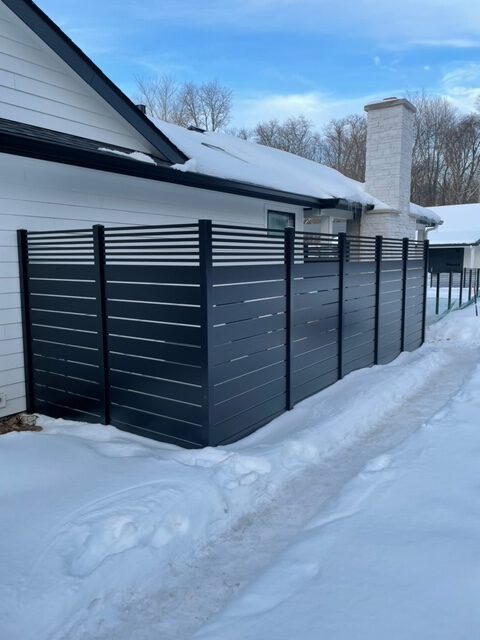
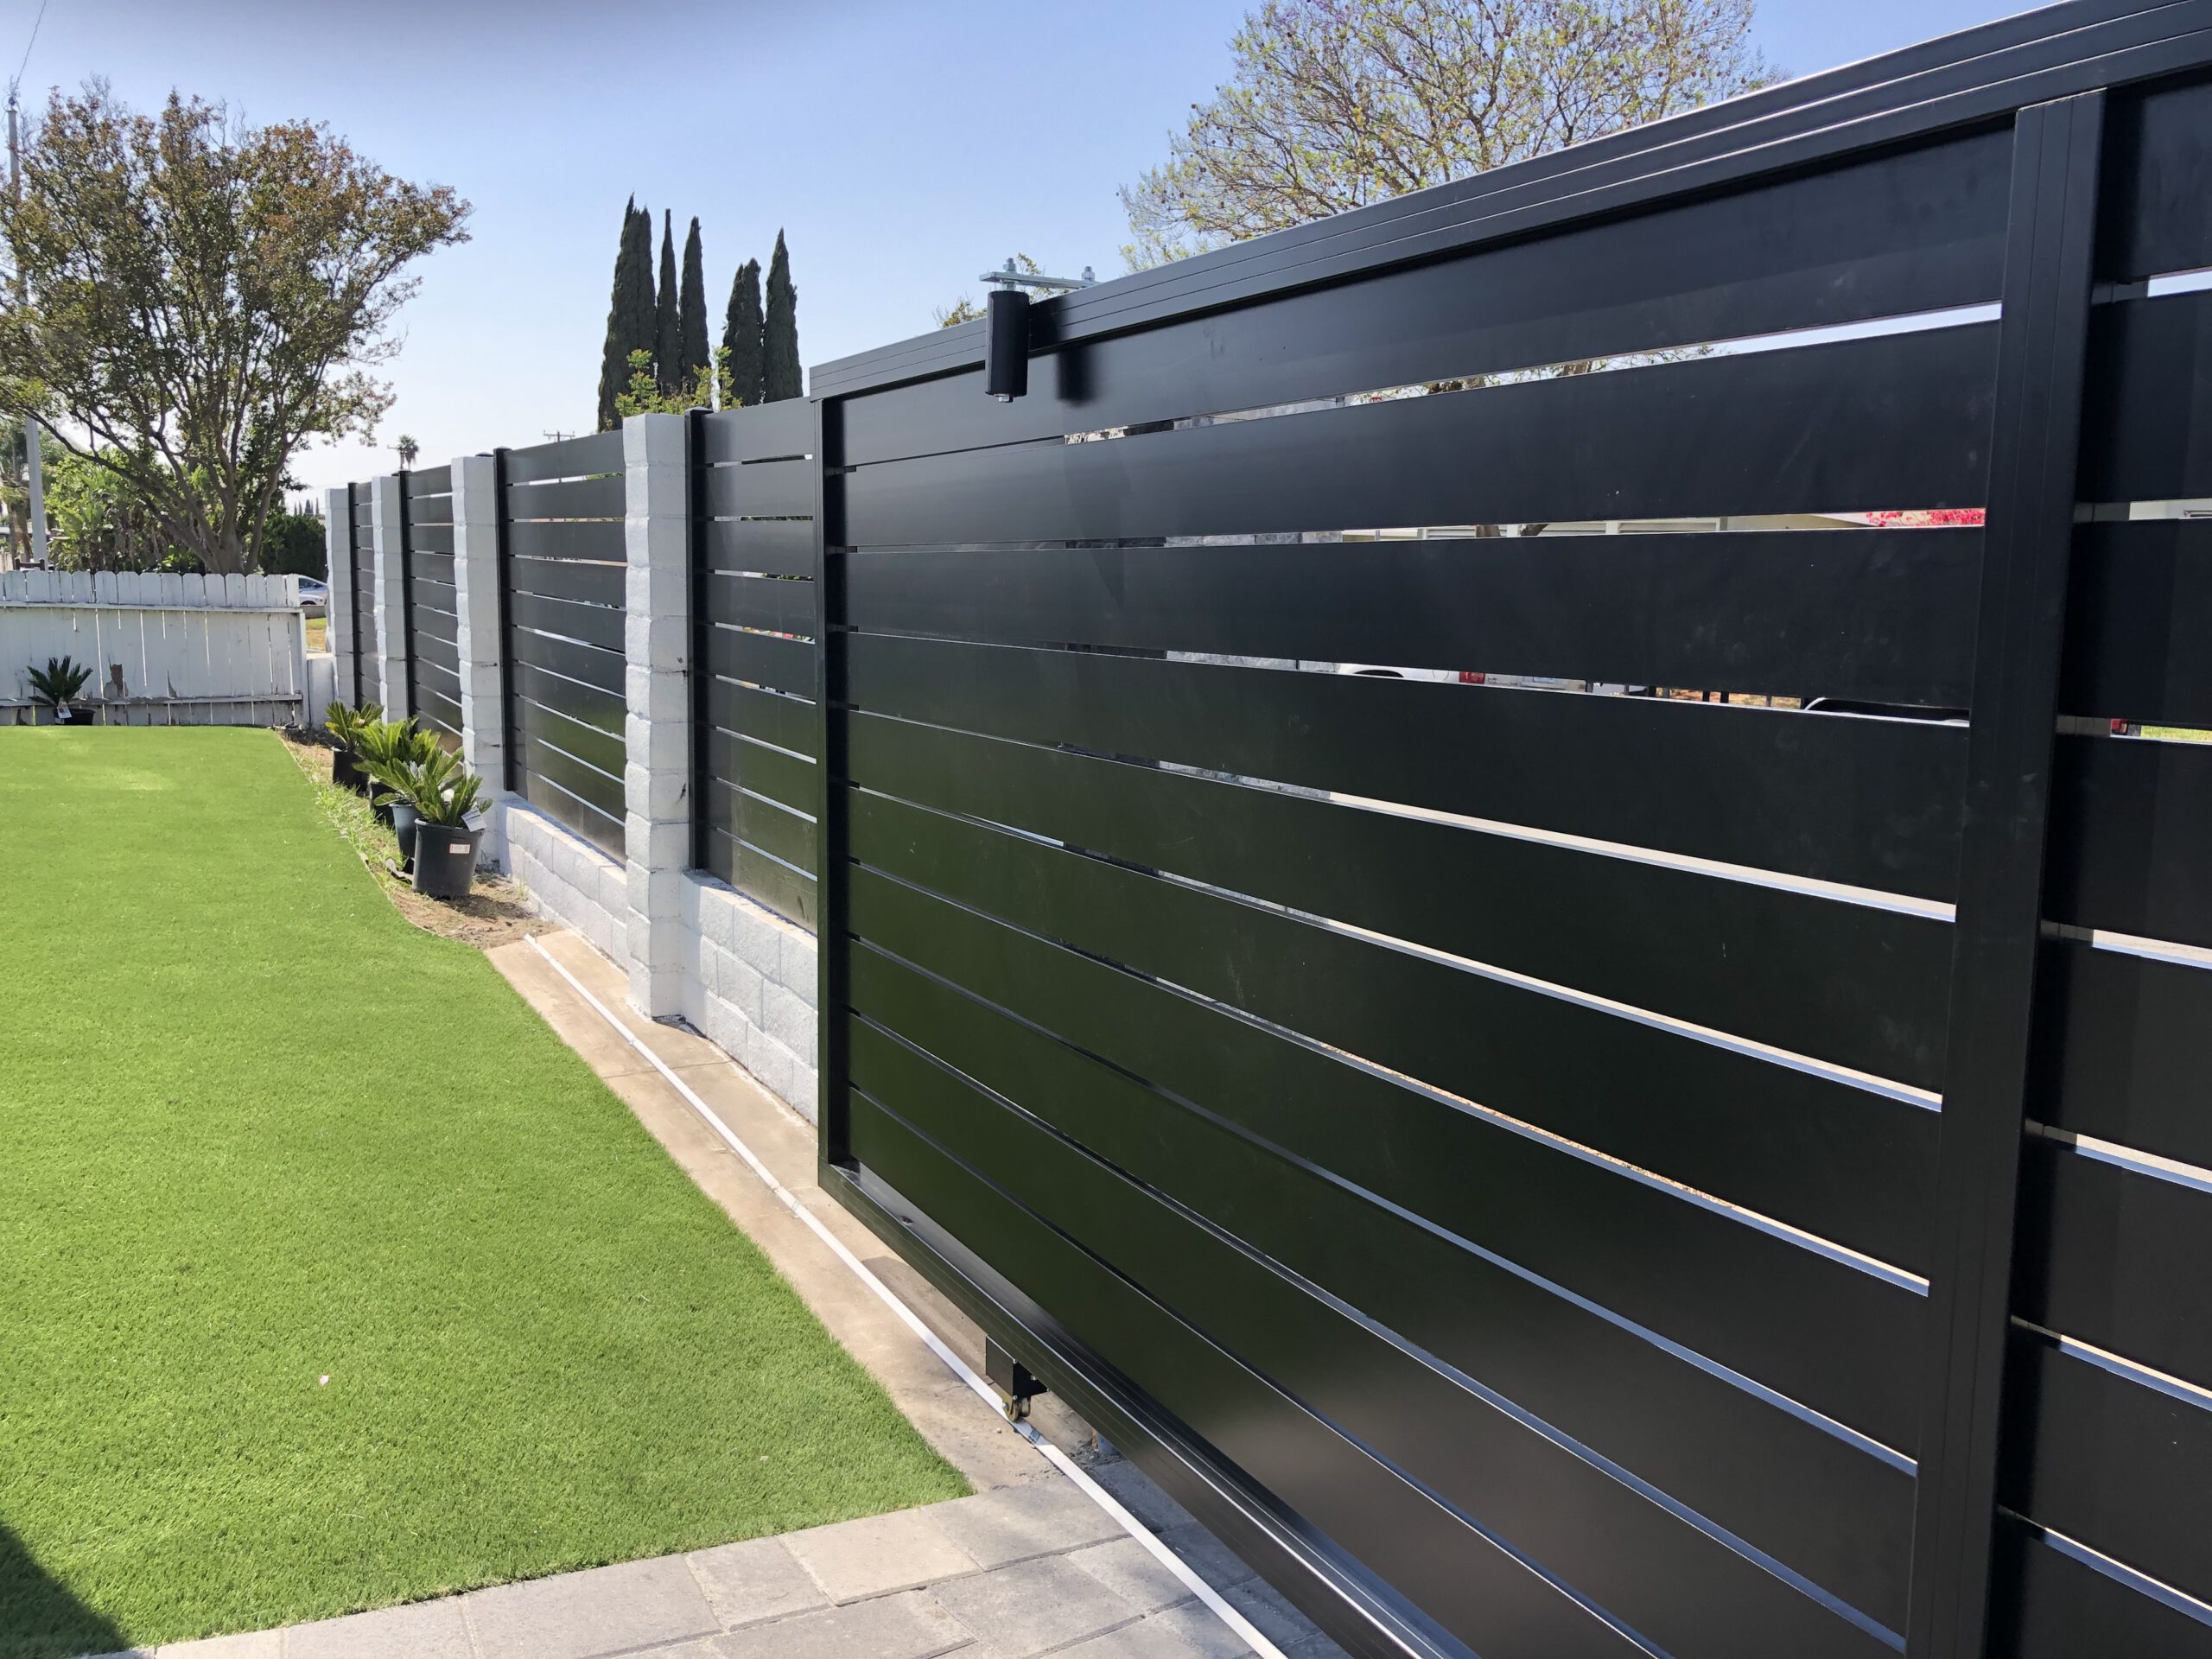
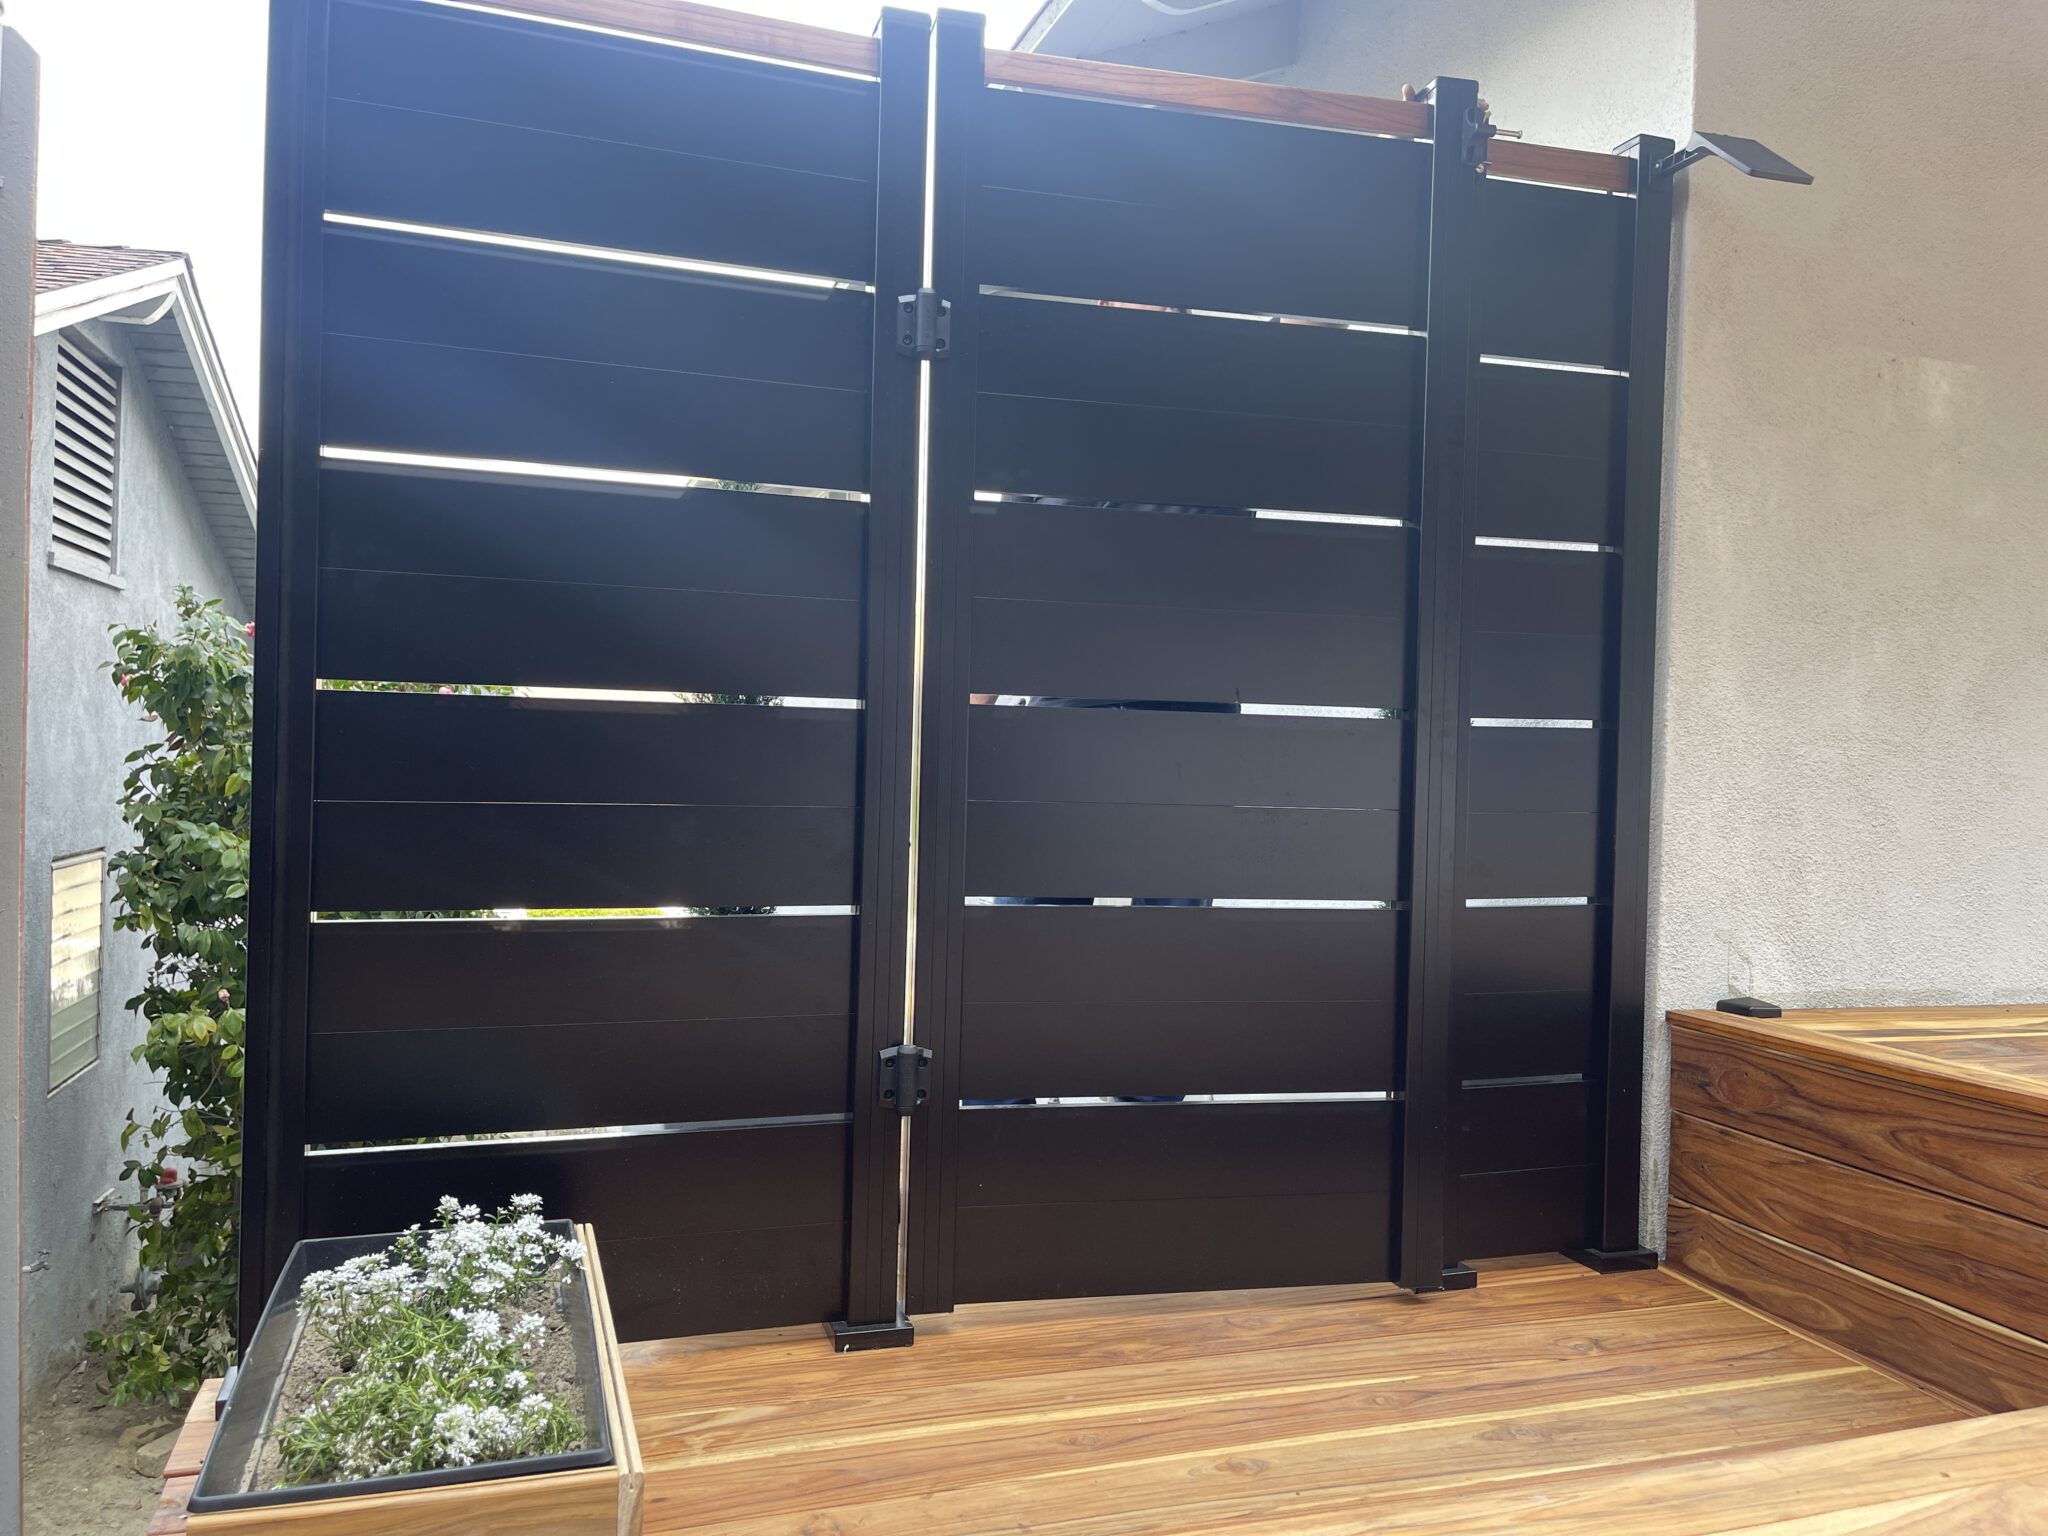
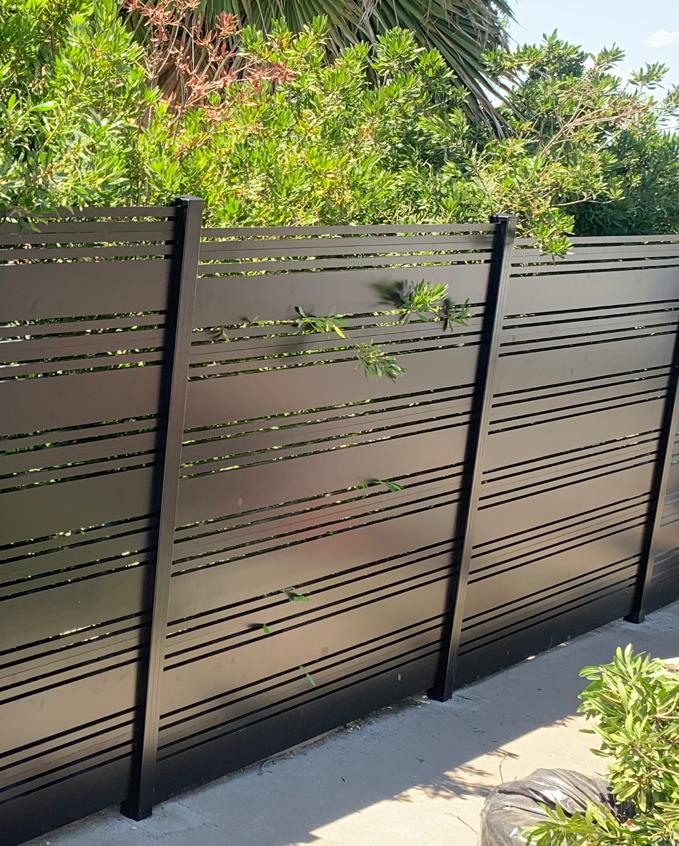
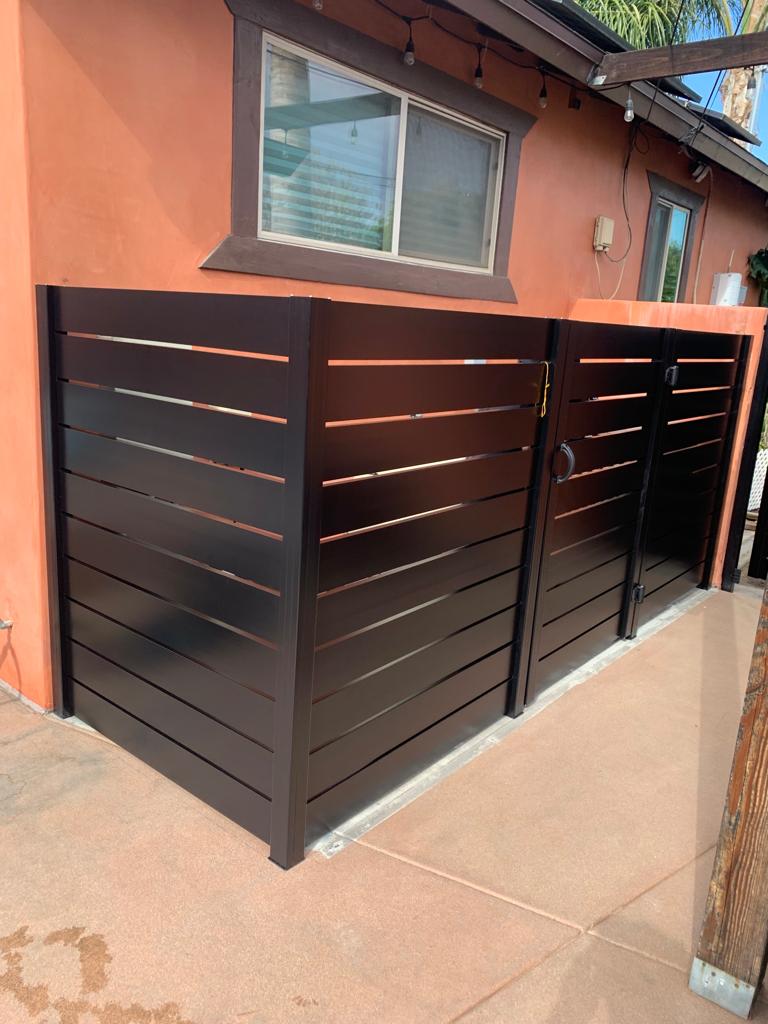
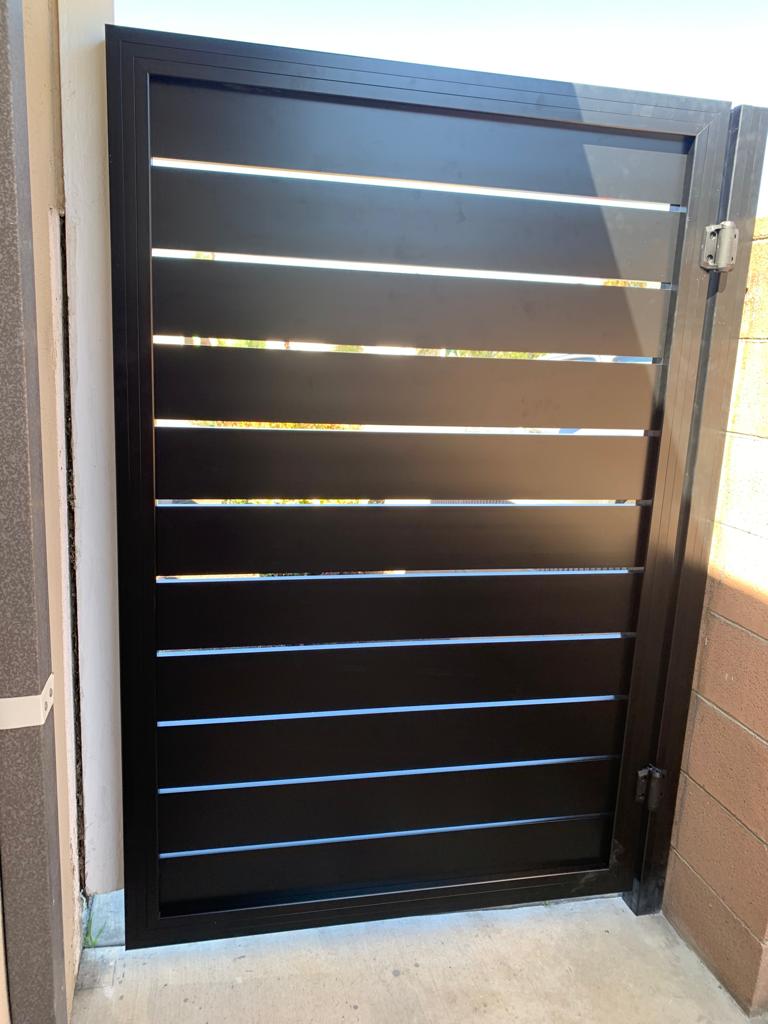
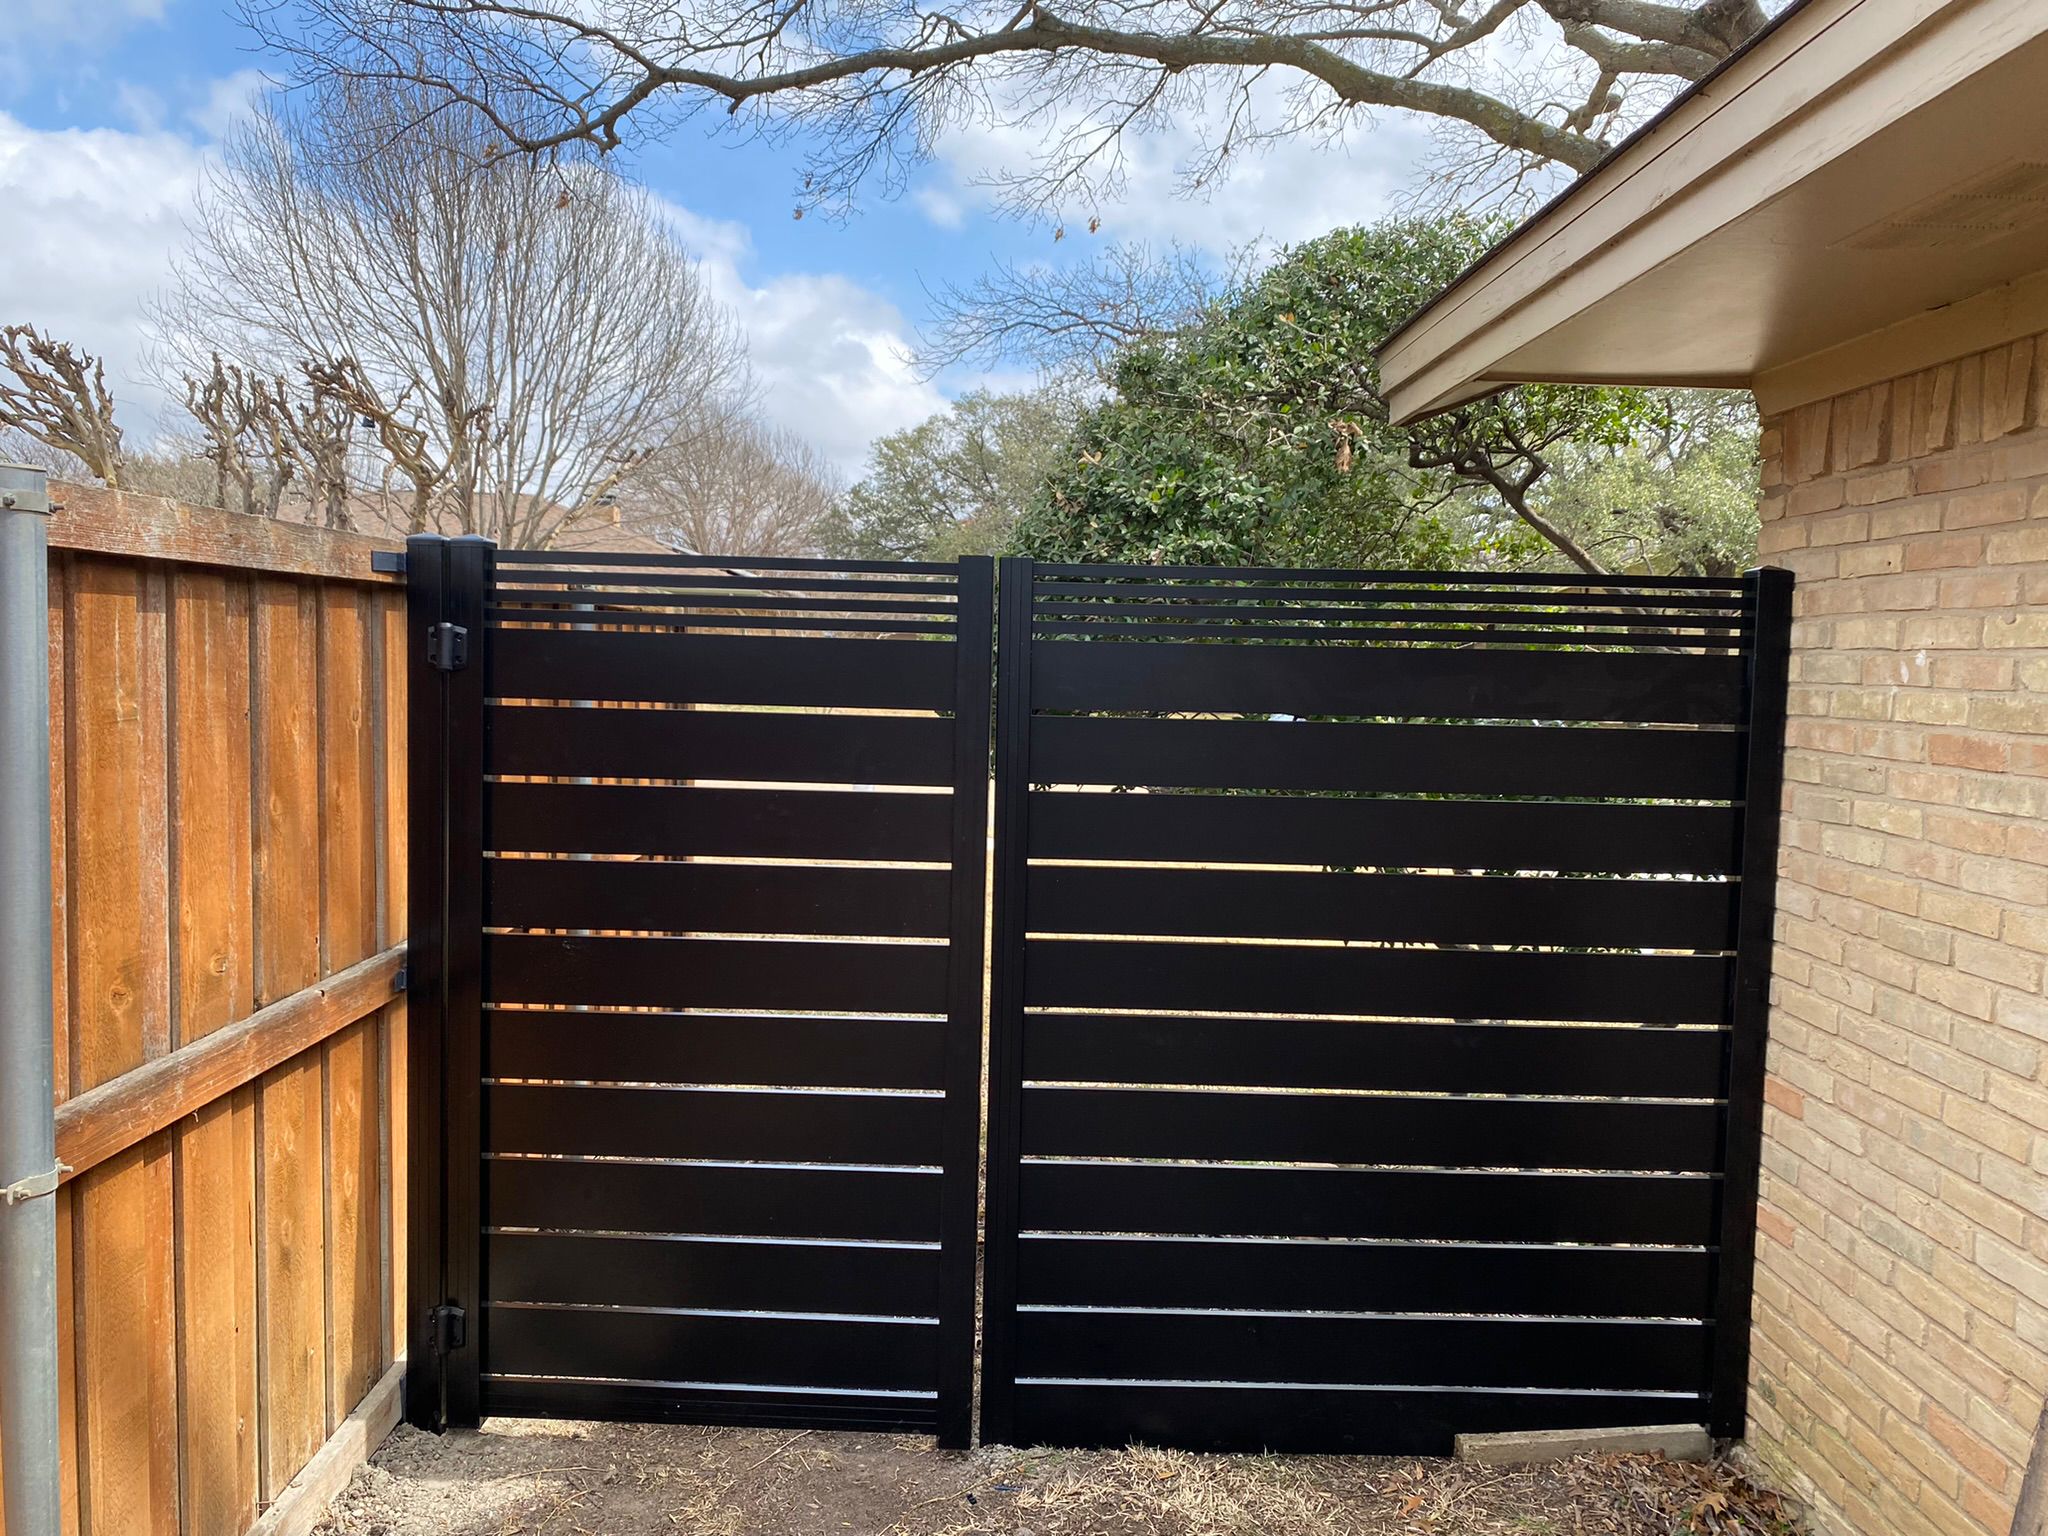
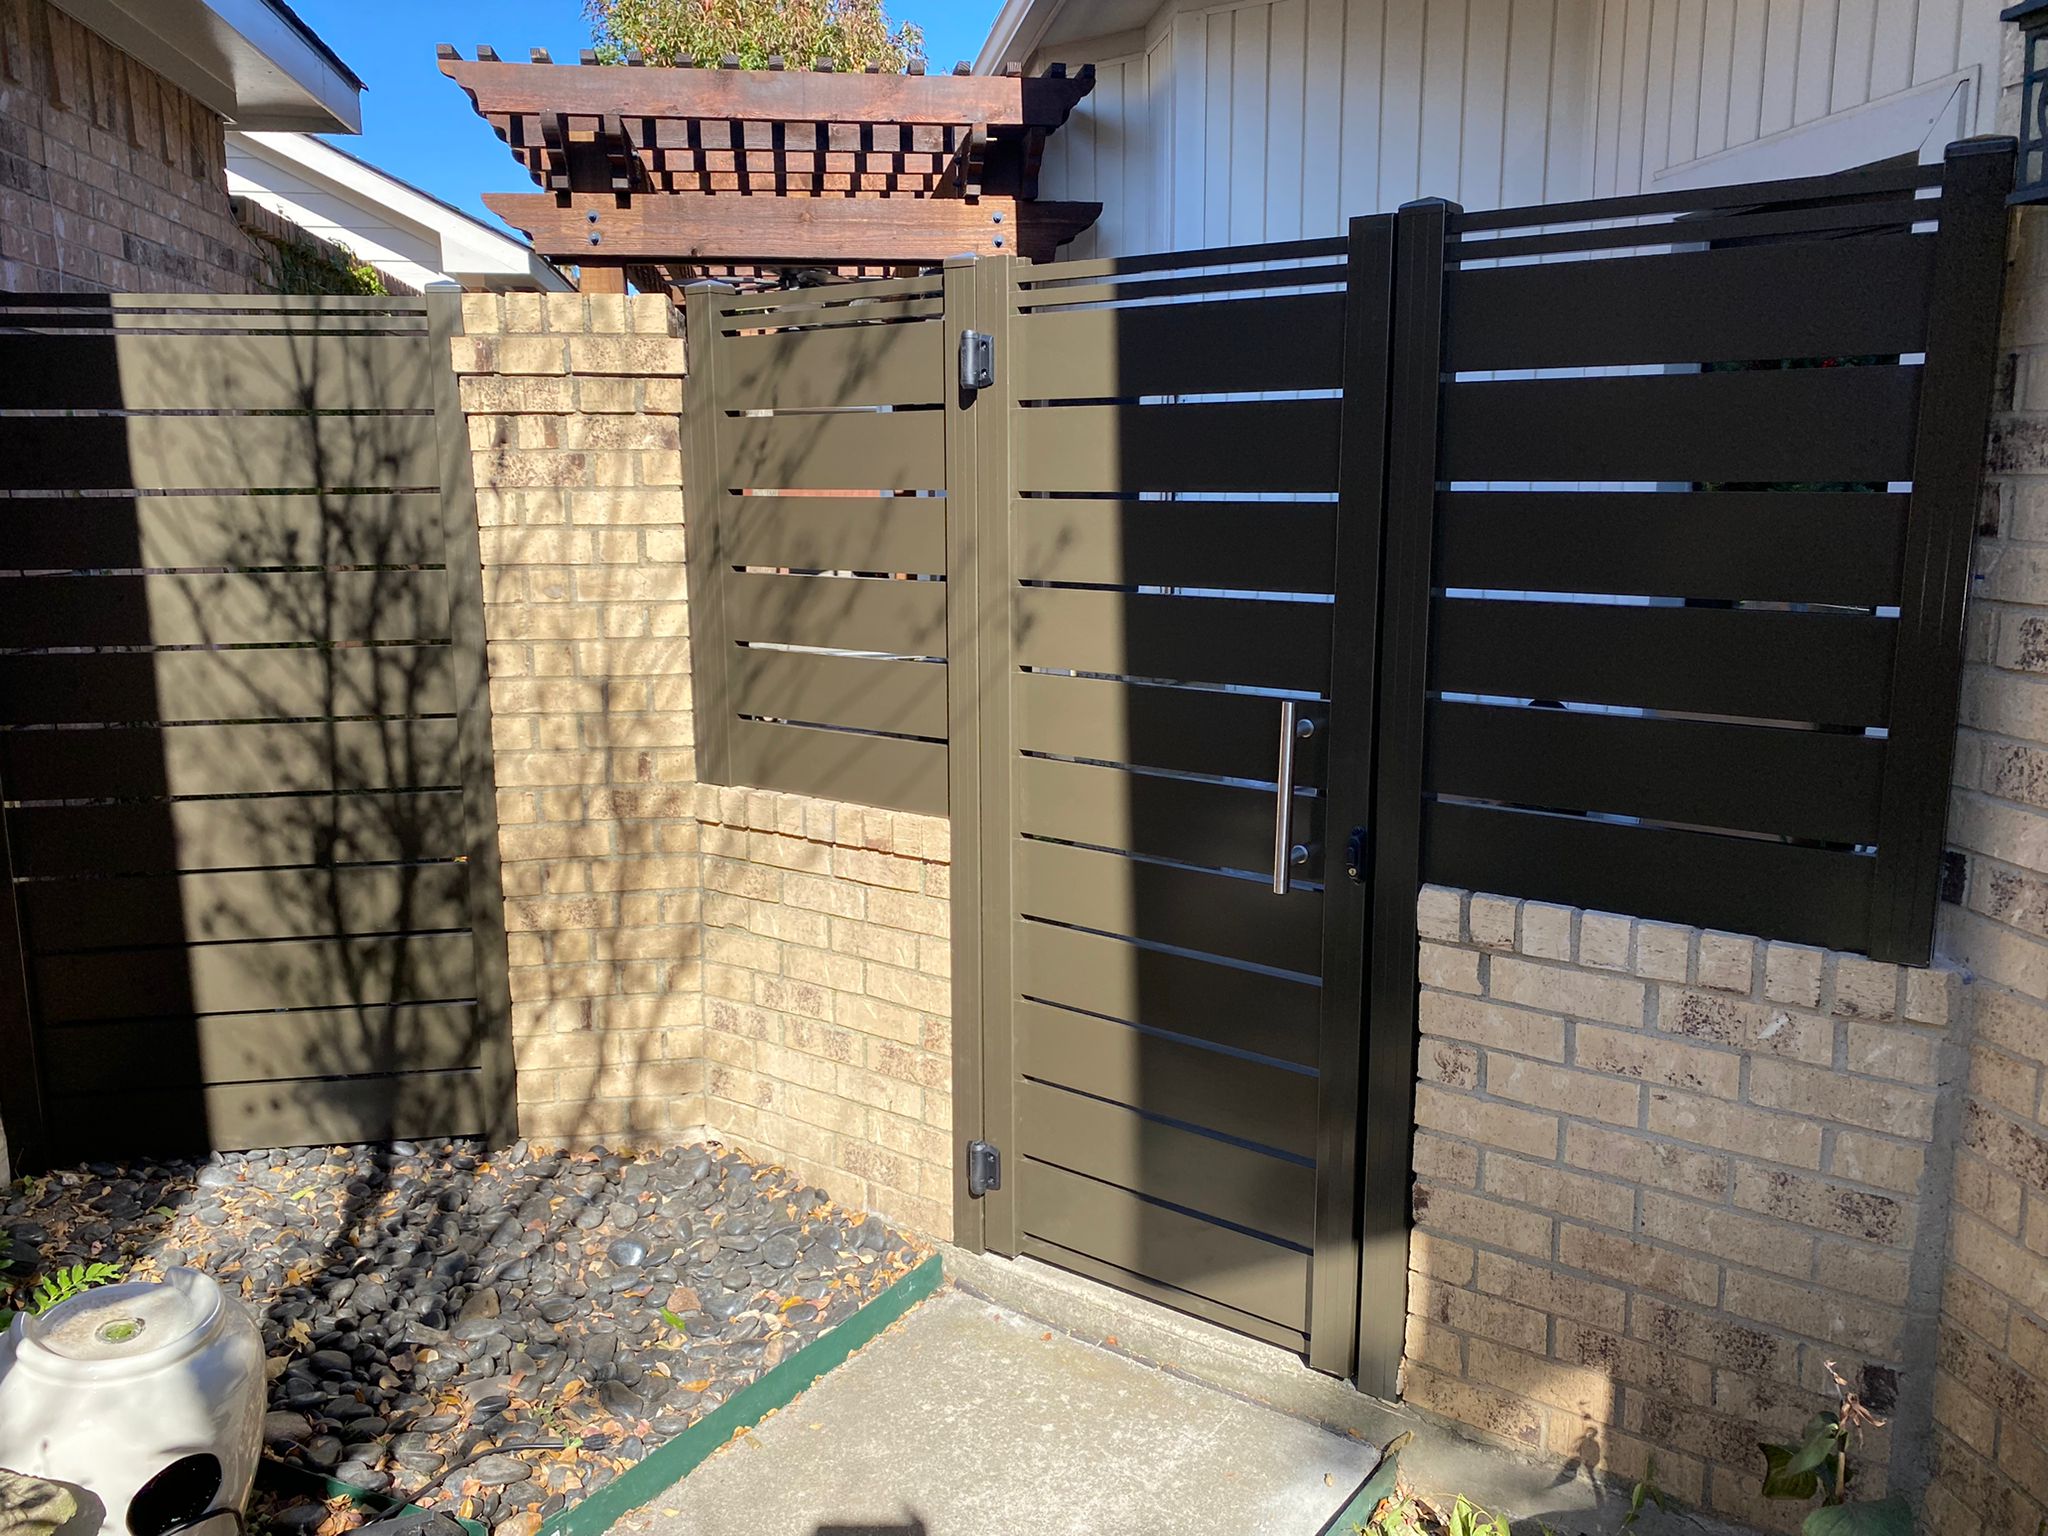
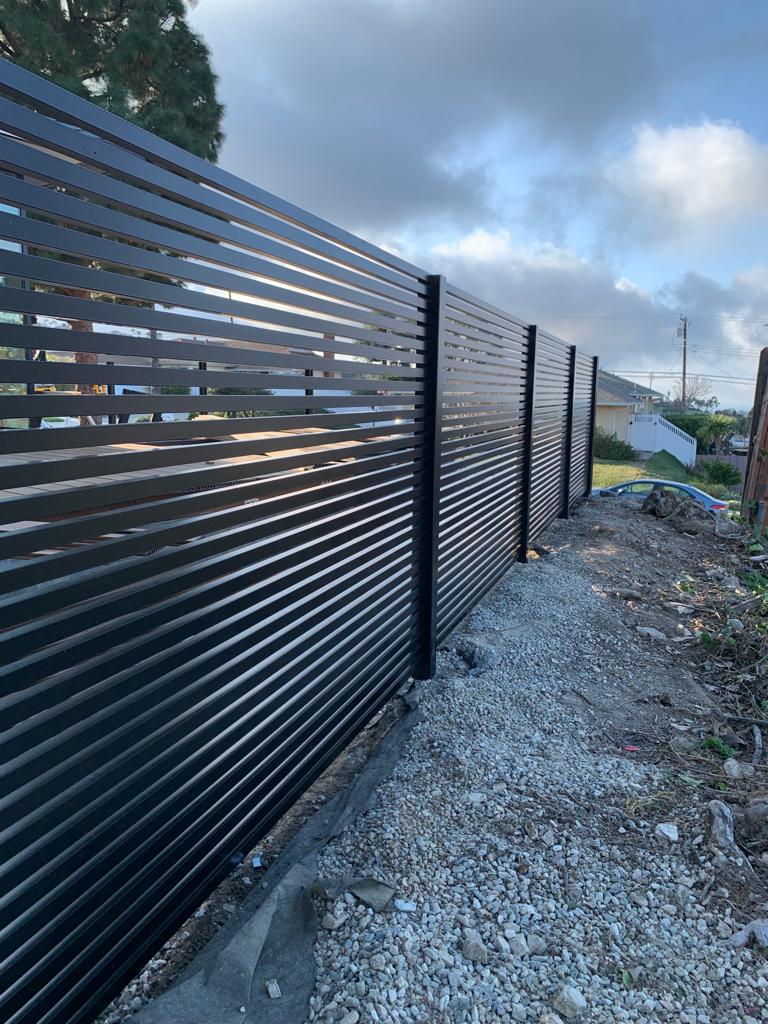
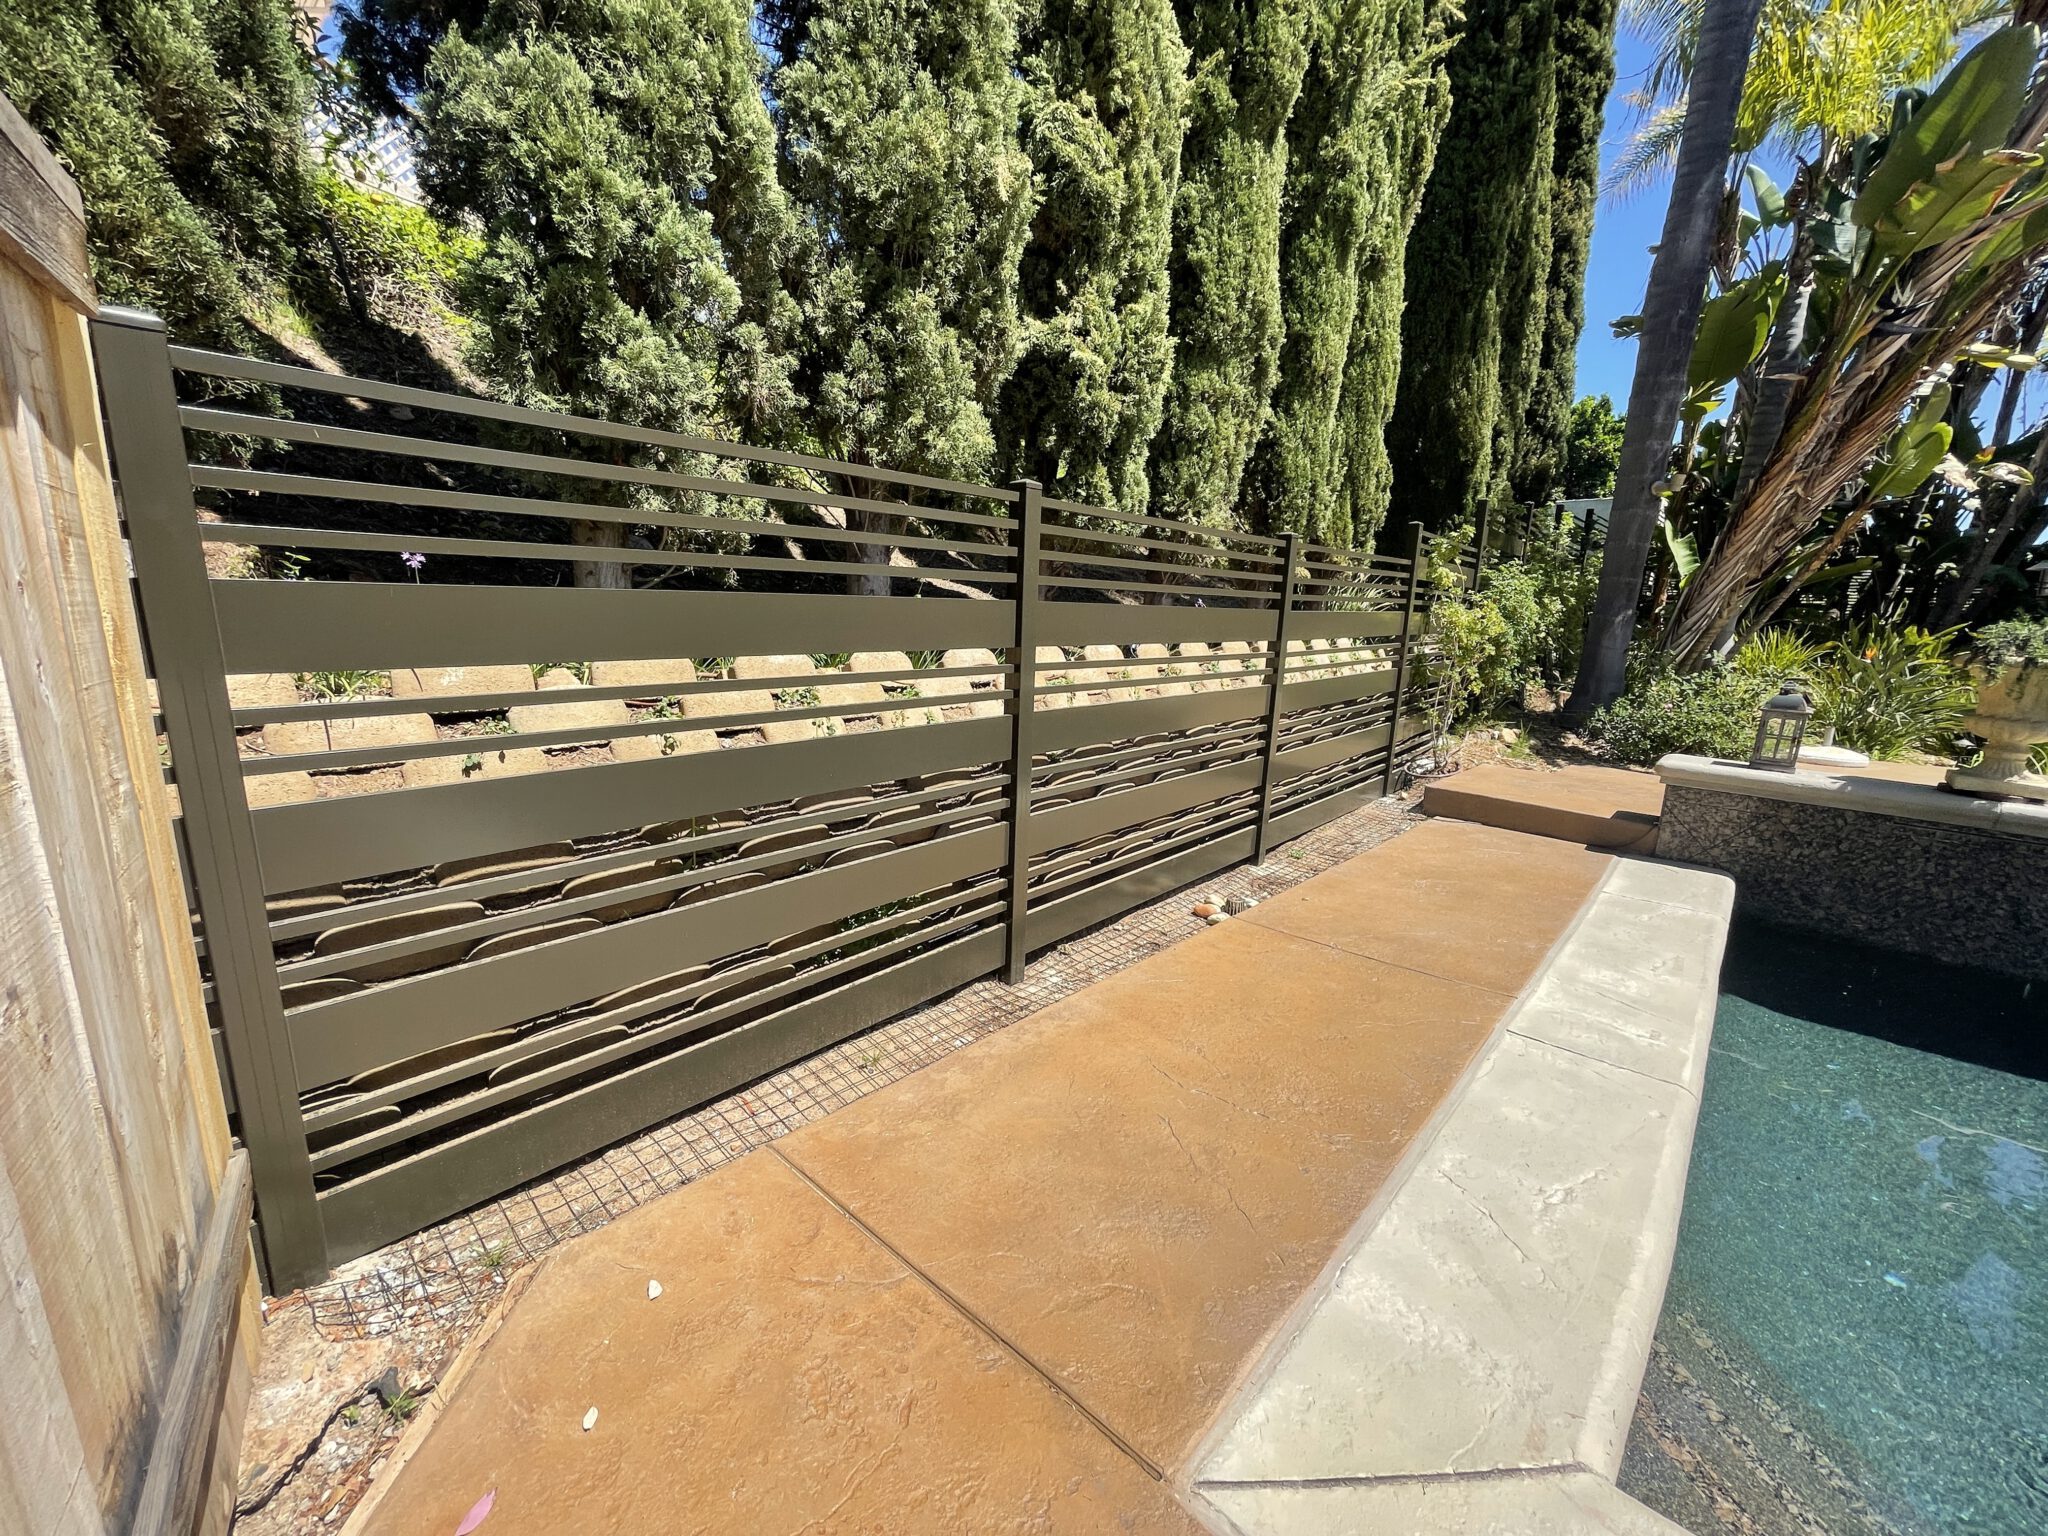
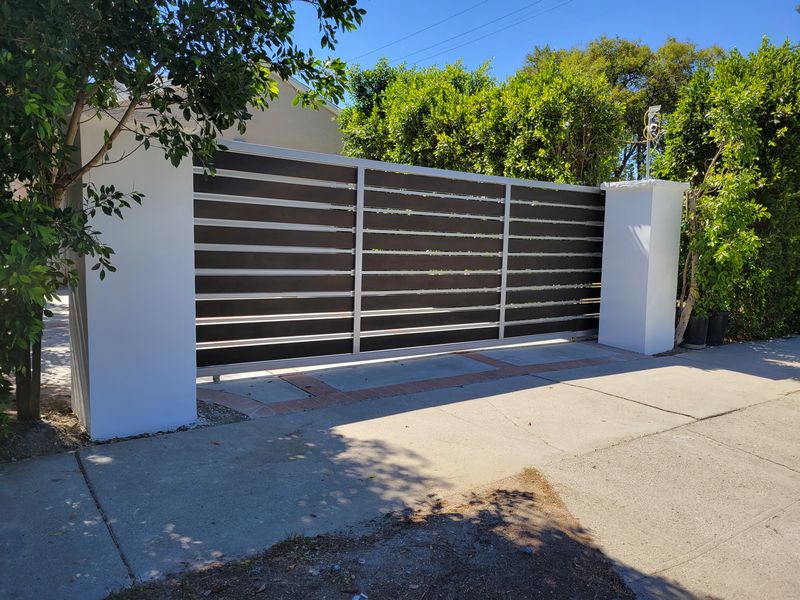
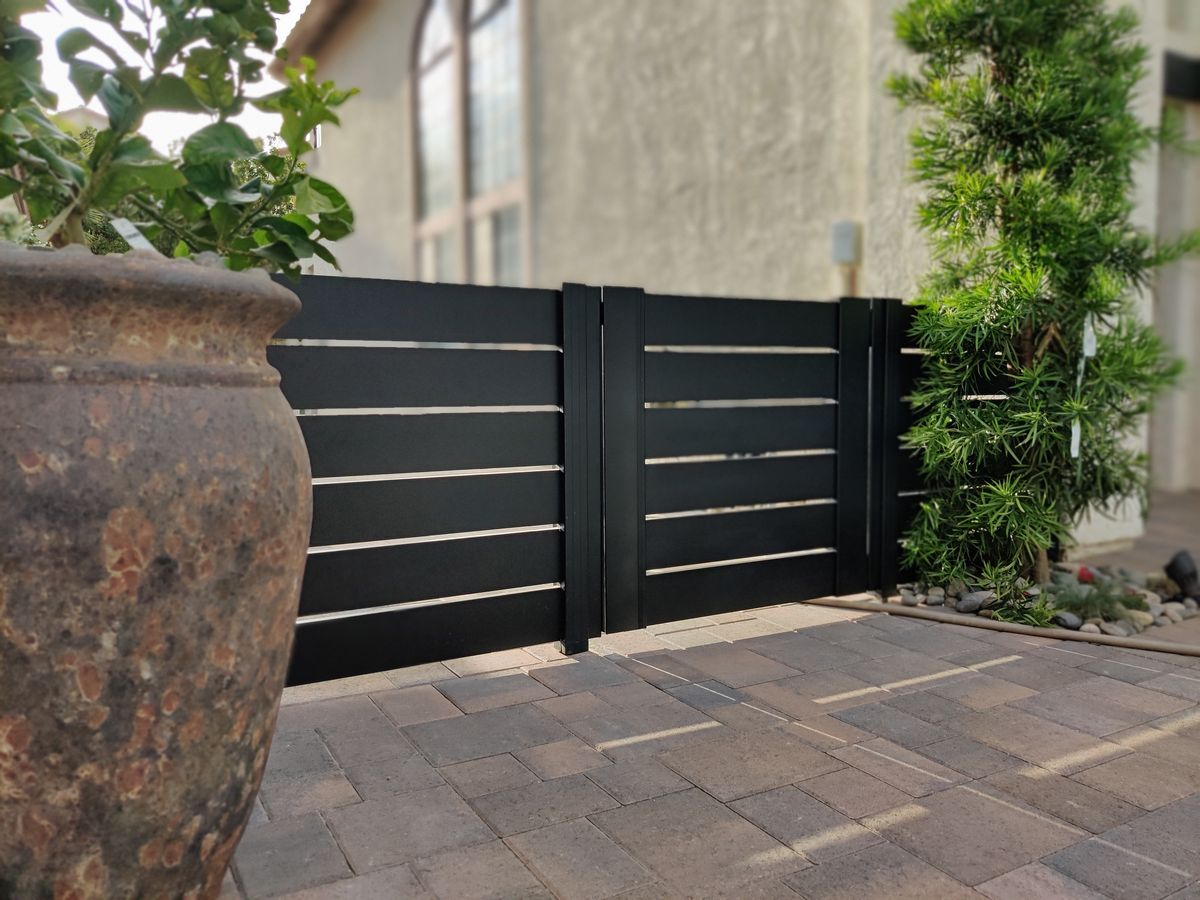
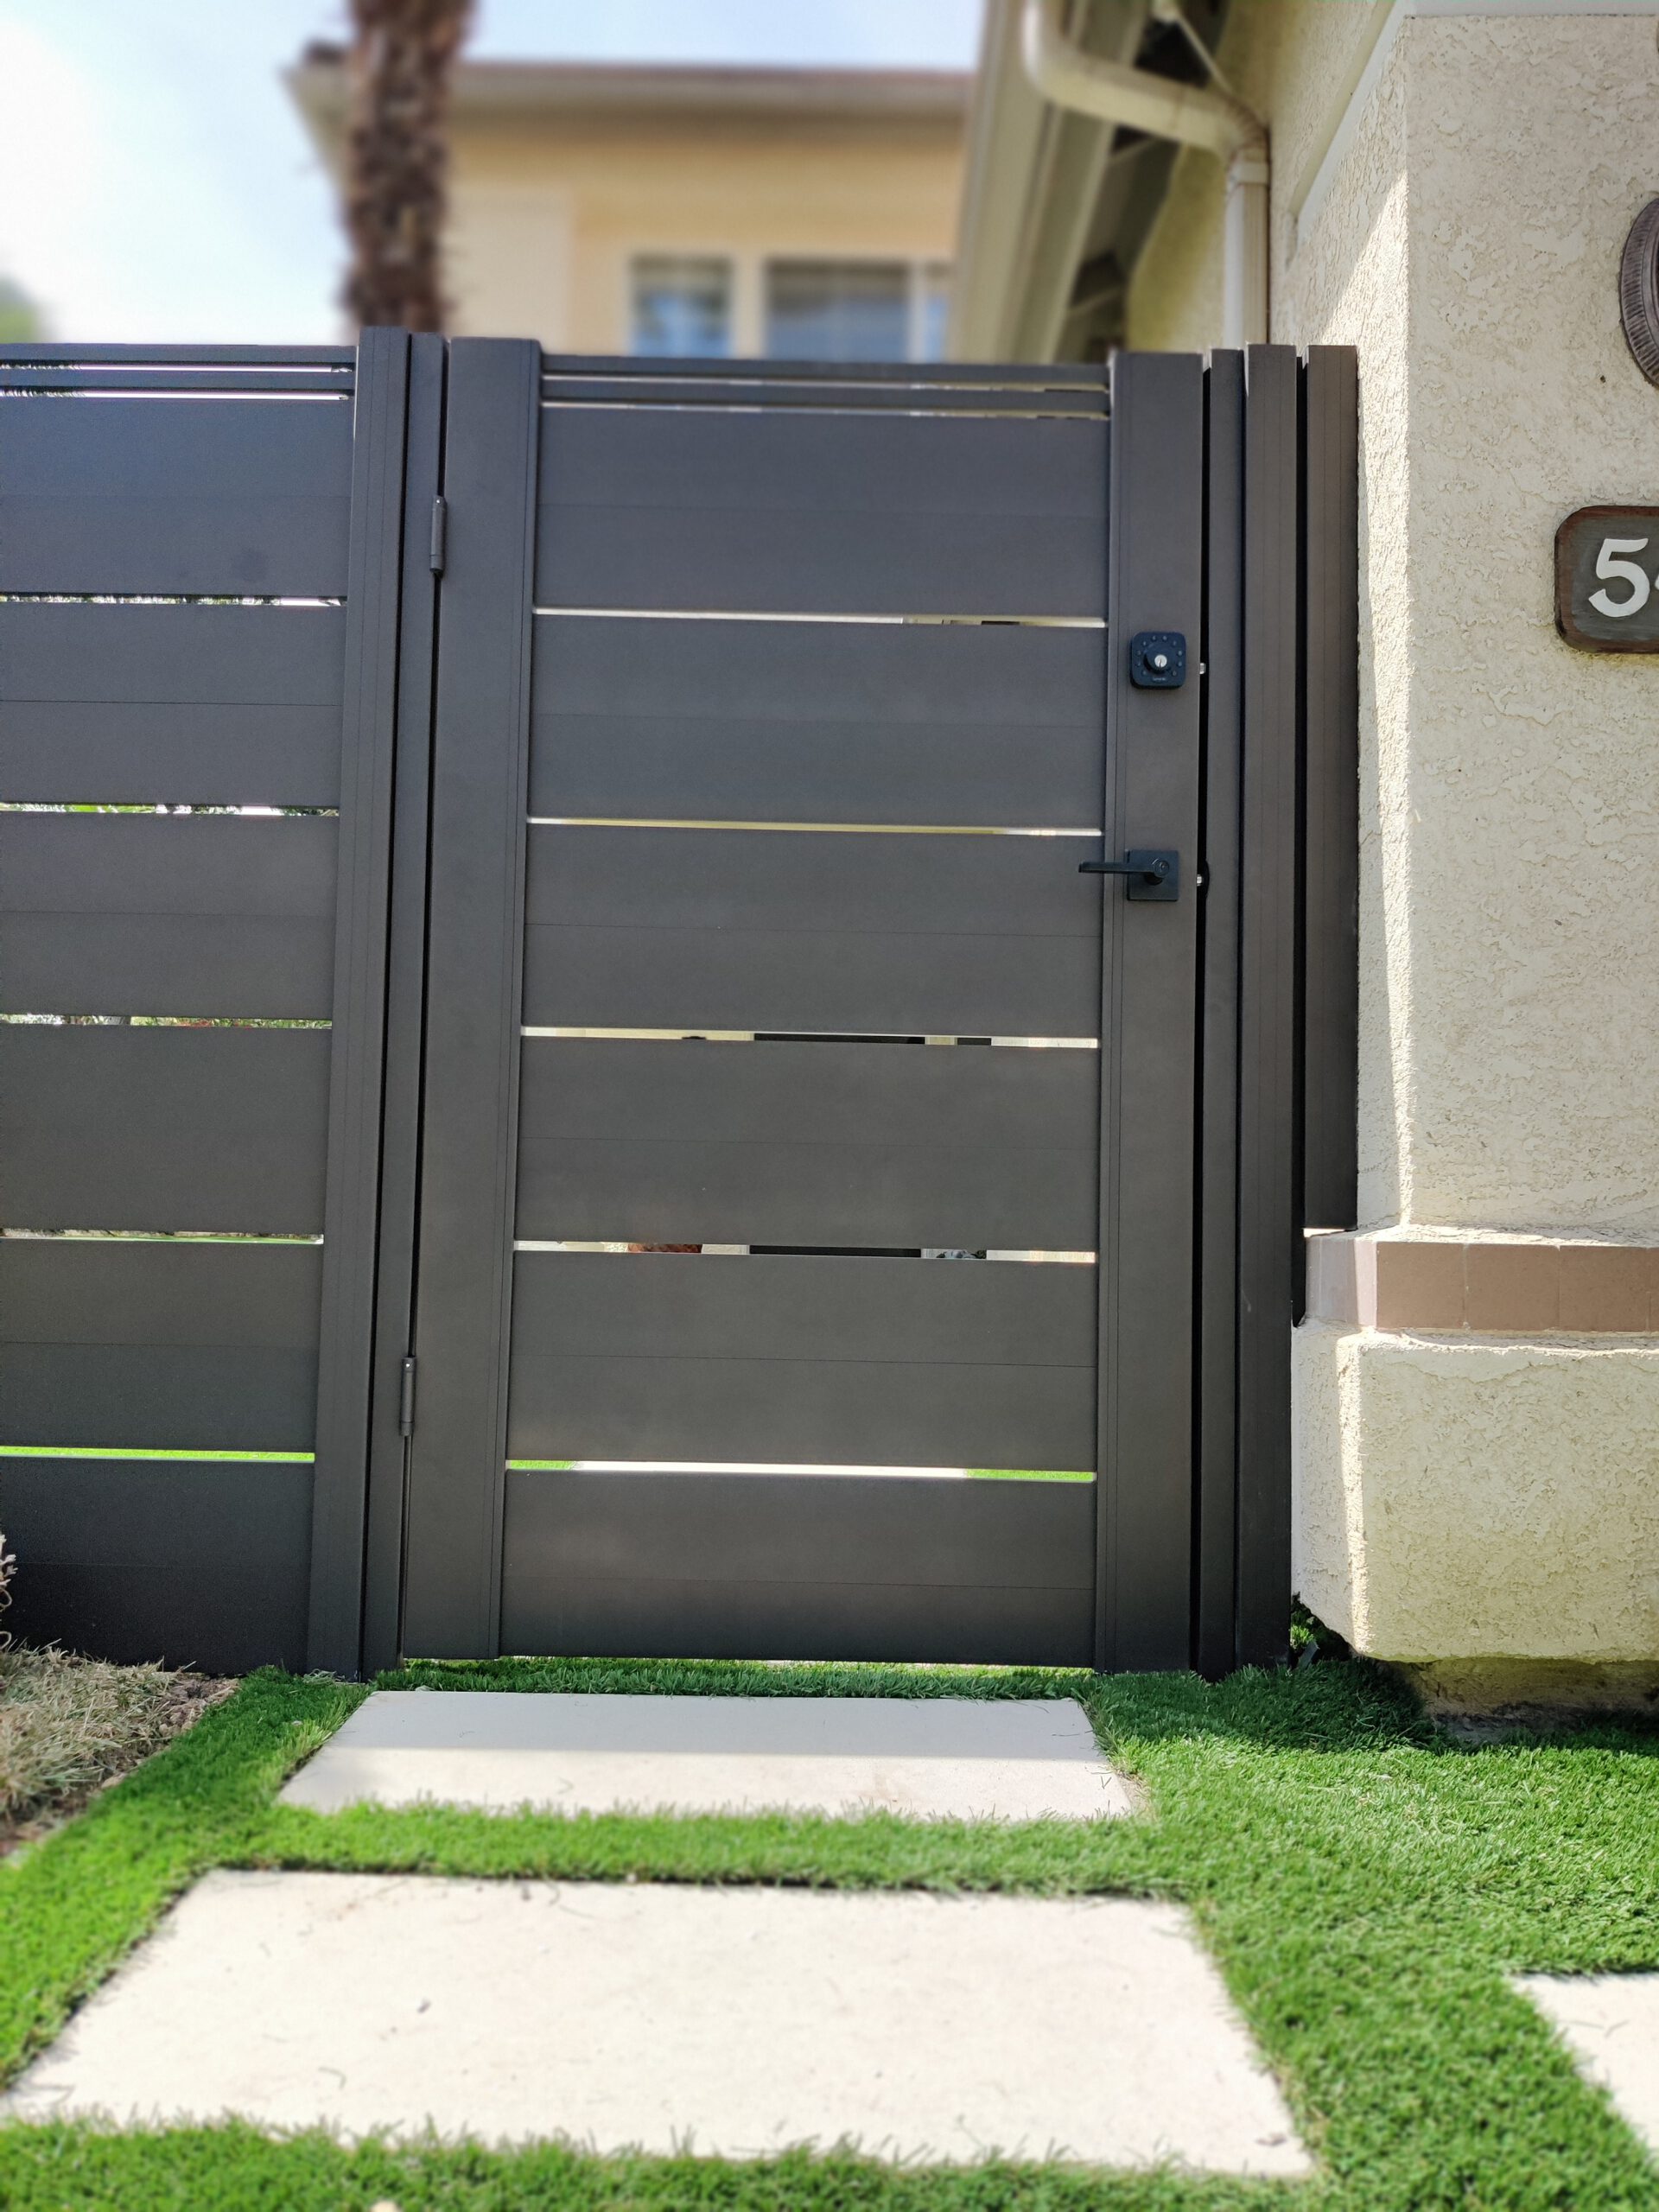
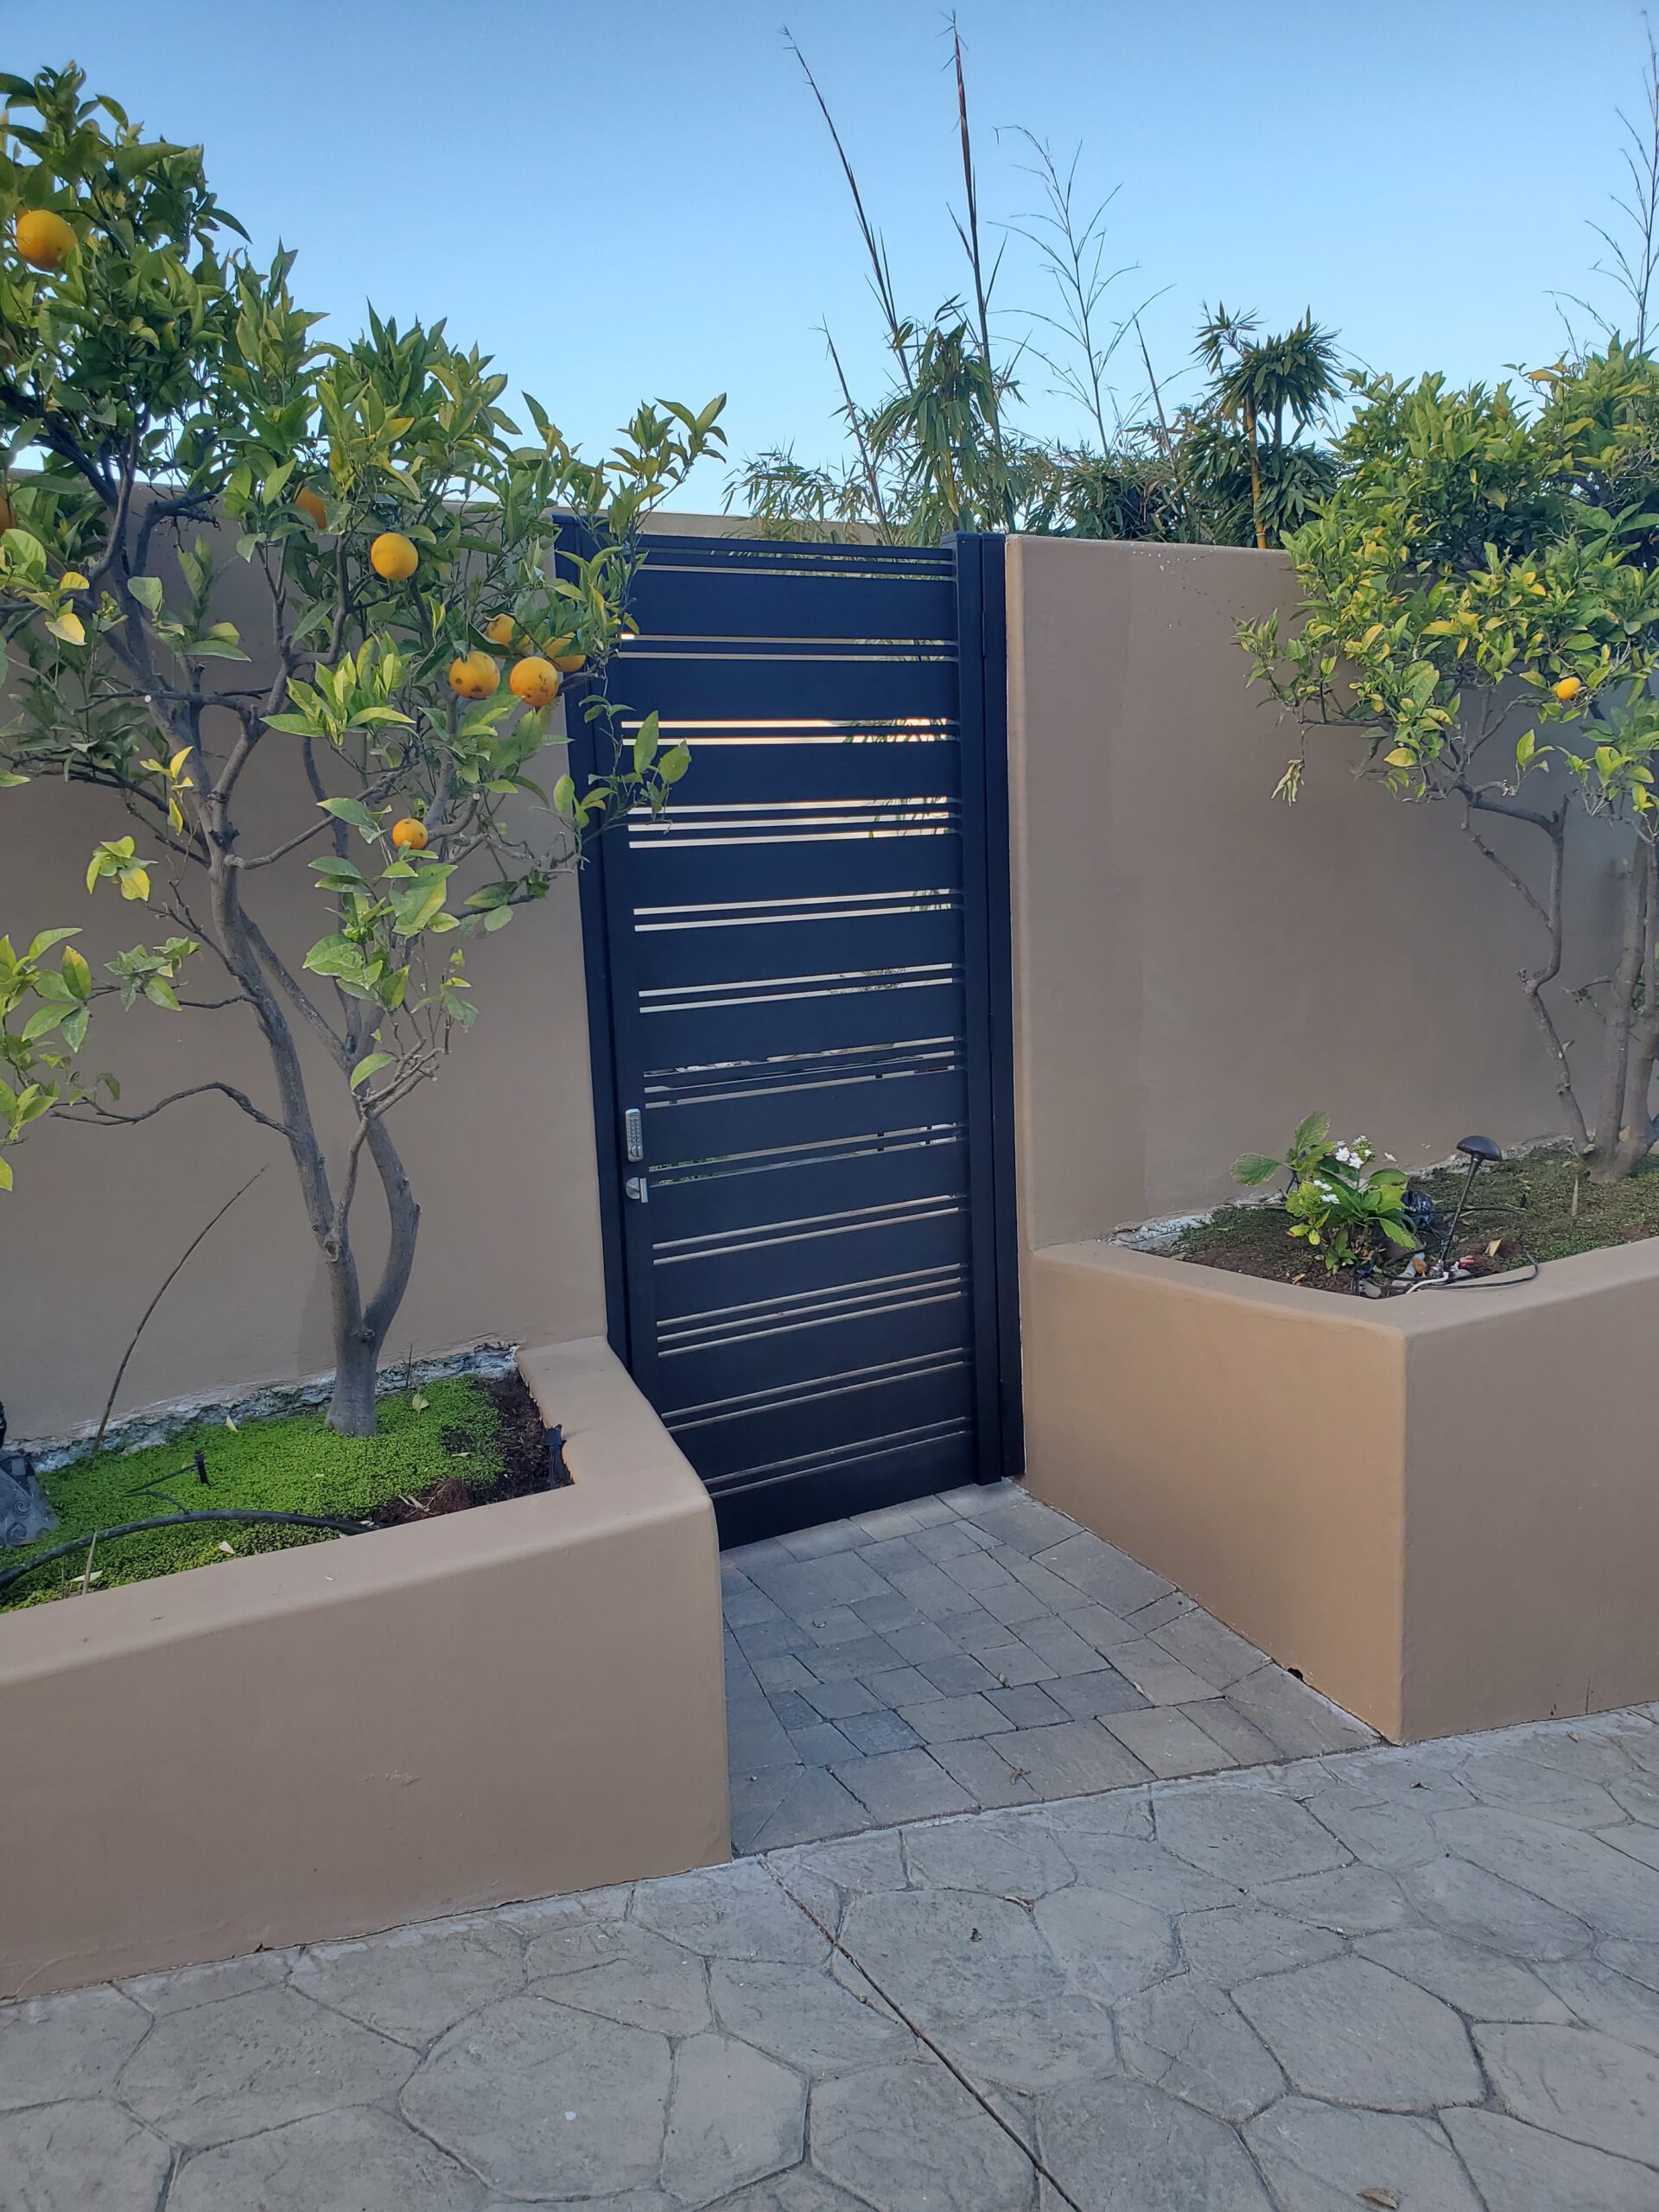
What does it mean – a horizontal fence?
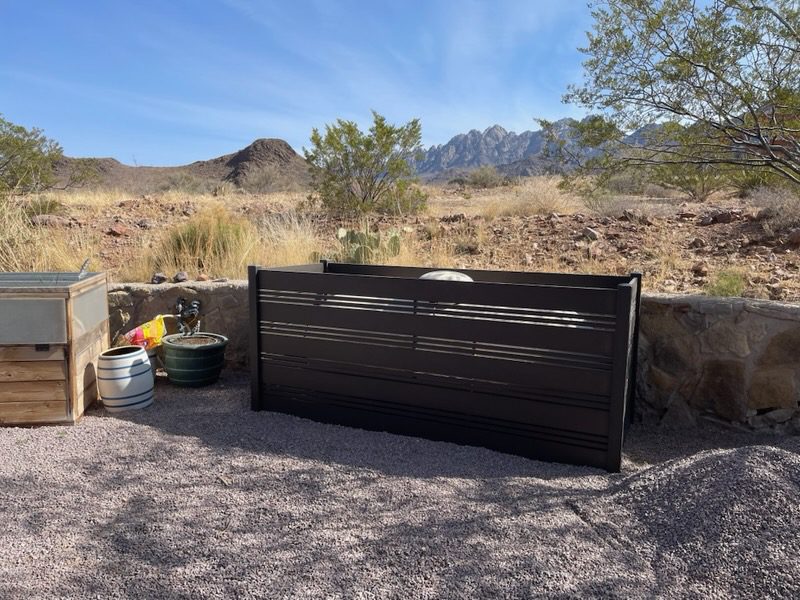
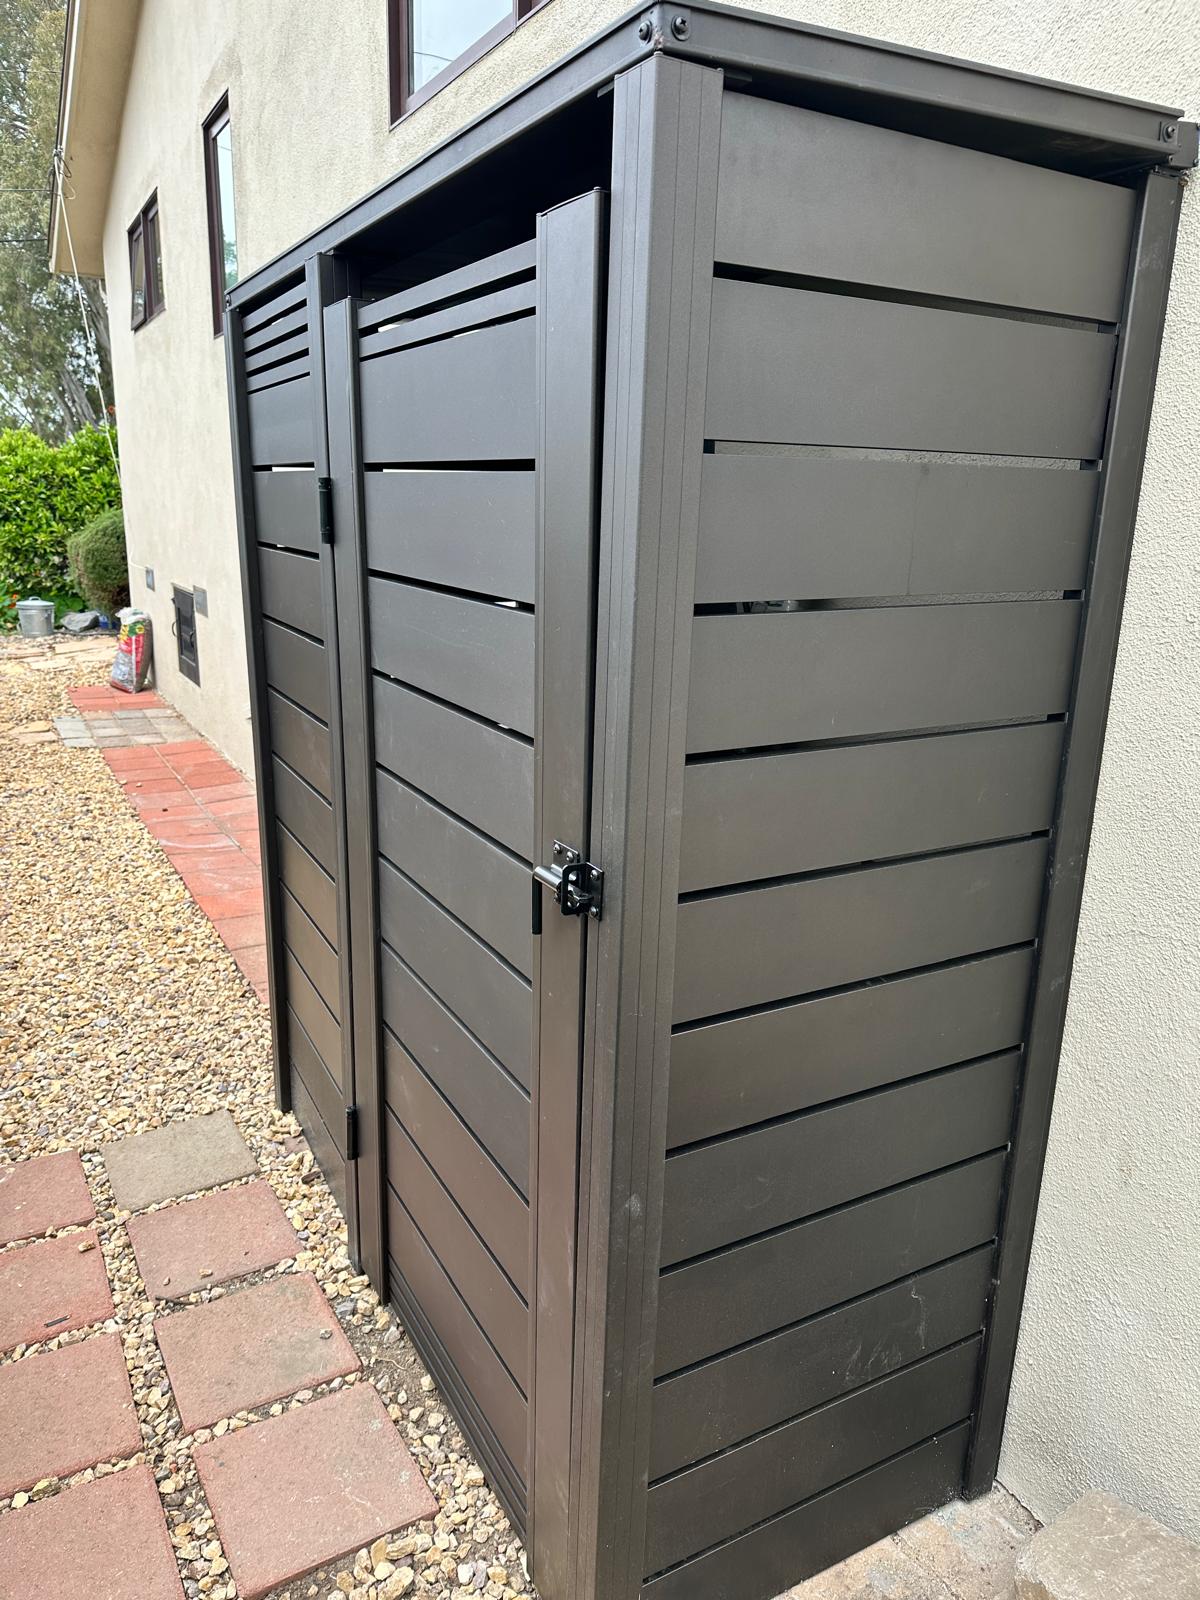
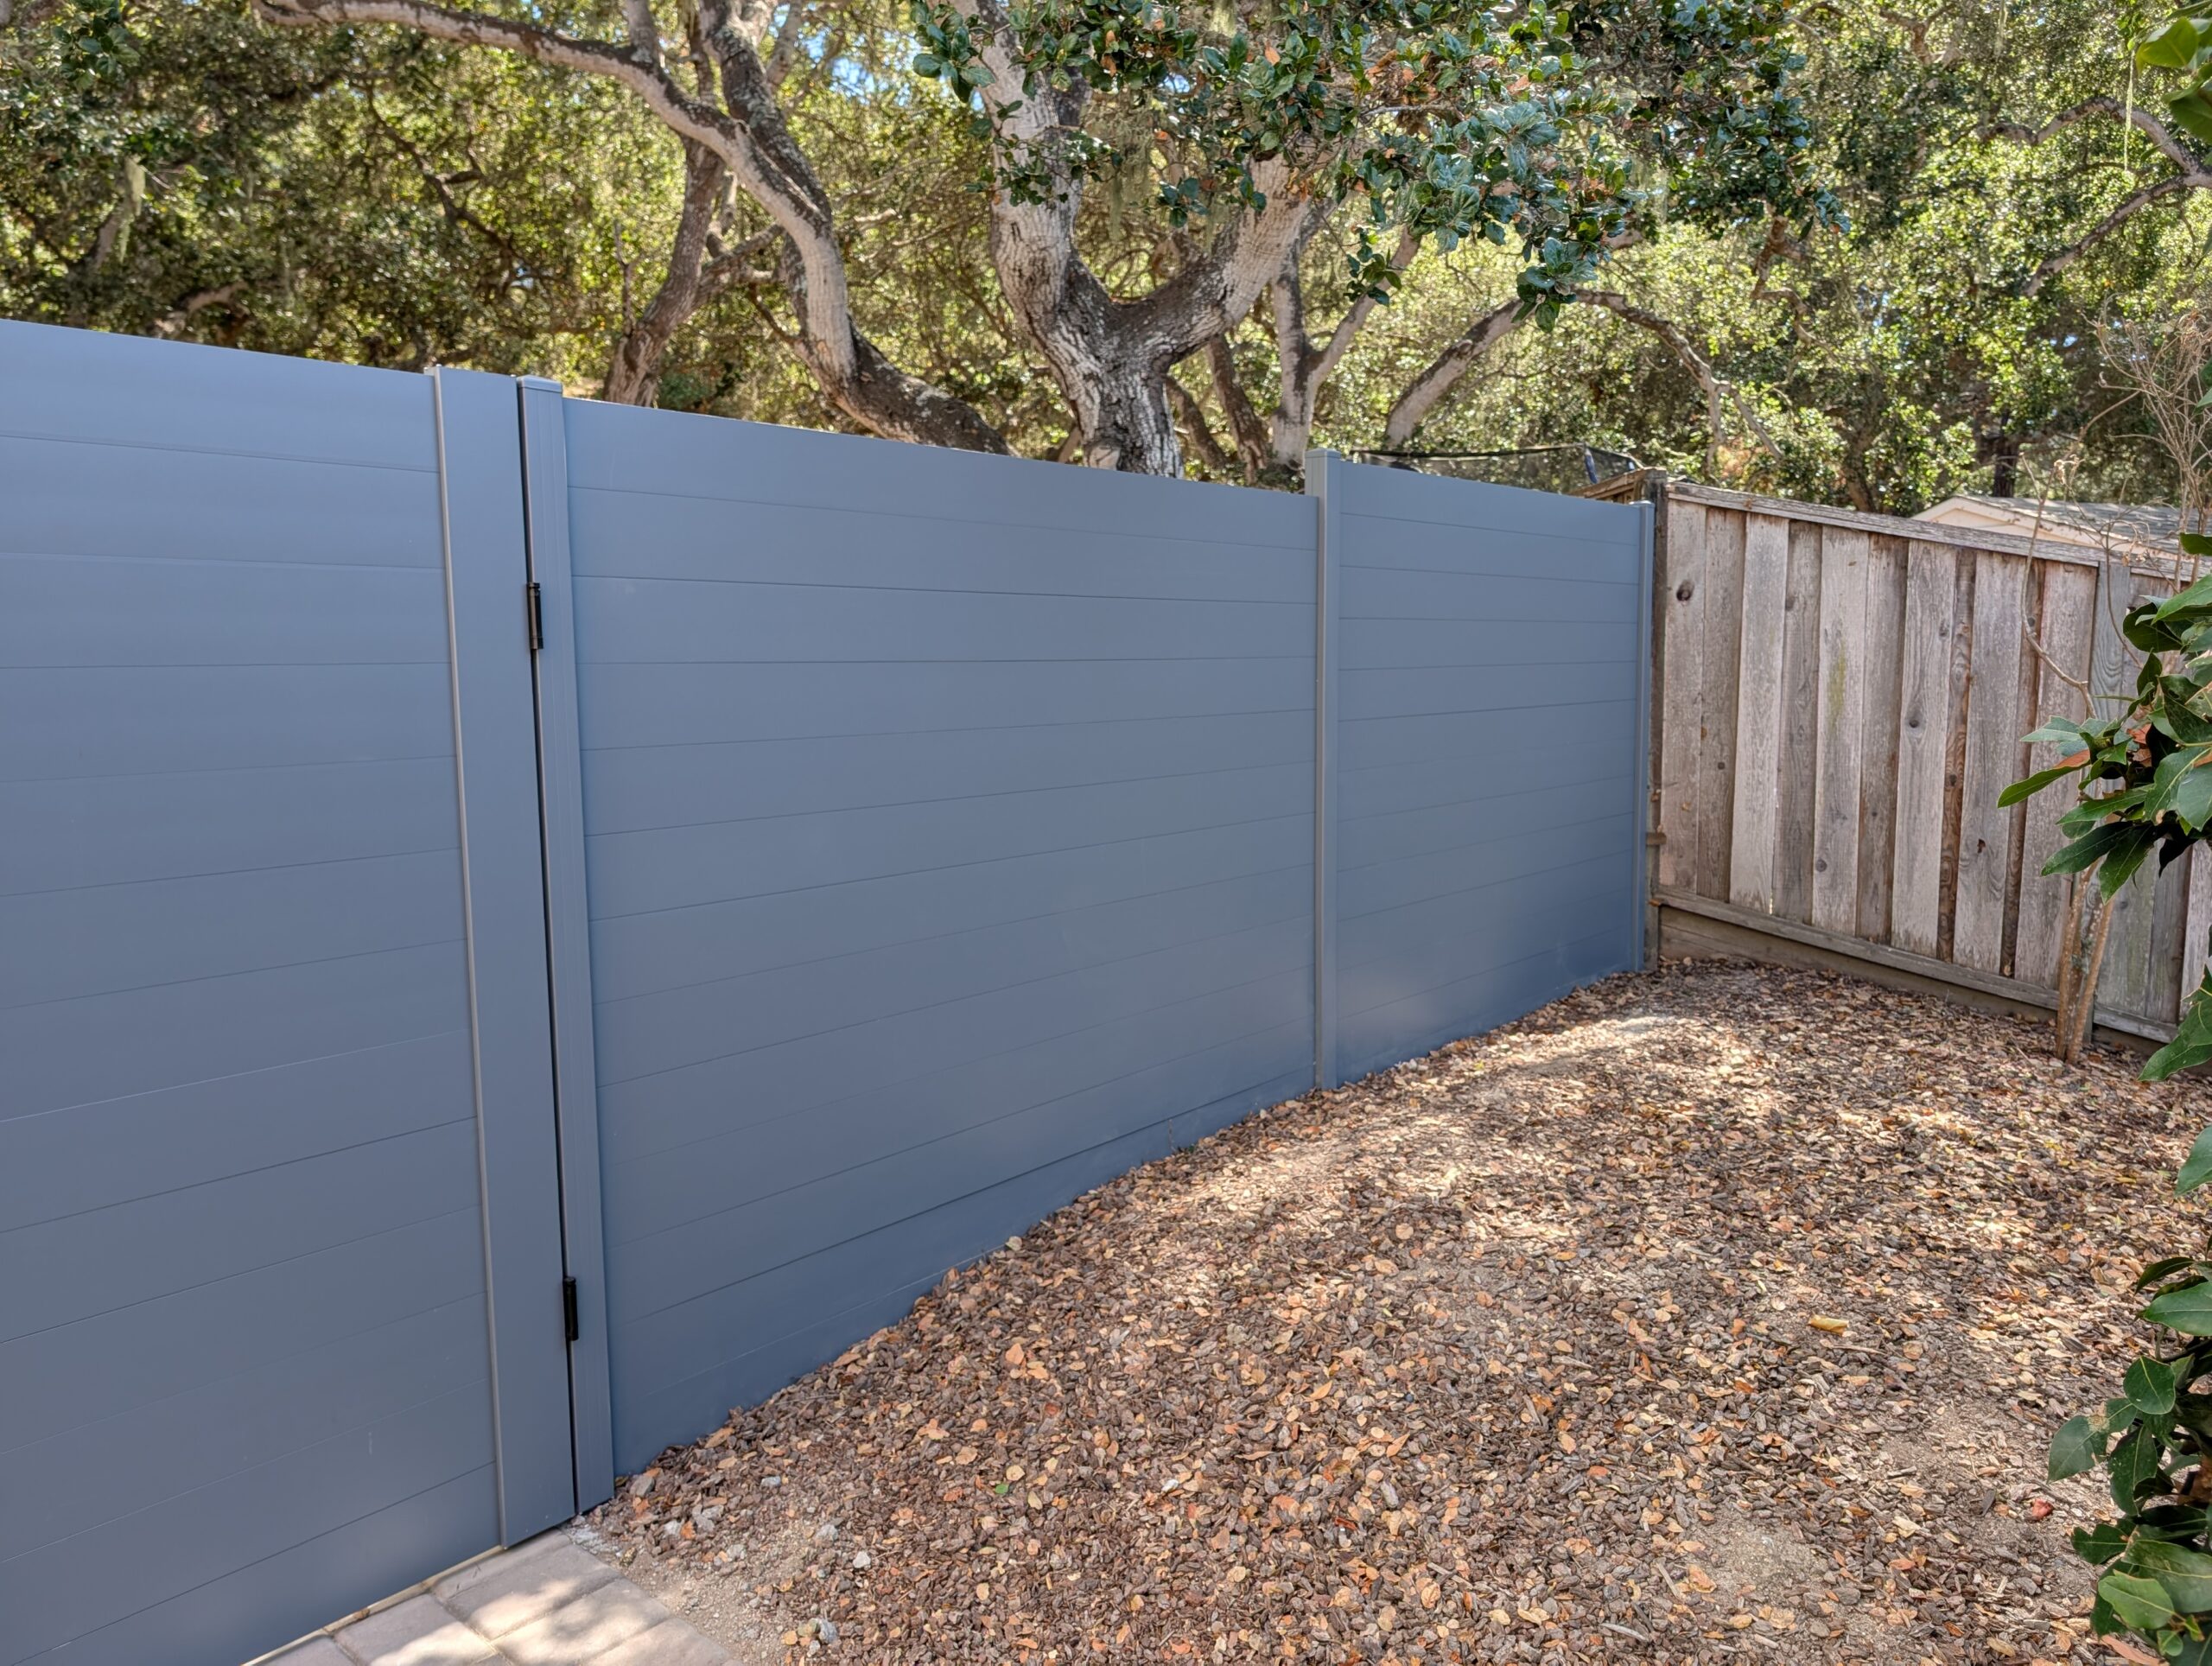
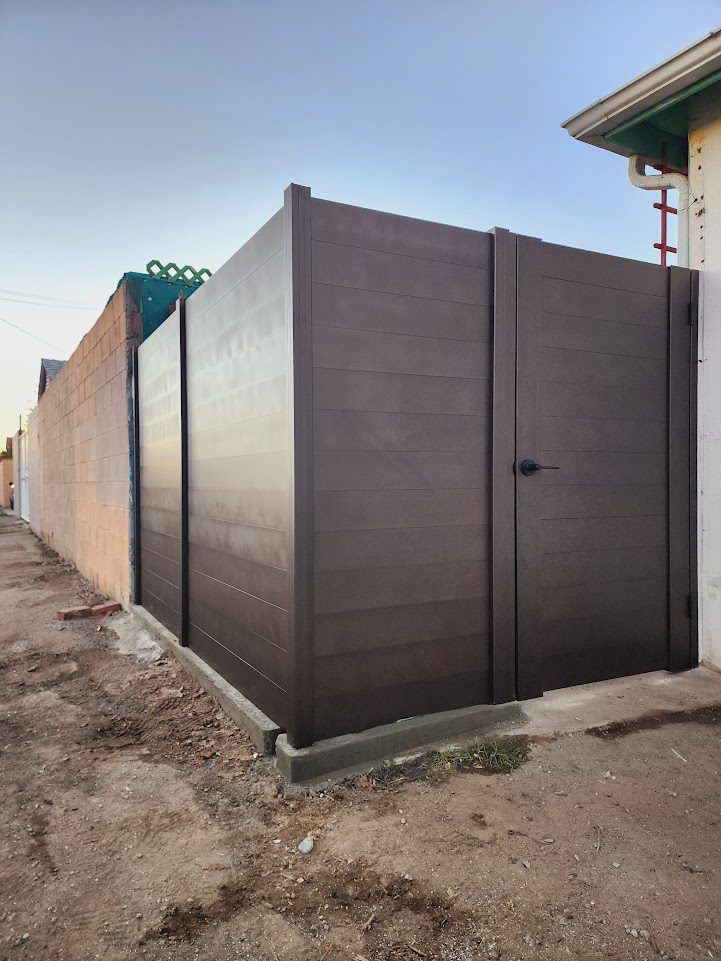
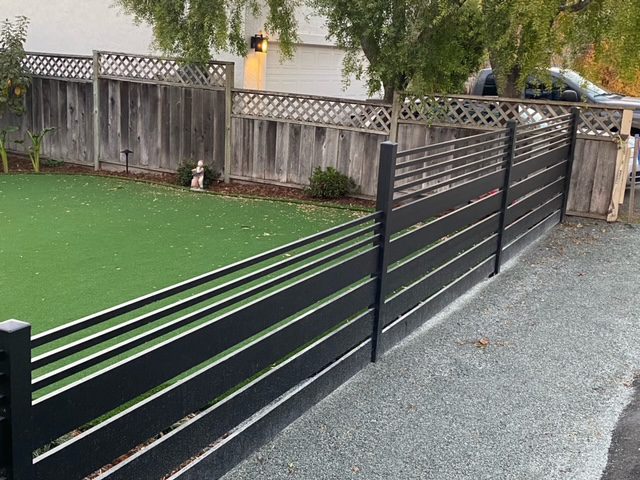
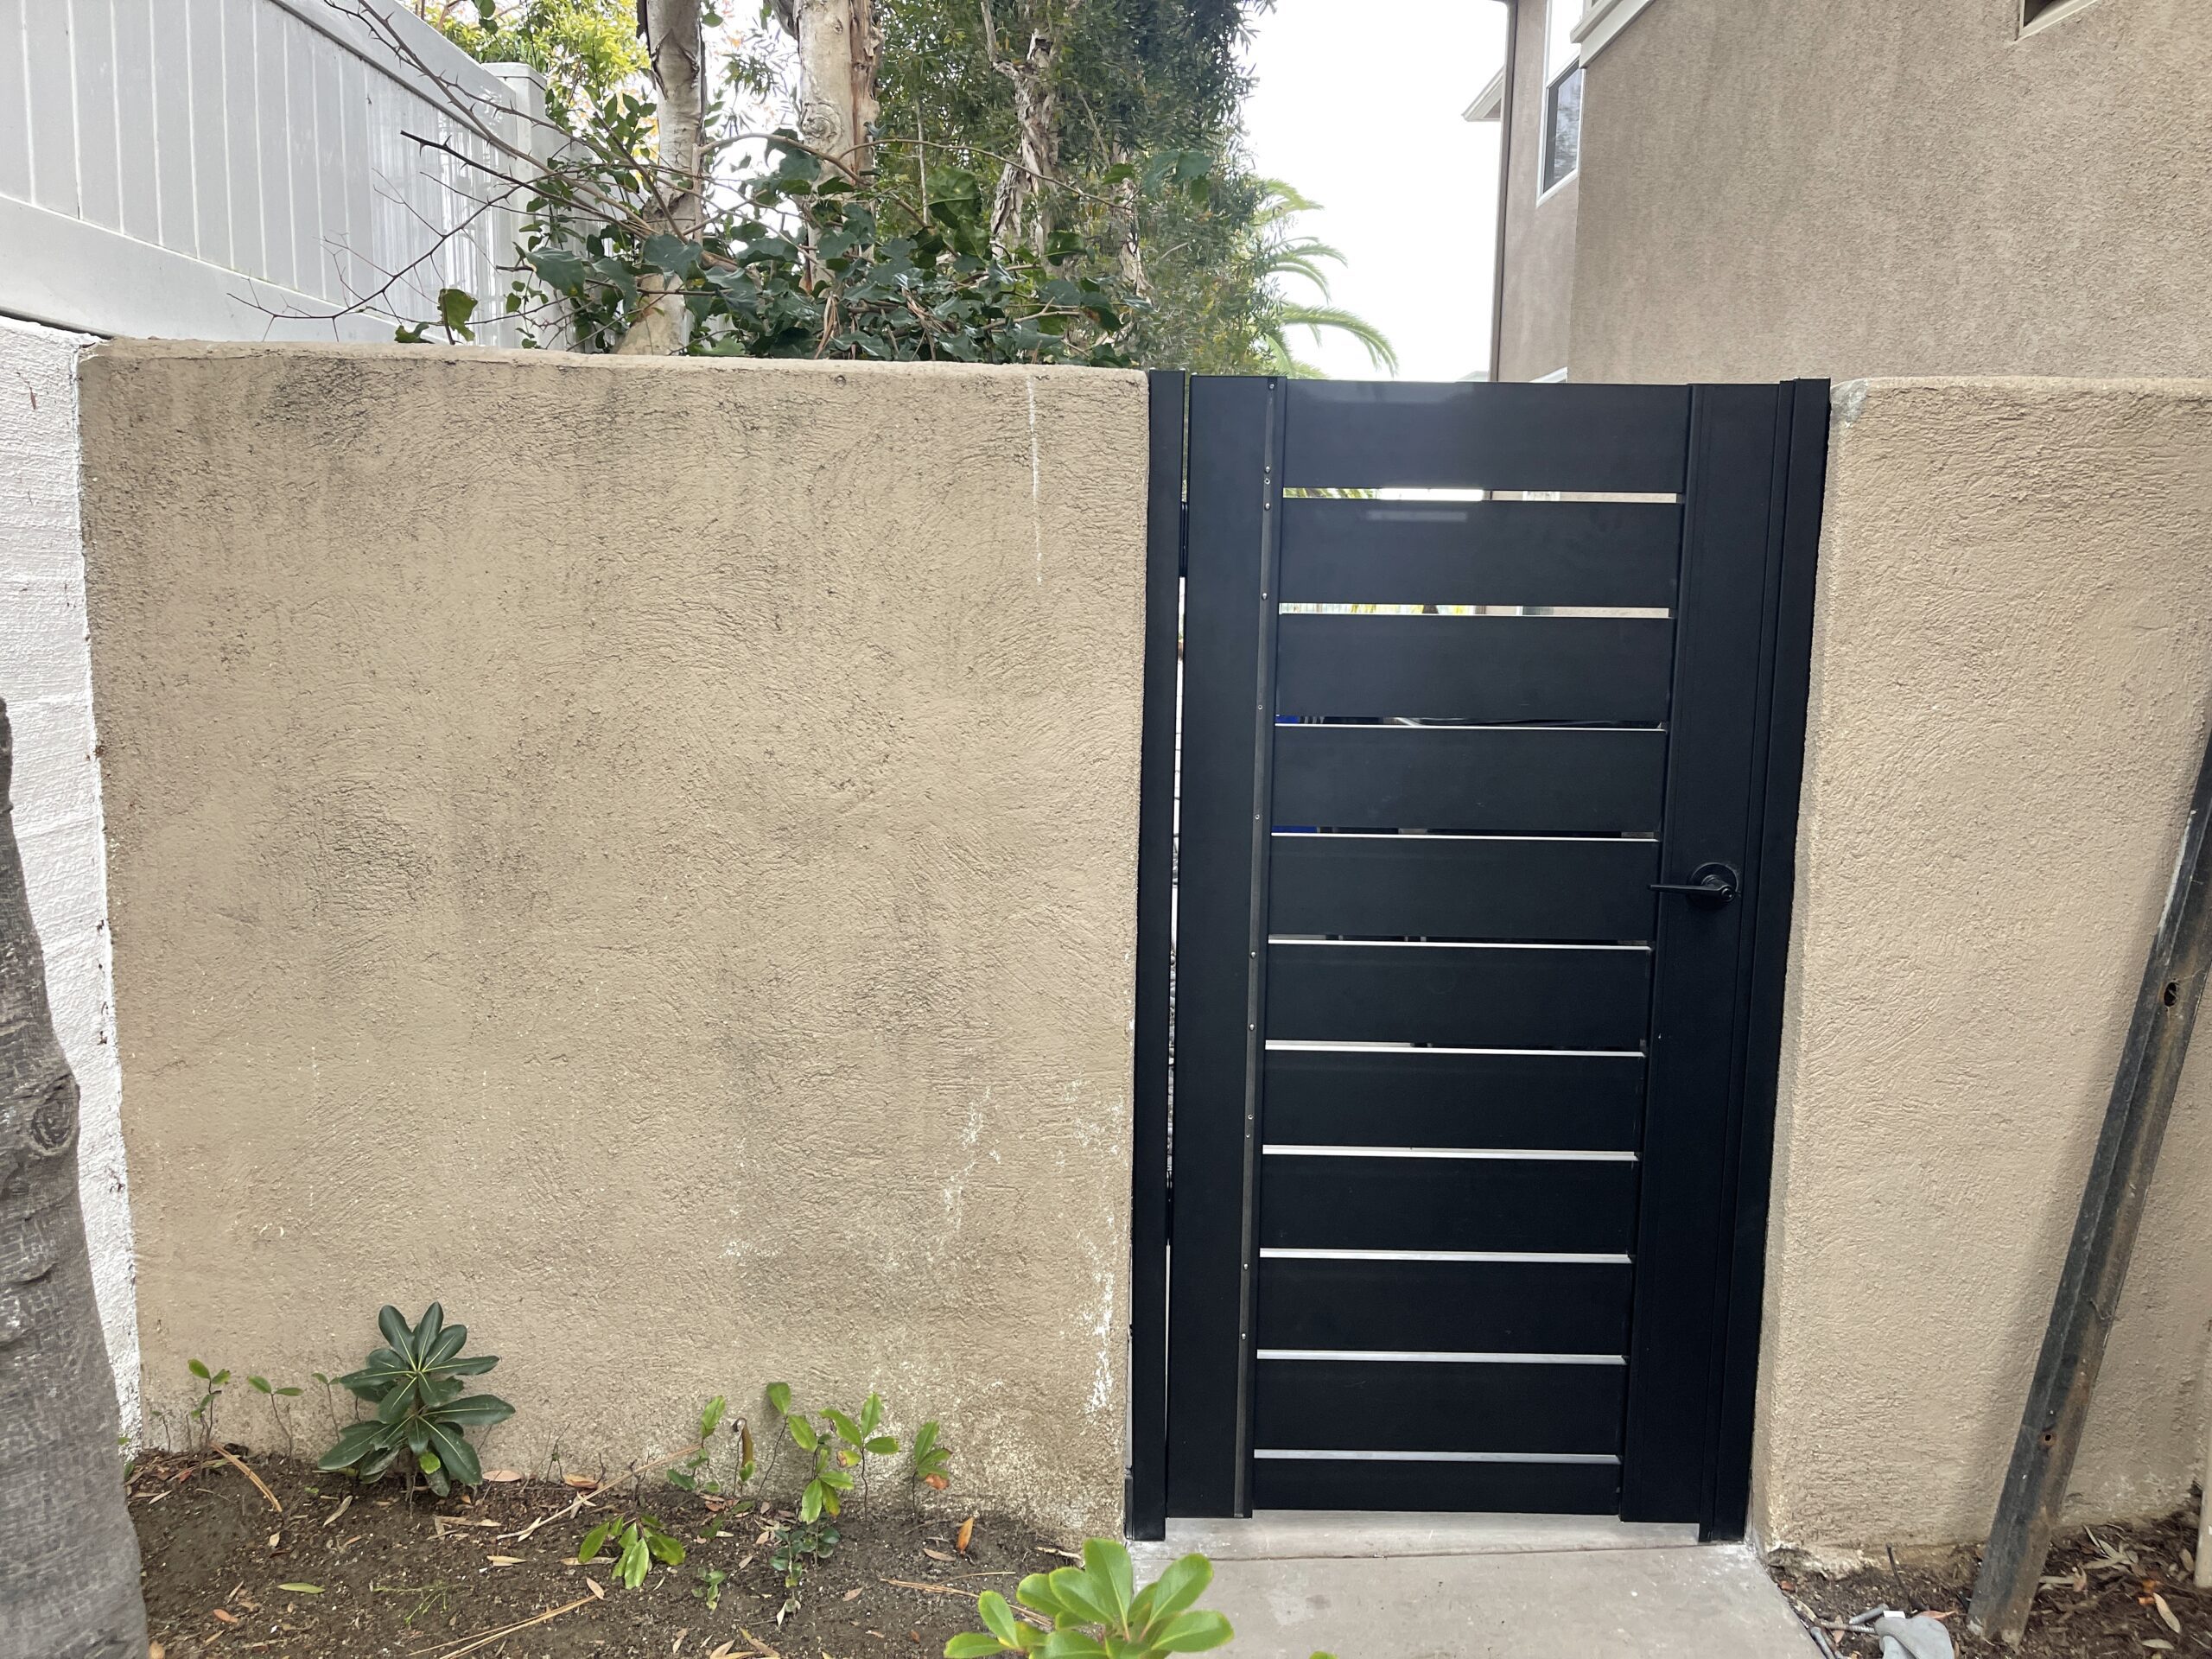
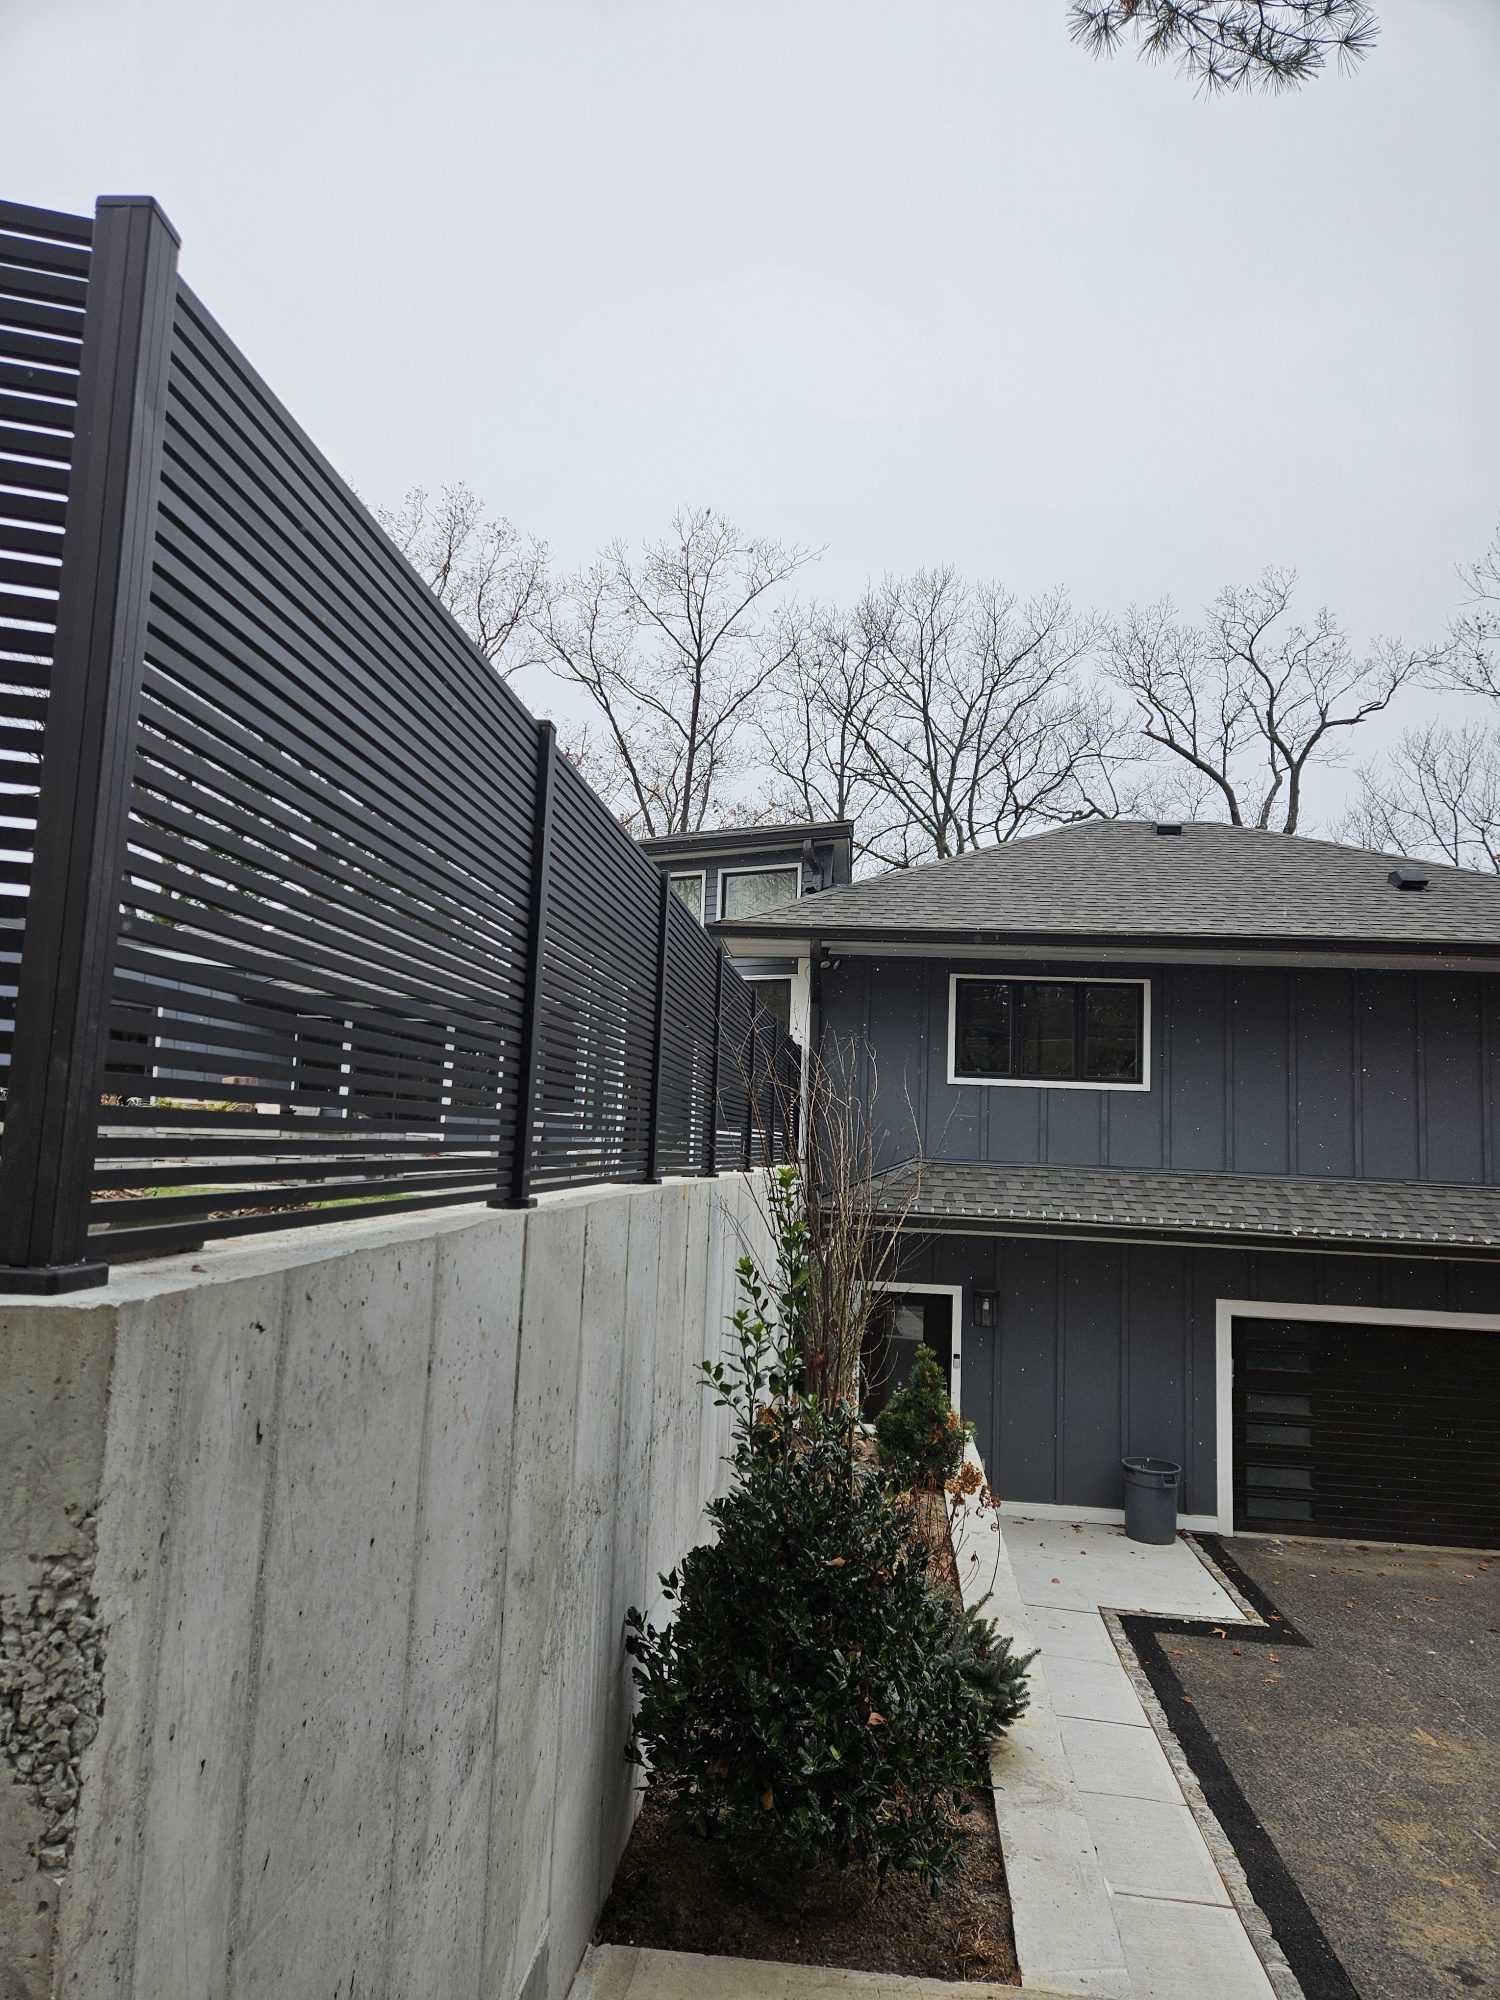
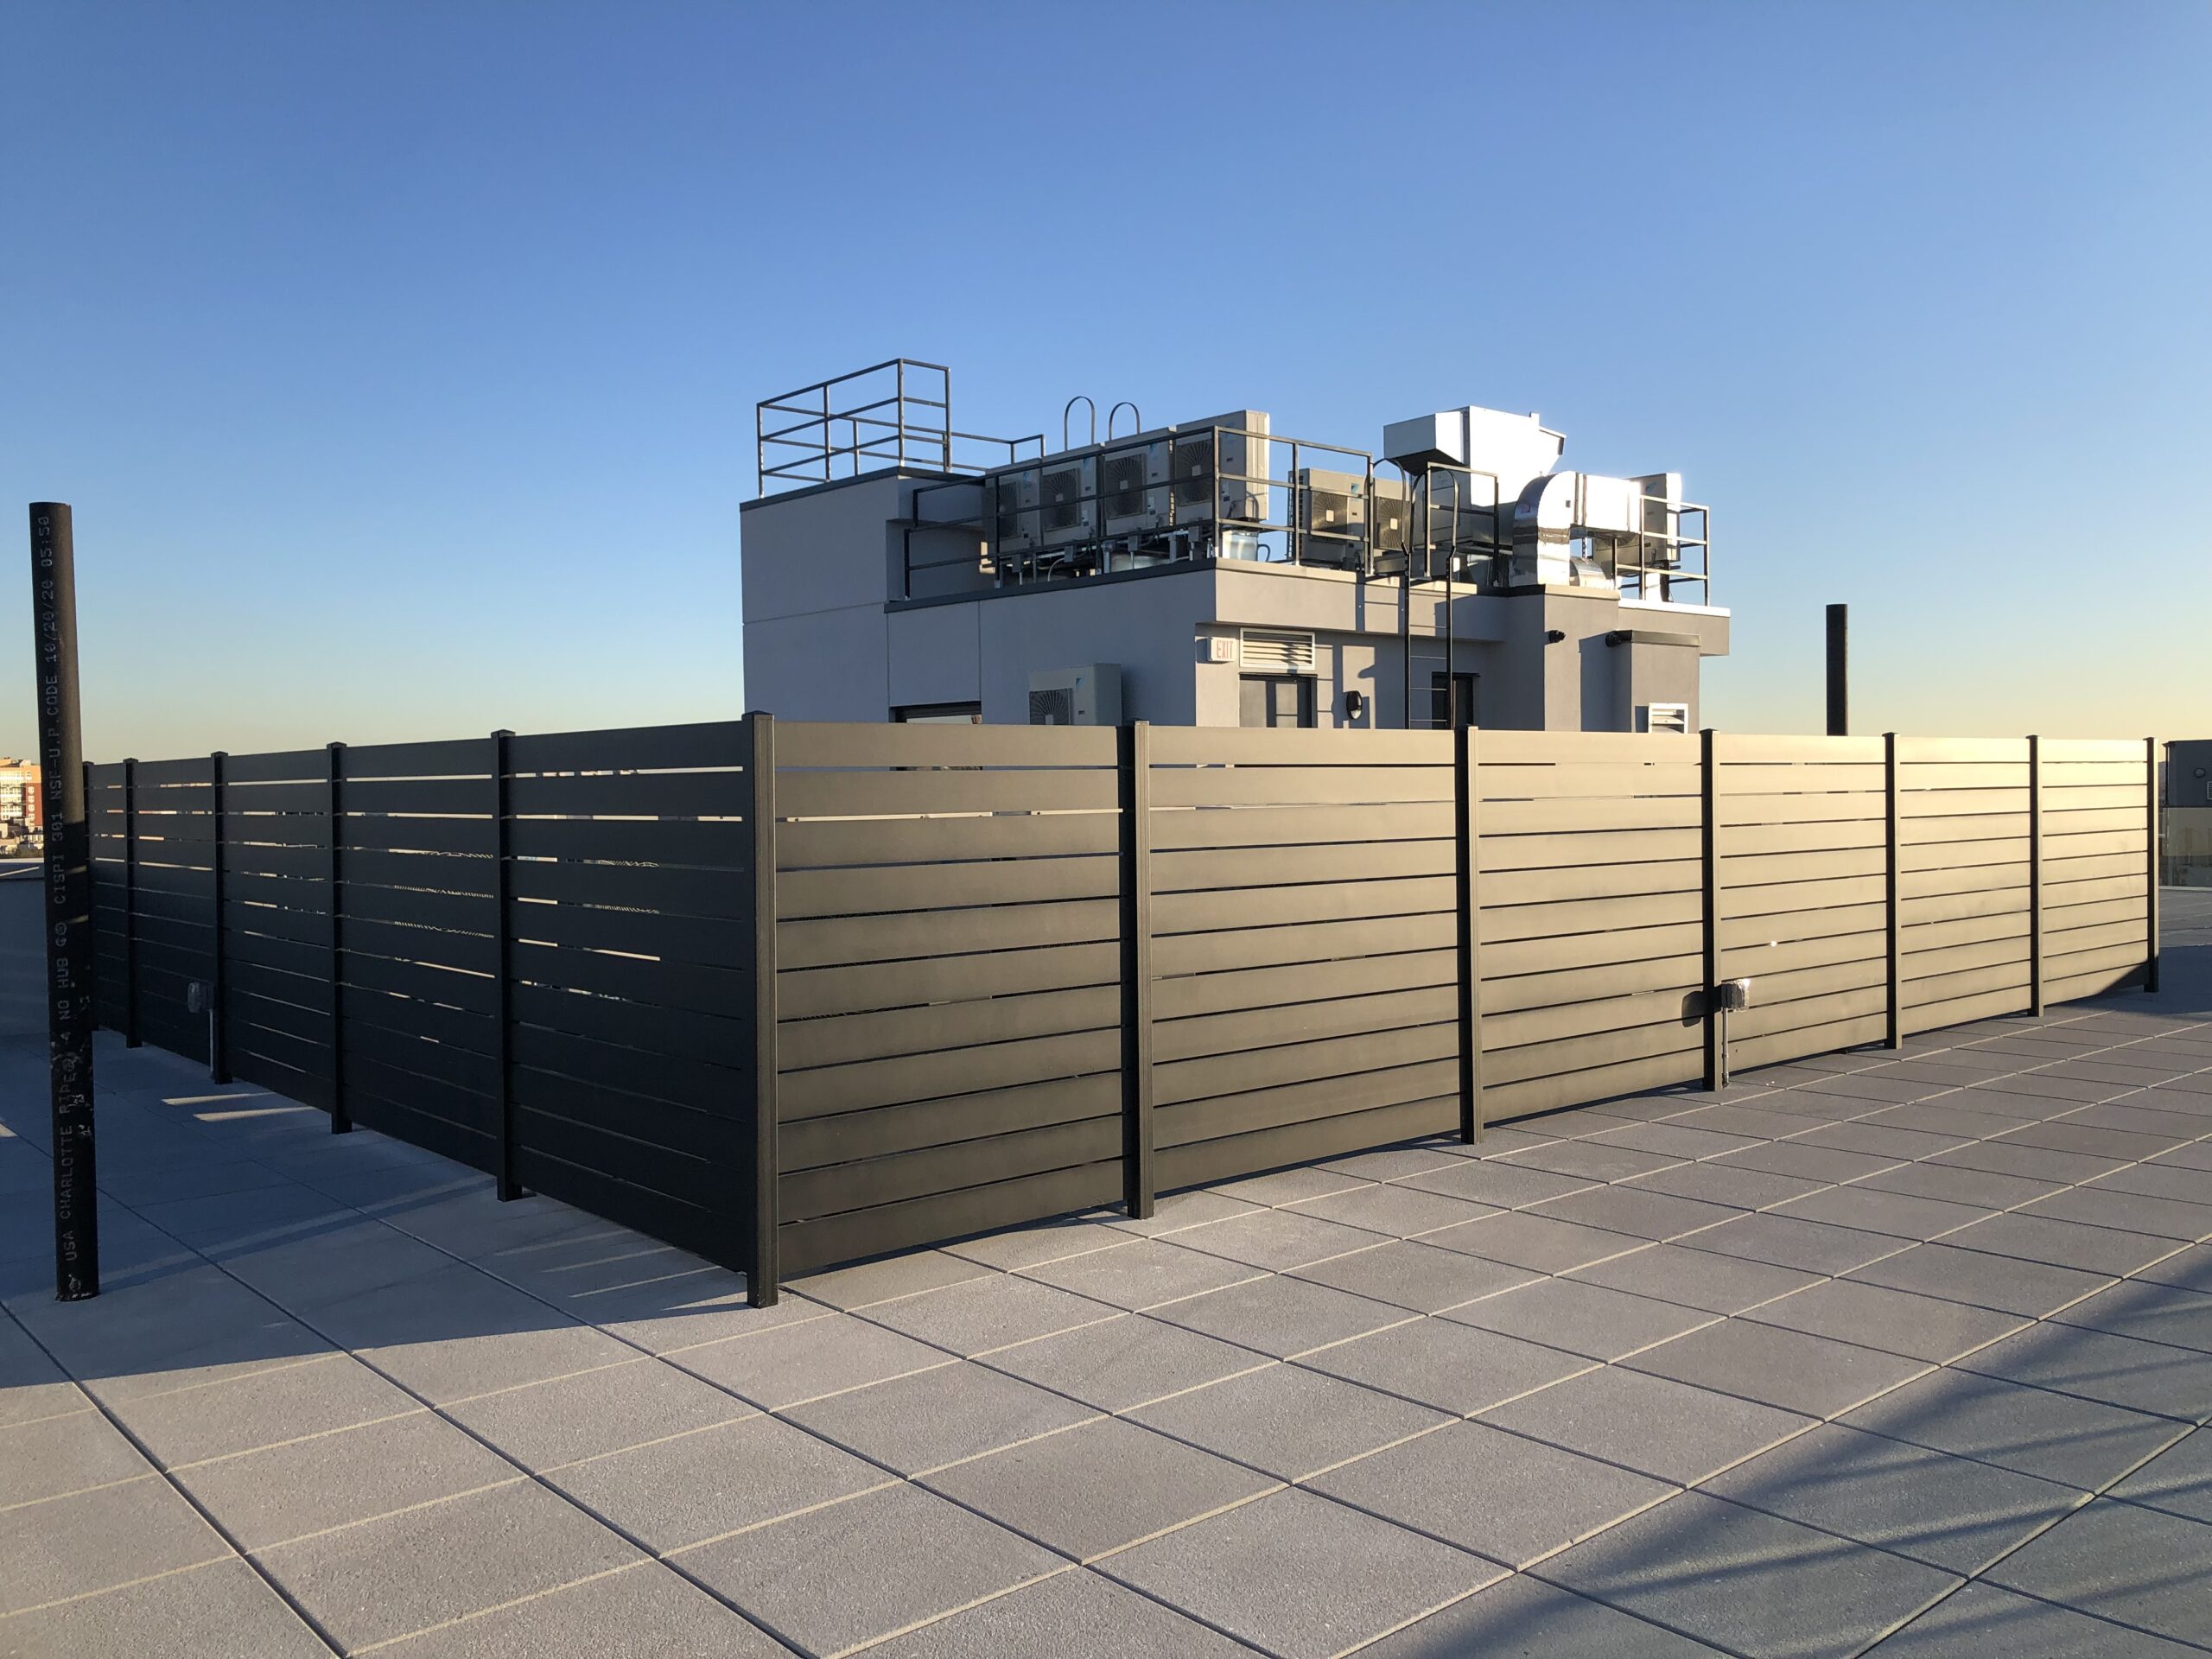
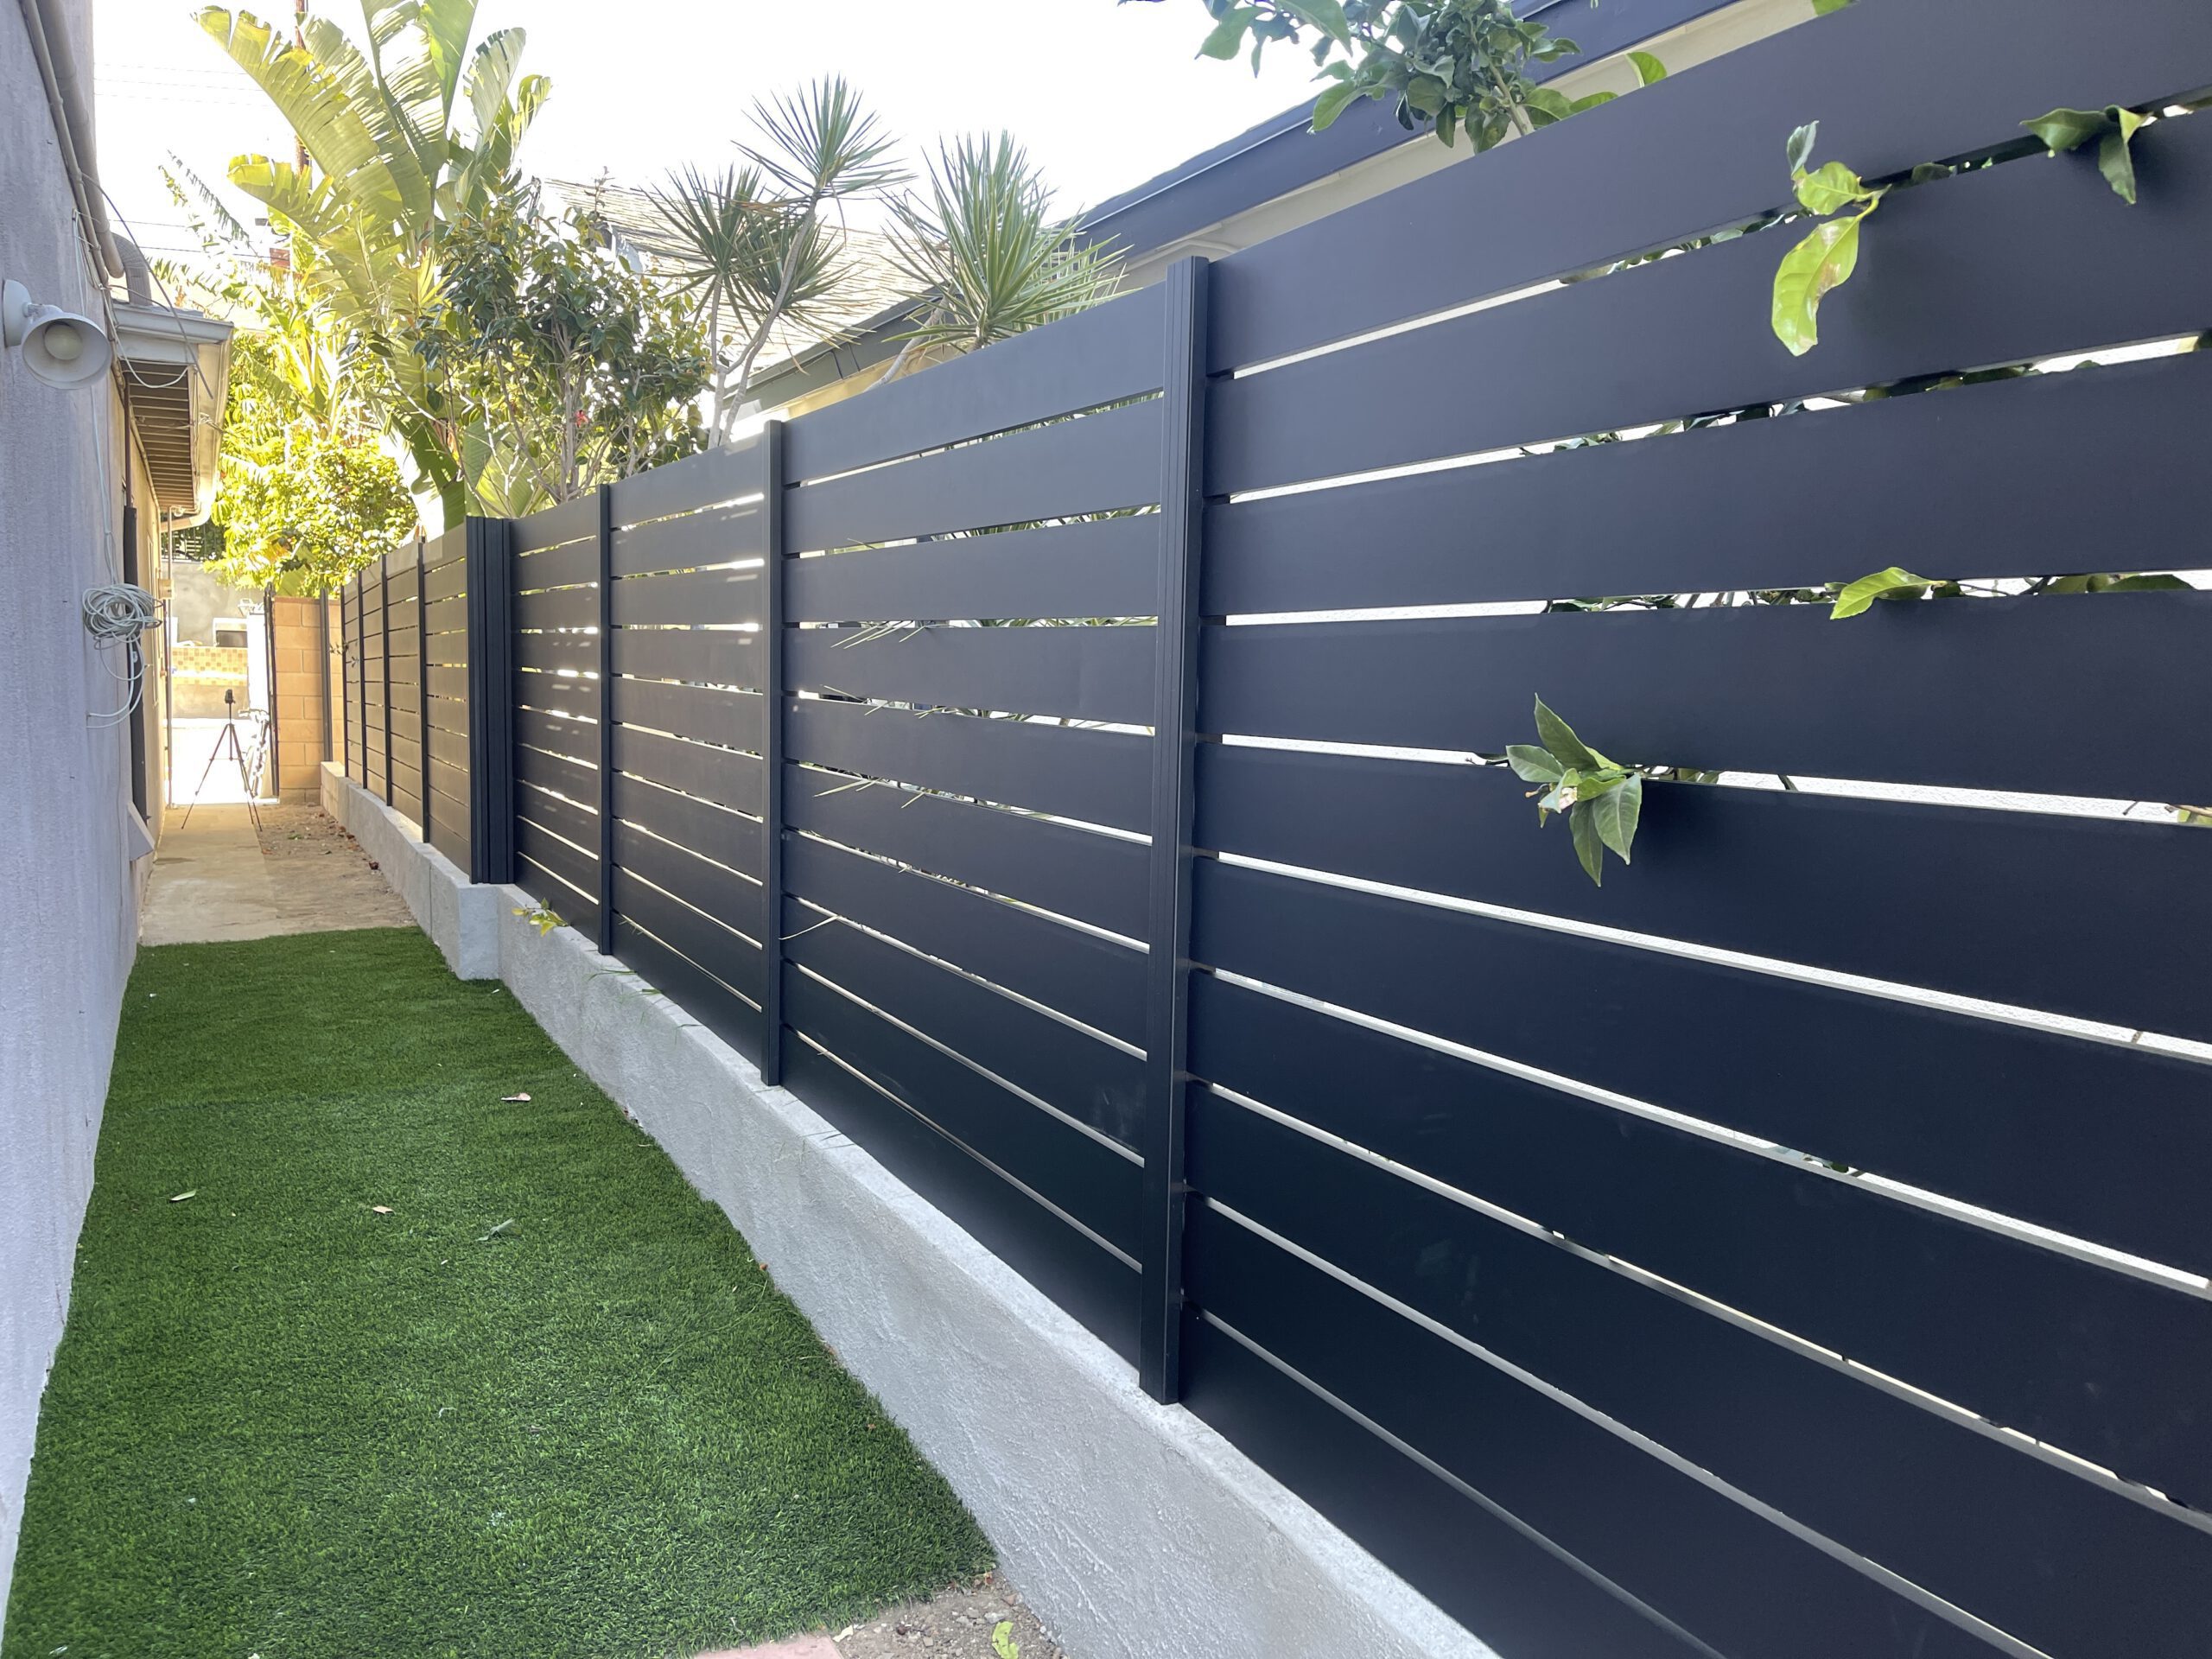
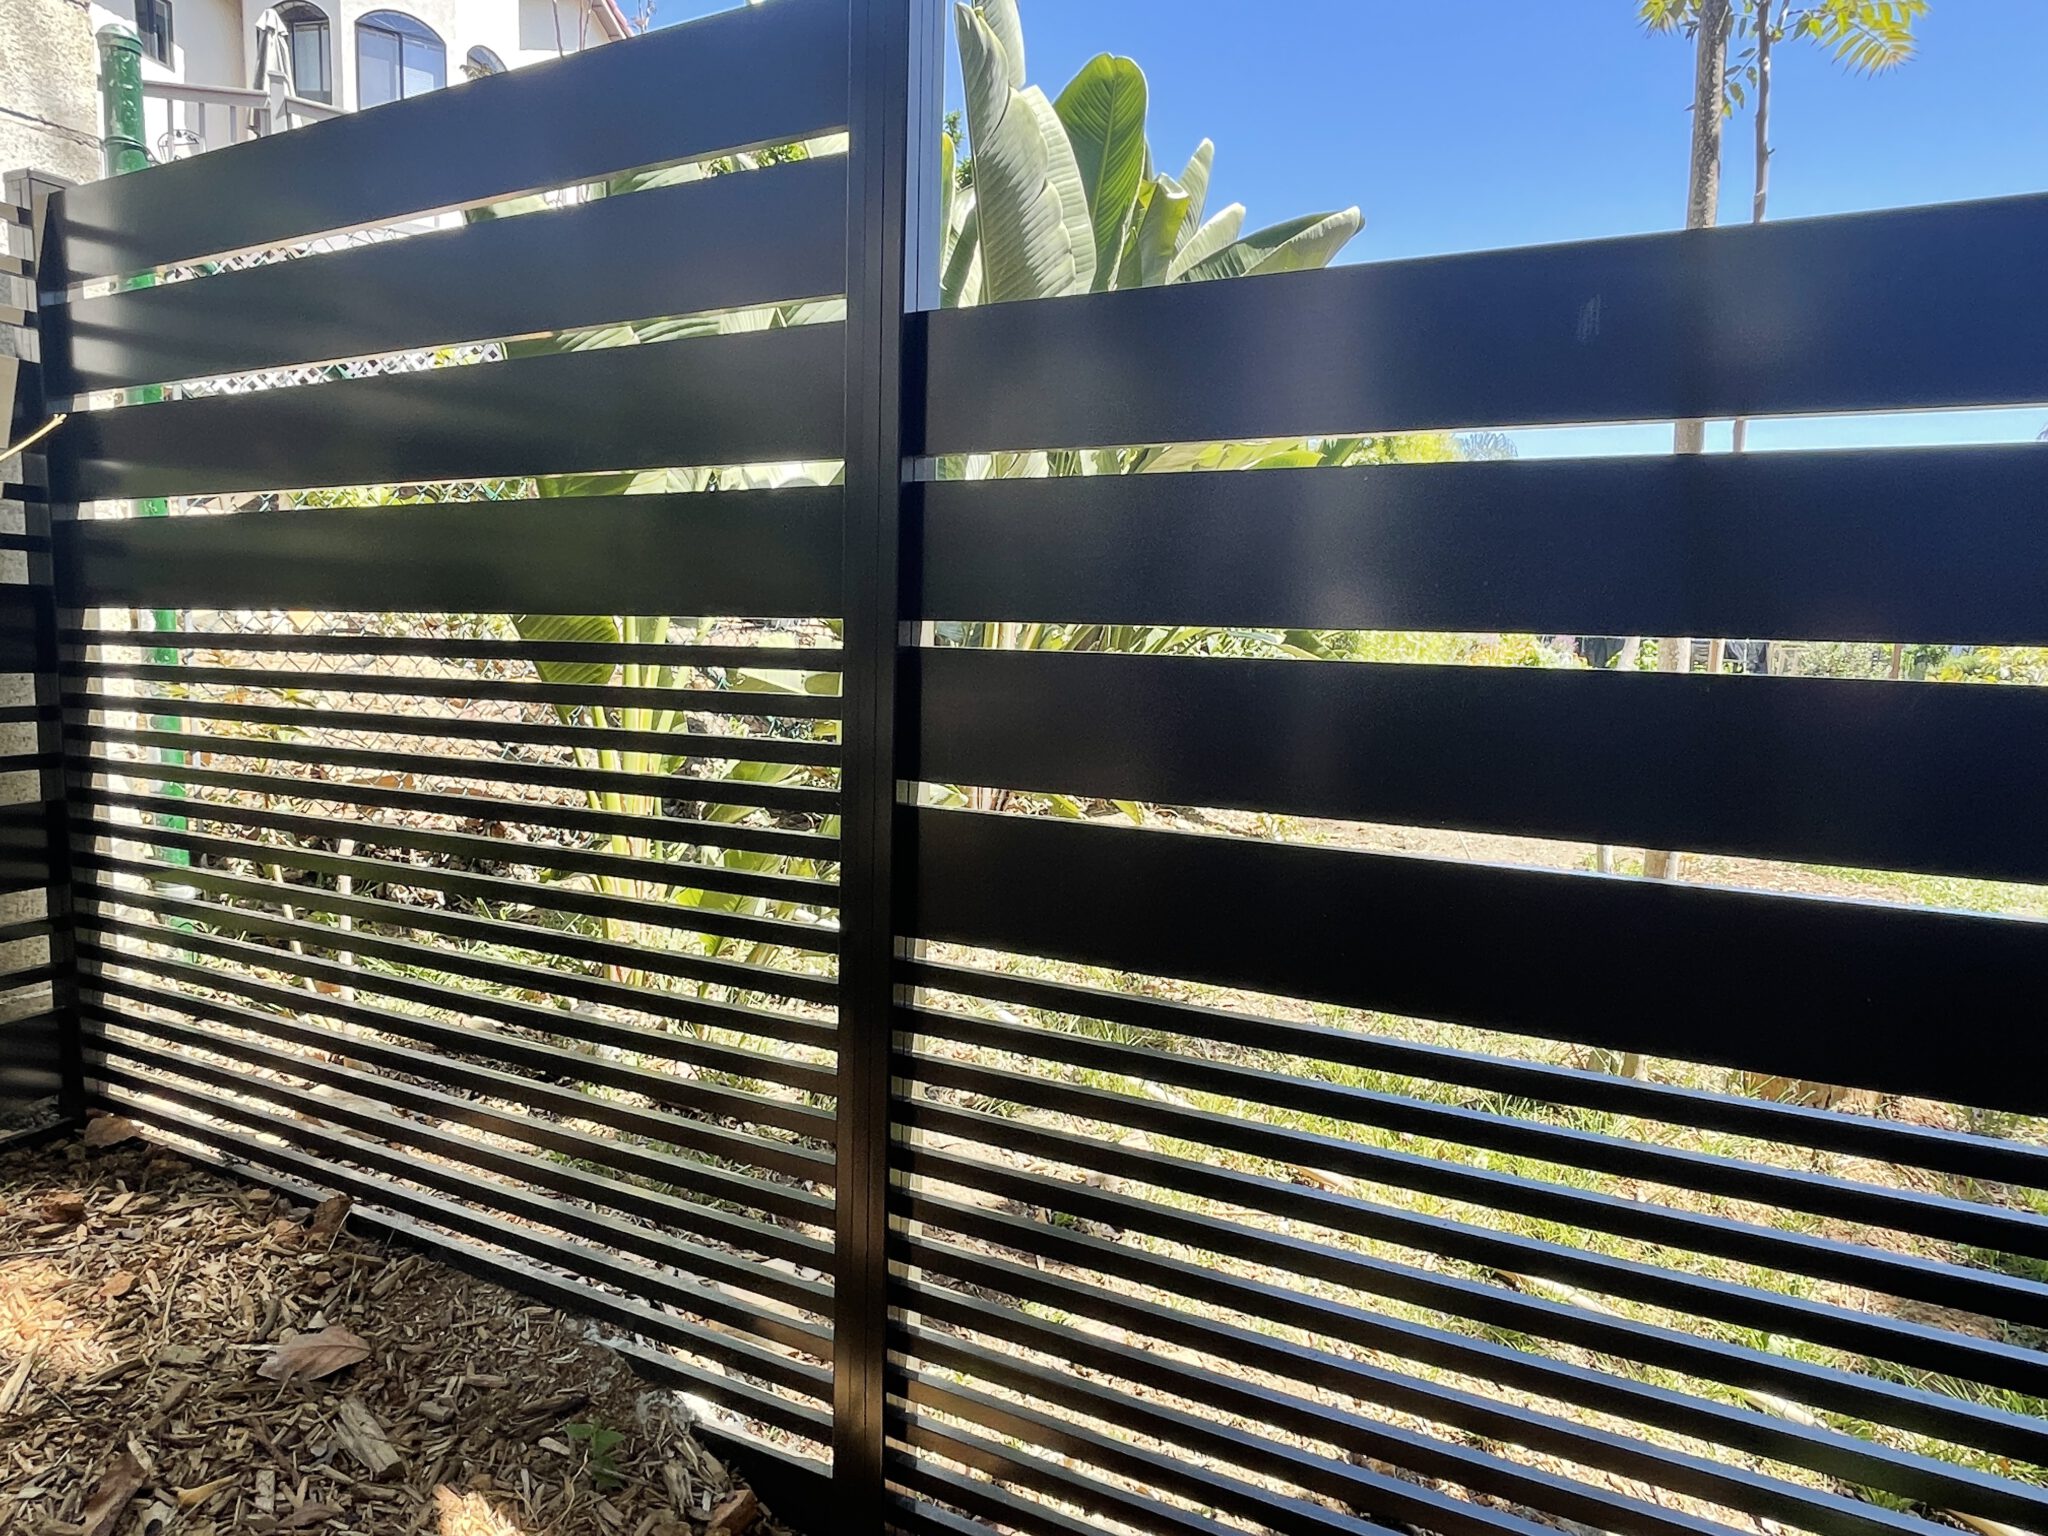
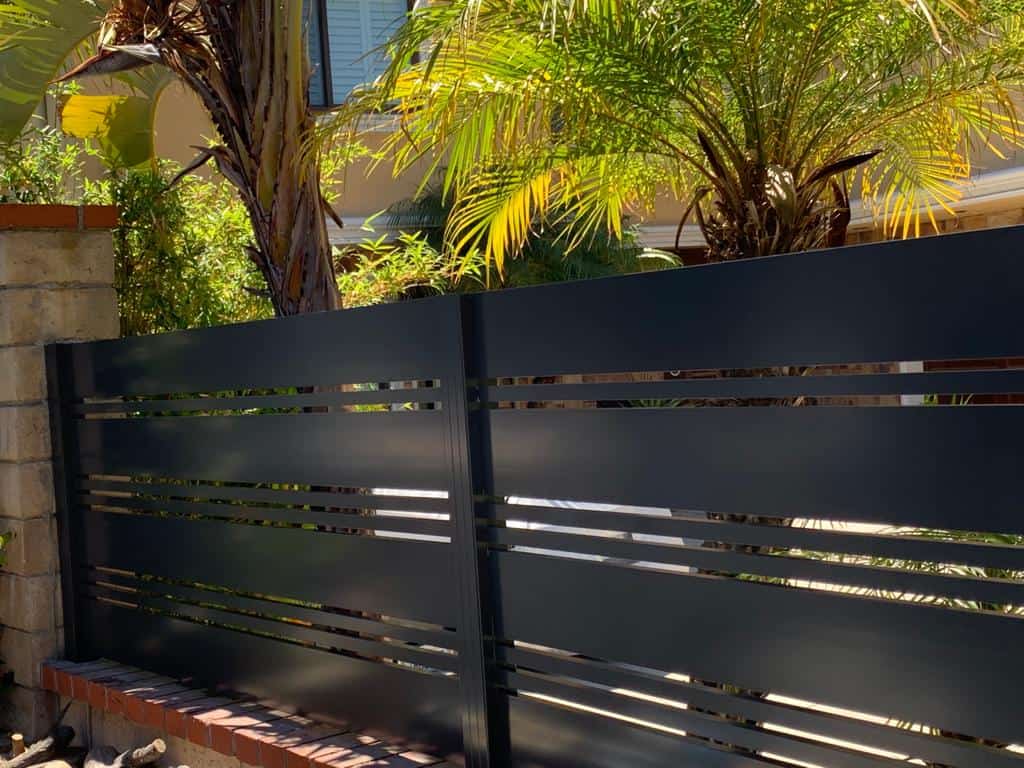
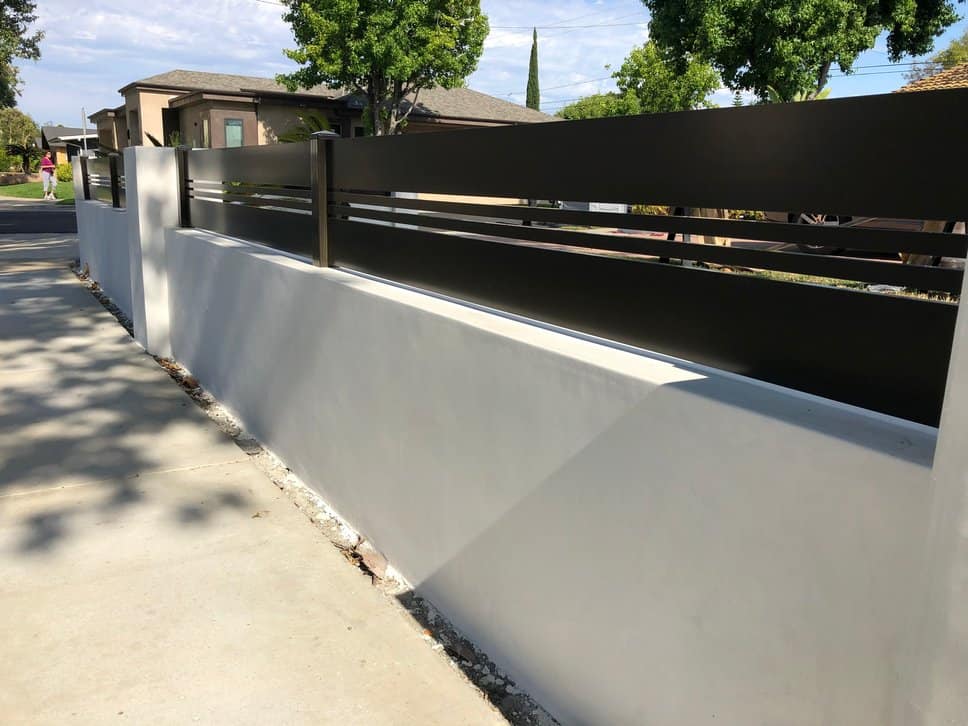
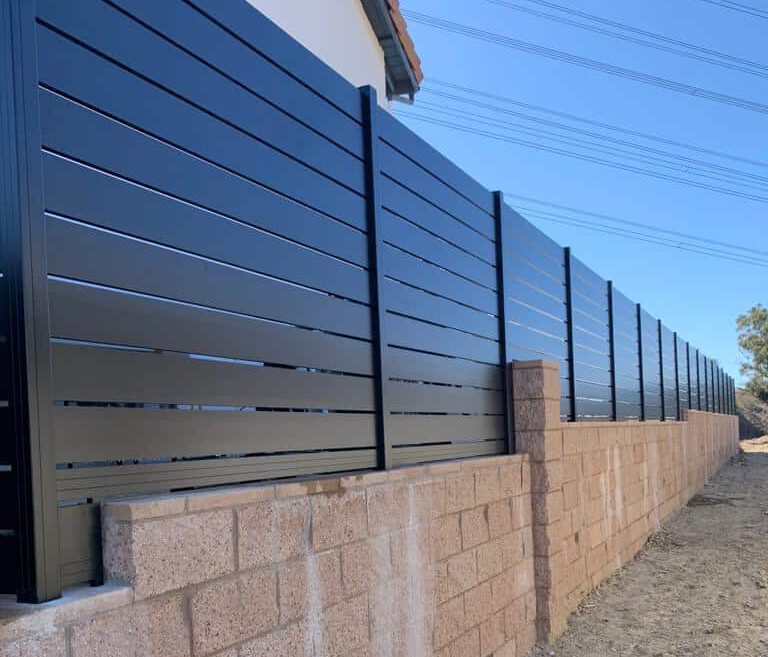
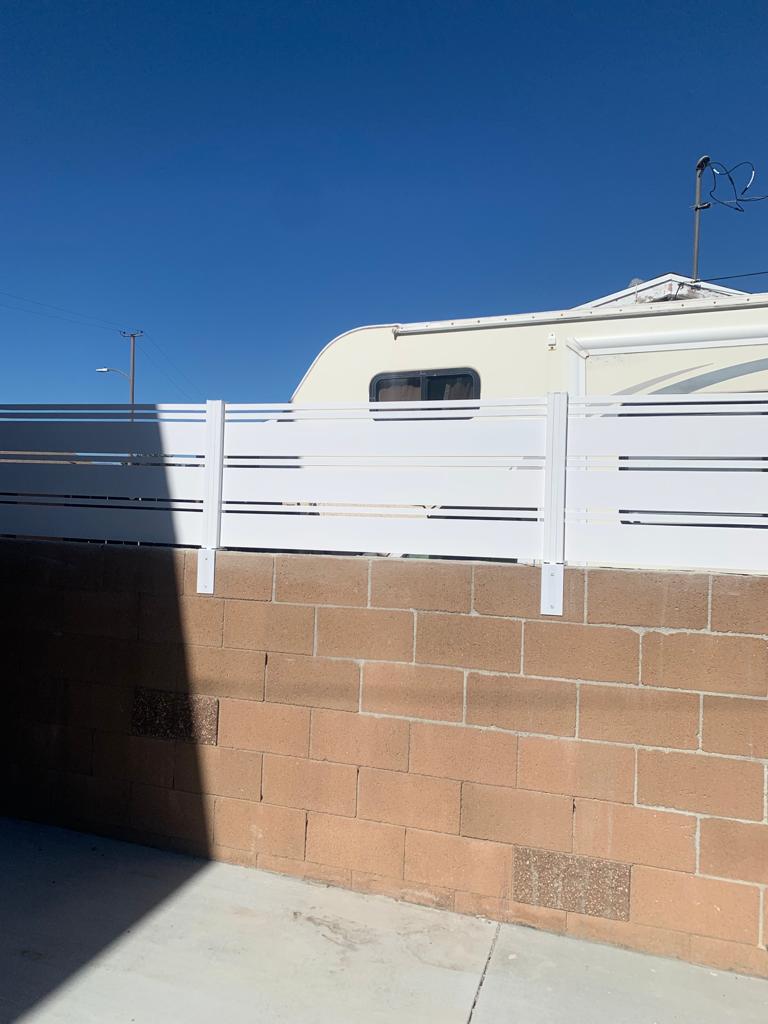
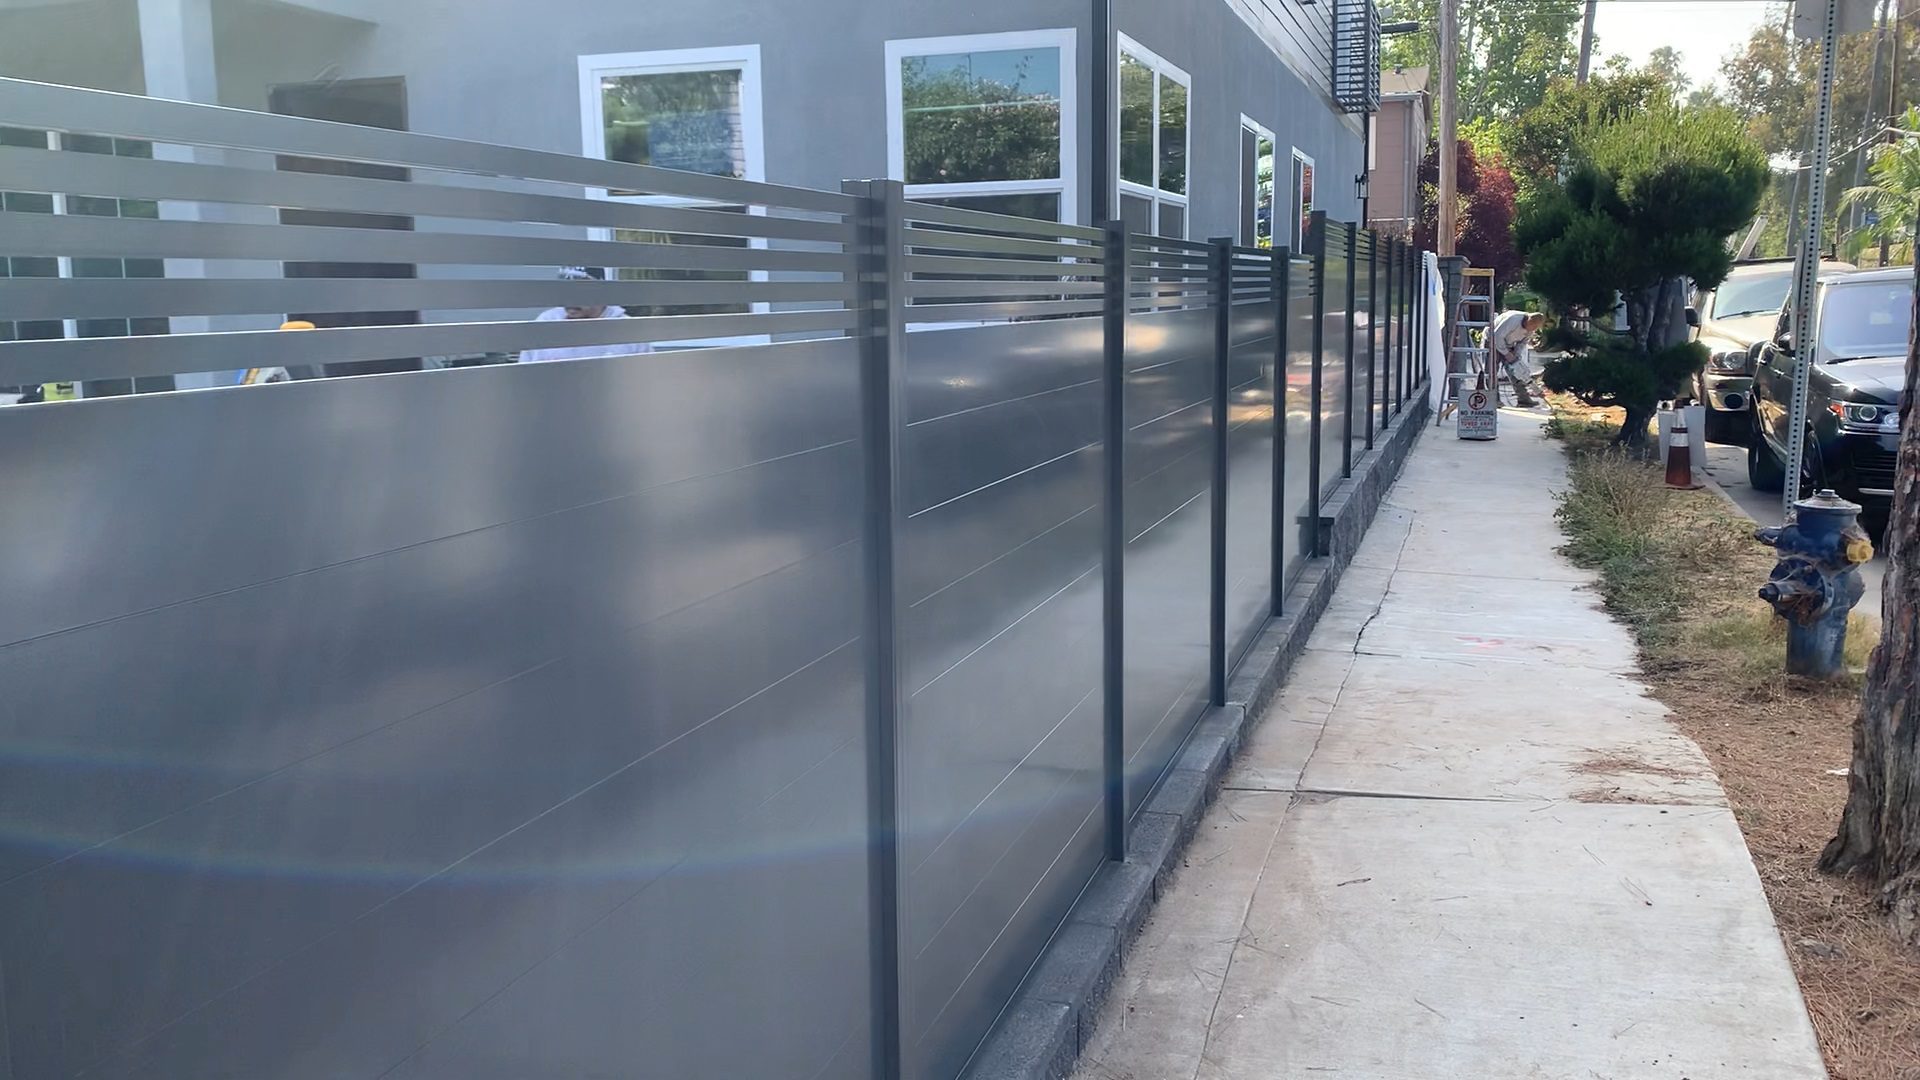
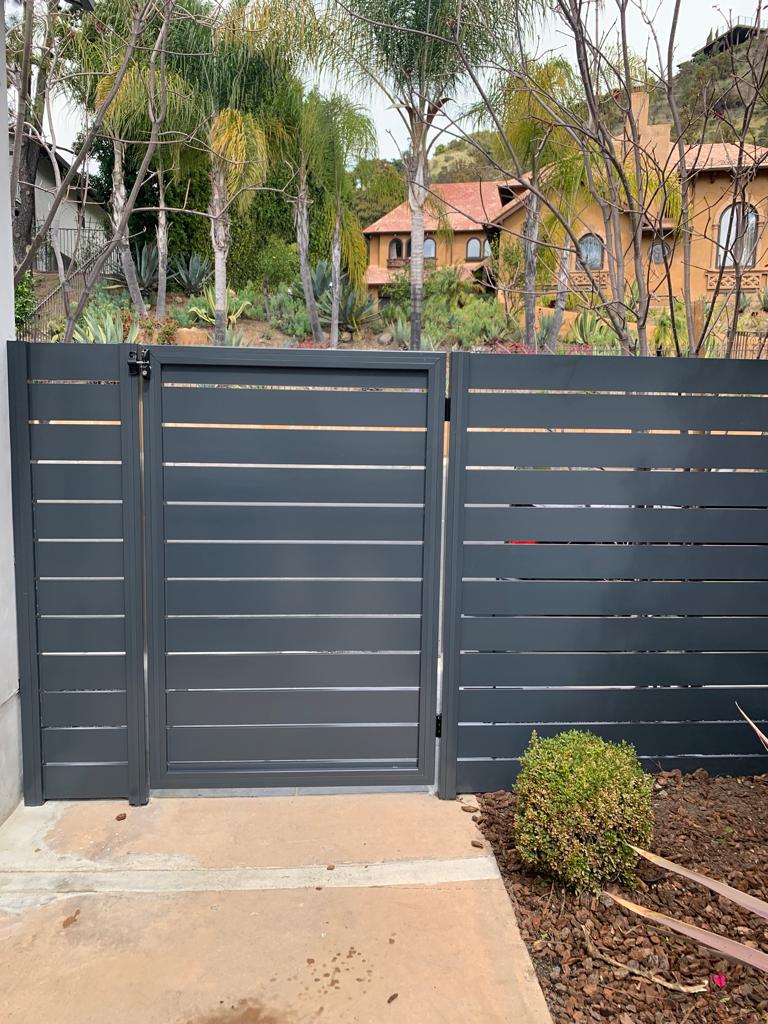
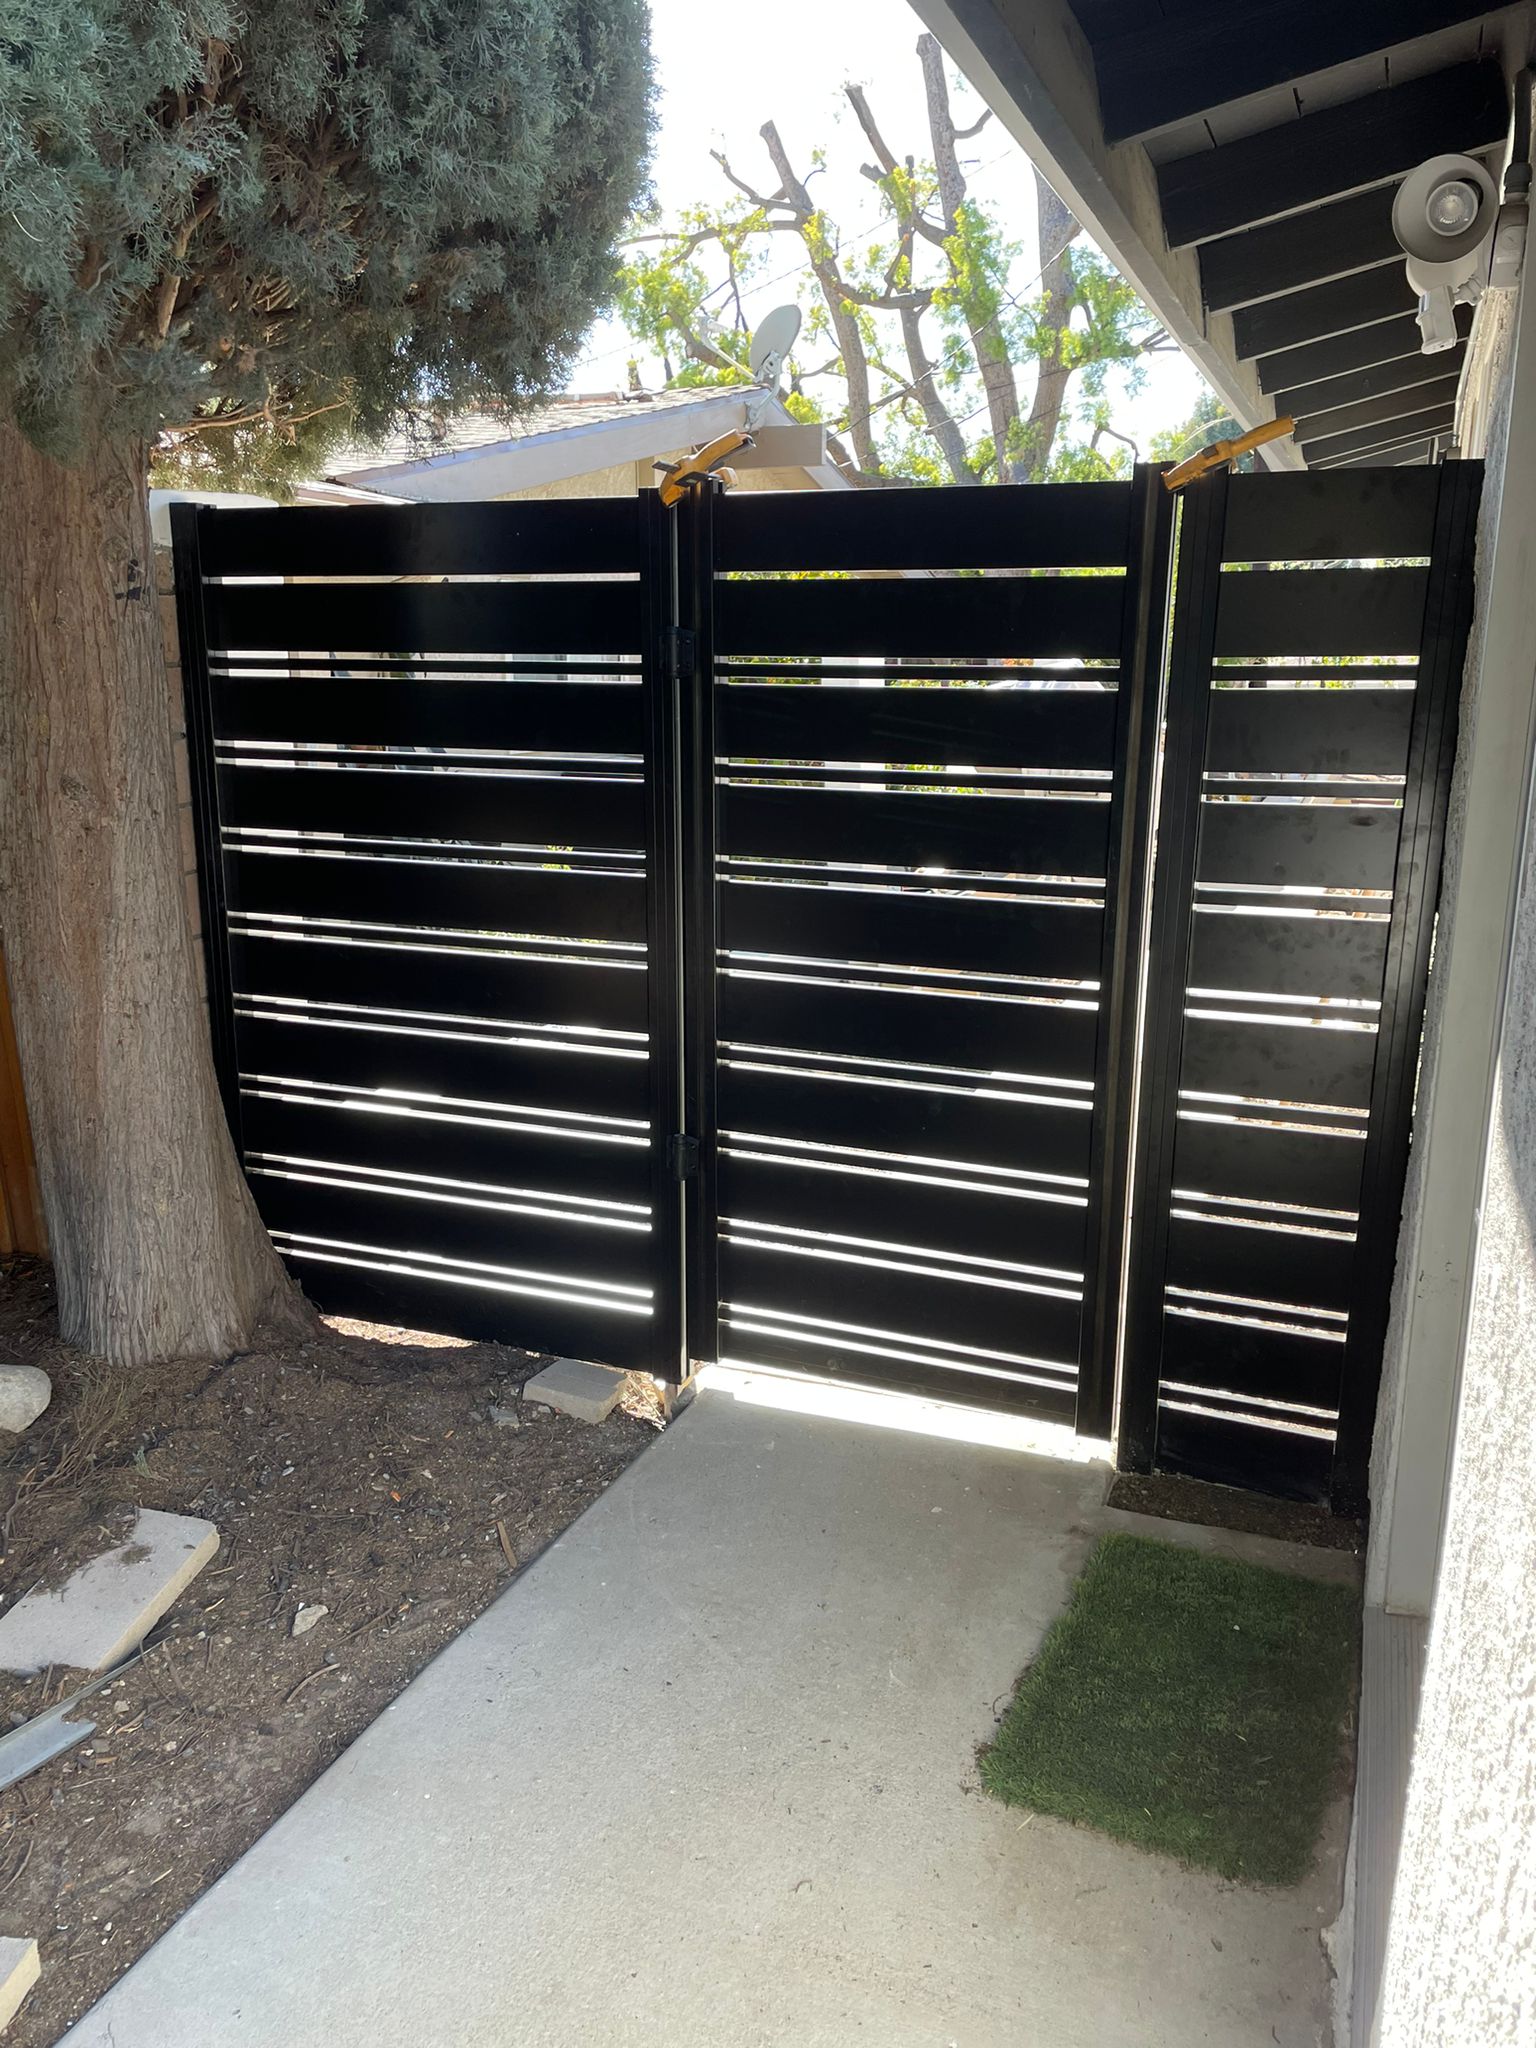
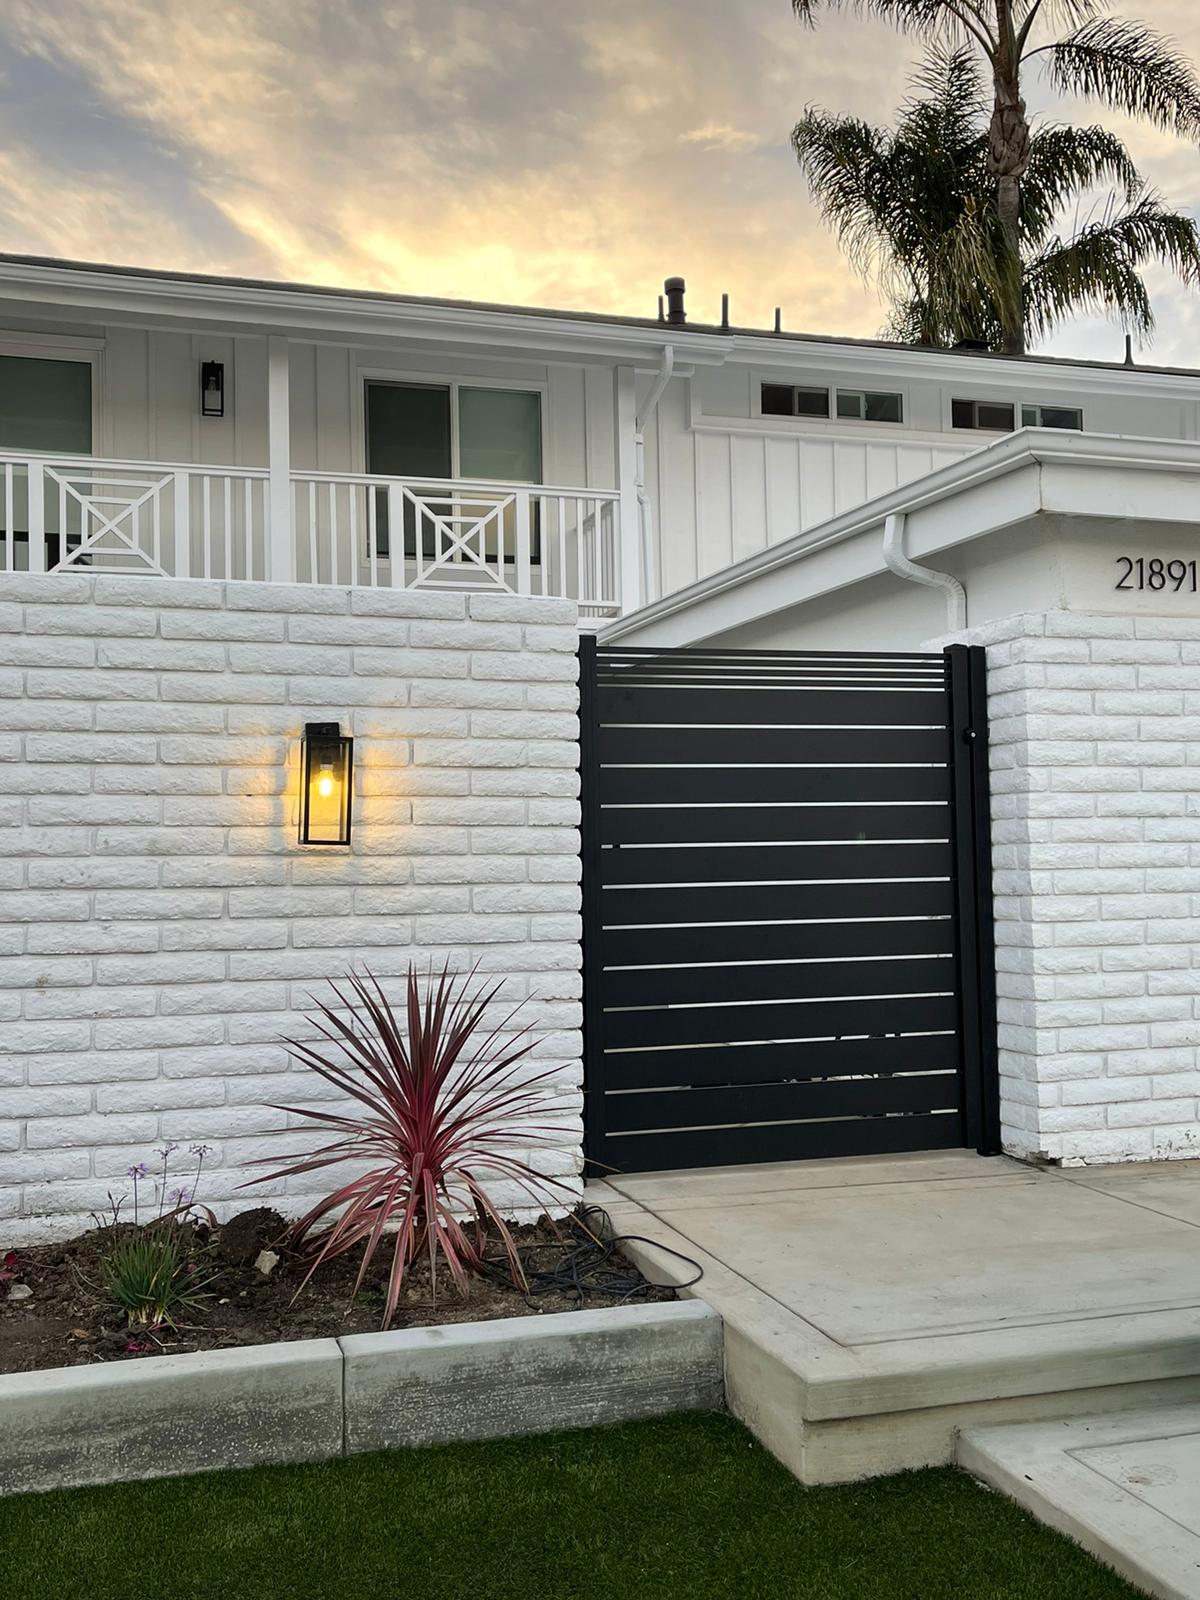
A horizontal fence is comprised of horizontal boards or panels that are arranged in such a way as to allow some view via the fence.
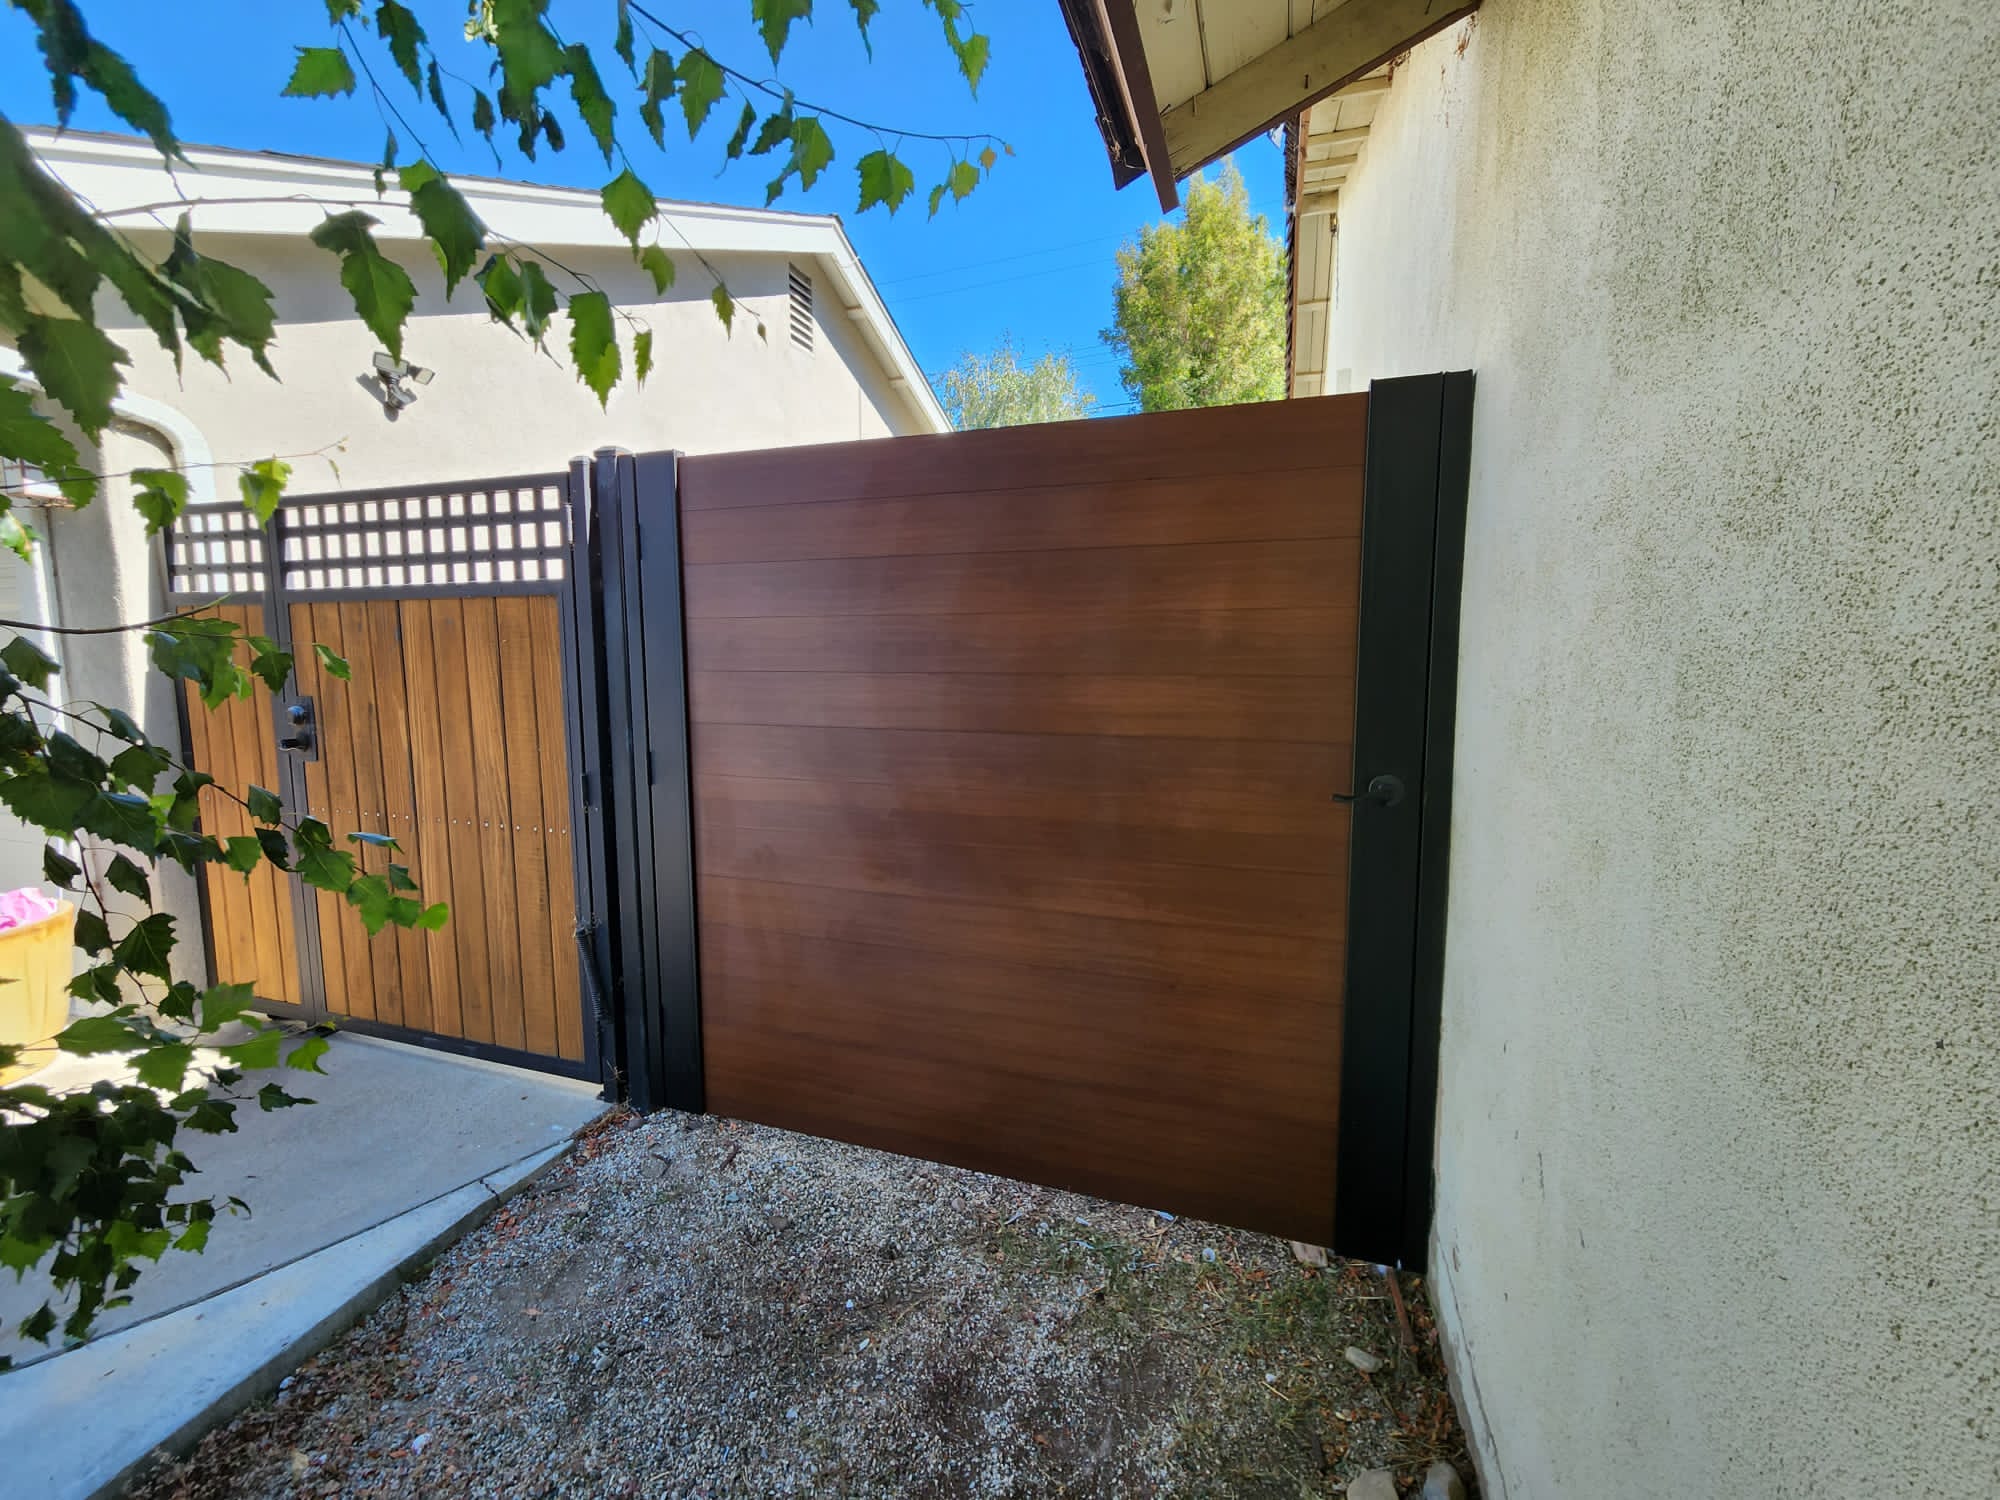
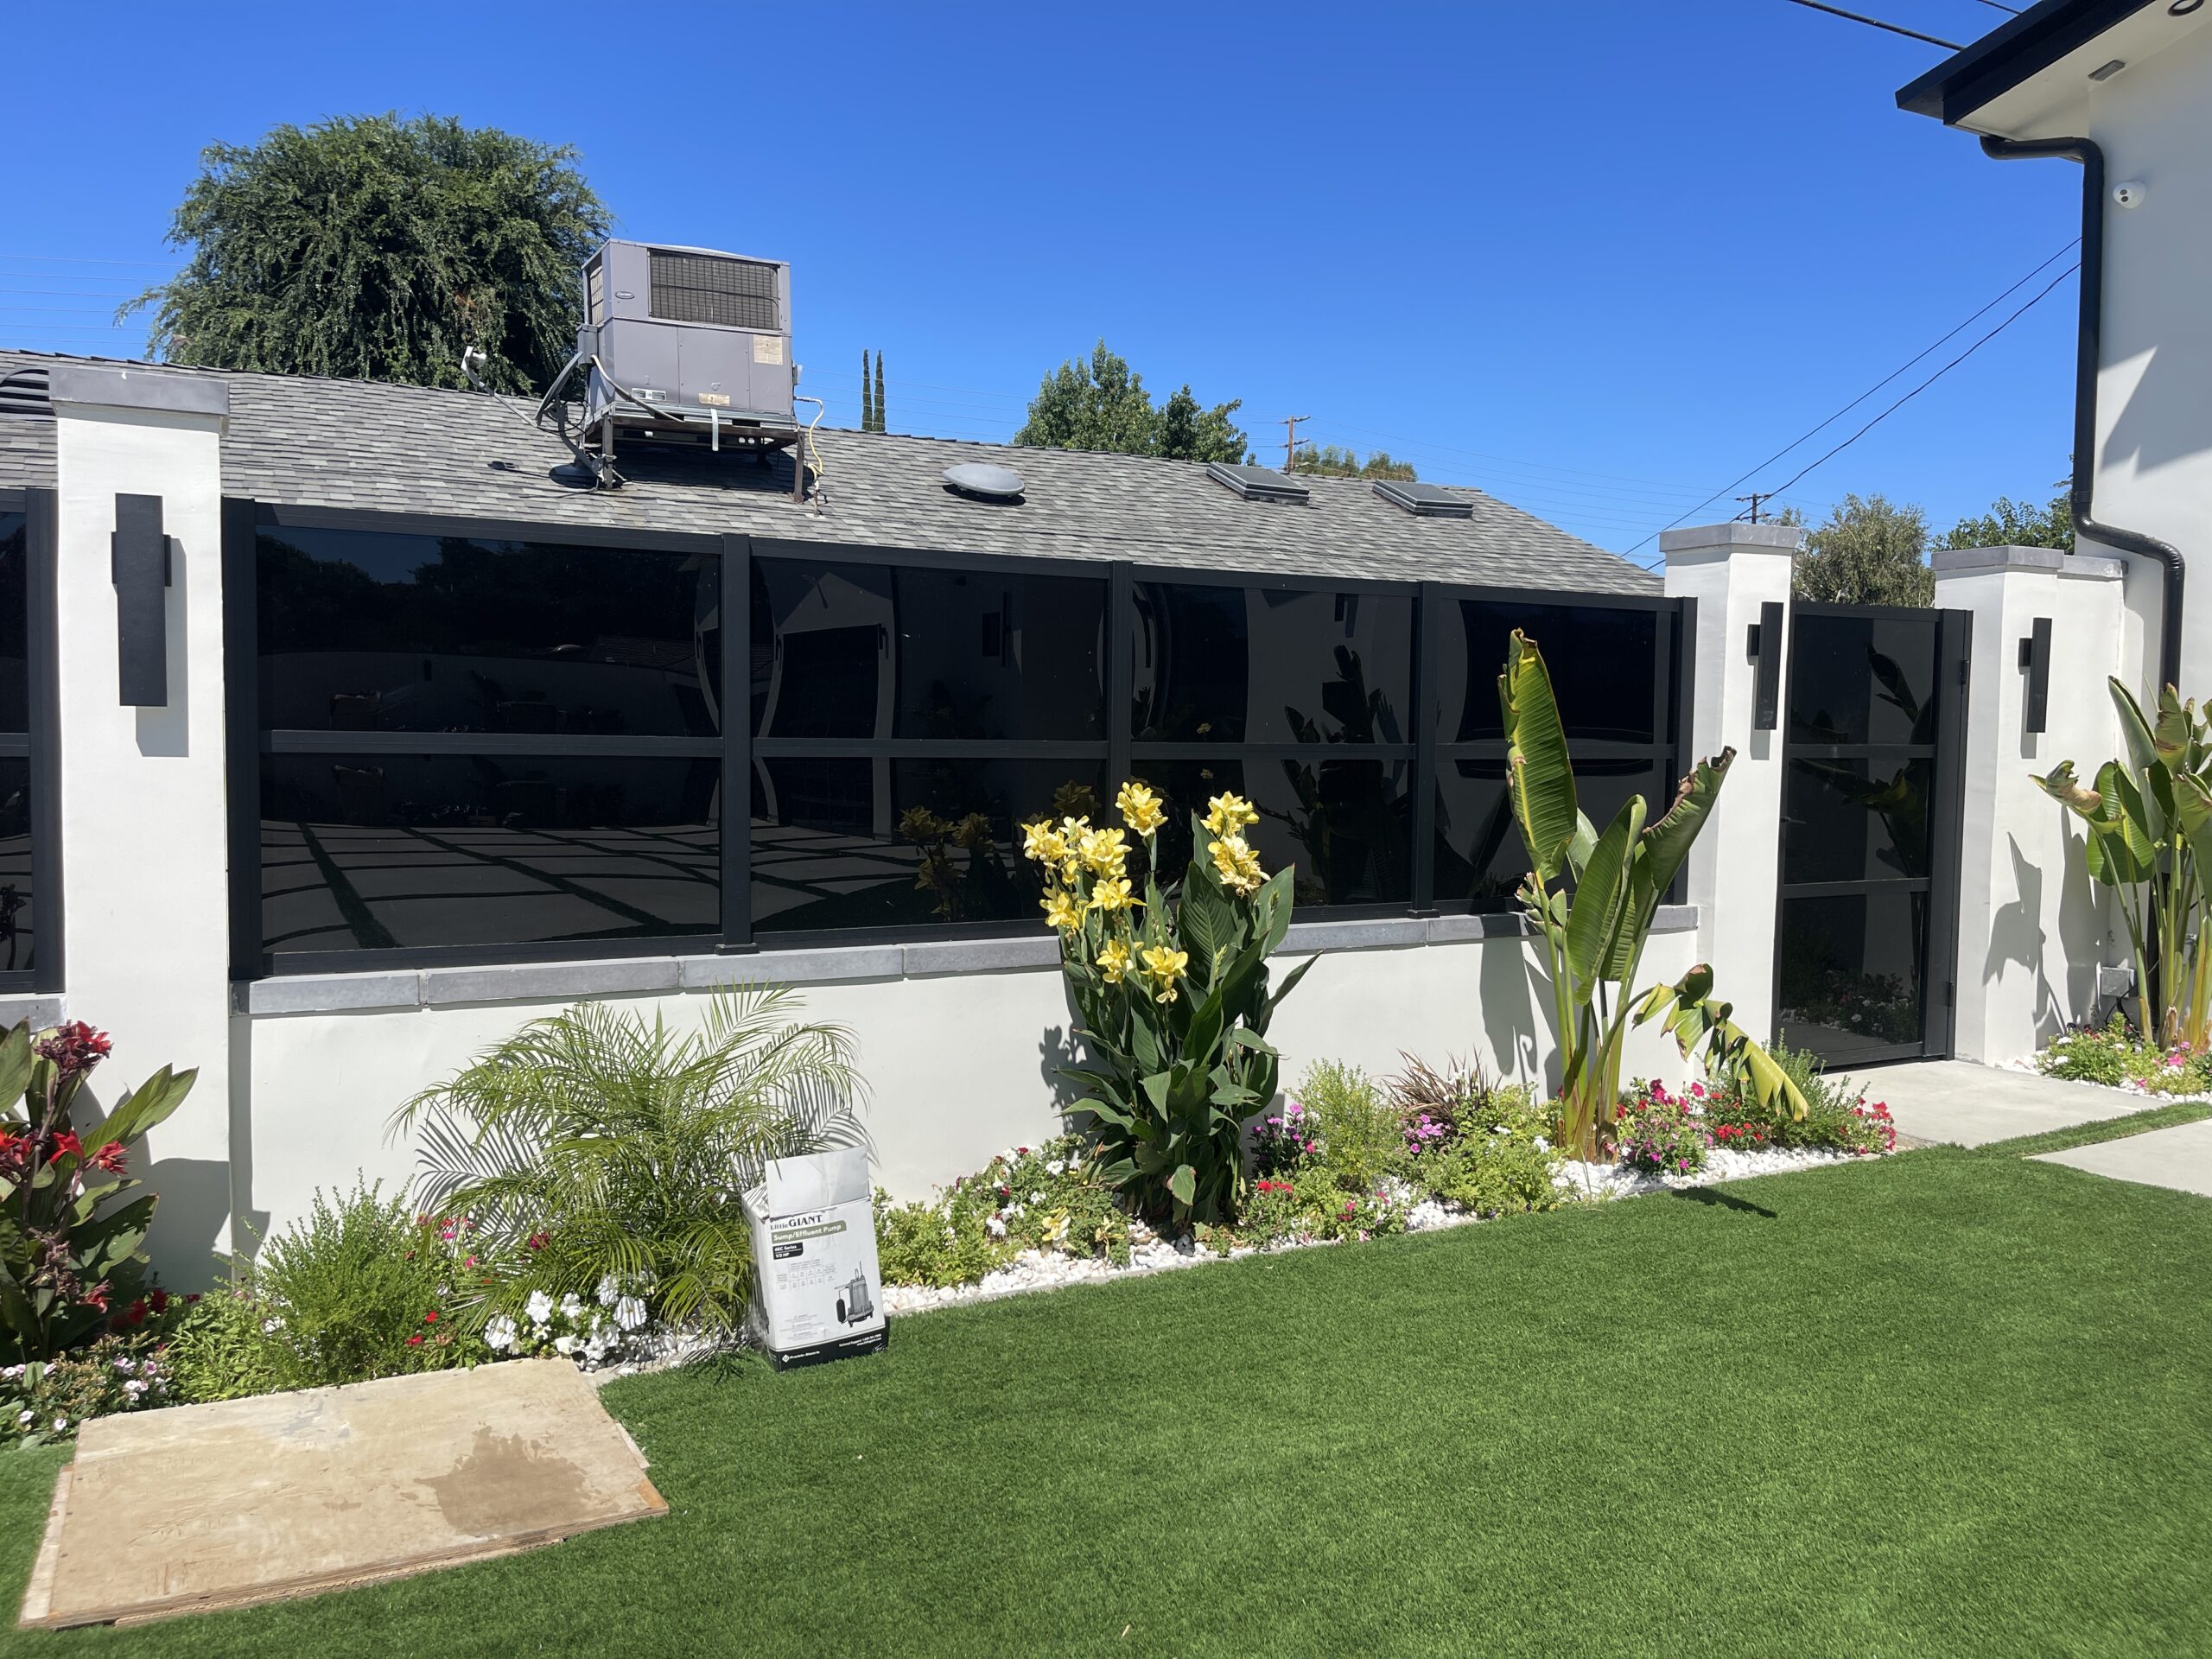
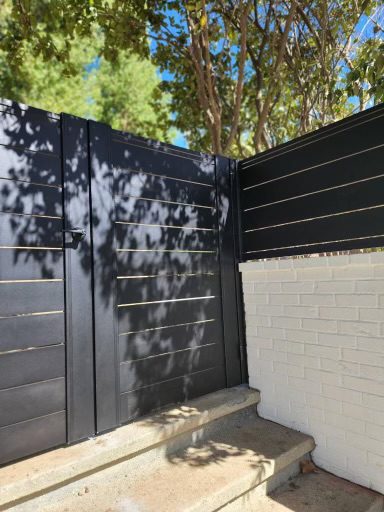
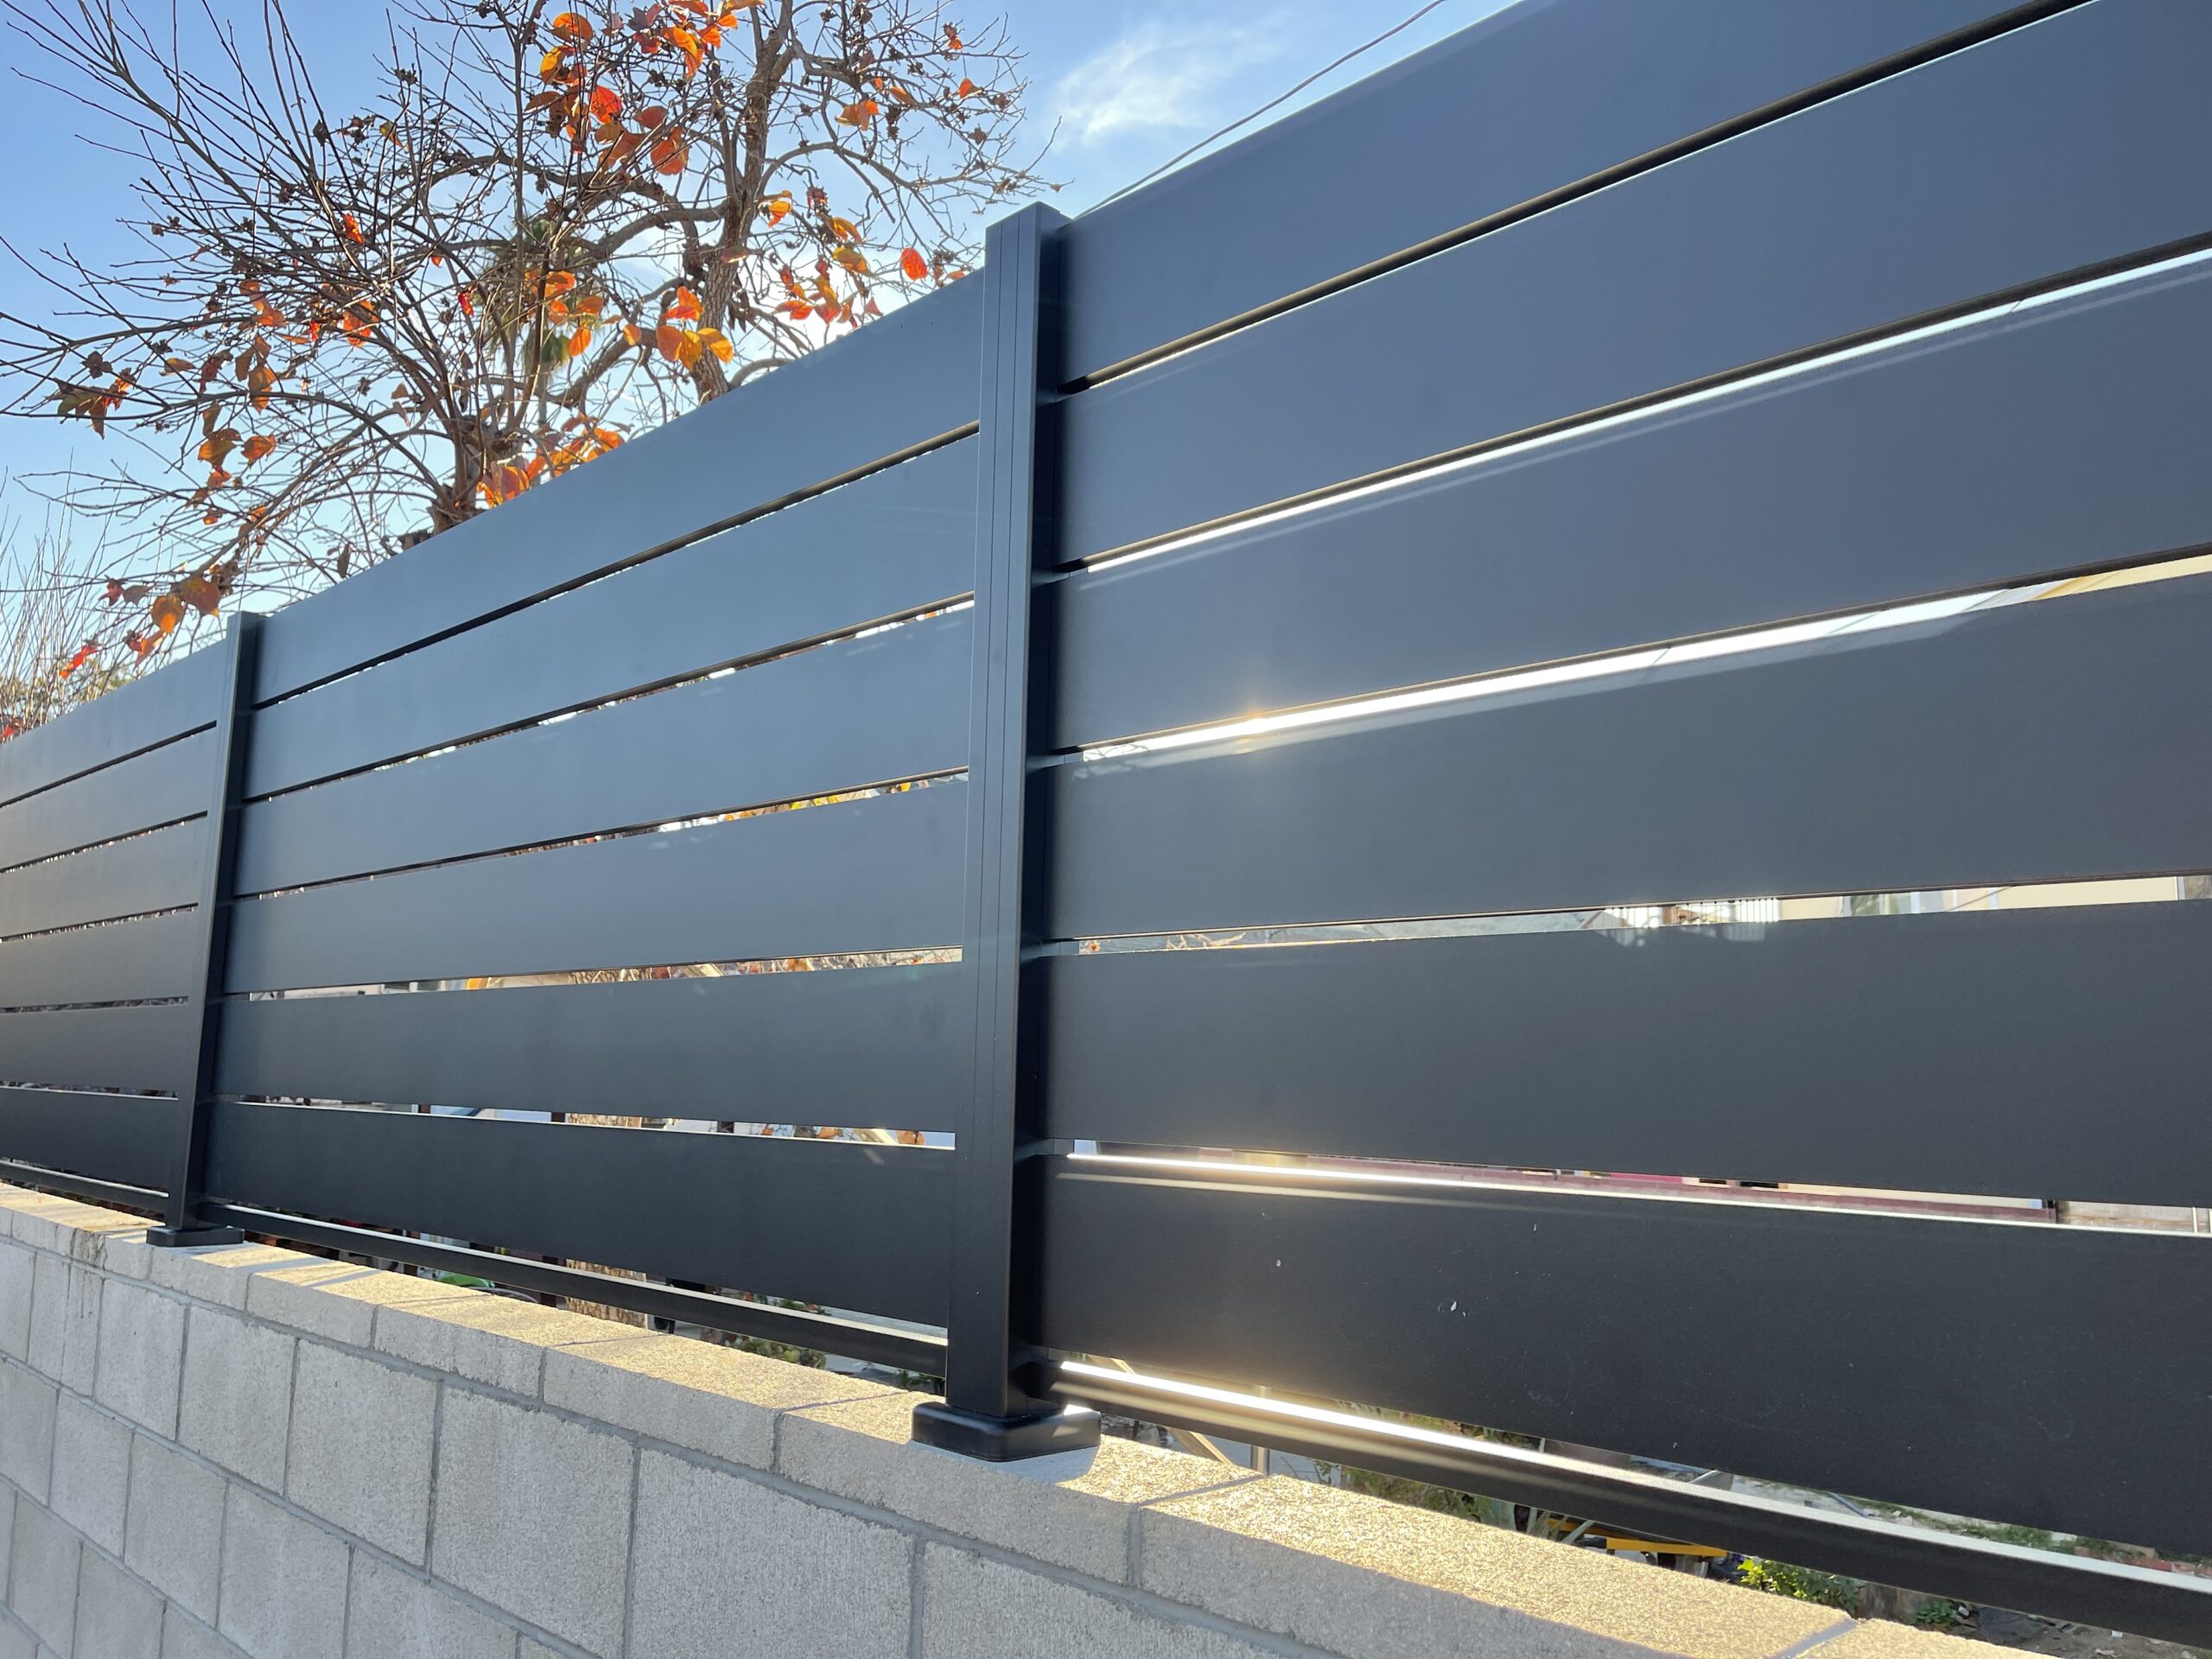
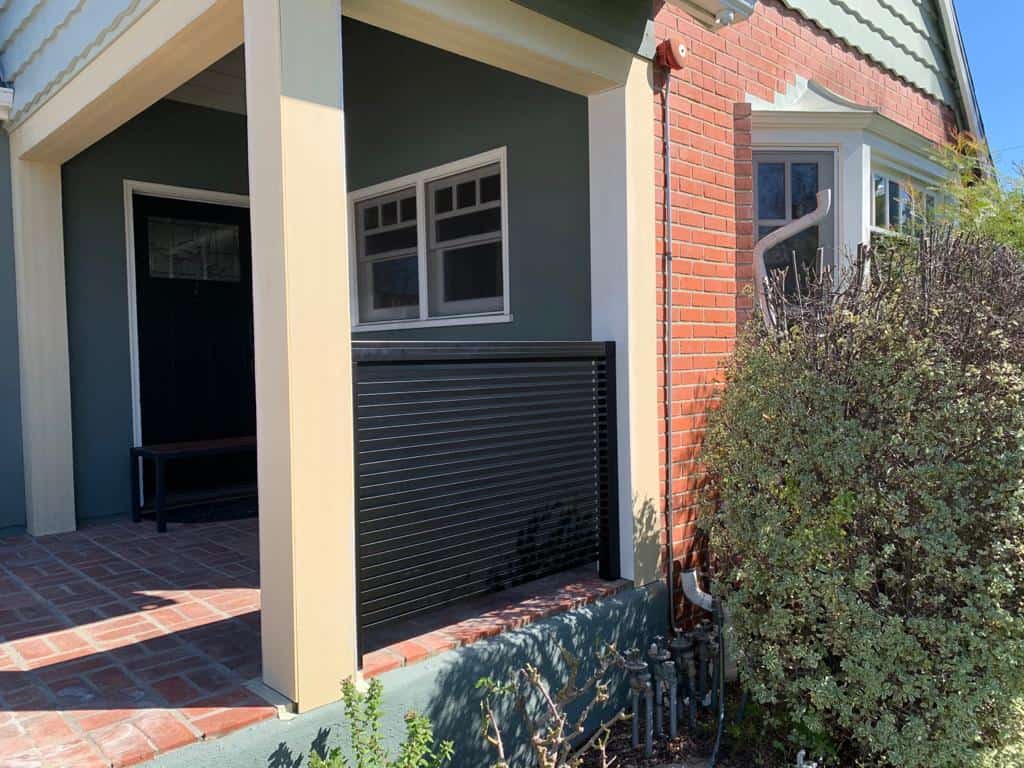
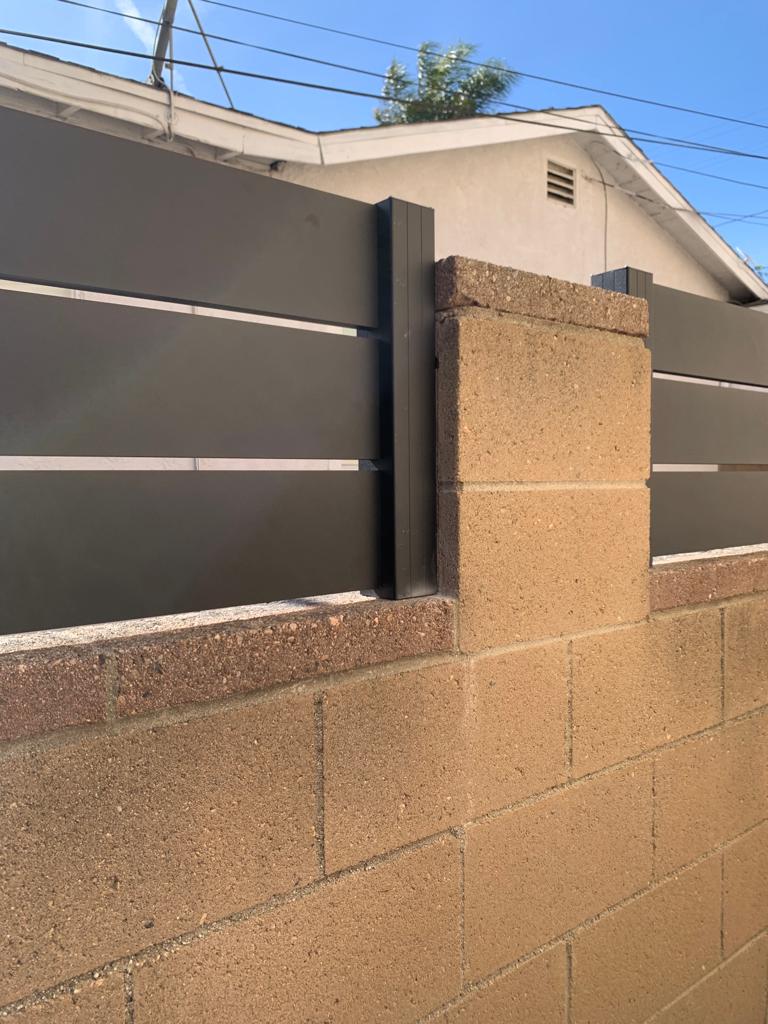
Fences can be made from wooden planks or boards that are the same size or of varying sizes. Other kinds of slat materials can be used for slat fences, like stained metal slats, composite planks, aluminum or galvanized metal slats. Generally, there are many materials you can choose from.
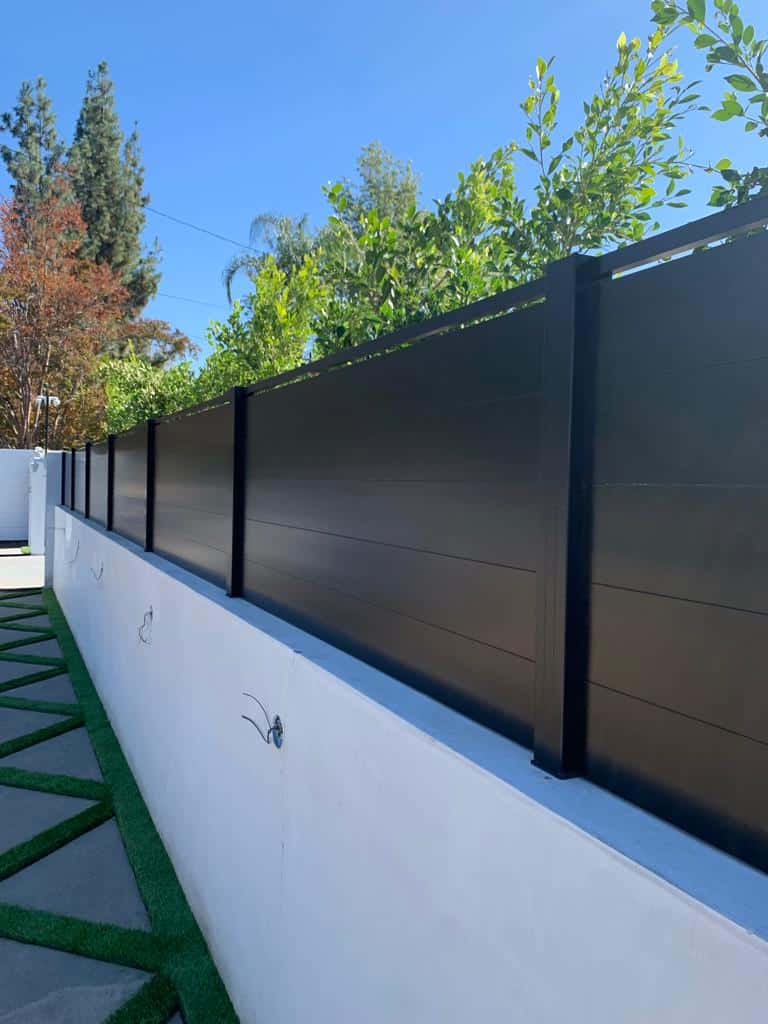
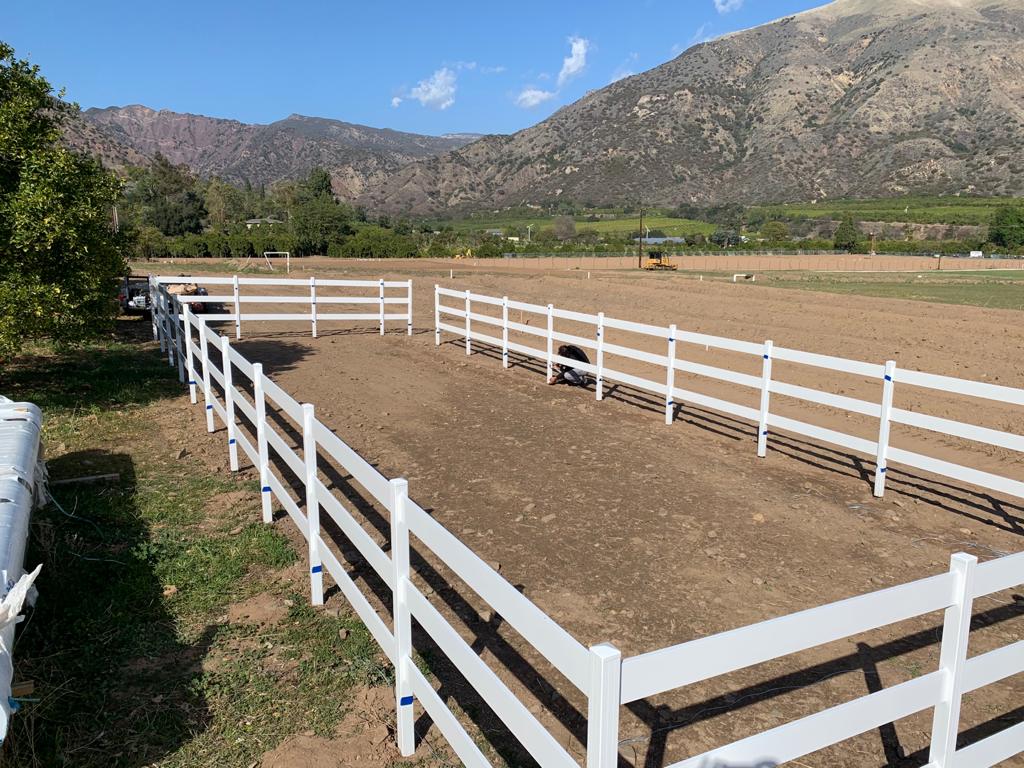
Step I: Setting the posts
- If you already have fence posts, you can use them and attach new 8-foot 4 to 4 posts to each side.
- Assemble the 8-foot 4 to 4 post in place close to the current fence post and with a drill of a 1/4″ wood bit, make a hole for every lag screw, then insert two lag screws in every new post.
- You will need to dig the posts at least 12″ deep if you are starting a completely new project. A post-hole digger should be used to dig an 8-inch-wide and just over 2-foot-deep hole.
- For the base, place about four inches of gravel, and then insert the 8-foot 4to4 post into the hole. Fill the hole around the post with fast-drying concrete mix. Make sure that the post is standing straight by using a three-way level. Smooth down the dry concrete.
- The packed concrete around the post hardens or “sets” when moisture is drawn from the ground. If you choose this option, the posts must be set overnight before you continue.
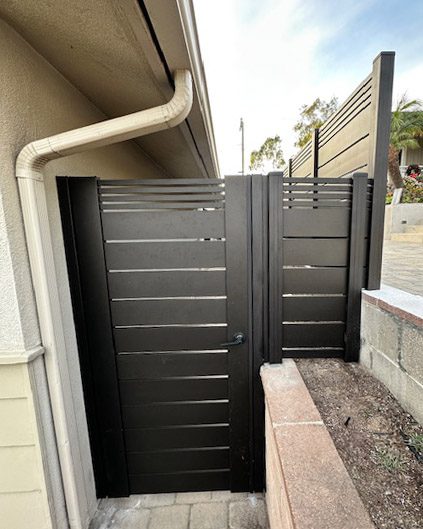
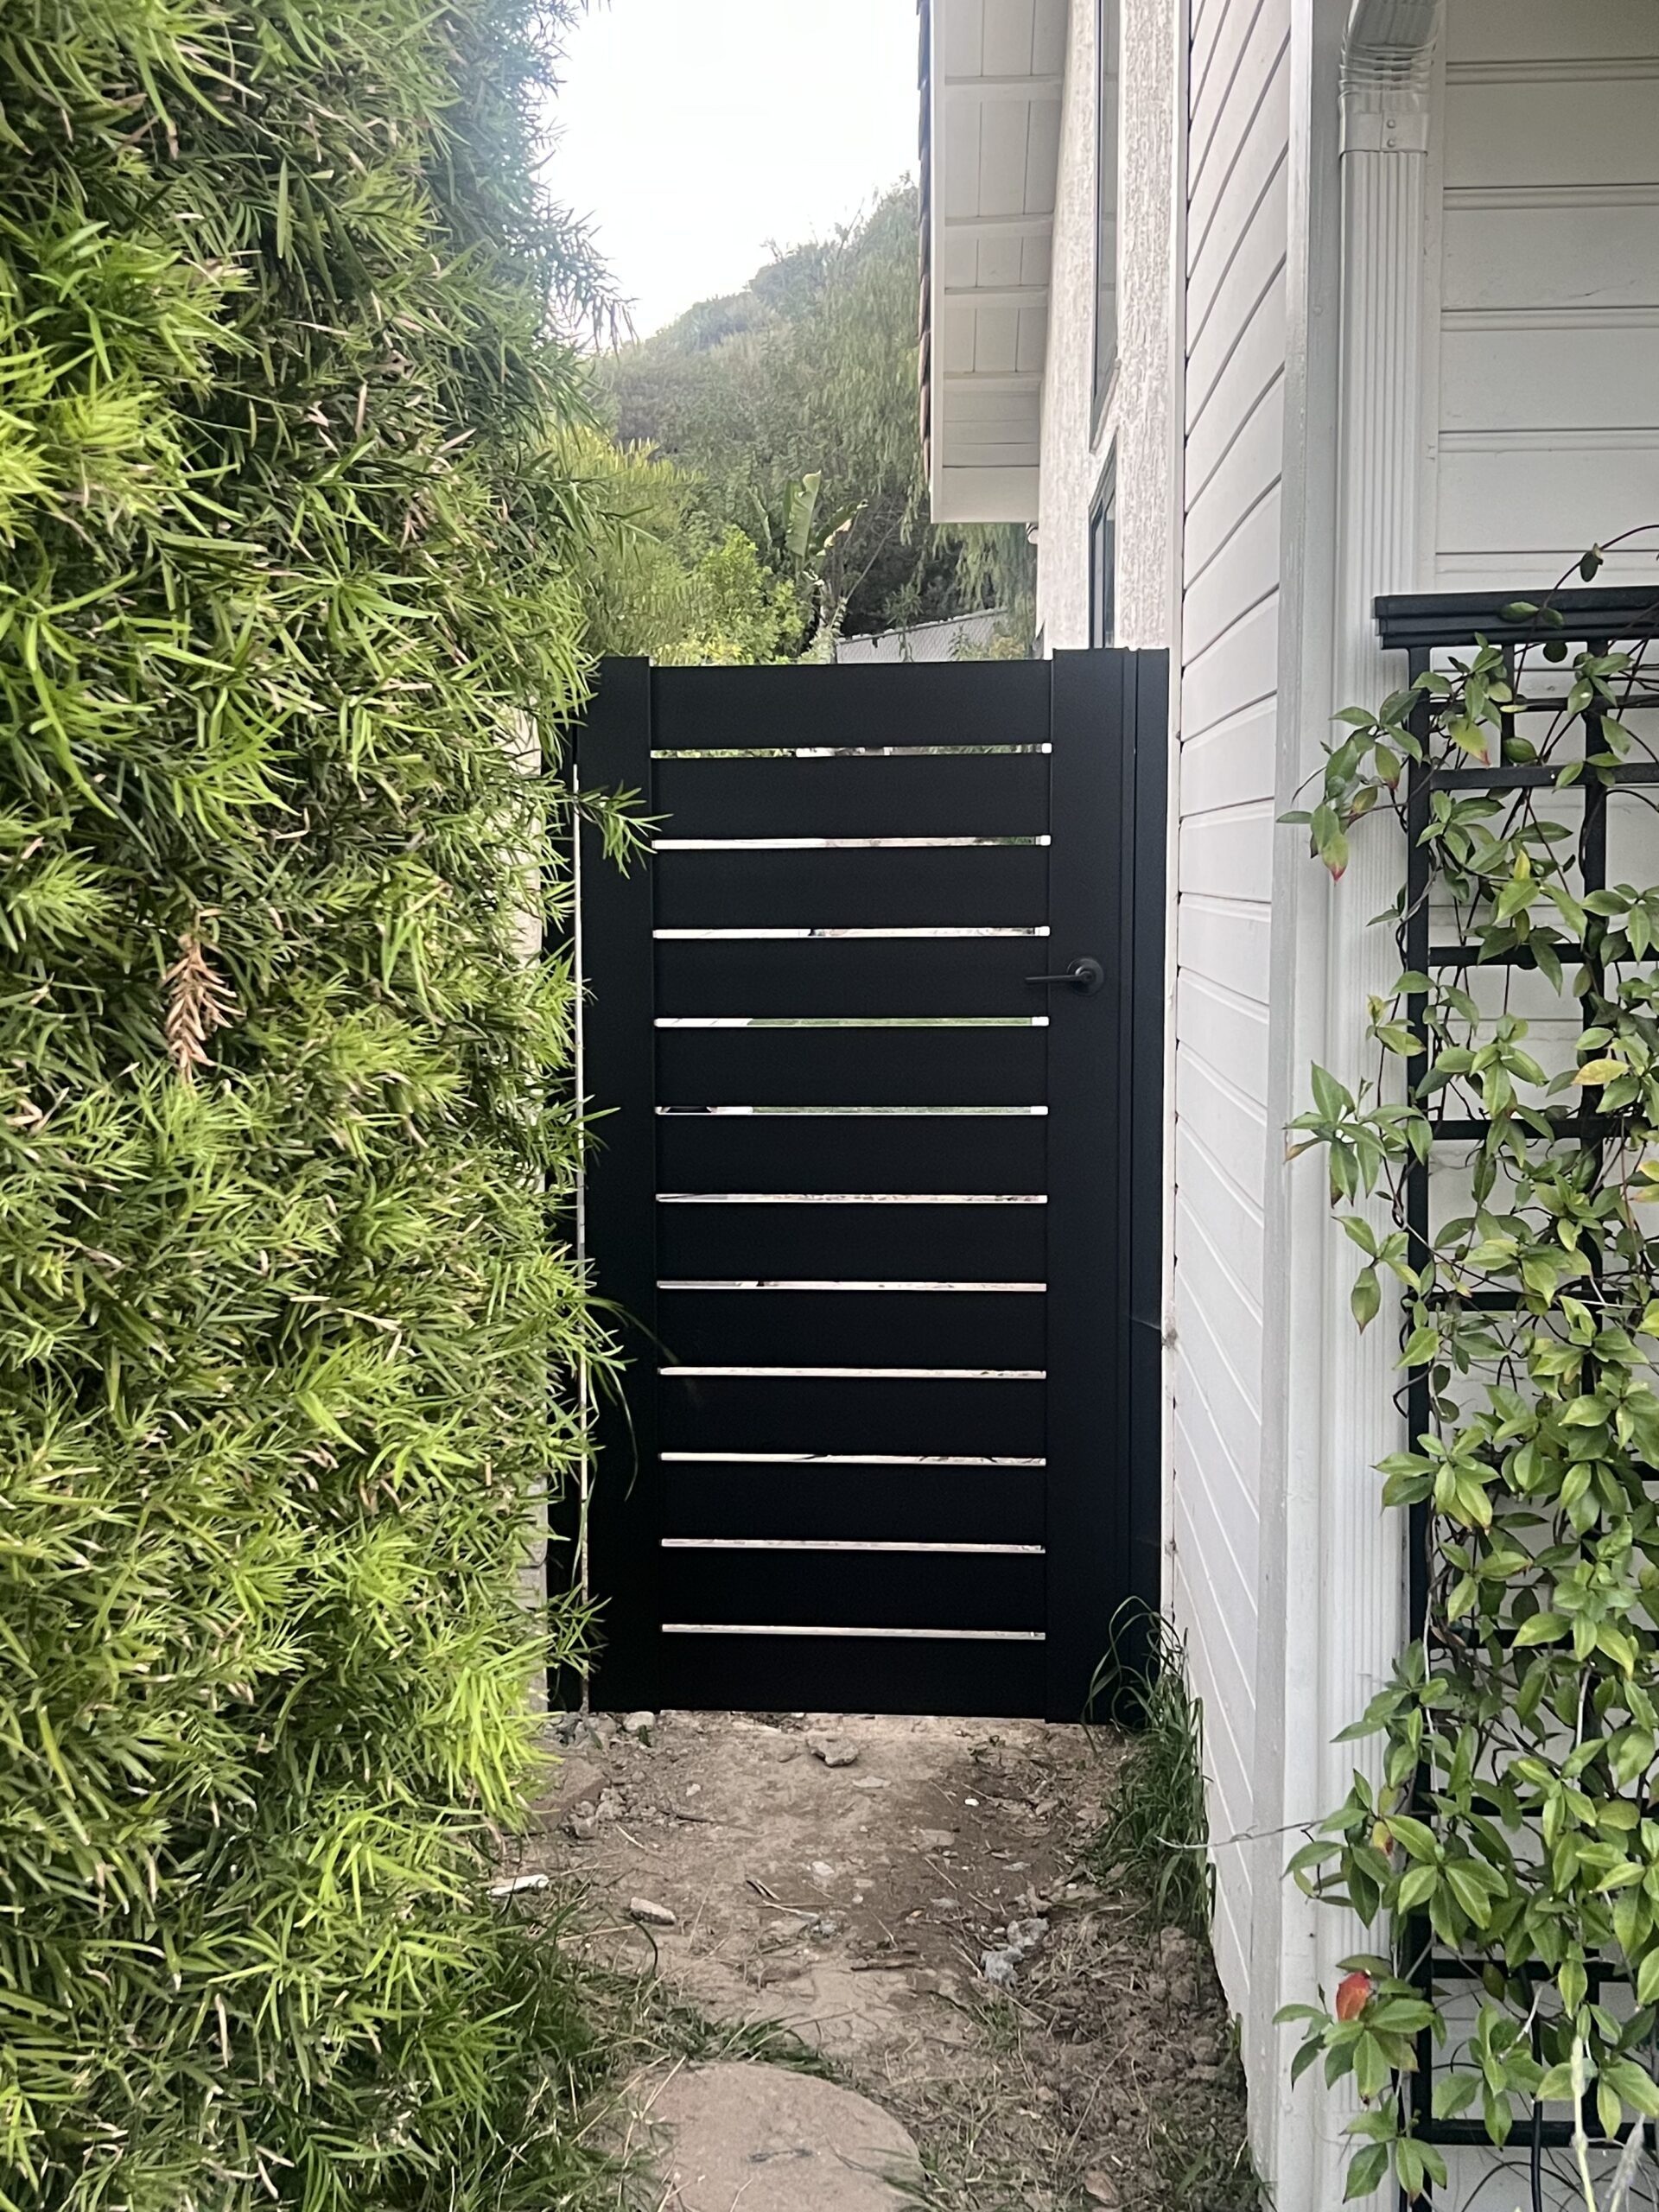
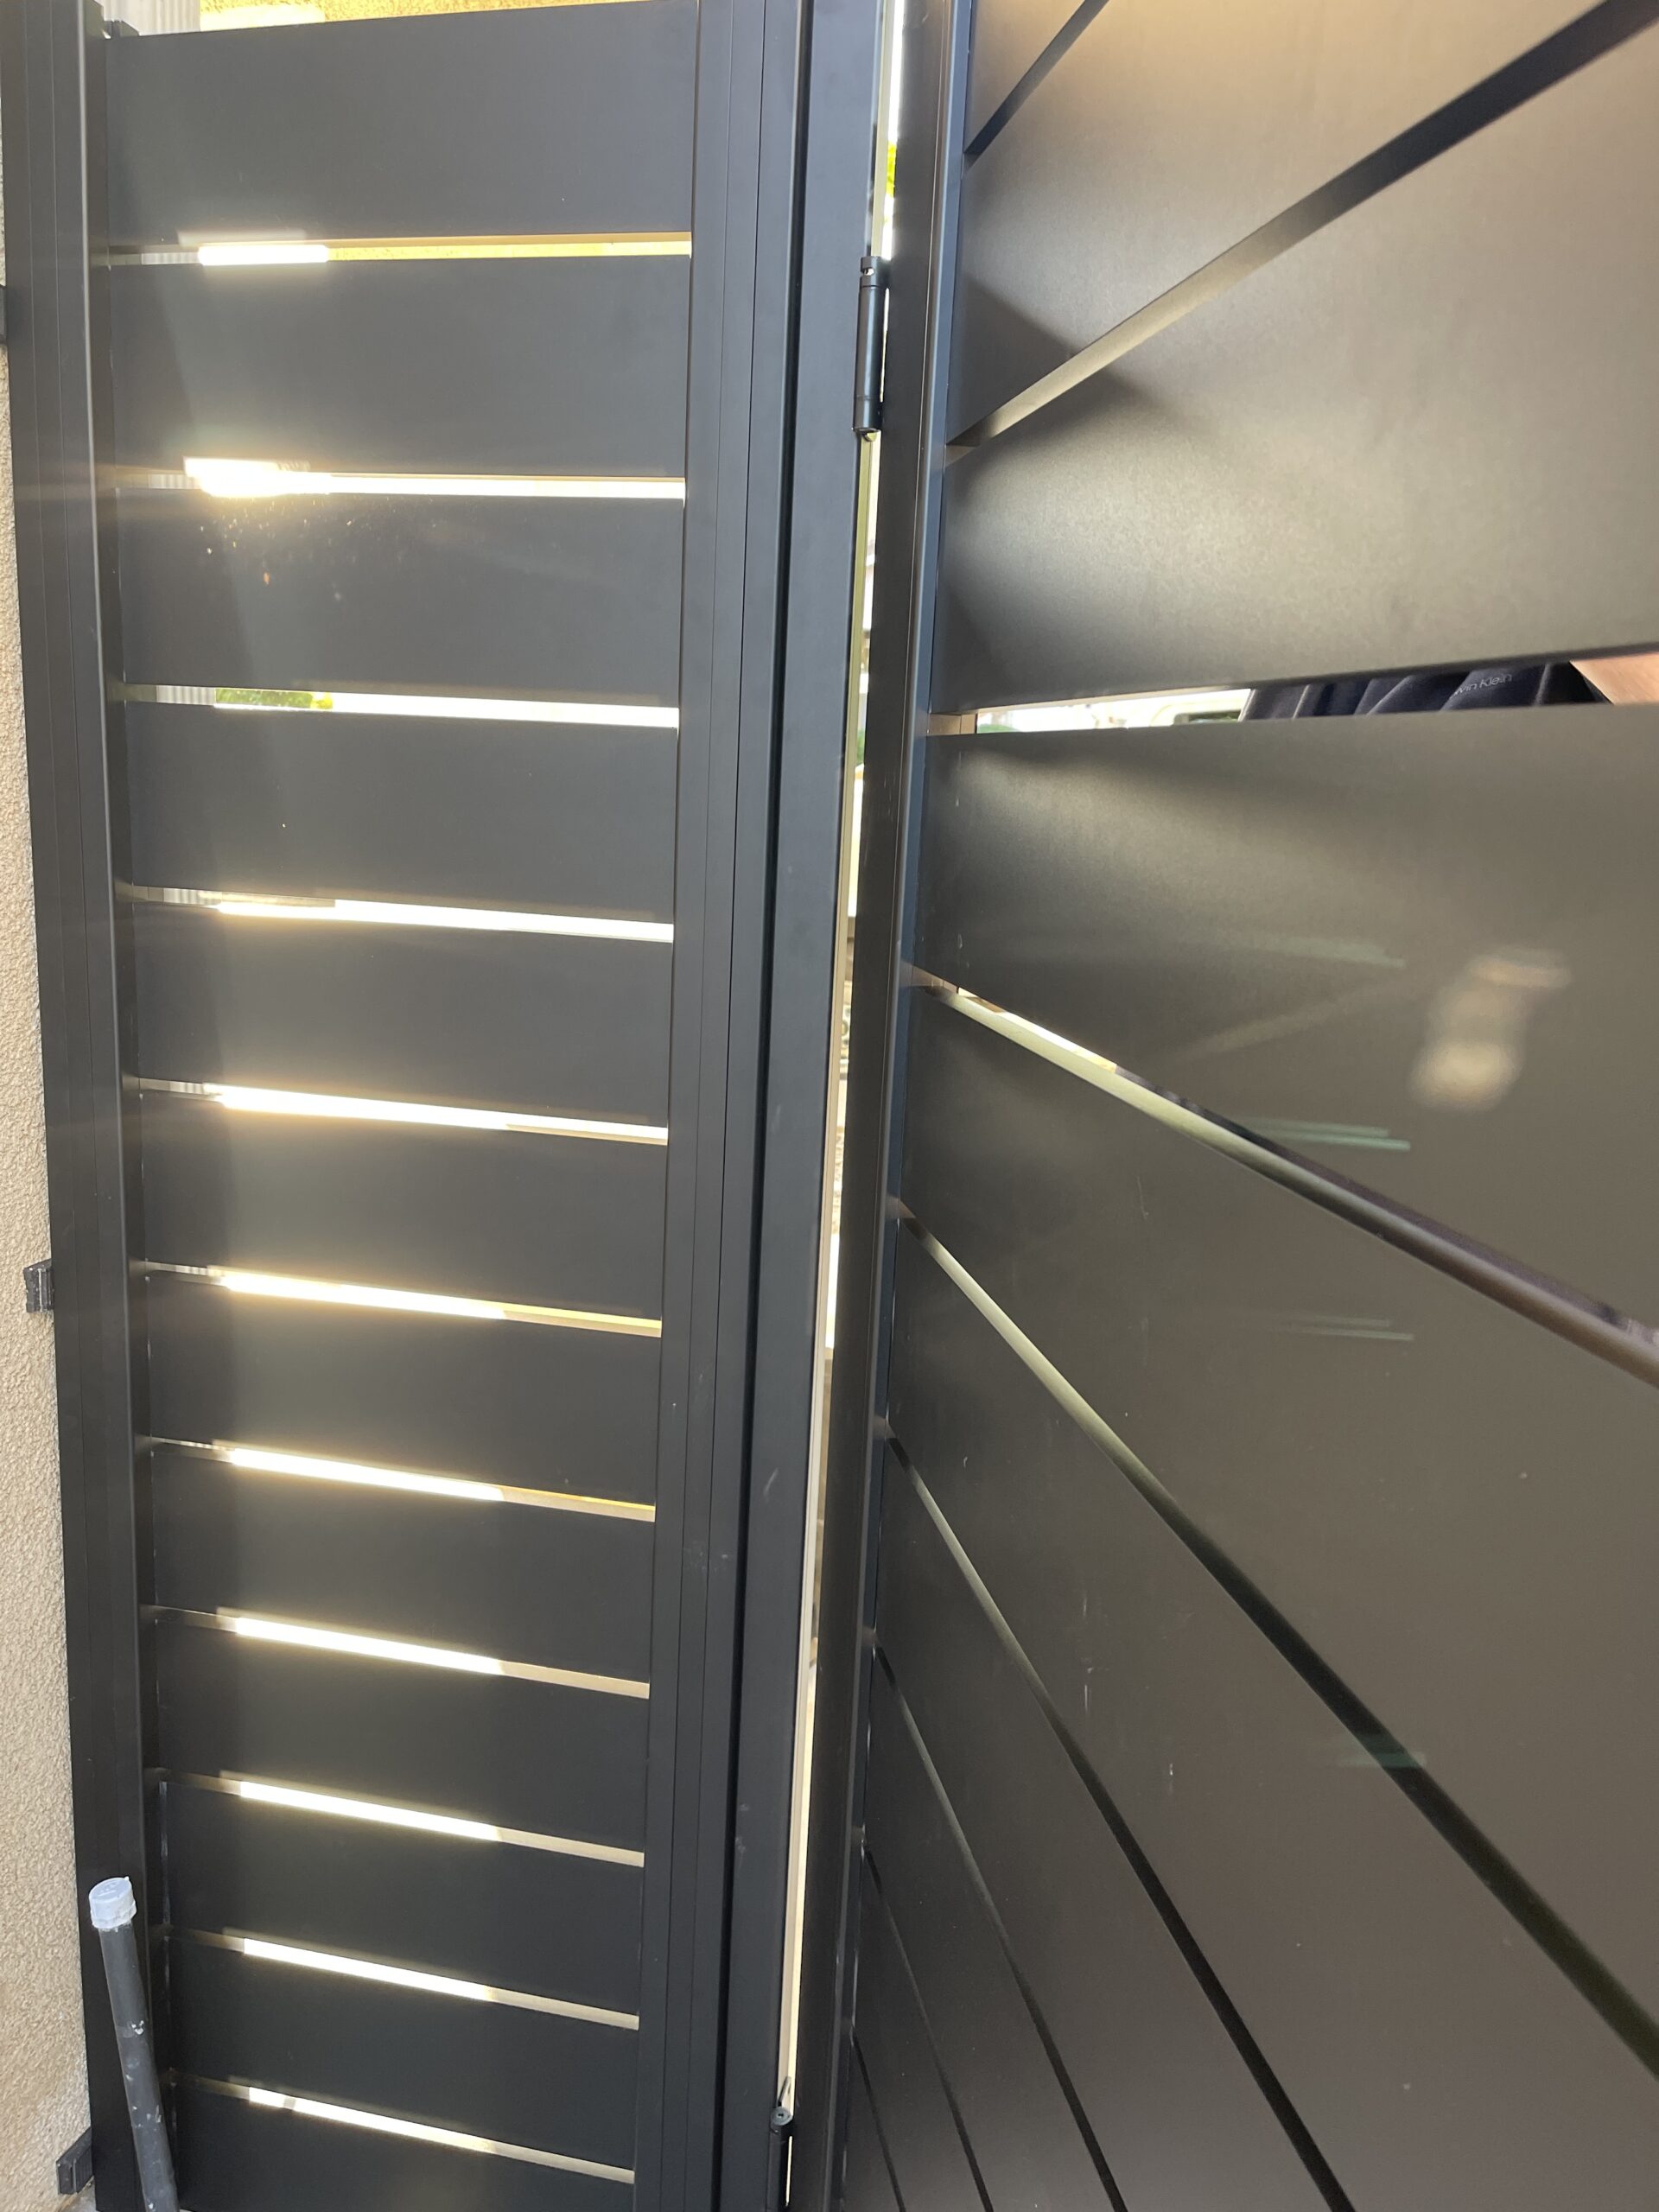
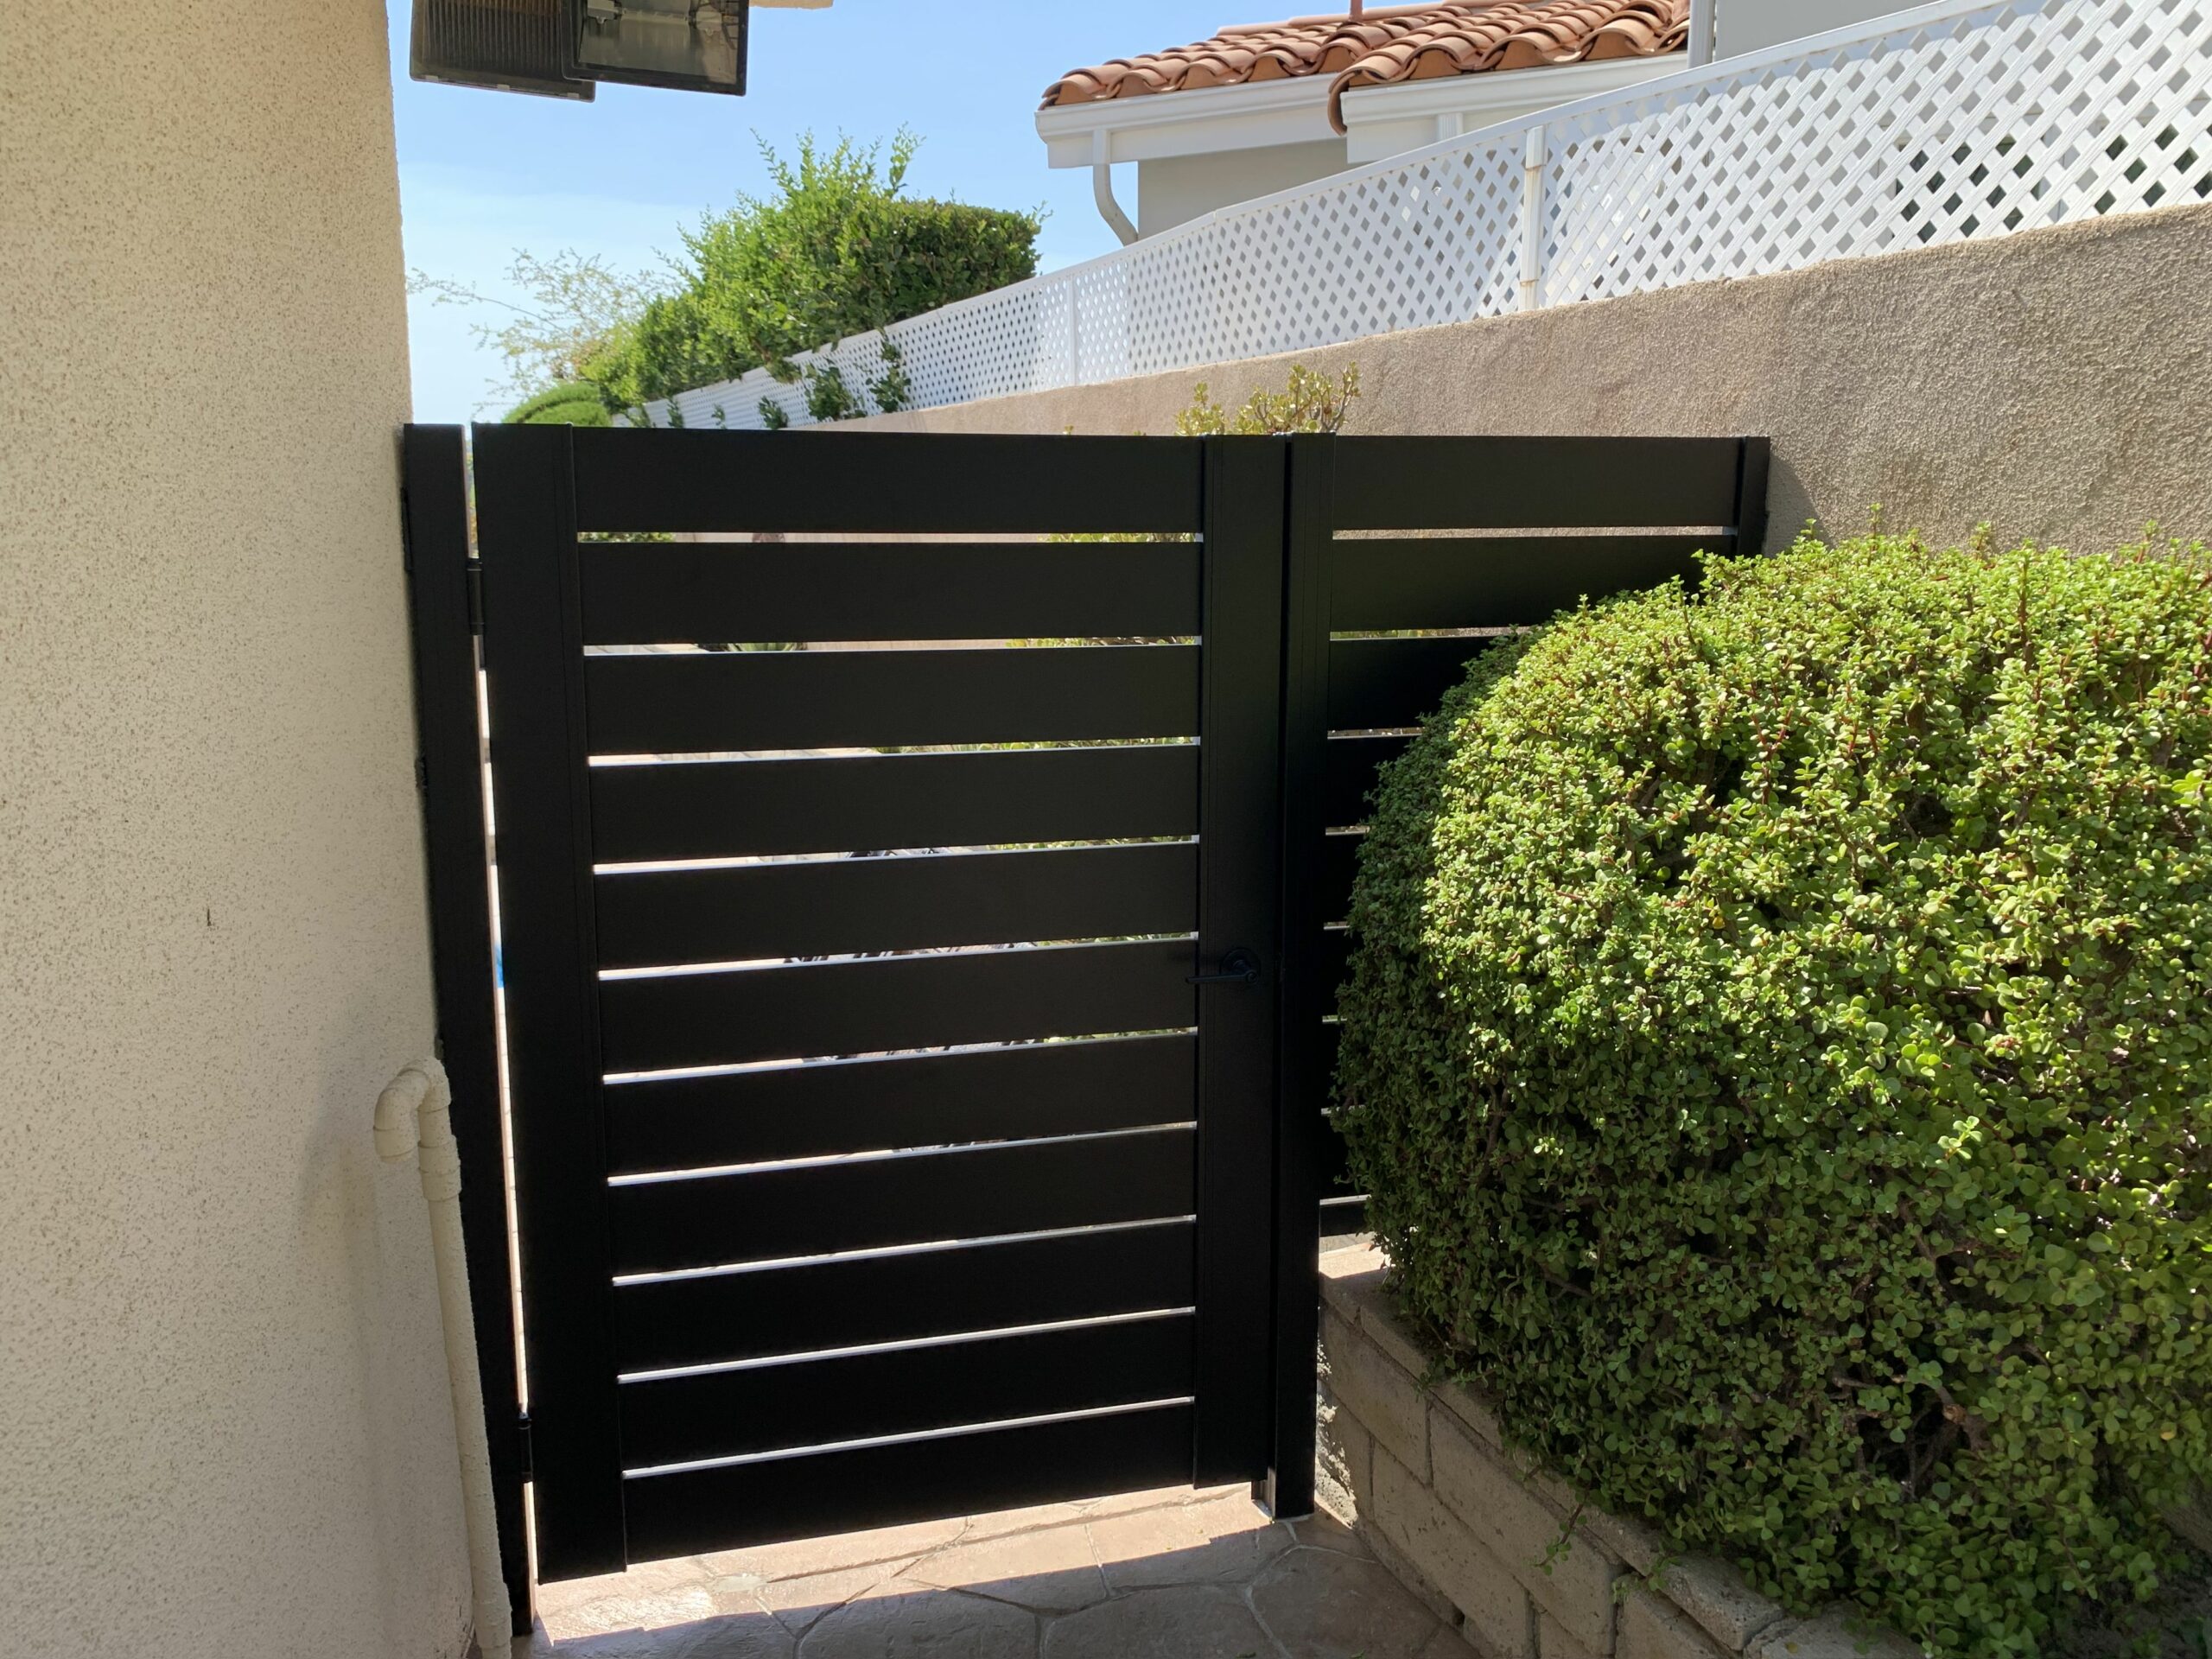
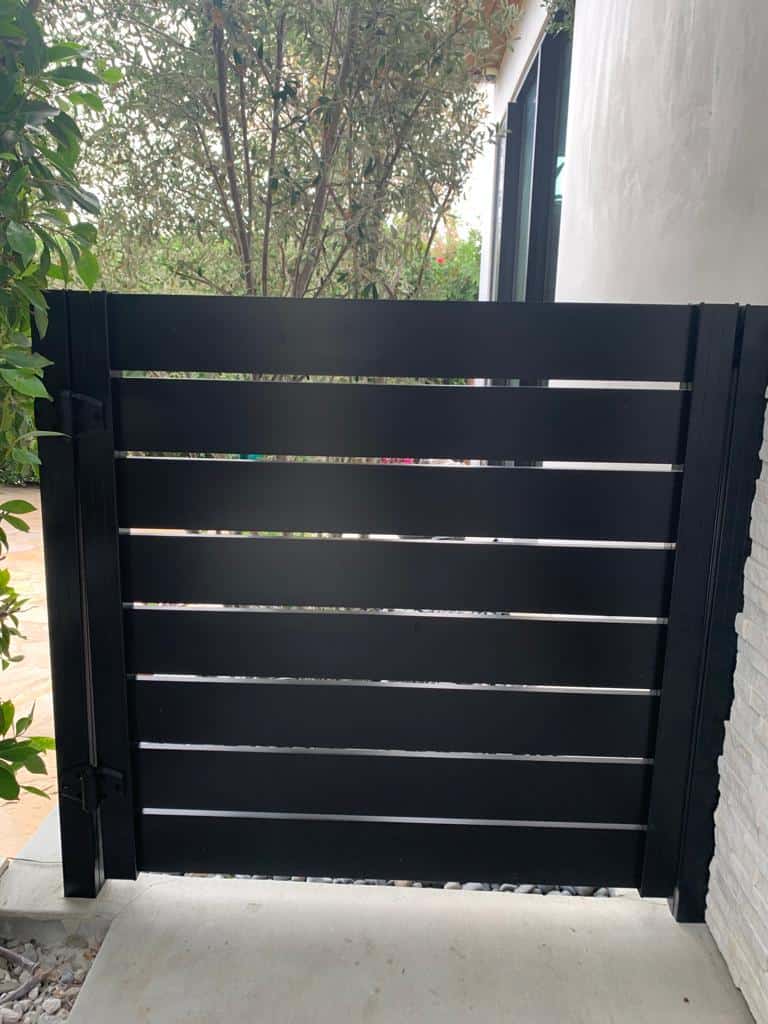
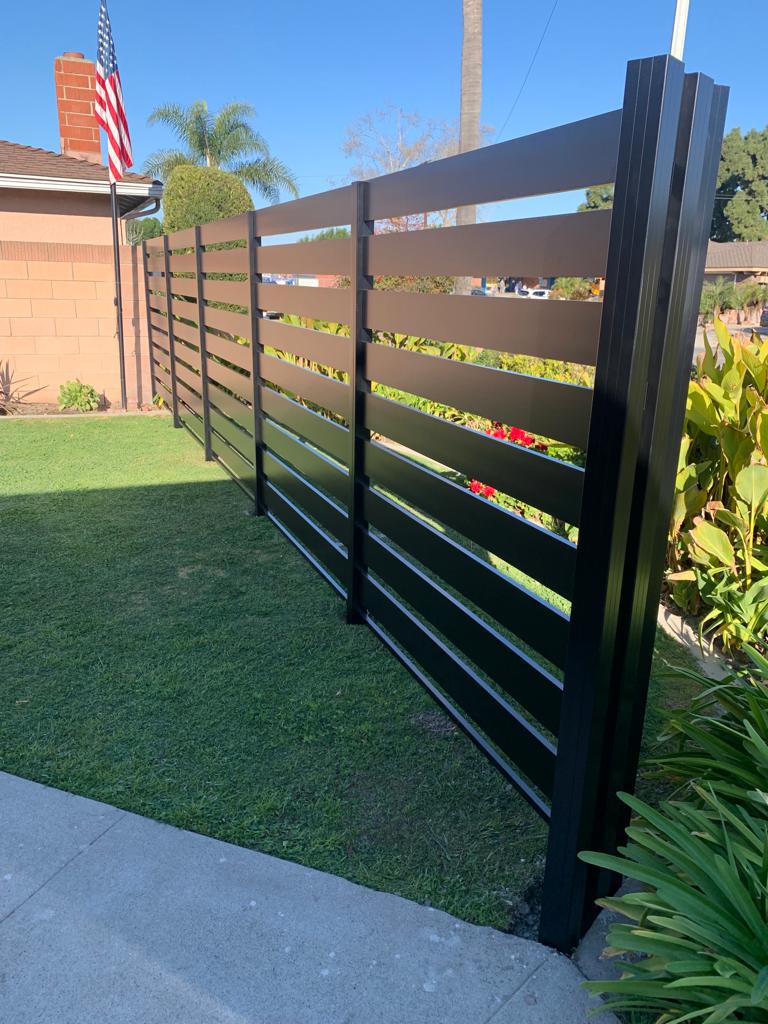
Step II: Installing the slats
- Once the posts are in place, attach the 1″ x 6″ x 8′ boards beginning at the upper end of the fence, to guarantee it stays flush.
- You might want to use a level to ensure that each slat is level. By alternating sides and spacing the slats evenly, attach them to the post with a nail gun.
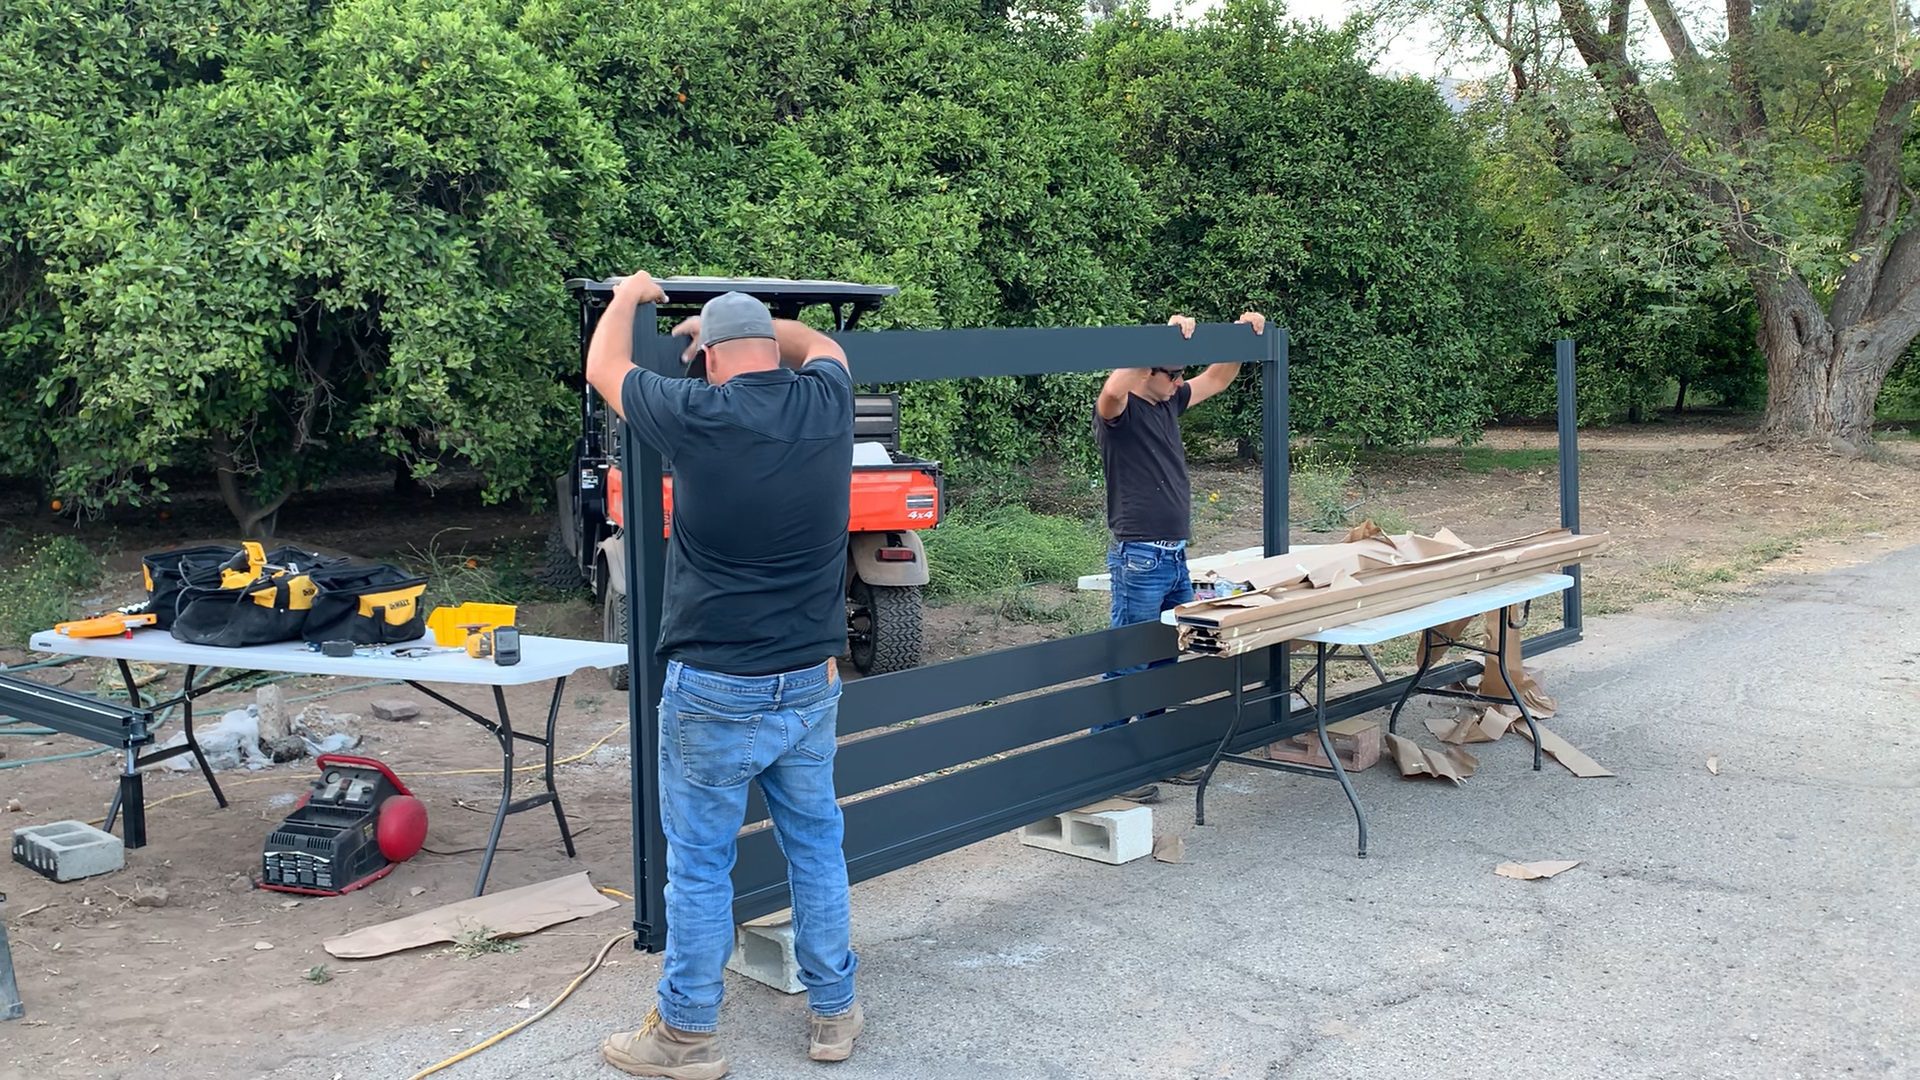
- It might be useful to have someone hold it level while someone else nails it in place.
- Once the horizontal slats have been hung, place 2 deck screws (to better match the board color) to secure every slat to the posts.
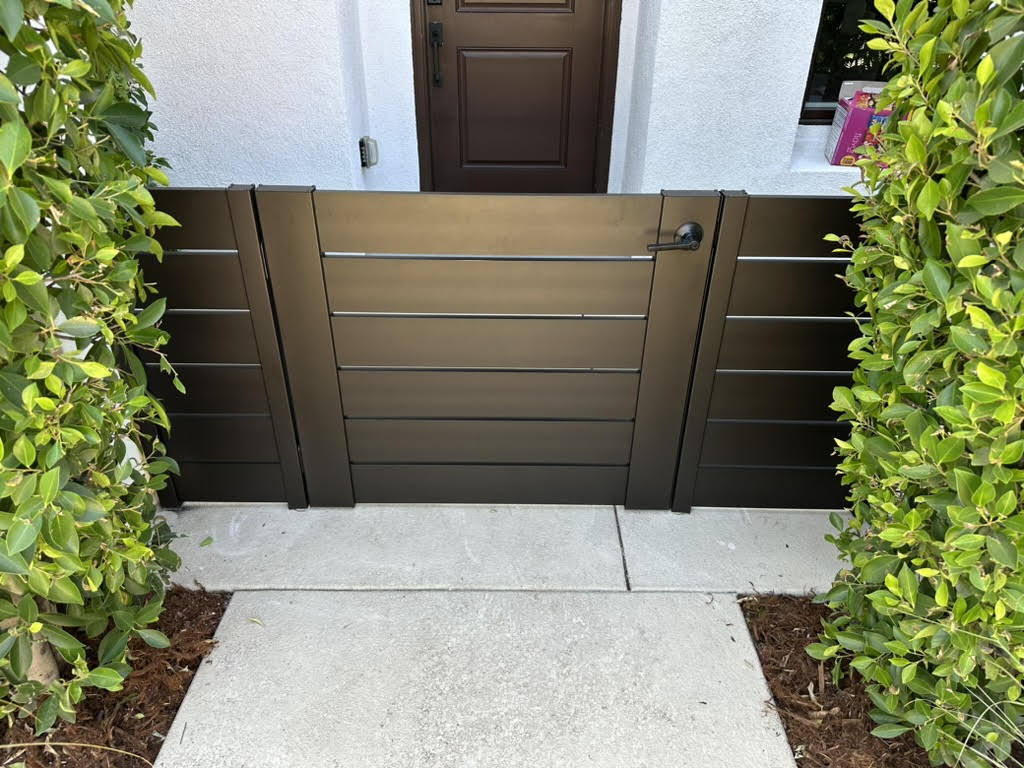
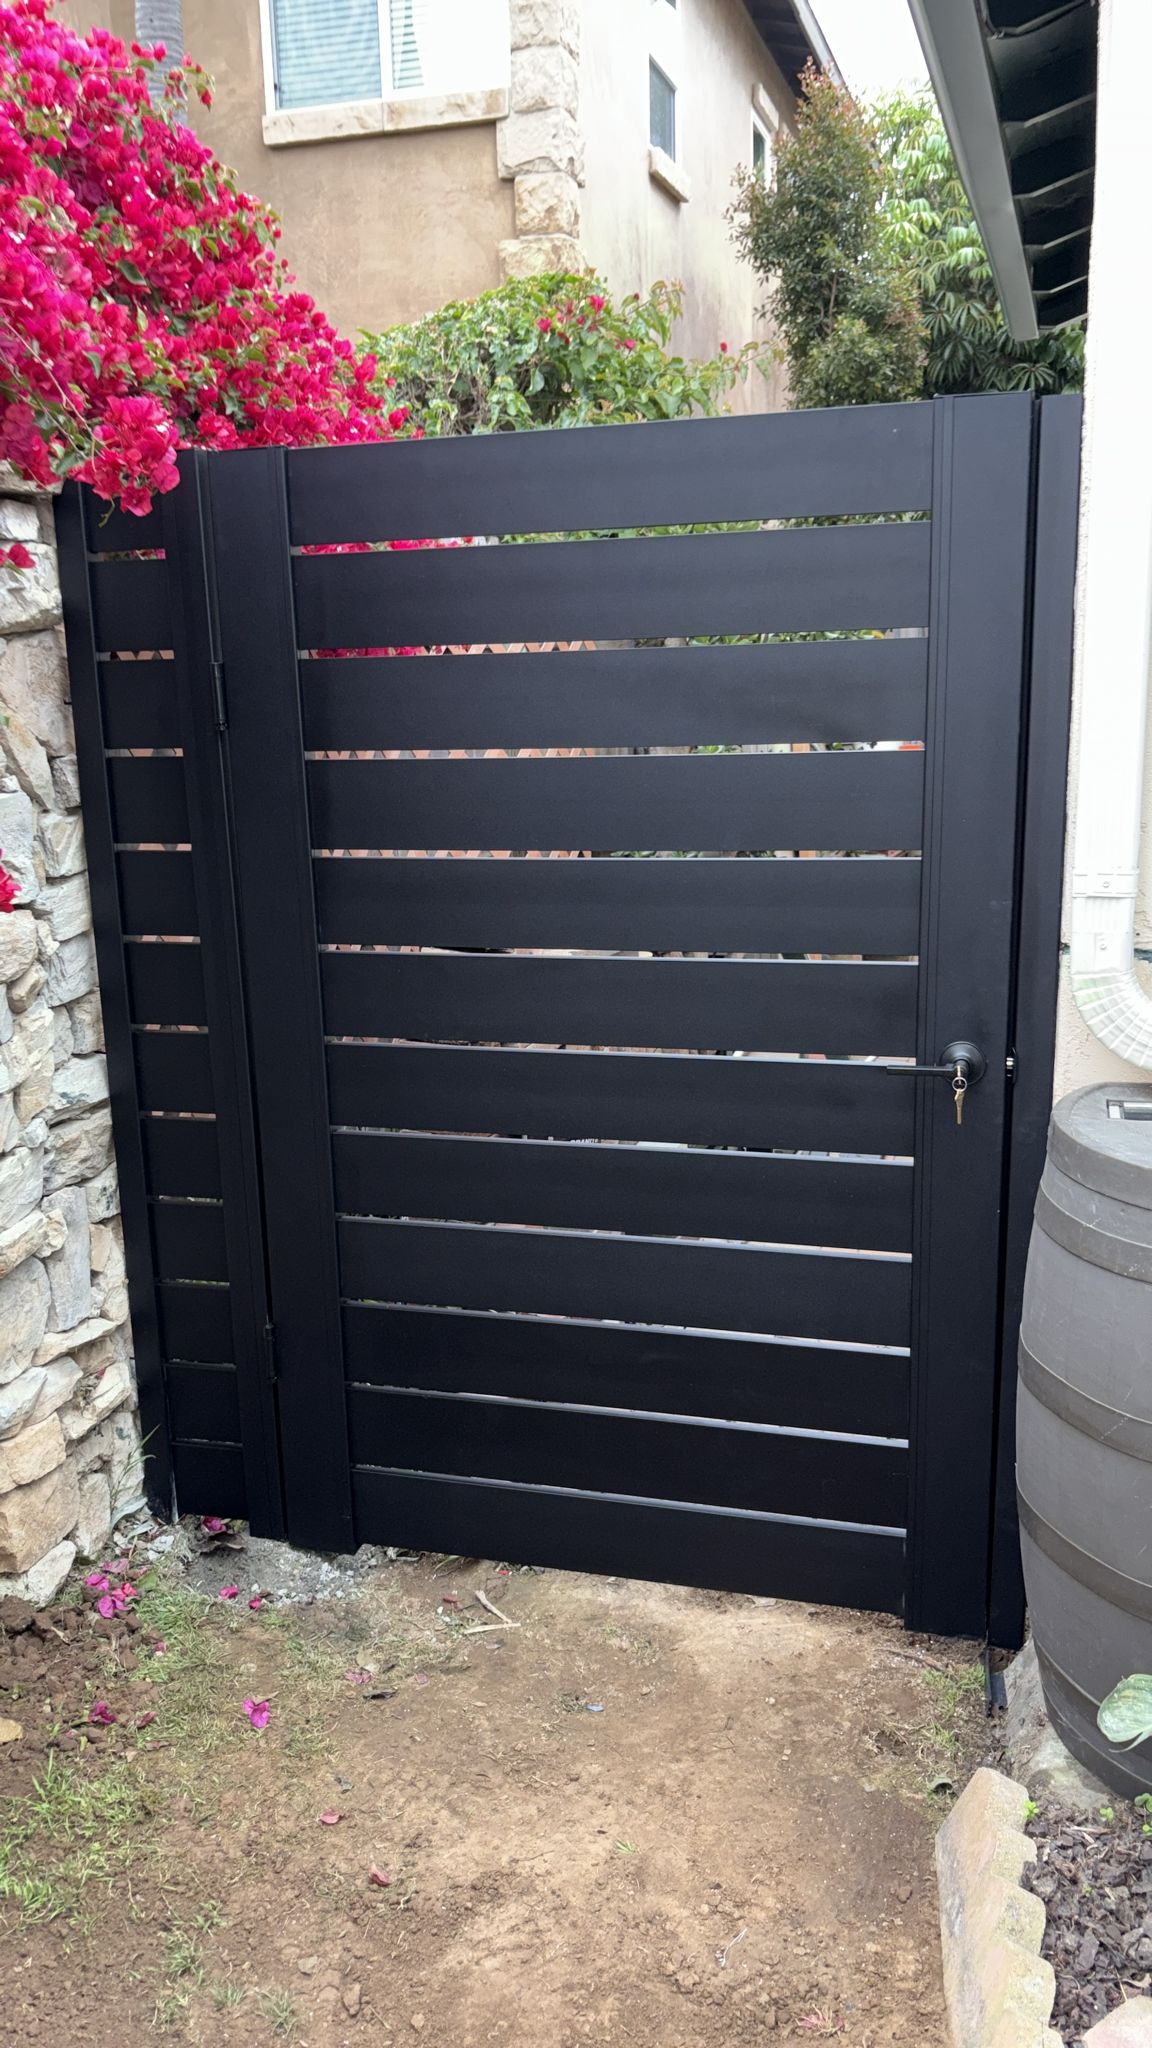
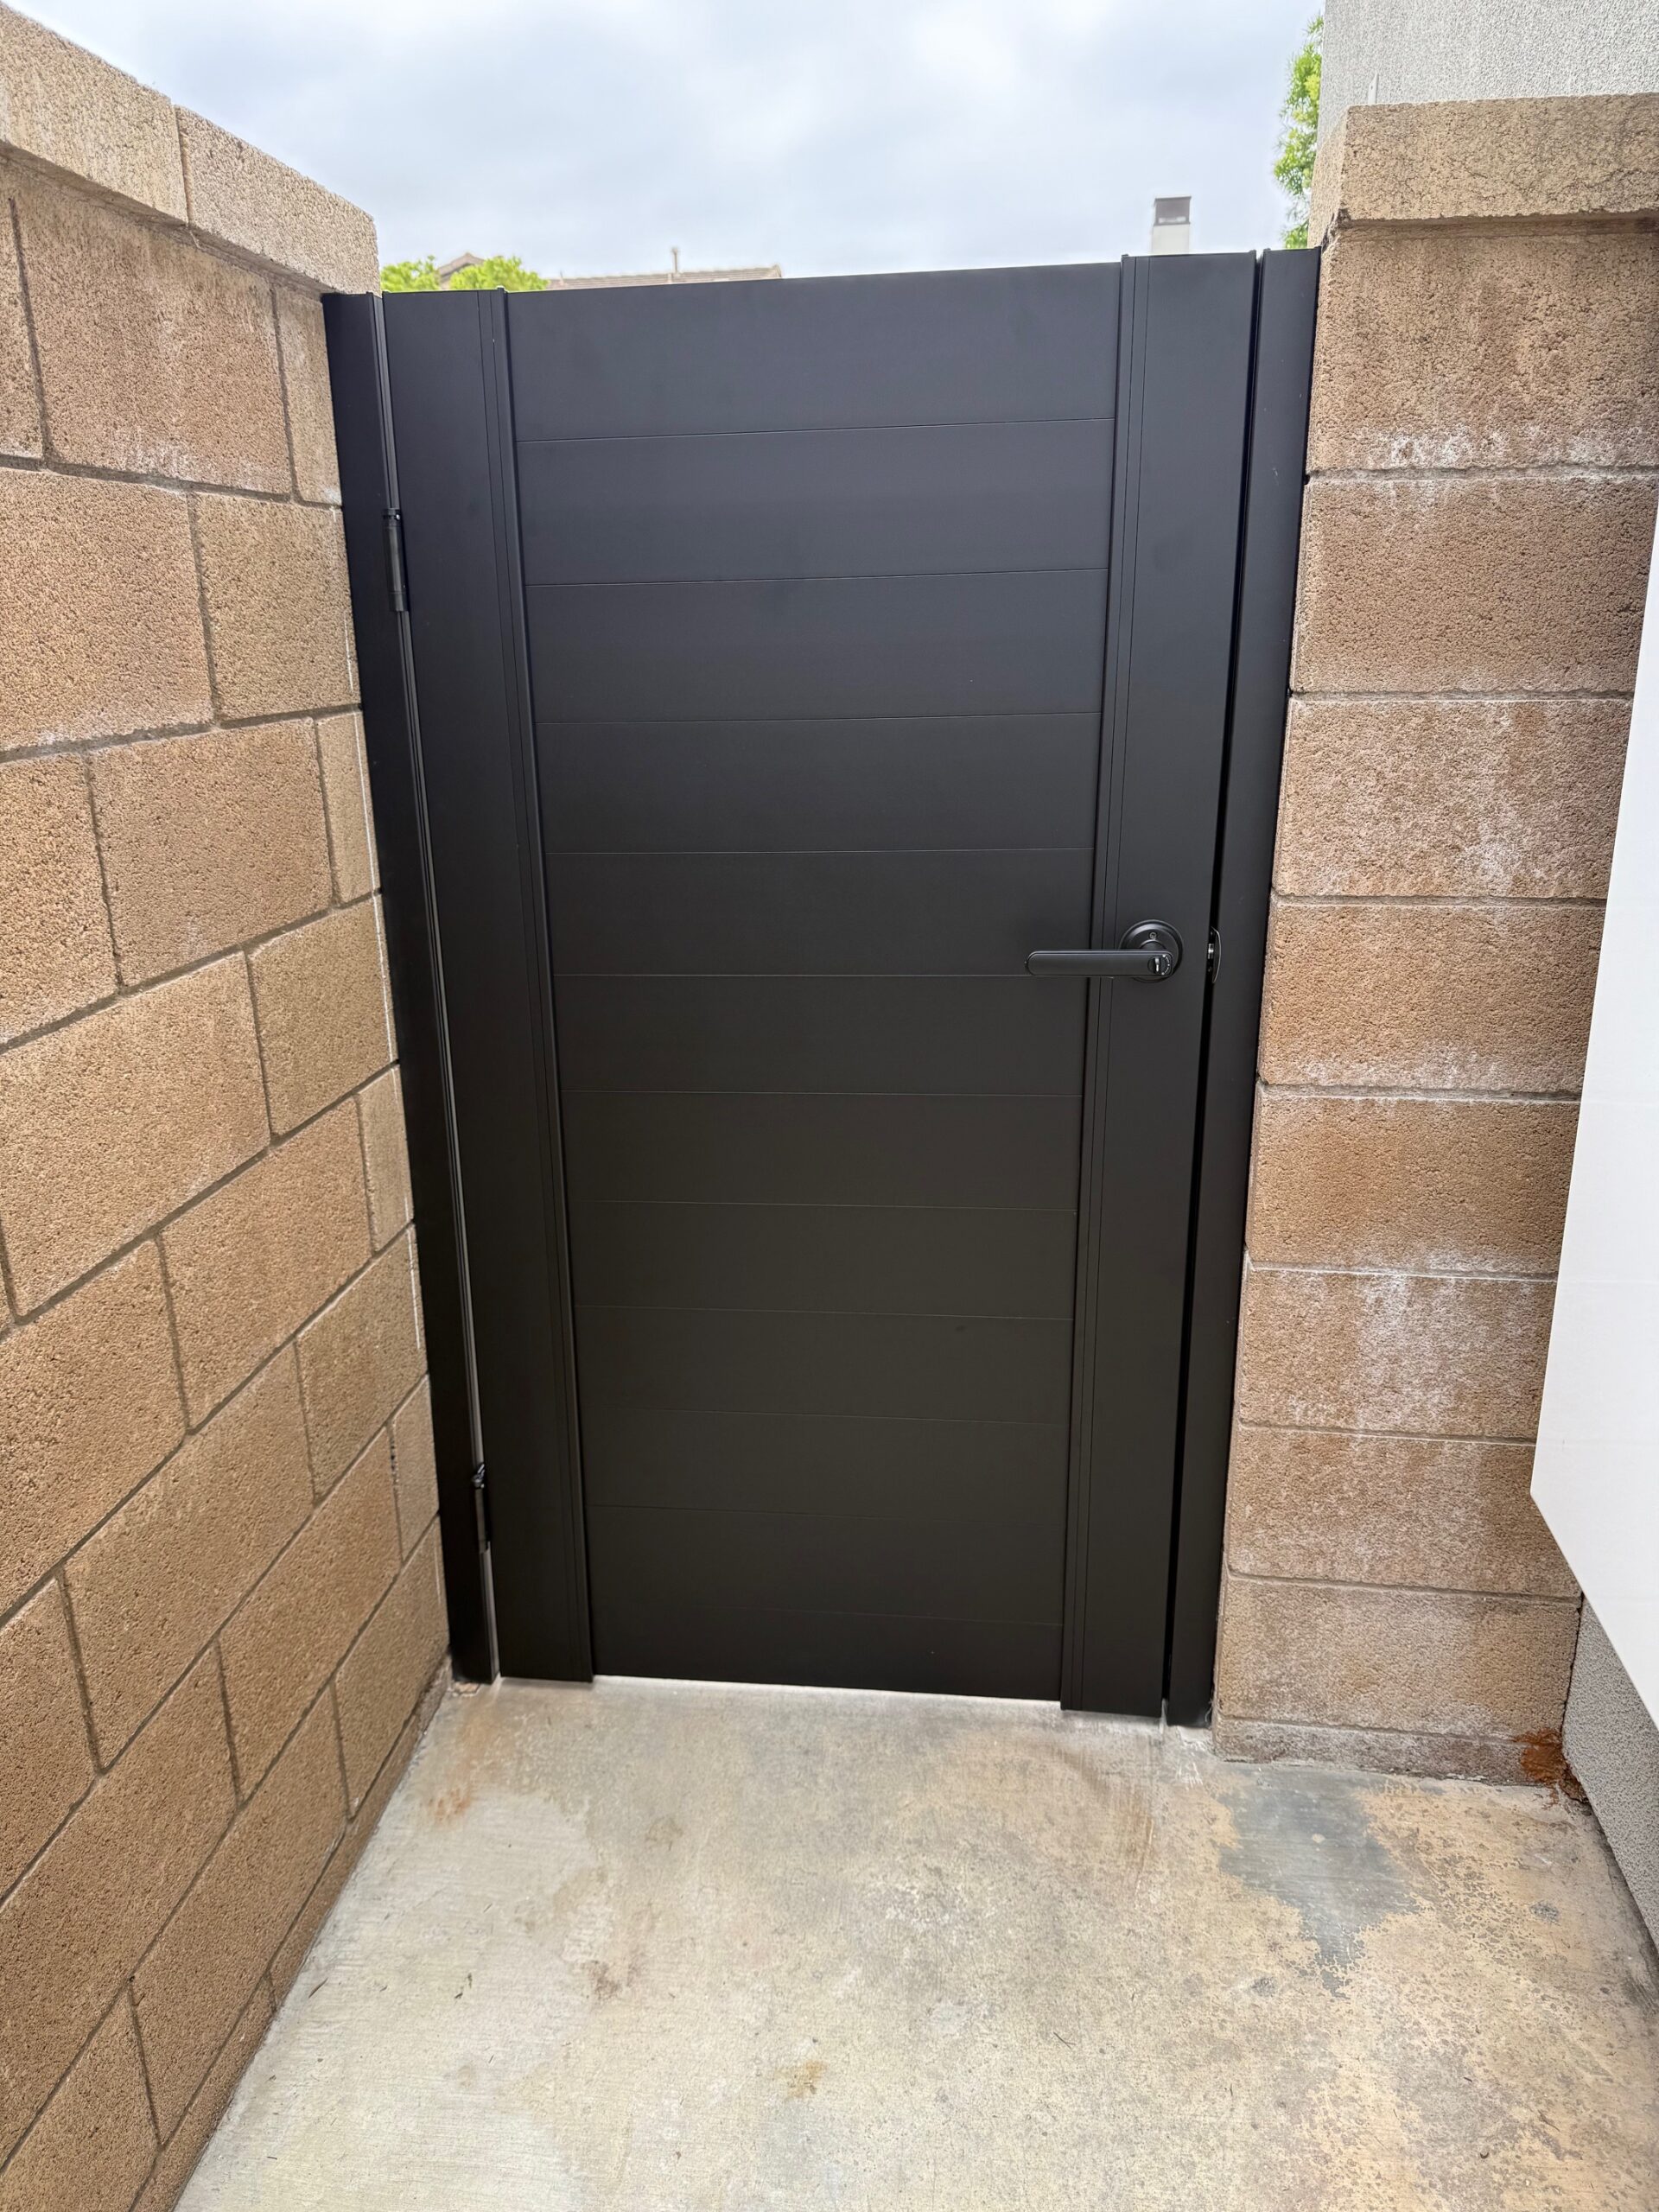
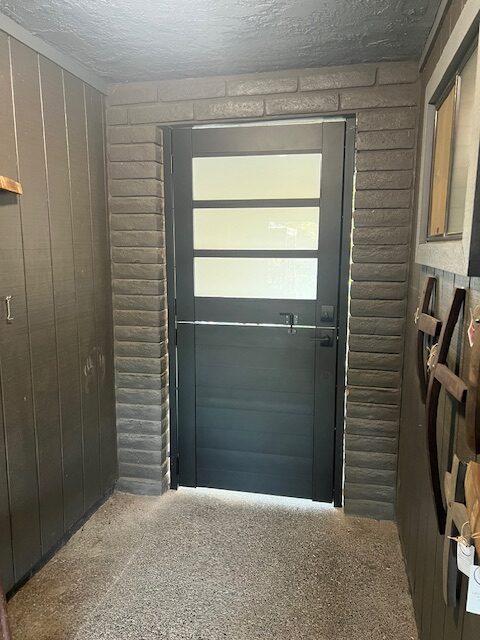
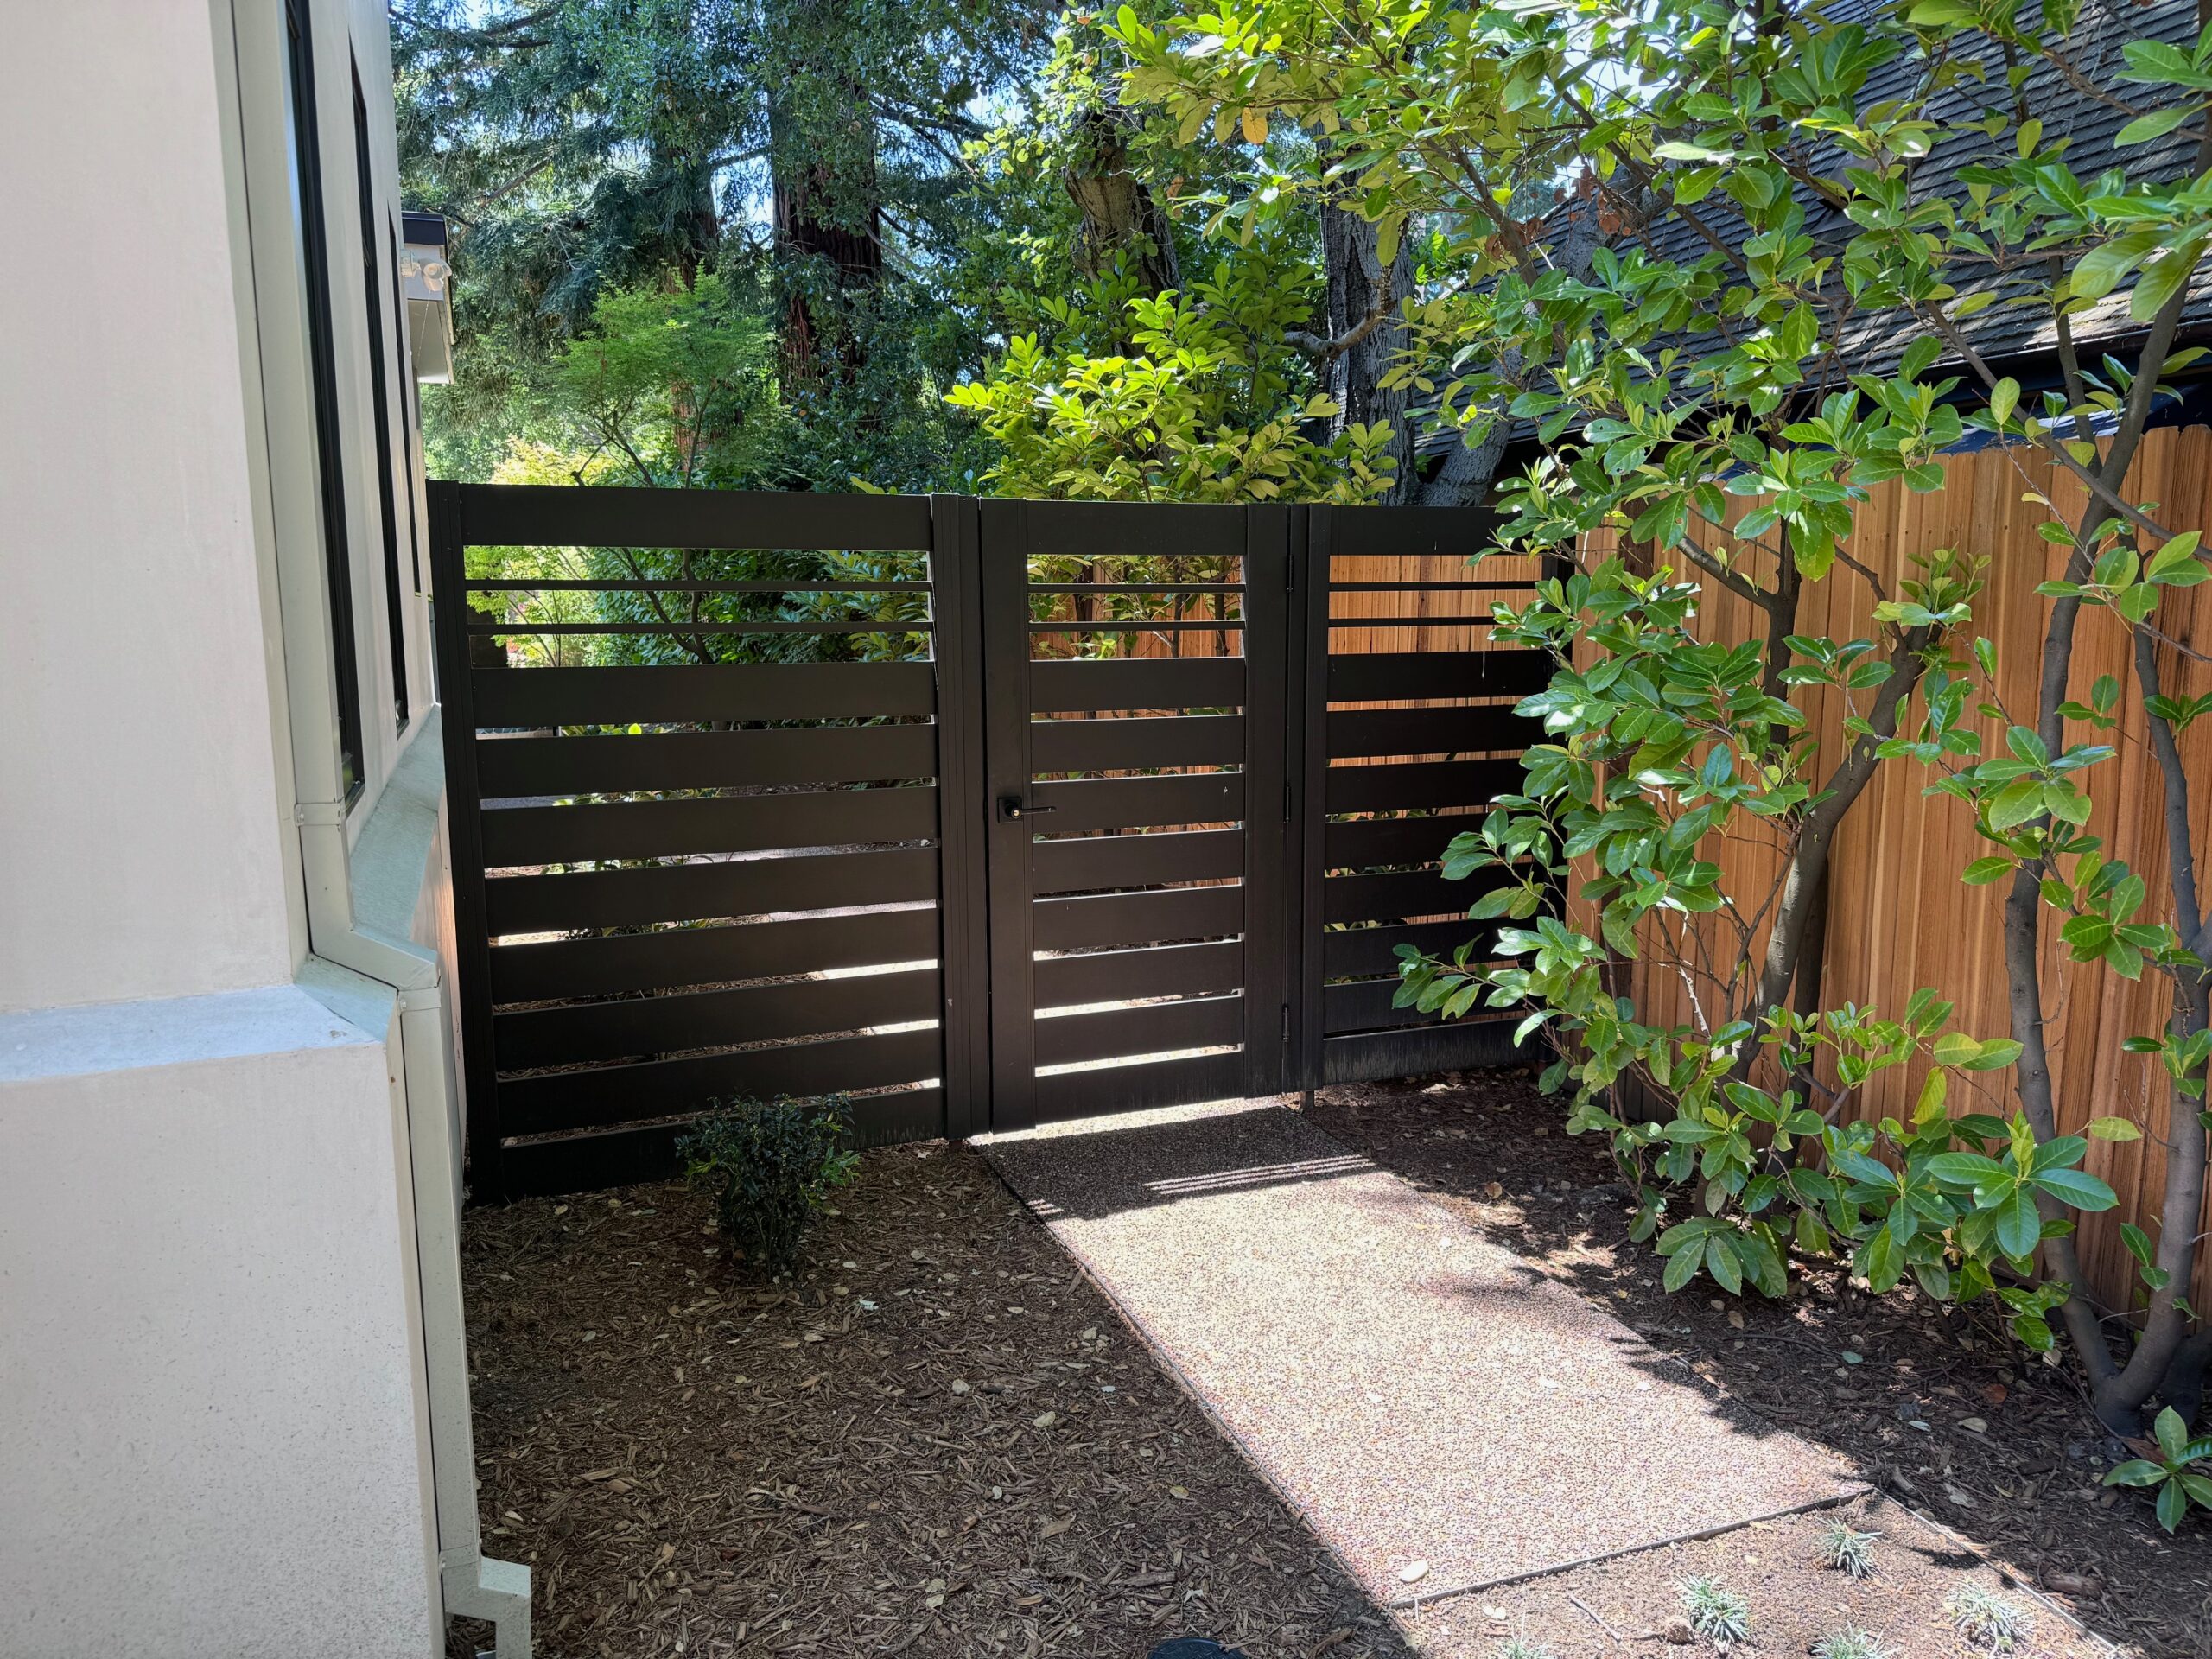
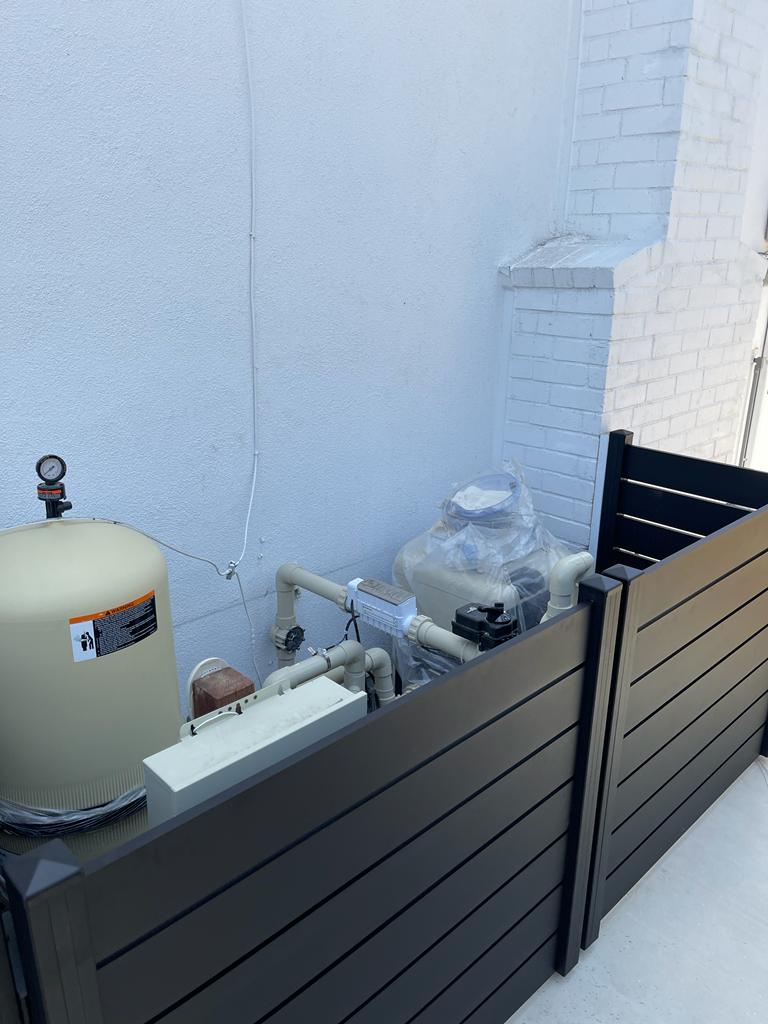
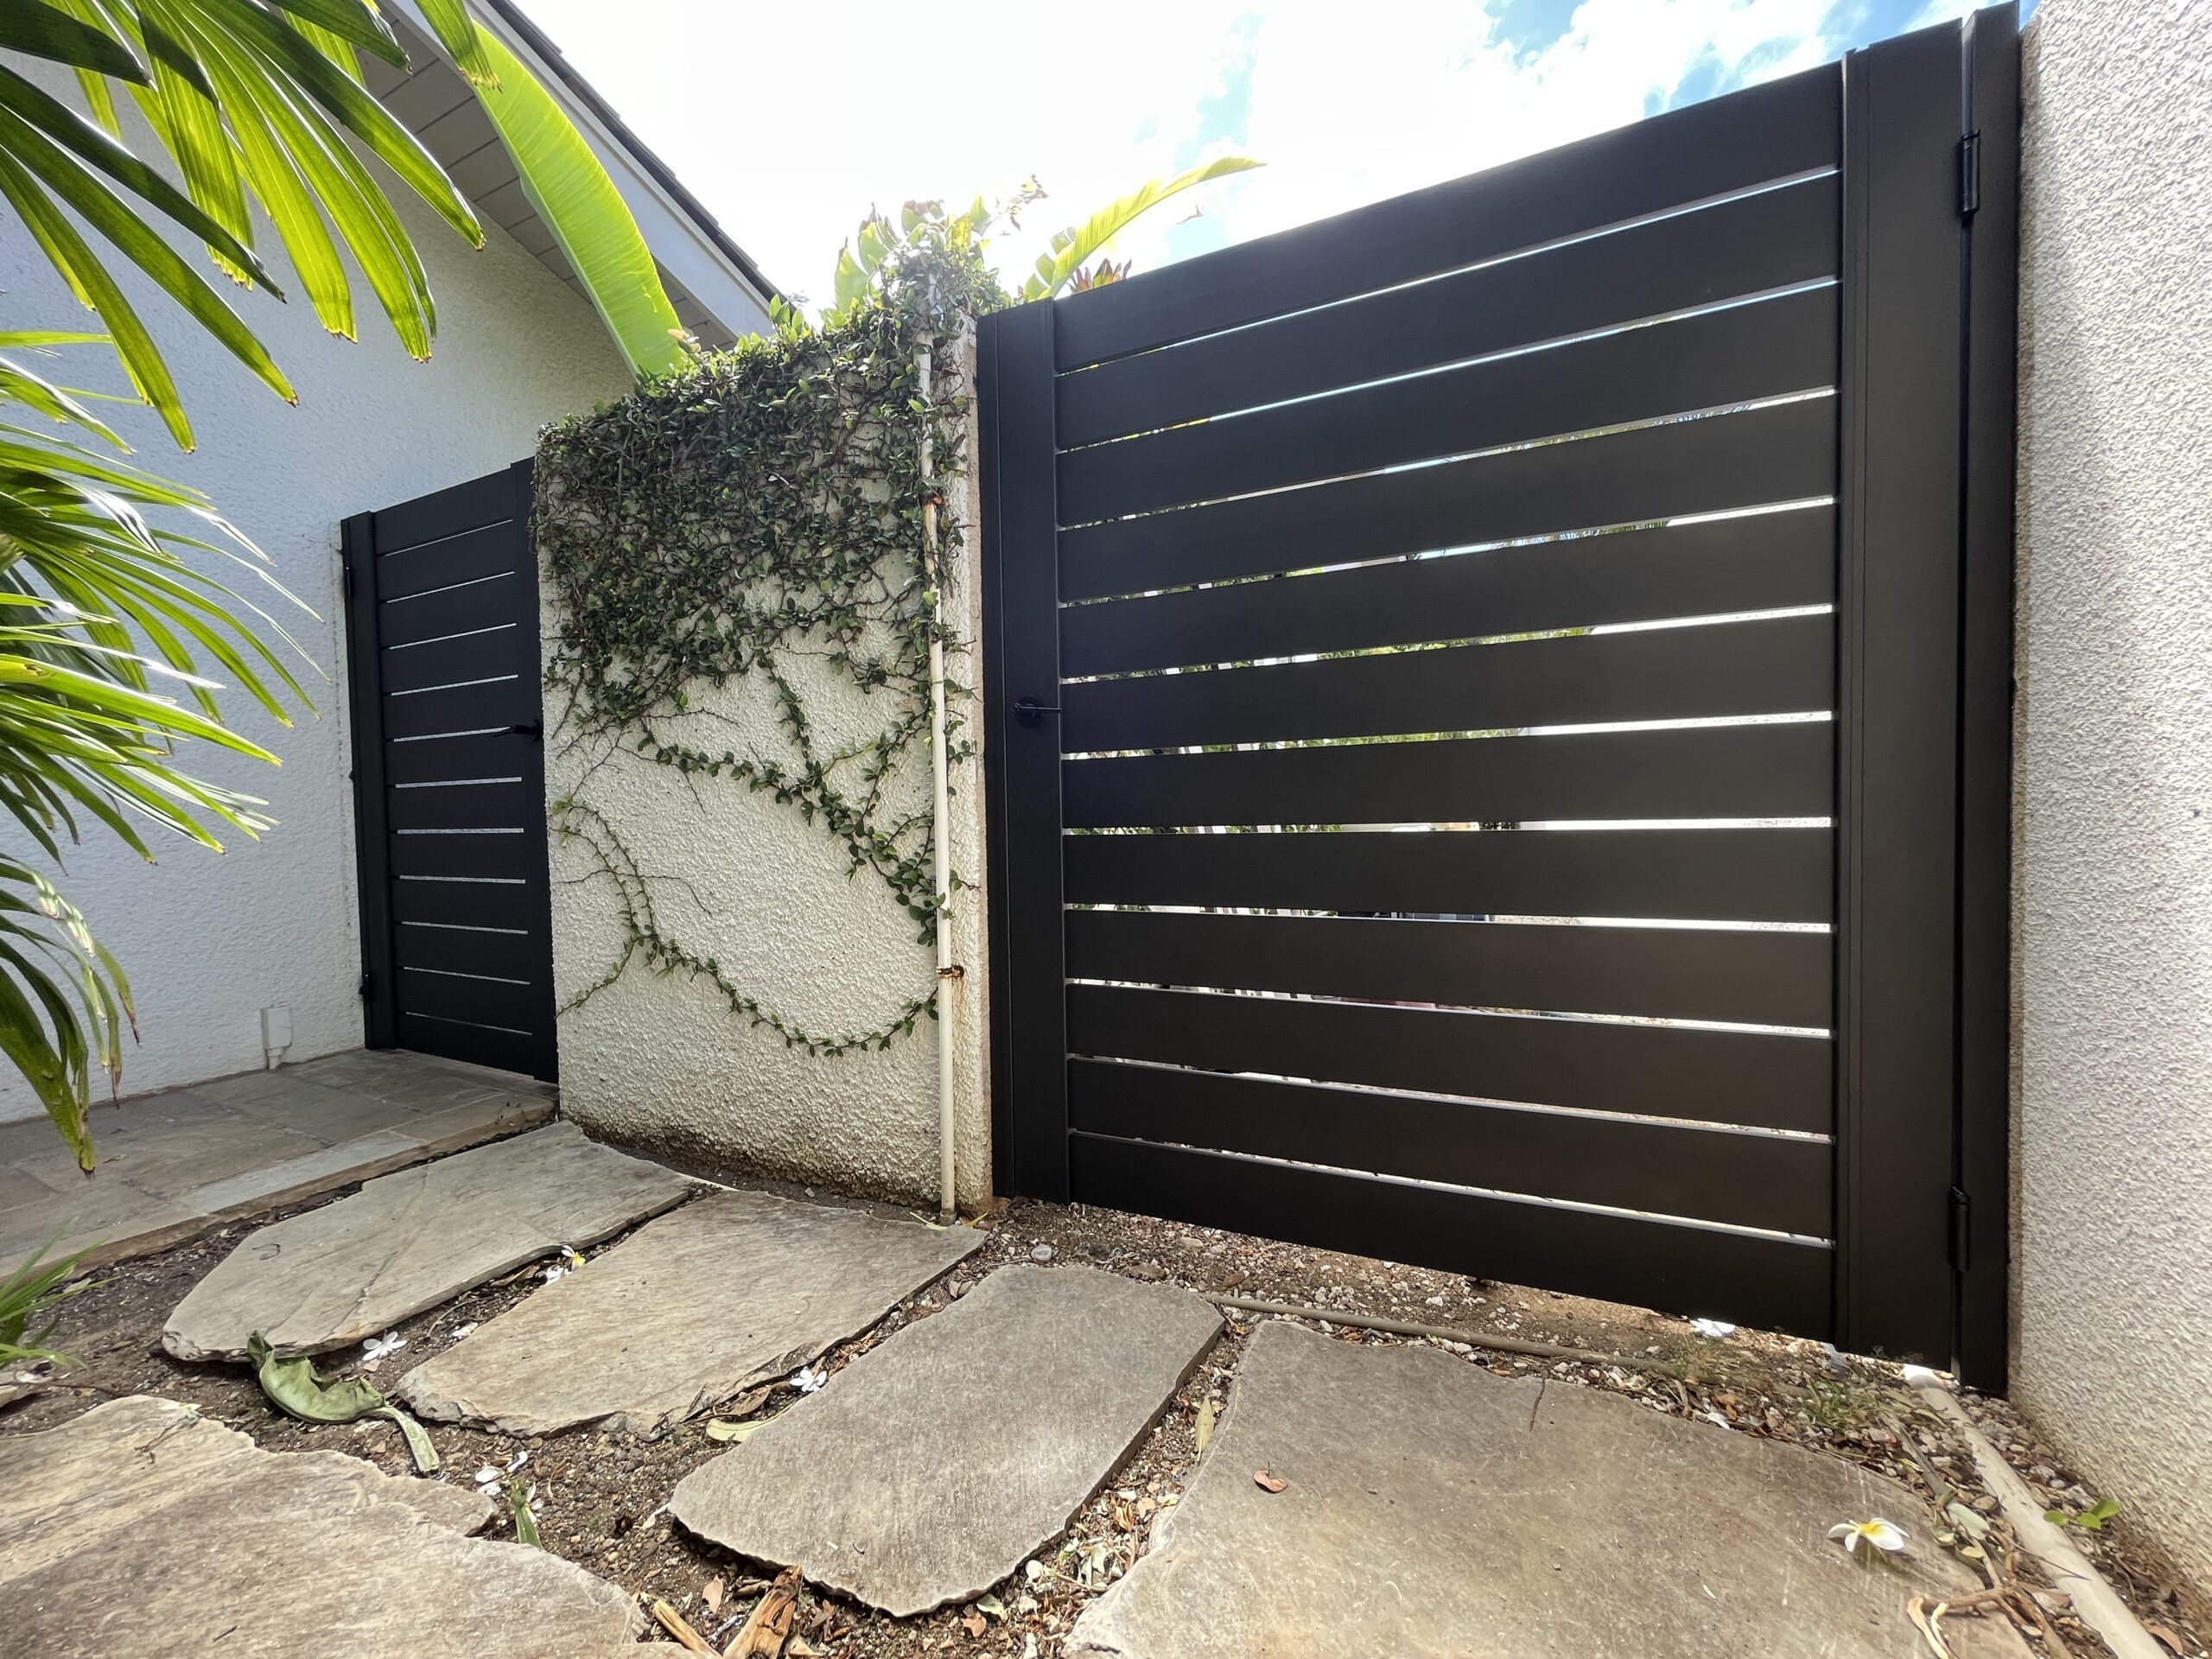
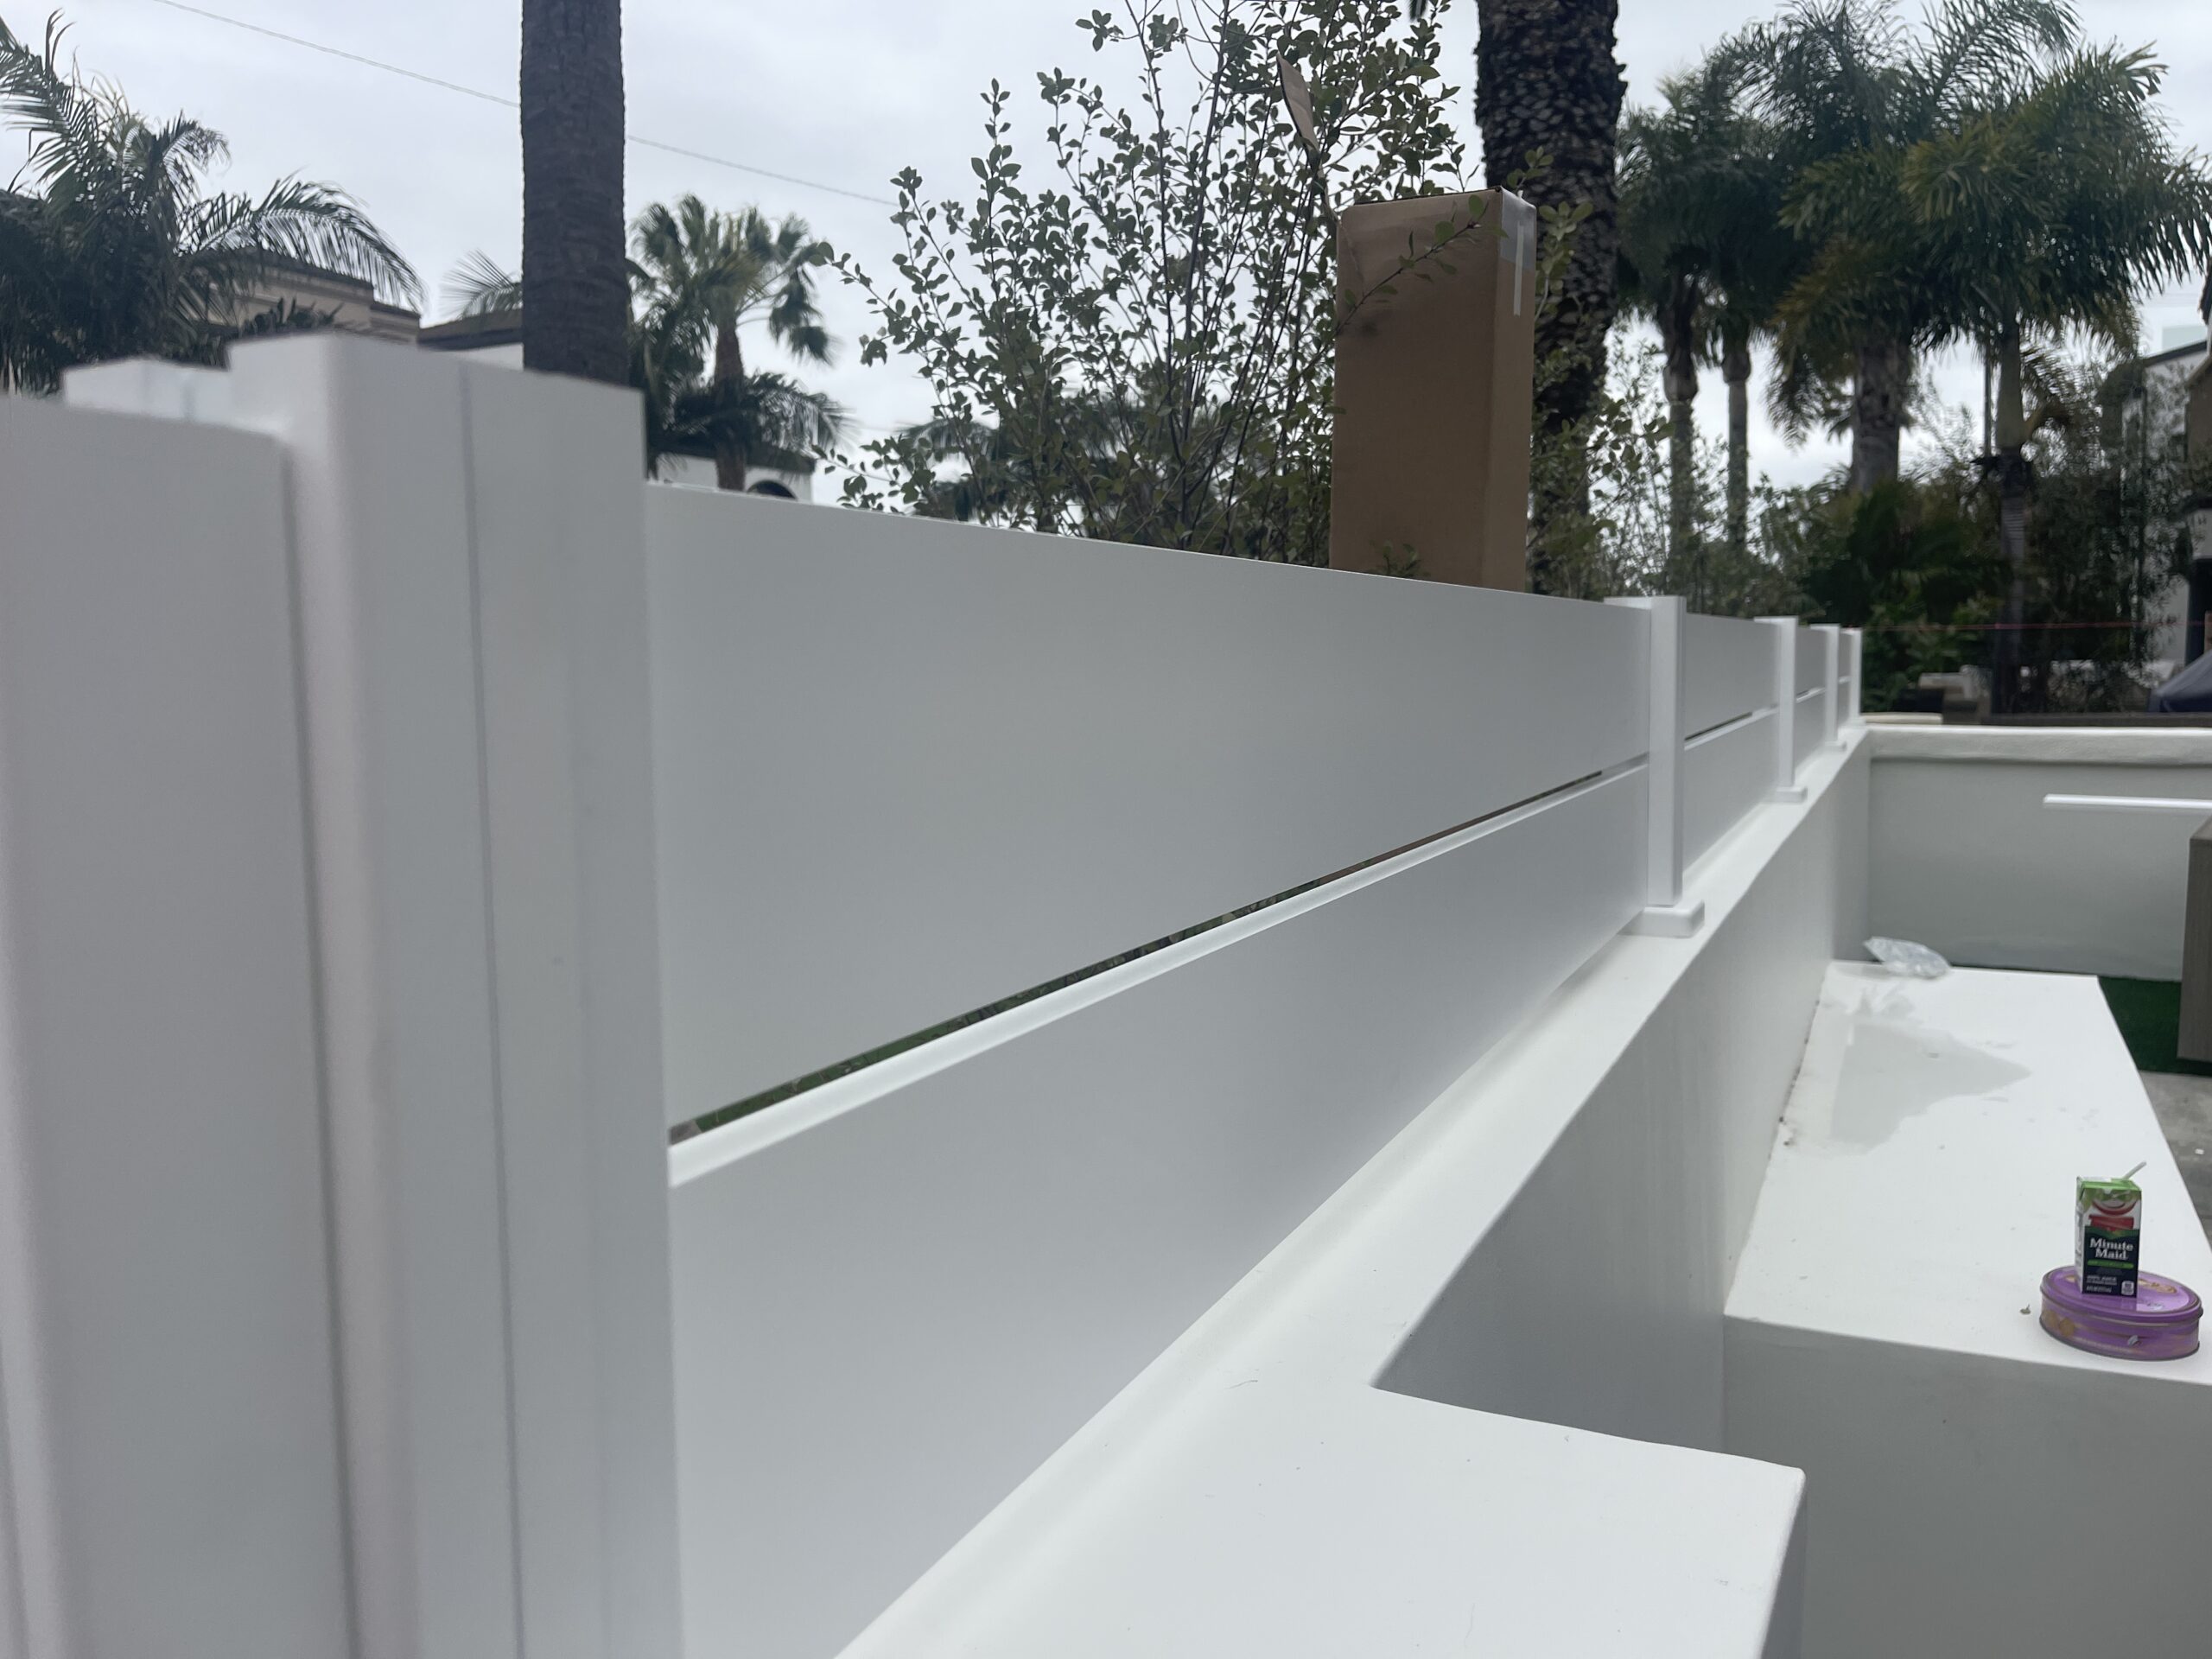
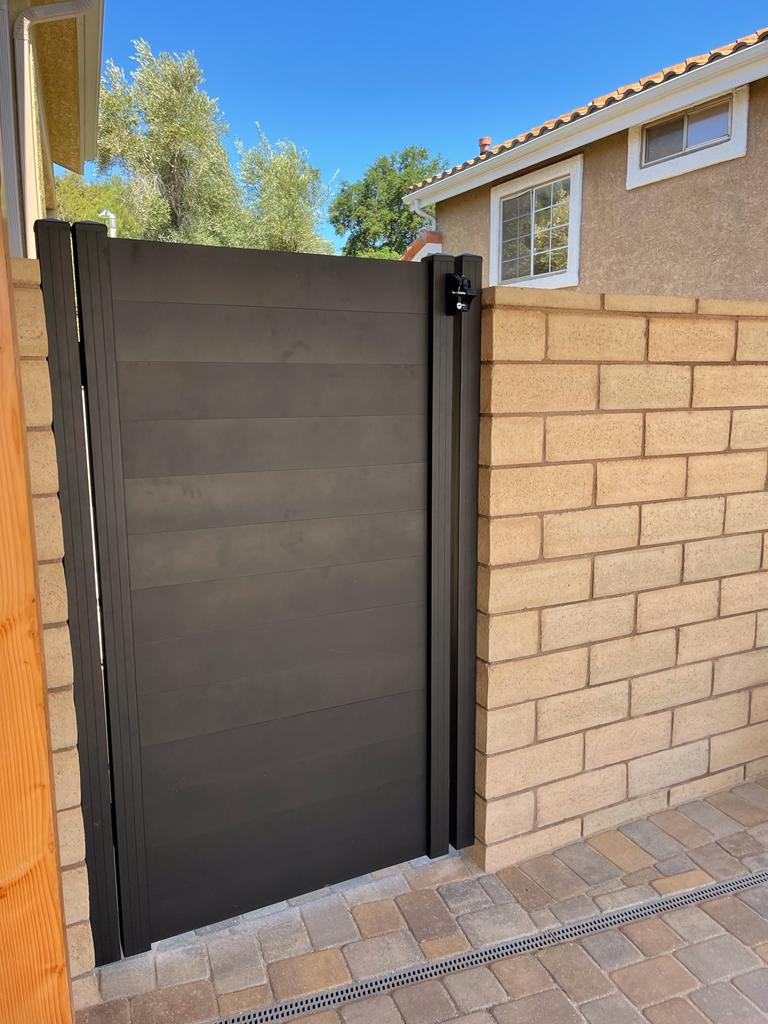
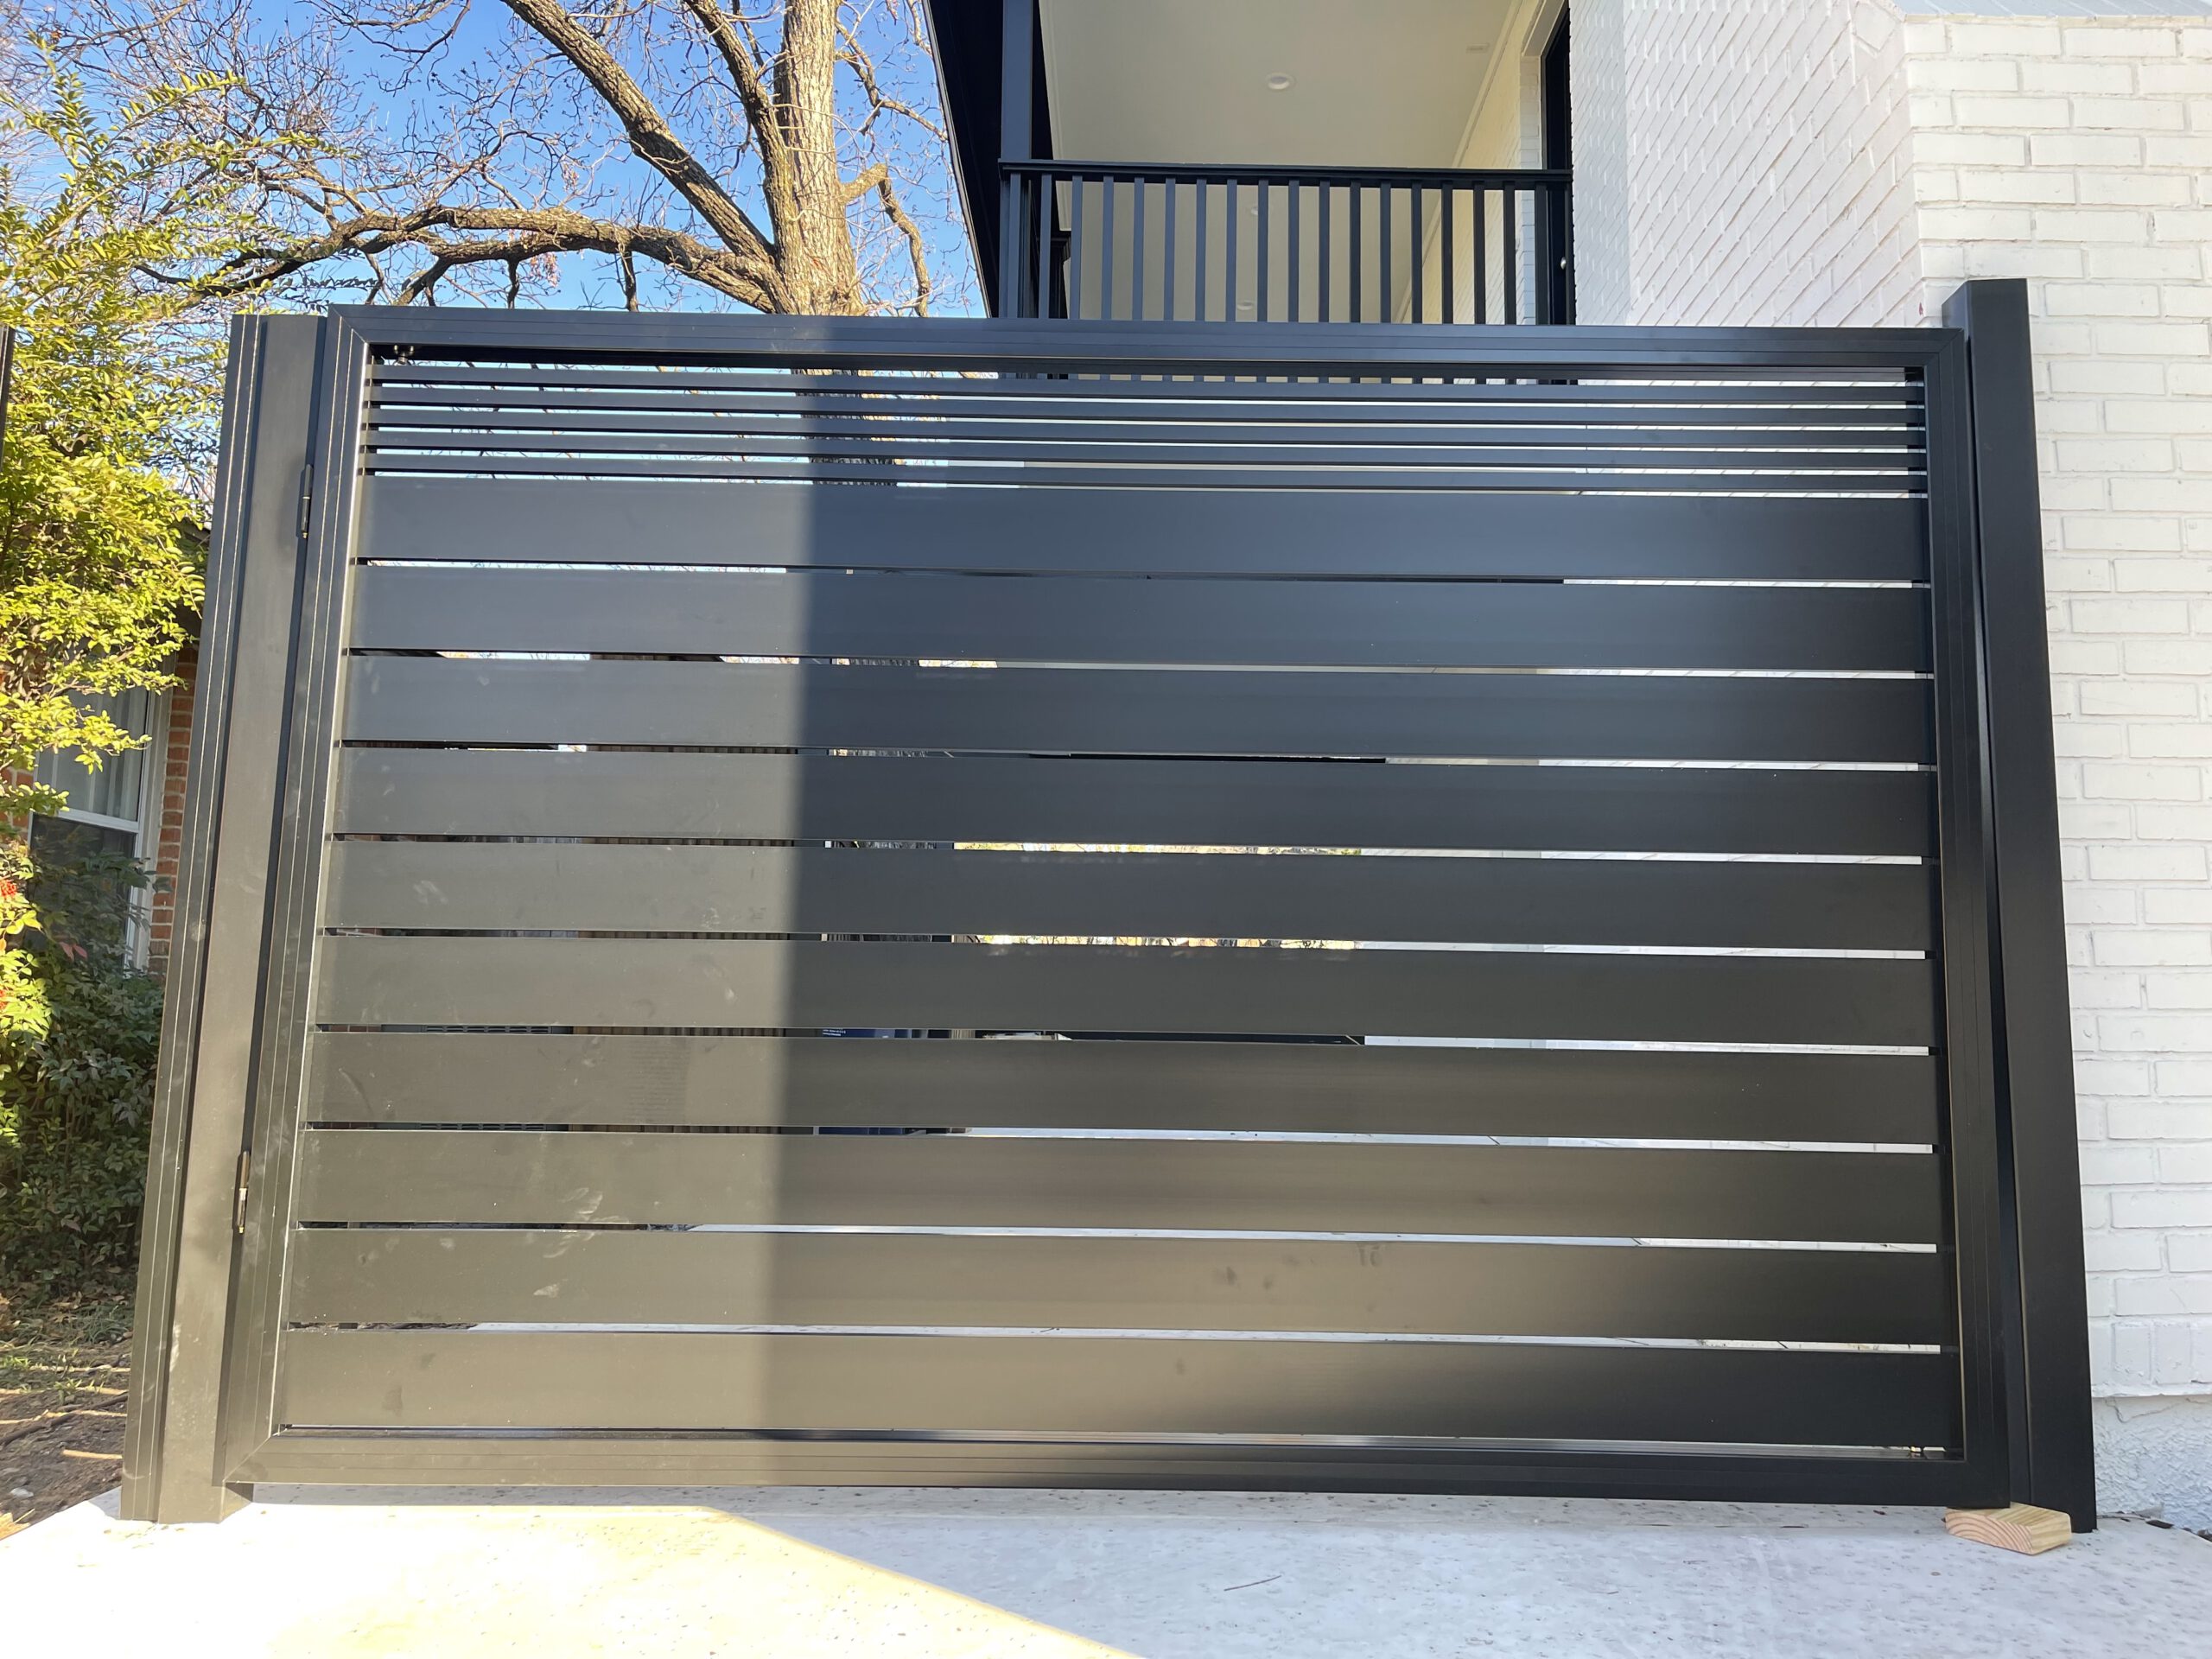
Step III: Final touches
- Add a cap to the wall to give it a more finished look.
- Using screws, secure 2″ x 6″ x 8′ boards to the upper end of the fence.
- Stain the new fence once all boards are secured with a paintbrush and a drop cloth.
- Since it was difficult to reach through the slats in order to stain the boards evenly and completely, it is better to stain them before installing them.
- Once your posts are set, you can stain all of the wood at once.